
12 Composites
Assignment
- Design and make a 3D mold (~ft2)
- Produce a fiber composite part in the mold
Making Composites
Dry Infusion pocket layering for composites
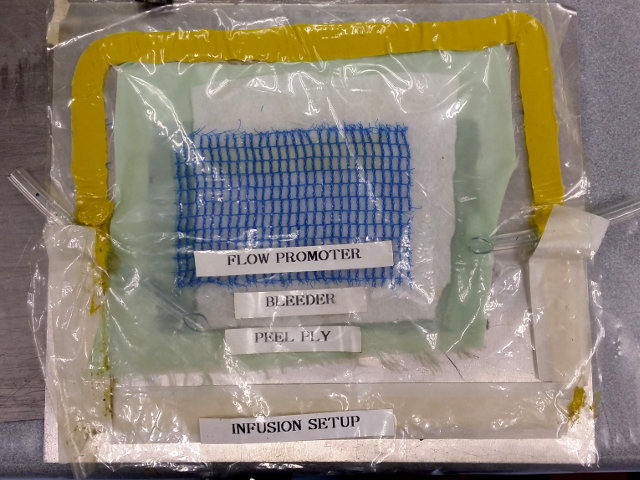
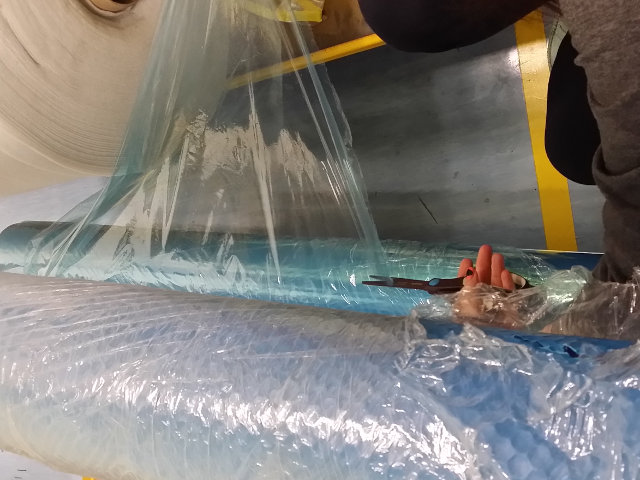
- In preparation for this weeks' work, we went to the composite lab to take a look at the ways composites were made. This lab specialises in Carbon Fibre and used the dry method for making the composite. Essentially the process is as follows:
- Create a mold
- Place mold in a sandwich of heat-resistant plastic, ensure mold has a quick release-agent
- Layer with composite material e.g. Carbon Fibre
- Cover the carbon fibre with a teflon/nylon cloth
- Cover the nylon cloth with a large mesh plastic, which allows the flow of the resin.
- Create a air-proof pocket with the outer plastic and sealant, leaving in two tubes.
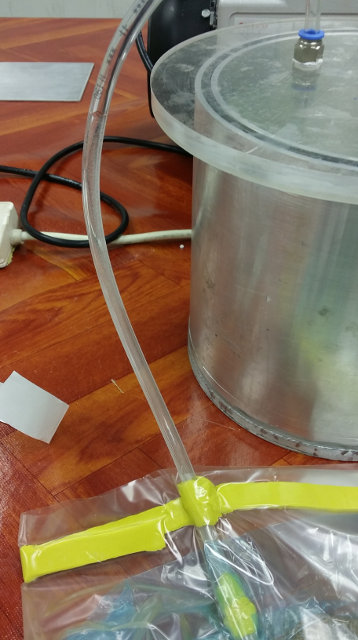
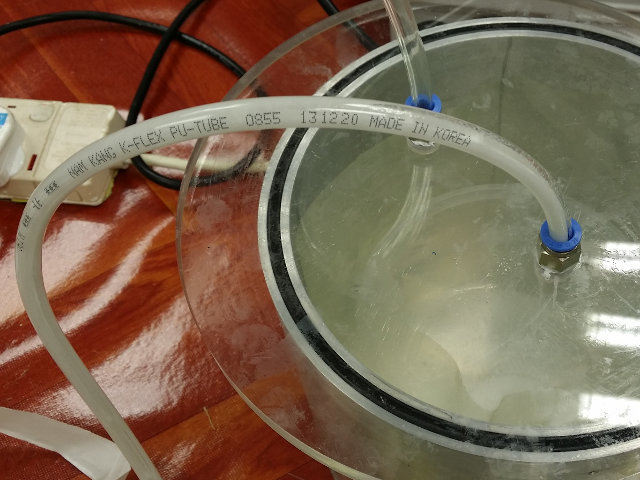
- Clamp one tube and attach the other to the vacuum pump and start creating the vacuum in the pocket
- When the vacuum is ready, clamp the pump end and insert the other end into prepared resin. Release the clamp and allow the vacuum to suck the resin into the pocket
- When the resin has been sucked in, the clamp is re-inserted and the vacuum started. The clamp at the vacuum end is now removed and the vacuum pump begins sucking the resin through.
- When all resin seems to be sucked in and dissapated throughout the composite material, the clamp in the vacuum end is re-clamped and the system left for at least 8 hours for the resin to set.
- This method is called the "Dry" infusion as the composite starts off dry without the resin.
- Unfortunately, Prof Neil doesn't want us to use Carhon Fibre because of health reasons.
Wet Infusion
- This week it was my turn to purchase the necessary material for the project, which was Burlap. So down to Spotlight at Plaza Singapura we go. There was a variety of diferrent types of burlap, mainly for the creation of reusable bags. The one I chose had a fine weave of squares, it proved to be a bit stiff but looked good. (Burlap aka Hessian, is made of a natural fibre - jute, which we used for gunny sacks in days of old).
- This technique requires the composites to be infused with the resin before layering over the mold. The burlap which we obtained is rather stiff and requires a lot of working as compared to the one in which Ferdinand of Barcelona showed us which was soft like silk. Hence our first hurdle.
- I decided to make a name-plate for our new office, as we currently remain name-less and location-less in SP. The frame is first drawn in inventor and then milled using the Modela DX540 using styrofoam.
- The burlap is first cut to the required shape and indents made to cater for the edges. I decided to make one out of 4 layers: 2 full cover layers at the top and bottom and cross-placed strips in the middle.
- The burlap has to be weighed to determine the amount of resin to use. The usual formula used is as follows:
1 : 1 composite material to resin by weight
10 : 6 resin part A to part B (hardener) by weight - After observing Roy, Edward and Walter at work, the 1:1 ration does not seem to work with the burlap as the resin is absorbed by the natural fibres. Hence, I decided to increase the ration to 1 : 2, i.e. 2 parts resin by weight to the burlap.
So for 80g of burlap, I decided to go with 200g of resin (40g extra for losses and leftovers), which is a mix of approximately 125g of Part A to 75g of Part B (hardener) - A pocket is first made by folding heat-resistant celophane in half and placing yellow sealant around the edges. This will form a air-proof pocket for the vacuum press.
- The picture-frame mold positive is placed in the middle of the pocket and heat-proof cling film is placed on top of the mold as the release-agent. I decided on cling film as it does not leave an oily surface after the release, and I am not very concerned with wrinkles (the burlap is very stiff!)
- I placed the burlap in an aluminium foil tray and liberally poured the resin on the burlap. Once wet, I placed it on the mold, layering as I went. The 2X amount of resin seemed sufficient and the burlap looked wet enough and suple enough for placement.
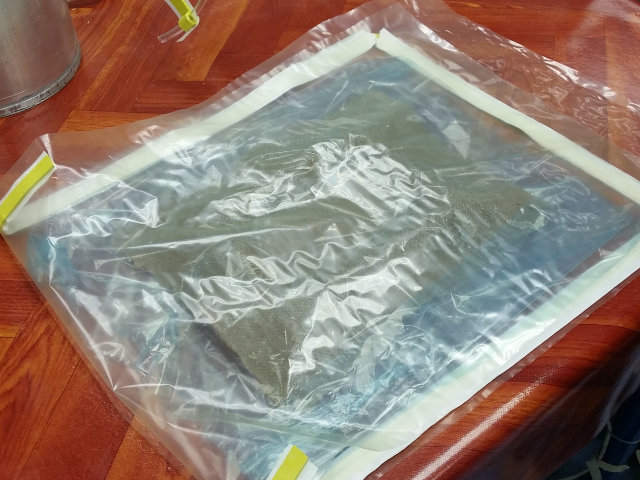
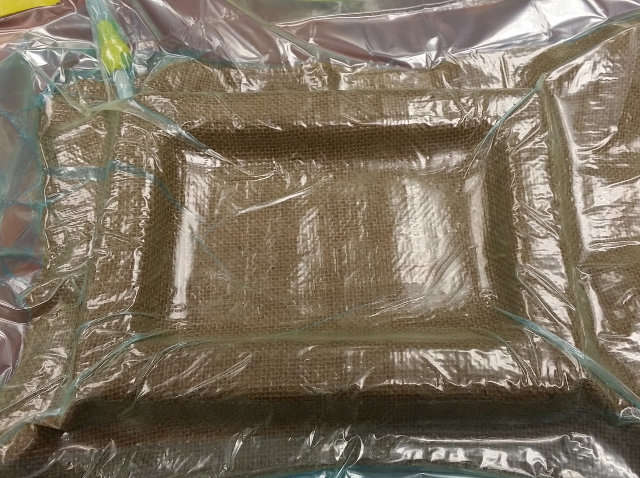
- A second piece of cling-film was placed on the top of the burlap to prevent it from sticking to the celophane pocket. The pocket was then sealed and the vacuum pump started.
- The vacuum helped form the shape of the mold however, the burlap was too stiff to form the corners and edges and we had to hand press the shape to help it along. The vacuum also removed a lot of the excess resin, and this was collected in the vacuum trap. The amount of resin was approximately the weight of the burlap, hence a 1X factor of resin should have been enough. The excess resin poses a problem as it leaves a hardened mass in the vacuum trap valve which has to drilled out when ready.
- The composite was left to harden and set for 8 hours under vacuum pressure, after which a clamp was applied and the system left to set overnight
- The final product was really stiff and hard, but very lightweight which was very surprising. There were a number of flaws caused by the release film (wrinkles) and air pockets trapped by the epoxy. This was caused by the thickness of the burlap. The burlap did not follow the contours completely as the material was too stiff and the angles of the joints too orthogonal.
- Now to polish and finish it up as a name plate!
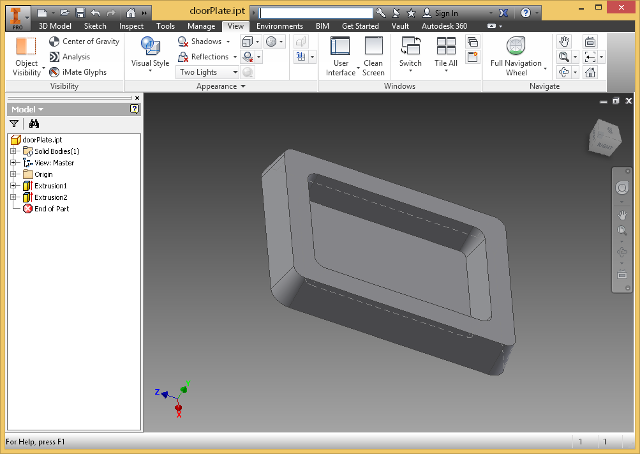
Doorplate design
DoorPlate design file (12_doorplate.ipt)
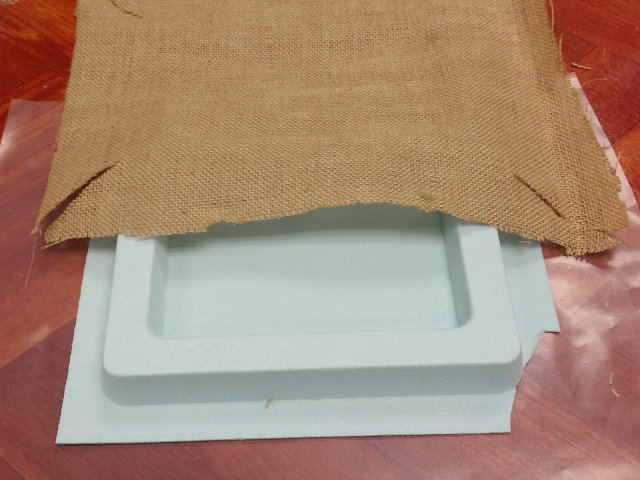
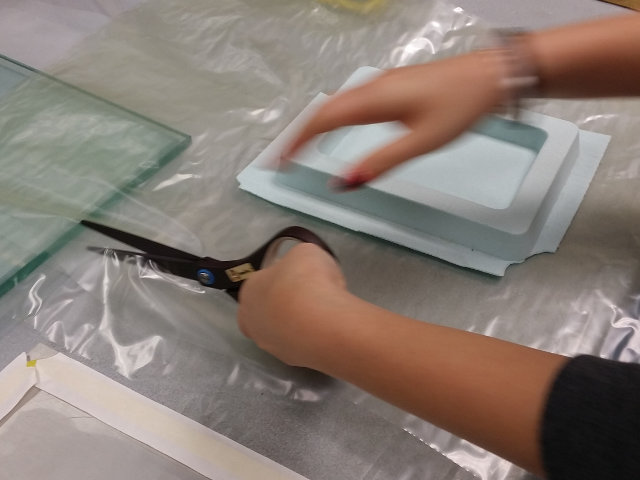
Cut your burlap material to fit mold
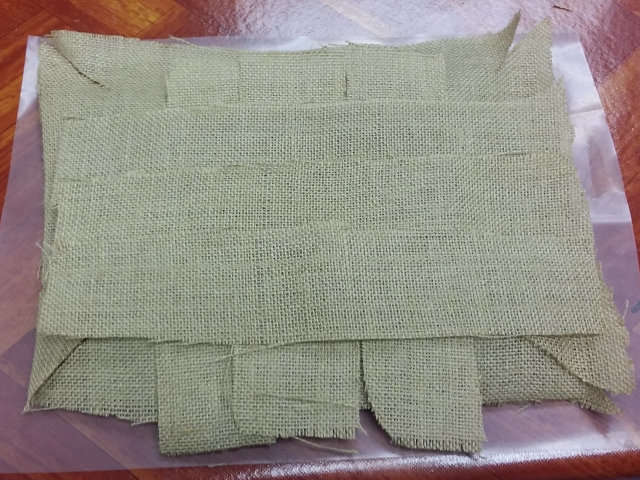
Using layers of burlap for strength
Cuting overlapping celophane for the pocket
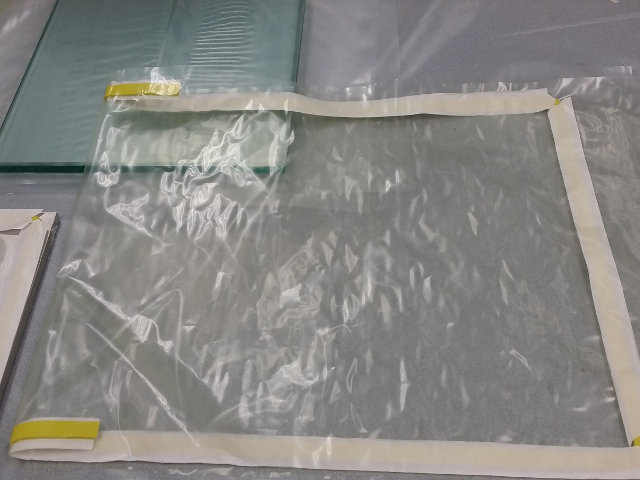
Using putty sealant to form vacuum
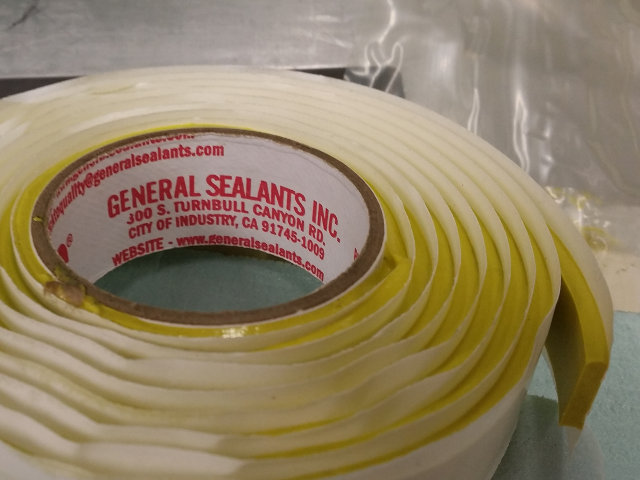
Sealant putty tape
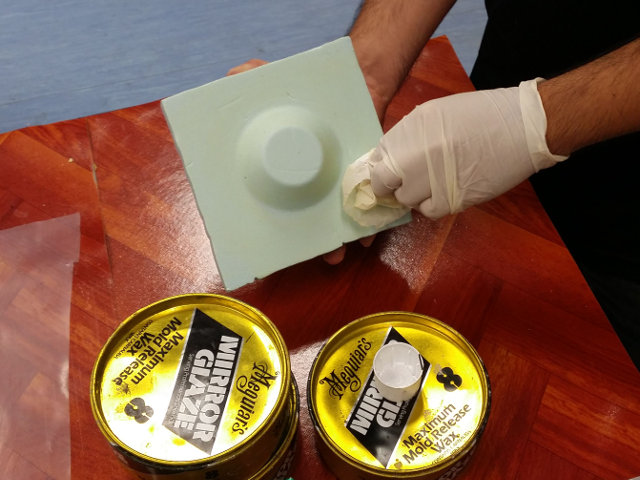
Alternative release agent (oily)
Using clingfilm as a release agent
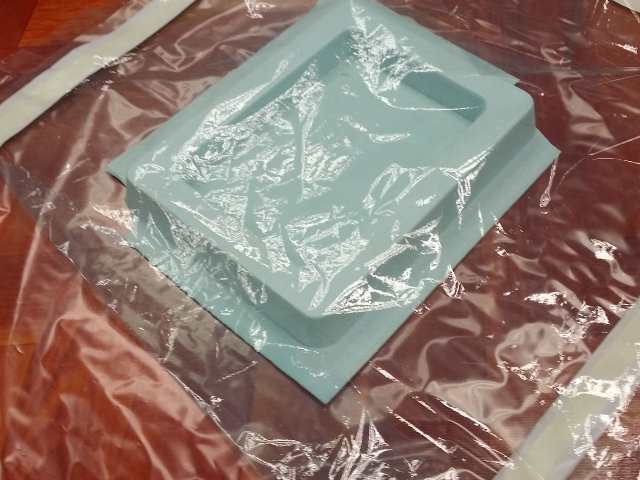
Placing clingfilm on mold as release agent
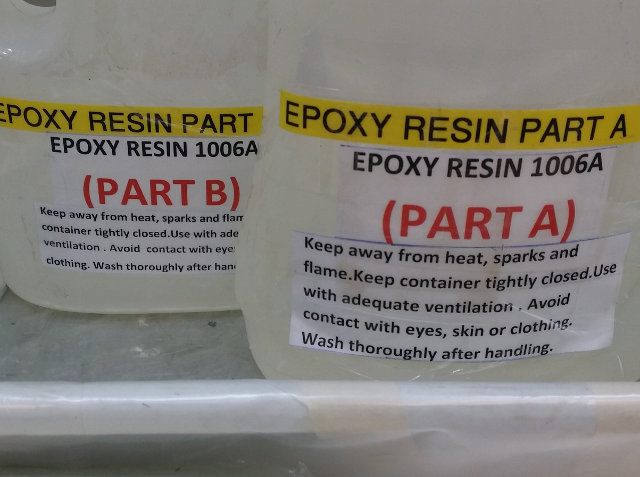
Epoxy Resin 1006A used
Wet layering by infusing burlap with resin
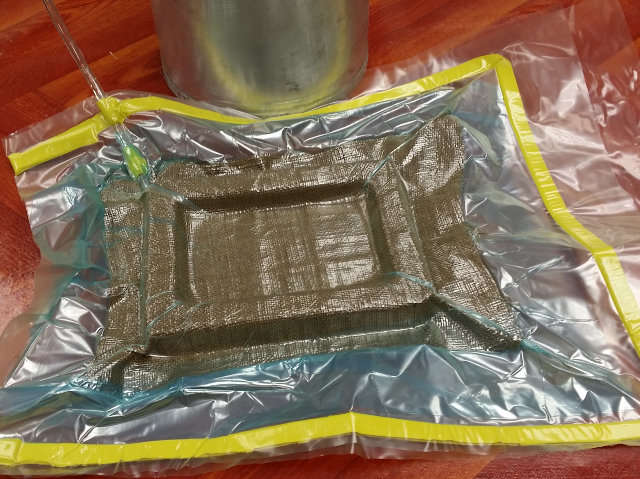
Vacuum applied to pocket
Vacuum forms burlap over mold
Too much resin used, extracted to trap
Left to set for 8 hours under vacuum
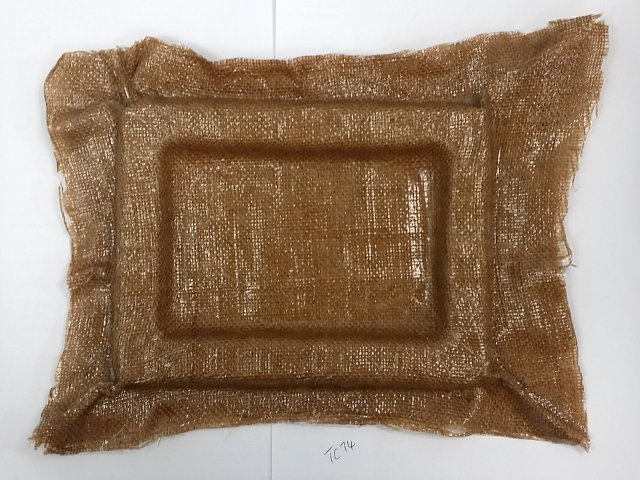
Cured Frame

Wrinkles left by release film
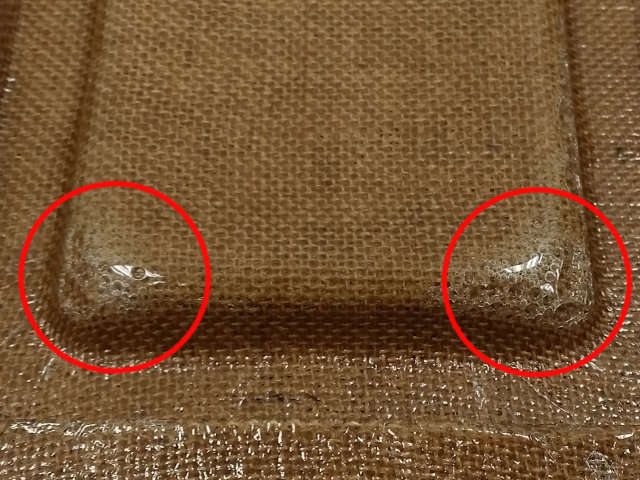
Air Pockets left by burlap shifting
Reflection
- The burlap purchased was way too stiff. A better material to use would be softer with a wider weave. The interior could be filled with cotton and the burlap could be the outer layers for strength.
- The edges of the mold have to be a shallower angle to allow the burlap to form over the surface. Sharp surfaces would be a problem with the final product as the angles would not be formed properly.
- Given more time, I would have liked to embed LED strips into the burlap for hidden lighting.
References
Not being of a artistic mind, I have shamelessly borrowed this template (simpleStyle_8) from html5webtemplates, in recognition of a simple, cool and functional webpage design.