
BRITOV DENIS
Status:
COMPLEATED
Week 18: PROJECT DEVELOPMENT
My final project - a three-dimensional LED Cube, each diode which is controlled by a microcontroller.
Initially, I had a lot of other ideas, some were very complex, others are very expensive, so I decided to realize his childhood dream and make the LED cube.
The entire development process was divided into several stages, which are described in detail on the final project page. Here they are:
Design LED matrix
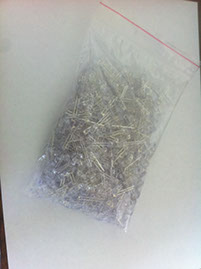
For a start it was necessary to choose the size of the cube I'm going to do. Making small cube seemed bored, so without hesitation I decided to make a cube 8x8x8. Only when I bought 550 LEDs I brainchild of the complexity of this process. After that I began to find out how the easiest way to solder matrix. To simplify the process, I cut out a template for a single layer of light-emitting diodes.
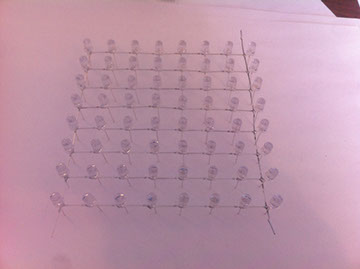
Soldering of LEDs took me a few days, in the end I got eight layers, which also had to be soldered to each other. It was the most difficult and boring process.
Electronic design
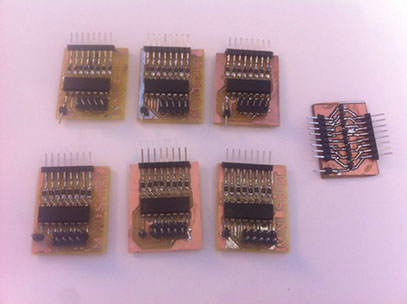
Next step was to design and create board to control all cube. That means to control 64+8=72 legs. My friend adviced me to use shift register. It has 3 input and 8 output pins, so i needed 8 connected shift registers.
Firstly i want to design one big board, but free version of Eagle do not allow this, so i designed one little board, which can be connected to another one same board. One else board is needed to control layers of cube.
The discription of the creating process you can find on the final project page.
Box design
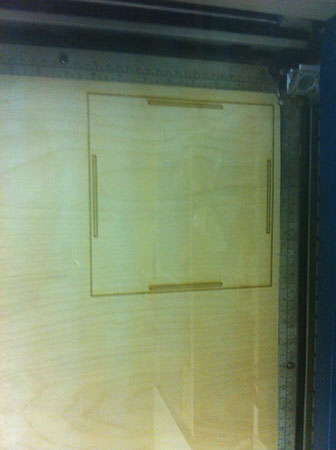
After all main parts is ready it is the time to create the body for all this components. It consist of 2 parts - clear cube for my LED cube and a stage for the electronic. I used CorelDraw to design all necessary parts and a lasercutter to cut them. It was a long process of cutting, so first time i try to brake one half-cutted part from plexiglass, but i broke it, so it was last time i try to do this. After the week of computer-controlled cutting i knew all subtleties of the process, so all parts easely connect to each other.
Programming
Last step was to write program to control cube. I wrote it using Arduino. The most difficult thing was to learn to control the shift registers, but after studying a few forums I found all the necessary information. Working code is laid out in the final section of my project and demonstrates control of each diode separately.
Now I'm trying to write some code to vary modes of cube, ideally - make him show the time in 3D.

Time limits
It was easy for me to control time of production. As usual for this i use my daily note and macbook calendar. Some steps, like soldering, takes much more time, but the goal was taken.
So it works!!!