Electronics Production
This week's assignment - add a button and a LED to the Hello-world board, then make it by milling a board with the Modela and stuffing it.
Adding the components in Eagle
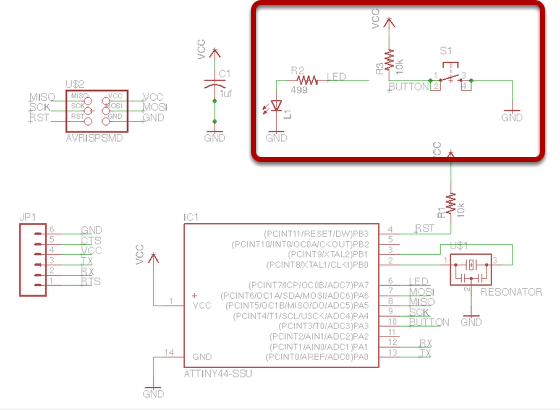
Once again, I found the AS220 tutorials to be extremely well written. After installing Eagle, I followed the comprehensive instructions to make the new additions.
Routing the board
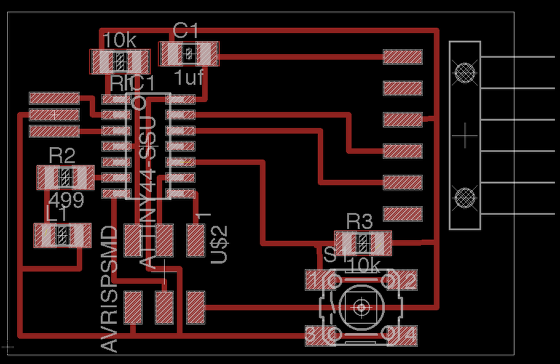
Then, I flipped over to the board view and routed the board. I found the Eagle tool set pretty straight forward.
Exporting as a png
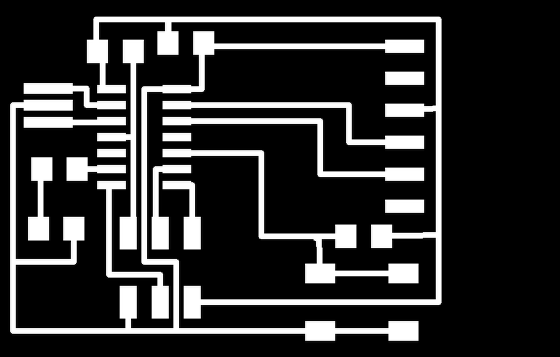
Next, exporting the board as a 500ppi png.
Edit as needed
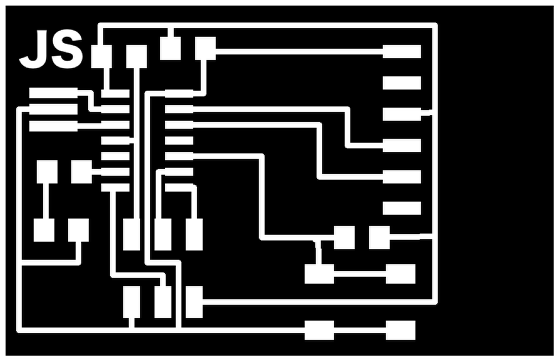
I then used my favorite image editor, Pixelmator, to add my initials and the 20px white border.
Creating the outer cuts

I then then filled the board in with black and saved a copy for the final cut file.
Milling the board
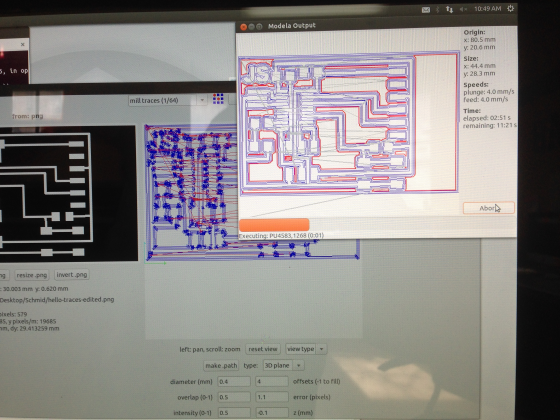
I was had some problems on this step, and spent some time troubleshooting. After a bunch of missteps, I wish I would have known the following before starting:
1) When I first had issues getting the fab modules GUI to send commands to the Modela, I followed the instructions here to send command line commands. However I was never able to home or set the origin from the command line. Opening the rml GUI from the command line as sudo fixed my issue and the commands sent without an issue. If something isn't working, try sudo, even when launching the gui.
2) Really tape the board down. Fill the back with tape and press hard. The first cut didn't cut completely due to a bow in the board.
3) Use the presets. I must have been a bit off-kilter after the other issues, but my first to milling attempts were using the default preset. Use 1/64 for traces and 1/32 for cutting the board (and change the bits as well. The general process was: move the drill to the origin, set the defaults, load the png, make path, make rml, and send to machine.
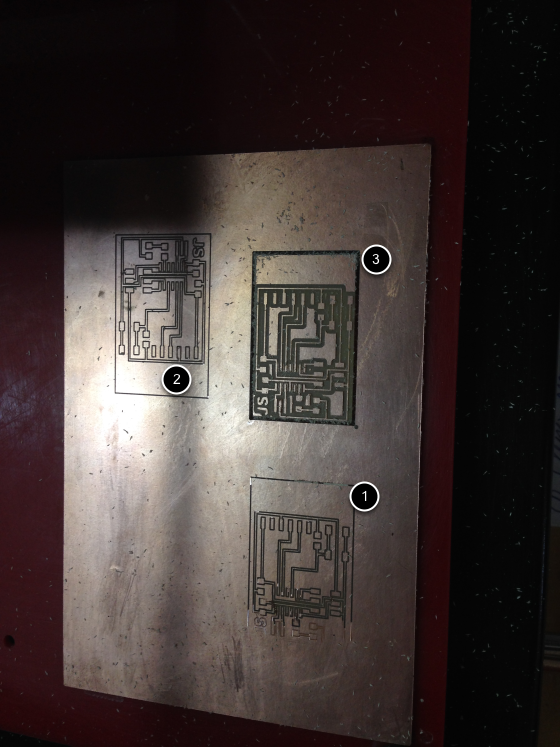
2 fails and a success.
1 out of 3 ain't bad right!? Mill 1 didn't cut due to a bow in the board, 2 was the default preset, but I finally got my act together for cut 3!
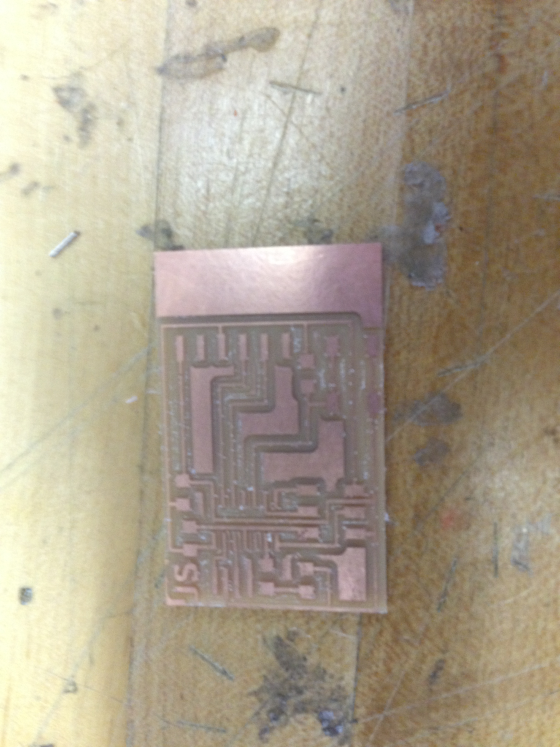
Final cut of the board.
From the "things I wish I knew before I started" department: No matter how excited you are to get to soldering, take the time to wash your grubby hand oils off the board. Later I had a few pads that didn't want to take solder, and I'm convinced it would have gone better if I had slowed down and washed the board.
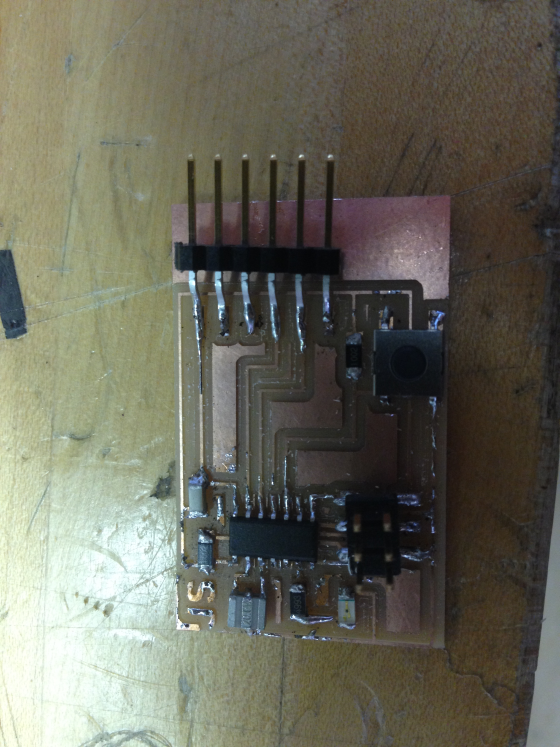
Final soldered board.
I'm getting the hang soldering with tweezers (also known as surface mount soldering), but as I mentioned before, washing the board would have made my life easier. I also turned my iron up a bit higher and had better results. Generally, I found putting a small pad of solder on the board, then heating the solder while placing the component with tweezers would get the piece in place, after which I could load a little solder on the iron and apply it to the board and component.
One last thing to keep in mind: Our 1206 red LED marks the cathode side with a small green line. Not every LED uses the same convention.
I would have loved to program this to be sure it's working, but that'll be a project for another week.