3D Scanning and Printing
This weeks assignment was to:
- Design and 3D print an object that could not be made subtractively
- 3D scan an object
- extra credit: print the object you scanned
- extra credit: make the scanner
Having 3D printed and scanned previously, I decided to go for "extra-extra" credit and build a 3D printer first, and then experiment with a few different tools
Building the PrintrBot Simple

I've had a PrintrBot Simple 3D printer kit for a while, and decided to use this as an oppurtunity to assemble the printer and use it for this week's project. I followed the instructions at http://help.printrbot.com/Guide/How+to+Printrbot+Simple/52, but quickly found some interesting challenges:
1) there are multiple versions of the Printrbot Simple and it's not easily apparent or communicated which version you might have.
2) the build instructions are pretty vauge, consisting of photos during the build process and a couple notes for each. I had purchased the kit hoping our 6-8th grade students could assemble the printer, and I'm afraid the build is pretty challenging from a "read in between the lines" perspective.
I started into the kit with enthusiasm, and quickly made my first mistake (non documented in the instructions, mind you) The X, Y and Z endstops each have a different length. Be sure to work through the different lengths and identify the correct endstop before moving forward.
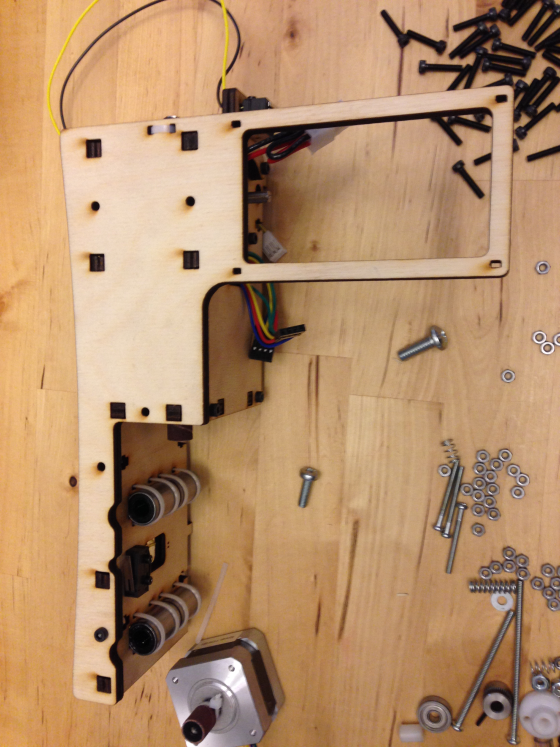
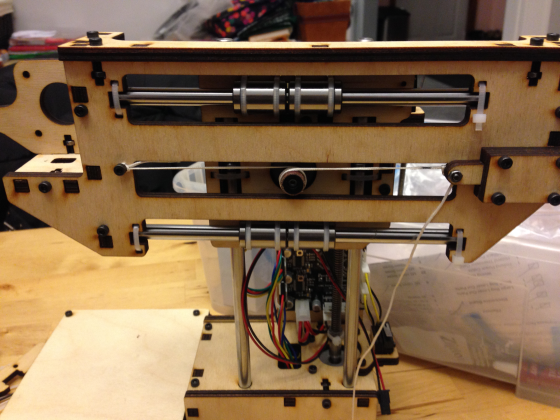
Building the base. The kit uses zip ties quite extensively.
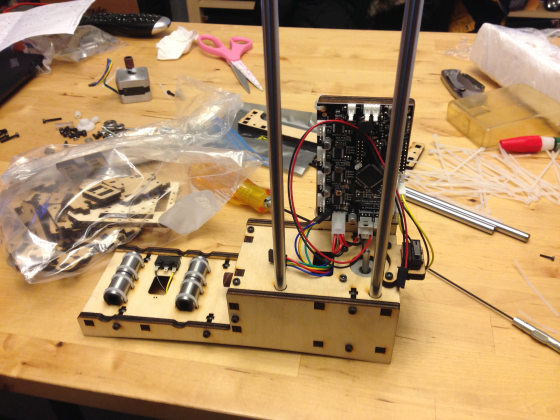
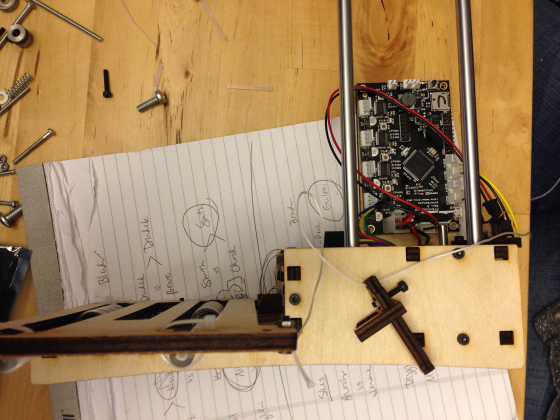
Adding the the control board.
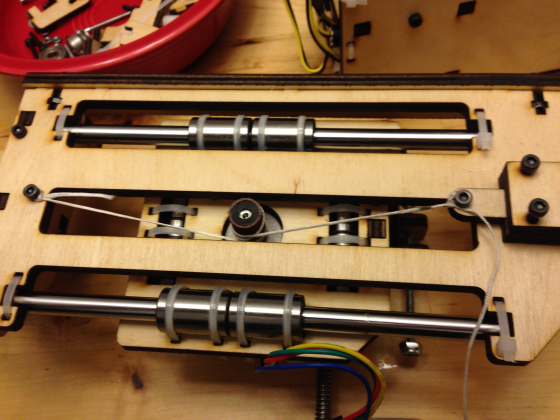
Instead of belts, the kit uses twine to move the x and y axis. I may want to replace these with belts for better precision in the future.
Build platform movement installed.
Adding the Y axis and printer head. Another twine mechanism. I found this twine installation tricky to align the line in such a way that wouldn't result in the line slipping off when the unit travels to either extreme position. If not parallel, the line will "walk" off the sandpaper pulley.
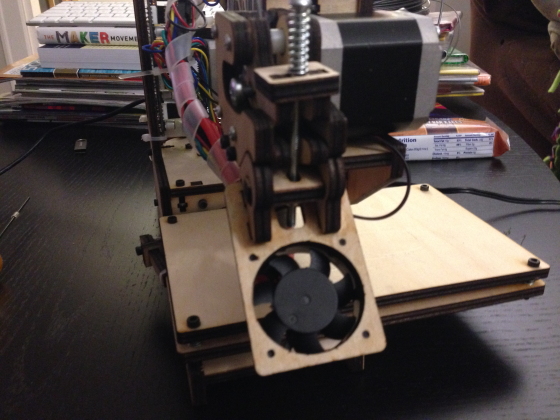
There are quite a few clever design choices in the build. Here the fan is used to lock down the filament in the the extruder gear. While it's a clever design, I've found that any extruder that doesn't provide a constant force to push the filament to the extruder gear can experience issues when filament diameter varies slightly. The filament can slip, resulting in failed prints.
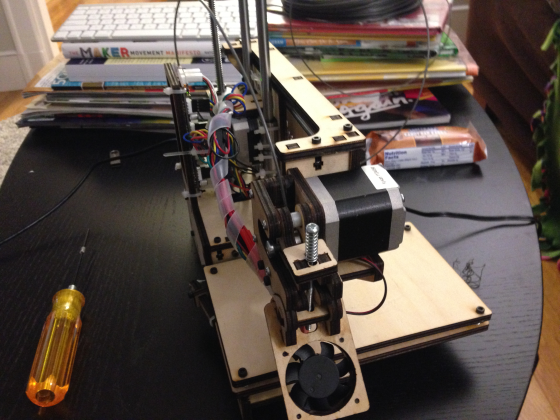
Fully assembled printer
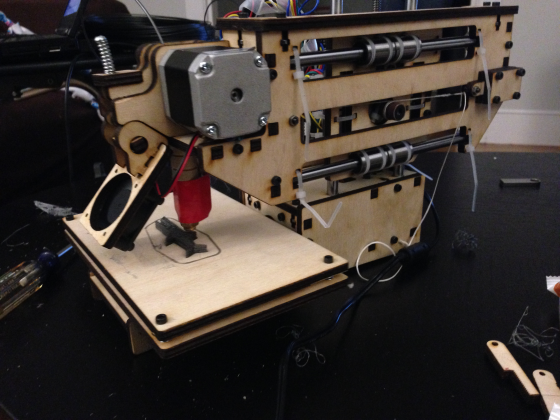
Printing a test print, Mr. Jaws (http://www.thingiverse.com/thing:14702)
3D Scanning with Skanect

I experimented with Skanect paired with an Xbox 360 Kinect sensor. I found the software quite easy to use.
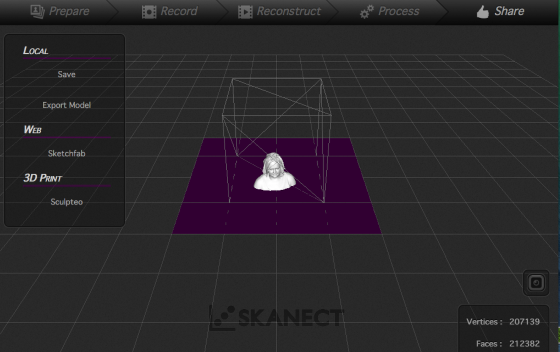
After scanning, Skanect offers mesh editing features directly in the application, avoiding the need for another tool like meshmixer. Here I've filled holes, and chopped the object to produce a flat bottom surface.
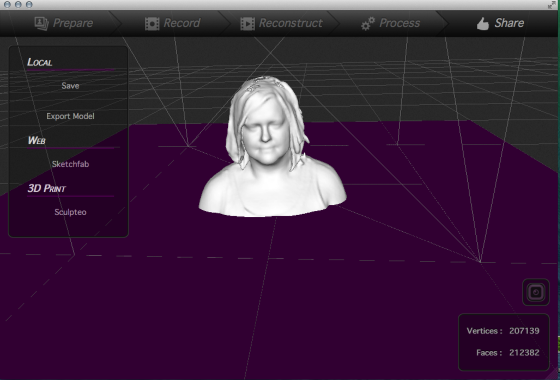
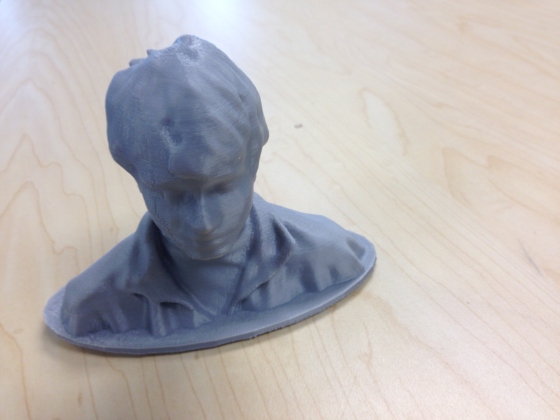
The final scan of my lovely assistant. Notice the filled holes in the top of the head, an issue I encountered often when scanning with the Kinect.
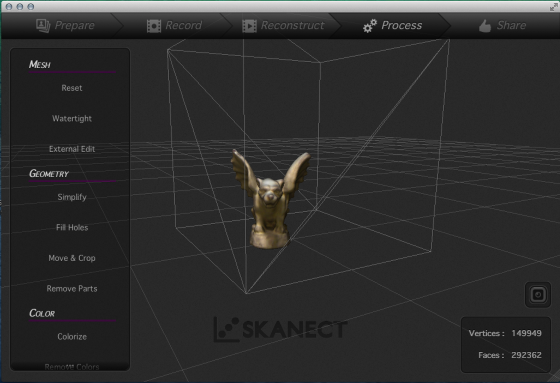
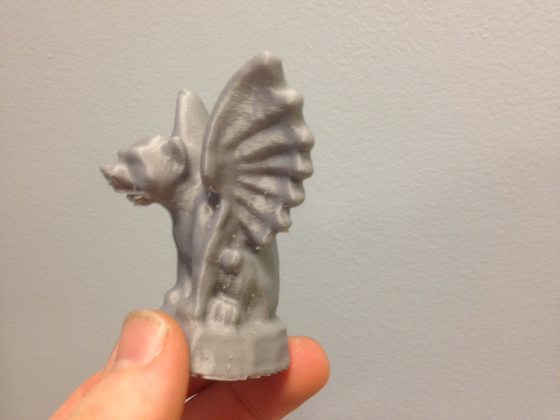
I also experimented with scanning an object - a Gargoyle.
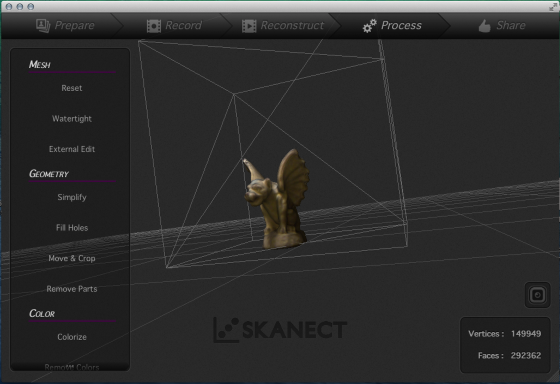
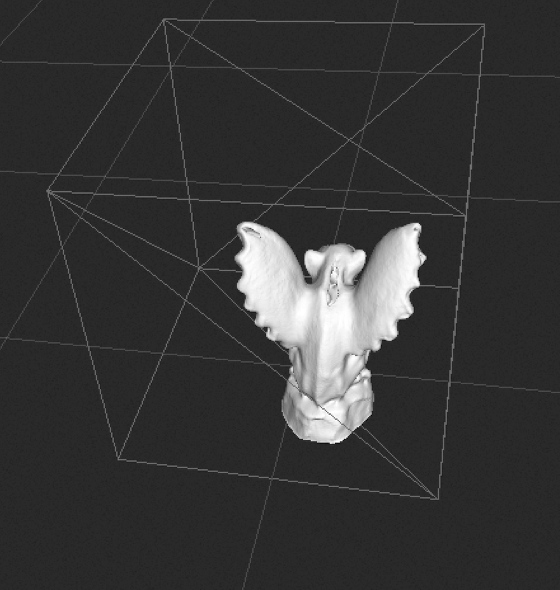
The scan wasn't without issues, a couple holes were missed during the scan.
3D Scanning with 123D Catch
I also experimented with the mobile app 123D Catch - http://www.123dapp.com/catch.
I wasn't expecting great quality. After taking 40-50 images from all angles, the images uploaded to the cloud, where 123D Catch's serves processed the model.
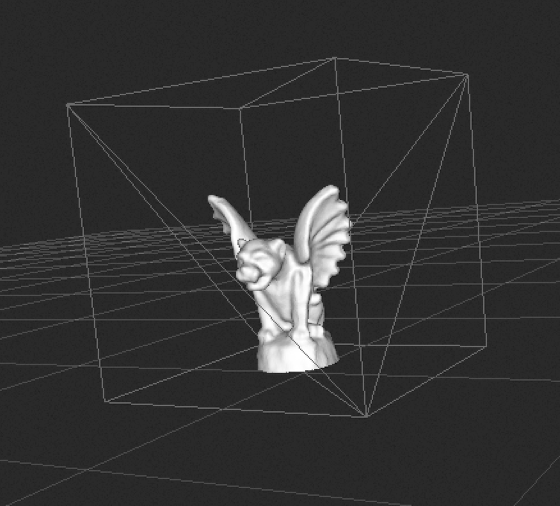
I scaned the same gargoyle in Skanect and 123DCatch for comparison.
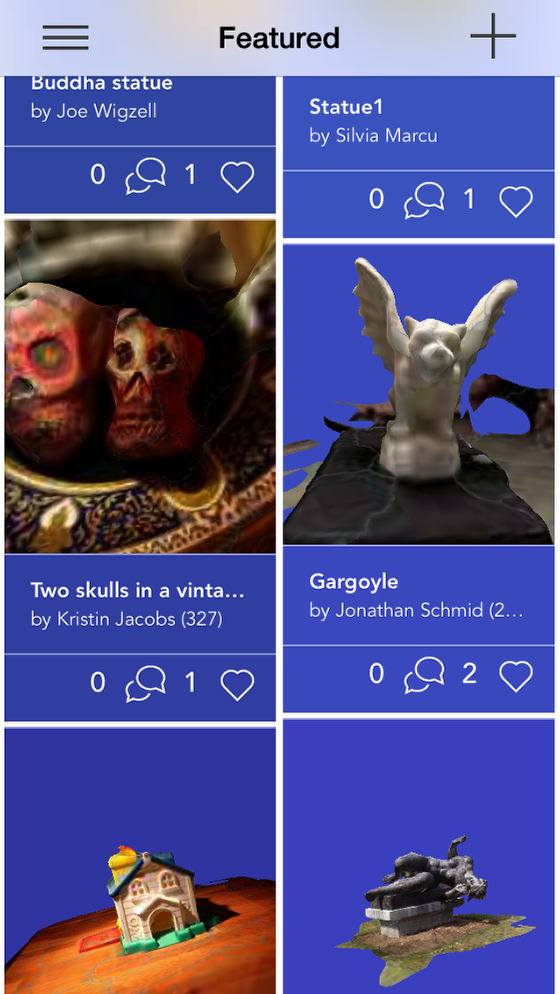
I was surpised to see my scan become a featured scan in the app - I thought I had picked up a lot of background imagery, but apparently the 123D liked it.
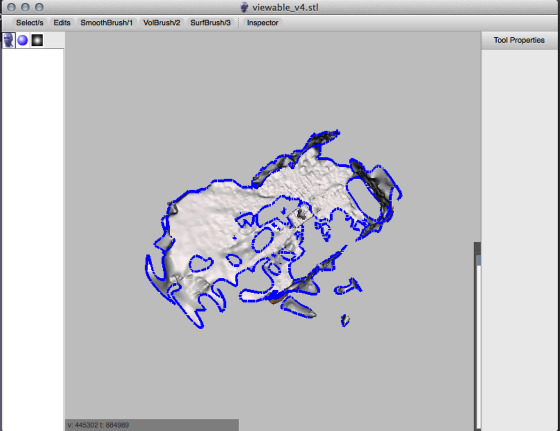
After the scan processed, I downloaded the .stl file and started to deleted the unneeded data of the room. Meshmixer, while needing some GUI help, proved quite powerful when quickly selecting and modifying the model.
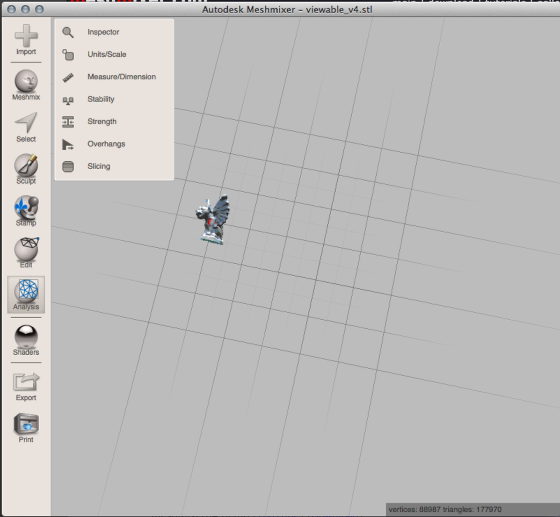
Here the gargoyle has been isolated.
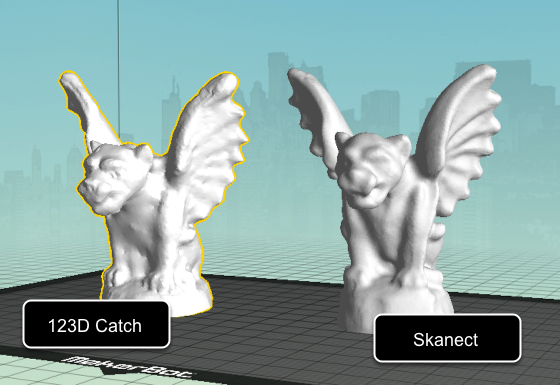
I was surprised to find 123D Catch did a better job capturing the texture of the object, while Skanect captured a better overall scan. Skanect is quite a bit less smooth, however.
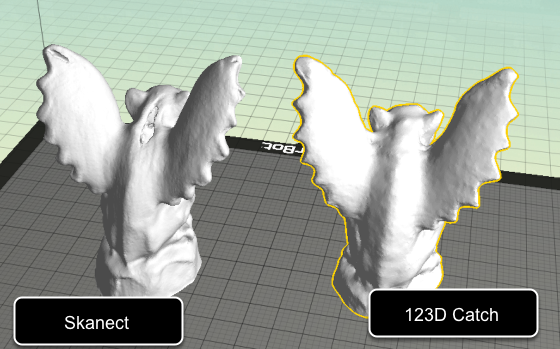
Skanect suffers from more scanning holes than 123D Catch
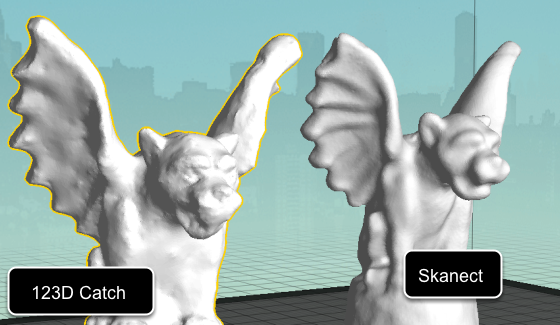
While smoother and less detailed, Skanect has a better overall scan in the facial details.

I printed the Skanect scan. The holes, while on the back of the object are visible.
Some other scans completed with Skanect.
3D Design and print
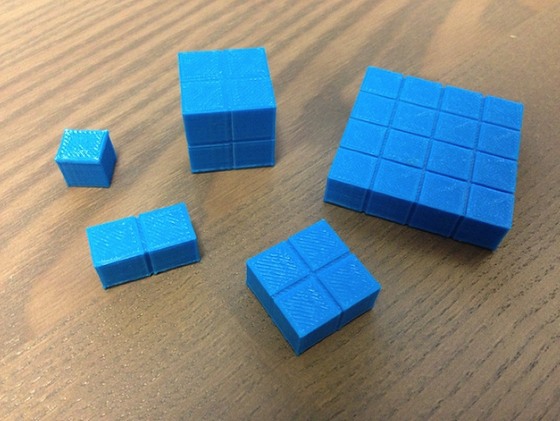
I designed a Cuisenare Set Generator which allows teachers to print math manipulatives on demand, in custom configurations.
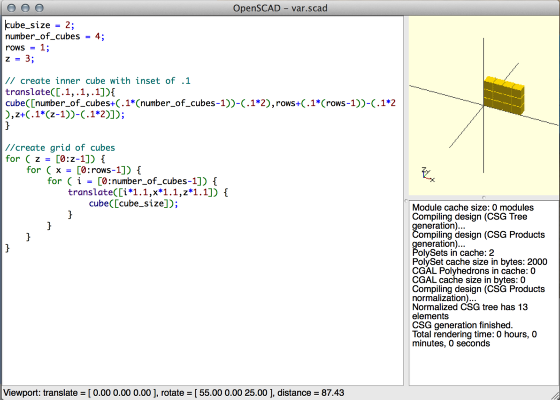
Using openSCAD (openscad.org) I created a parametric script that would generate the block.
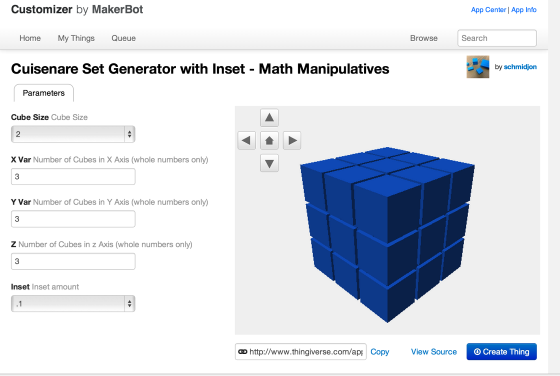
MakerBot's Thingiverse offers an online "Customizer" for objects based on an OpenSCAD script, which allows a end user to generate their own, custom object completely in the browser. Anyone can customize the object at http://www.thingiverse.com/thing:186504