Make something big
Task:
Make something big
Description:
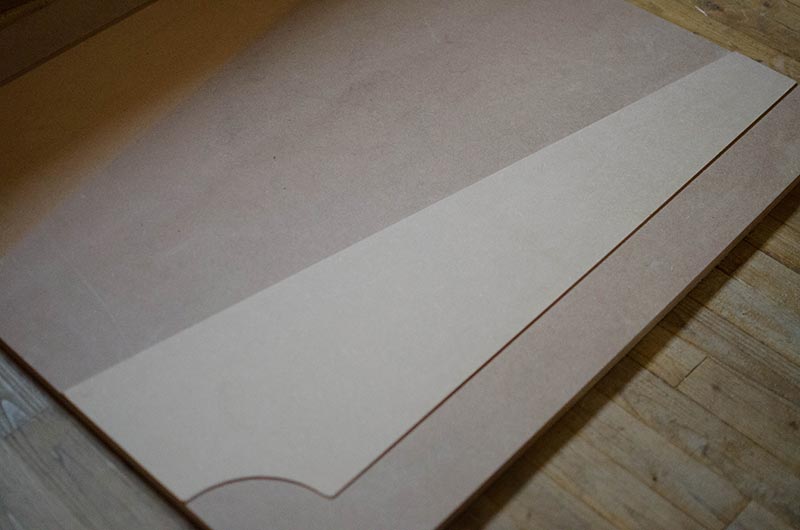
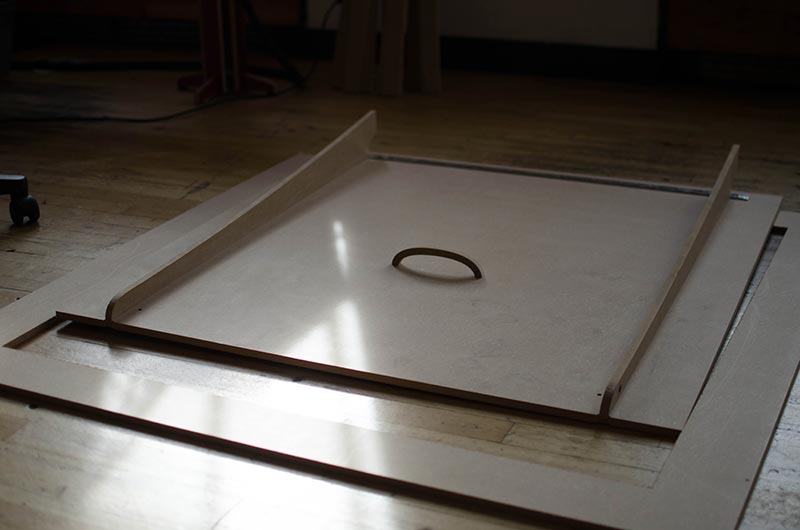
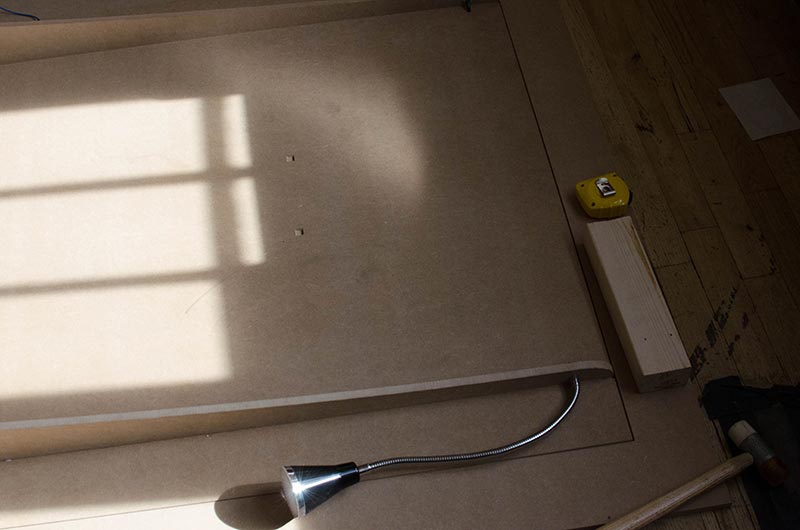
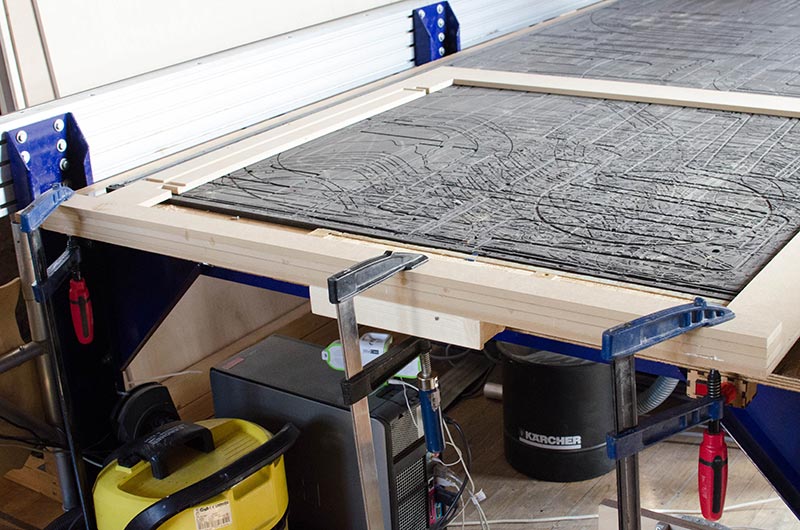
With my fellow student Emma Pareschi I am working on a foldable photo studio for Fablabs. The concept is to create the studio with the use of one plank of wood of 122mm x 244mm x 12mm(image.1). The concept started as a thought I had about people documenting their work. This is an important part of our Fablab as it is the payment people make to work for free on the open days. So we wanted to make it easier for people to document their work so they can share it with other people.
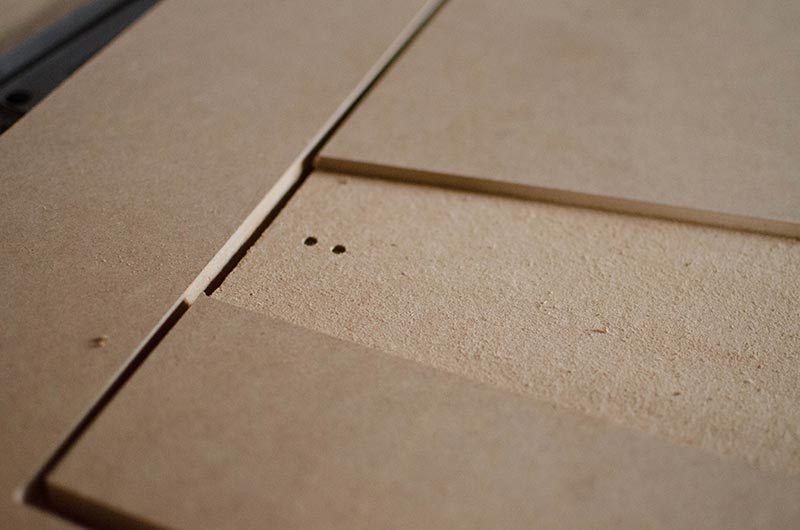
First we wanted to create a complete flat service when the booth was closed(image.2) but in the end we decided this was not the best idea because of strength issues. We wanted to create a long lasting photo studio and on the hinges in the first prototype there would have been to much strength when one opens the booth that at some point it was likely it would break.
Materials:
- Plate of MDF (244MM x 122MM x 12MM)
- Chipboard screws (size)
- Hinges (size)
- Poly….
- Glue (extra)
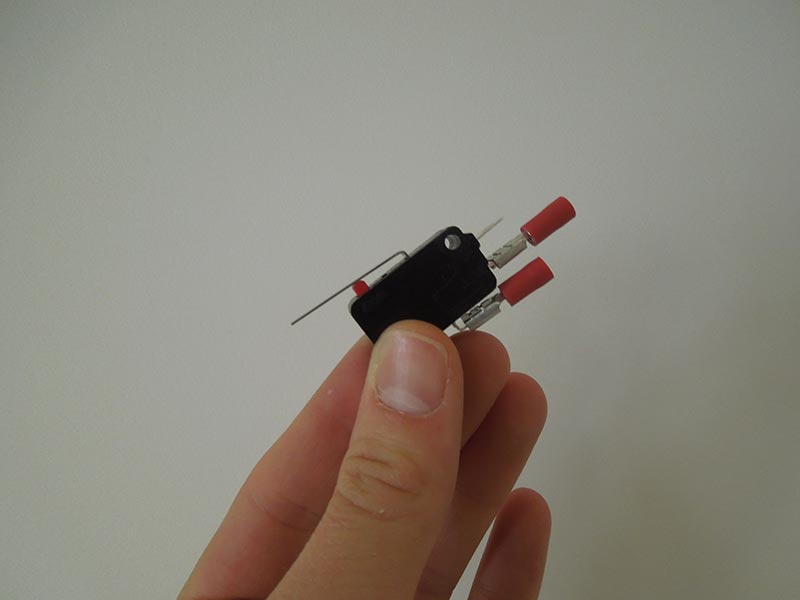
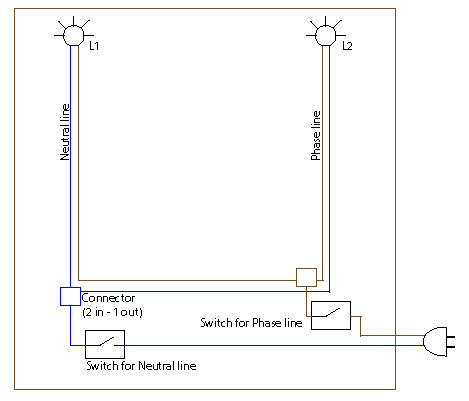
Electronics:
- two LED lamps (suppled directlly from 230V)
- two microswitches for high voltage applications
- two connectors
- electric wires.
Rhino:
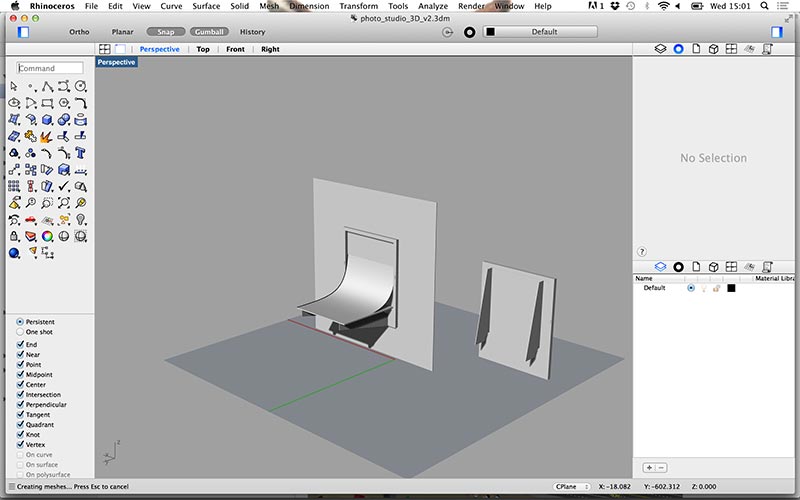
In Rhinoceros I created a 3D sketch to get a visual idea how the final product should look. This was a good exercise to tackle the first problems we would run into. For example we noticed how the hing should go and that we needed a space for it.
Prototyping:
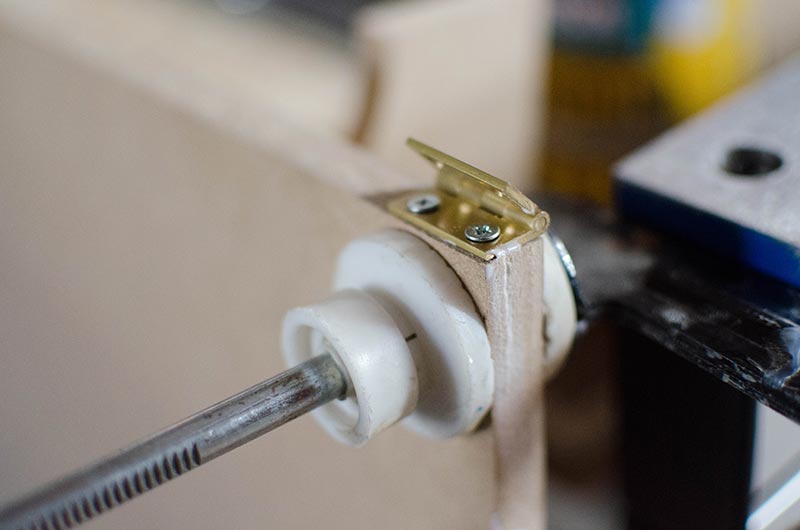
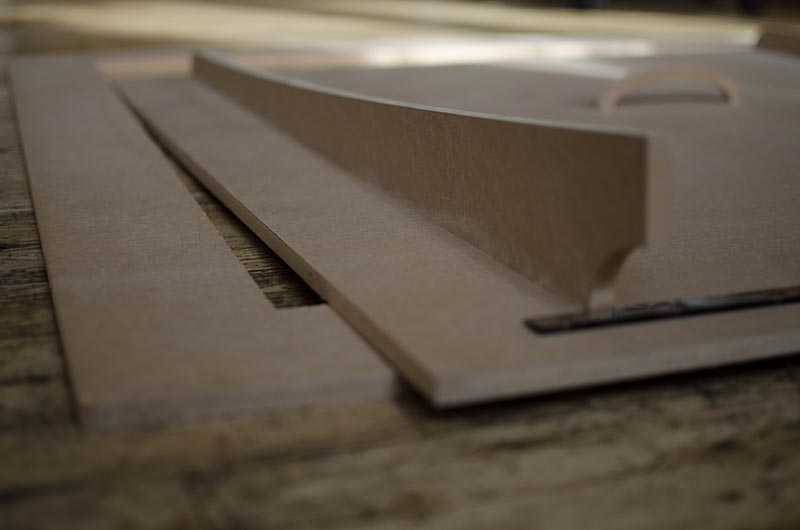
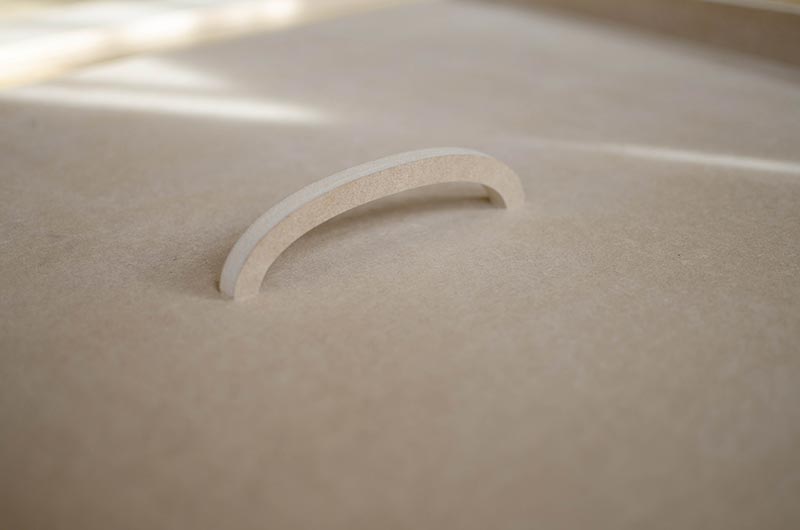
We created 2 prototypes what was a really good practice to understand the complicity of our product. The work of the hinges and the material thickness. The first prototype we used 18mm MDF for the photo platform this was way to heavy and the hinges couldn’t hold this weight well. When we tried to work with a 12mm MDF the hinges where to wide for the material so we bought 5 smaller hinges instead of 1 long piano hinge. Also we worked with some press fit parts that we also glued this so the product will even last longer.
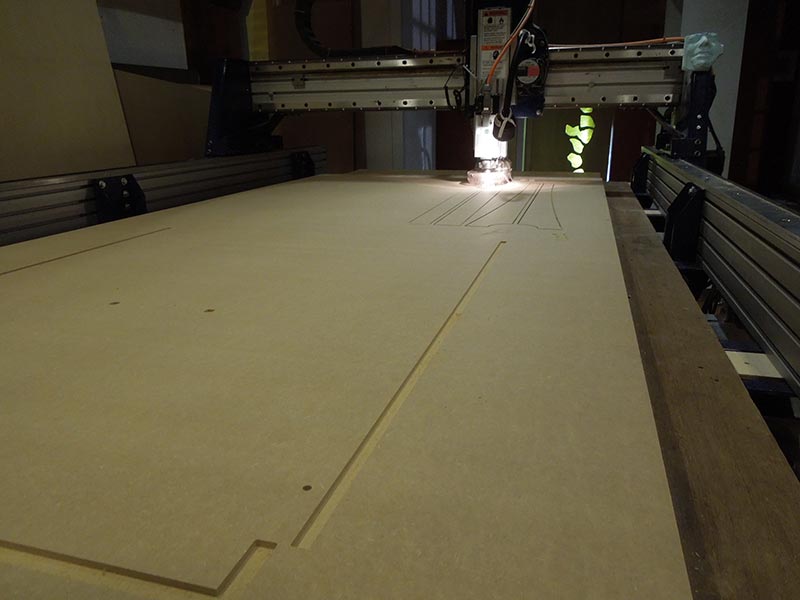
Partworks 2D & shopbot:
The cut sheet is created in illustrator and imported in partworks we setup 3 steps:
- Pockets
- Drill
- Profile
Assignment images:

Next steps:
Because the product is still under construction we have a couple of thins left to do:
- Fix the pocket for the switches
- Attach the closing grips
- Attach the handle first one broke.
- Make the object from a nicer wood
Conclusion:
Prototyping is essential with such a complicated project, or at least when you don't have much experience in working on such projects.
Tasks:
Emma and me did most things together this because a lot of the steps where easier to do together such as aligning the hinches and platform. Together we thought about how the design should work and look. I designed the model in Rhino and Illustrator and Emma was focused more on the electronic part of the project.
We both worked together on the milling machine setting up the Partworks file and adjusting the pockets. It was important for us both to get used to the machine because we also both would need to use it in the final project.
I learned a lot about setting up the Shopbot and choosing the right milling bit. Alex explained how important it is to choose the right milling bit and how you could see if a milling bit is still right to use.