 Fab Academy 2014
| Fab Academy 2014
|
| Jeff Opichka |
|
|
Molding and Casting My plan for the molding and casting unit was to design a FabLab logo, machine it out of machinable wax and cast it using plaster. To start, I used Autodesk Inventor to design the logo using a block of wax that is 3 x 7 inches. I would mill out a pocket 1/4 inch in depth leaving 1/4 of an inch on the outside wall so the plaster would not run off the edges. The text and logo would be inside the pocket and be milled 1/4 of an inch below the pocket. When finished designing in Inventor, I found it very easy to import the part into MasterCam. Once in MasterCam, my letters seemed to be a bit complex so I made a few changes as you can see in the second image. 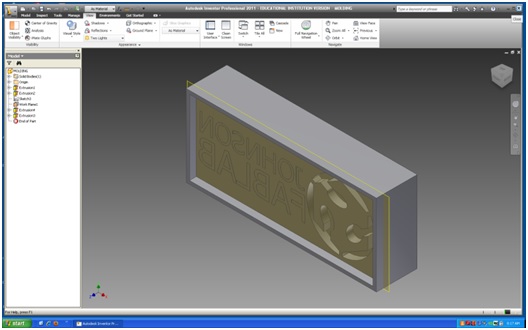 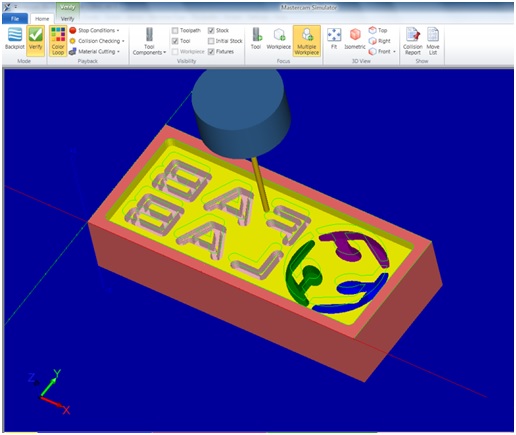 Creating the G code and machining went very smooth. I proceeded to mix the plaster and cast the mold as you can see from the images below. 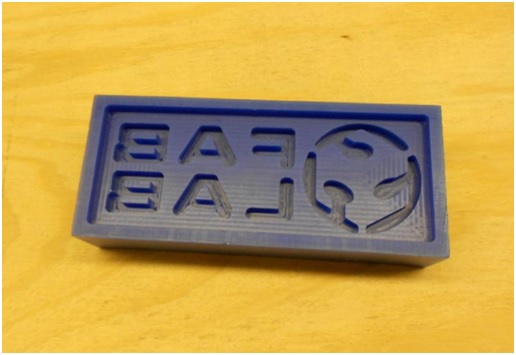 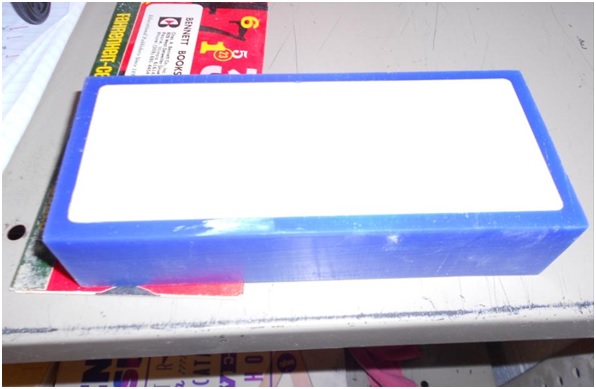 I let the plaster cure for 24 hours before I attempted to work with it. I new there was a problem when I went to take the cast out of the mold. Tapping on the mold with a hammer and prying using a screw driver still would not release the cast from the mold. Only after breaking off chunks of plaster would the cast come out while only saving a small chunk of logo. There were several lessons learned from this first cast. First, letters or graphic can not be 90 degrees to the mold, a slight chamfer helps the cast seperate from the mold. Second, creating the pocket for the plaster to settle creates a bigger head ache when trying to take out the cast. Third, a release agent prevents the plaster from sticking to the mold. 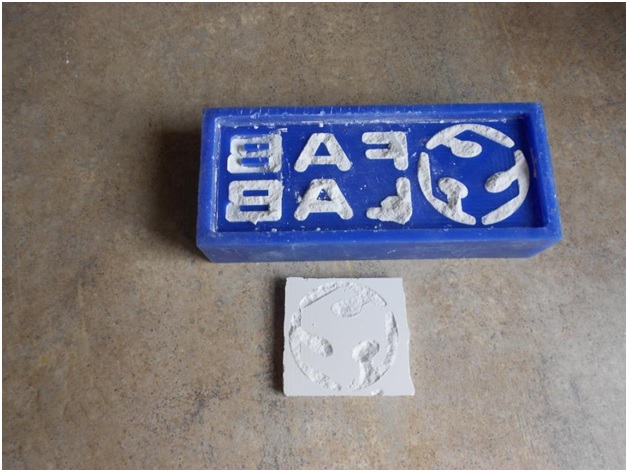 I went back to MasterCam and made a few changes. Instead of using an end mill I used a 90 degree engraving bit so the logo and letters would come out of the mold easier. I eliminated the 1/4 inch pocket and created a tempary box around the wax using cardboard and duck tape. I coated the entire mold with dish soap before poring. As you can see from the images below the cast did work. 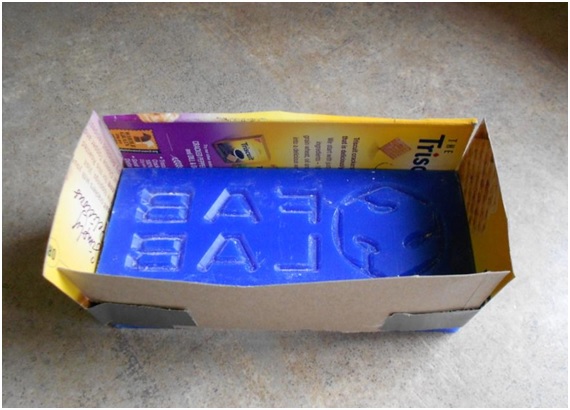 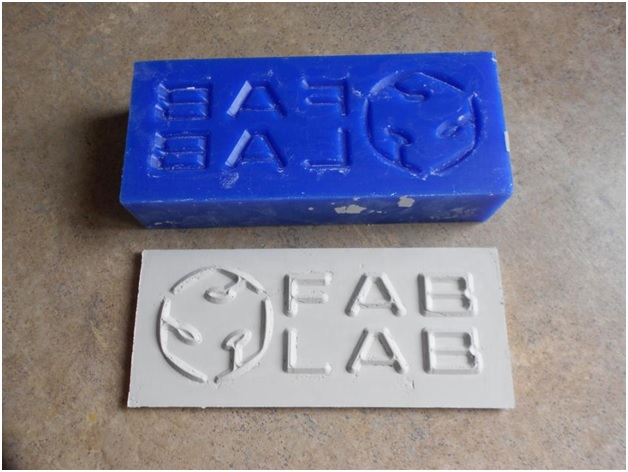 |