February 19th 2014: Electronics Production
The discussion today focused on using the Modela 3D plotter to mill
PCBs for the Fab ISP key.
Homework:
You can download my files for this
project here.
I spent quite a while working with the Modela this week. Firstly,
I chose a really elegant design for the FabISP. I went with Valentin's
version, which reduces parts and simplifies the process of
removing the programming circuitry. When you build the FabISP, there
is a portion of the circuit that is needed only when initially
programming the USBTiny code to the Attiny44 chip. After this, you
must remove this section of the circuit to allow the Attiny44 to
program other chips. Valentin's version of the FabISPKey is a great
solution to this problem. Firstly, you solder all the components,
program the Attiny44, then snap off a section of the PCB
containing the extra circuitry that is no longer needed.
I started writing a long step-by-step document and took a lot of
pictures to embed, but in the end I realized that my website would
become huge, and I don't want to be called out by Neil as "DU-nce
of the week." Instead, I put together this
step-by-step tutorial on the fablab webpage and a video (below)
that shows exactly how to do everything step-by-step.
(Click this link if embedded
video is not working)
The video makes things look like everything went well, but there were
some mishaps:
- After milling some boards, I heard a strange noise from the
machine, then the PCB lifted off the bed and moved around. I hit
the "View" button on the machine and the "Abort" button on Fab
modules. The Abort button takes too long to stop due to the file
buffer on the modela. I found that my problem was caused by the
tape becoming unstuck on the bottom of the PCB. In
the future, when milling several boards or a large board, I will
pause to press the PCB down again to secure it.
- The depths and offsets on the Fab Module are just suggestions.
You should always run a couple of test boards first to make
adjustments you might need.
- We found that on part of the circuit, the modela didn't always
mill a separation between two pads(the pads between pins 3 and 4 of
the circuit. This requires you to cut the traces carefully with a
razor knife. If you
don't, you cannot program it, you will get a orange flashing error
light on the AVRMK2 programmer
- The PCB thickness isn't exactly the right size for a USB
connector. I tested a couple of options.
- First, layering several pieces of vinyl on the back of the PCB
worked for a while, but eventually came off at the edges of the
connector.
- My second fix was actually something I've wanted to try for a
long time. I have always wanted to try out fingernail polish as a
soldermask. I got some clear "Hard as Nails" polish and layered
it on the back of the PCB and over the top traces as well (after
soldering the components and testing that it worked first of
course!) So far this is working very well! The thickness is
perfect ans easy to adjust if needed, the circuit and traces are
protected form oils of my fingers, and if I choose a color, it
would be customizable.
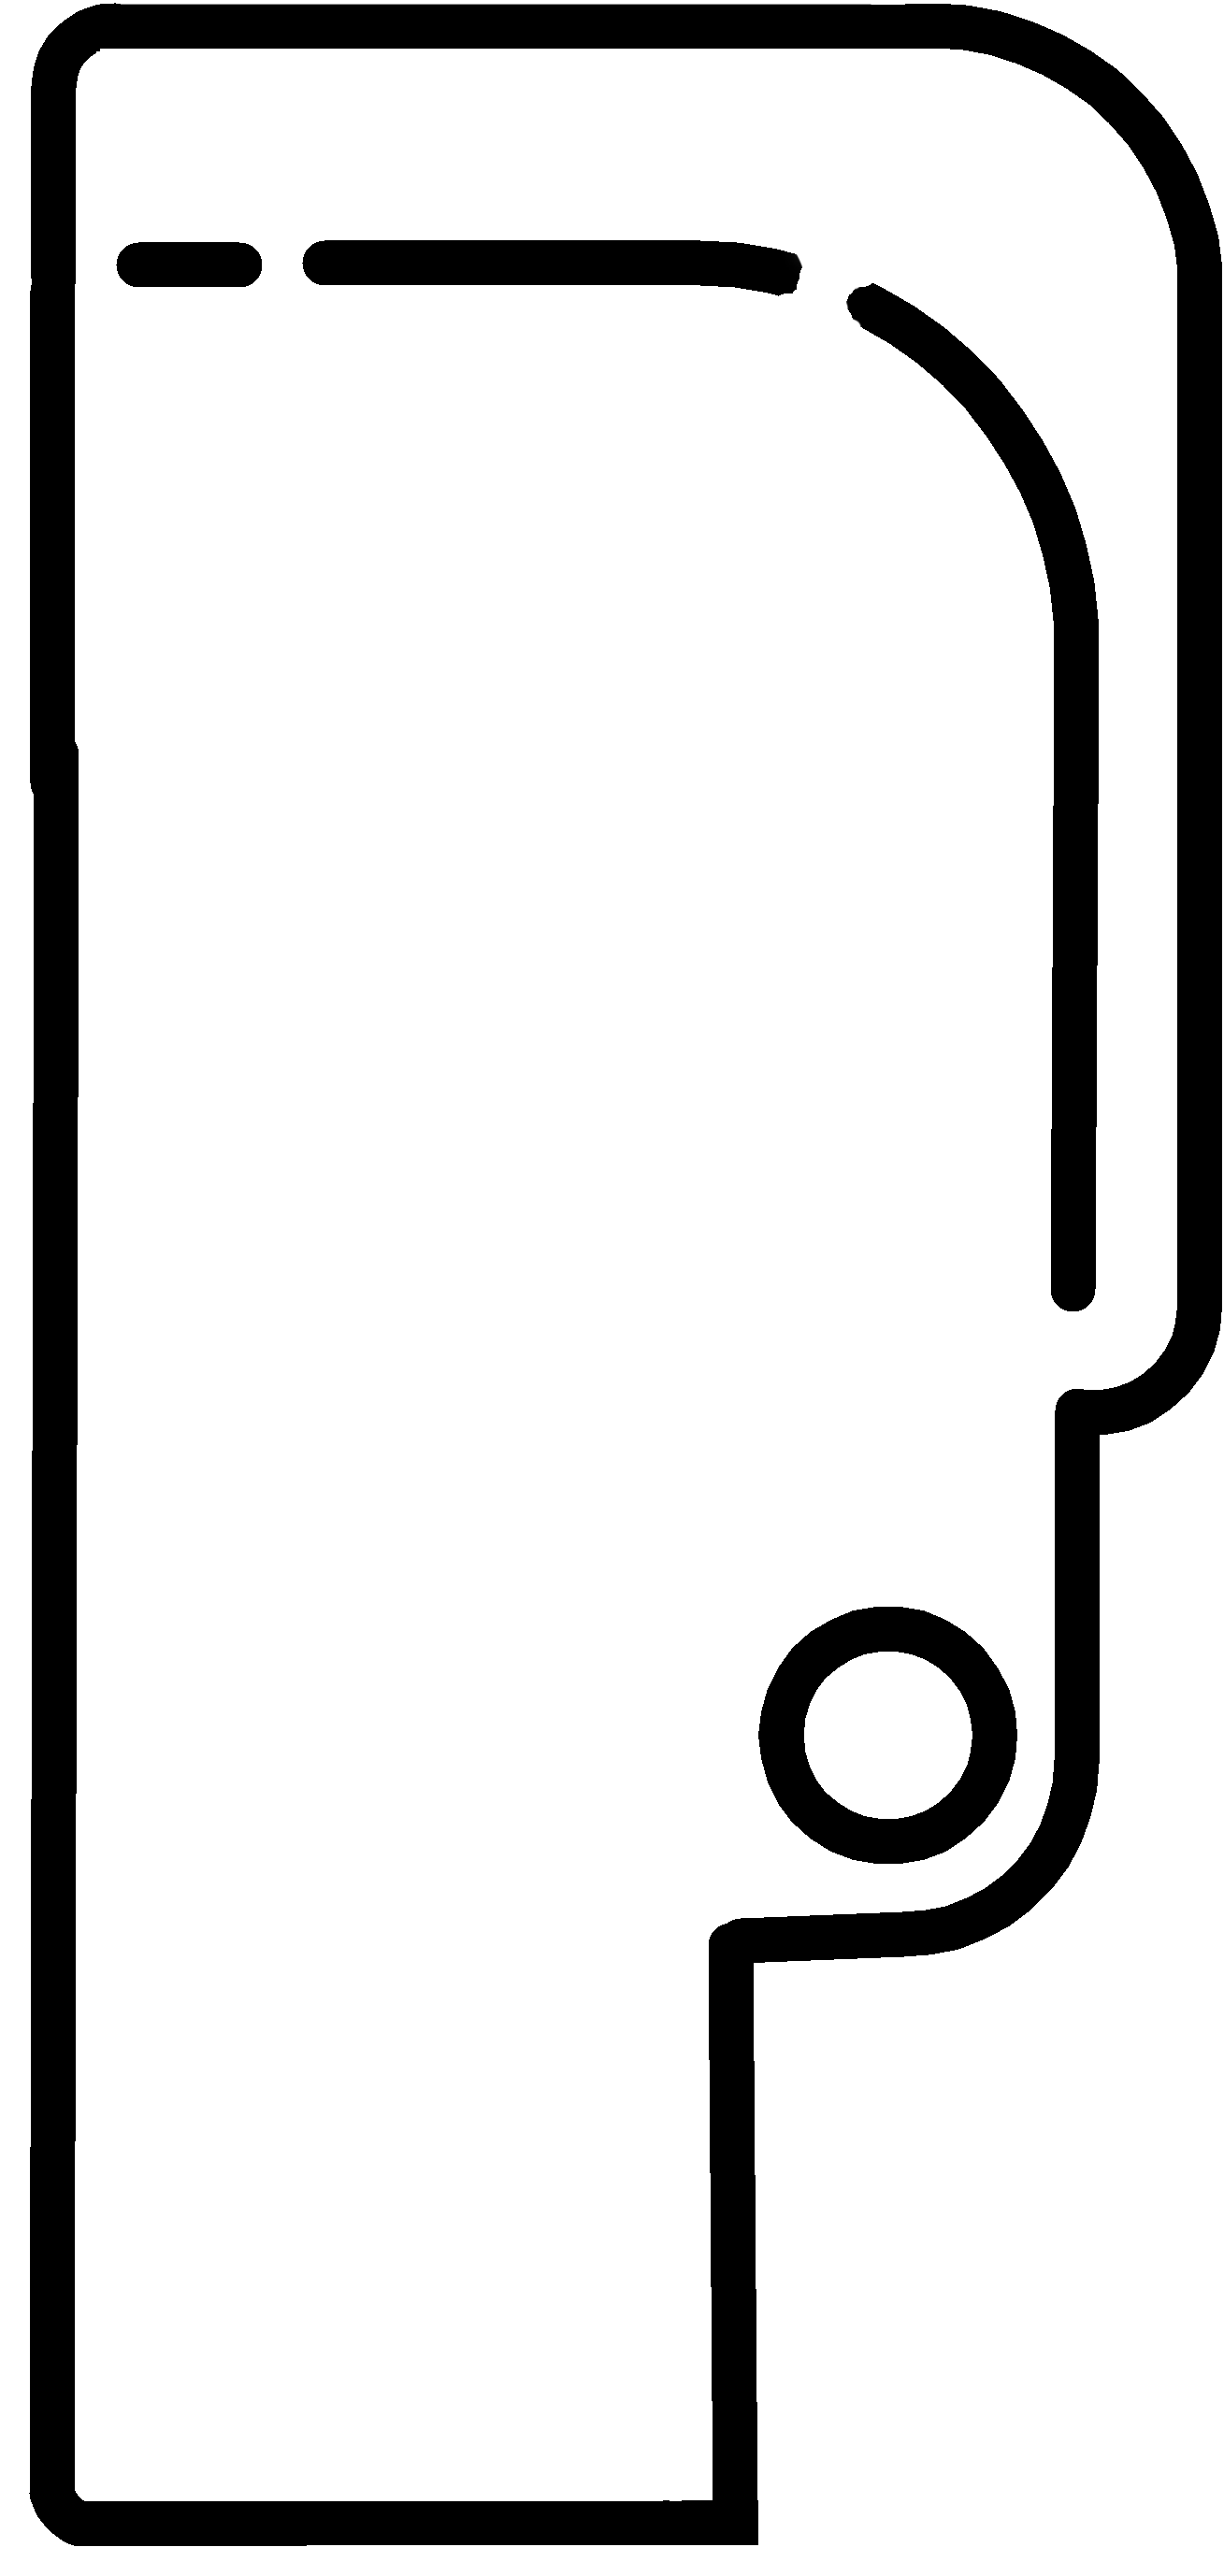
- You MUST power the
ATtiny44 from your USB port while programming it the first time!
This requires you to break off just the portion of the circuit next
to the USB plug area of the PCB. In light of this, I modified the
image of the cutout. The only issue with this is that you must use
pliers to snap off the excess board piece. Save this image at full
resolution...
I had also
considered etching my name on the back of the FabISPkey, but
found it tough to realign the PCB once I flipped it over. I
also considered that having etched my name on the back of it is
only a good thing if it works... it is not so cool to have
branded a failure, haha.
Conclusion:
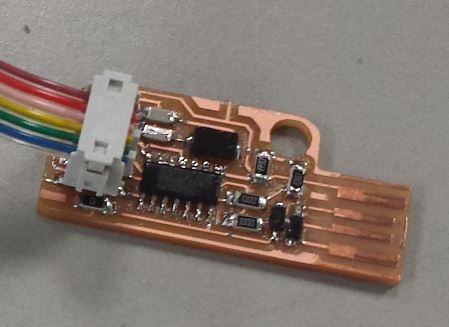
I was able to
successfully program the FabISP and I even used it to program
an ATMEGA328 to blink an LED to make sure it worked. In the future, I
might remake this using a shoulder on each side of the USB plug.
This one wiggles too much and comes disconnected sometimes when trying
to program a target board.