Week 11: Composites
This week's assignment is to design and make a 3D mold (~ft2), and produce a fiber composite part in it.
Unfortunately because I do not have a local instructor, most of the help I've recieved have been from the AS220 Lab tutorials. However they do not have a tutorial for the composites week so I had to rely on other sources. I began looking over different pages in the student archive to try and get some help and some examples of what I could possibly do. I came across this student's page where he used machinable foam to create the mold for the composite, and used burlap to create the 3d mold. So I set out to try and duplicate those steps and create a fiber composite, but instead of an anchor I will try and make a Jumpman symbol which is the logo for Jordan Brand.
First I imported the file into Adobe Illustrator, after scaling the artboard to size I did a live trace on the image. Once the live trace was completed I adjusted the line weight to .001 which is the diameter of the laser beam.
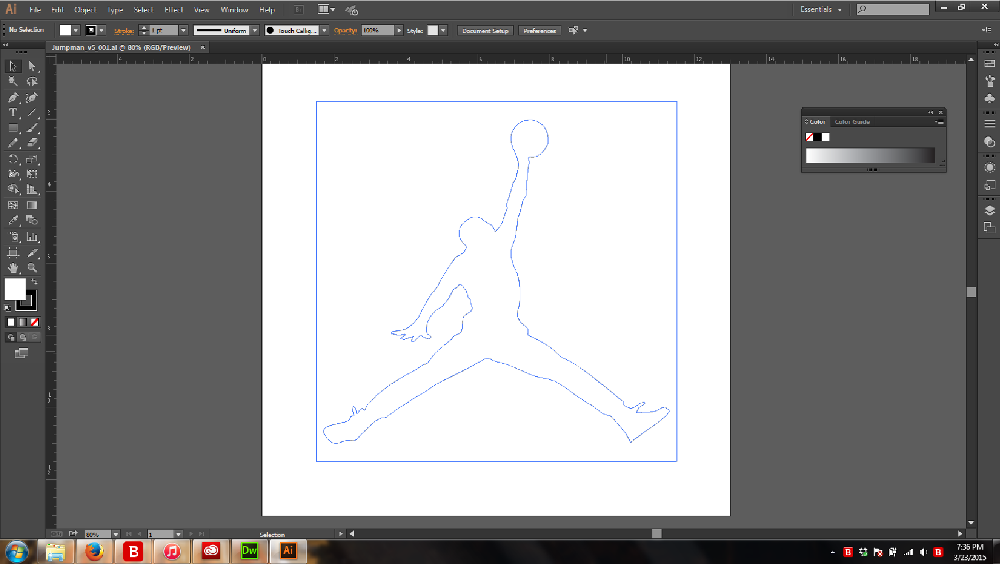
Once the file was ready to go, I exported the file as an Adobe Illustrator file and went to Tech Shop Sf to use the laser cutter. I used 18 x 24 inch burlap sheets and cut out the Jordan logo which was roughly 12 x 12 inches. Here are the settings I was using:
Speed: 80%
Power: 17%
Freq: 1200 mh
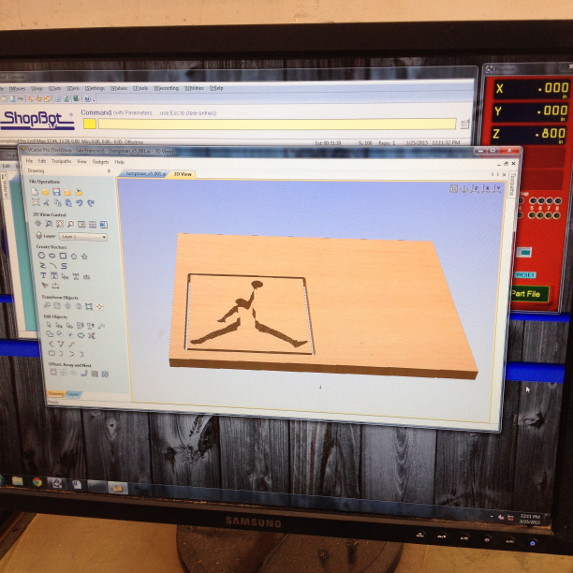
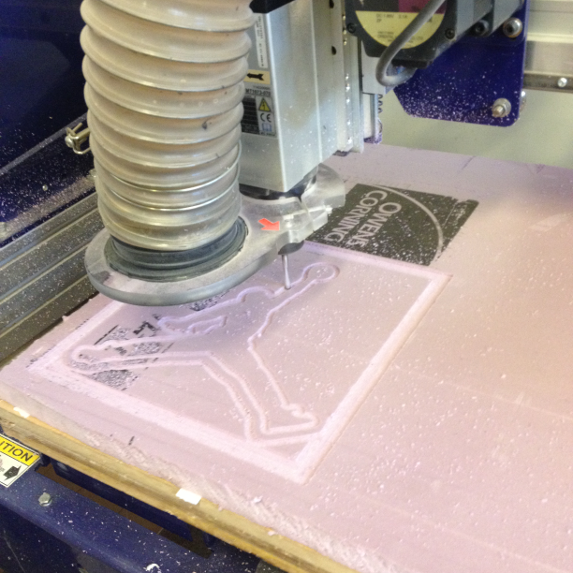
Once the burlap was cut, the next step is to create a mold out of rigid foam. For this I had to head back out to TechShop SF to use the Shopbot to machine the mold. I imported the Adobe Illustrator file into VCarve Pro. Once the file was imported, I created the pocket toolpath and the profile toolpath.
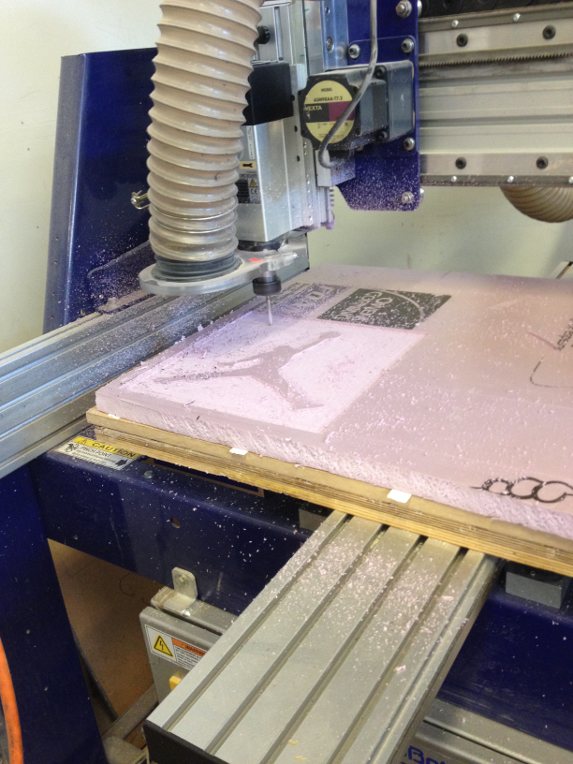
Once the molds have been cut, its time to mix the resin and hardener for the fibers.
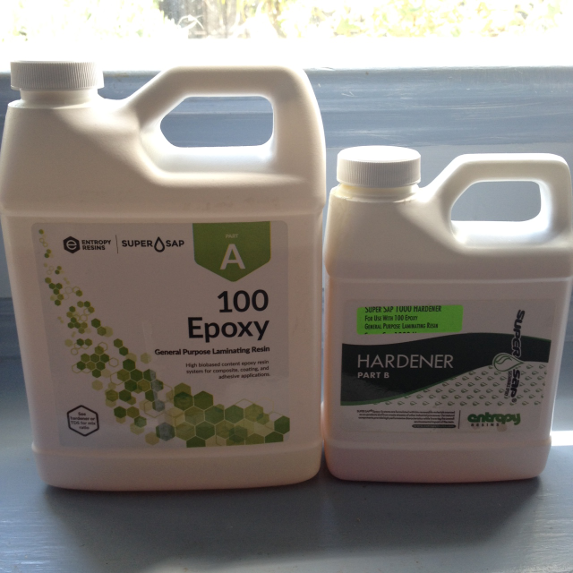
Layer by layer I applied the resin mixed with the hardener (2:1 ratio) and placed them down in the mold, sandwiched the molds together and let it cure overnight.
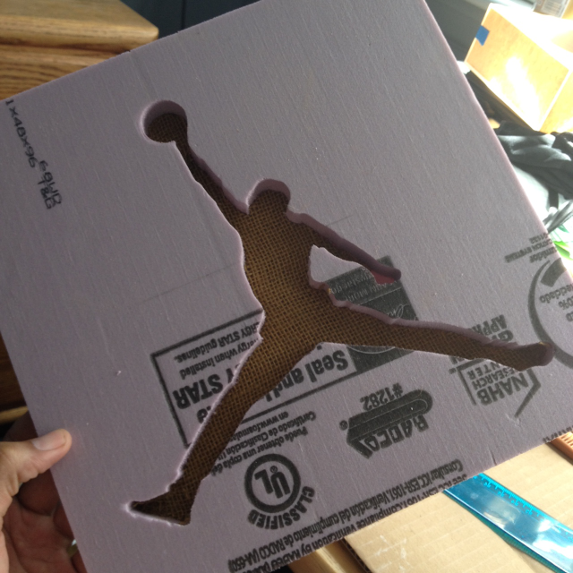
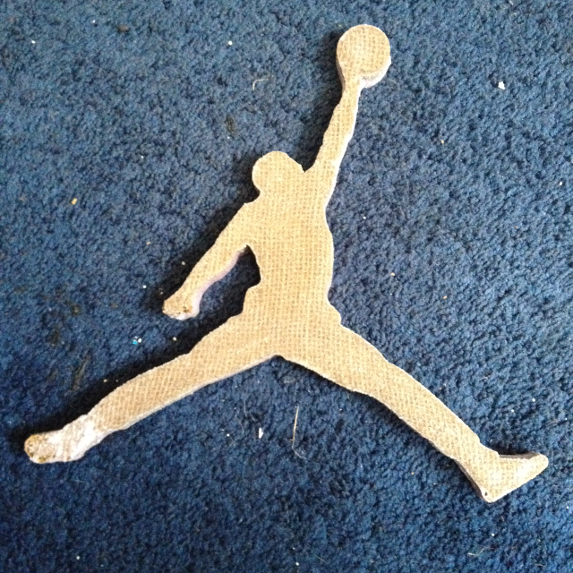
Once it was cured, I broke away the foam and removed the final 3D composite (pictured below)
