03. Computer Aided Cutting
For most of computer aided cutting, we used Inkscape. Honestly, I thought I was going to have a harder time picking up the program than I did. It was easy! Yay!
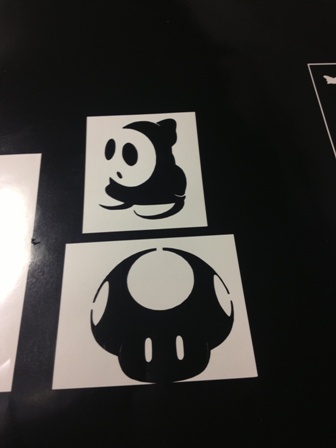
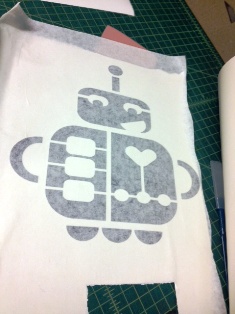
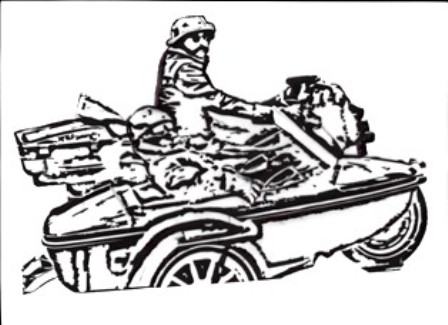
This is my favorite robot. I first made him into a stencil, then created a vector image. After creating the vector image and removing the fill, he was ready to print. I think he is pretty cute!
This is the logo of a local band 'TRAILS' that I did a little graphic design for. I didn't create the logo, I only edited it a little for better printing:

Here is the vinyl machine! 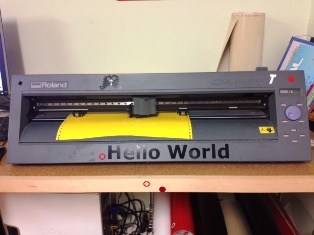
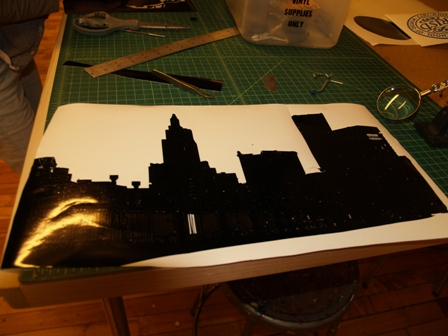
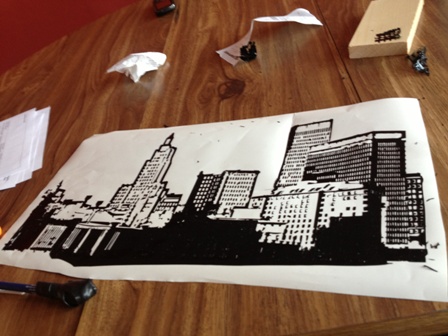
After I made some easier designs, I tried something a little more complicated. My skyline of Providence came out OK, but I'd really like to clean up the paths a lot more so that the weeding looks better. I tried adapting the skyline from a photograph, but think I could have done a much better job. There were so many tiny paths that the vinyl cutter actually ripped through some of it.
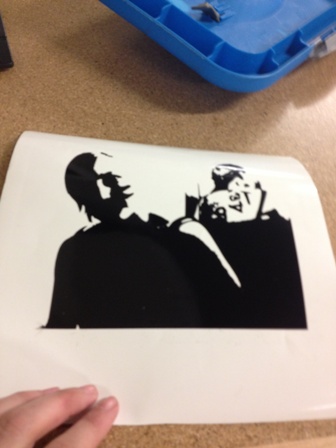
 I also tried, and failed, to do a complicated stencil version of a photograph that I have of my dad and I. It came out miserable, the vinyl cutter ate it up! Don't make your paths very very small, and double check that they are not overlapping.

On a side note, I tried to use Vellum in the vinyl cutter. It didn't seem to work no matter what settings I tried. I know the laser cutter is more appropriate for that material, but I wanted to give it a shot. (It did "engrave" the vellum in kind of an interesting way, though, when the speed was set to slow and the pressure was set pretty high).
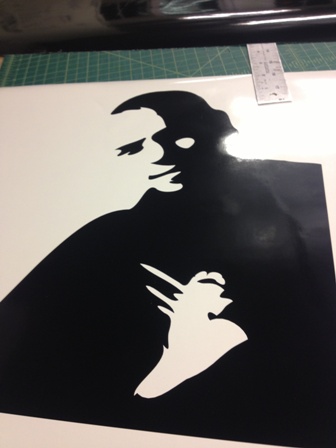
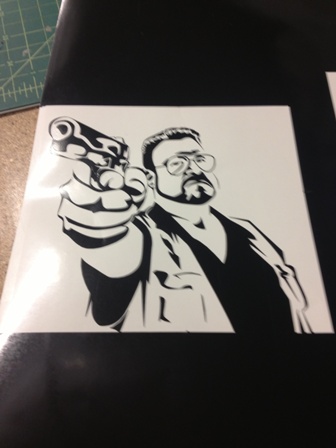
Here are a few more designs I did in class, just for fun. I think I'm getting the hang of it, although I still have some work to do to some of them.