Composites


For this week's project, members of our lab worked together in order to create an object as well as understand the process of compositing. My main assignment for this project was creating the linen design that would be used for the compositing aspect of the project. Using the 2D program CorelDraw, we created a good pattern to cover our molds.
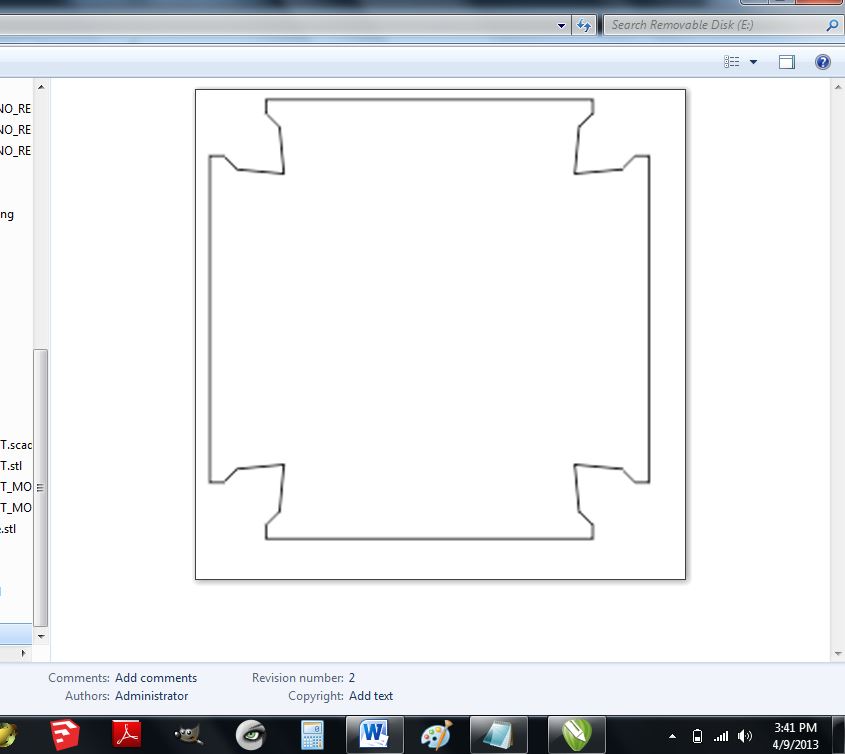
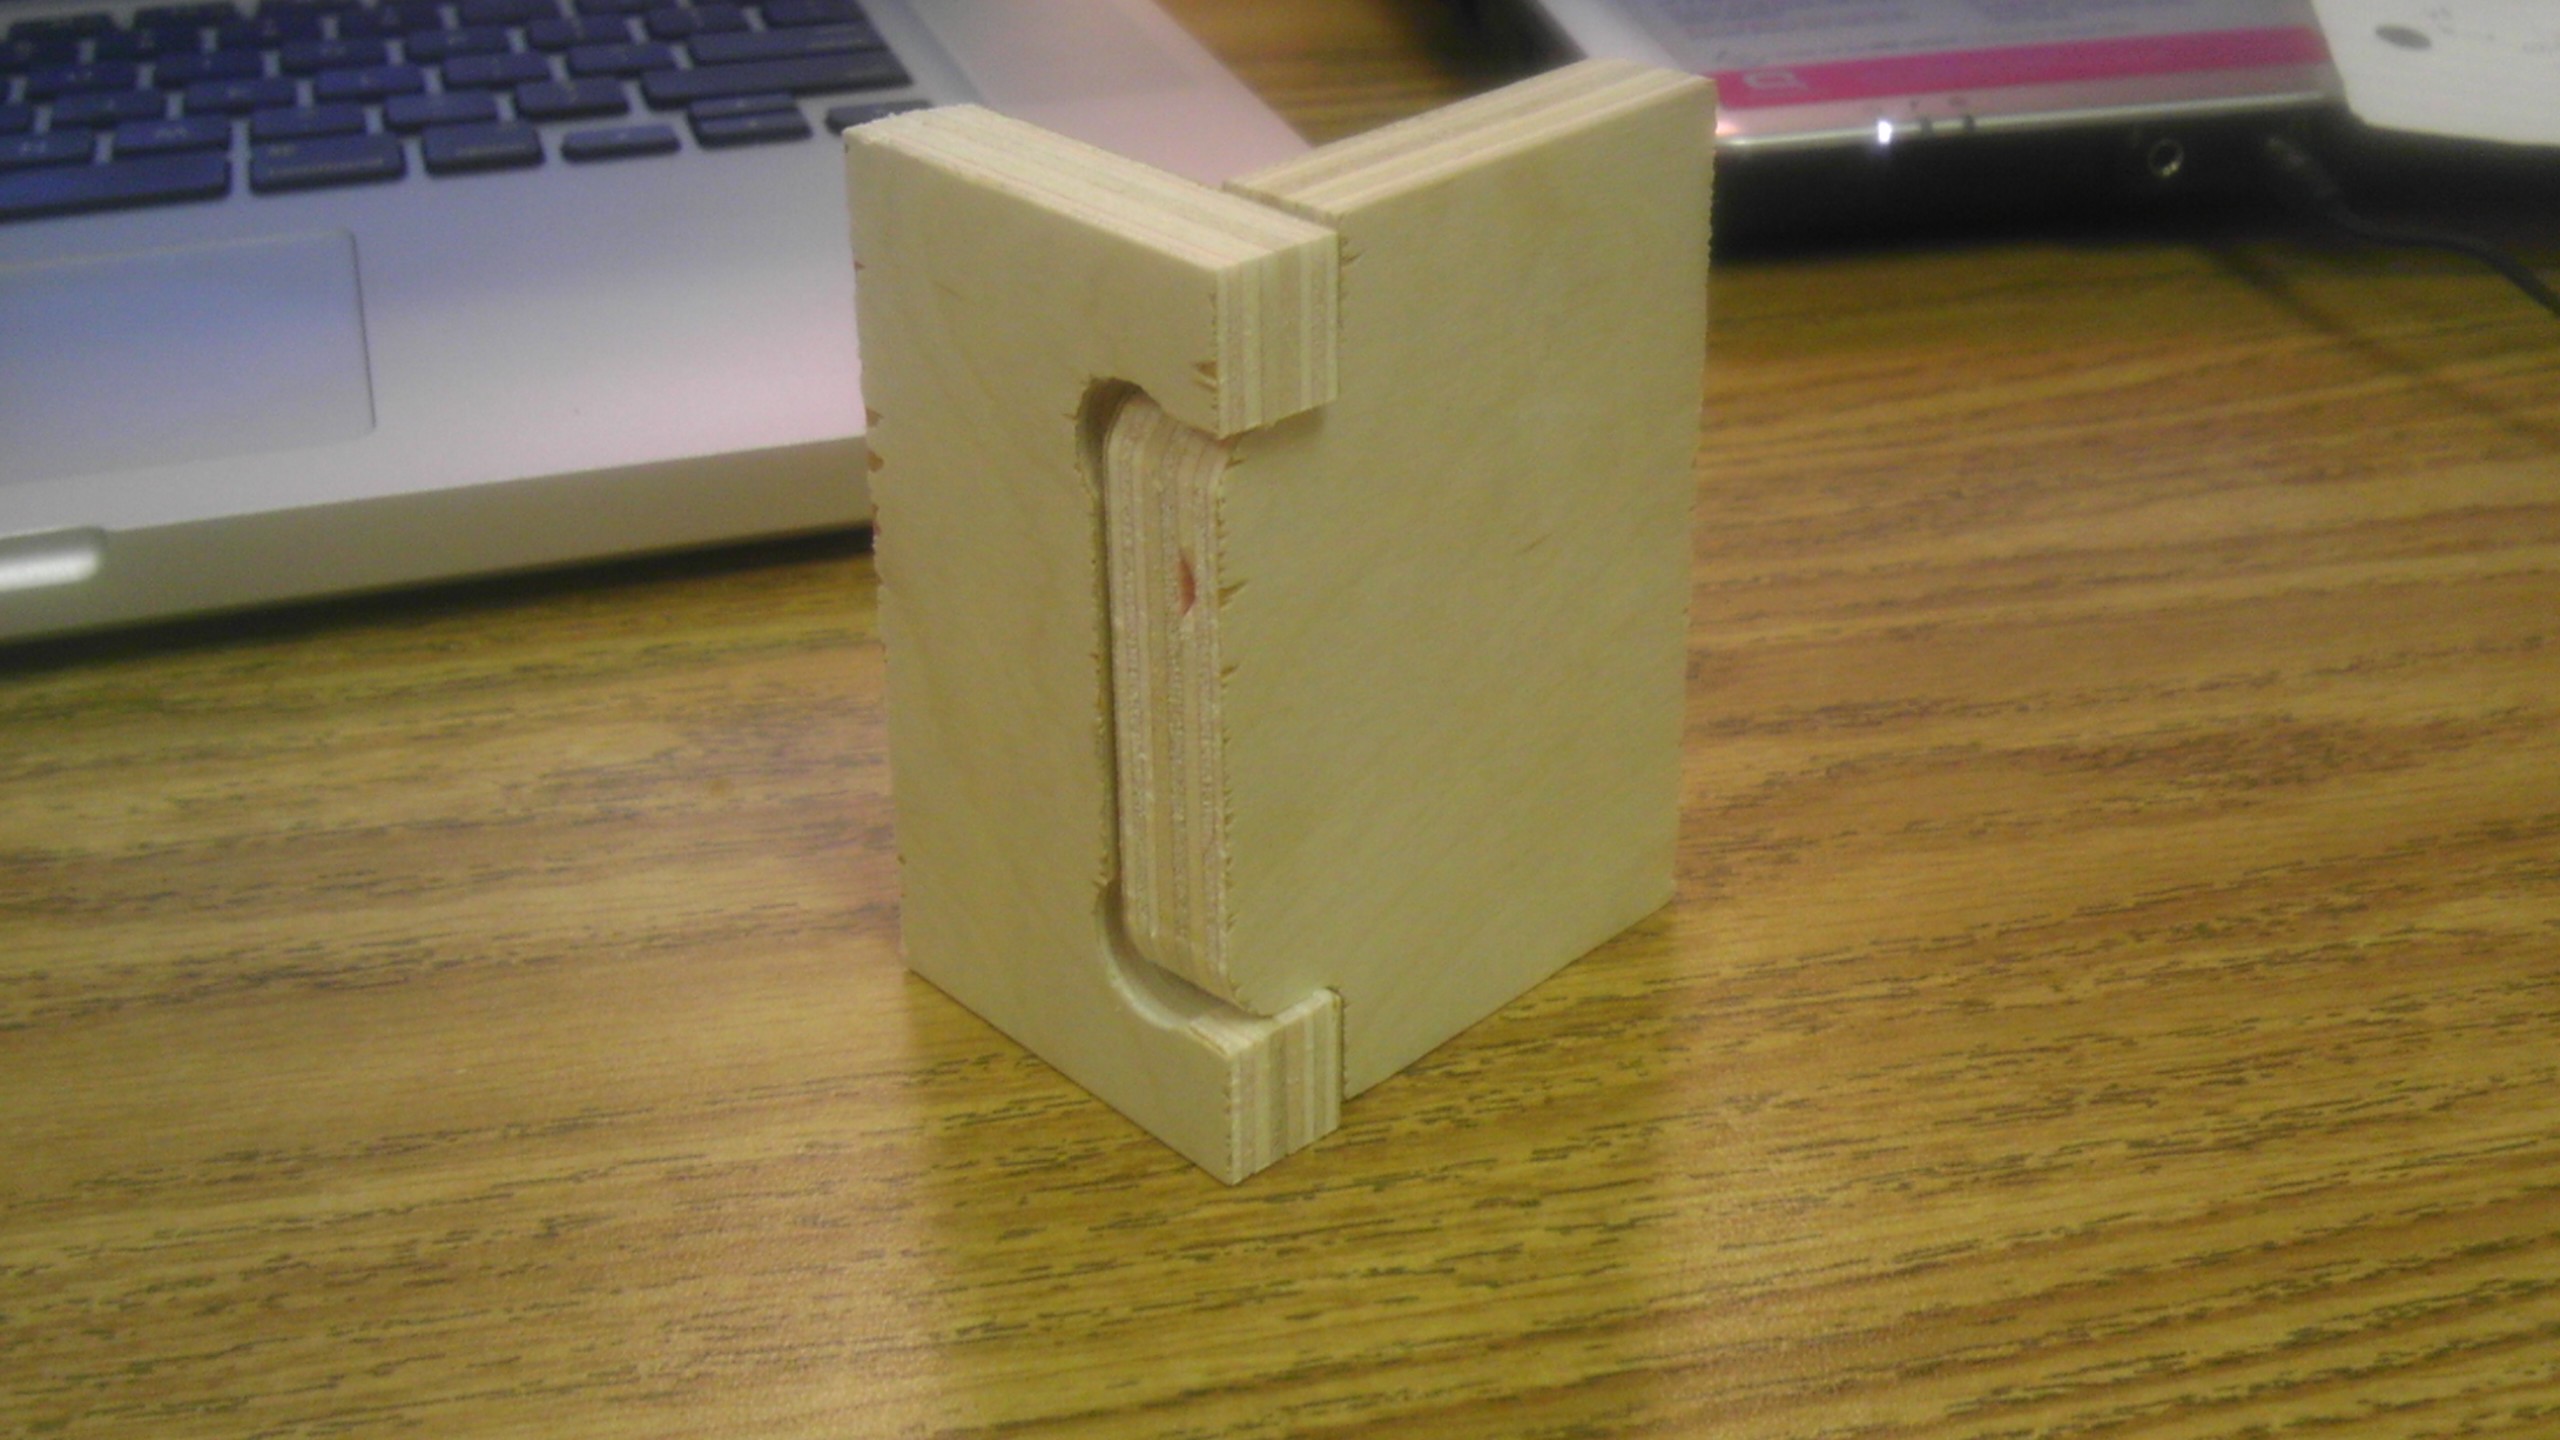
The above image is the finished product for the mold design of our fabric.
We started out by creating our 3D mold in the Sketchup program. Once our object was complete, we saved it as an STL and then opened our document in Partworks to be able to cut it out on the ShopBot. Below are images taken of pieces of our mold being cut out on the ShopBot, being glued together by an adhesive (bought at a hardware store) and then compressed in order to firmly stick by wood and concrete blocks.


After making sure that each piece was glued together, we put it on the ShopBot in order to be cut. Below are pictures of the block of foam being cut by the machine in order to create our female mold. We repeated the process of our female mold by creating our male mold.
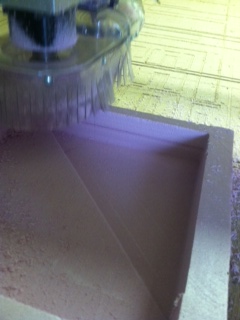

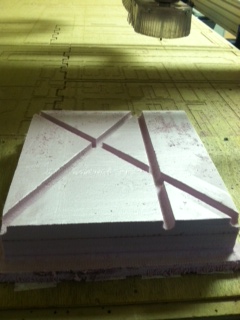
While creating our male mold, we ran into a few issues. While the mold was cutting out, the bit of the machine cut through the mold. In order to resolve this issue we decided to create a toolpath in Partworks that would cut the necessary depth for the material that was not needed. Below is are images of the before and after of the male molds.

After taking our completely cut molds off the ShopBot, we started the compositing process with the male mold. We began by covering the male mold with Gesso (an acrylic used to seal the material). We used this liquid because it would create a dry even layer if any liquid were to be put on it. Without gesso, it could soak into through. After applying gesso, we let it dry (and also used a heat gun to dry more areas rapidly that had more gesso than others). Once it was dry, we applied a thin layer of paste wax so that when we applied our composite, it would be easier to get off when the mold was completed.
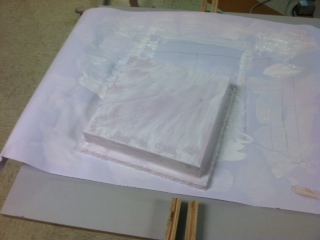

Above are images of the gesso'd male mold, and a collegue as well as myself applying paste wax once the mold's gesso layer had dried. We let the wax sit in order to dry for 30 minutes. After the wax was completely dry, we gathered our compositing materials, did a dry run-through of the actually steps to doing the composite. Before I worked with my teammates, I helped out a seperate group of my FabLab Detroit members just so I had complete understanding of the best methods to use and how to create the composite. I would suggest that if a lab has a good amount of people doing this project and working in groups of two or three, that someone works with both groups in order to experience how to do it and then be able to teach another group.
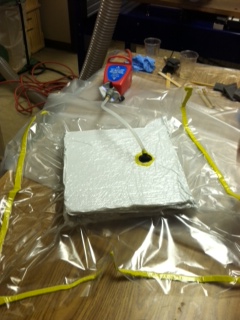
Below is the image of the male mold (after being composited) put into our vacuum bag--which was sealed by mastic-- and air being sucked out with a vaccum.
