12 Interface & Application Programming
This week we were introduce to the world of application programming to visualize incoming sensor data. Neil introduced many possible ways to do this in lecture, but our class focused on Processing and the Arduino IDE. I used my mic board, which related to my final project. For that, I hope to make strips of LEDs flicker depending on sound levels in a space.
I spent some time getting (re)acquainted with Processing, which I have used a very small amount in previous art classes. One of the tutorials includes making this dude, which I can't resist posting.
 Programmers have a good sense of humor :)
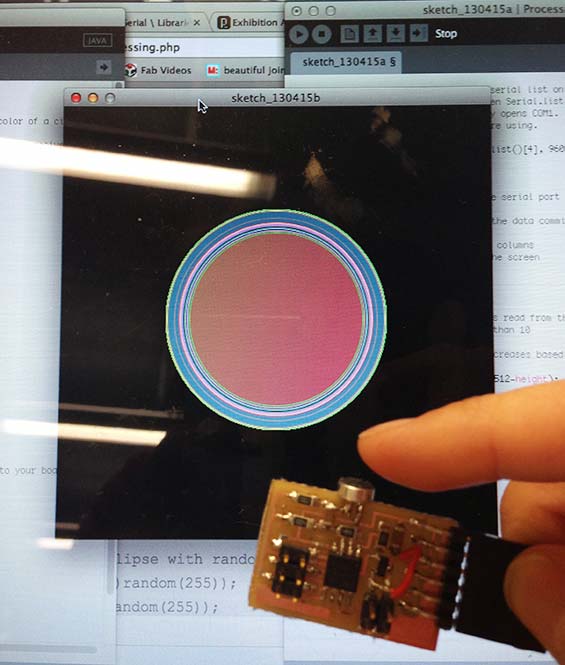
Then, I went through the sample visualizations that Anna and Shawn Wallace provided us. The first one responds to sensor input with random color circles and strokes. The only thing we needed to modify was the serial port to via which our board is connected. This info prints the first time the code runs, as per instructions in the setup (println(Serial.list()). Mine was 4.
The code:
/**
* Phototransistor Input to Circle
*
* Read data from the serial port and changes the fill and stroke color of a circle
* relative to the values recieved from the sensor.
* Circle fill and stroke are random, unless a sensor value below 200 is recived.
*/
//import serial library
import processing.serial.*;
Serial serialPort; // Create object from Serial class
int diameter= 500; // initial diameter of the circle
void setup() {
size(500, 500);
background(0);
stroke(255);
smooth();
// I know that the first port in the serial list on my mac
// is always my FTDI adaptor, so I open Serial.list()[0].
// On Windows machines, this generally opens COM1.
// Open whatever port is the one you're using.
println(Serial.list());
serialPort = new Serial(this, Serial.list()[0], 9600);
}
void draw() {
//filter out the 1,2,3,4 framing code numbers
while (serialPort.available () > 4) {
int lightIn = serialPort.read();
//if the sensor value is greater than 200
//(you may need to tweak this number to get the code to respond to your board)
if (lightIn > 200) {
//print in the sensor values to the console
println(lightIn);
//set the variable diameter to the sensor value
diameter = lightIn;
//use the sensor value to draw an ellipse
ellipse(250, 250, diameter, diameter);
//redraw the screen
redraw();
}
}
//EXPERIMENT WITH THE VISUALIZATION BELOW
//if the sensor values are less that 200, the elipse with random stroke and fill colors
stroke((int)random(255), (int)random(255), (int)random(255));
fill((int)random(255), (int)random(255), (int)random(255));
}

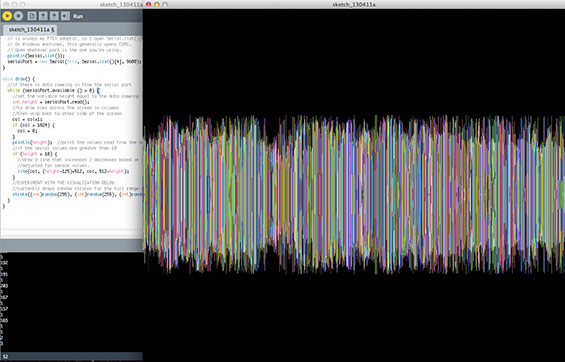
And the second is similar. Sensor input results in lines being drawn across the page.

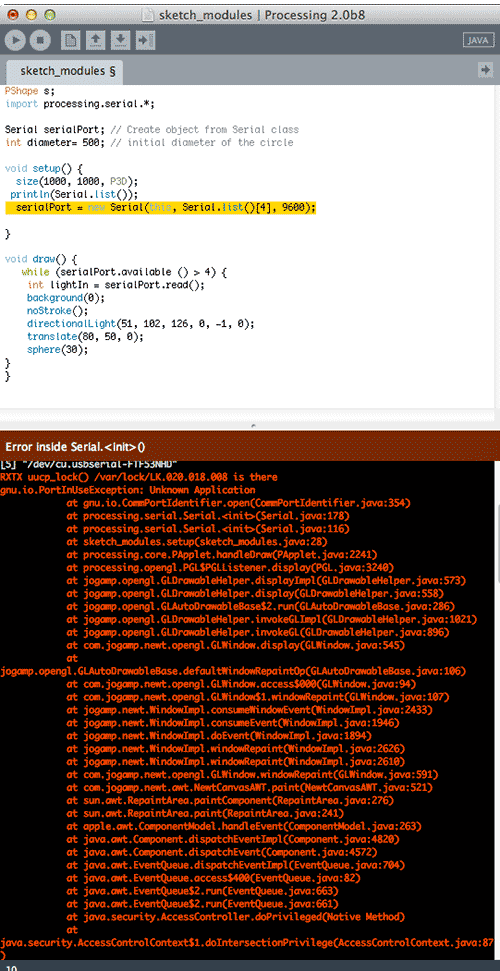
Using these examples, I'm trying now to get a directional light to illuminate a shape when the sensor reads over 200. I'm using this code but it's not working. Getting googly eyed, will revisit it tomorrow.


