For my contribution to the collaborative project, I helped in a few different areas that I think contribute to the machine design category.
Since we decided to build a 3d printer based entirely around the Ultimaker design we needed to improvise on several different machine components.
My last contribution to date can be seen in the video above. Basing our electronics on the Ulitmaker's once again, you can see us using the UM version of replicatorg and jogging one of our steppers to test.
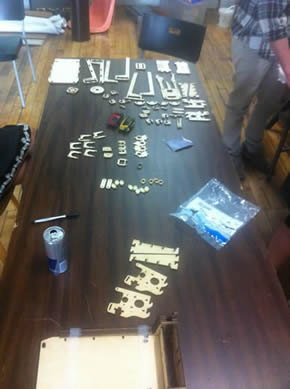
First, we needed to determine which parts we had, which were missing, and which need to be altered and/or reengineered.
Some students were able to make the missing lasered components, and adjust the others. This was done to change many of the components from metric to standard imperial. Due to sourcing in North America we were able to save money by converting the rods and pulleys among other parts.
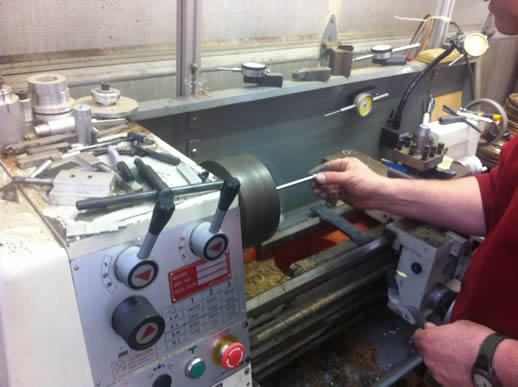
I am lucky enough to have a machine shop at work, and with a very helpful coworker I was able to make the modifications on the machinery.
We reclaimed several hardened rods from old scanners, some did not have very tight tolerances on the diameter. We compensated for this with a little sandpaper on the lathe.
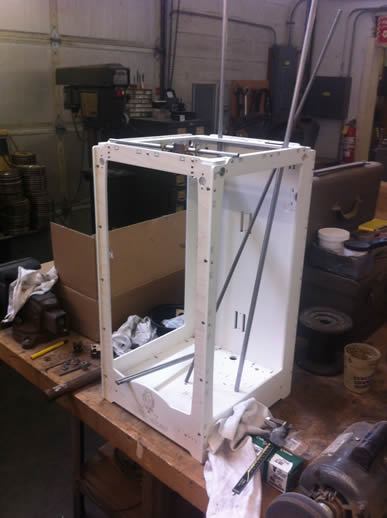
The vertical Z stage rods need to be cut down to size. Here is just a quick test fit.
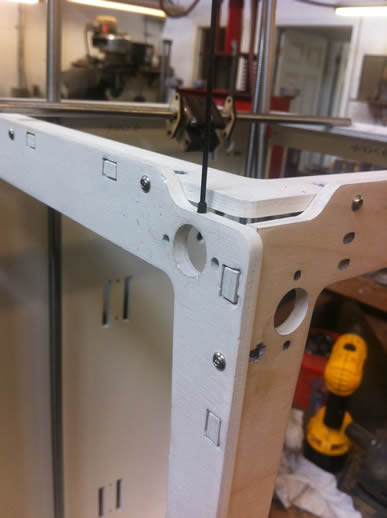
The case was cut with a very strong laser and the kerf is larger than normal. To accomodate for this I added set screws at each location of a roller bearing. Once we can ensure that the extruder carriage is tracking, then these set screws can be locked down.