08 - Molding, Casting and Composites
WWII Soldier Composite Mold from Existing Object
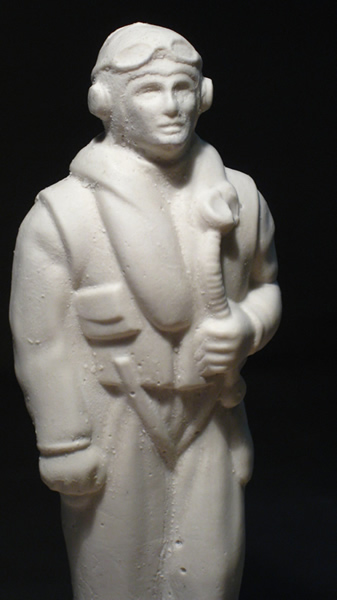

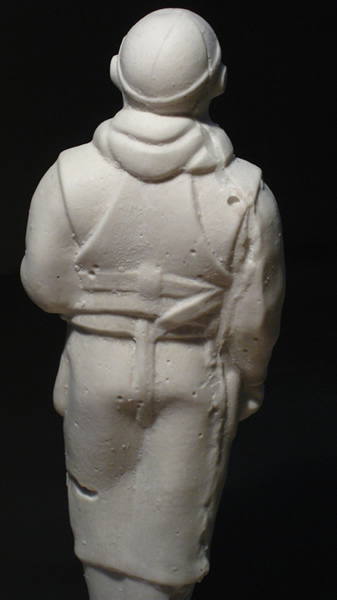
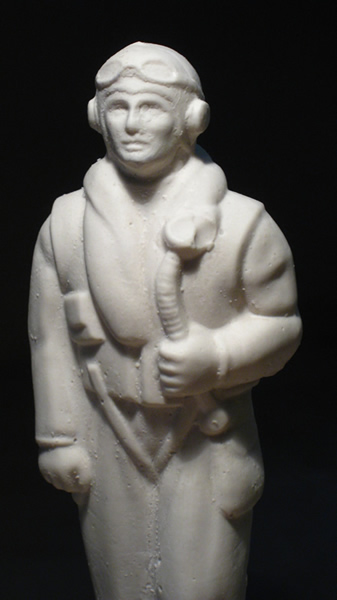
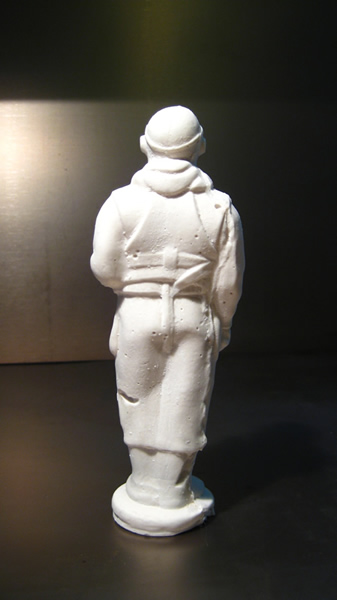
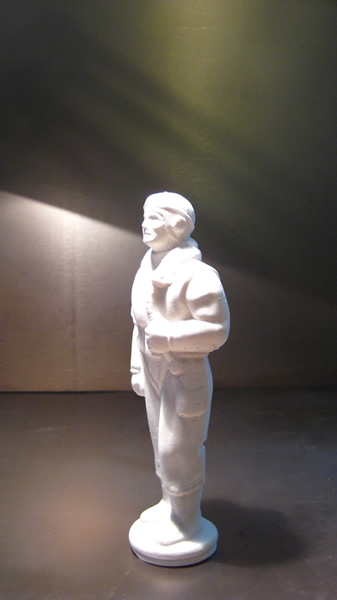
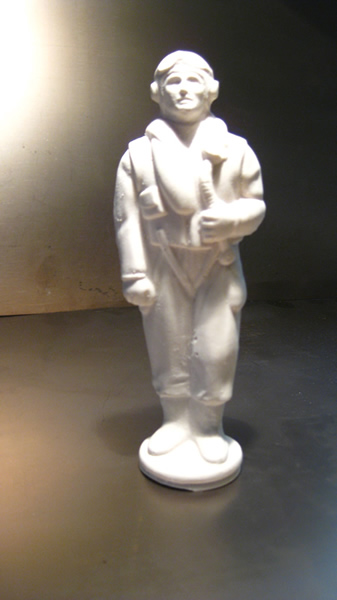
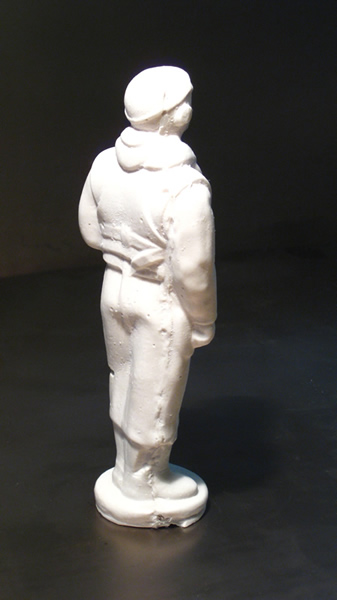
I used Flexwax to create a composite wax mold from a old glass liquor bottle my grandmother gave me. I heated up the wax, then brushed it onto the glass. After I had built up a sizable layer, I wrapped cheesecloth around the wax to strengthen the mold. I then reapplied another layer of wax. I repeated this process twice.
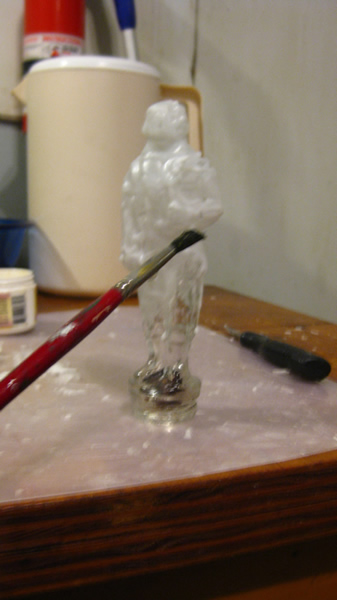
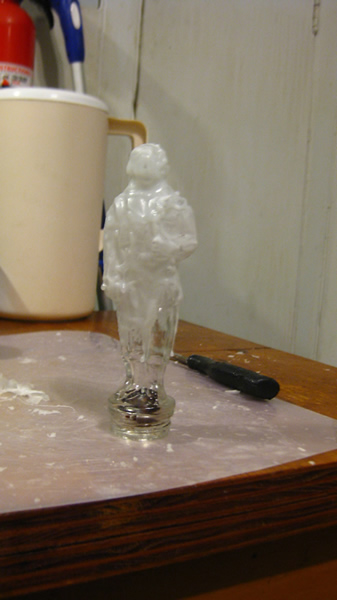
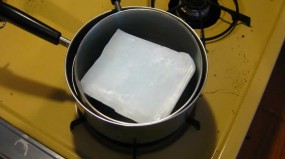
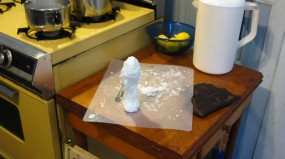
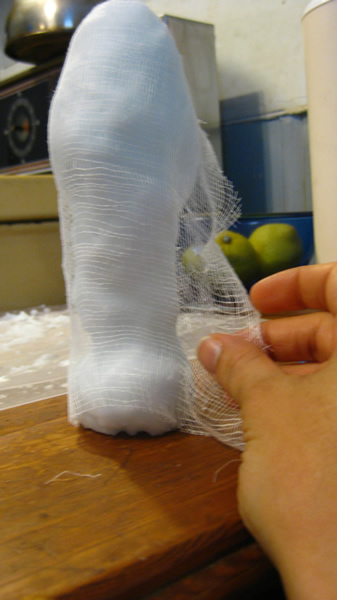
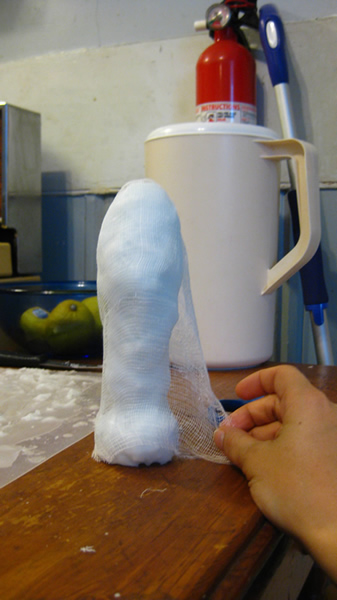
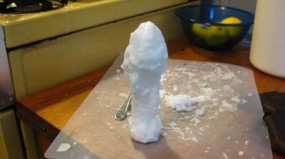
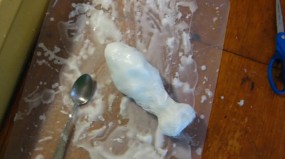
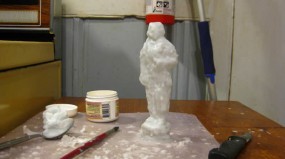
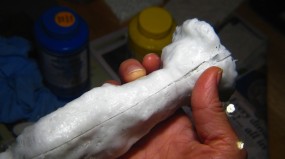
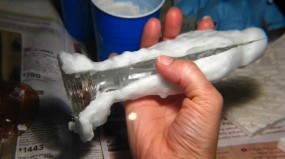
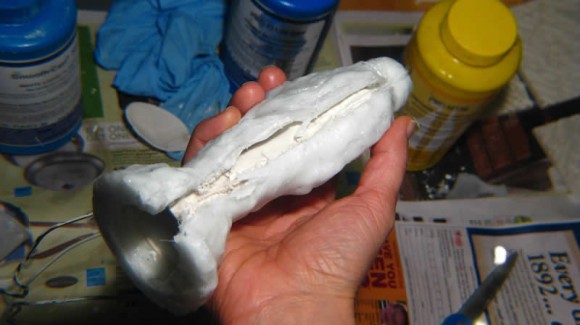
After the composite mold hardened, I cut it open down the side and removed the glass bottle. I then took a coat hanger and bent it into a stand so I could pour the Hydrostone into the mold. After the mold was poured, I cut open the wax mold (again) to remove the final Hydrostone cast.

Tools Relief - Attempt 2 - Success!
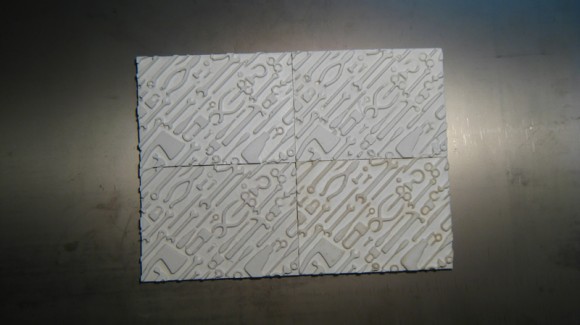
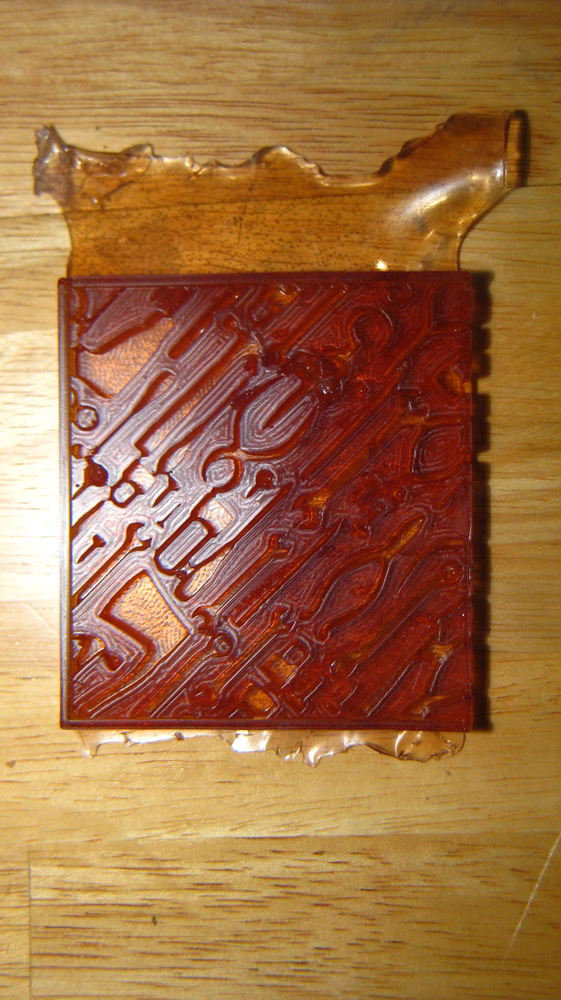
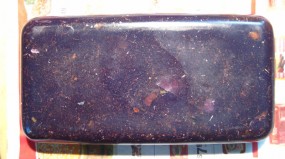
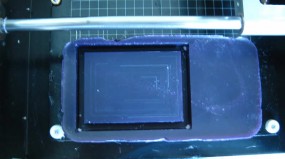
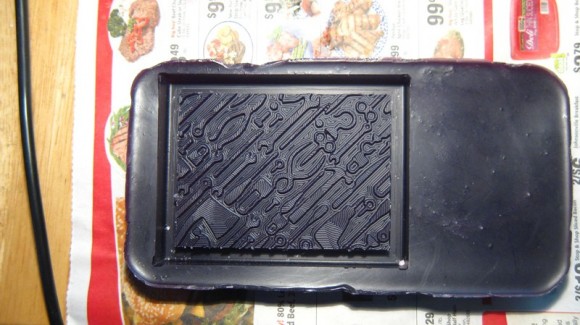
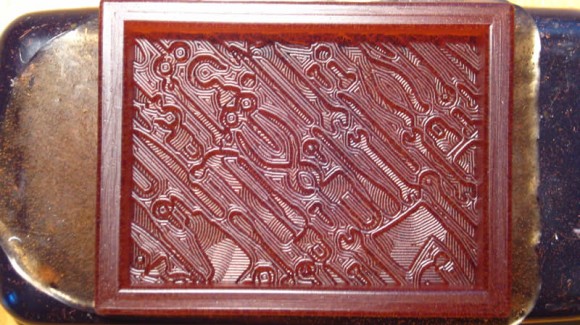
I re-milled my tools relief mold, correcting the problems inherent in the design of the first cast. I made the border around the tools relief wider and deeper in order to have a rim to hold the poured material before creating the final cast. In order to conserve wax (it is $29.00 a bar), I melted down used wax and shavings from previous molds. The info from McMaster-Carr website state " Softening point is 222° to 244° F." I melted the wax down in my oven at a temperature of 300 ° F. There was some sediment / impurities that worked their way into the wax, but they sunk to the bottom and did not affect the mold.
Machinable Wax
Poured Rubber Mold
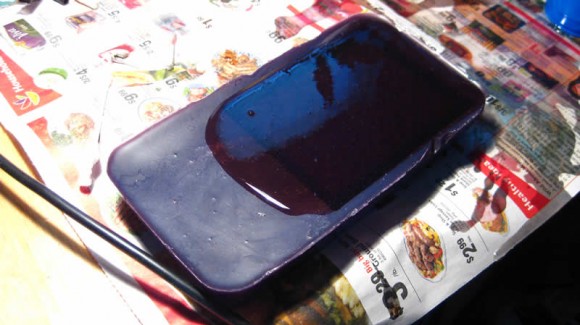
Curing the Rubber Mold with a Lamp
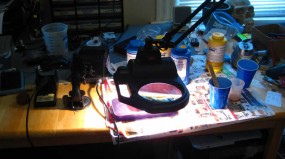
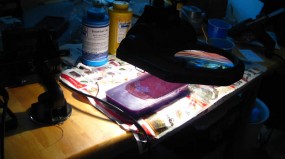
Finished Urethane Mold - Much Better!
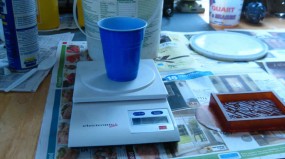
 Measuring and Pouring the Smooth Cast Plastic and Hydrostone
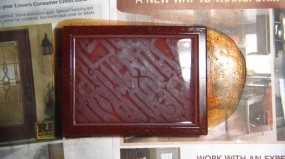
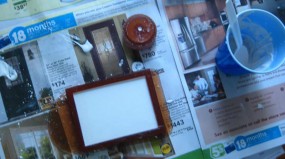
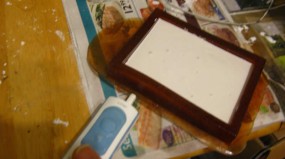
Plastic Tools Relief Cast
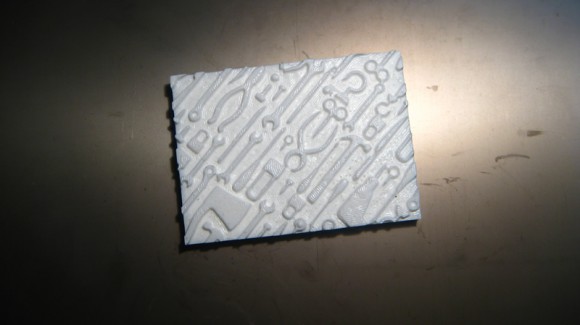 Hydrastone Tools Relief Cast
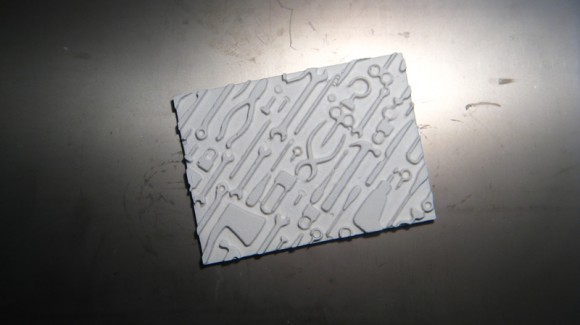
Tools Relief - Attempt 1 - Failure
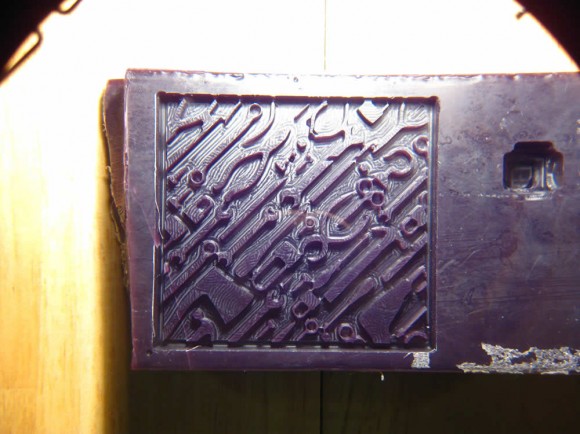
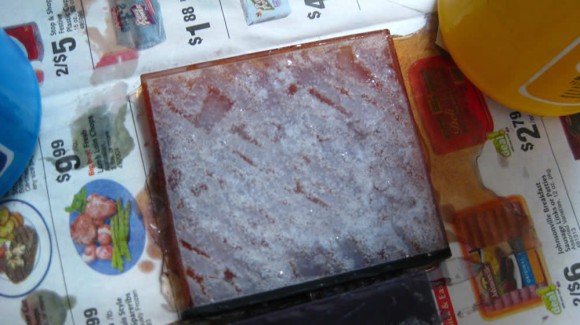
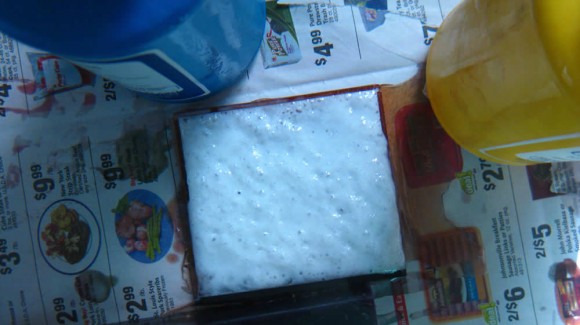
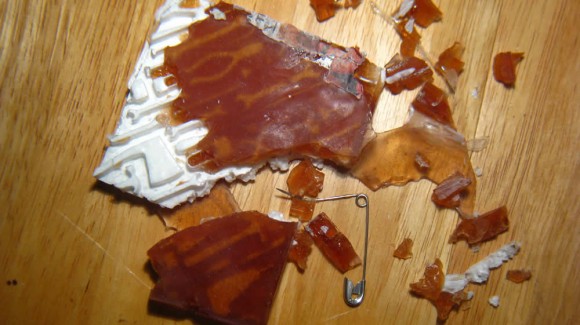
I milled a mold out of wax and then cast it in Smooth Cast 305. The border around the mold did not mill out on all sides as deeply as I planned. I did not use enough soap as a mold release and the plastic I cast in the urethane mold stuck to the mold and I destroyed it as I tried to pull it out.

