Appearance
Wildcard week
In this wildcard week Prof.Neo has demonstrated quite a lot of previous projects in class and I am particular interested in the embedded programming with machine learning as introduced in class. Therefore this week I have explored how to train, deploy and run a machine learning model for image classification work on a raspberry pi. I have documented the whole process here as a possible wildcard week assignment.
Overview
Artificial intelligence and neural networks have been hot topics in the computer field in recent years. Today, I will deploy an open-source image classification system on Raspberry Pi. I will first train a convolutional neural network, and then I can input different images to complete the classification work. This project is very simple and easy to use, even if you don’t understand neural networks, you can modify it according to your project to classify any images. This project is mainly divided into two parts: the installation of TensorFlow on the official Raspberry Pi system, and the deployment and training of neural networks.
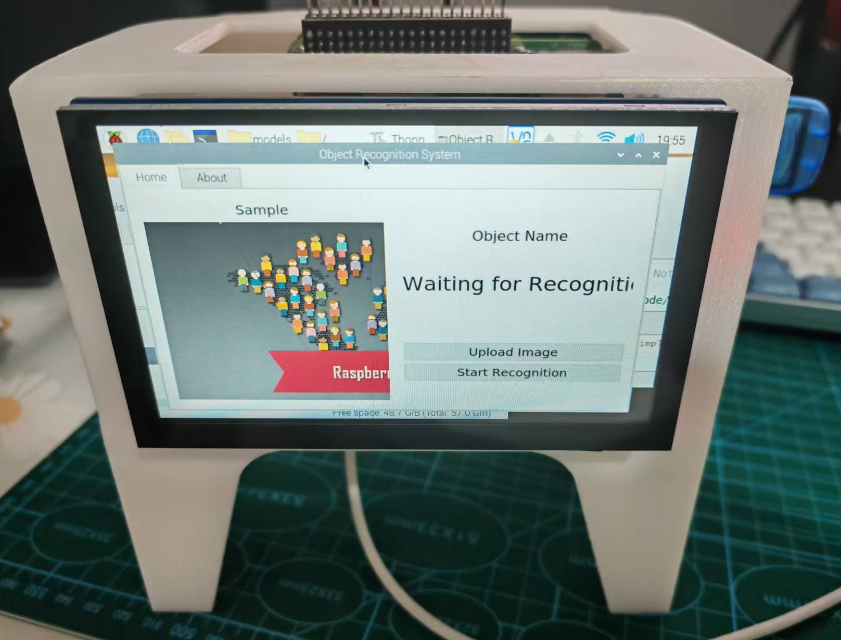
A hero shot
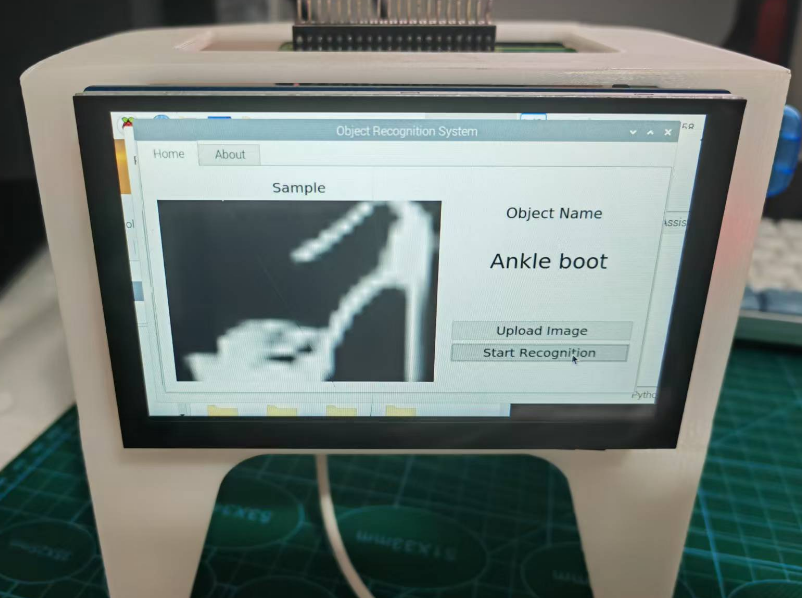
The CNN image classification worked perfectly on my raspberry pi.
Recognition of an ankle boot.
Materials needed
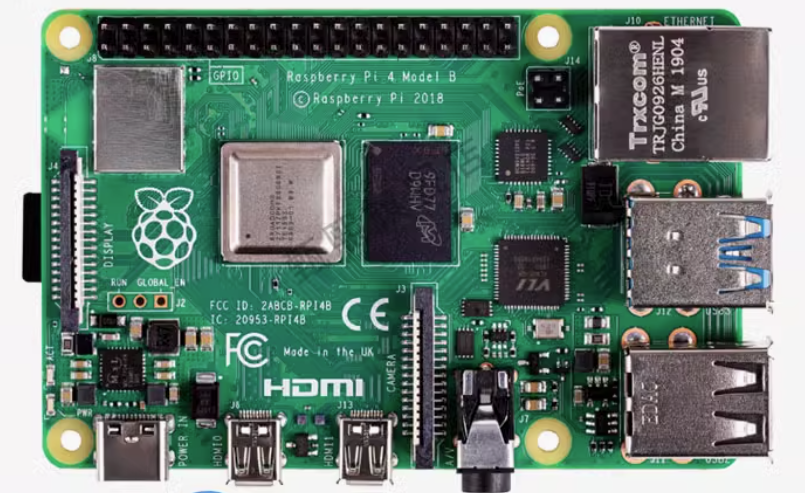
A Raspberry-PI 4B (8G).
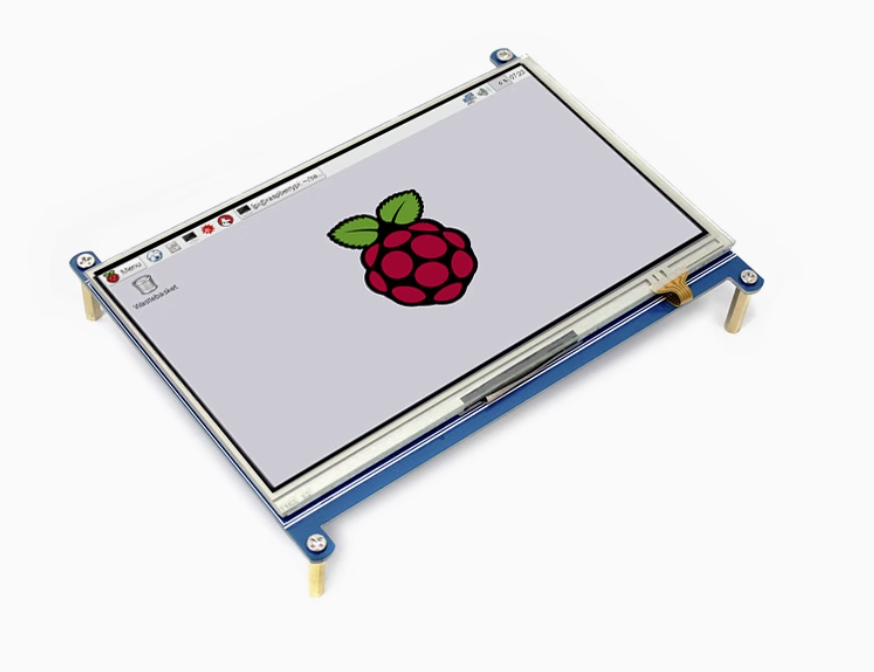
A 7 inch screen with miniHDMI/MIPI DSI port. You can purchase here at Amazon US. I bought it from Taobao.
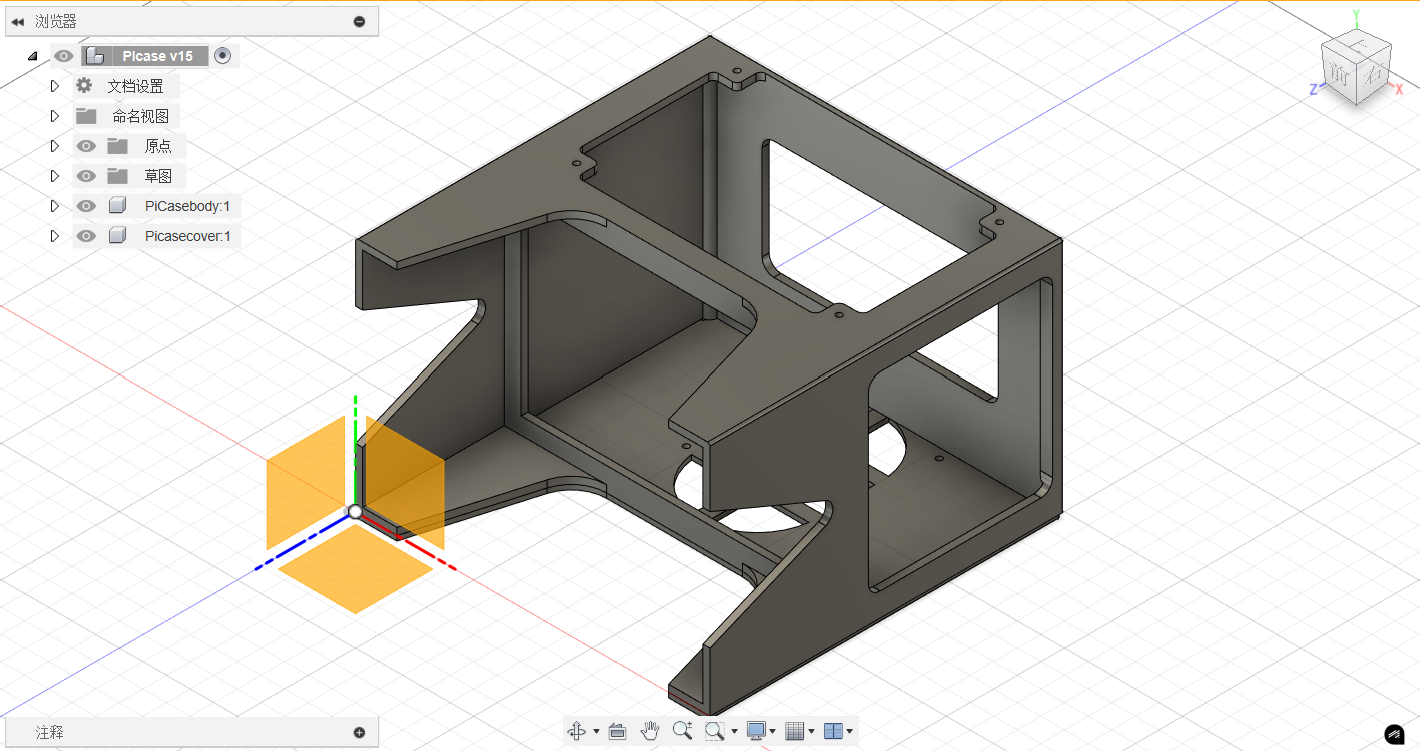
A case for holding the Screen with Raspberry-PI were design and 3D printed.
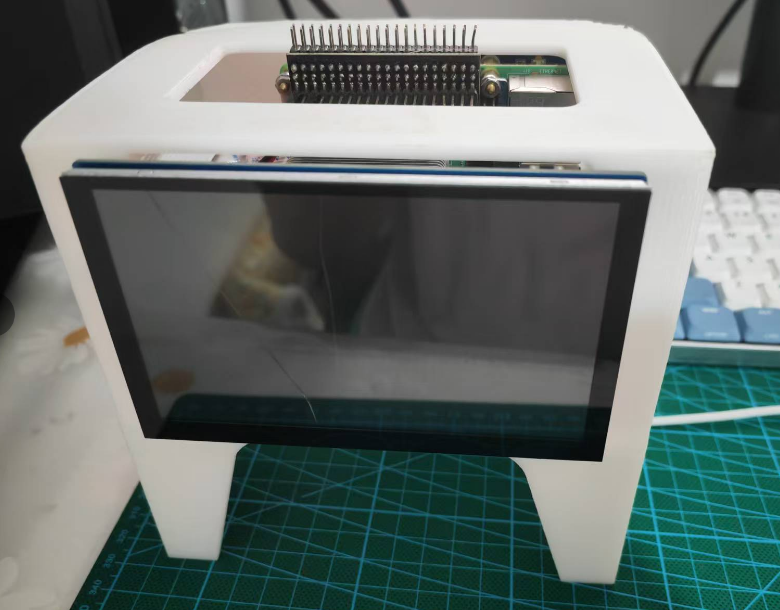
Finally assemble them together. The board and screen are connected with a 10mm flexible flat cable via the MIPI DSI port.
Project flow
Data for training and classification
The dataset used this time is the Fashion-MNIST dataset, which is very commonly used in neural network classification tasks. This dataset contains 70,000 front-facing images of different products in 10 categories. There are 60,000 training sets and 10,000 test sets. The image format is a 28x28 grayscale image, as shown in the figure below.

The classification of the data set is as follows:
| Label | Category | Chinese Description |
|---|---|---|
| 0 | T-shirt/top | 上衣 |
| 1 | Trouser | 裤子 |
| 2 | Pullover | 套头衫 |
| 3 | Dress | 连衣裙 |
| 4 | Coat | 外套 |
| 5 | Sandal | 凉鞋 |
| 6 | Shirt | 衬衫 |
| 7 | Sneaker | 运动鞋 |
| 8 | Bag | 包 |
| 9 | Ankle boot | 短靴 |
Details and downloads is available at:
https://www.kaggle.com/datasets/zalando-research/fashionmnistSystem introduction
The Raspberry Pi system uses the official buster version of the Raspberry Pi. Please note that you should not use the latest official system (because the latest official system Bullseye version has a built-in Python version of 3.9, which does not match the tensorflow package). The Raspberry Pi system is already included in the information.
Follow the tutorial in Raspberry Pi official site, you can have the system easily installed and set up well.
https://www.raspberrypi.com/documentation/computers/getting-started.htmlTroubleshooting: source change for Raspberry Pi
Due to some policy issues, we can't have direct access to some Raspberry Pi library source in China. Therefore I need to have the library downloading source changed in the system.
sudo nano /etc/apt/sources.listThe original # is commented out and replaced with the following.
deb http://mirrors.tuna.tsinghua.edu.cn/raspbian/raspbian/ buster main contrib non-free rpi
deb-src http://mirrors.tuna.tsinghua.edu.cn/raspbian/raspbian/ buster main contrib non-free rpi
I also changed it in the following list.
sudo nano /etc/apt/sources.list.d/raspi.listThe original # is commented out and replaced with the following.
deb http://mirrors.tuna.tsinghua.edu.cn/raspberrypi/ buster main uiThen run an update for the system environment library.
sudo apt-get update
sudo apt-get upgrade
Download tensorflow
TensorFlow is a deep learning framework released by Google in 2015. It is currently the mainstream deep learning framework. Here we use TensorFlow to implement convolutional neural networks. Download the tensorflow installation package in the website.
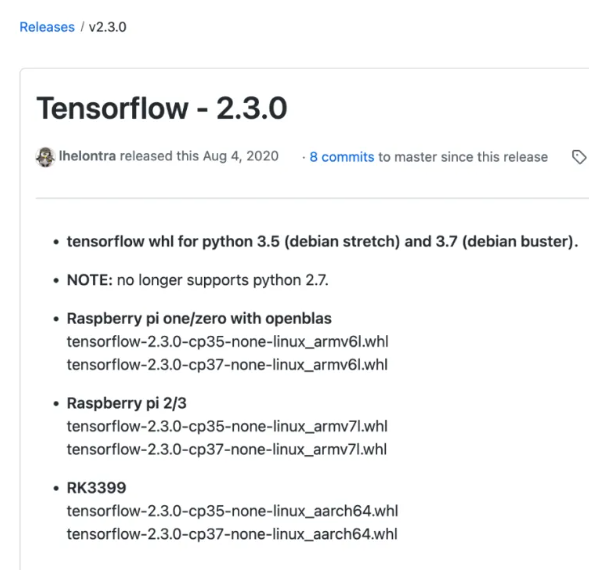
When downloading, please pay attention to downloading the corresponding version:
- The CPXX in the middle represents the Python version. If you select the wrong one, the installation will fail. For example, for Python 3.5, you should select CP35, and for Python 2.7, you should select CP27.
- For Raspberry Pi 2/3/4, choose the one ending with armv7l.whl.
- Raspberry Pi is not suitable for training models, so first train the model on your computer, and then use the trained model directly on the Raspberry Pi. Please note that the tensorflow version of the Raspberry Pi and your computer must be consistent, otherwise errors will occur.
Install tensorflow
Using terminal command to install the tensorflow:
sudo pip3 install tensorflow-2.3.0-cp37-none-linux_armv7l.whlDuring the installation process, some dependencies may fail to install. In this case, copy the download address, I download it on my computer, copy it to the PI directory, and then install it using the following command. (Replace XXXXXXXXXXXXXXX with the name of the file you downloaded)
sudo pip3 install XXXXXXXXXXXXXXXIf the above method still fails to download successfully, try use the following command to install:
sudo apt-get install python3- *your file name*Neural network deployment
Code introduction: The code used here is open source, and the author information is retained in the code. I would like to express my gratitude. I have made some translations, comments, deletions and modifications to the code to make it more suitable for Raspberry Pi and for me to use.
- data_split.py: Dataset partitioning code. If you only use the dataset in this article, you do not need to execute this code.
- train_cnn.py: Build and train network code.
- test_model.py: Code for testing network recognition accuracy, which can be omitted.
- window.py: Graphical page code.
- models: the classification mode I trained is contained in this folder.
Before running the project, download some libraries first:
sudo apt-get install python3-opencv
sudo apt-get install python3-pyqt5
Open THONNY, open the training network code (train_cnn.py), and run it. Then open the graphics page code (window.py) and start testing.
Screen shot & video
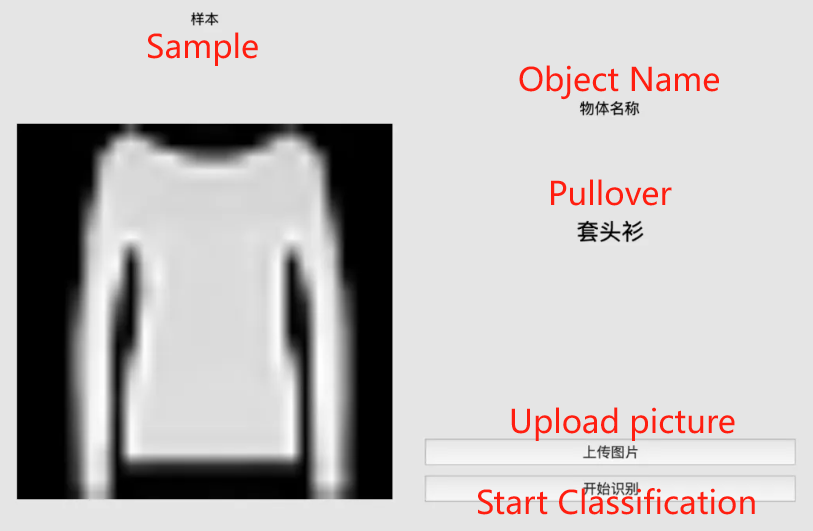
Note: If you want to change other datasets, you can download them online, and then use the dataset splitting code (data_split.py) to divide the dataset into training set and test set, and then modify the training network code (train_cnn.py) and graphics page code (window.py) according to the comments in the code.
I hope this video will help you appreciate the charm of neural networks.
Reference
All codes and design file used can be found in my repo here: https://gitlab.fabcloud.org/academany/fabacademy/2023/labs/ningbo/students/yaorun-zhang/-/tree/main/docs/assignments/week15?ref_type=heads