Week 3. Computer Controlled Cutting
Image Courtesy: Photo by Opt Lasers on Unsplash
This assignment explores Vinyl & Laser cutting technologies.
Assignment Tasks:
- Group Assignment: We had to describe our laser cutter by creating test parts with various cutting settings and characterize our lasercutter’s focus, power, speed, rate, kerf, joint clearance and types.
- Individual Assignment: Design and cut something on the Vinyl Cutter and the Laser Cut a design which can be documented as a parametric construction kit.
Group Assignment:
Kindly visit Our Group Assignment Page
Individual Assignment:
Vinyl Cutting
Let’s start this week with Vinyl cutting. Vinyl cutting, also known as vinyl plotter cutting or vinyl lettering, is the process of creating designs or lettering on vinyl material using a cutting machine. It involves cutting out shapes, letters, or patterns from vinyl sheets or rolls to create various products like decals, stickers, signage, and heat transfers.
Learning Process
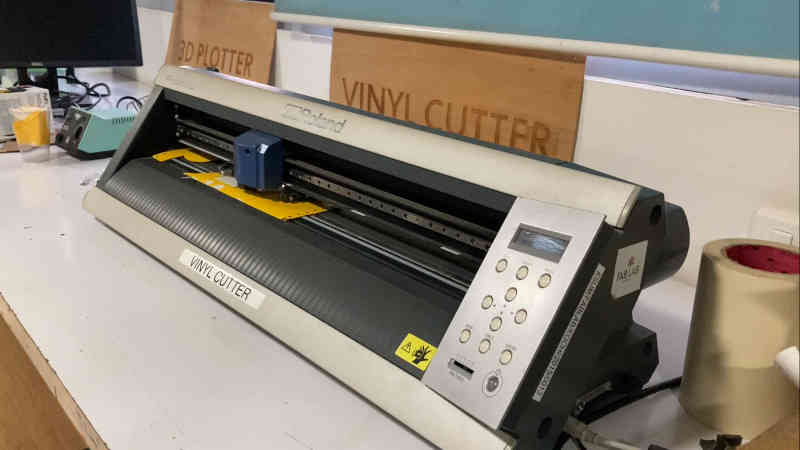
The Roland GX-24 is the machine we have in our lab for Vinyl cutting. It is a desktop-sized cutting machine that is widely used in the sign-making, graphics, and apparel industries. The GX-24 is capable of cutting a wide range of materials, including vinyl, heat transfer material, mask material for painting stencils, and more. It has a maximum cutting width of 24 inches. The GX-24 is designed to be user-friendly and easy to operate. It comes with a dedicated software. But here in our lab we use MODS-Project. It is compatible with both Windows and Mac operating systems. It can connect to a computer via USB or serial connection.
Learn more on mods & Installation procedure
The Process
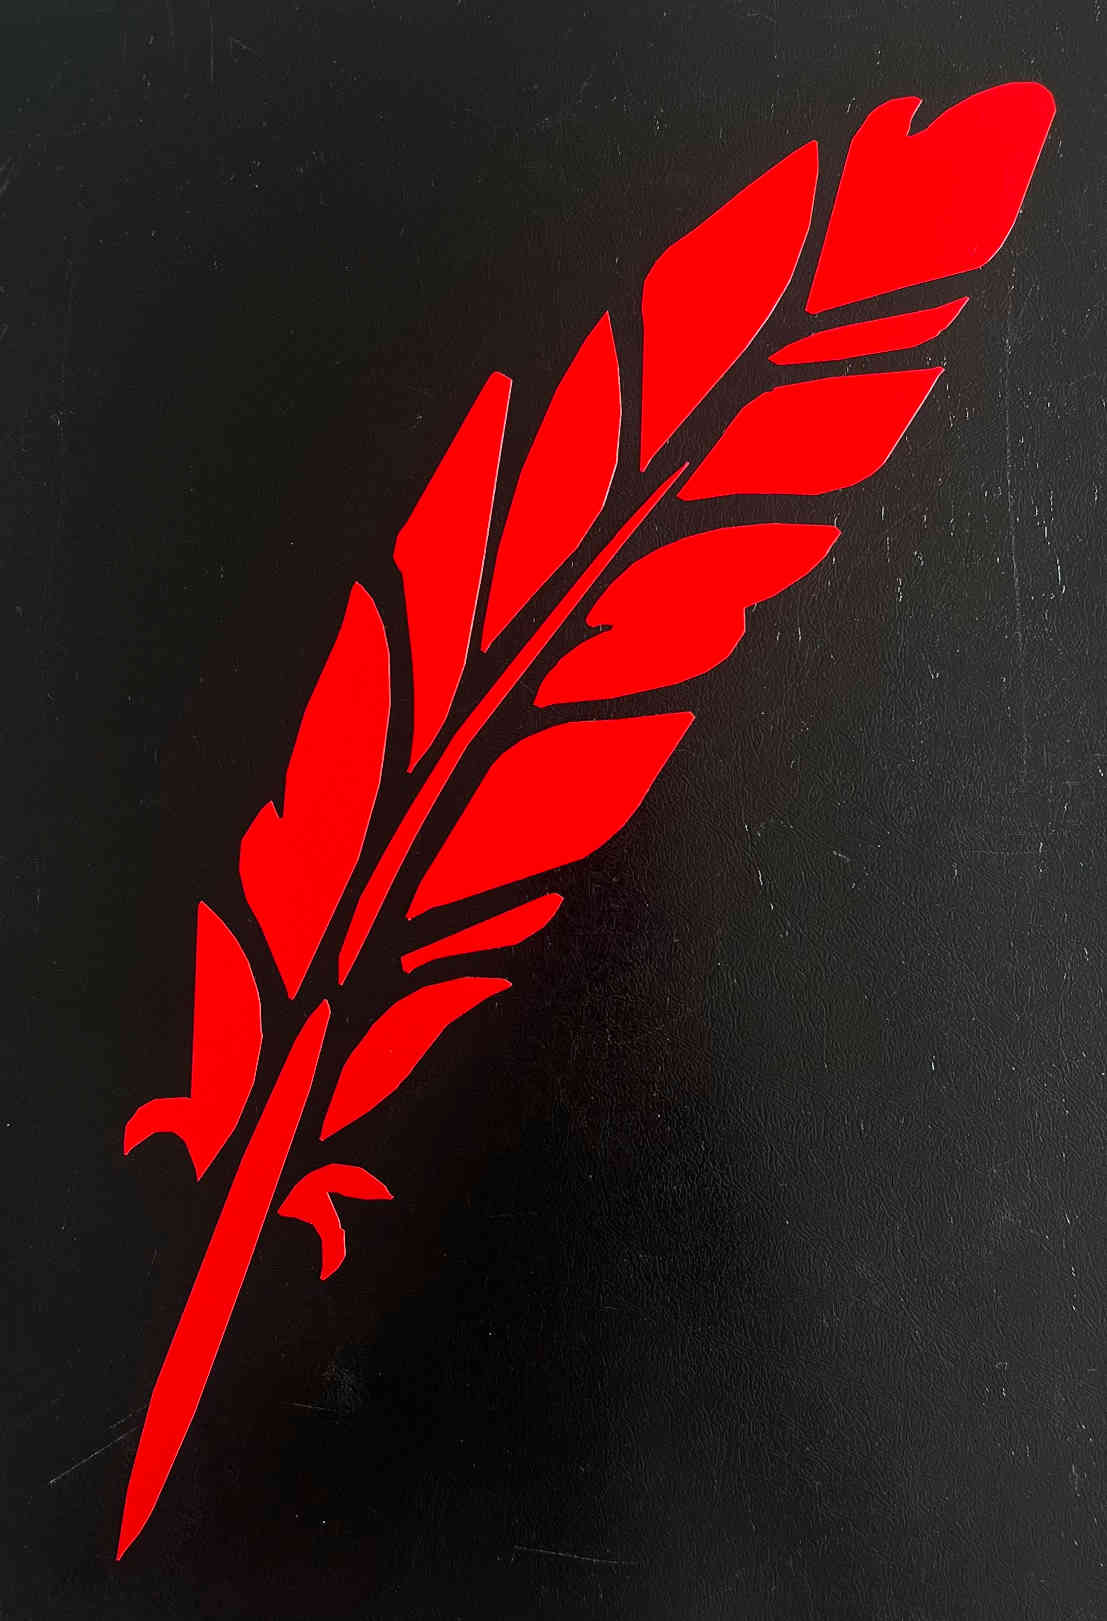
Step 1: Design. It all started with a simple design. I made a design in Inkscape, since cutting needs vector format. After design is made, I export as png.

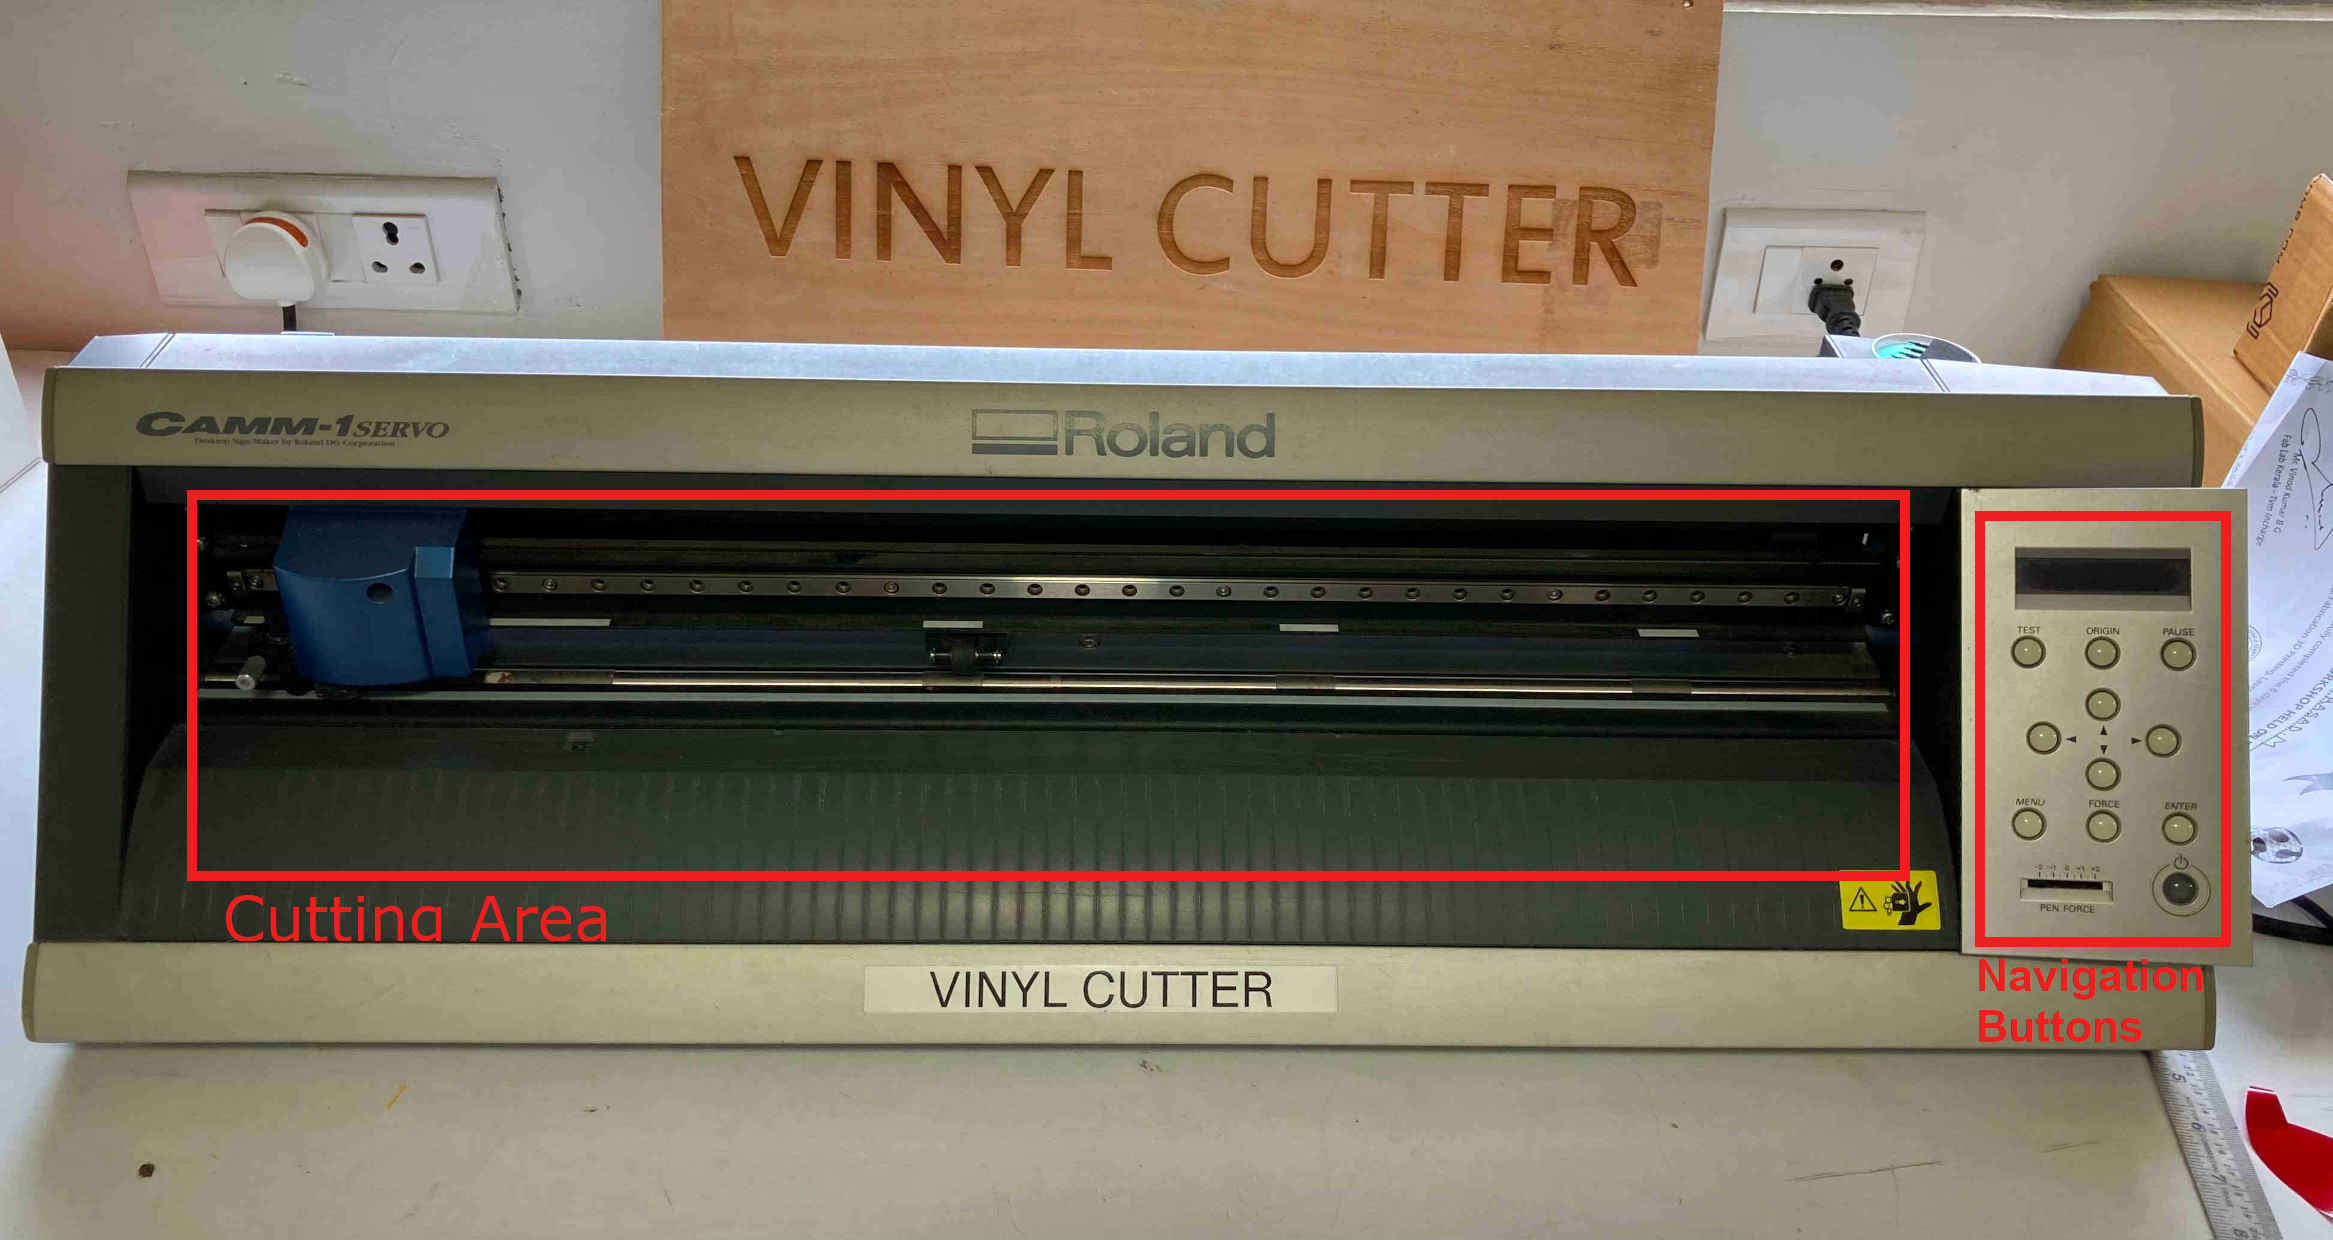
Step 2: Setting up Vinyl Cutter. Switch on the machine and wait for the print head goes to its default position.
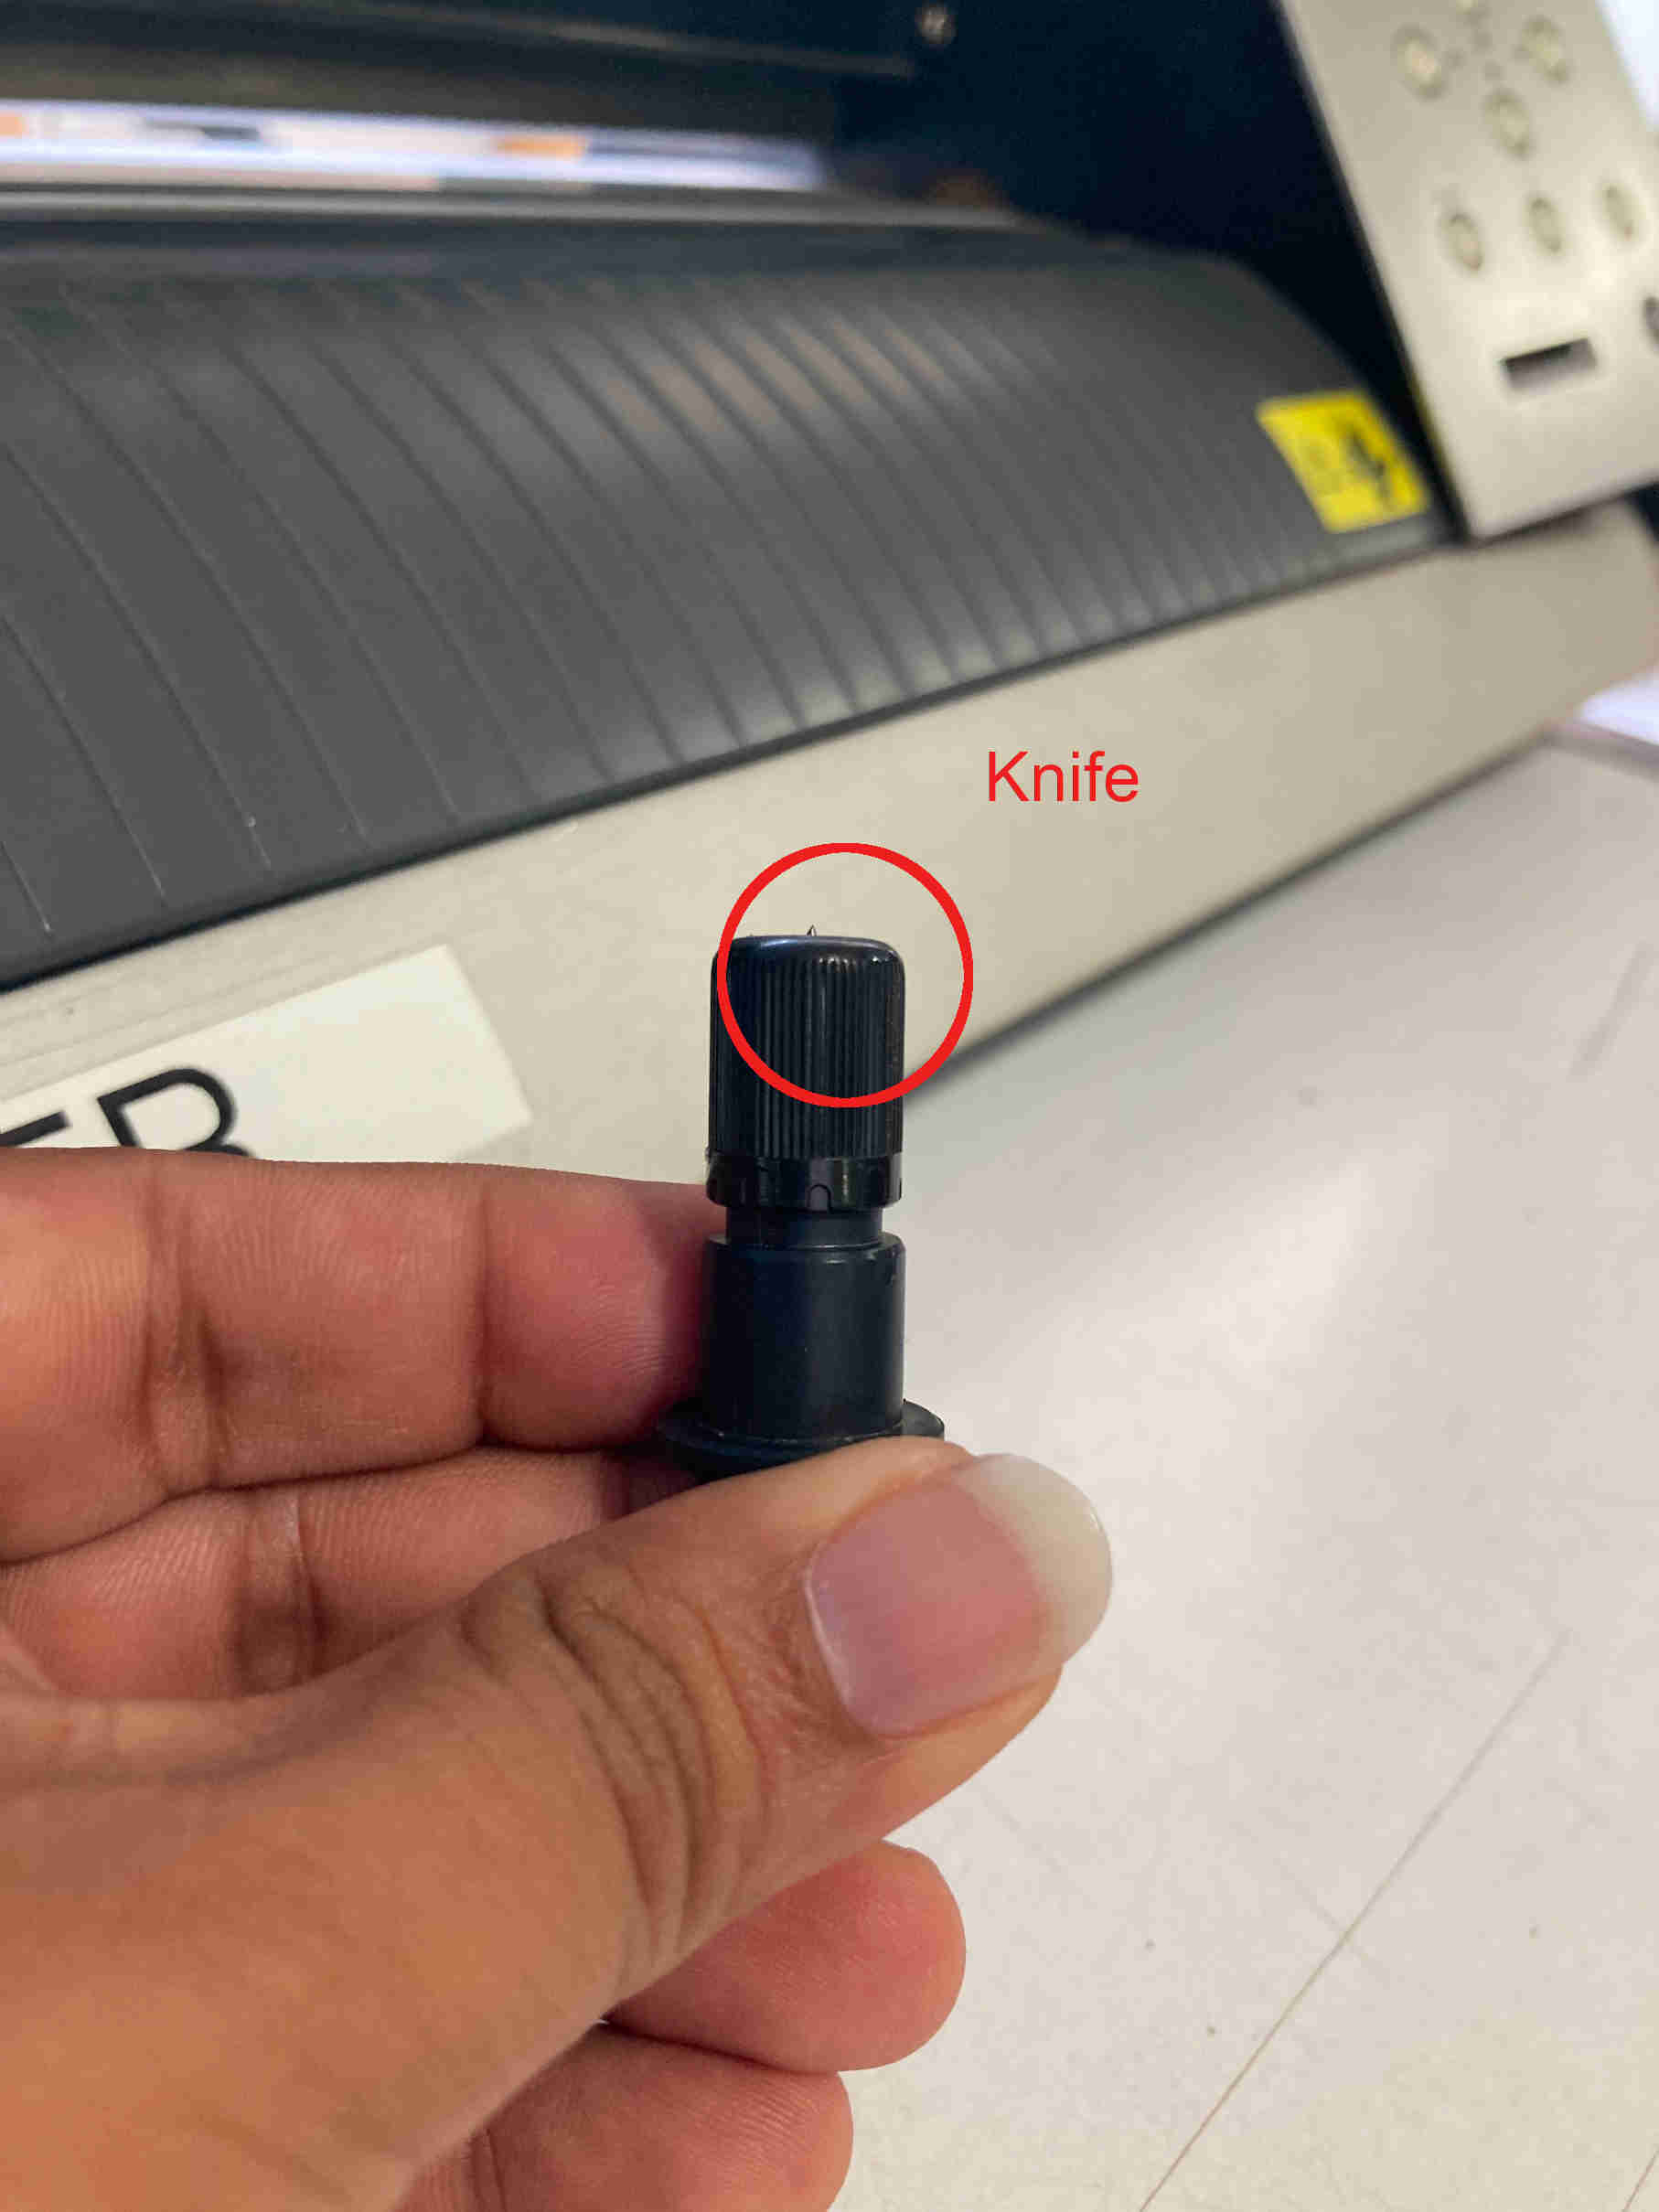
Step 3: Setting the knife. Make sure the knife is set, so that it pears only the vinyl instead of the whole boady including the backing paper.
Step 4: Once machine is ready now is the time for loading the material. The vinyl is loaded using the roller.
Step 5: Once the everything setup properly now lets set the funstions in the machine. Once the material is loaded, we need to select what type is it. We laoded a roll, so select Roll type.
Step 6: Now adjust the pen force, which is very important.
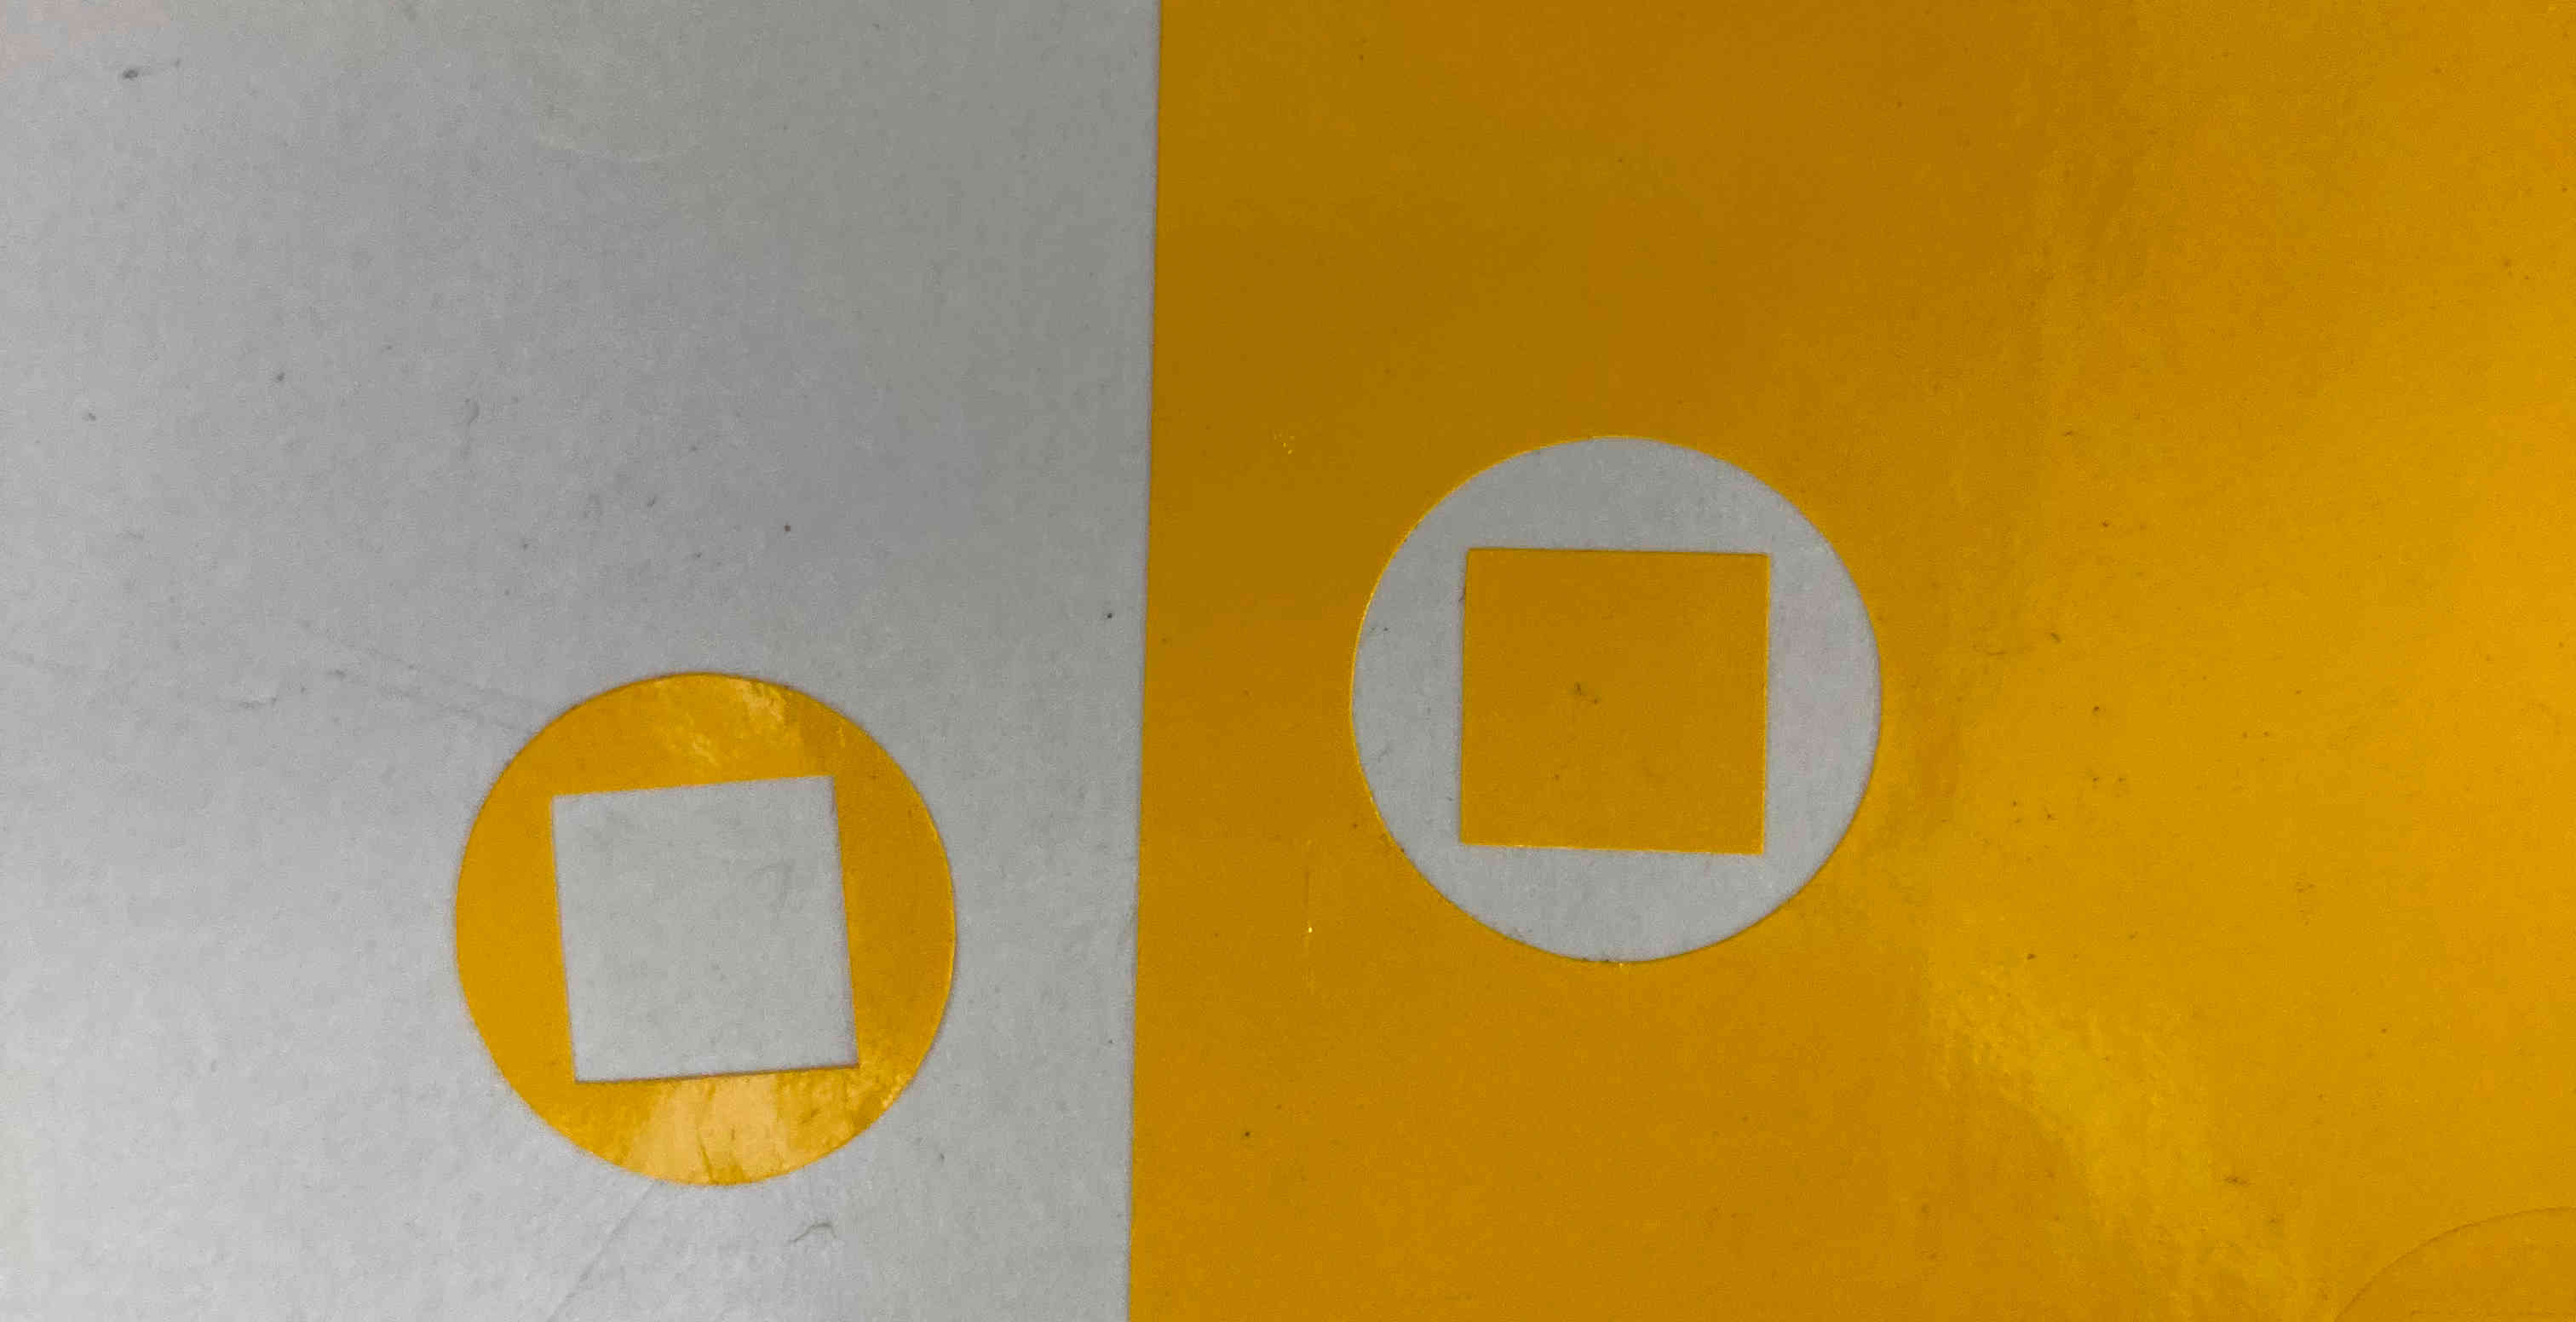
Step 7: We can make a test cut and check the pen force is good or not. A good cut is when the outer circle peels off without peeling the inner triangle, we call it perfect cutting force.
Step 8: Positioning the Pen using the navigation buttons, and fixing the origin accordingly.
Step 9: Upload the Design Files to mods. Size of thr file can be adjusted from mods (if needed). The process in mods is explained using screenshots below in order.
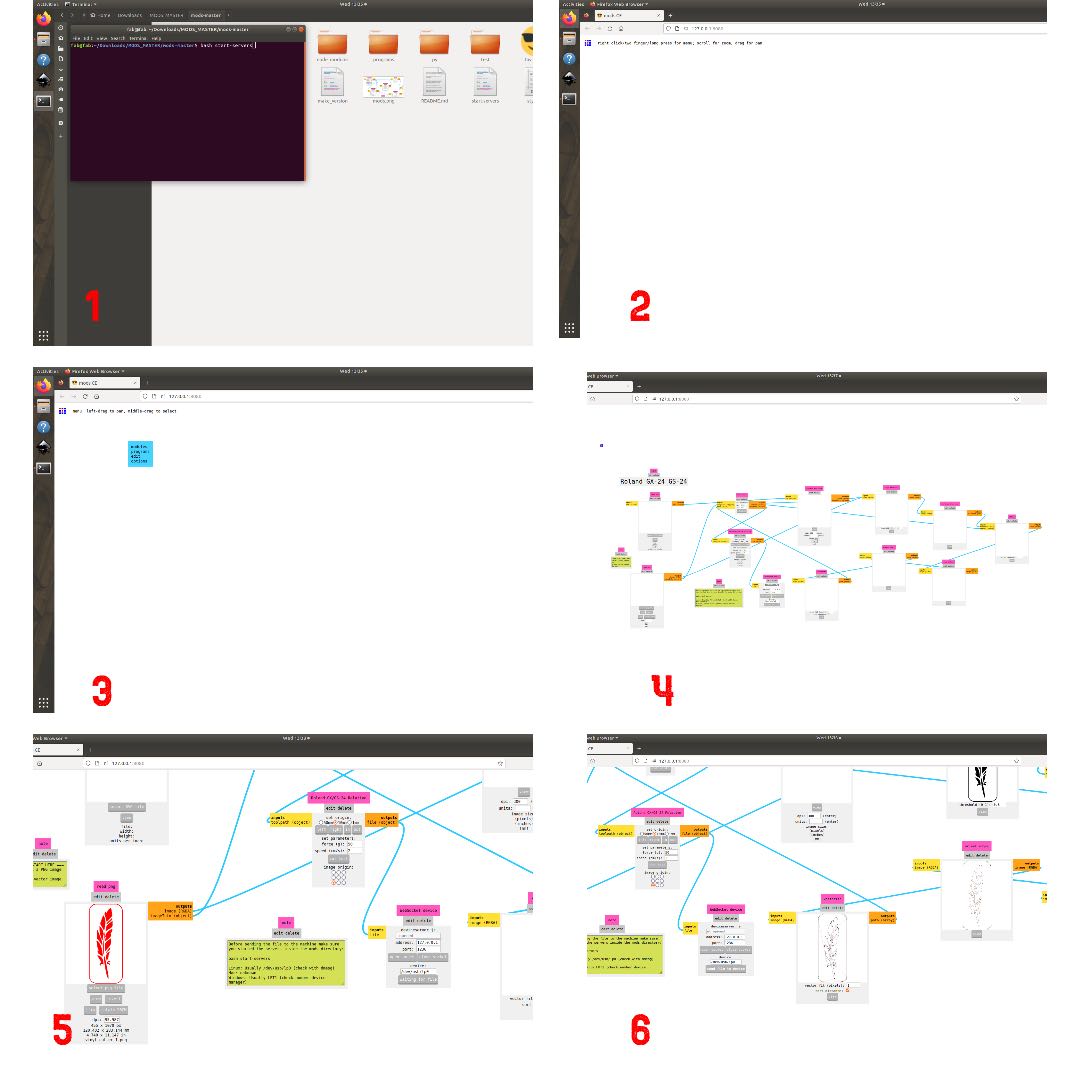
Mods Process
1. Go inside mods folder & Open mods using command: bash start-servers

2. Once mods is opened, Right click on mouse to open modules

3. Select machine model.

4. Upload png file & resize if needed.

5. Click Calculate for cut raster.

6. Click open socket for websocket and send cut instruction to machine.
Step 10: Once everything is done in mods, Send cutting instruction to machine from mods itself.
Step 11: Once the cutting is completed, use masking tape/transfer sheet to remove the cut from sheet.
Vinyl Cutting Video
Step 12: Paste on a plane smooth surface.
Step 13: Final Result.
Laser Cutting
Laser cutting is a manufacturing process that uses a high-powered laser beam to cut through various materials with precision and accuracy. The laser beam is focused onto the material’s surface, causing localized heating and vaporization or melting of the material, resulting in a clean and precise cut.
Here in our Lab we have Trotec Laser cutting machine.
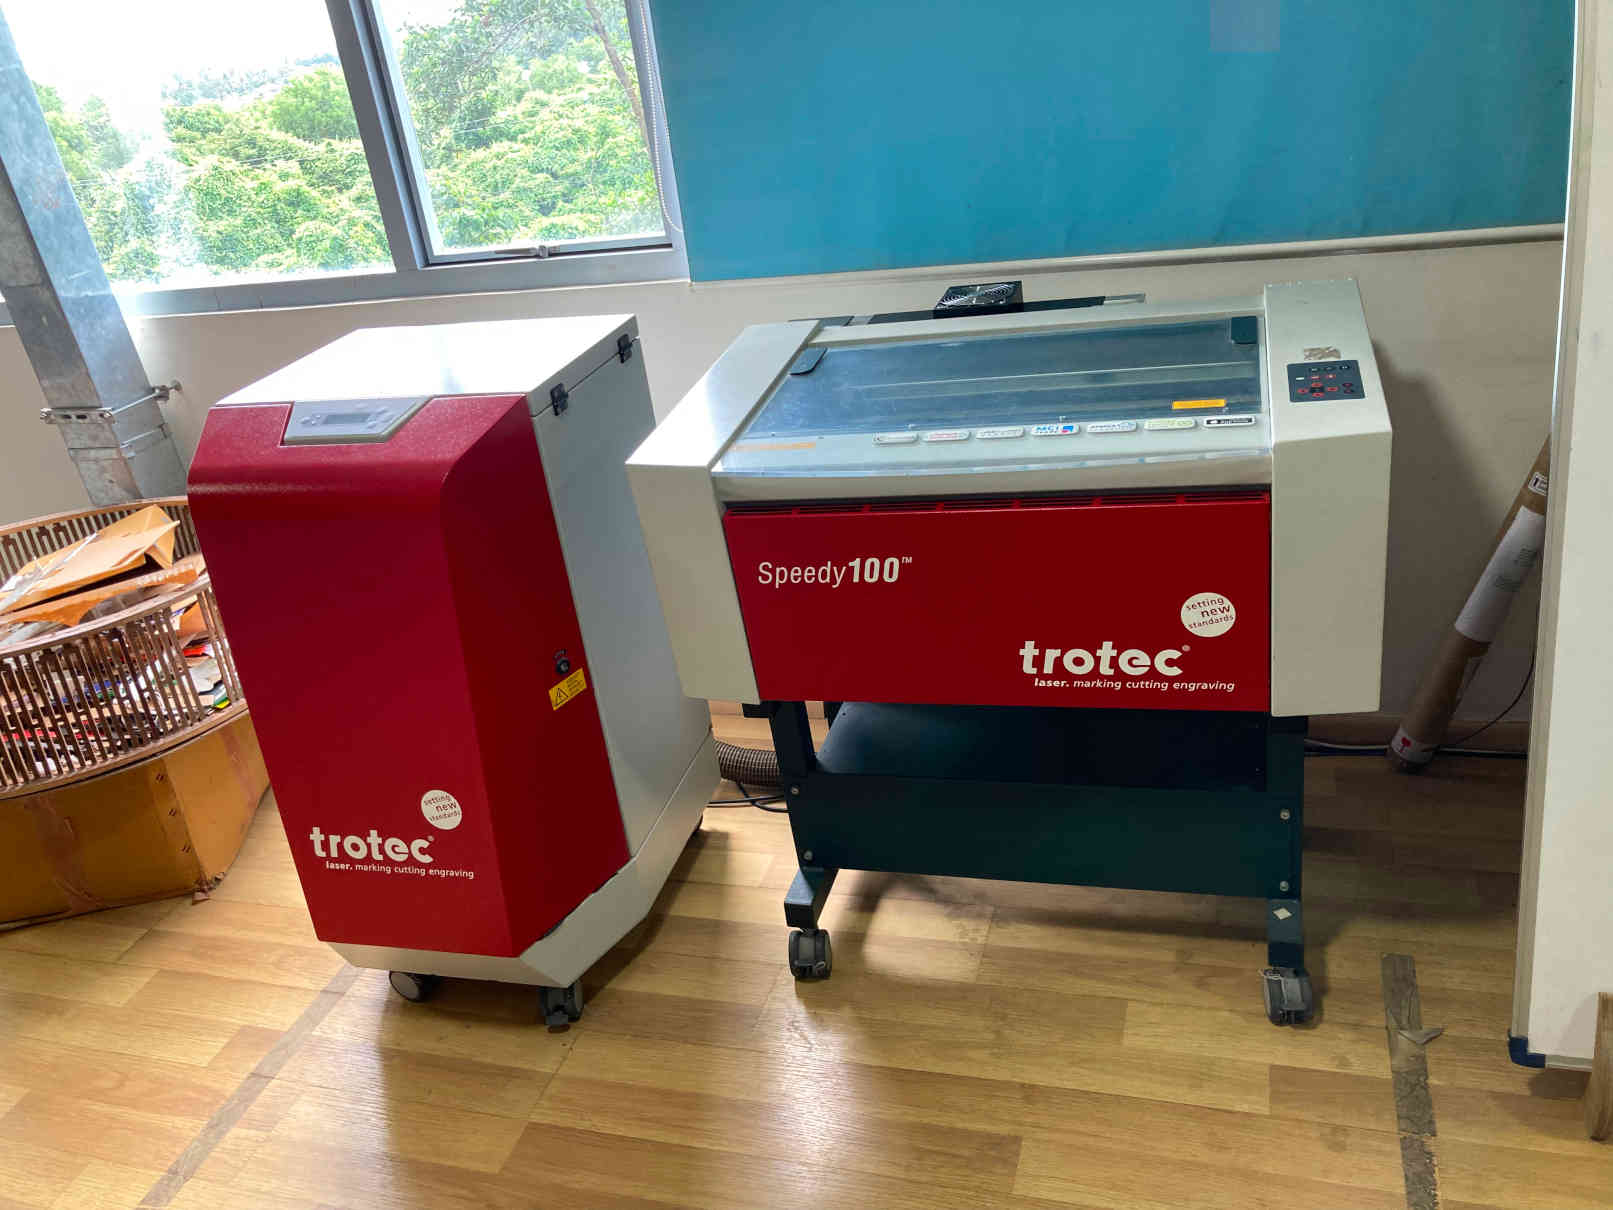
Unfortunately, we were unable to use our laser cutting machine during our session since it developed a problem. Therefore, for press-fit assembly, we chose Zund.
Zund - Cardboard Cutting with Parametric Design
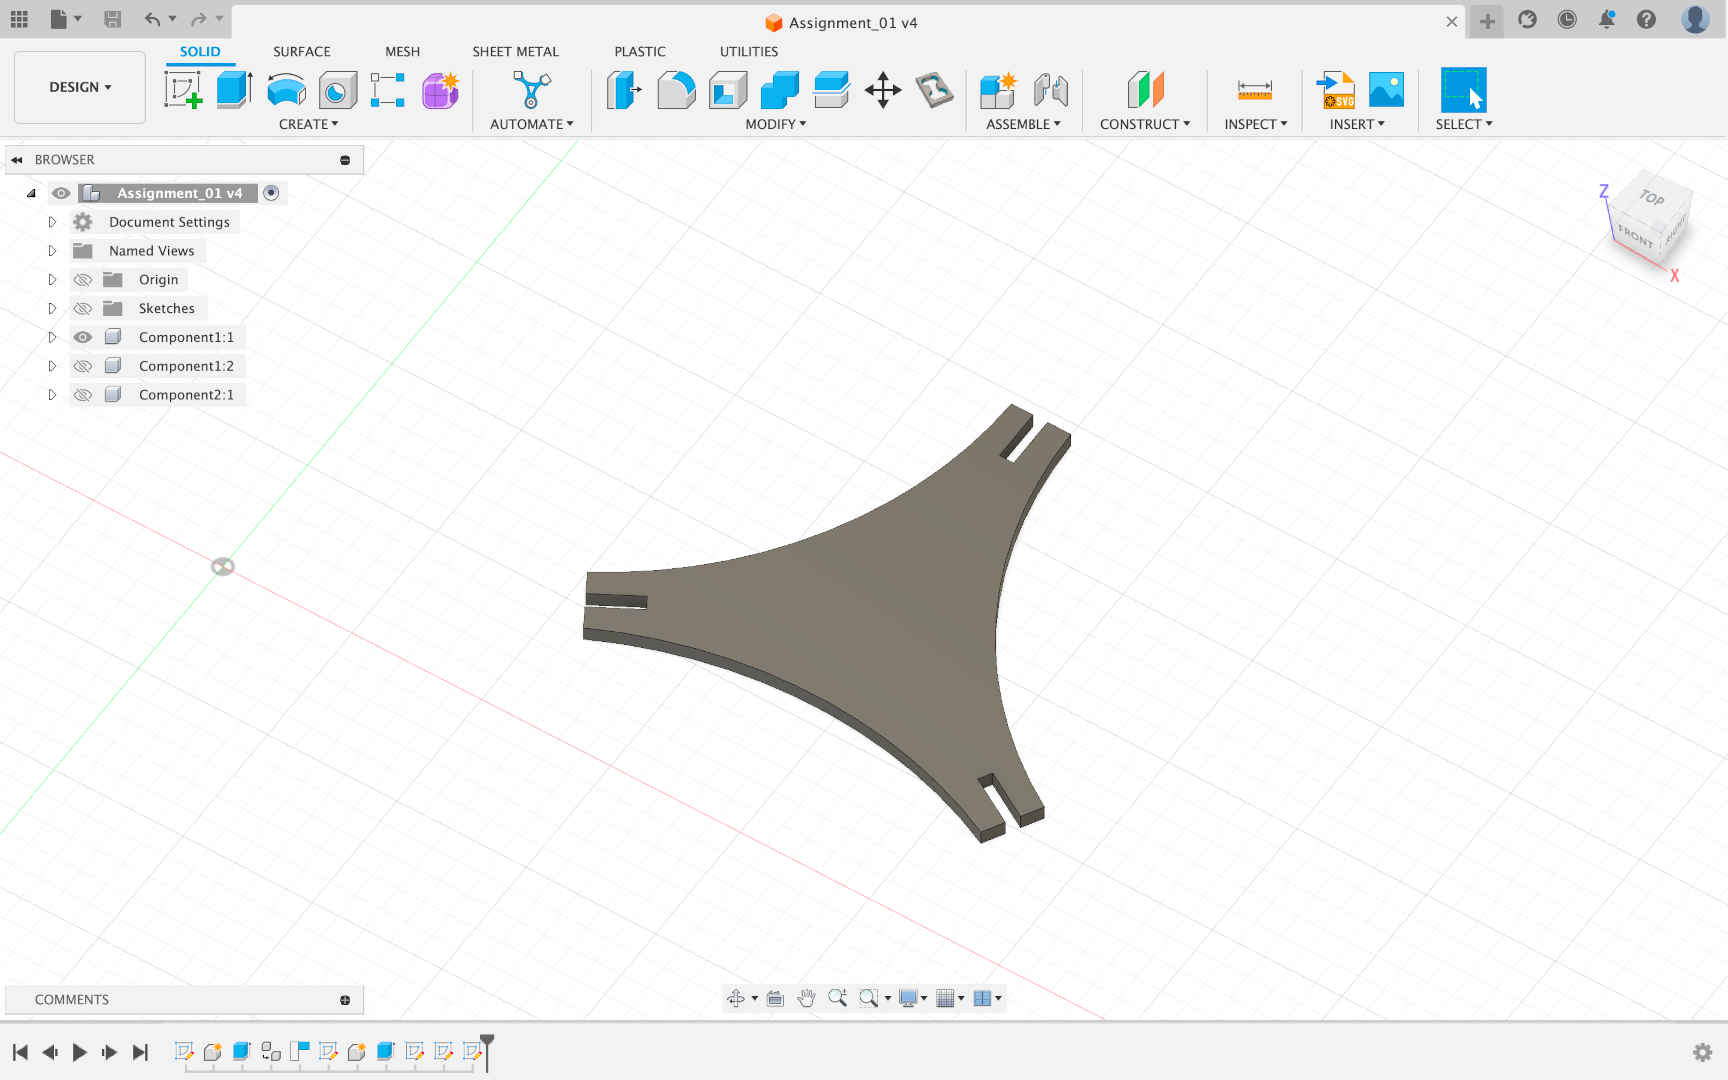
Step 1: Like always, it all started with a Design. I made a parametric design in Fusion 360. Started with parameters in Fusion
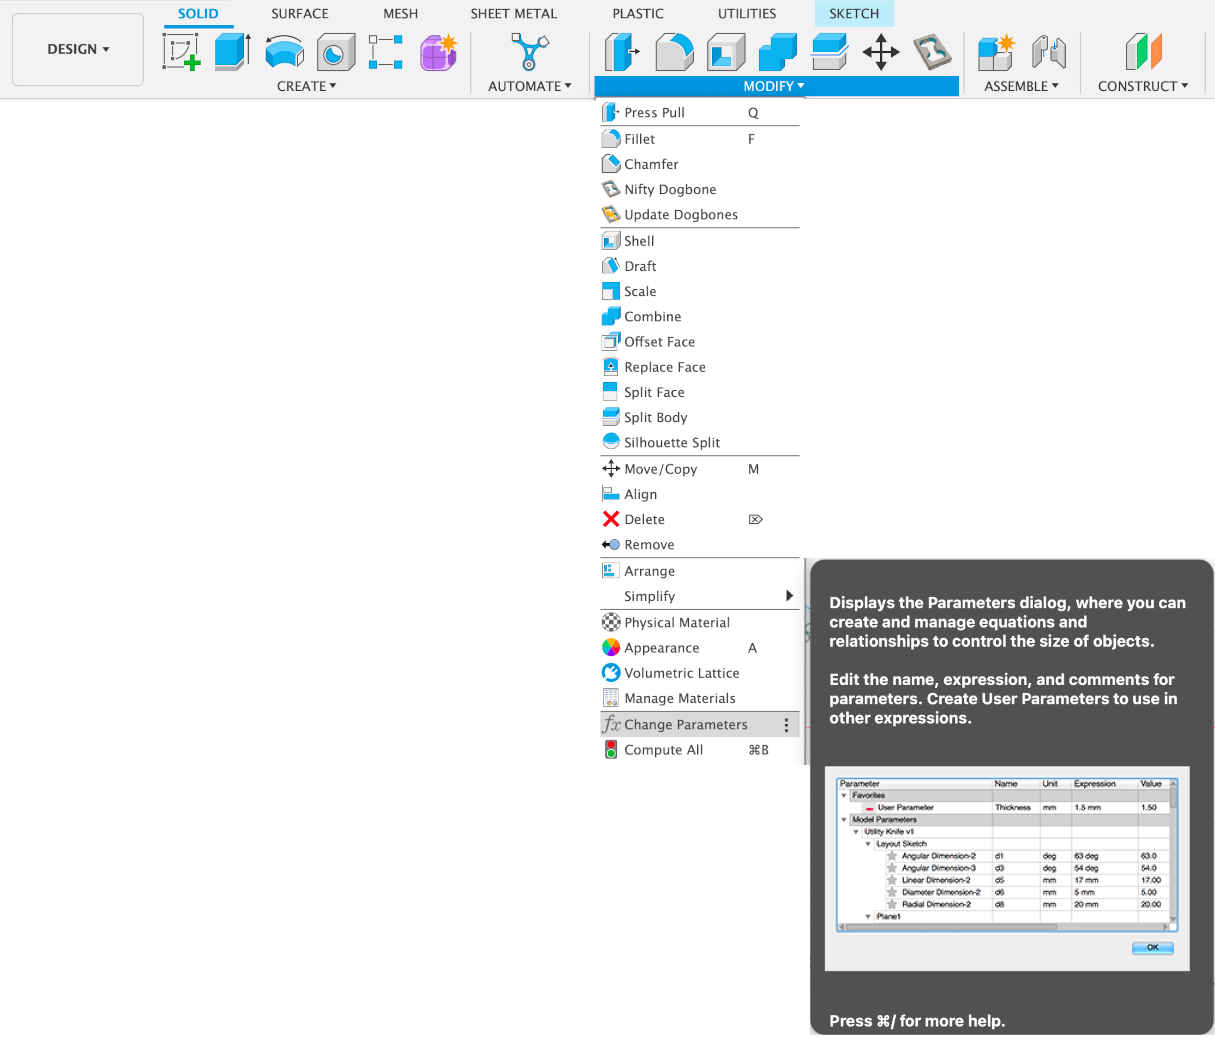
Step 2: Add parameters using change parameter tool.
Parameters:
Parameters in Fusion 360 can be modified later to update the model automatically. These parameters can include dimensions, angles, tolerances, and other design constraints. By using parameters, you can easily modify your design and explore different variations. When using Fusion 360 for computer-aided manufacturing (CAM), you can set various parameters related to toolpaths, machining strategies, cutting speeds, and feeds. These parameters define how the tooling and machining operations are performed on your design.
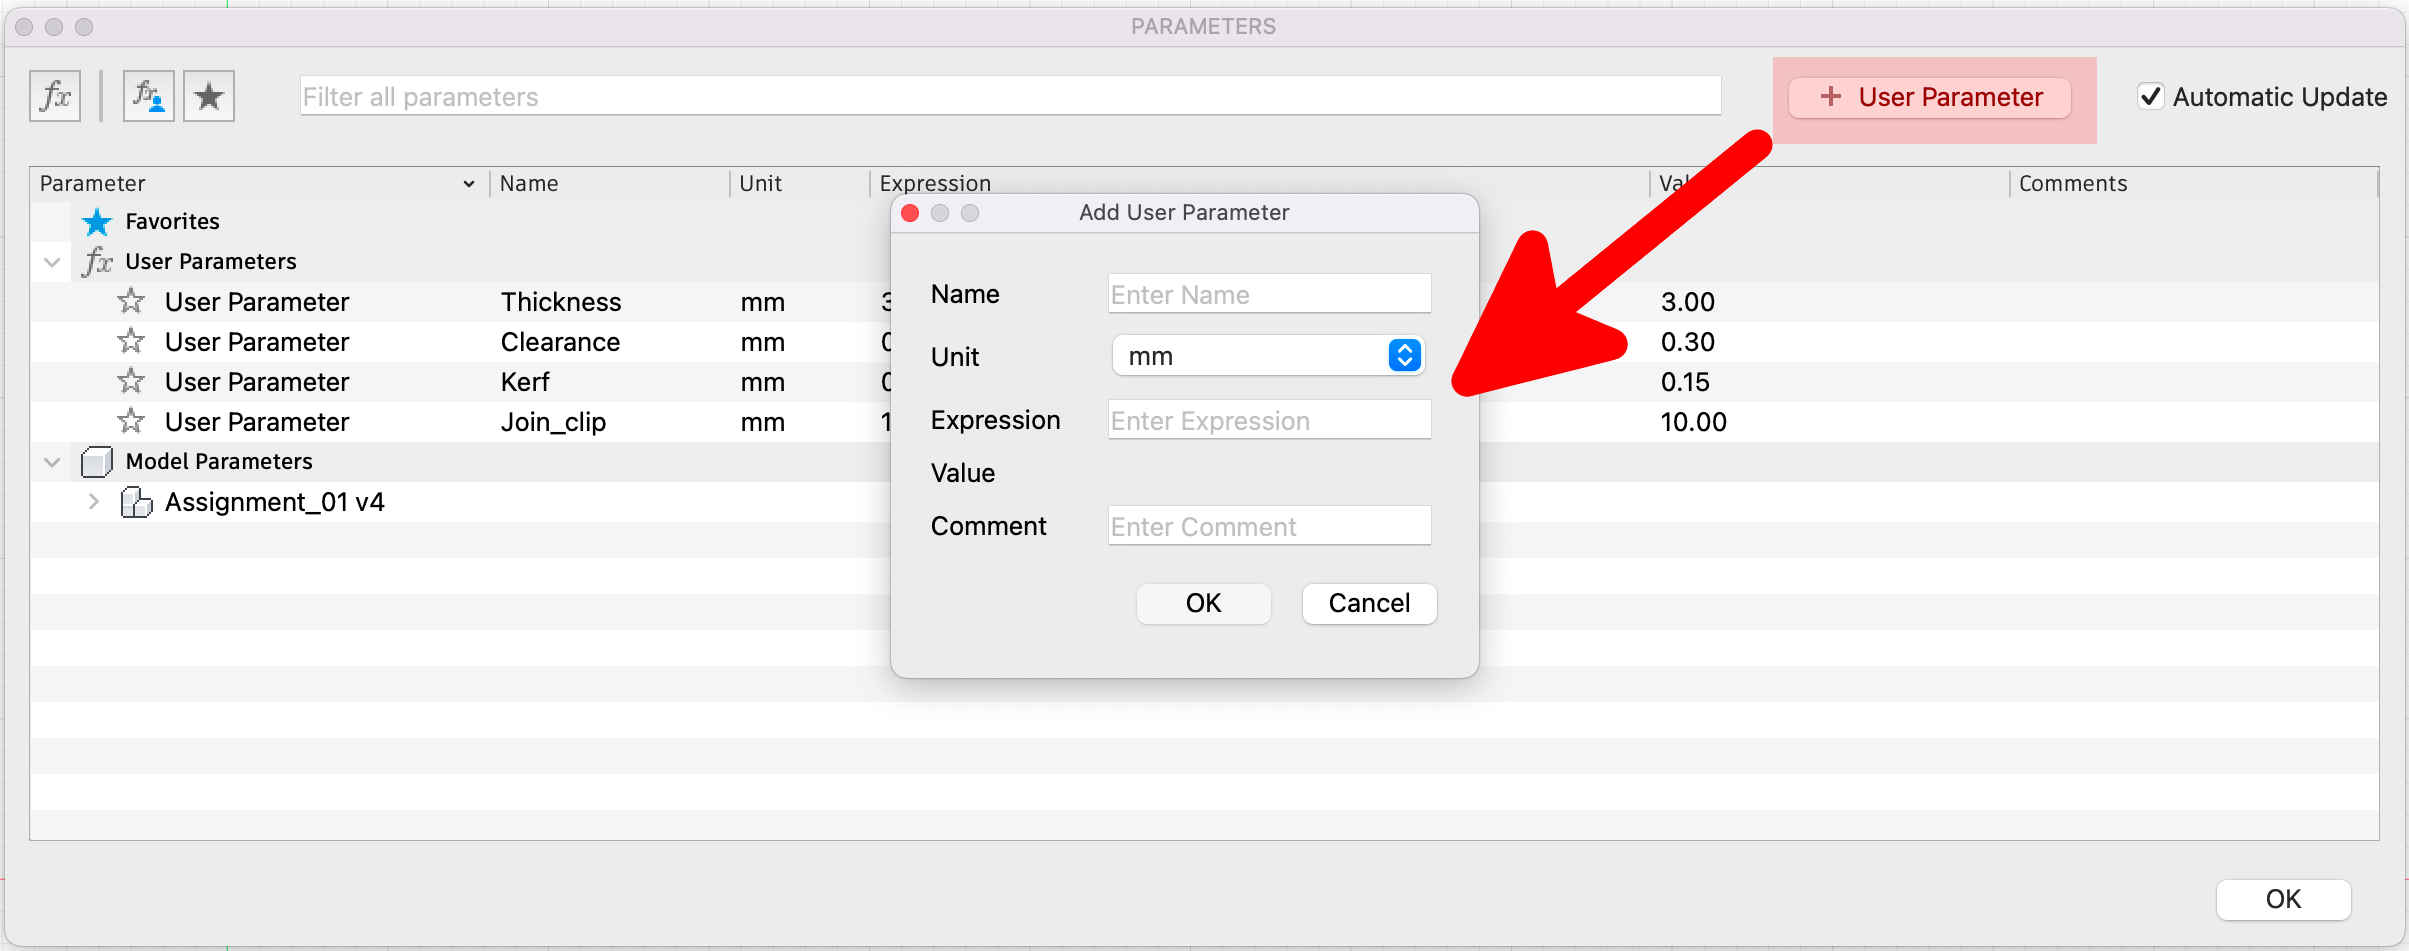
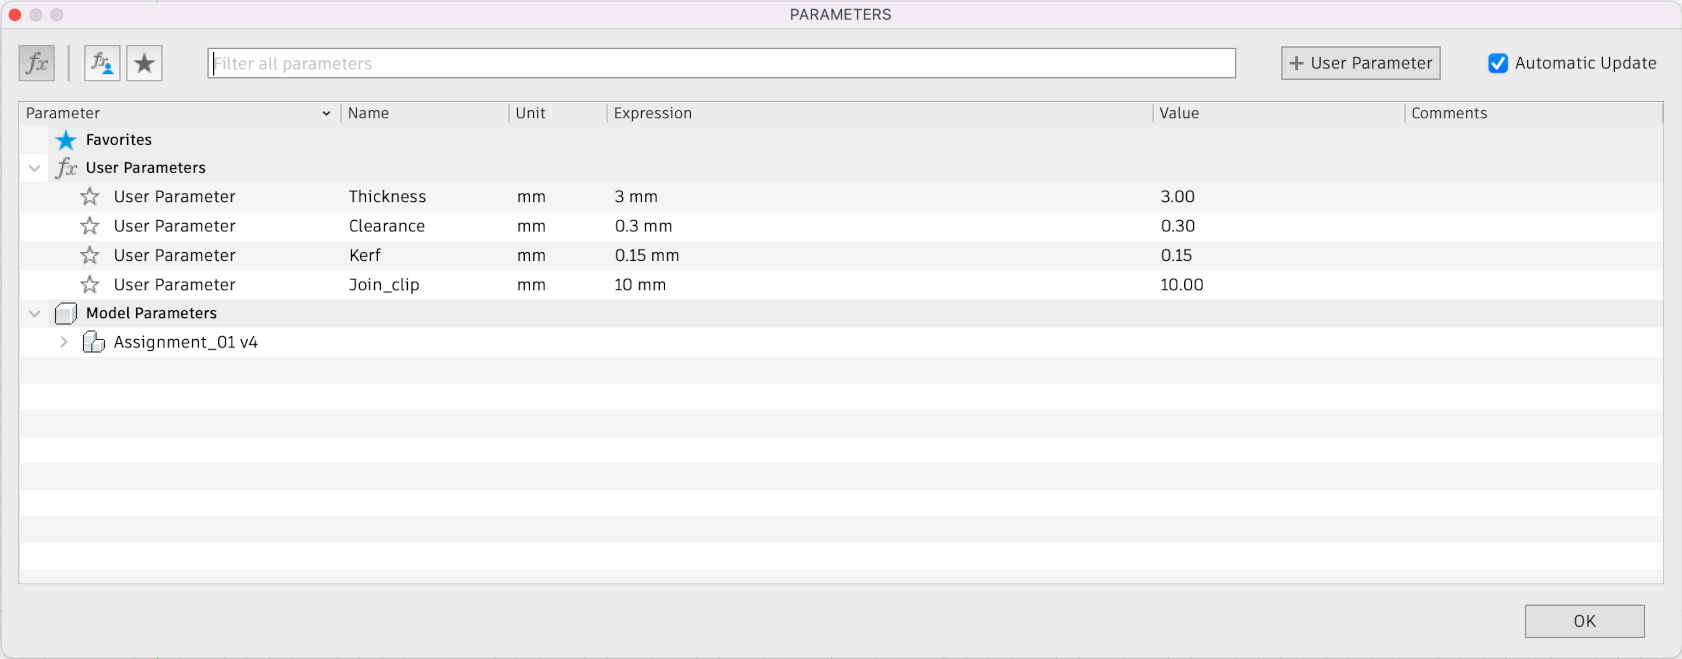
Step 3: Following are the parameters I added to my design. I considered thickness, clearance, kerf & join clip gap etc. These can be achanged anytime and the entire design won’t get affected.
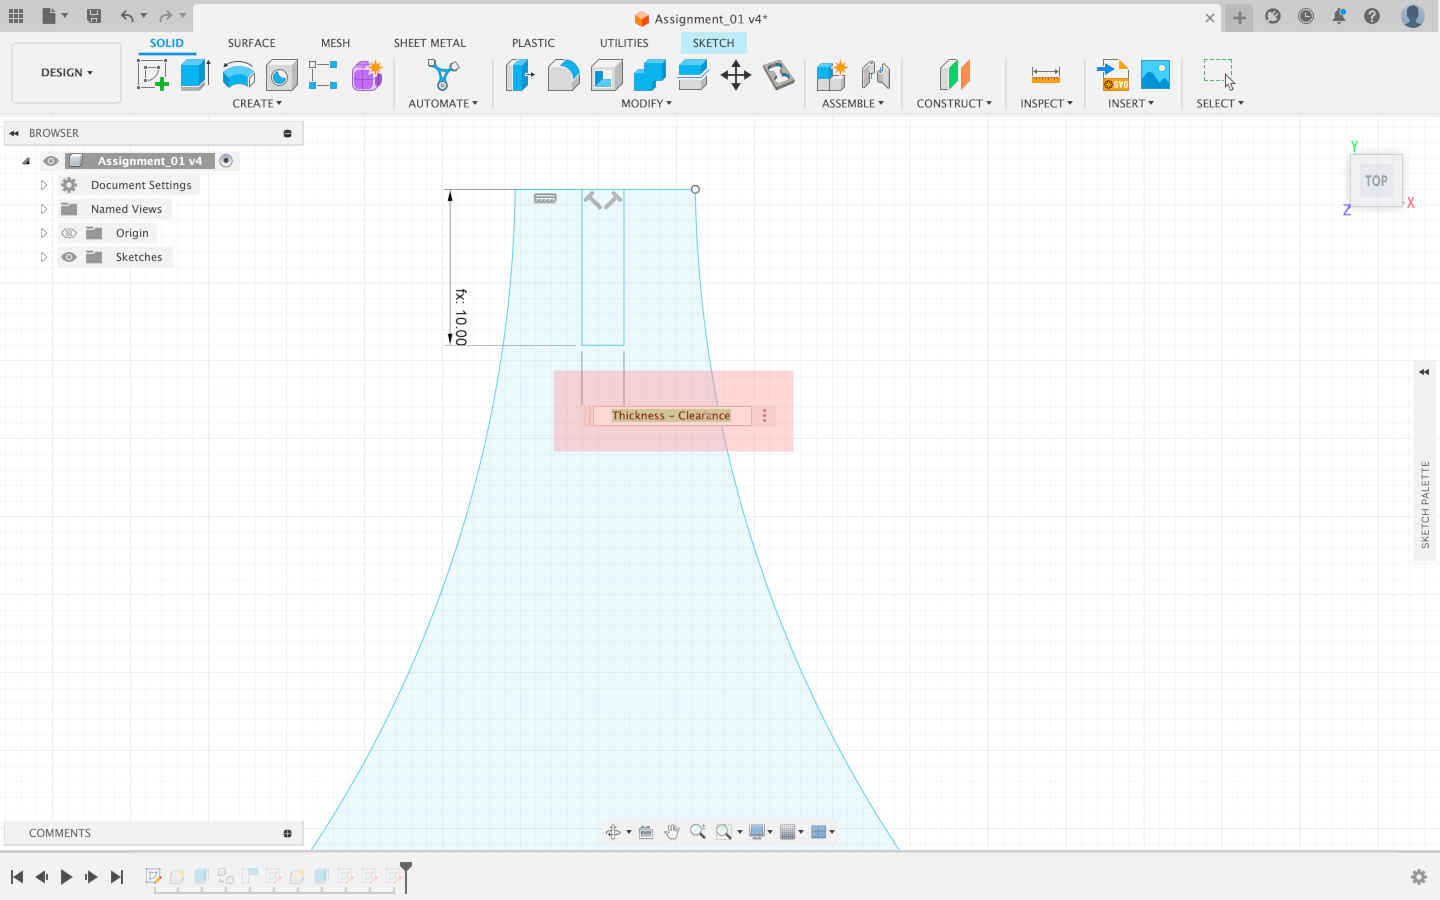
Step 4: This is how I made connections with parameters in design. Dimensions can be made using formulas connectecting eaxh parameters.
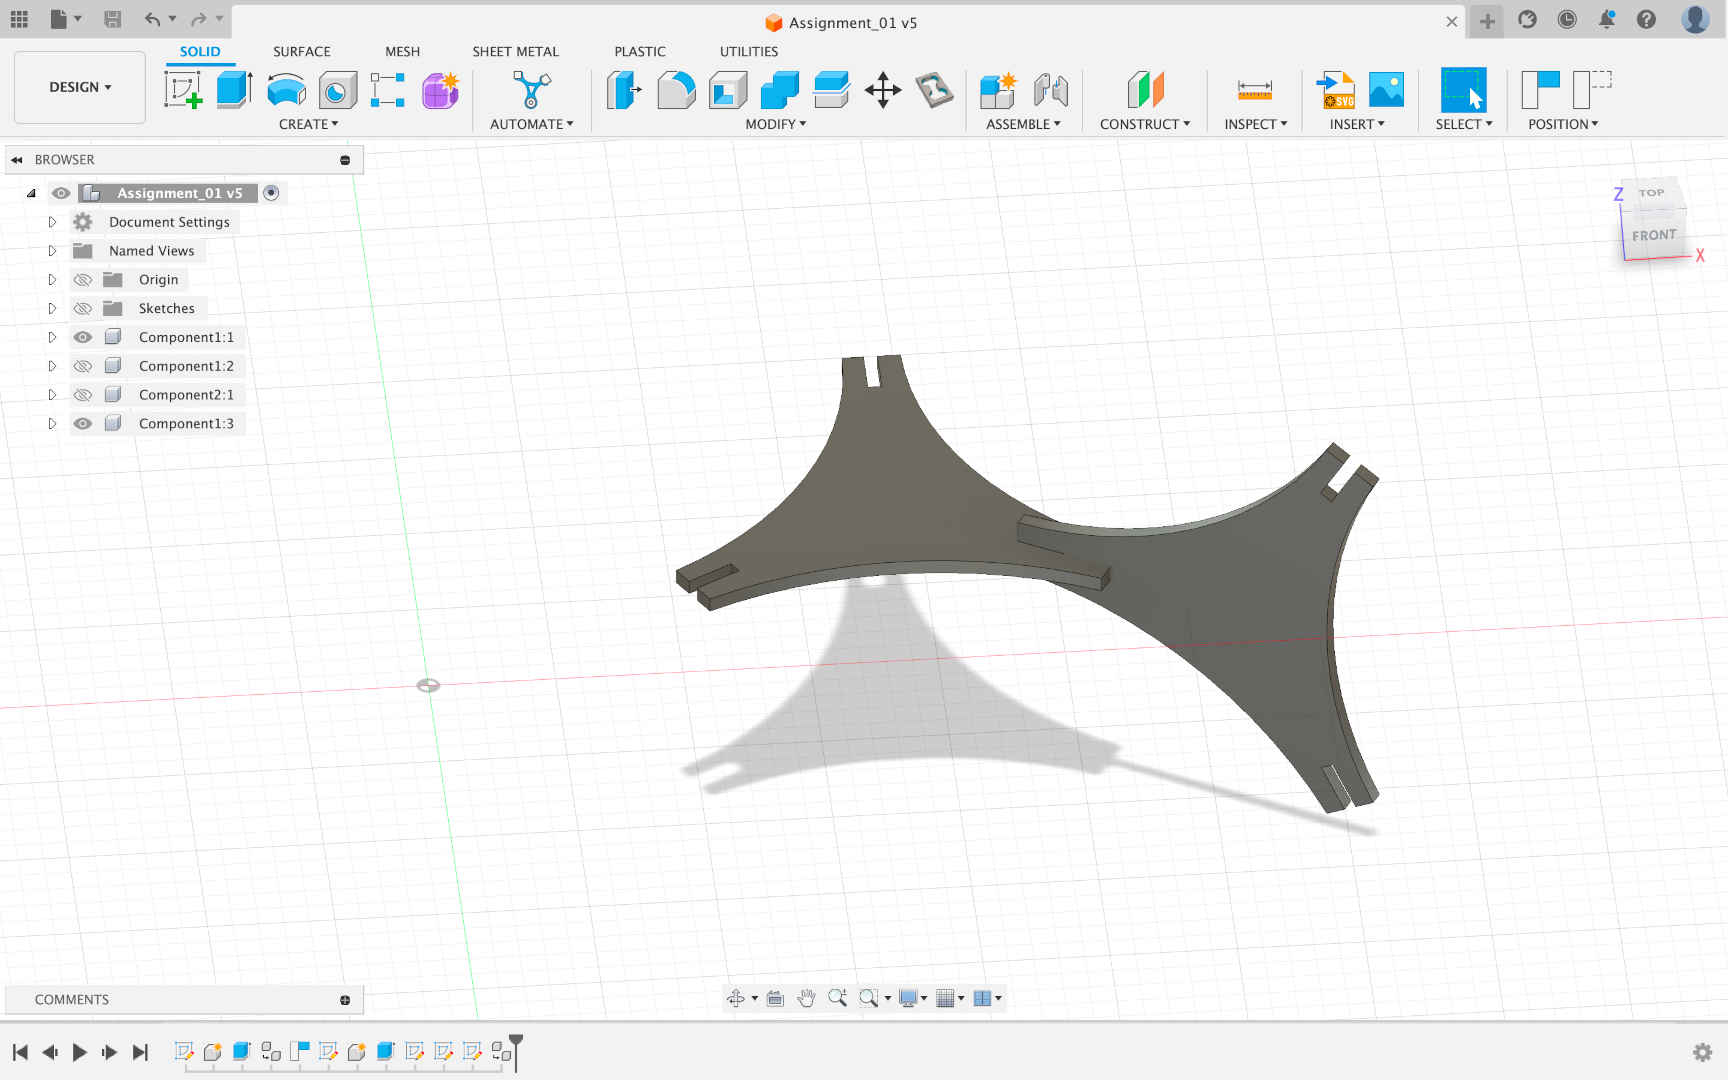
Step 5: The Final Design
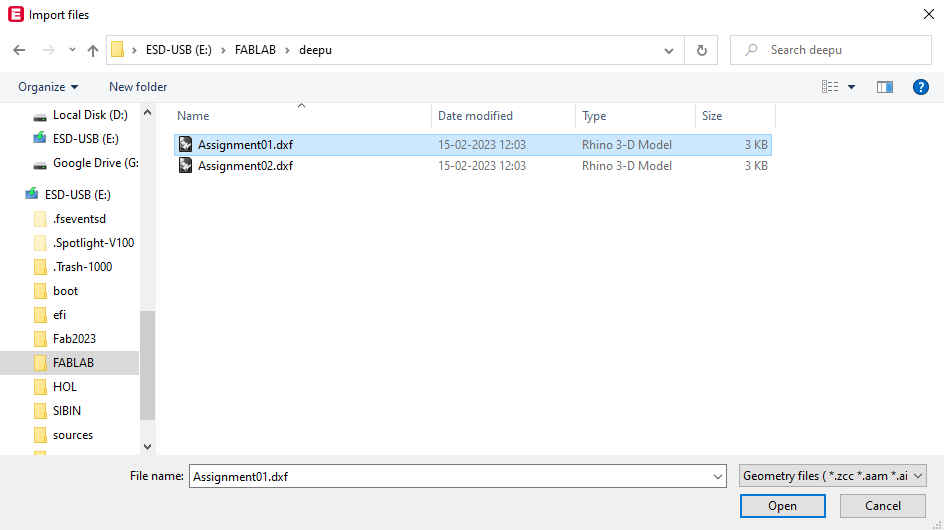
Step 6: Once design is made, export the file as DXF format.
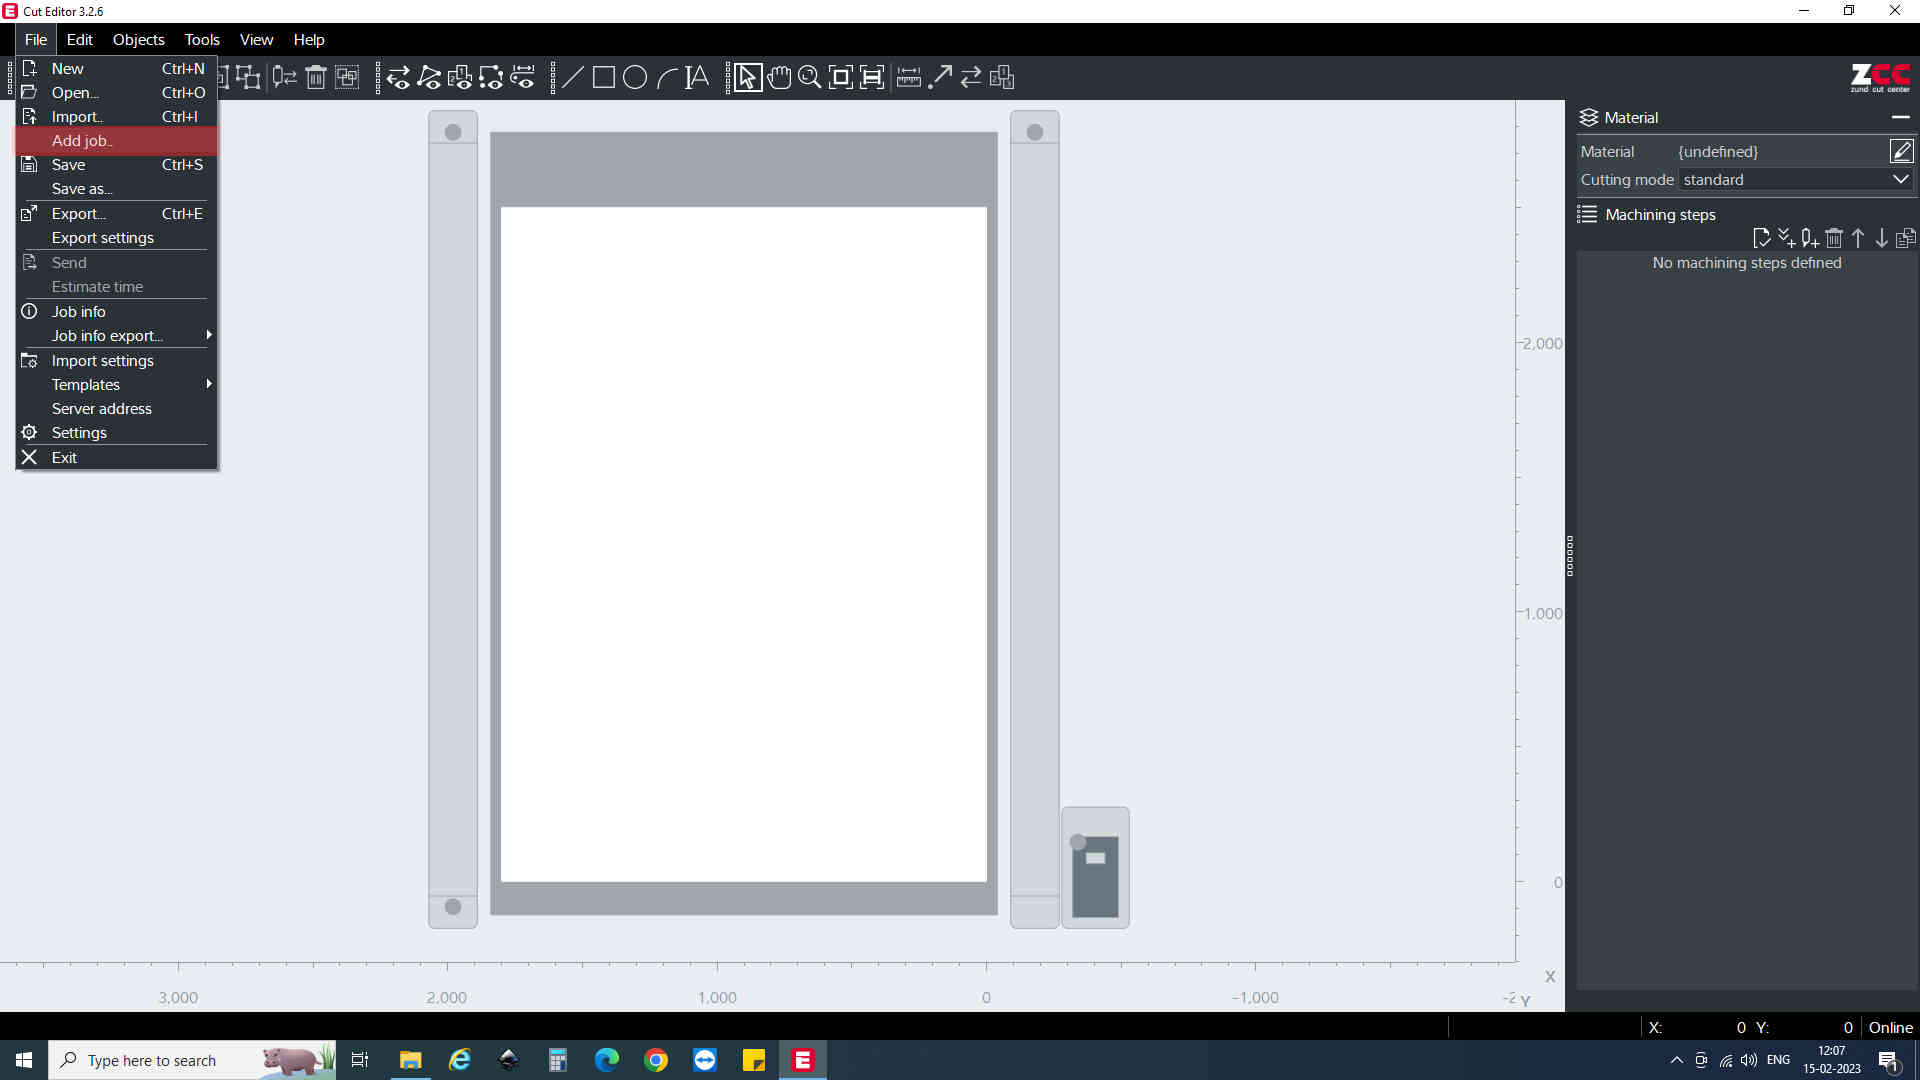
Step 7: Using Cut Editor software we cut the cardboard in Zund.
Step 8: First Go to File - Add Job
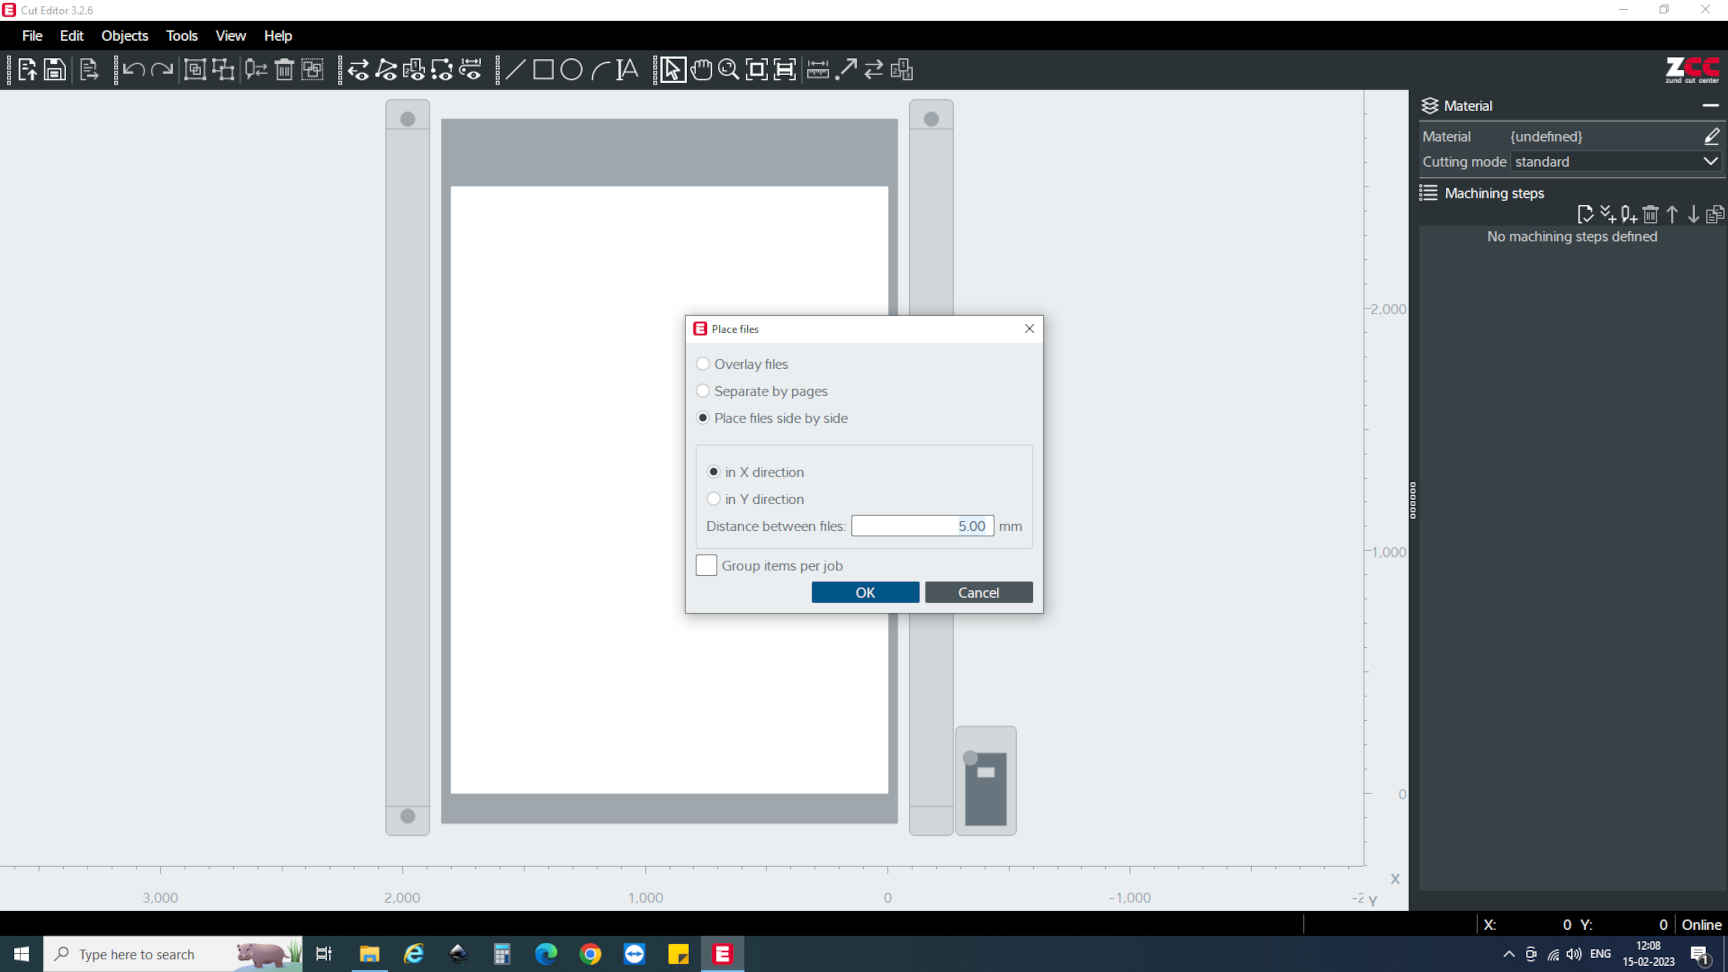
Step 9: Upload the DXF Files
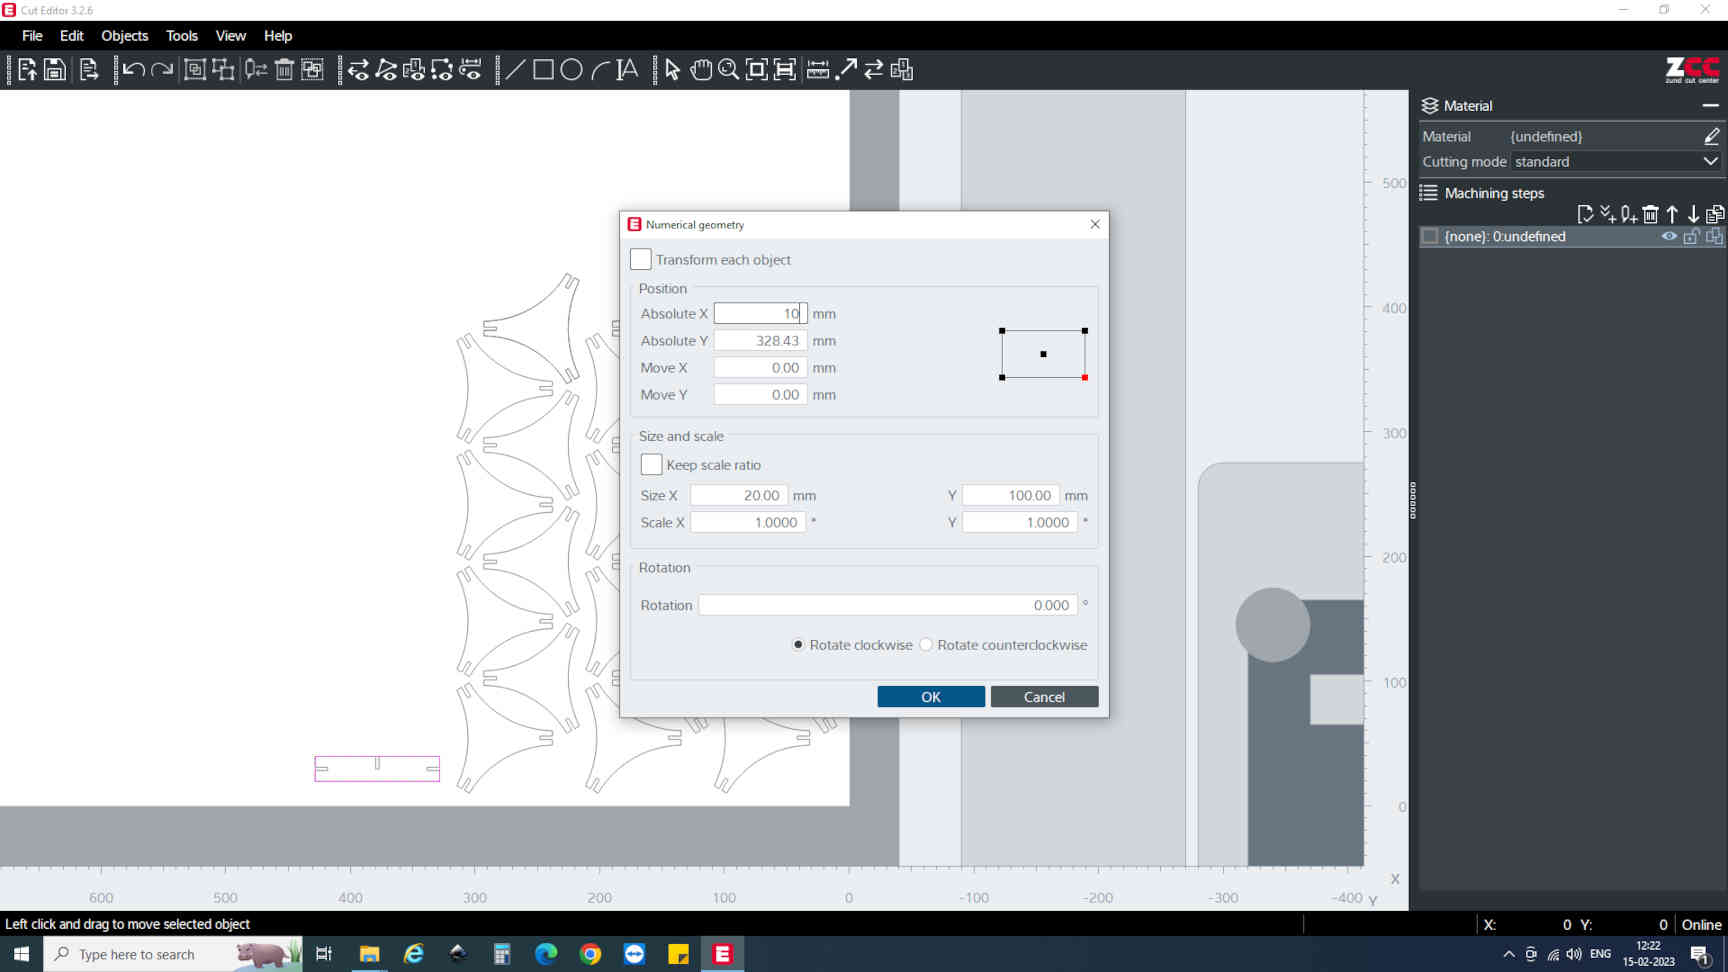
Step 10: Specify the direction and distance between the files
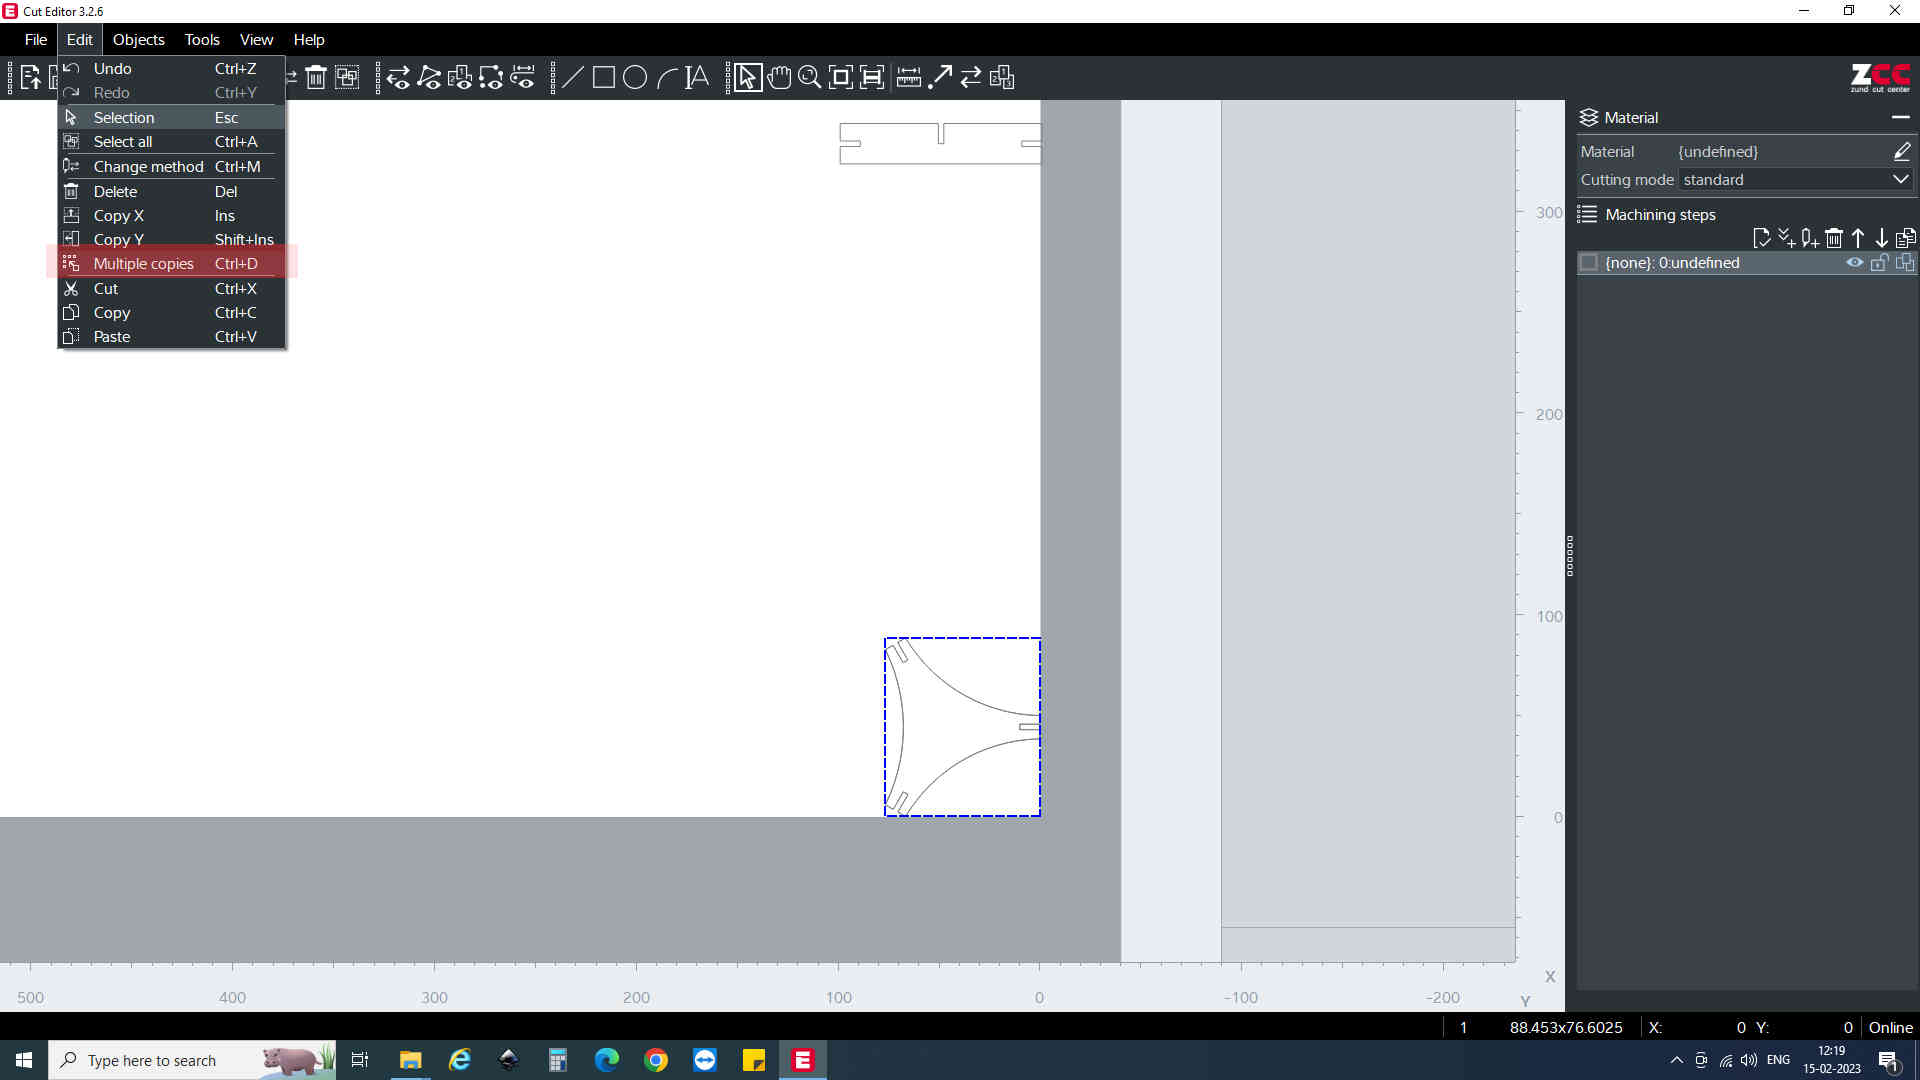
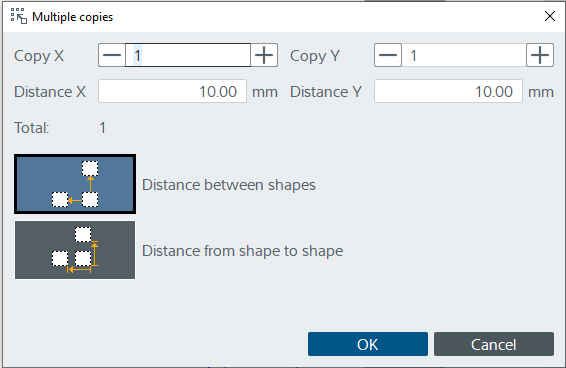
Step 11: Made the number of copies needed to cut: Go to Edit - Multiple copies. Mention the number of copies & direction
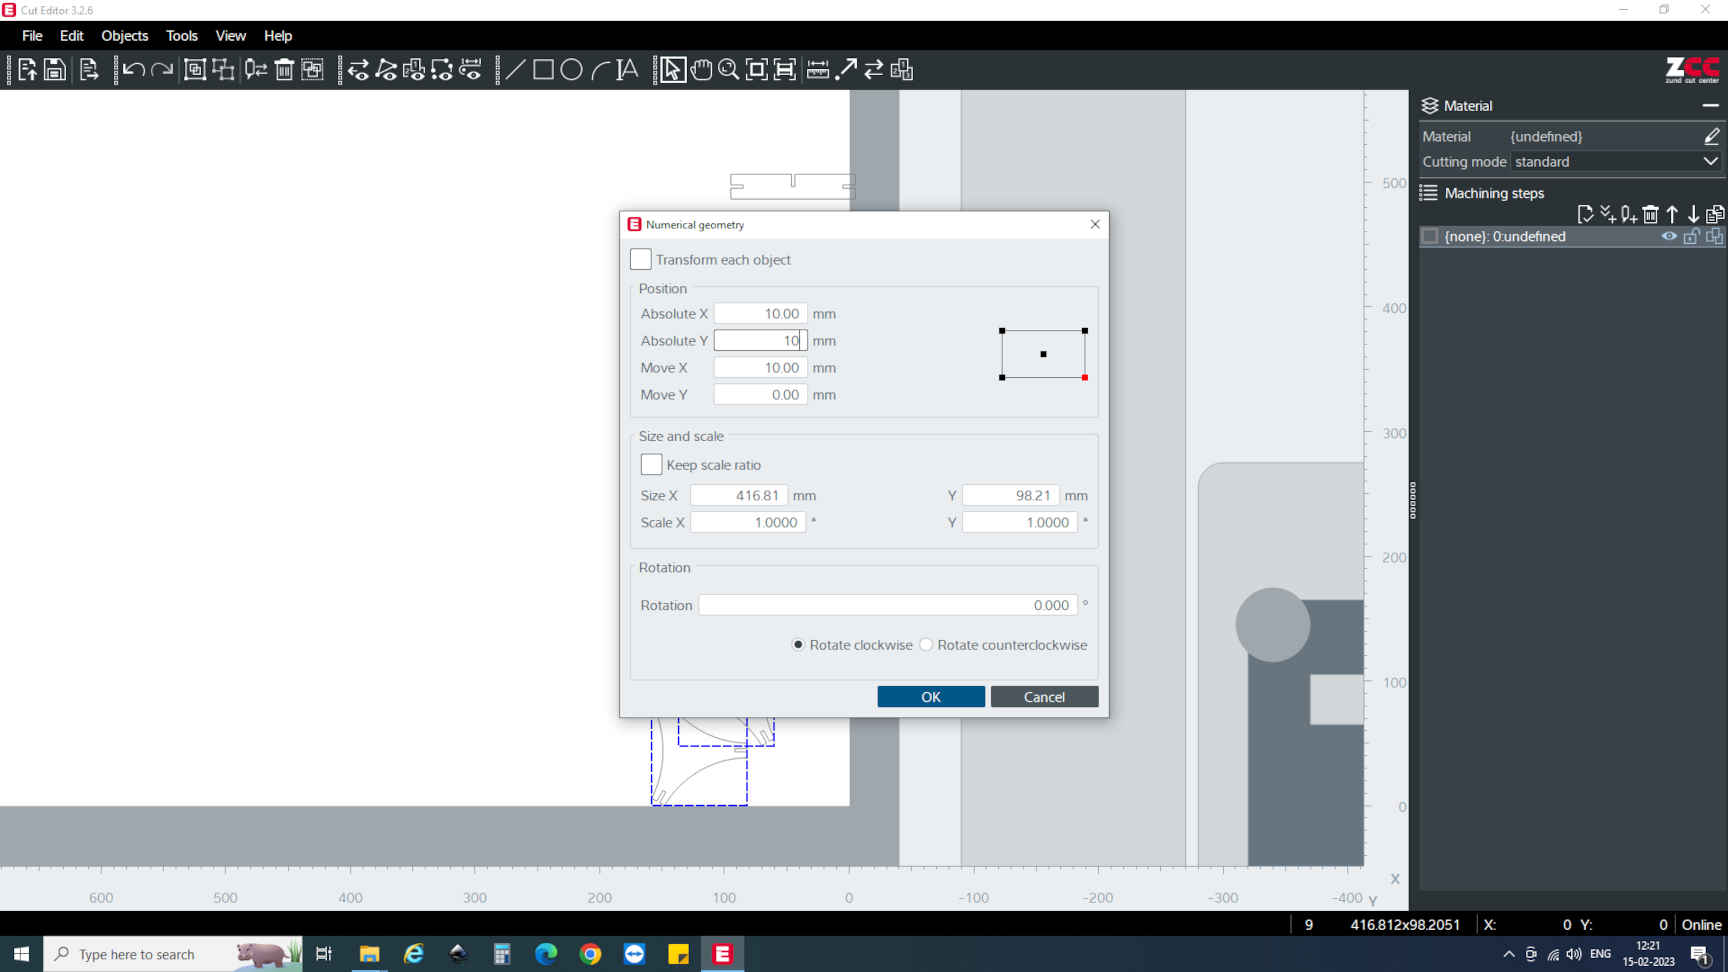
Step 12: Arrange the copies in such a way that minimum wastage is coming.
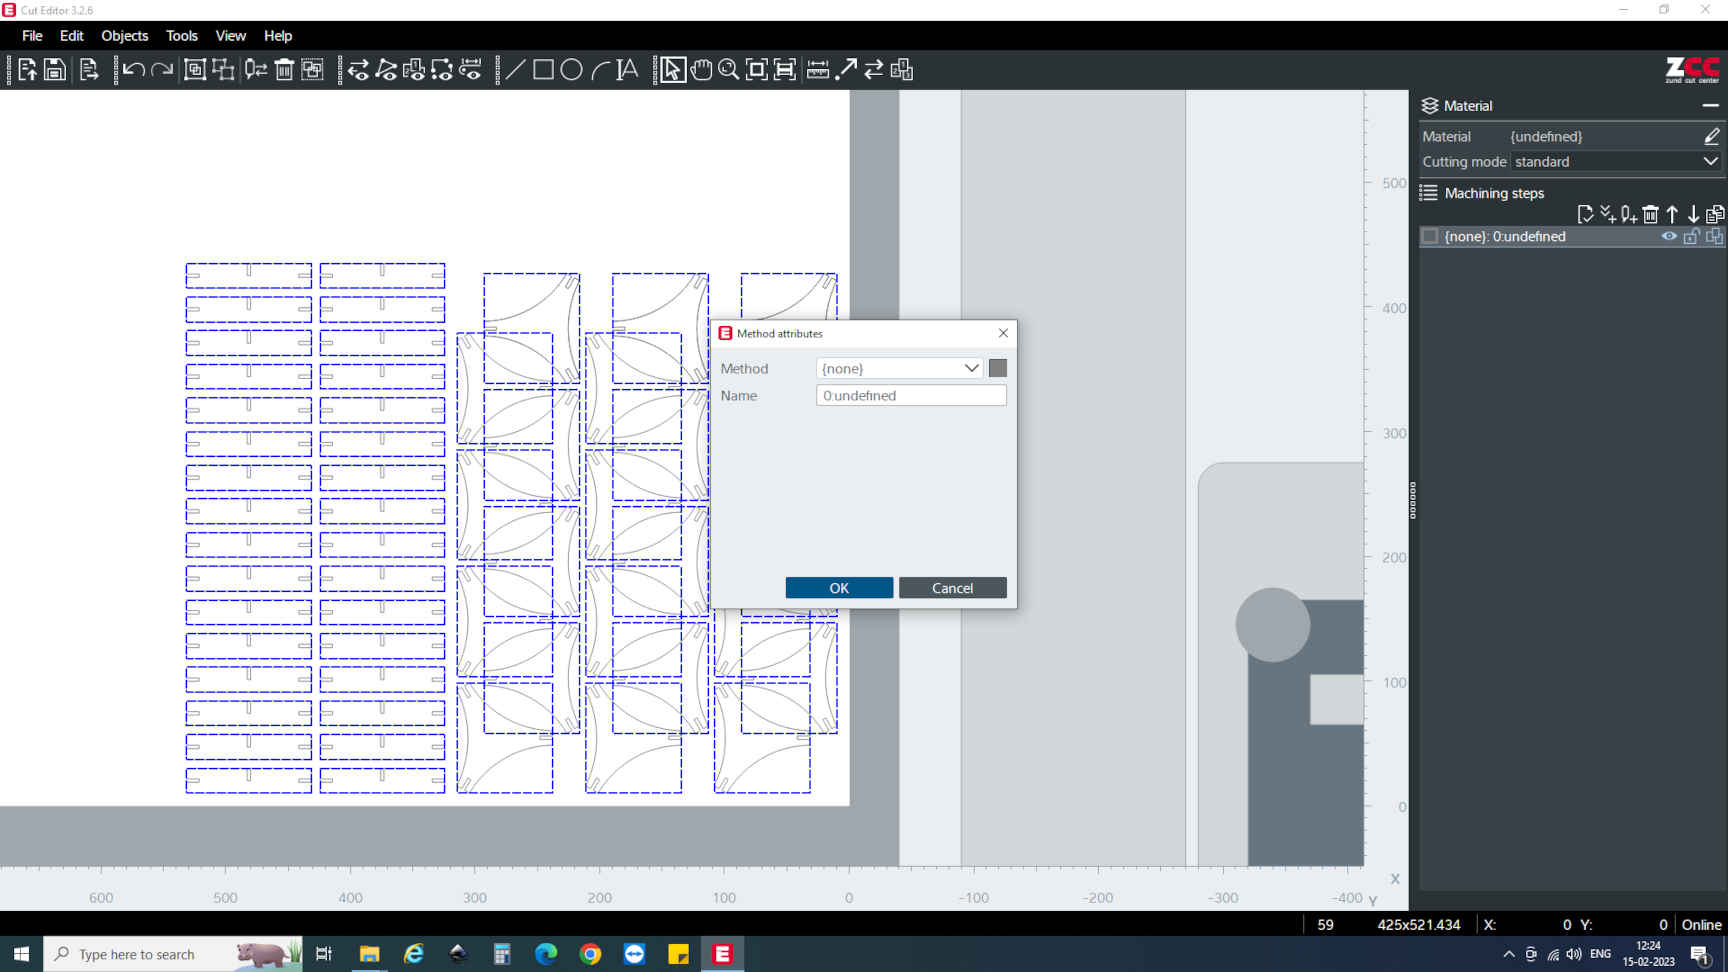
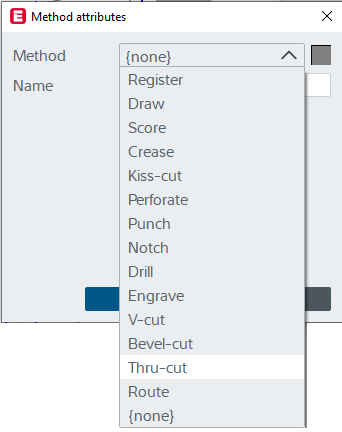
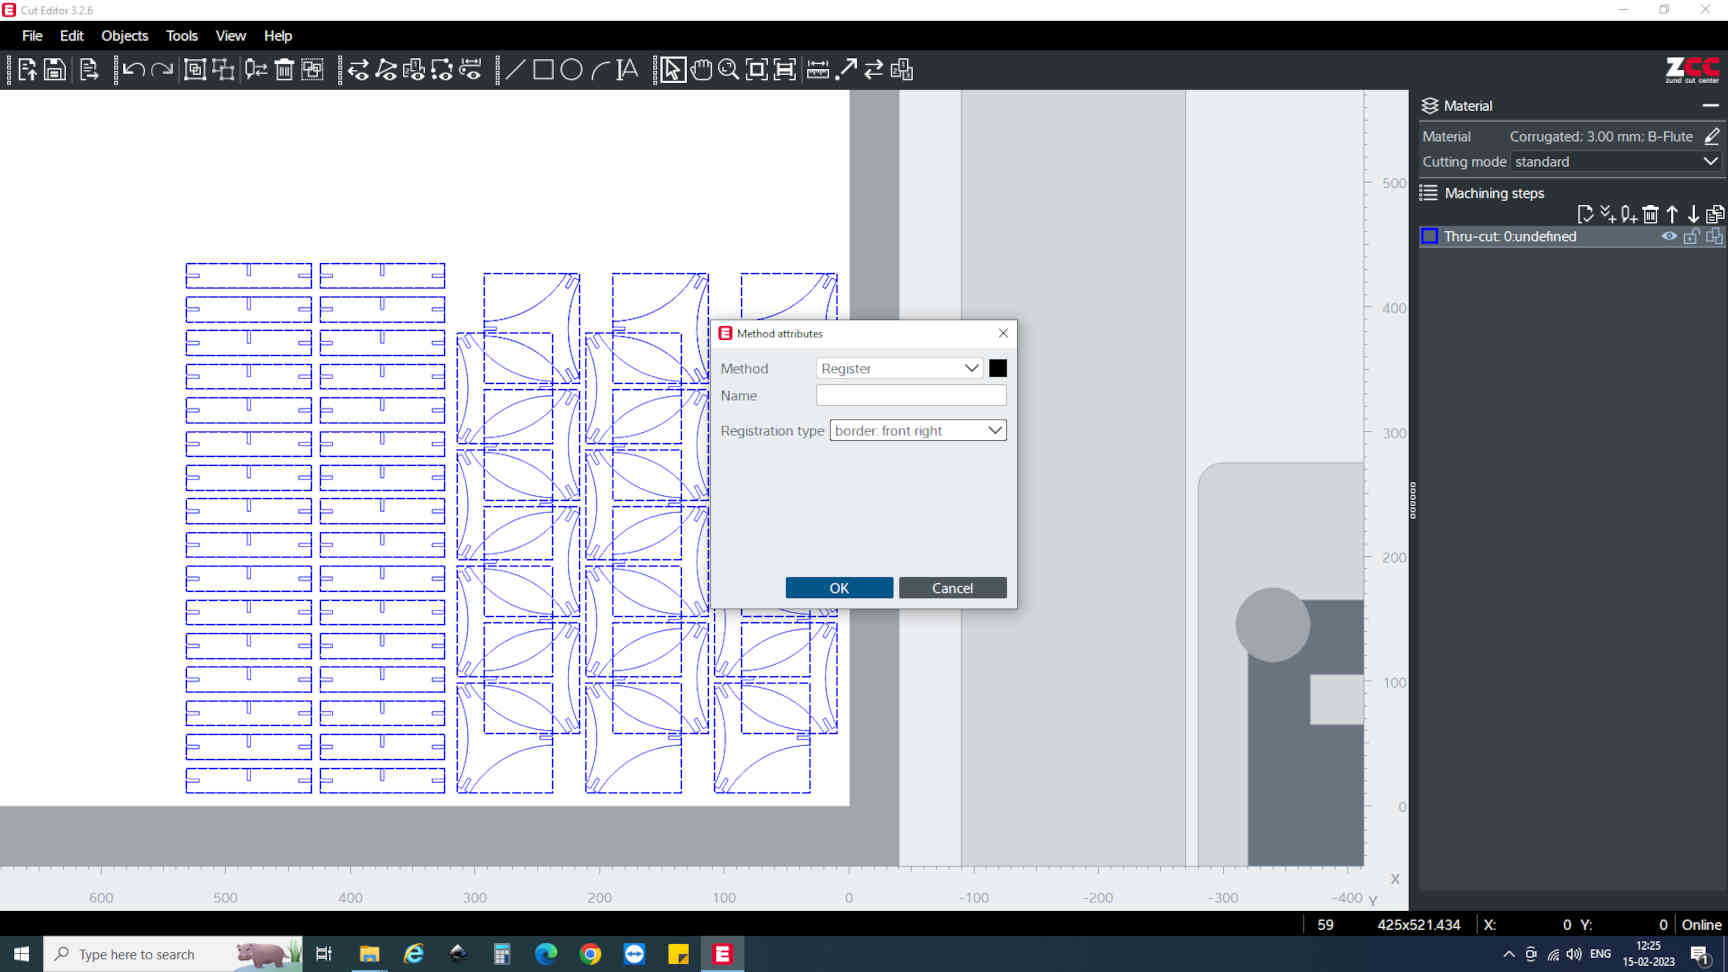
Step 13: To Register Thru cut, Go to Method Attrributes, above the layer section
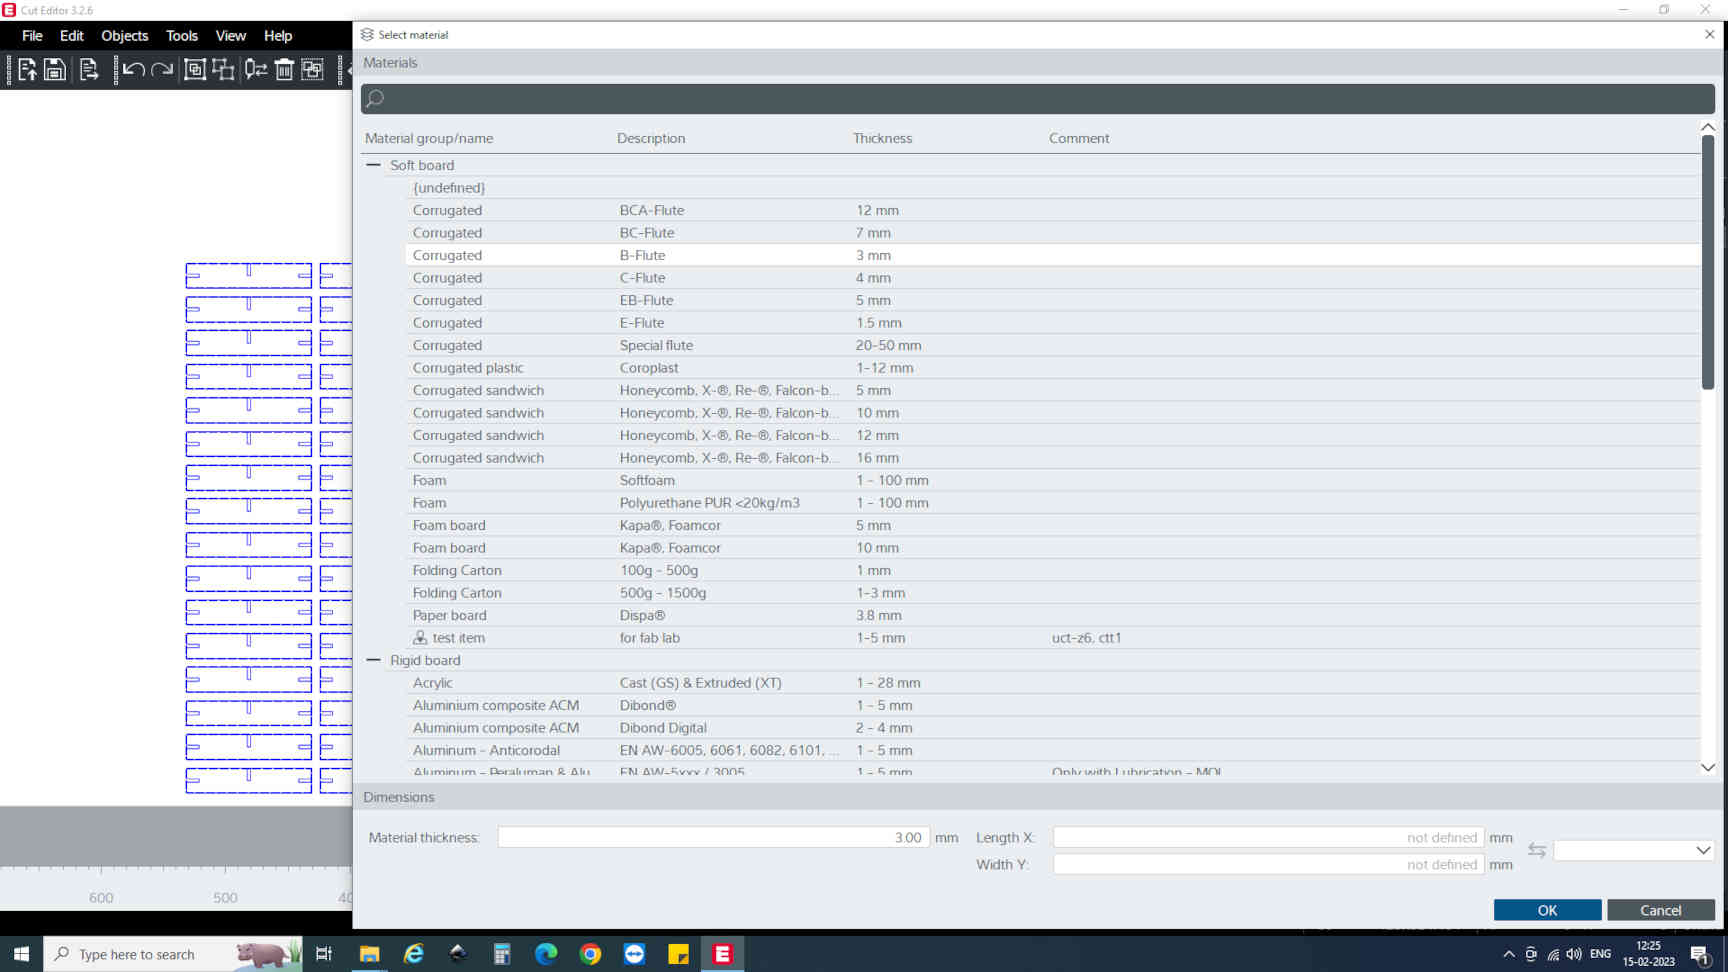
Step 14: Now Select Material.
Step 15: Now Register for Border Front right. This is when we add the camera for finding the edges of the material before cutting starts.
Step 16: Now select tool.
Step 17: Once tool is selected and everythings find, send the file to cut.
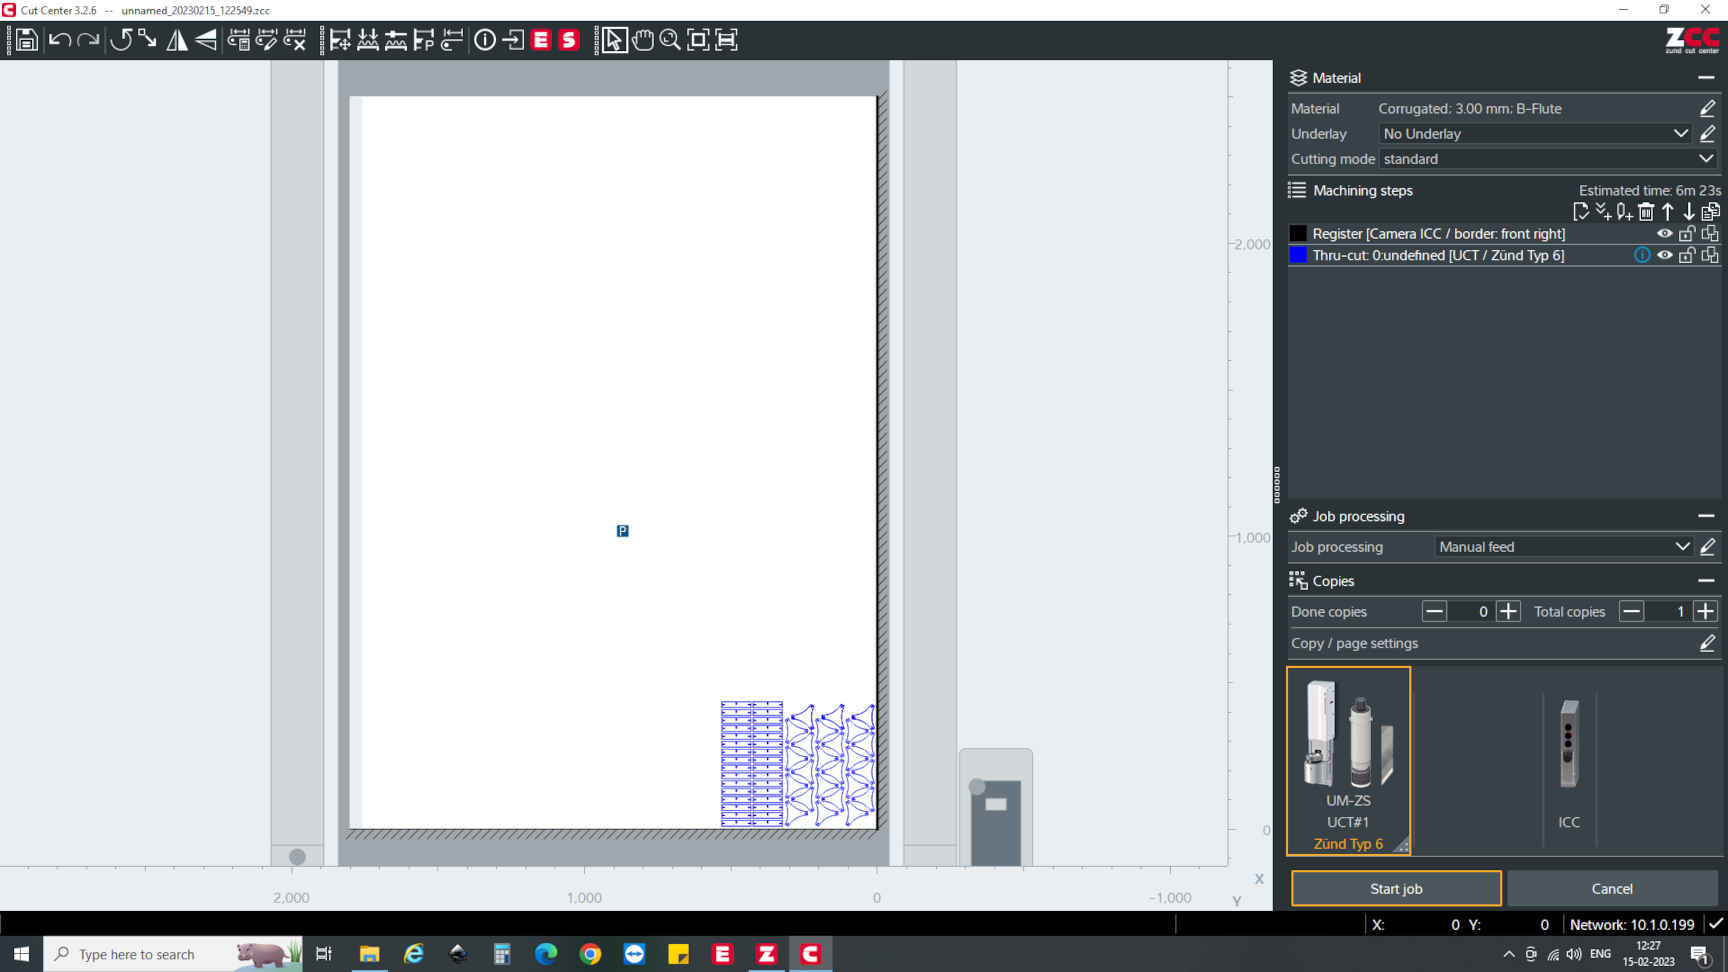
Zund Cutting Video
Final Result

Downloads
Help Taken & References
Chat GPT used for doubt clearing and content helps.