Designing a case for the Atmega 328p pcb board
I found the work of “HARU” very interesting you can see his work by following the following link
HARU ,
so I decided to try it, to build a housing for my pcb boards built
during the course, the intention of the development of this assignment is to reuse used clothing textiles that
would otherwise give to the garbage
The design process
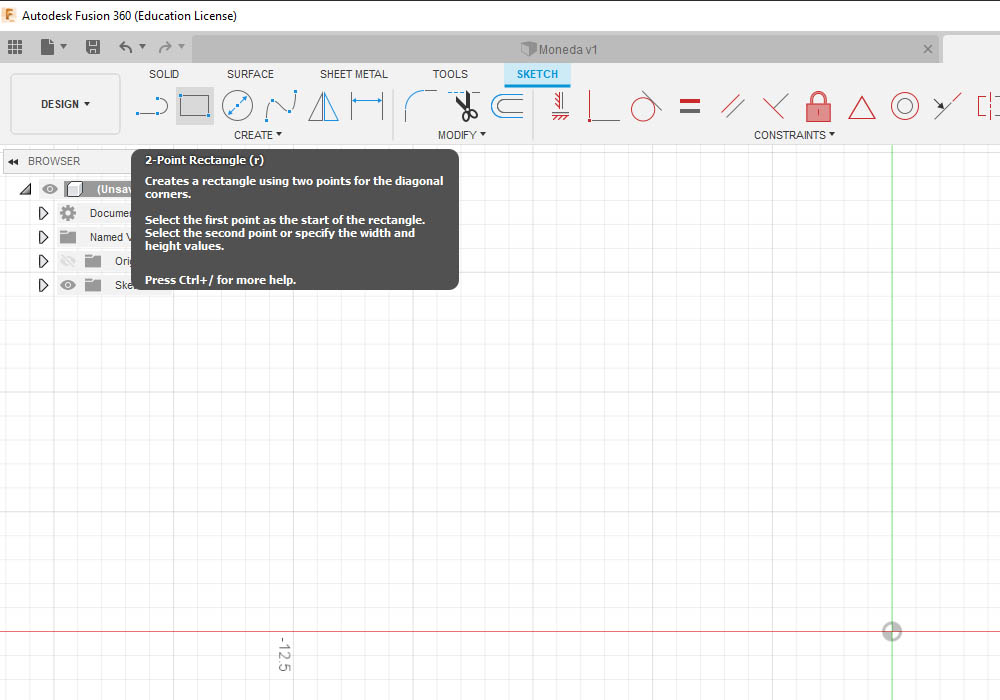
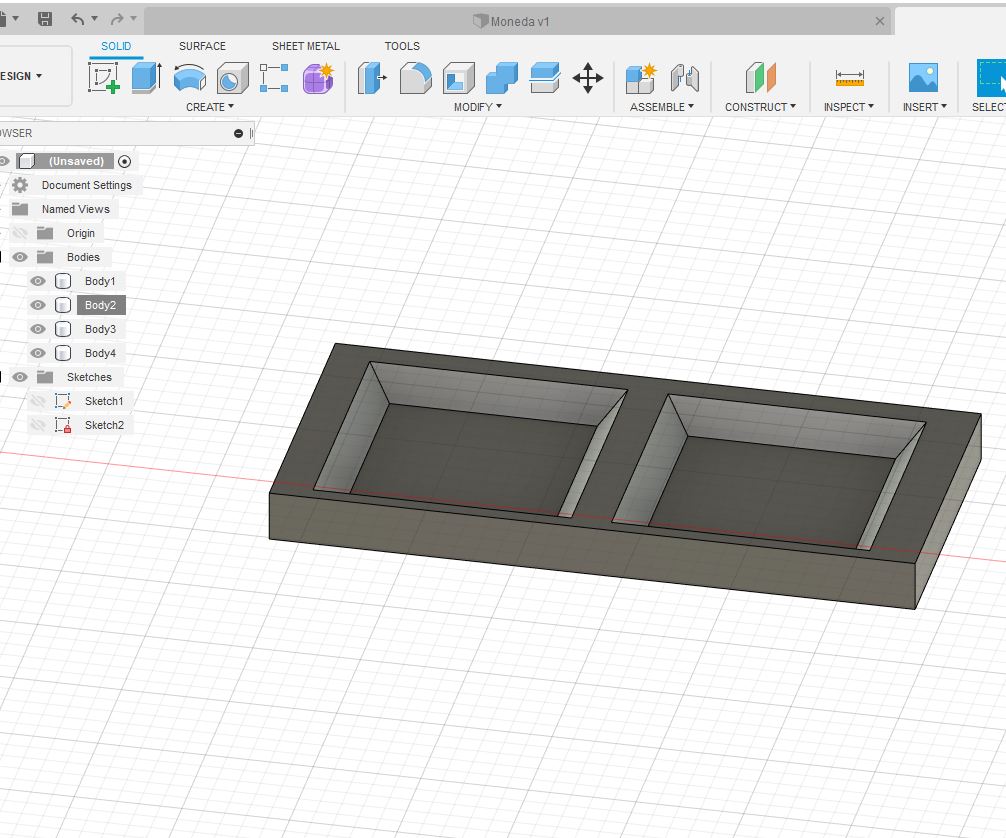
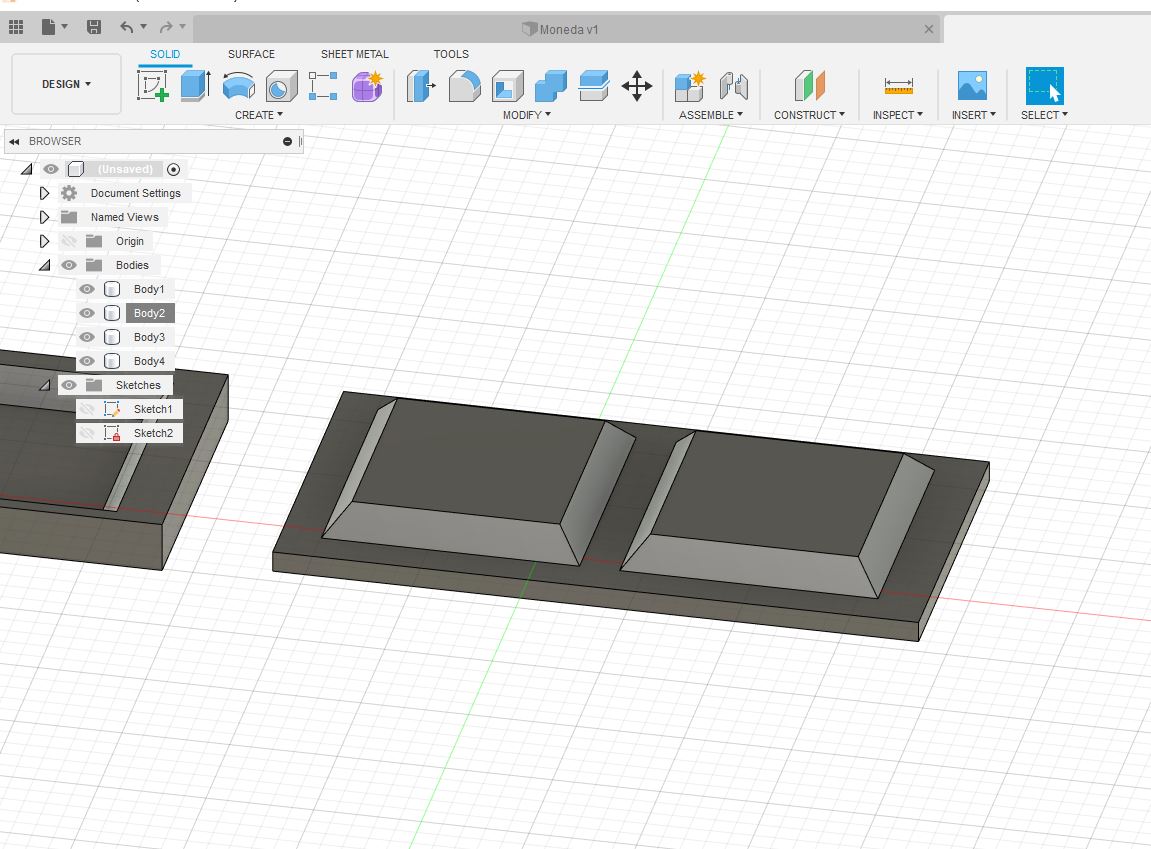
For the manufacture of the molds, Autodesk Fusion 360 was used to make the models
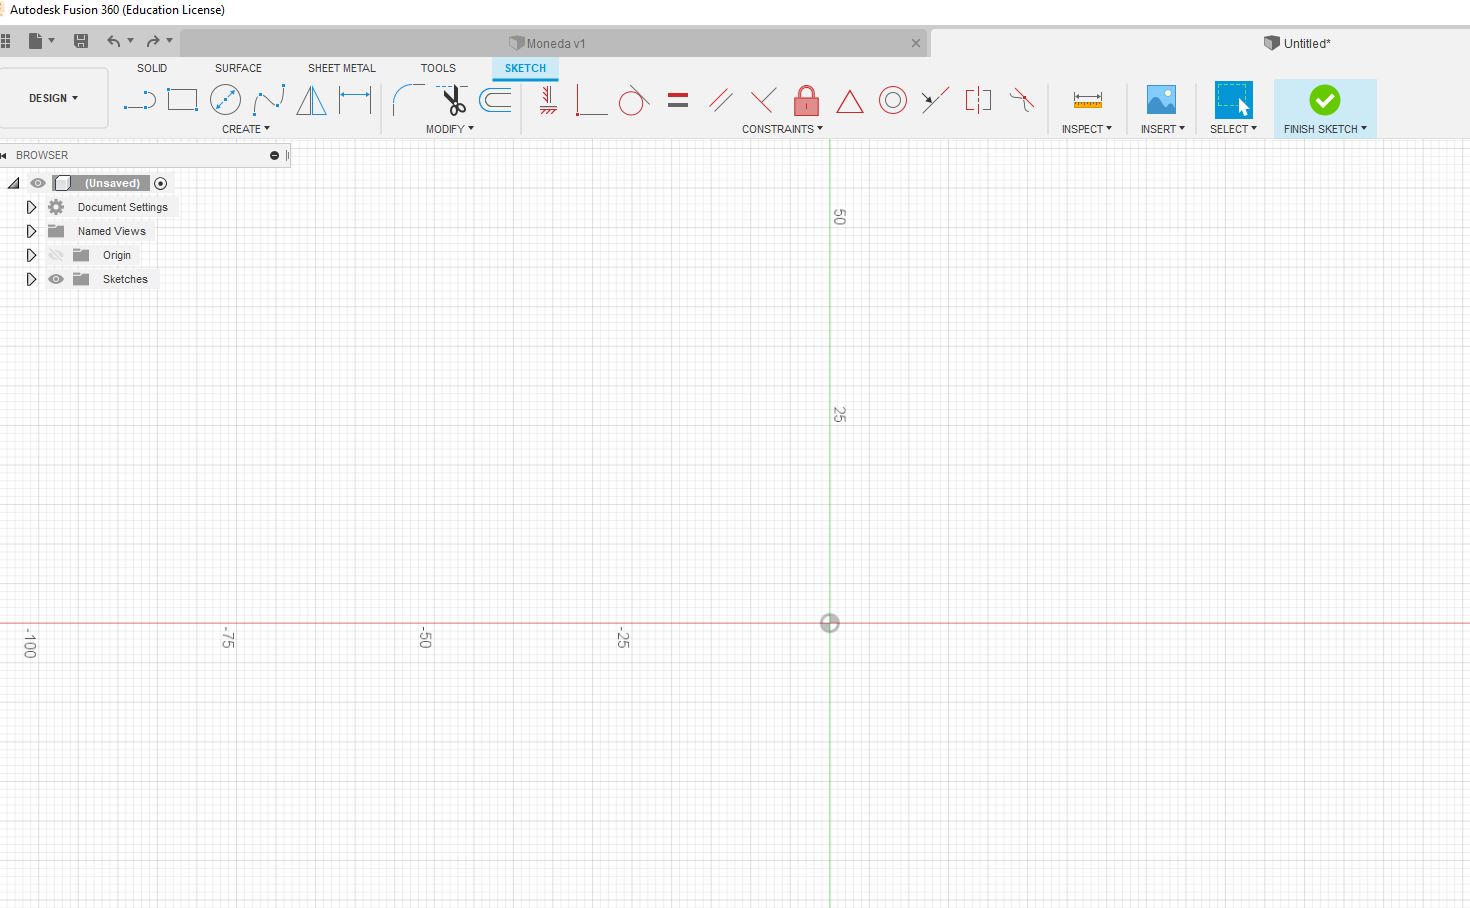
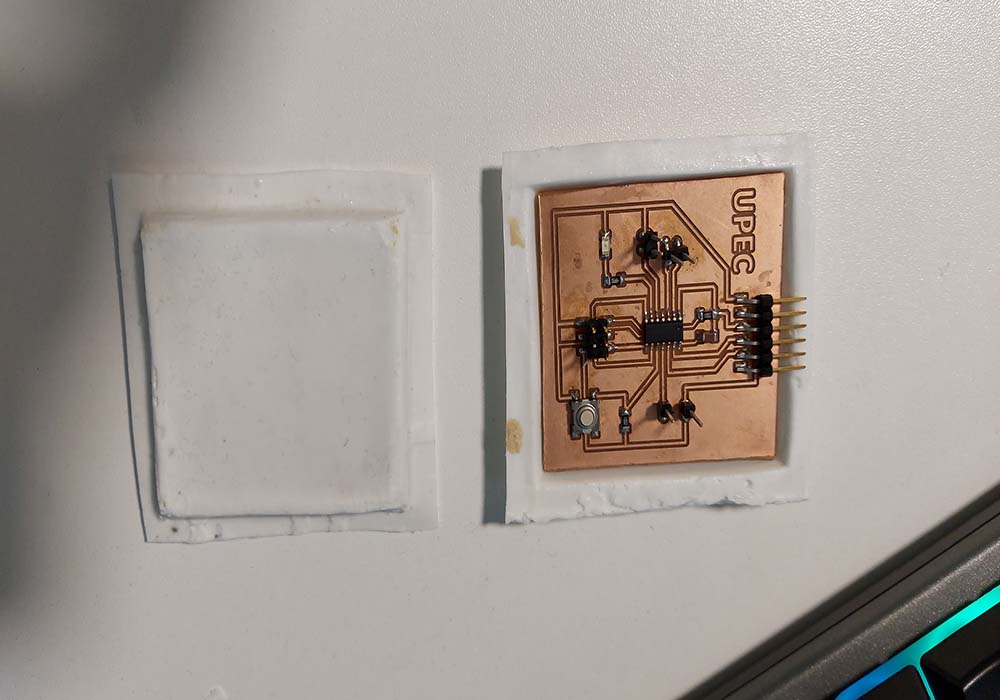
It started with a basic shape, taking into account the measurements of the electronic circuit boards pcb, these have dimensions of 55mm per side
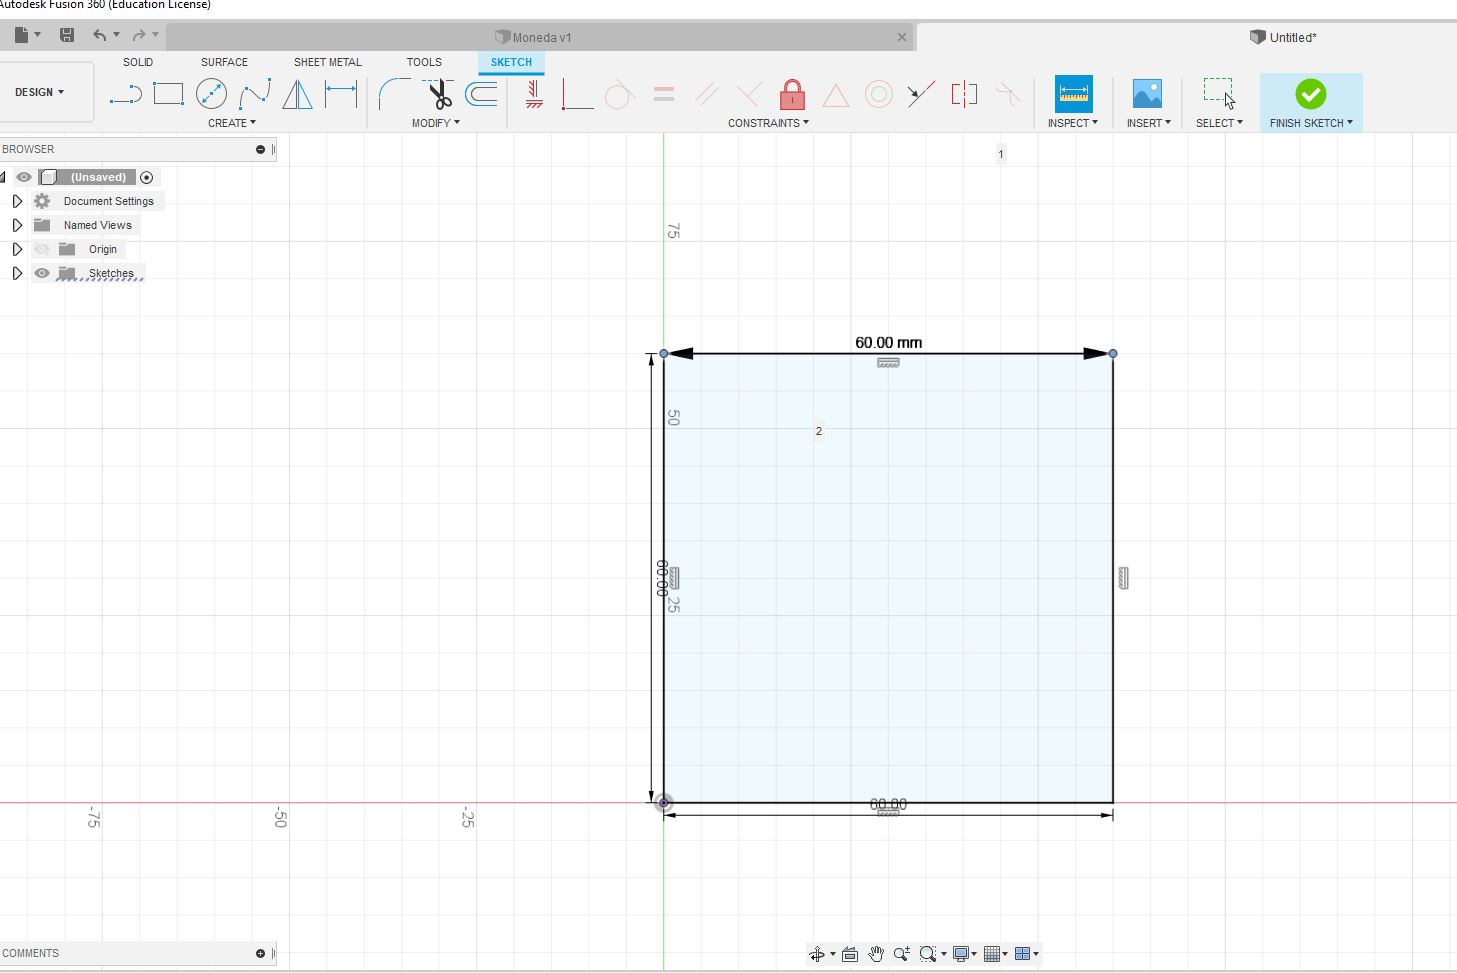
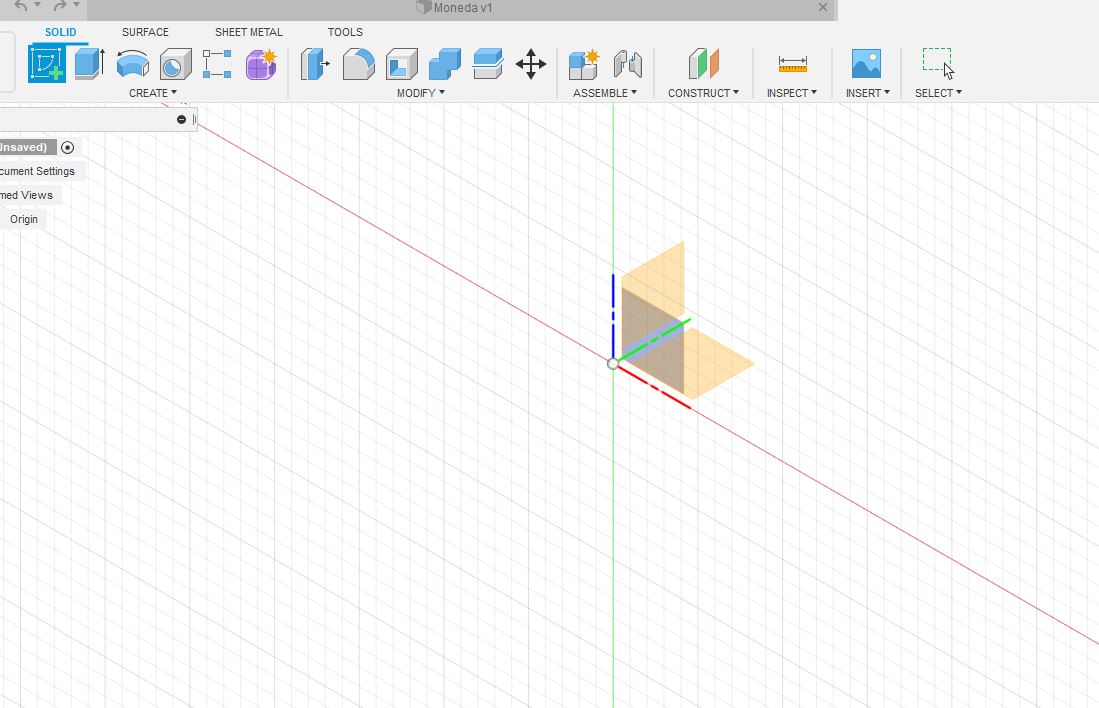
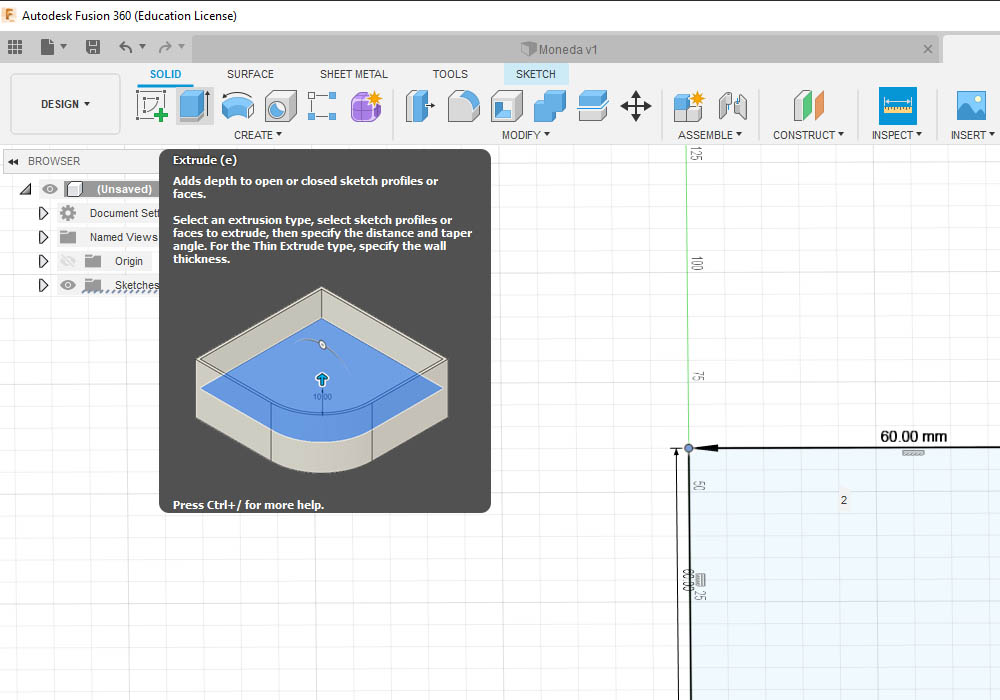
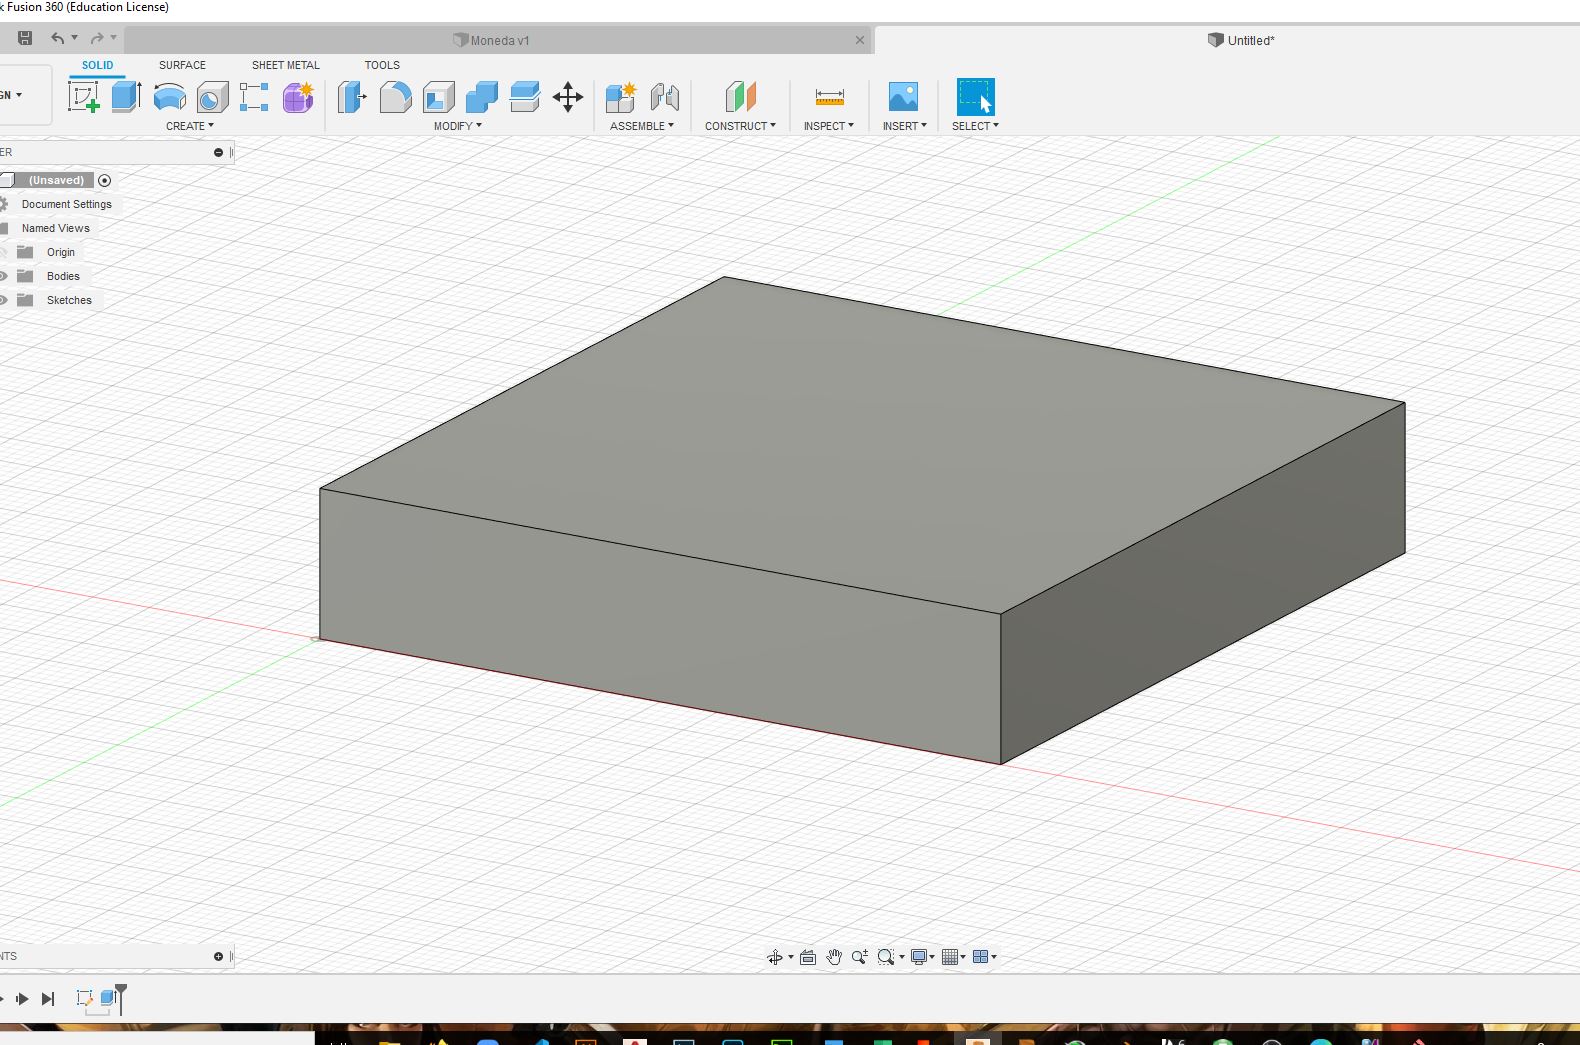
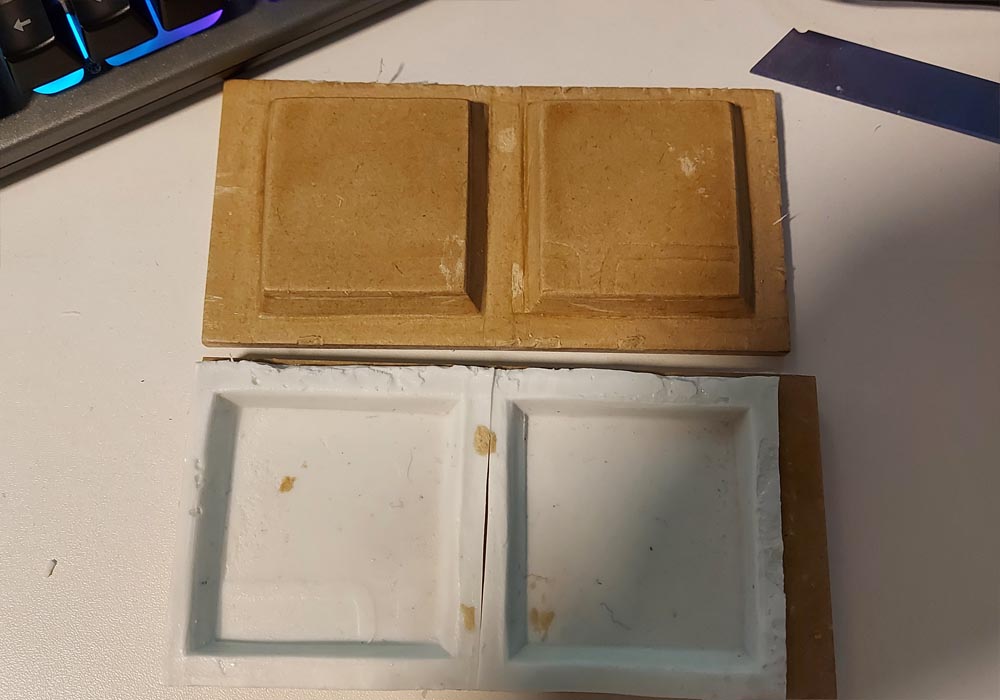
To a basic square shape of 60X60 mm, an extrude of -7mm deep was made and in the second form an extrude + 7mm, to form the two pieces of the mold
Once the shape of our mold is finished, we export the design to stl format. in the following link we can download the designed files
Next we will generate the files that will be used in the Cnc, for this we will use the desktop cnc 3040
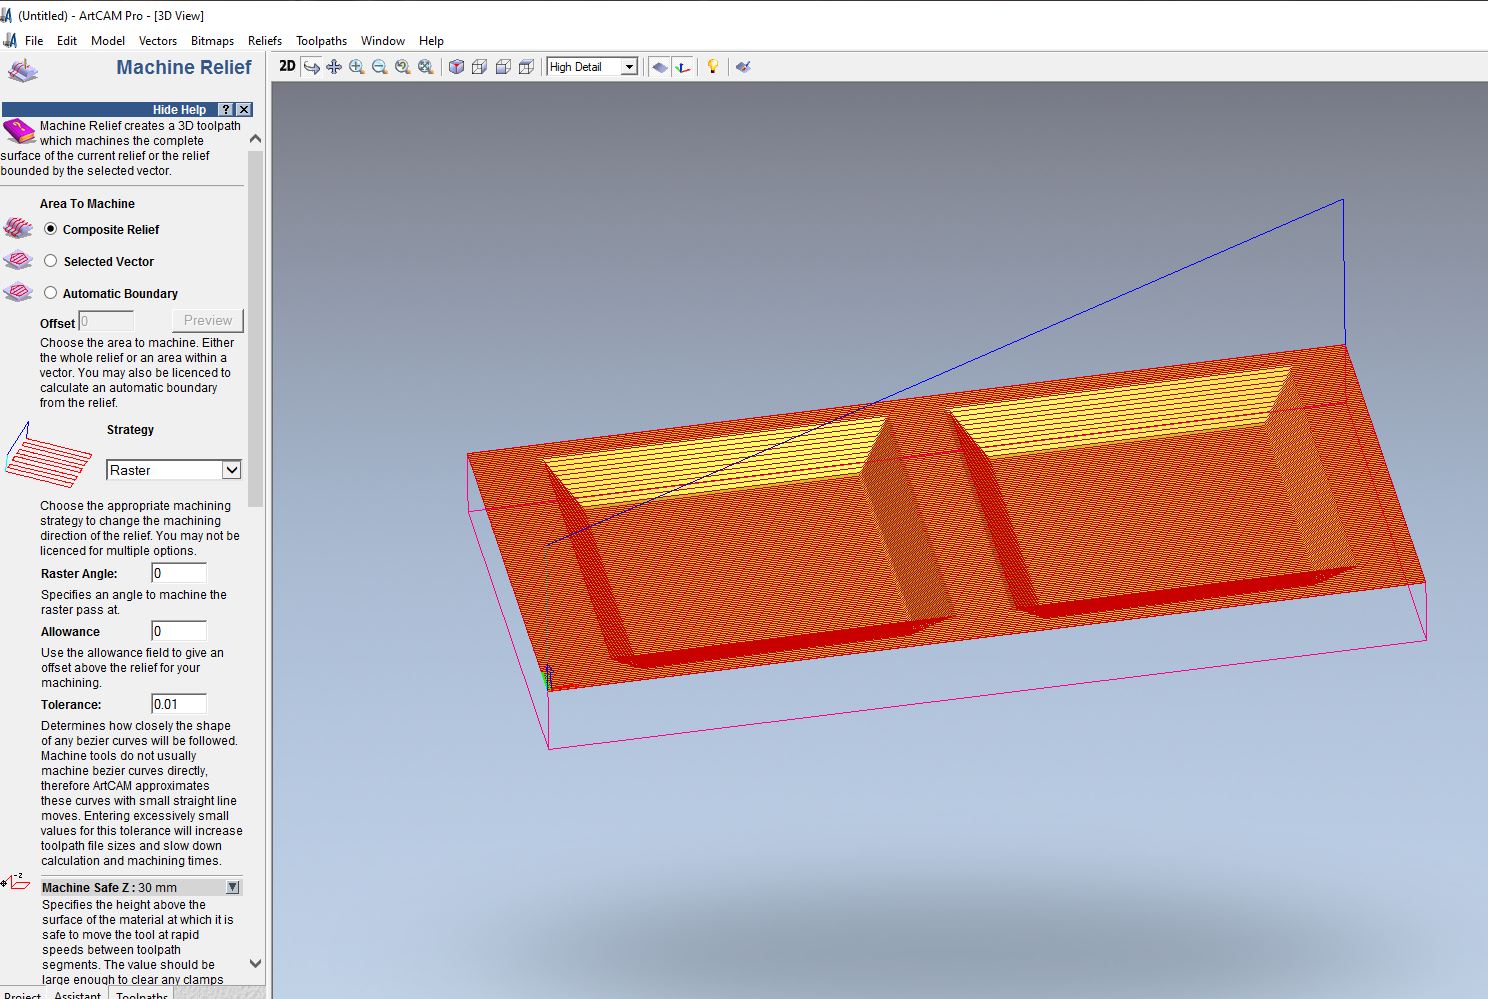
Creating the mold in Artcam
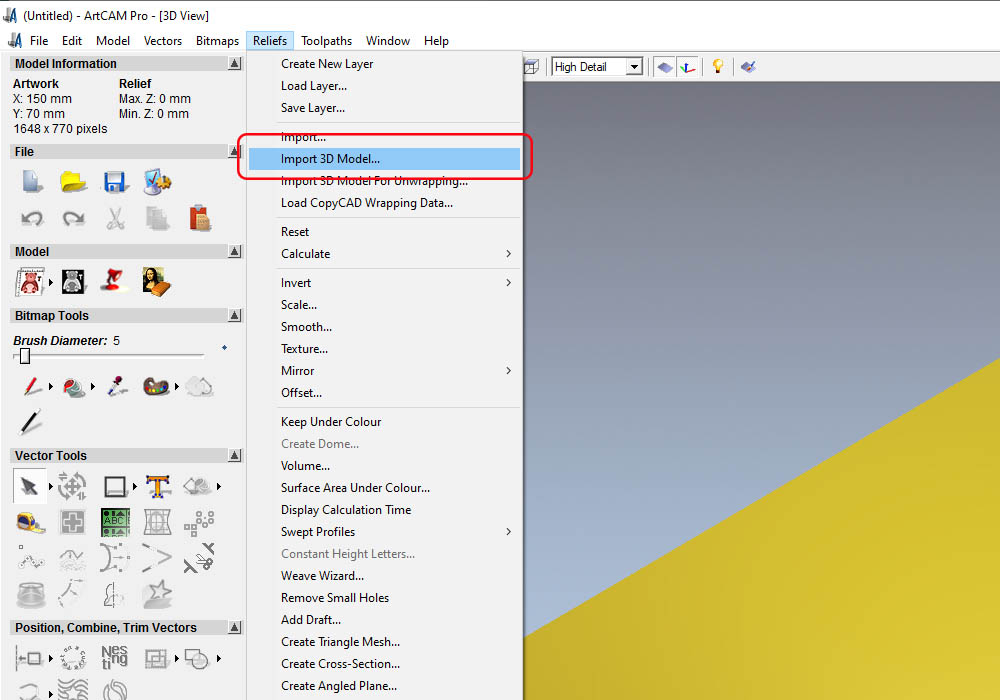
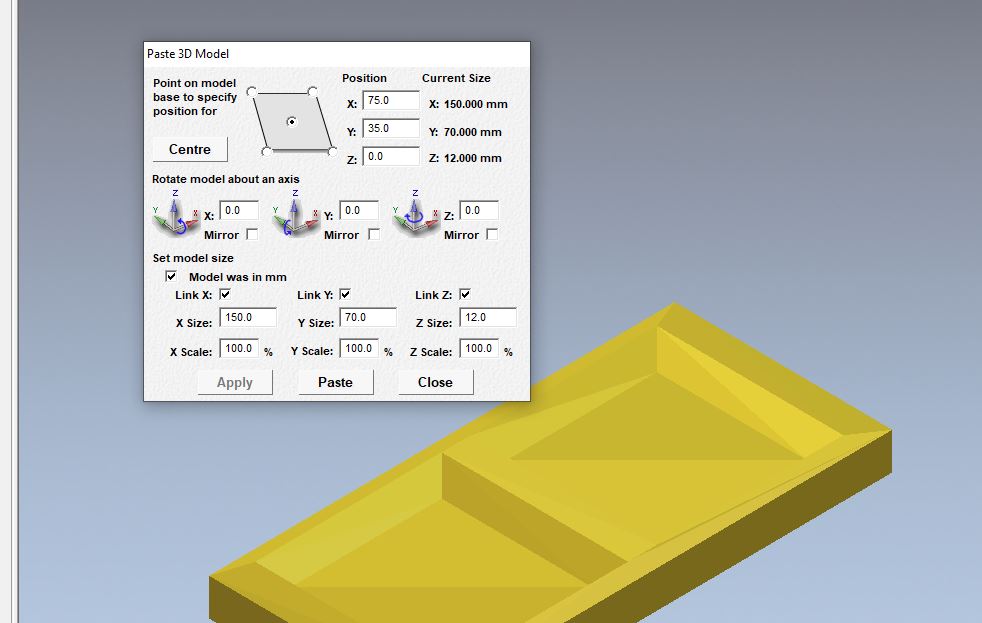
For this we will generate a new model, and configure the work area where our design will be, here we will import our 3D model in stl format
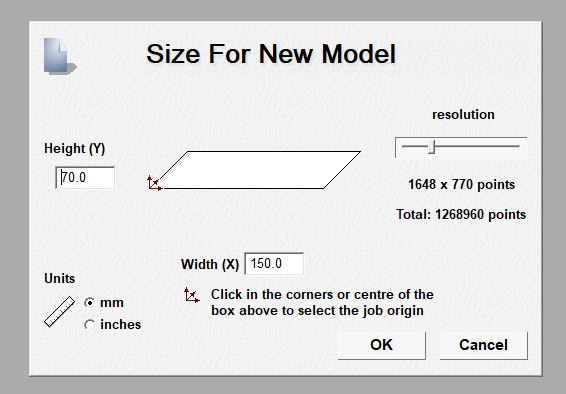
Once our stl. we place it in the work area, here we have several options, for example we can resize it or rotate it on its axes
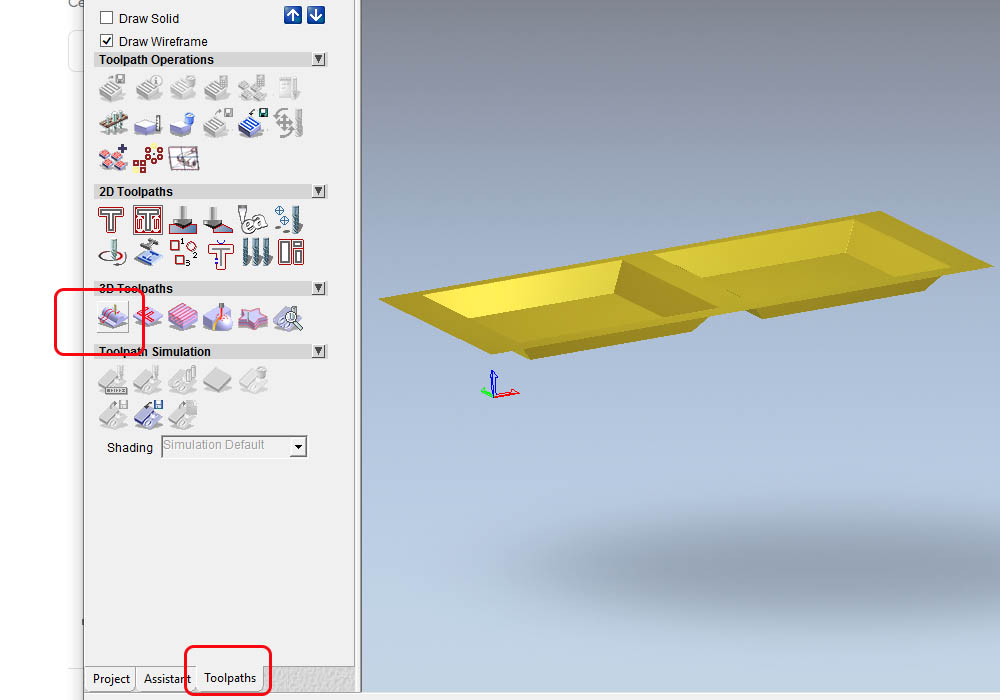
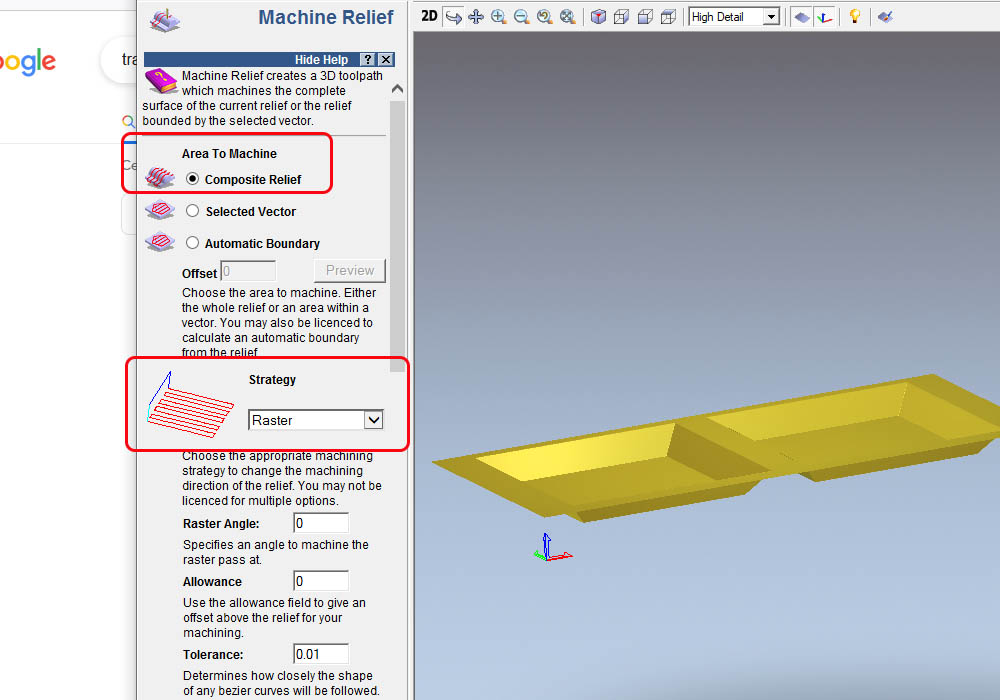
We choose 3D toolpaths to be able to enter the options, then we can choose between composite relief, selected vector
or automatic boundary, and in the same way the strategy of the movement of the roughing cutter
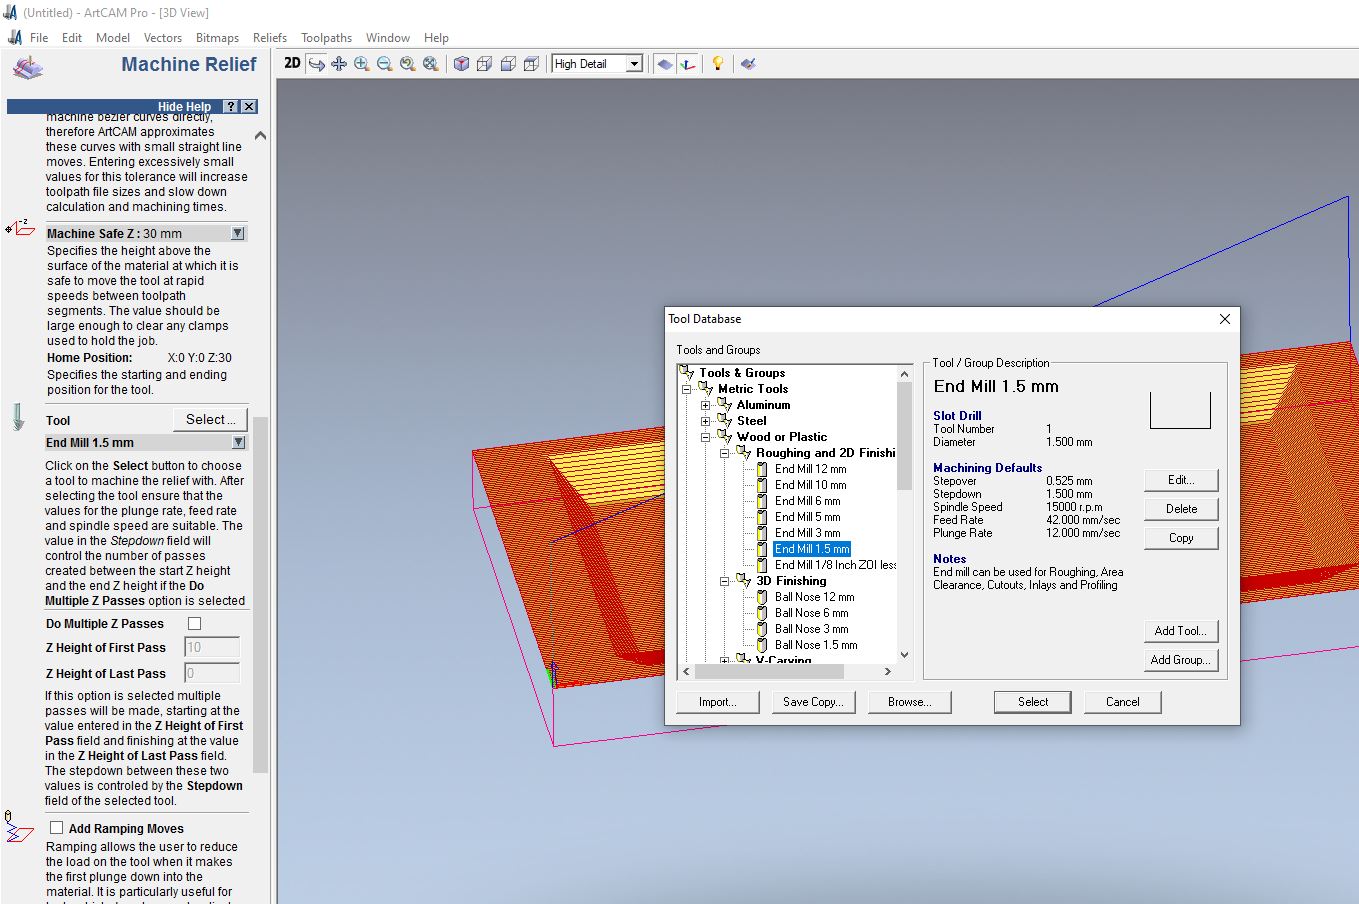
Then we can choose the cnc burs according to the work we will do, in my case I will choose a 1.5mm flat-tipped bur,
I don't have round-tip cnc burs, so I have to adapt my work to the tools I have.
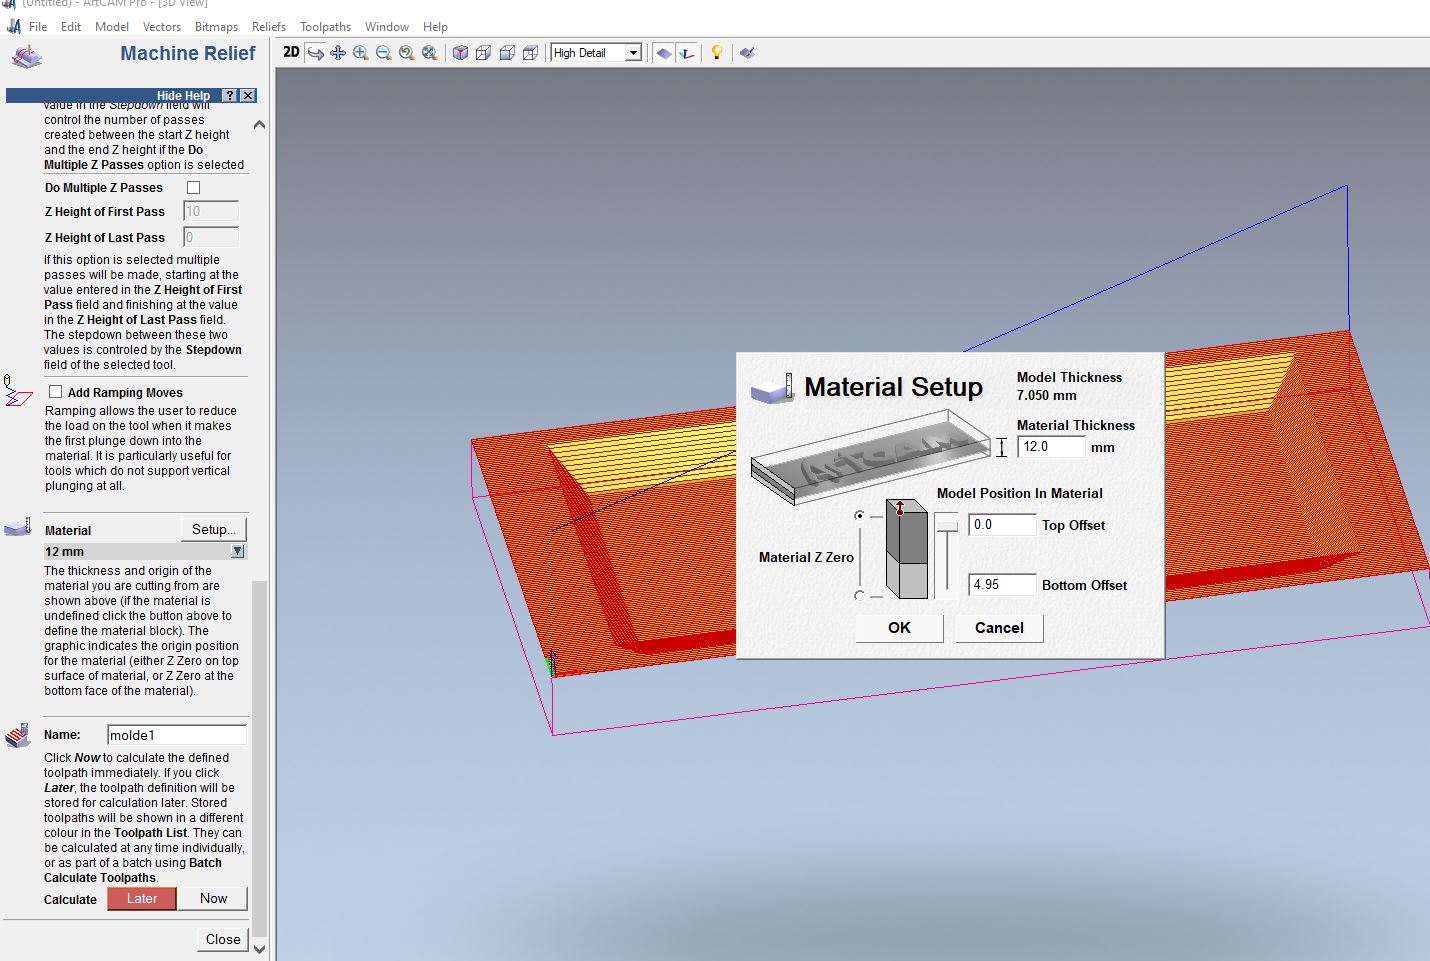
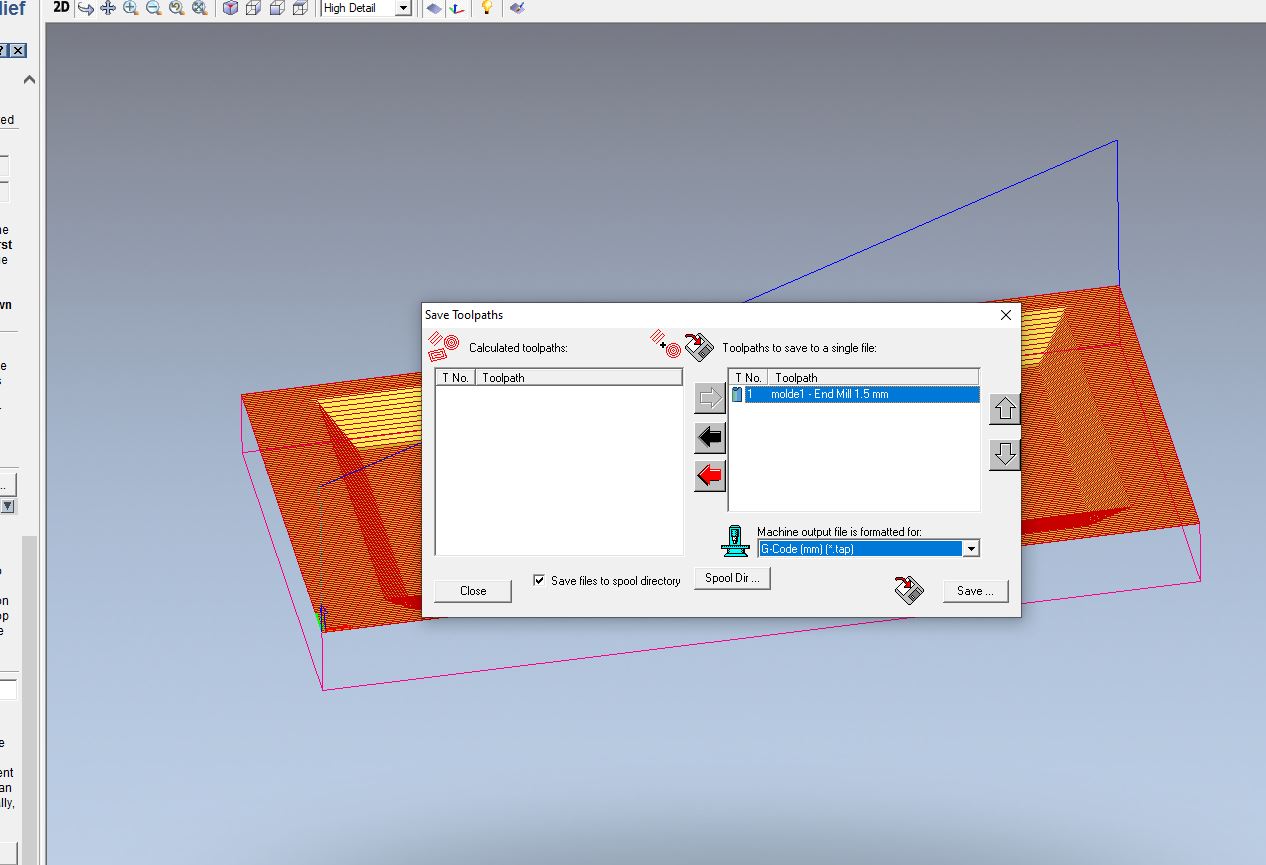
finally we configure the material, here we place our material the thickness of it we accept, we go to the Toolpaths option,
save toolpath as, and we save it in the G-CODE format that is valid for our cnc
Creating the mold in Mods
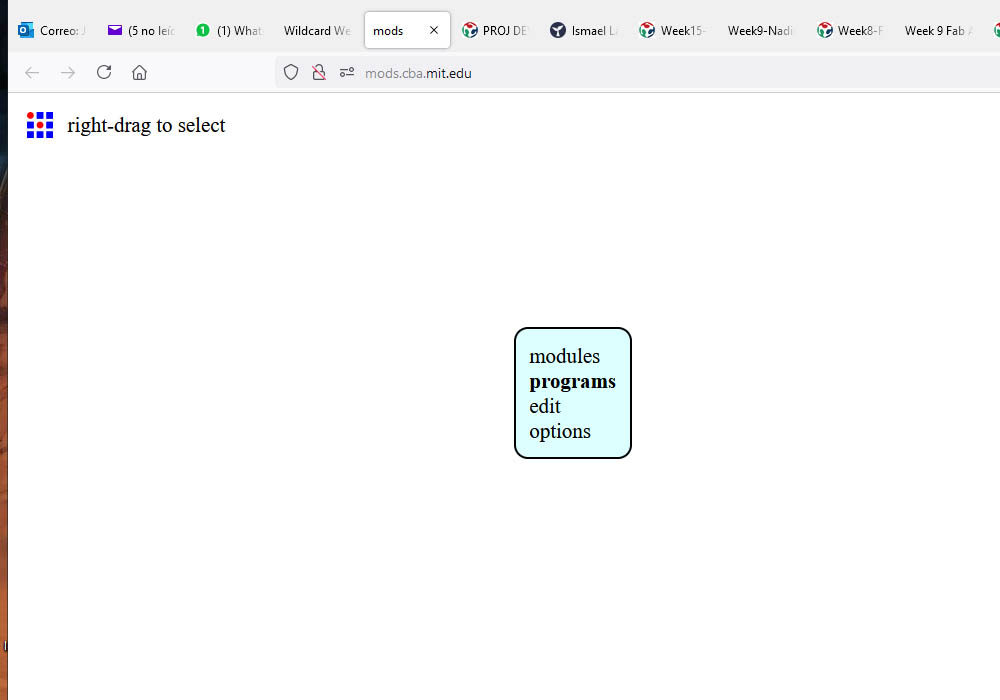
Generating the G-CODE file in the Mods tool is much easier still, here we enter the following link,
MODS
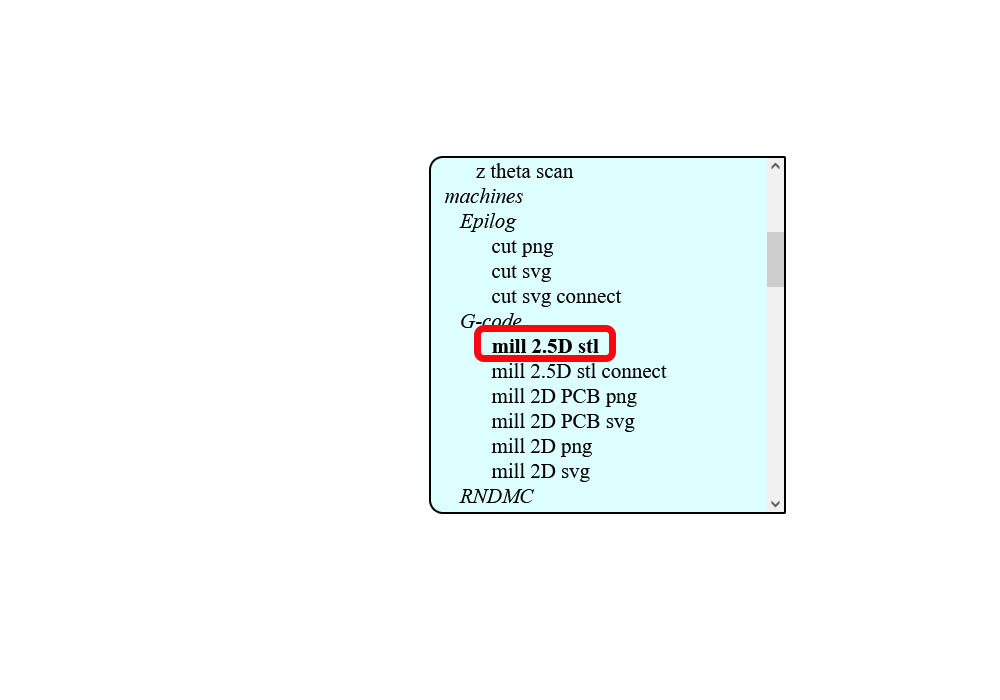
Then we choose the option of programs, open program server, G-code mill 2.5 stl and finally we
load our stl file, as well as we can see in the following screenshots

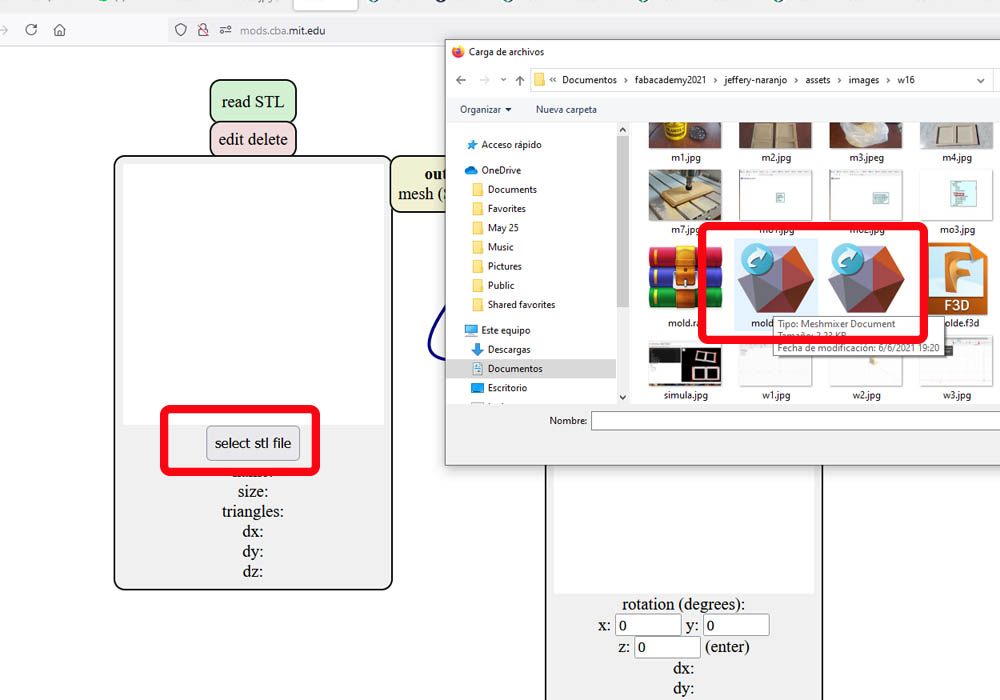
Once our design is loaded, mods allows us to rotate the piece to the indicated position to generate the G-code
file, in the same way we can configure our tool diameter, in my case again as the only cnc milling cutter I
have, I will choose the 1, 5mm, we will determine the cut depth in my case I will try with 2mm "I hope not to break my only tool"
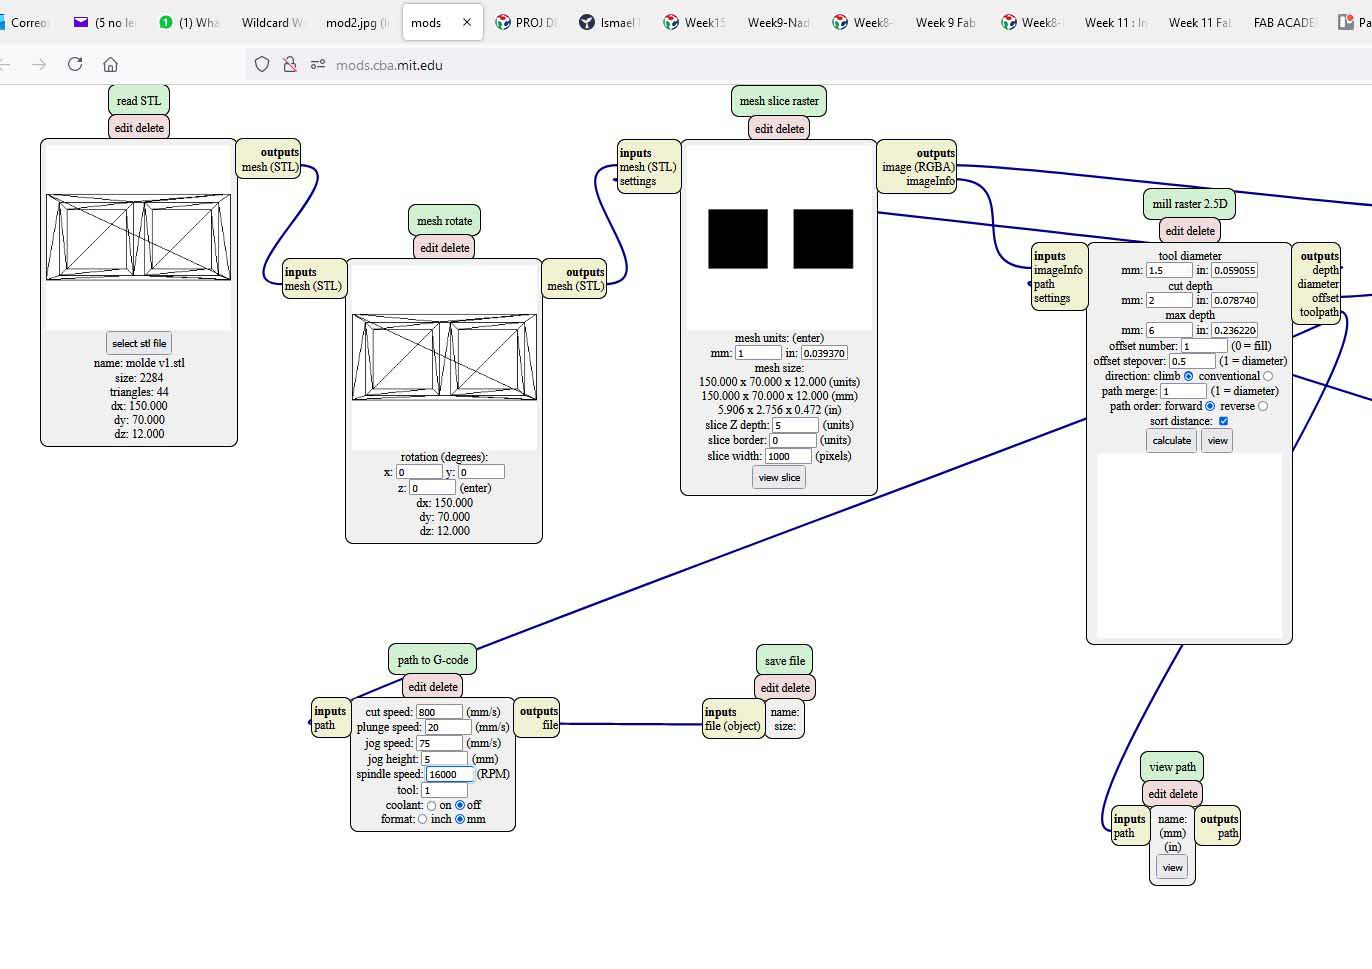

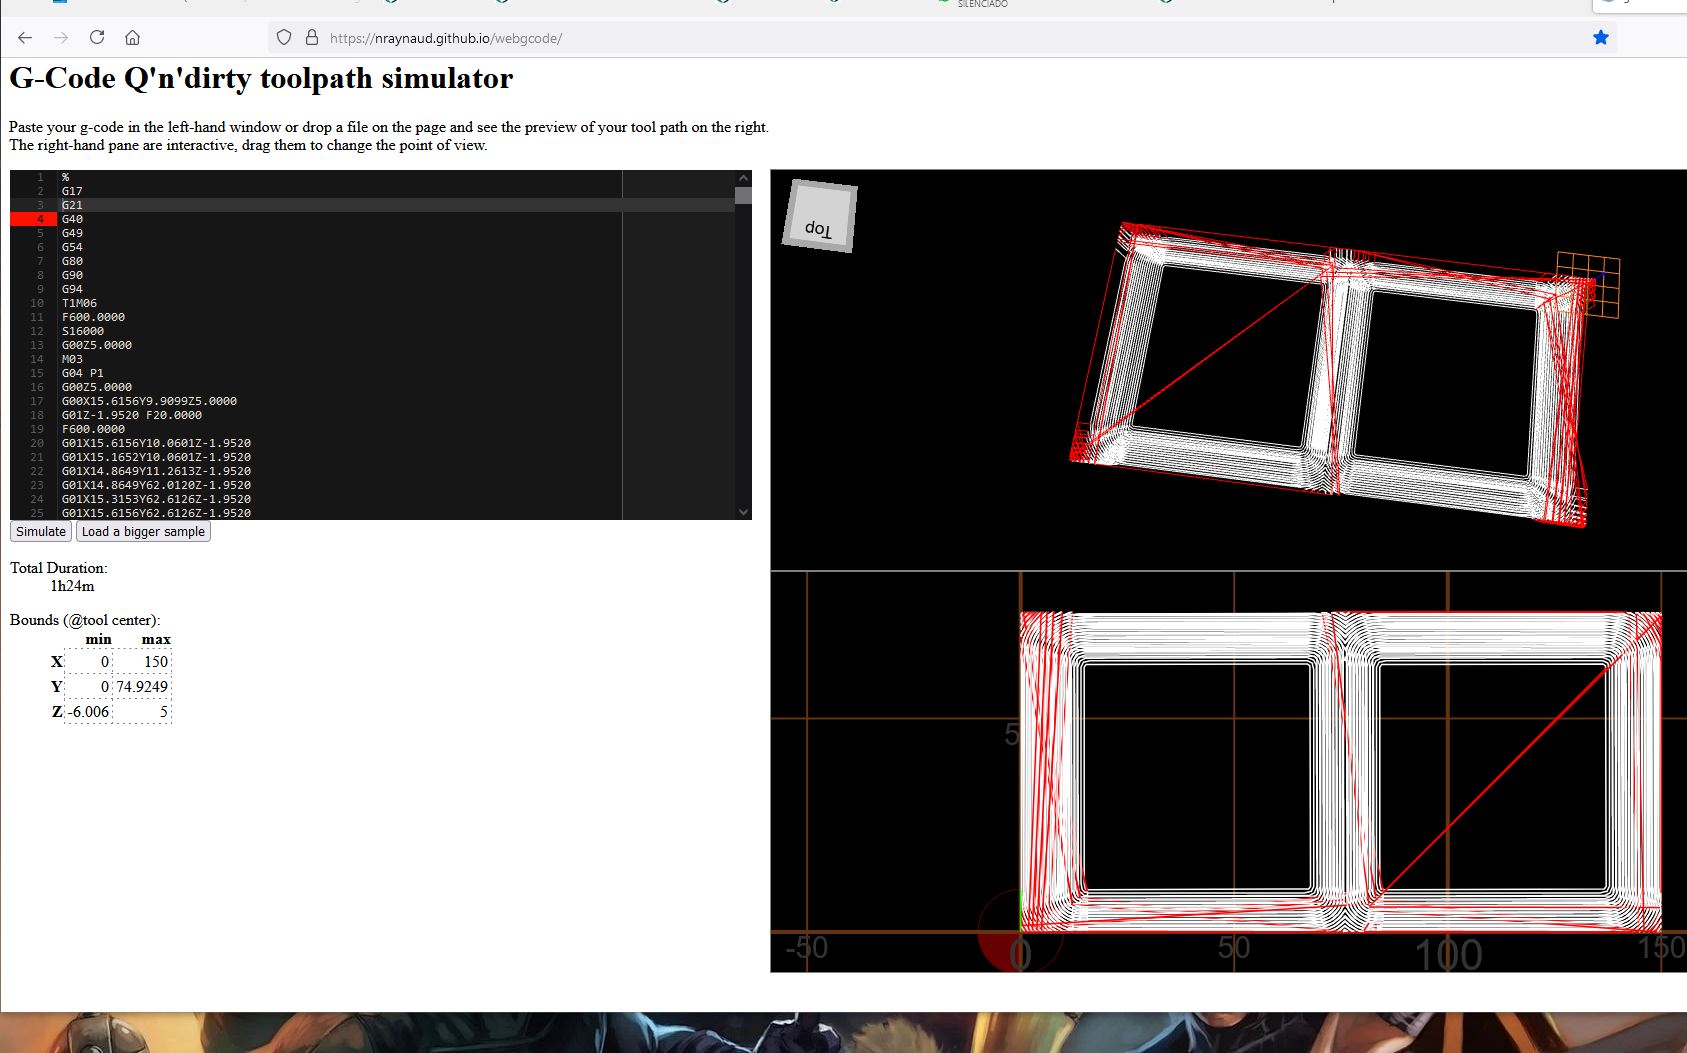
finally we press the calculate button to generate the G-code, then we can verify it on the gcode simulator web page in the following link
G-Code Q'n'dirty toolpath simulator
Making the case
To create the case for the pcb circuit board, I base myself on Haru's work as an example of the use of textile fibers,
within the sustainability project of the University we are in a process of recycling materials and I found it interesting to
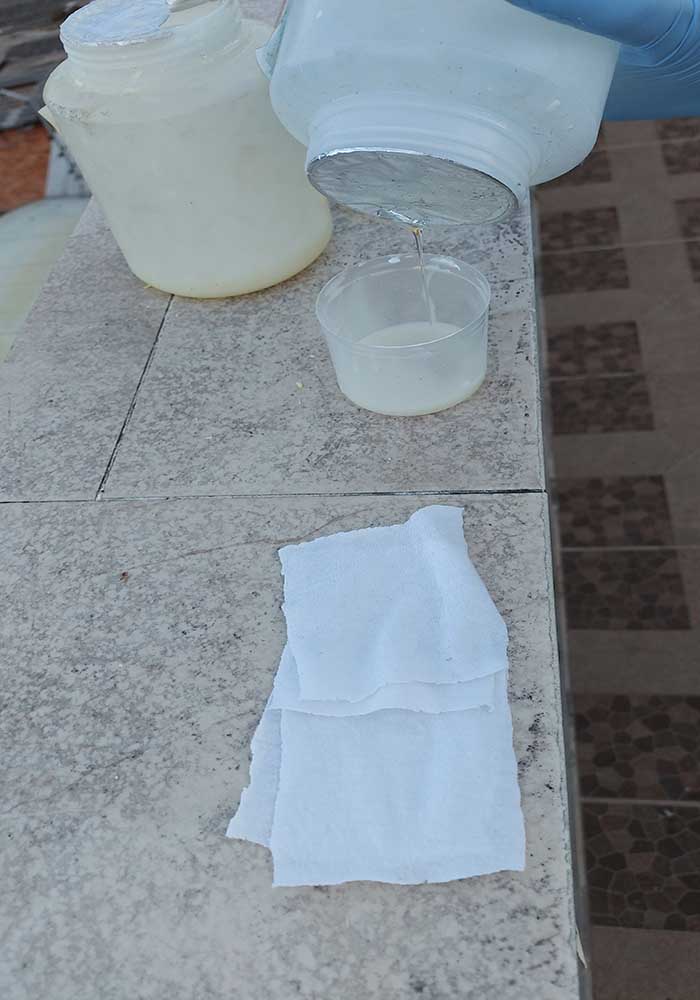
be able to reuse used clothing for manufacture other items. I used the only resin I had on hand, this is Smooth cast 65D part A and B.
in the sign of moldin and castin make a rim rim cap we can see this work in the following link
Molding and castin
The resulting piece presents a lot of hardness and resistance, for this reason I wanted to test this material in conjunction
with a backing of fabric, to check if a case could be made a case, resistant but flexible at the same time
We started the process of mixing the two components in equal parts, then we introduced the pieces of fabric into the mixture, finally we
placed the fabric soaked in the resin in our mold, which was previously sealed with lacquer and placed a layer of vacelin to be able to
separate the case resulting from the mold
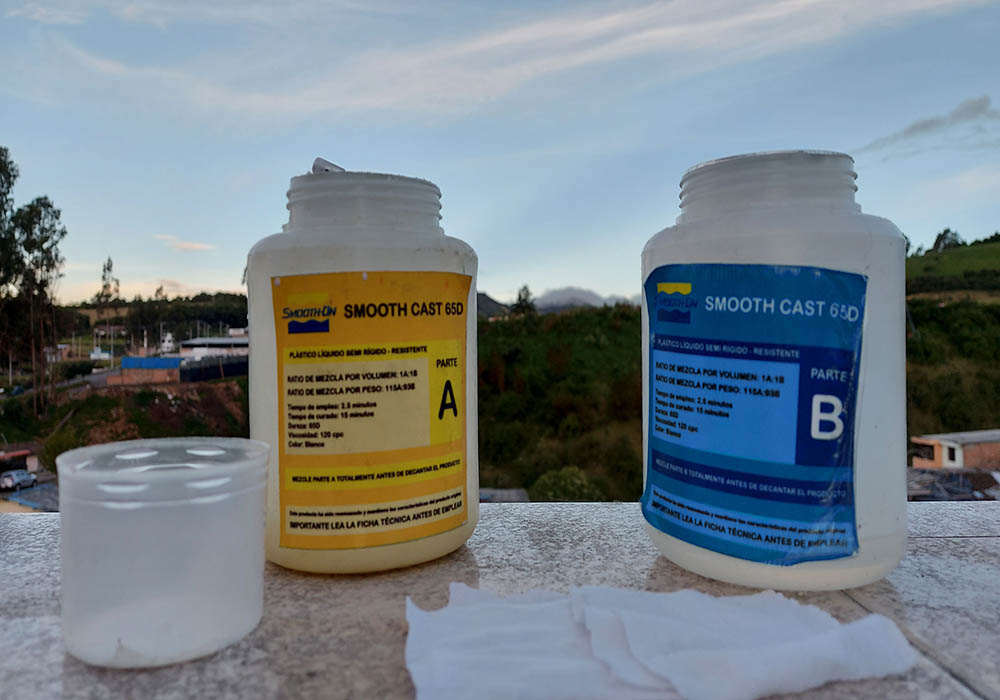
We place a press to hold the two parts of the mold, on the container it indicates a curing time of
15 minutes, but we let it cure for 12 hours to make sure it hardens well.
After the indicated time, we separated the case from the mold, we had some difficulty at the beginning because
there was a spill of the resin on one side, but the piece could be extracted easily

Finally, some cuts were made with a stylet and our plate fit perfectly inside the case, the final result was as expected,
a very resistant and flexible piece was obtained at the same time, which would allow it to withstand falls without damaging the interior elements.
The end result is a resistant and flexible case as you can see in the following video
General Conclusion:
This practice was very interesting,
as it gave us the options to create pieces with composite materials, in the future I would like to try to make elements with natural fibers