Molding is the act of creating the cavity / form that carries a negative or reverse impression of an original model.
Molds can be made of a rigid material, such as plaster or plastic resin or more commonly, a flexible material such as rubber. The material
to use should be chosen considering the material of the model, the material to be used to make castings, and whether there are any undercuts.
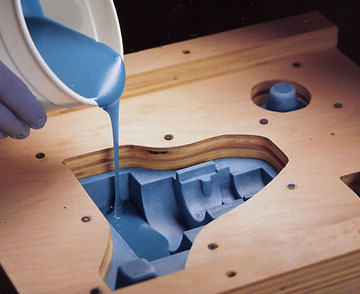
Casting is the act of pouring liquid material into the cavity of a mold. After a period of time, this liquid will cure via chemical reaction or
cooling. The solidified part is also known as a casting, which is ejected or broken out of the mold to complete the process. Casting materials
are usually metals or various cold setting materials that cure after mixing two or more components together; examples are epoxy, concrete,
plaster and clay.
Designing the mold.
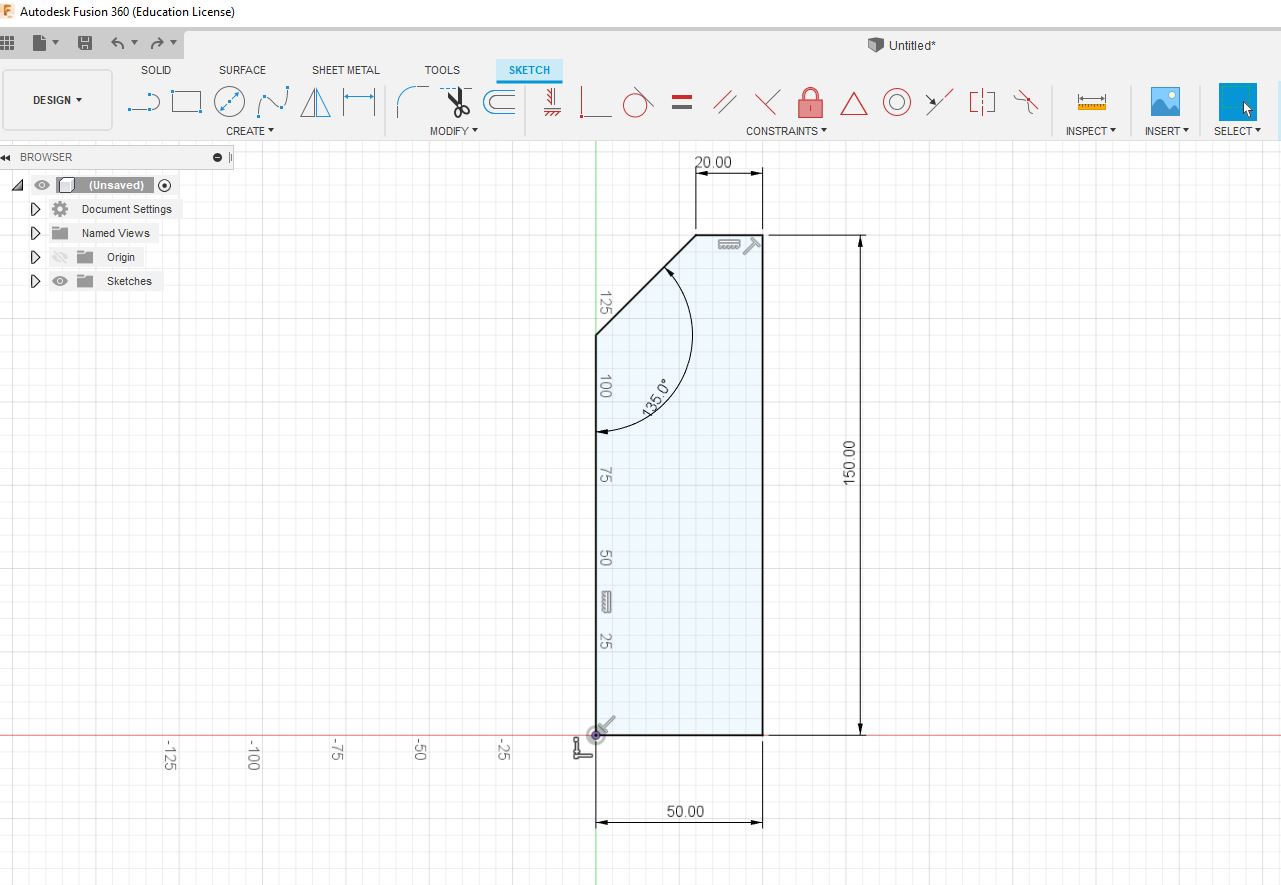
For the design of the model I used the Autodesk Fusion 360 program, the thickness of the material is 40mm although in the end the
resulting piece only used 14mm, the final model is exported to .stl
We will start our design, for this we are going to create a new sketch, and choose a plane to draw. we insert a couple of
lines to create the basic shape of our design
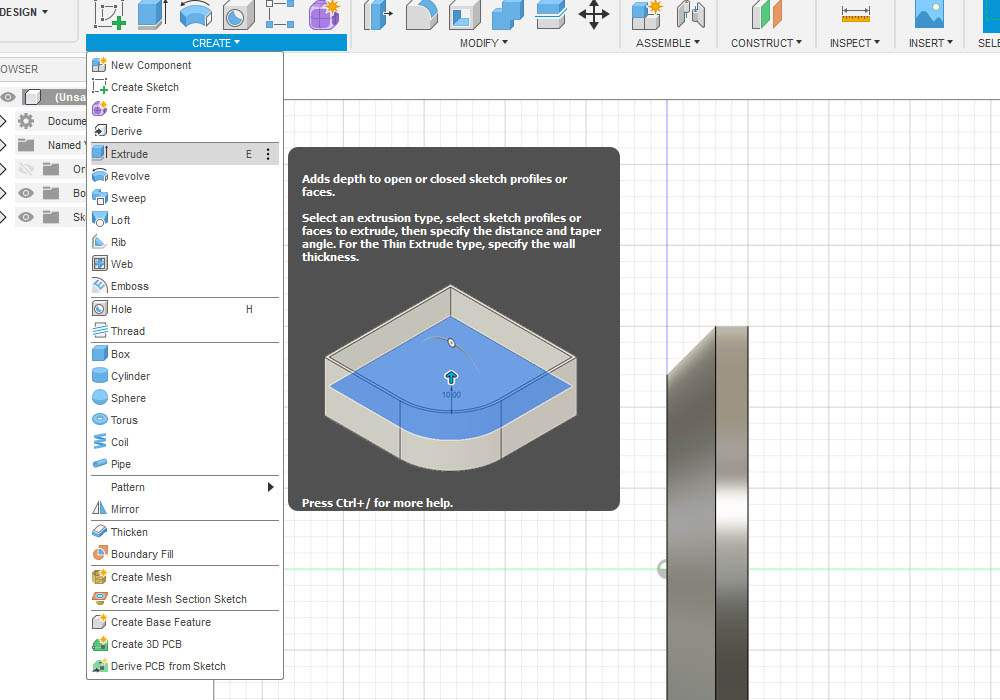
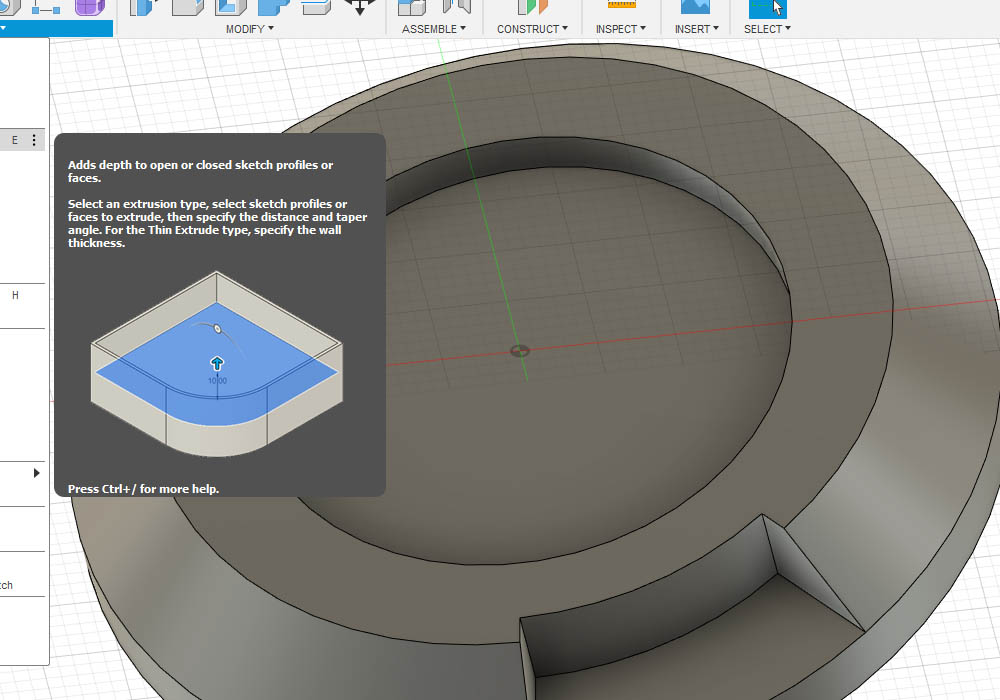
Once the basic shape has been achieved, we will extrude the part, for this we go to the create toolbar and choose extrude with
this we already have our basic general shape
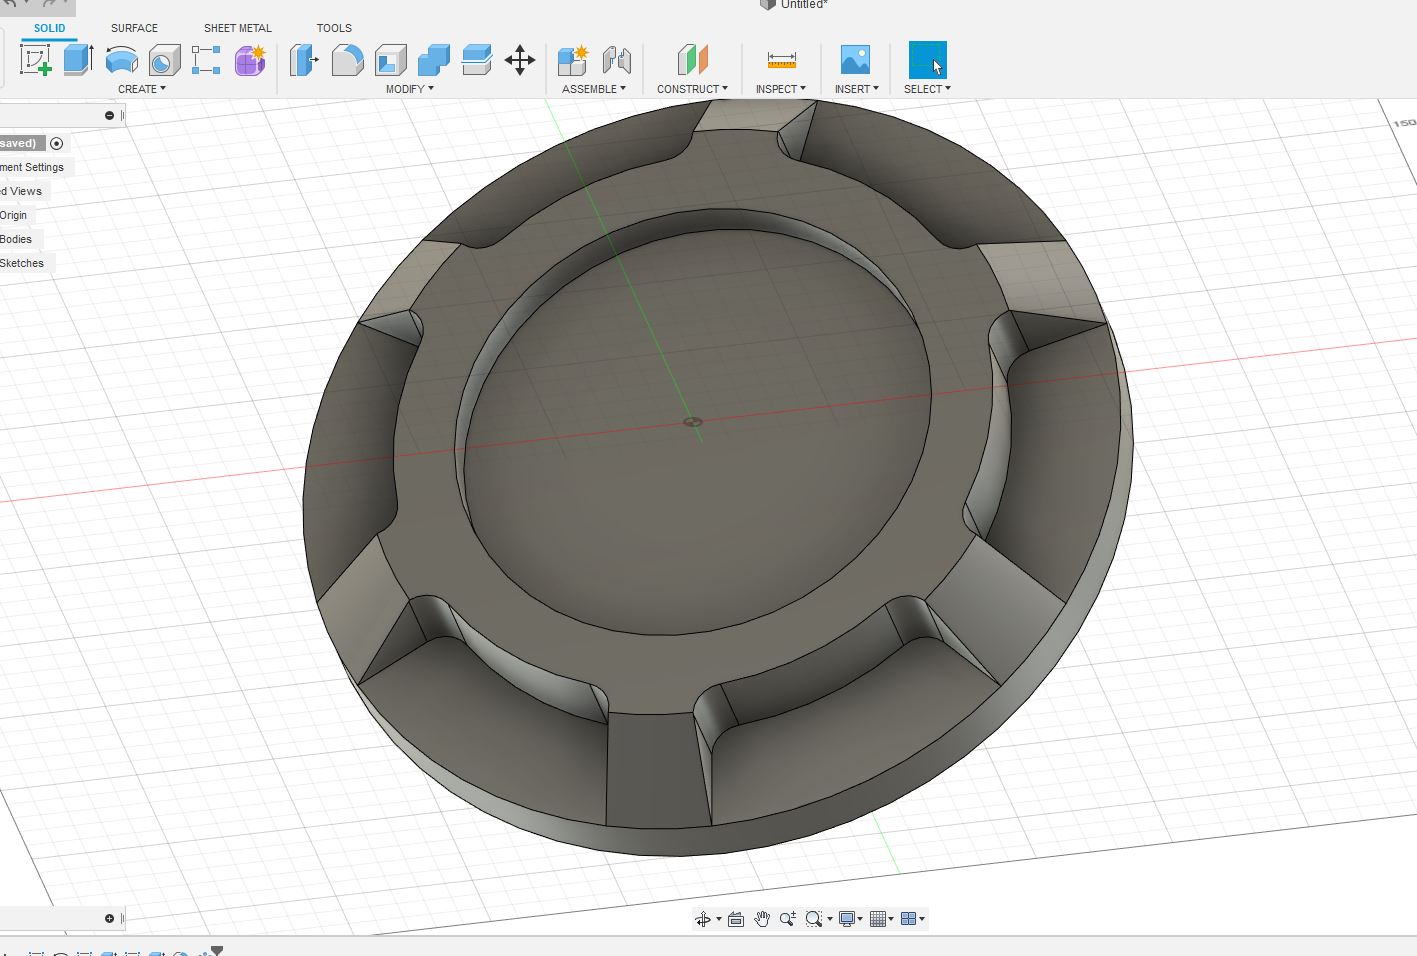
We are going to have the design, for this we draw the shape on the upper ring of our form, for this we will draw a rectangle to
which we will make an extrusion, and likewise form a circle inside the inner circumference which we will extrude in the opposite direction to remove material.
then we will use the Patern function, to clone the hole around our upper outer circle
Finally, we will extrude more material from each of the segments, this to further stylize the piece and apart to facilitate the work of the
milling burs, since it will always be easier to work with rounded angles and not right angles for cutting.
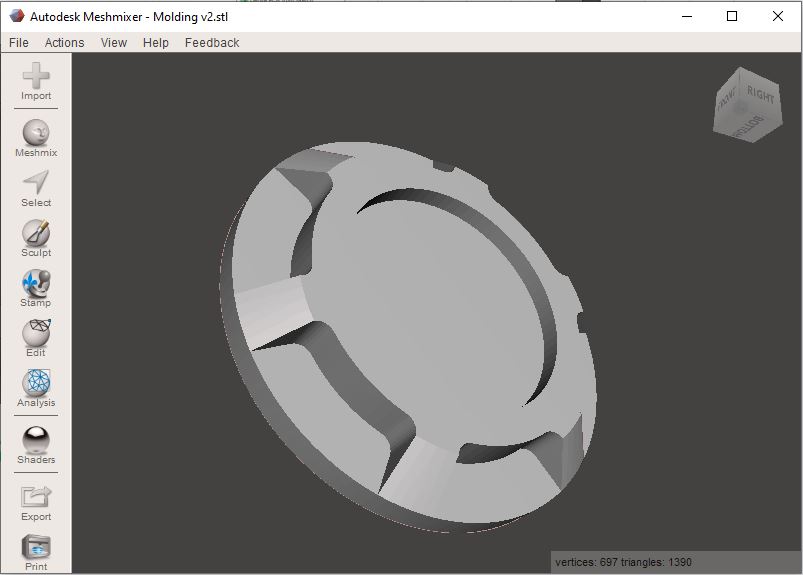
Once our design is finished, we proceed to export our model in STL format, we can use the Autodesk Meshmixer program to verify if our model
is well built and ready to generate the G-code file
We can find many video tutorials on YouTube where we can observe in more detail the use and management of this powerful tool
To generate the Gcode we used Modsproject, which is pretty intuitive and easy to use, I'll detail the process:
To carry out this practice, I only had a 3mm cnc milling cutter, so all the work was done with this tool.
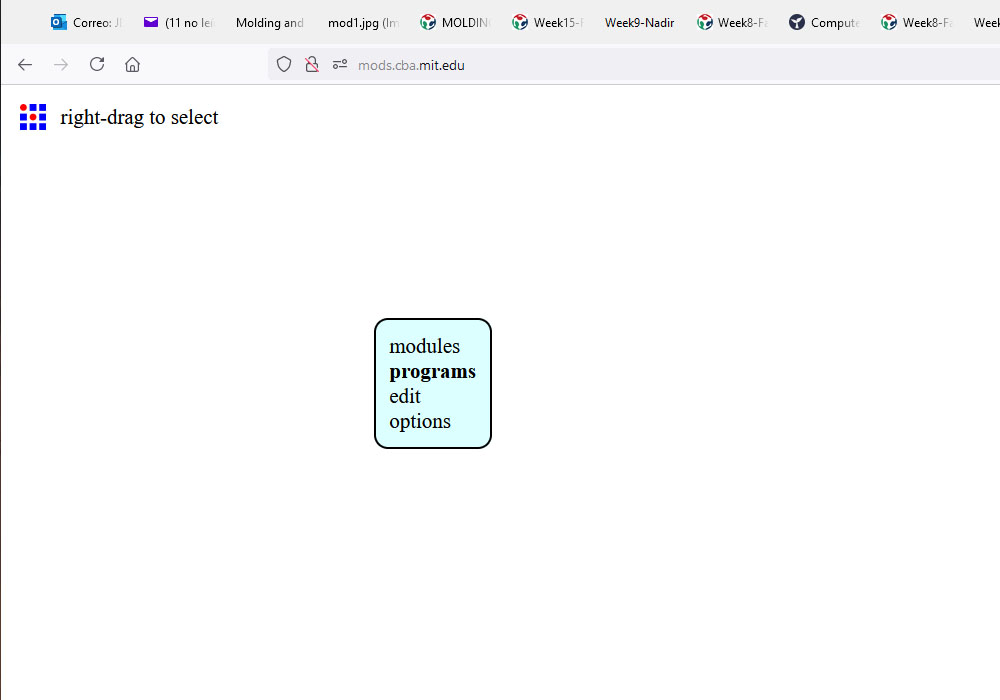
With our generated STl, we will proceed to generate the G-code file, for this we will use Mods that we can find in the following link
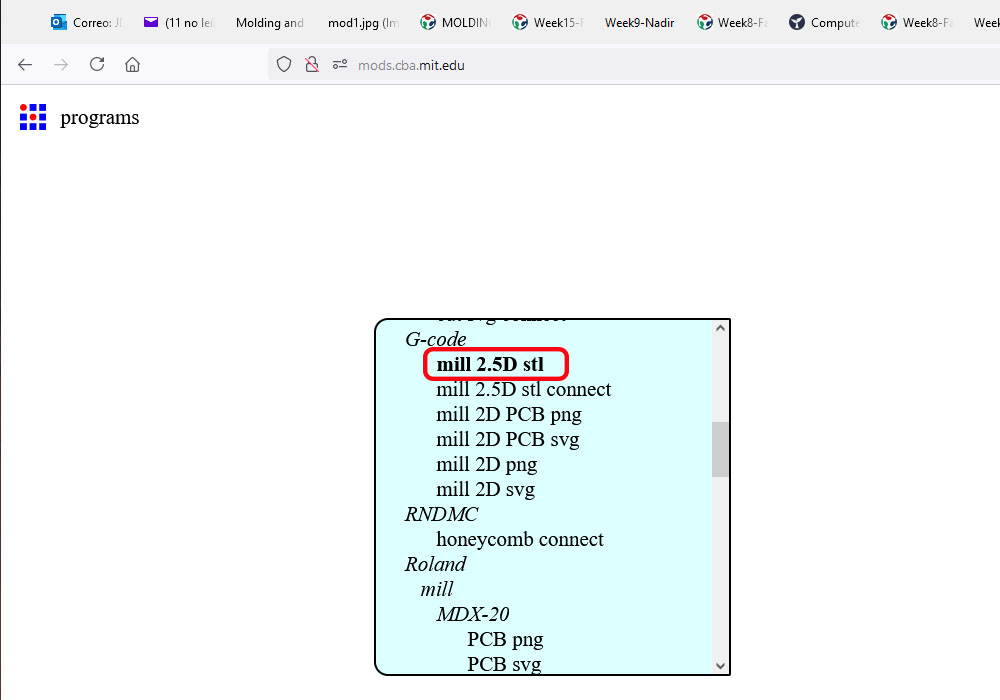
Mods, once we enter the tool we proceed to right click and choose the option, programs, open server
program, G-code mill 2.5D stl
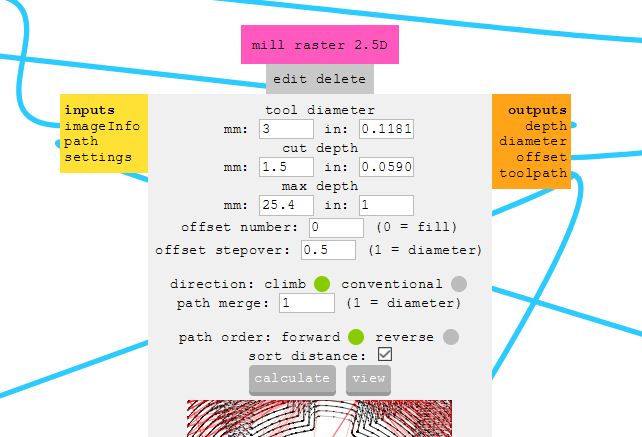
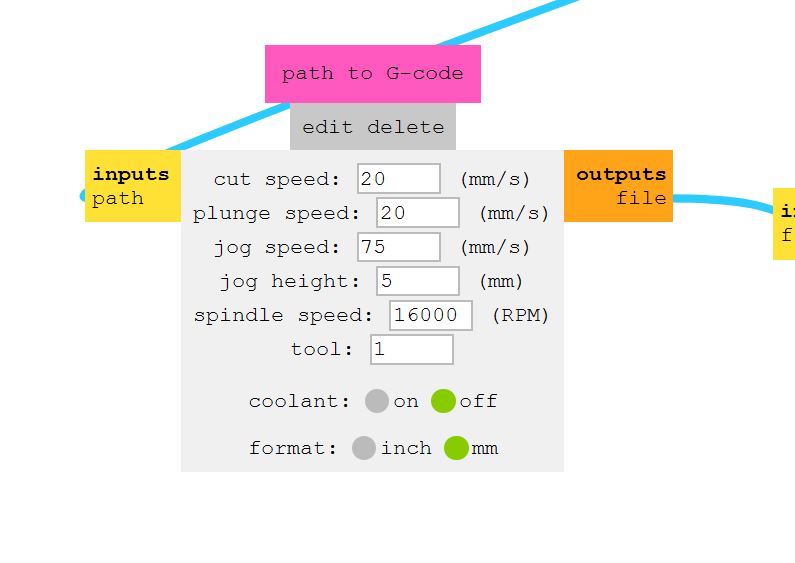
And then we configure the milling tool sample with the appropriate parameters and an adequate speed so that the work does not take too long and at the
same time does not break our cutter, in my case I had to play with these parameters on my own until I found the ones that they gave me the best result
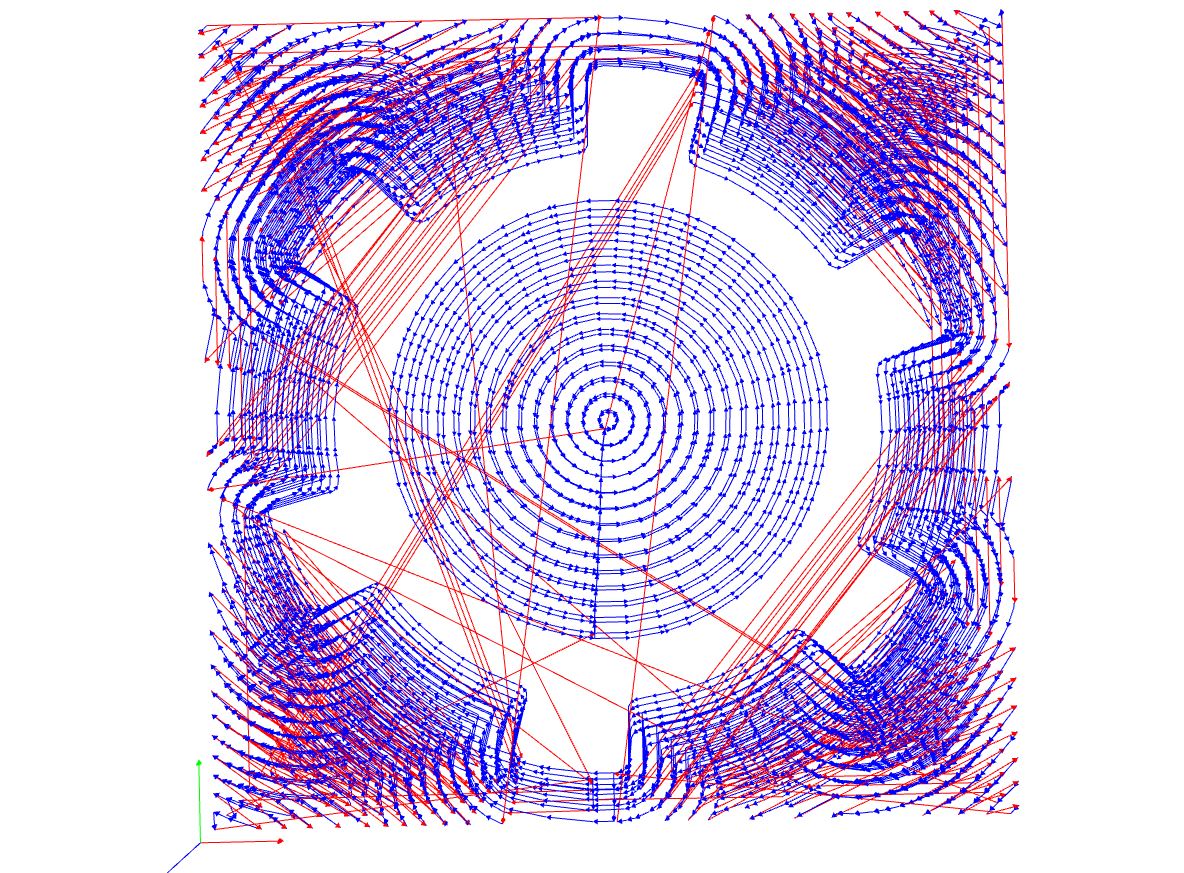
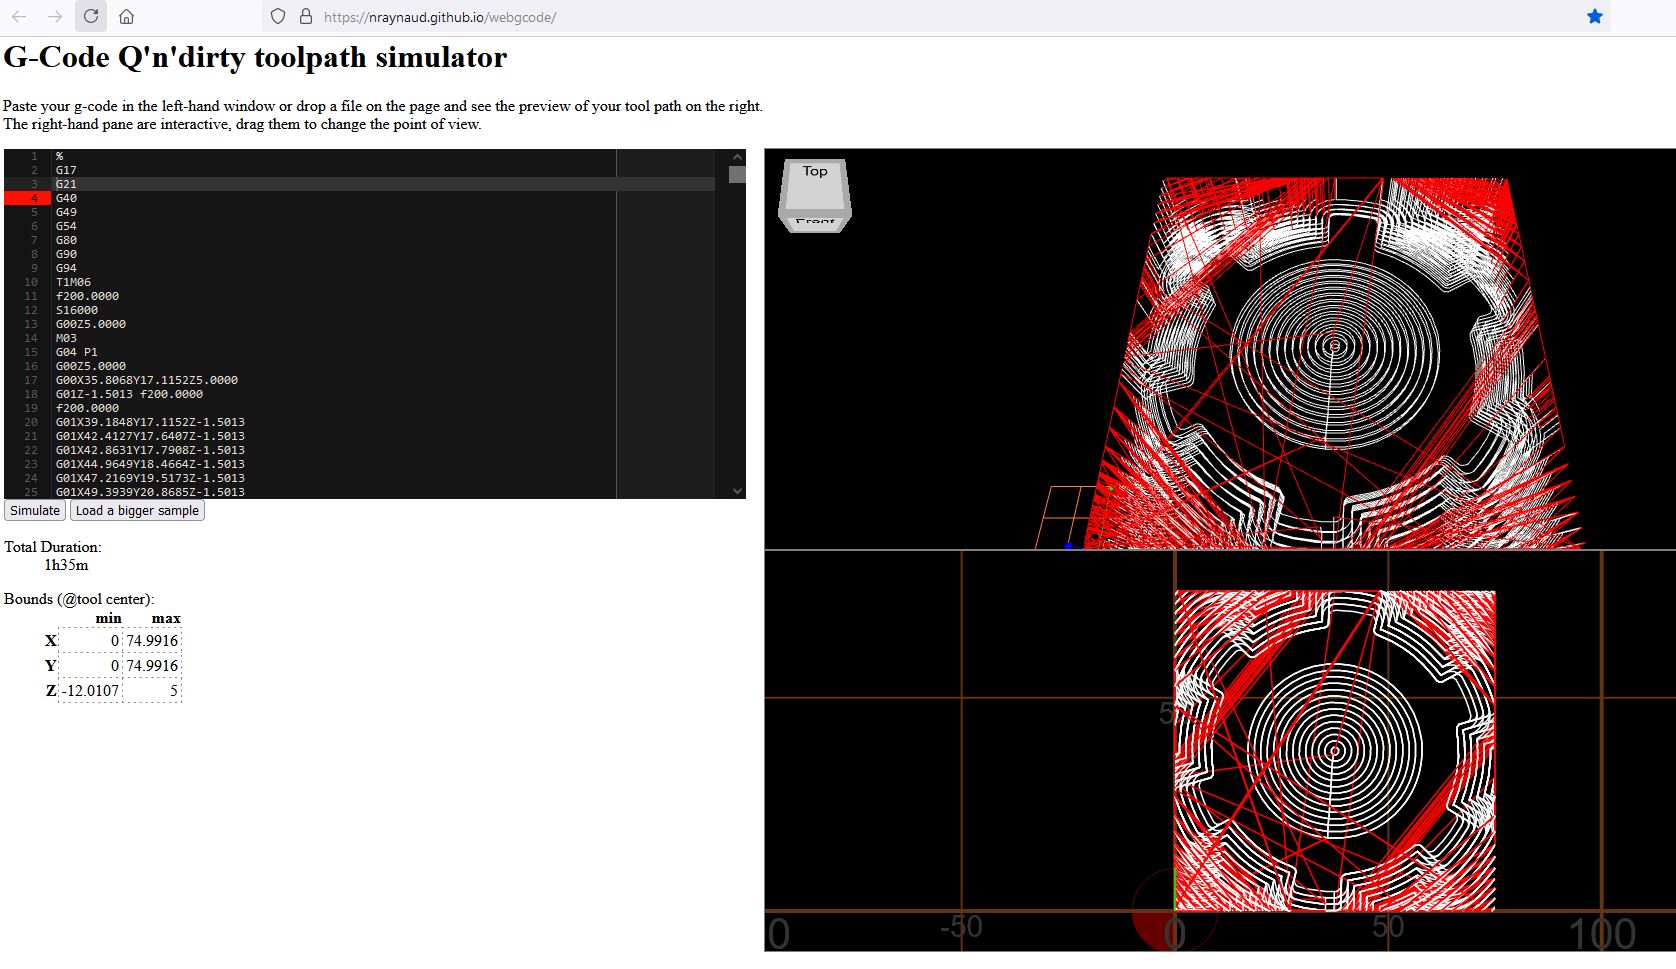
Once our G-code file is generated we can verify it by using the G-code simulator page from the following link,
G-Code simulator here we simply drag the G-code file to the command
window and automatically perform the simulation, this tool It is very useful because it gives us an idea of the work that the cnc
will do and the times that the work will take
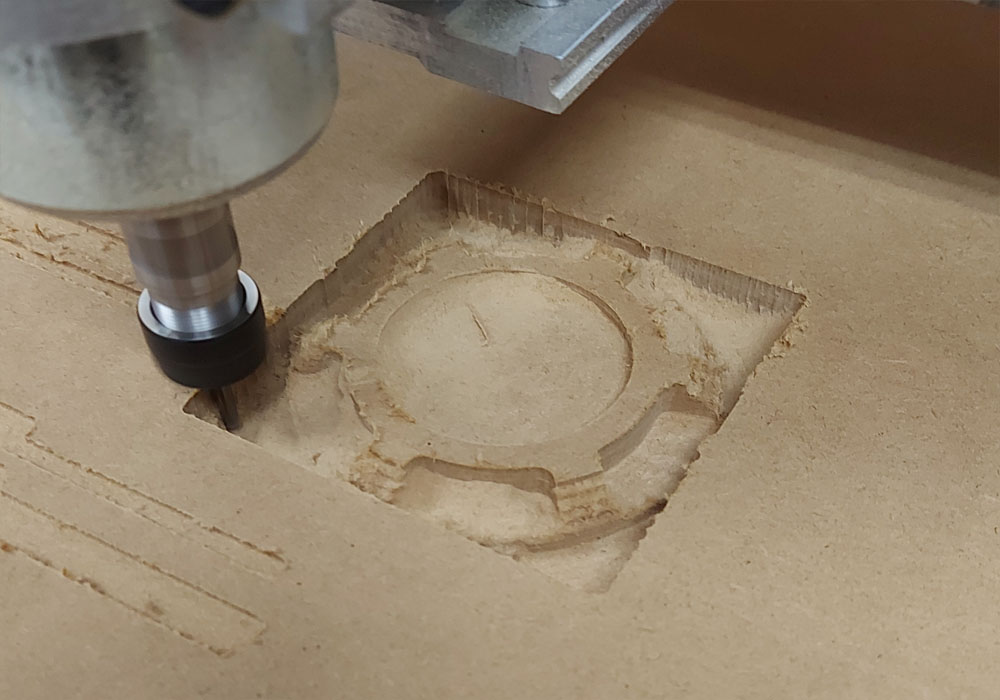
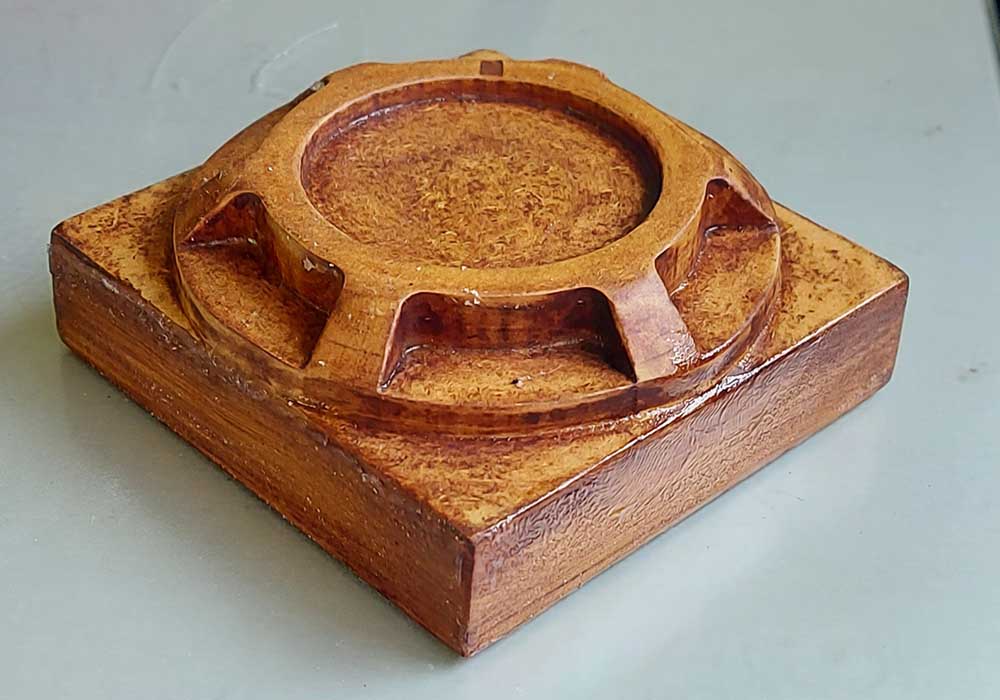
finally we can see the final result, I have to mention that due to the limitation of the cnc milling cutter I
had to sand the piece a little to give it the final finish. this can be solved by using a round nose cnc milling cutter for finishing, I hope to get one very soon
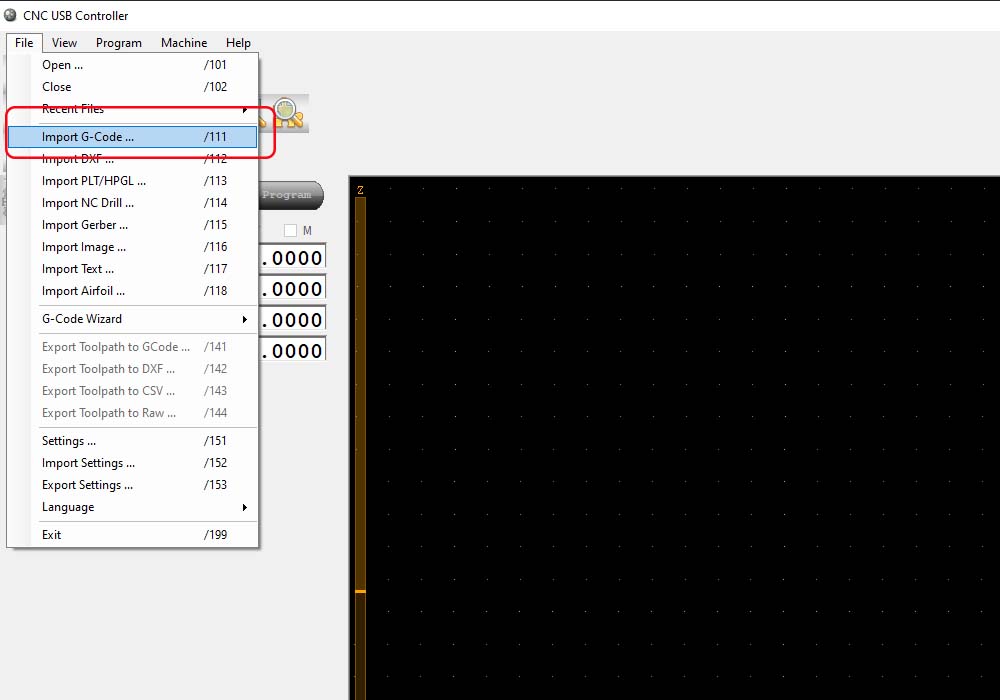
Once we have our G-Code we will use the CNC Usb software to make our mold. for this we go to the toolbar, file, import G-Code,
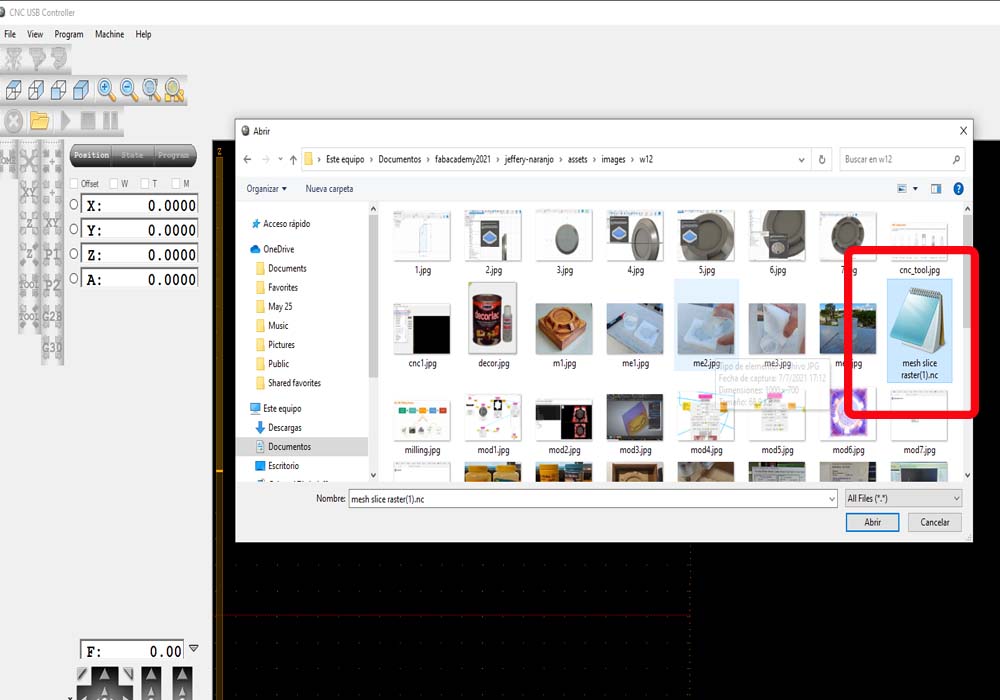
this will open a pop-up window here we will look for our file
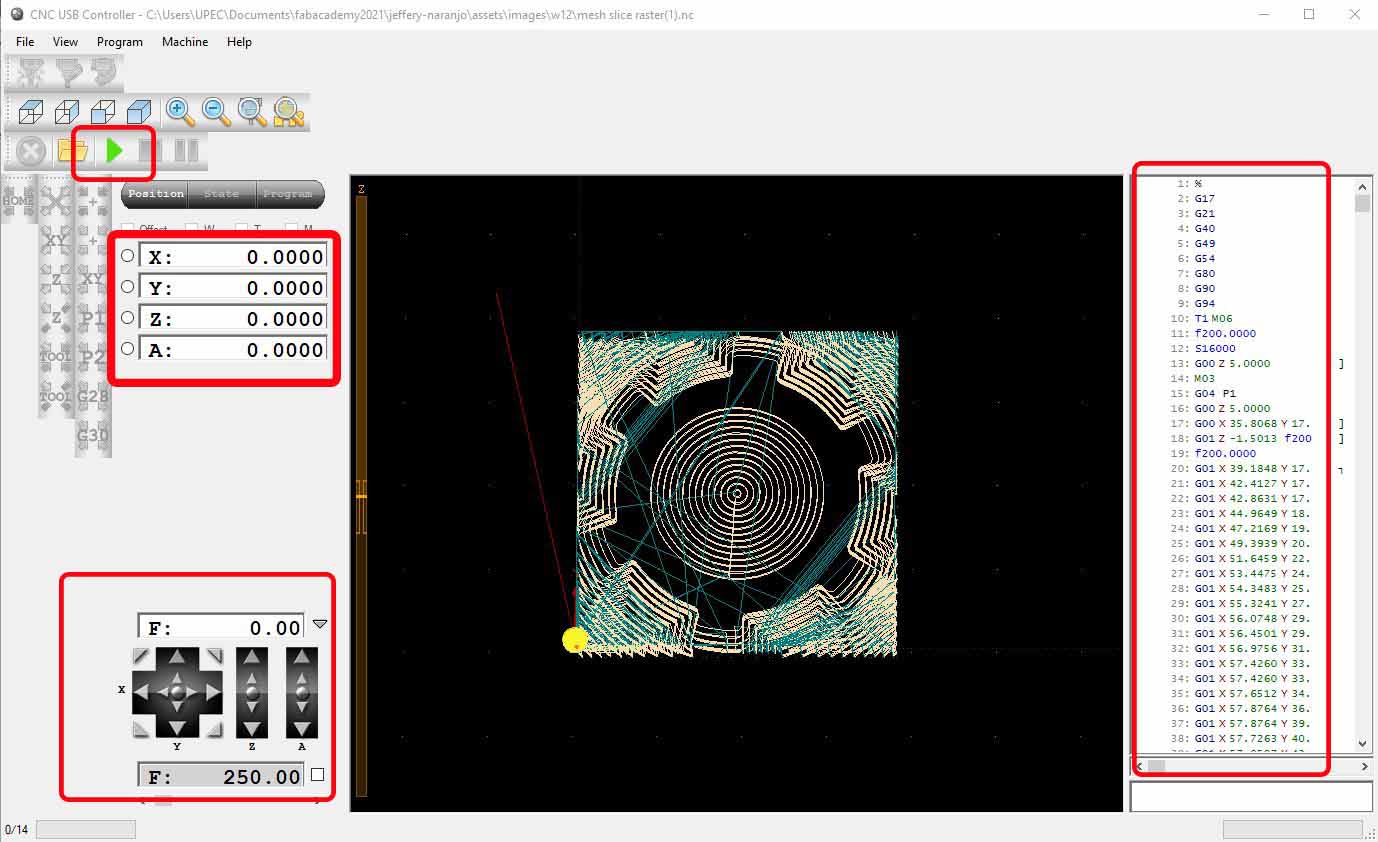
Once our G-code file is loaded, we have to place the material in the cnc, and then place the cutter at the zero point, we do this with the options located at the
bottom left in the shape of a cross, with them we can move in the 3 axes, finally we send the work through the green play button located in the upper left part
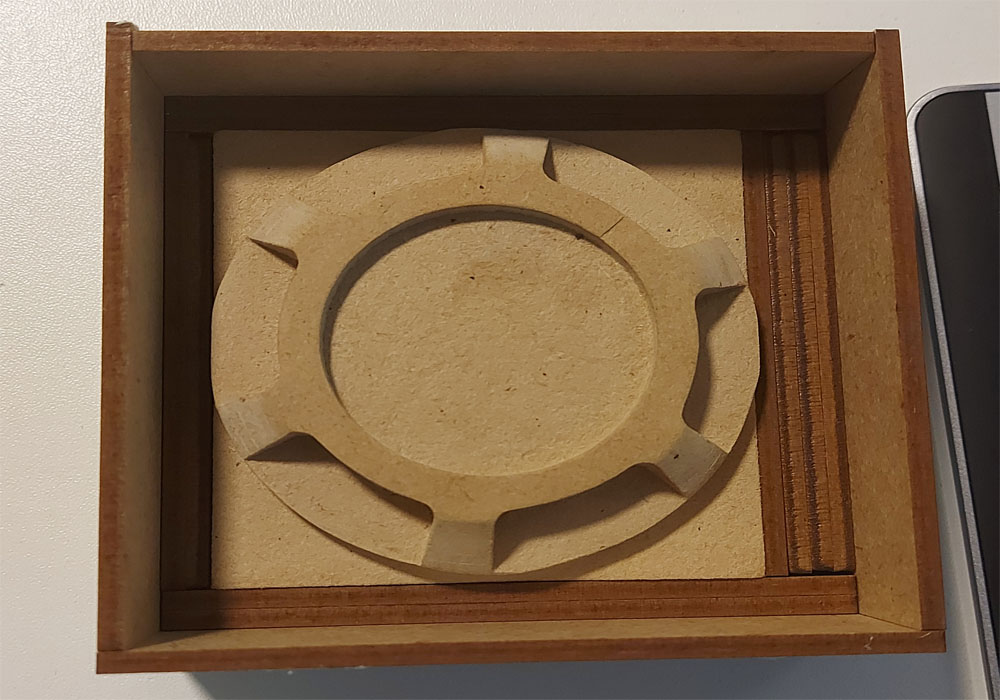
Once the mold was finished, I proceeded to use sandpaper to make small corrections, then sealer lacquer was used and then lacquered the mold with matt
lacquer to give it the final finish and leave the mold ready to place the silicone.
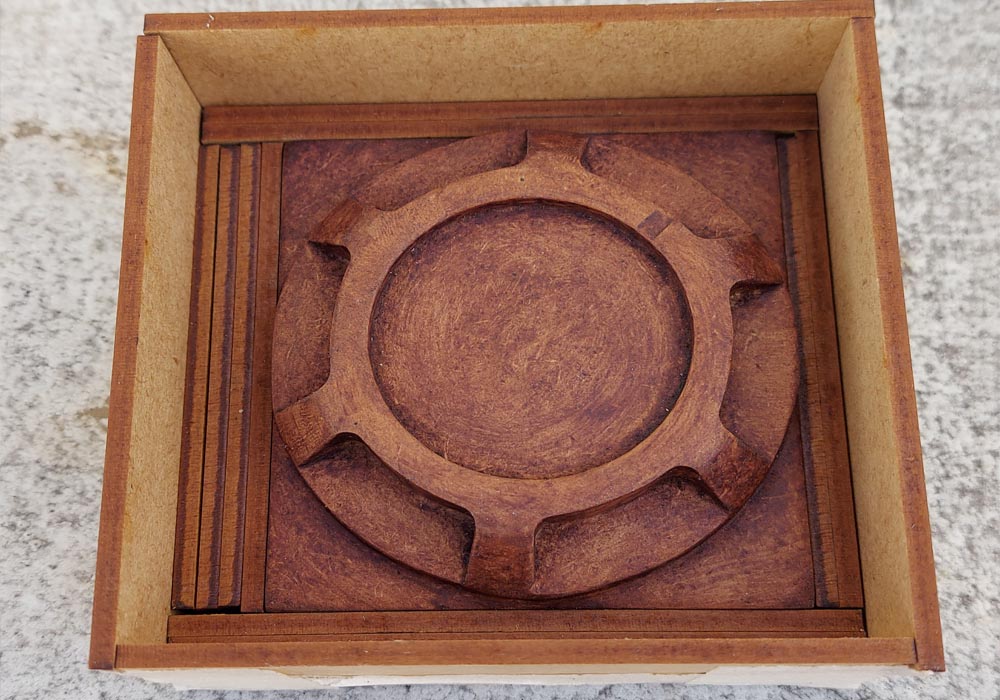
Once the sanding work was finished, I proceeded to place catalyzed sealer lacquer, let the piece dry for 4 hours and proceeded to sand the piece again, finished the sanding work, I proceeded to varnish the piece
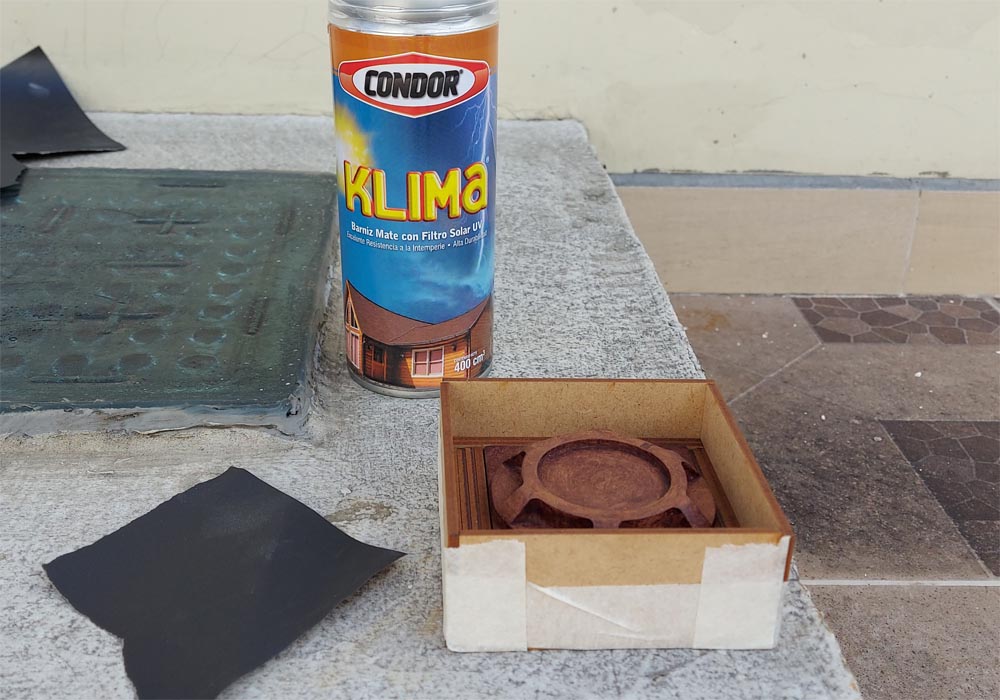
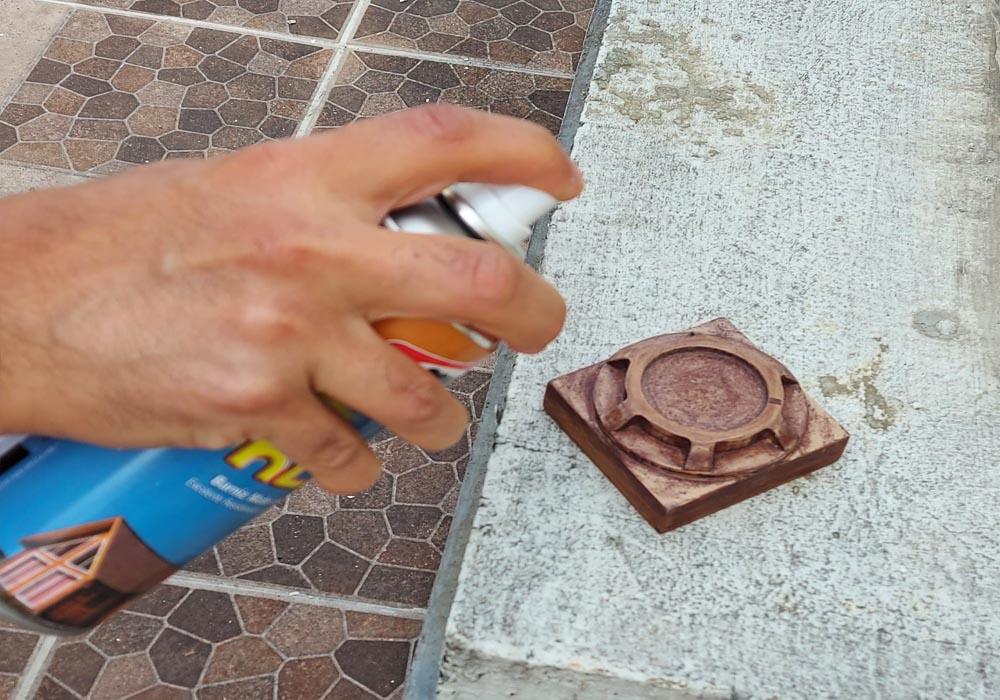
by using a spray lacquer matte, this so that the piece is smooth enough, to be able to detach the silicone and finally to guarantee that this happens, apply vacelin to my piece
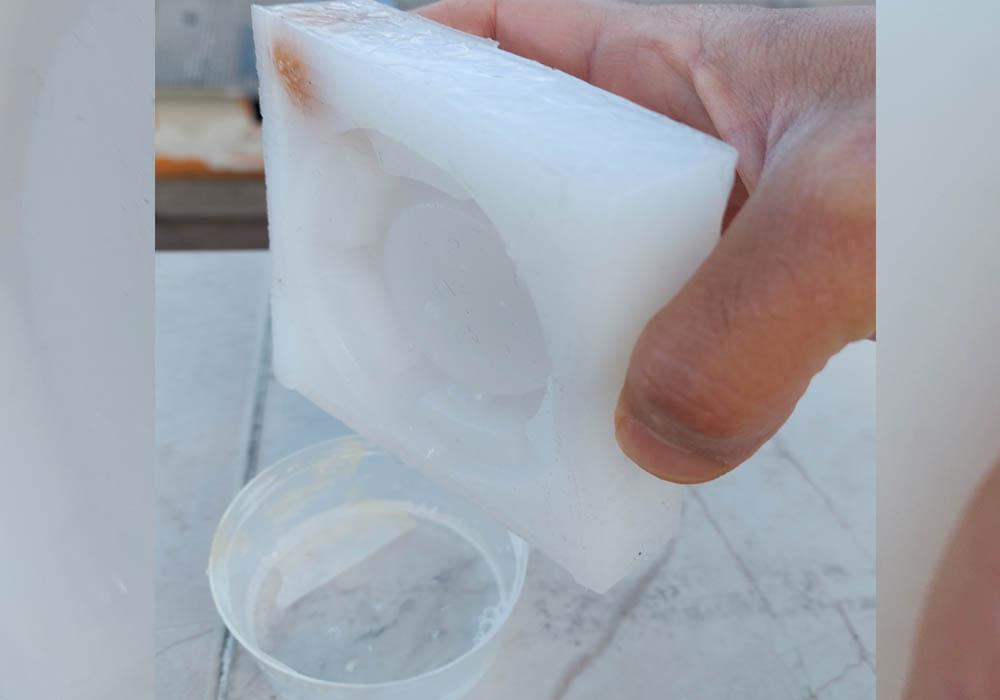
Finally, petroleum jelly was used over the entire mold to facilitate removing the silicone from the mold.
in this way, once the silicone dries, it is very easy to remove it from the mold
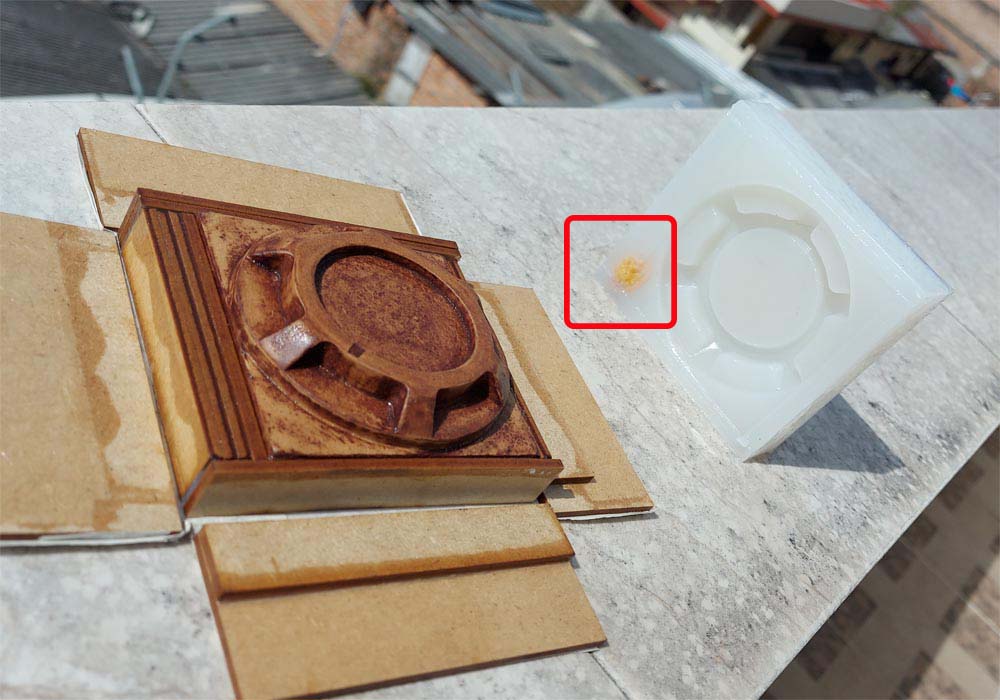
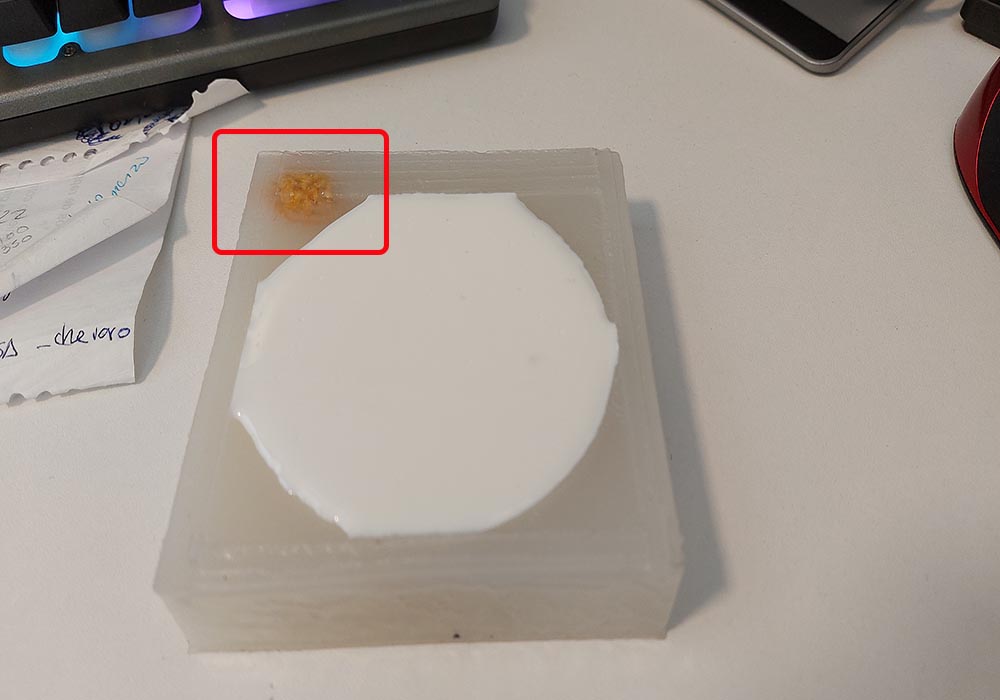
The material for the preparation of the silicone mold was sent to me by my instructor, but he only sent me a limited quantity,
just enough to be able to make my mold, so I could not calculate the proportions, I used all the material sent, I was afraid that
this one would not It was enough so I decided to put a peach seed inside the mold to increase the volume of the silicone, and it worked!
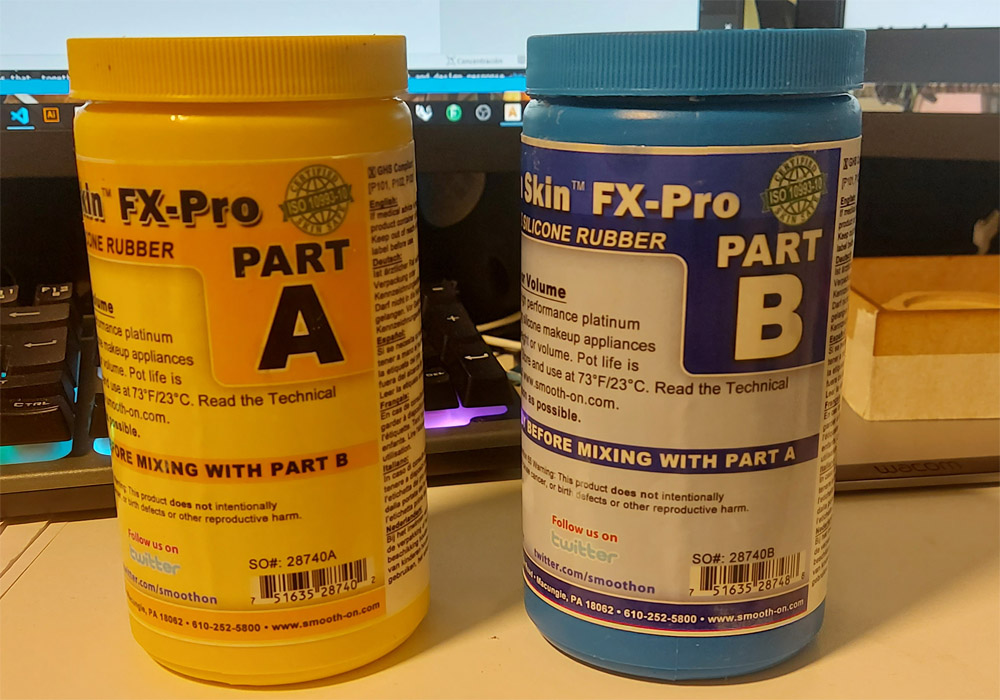
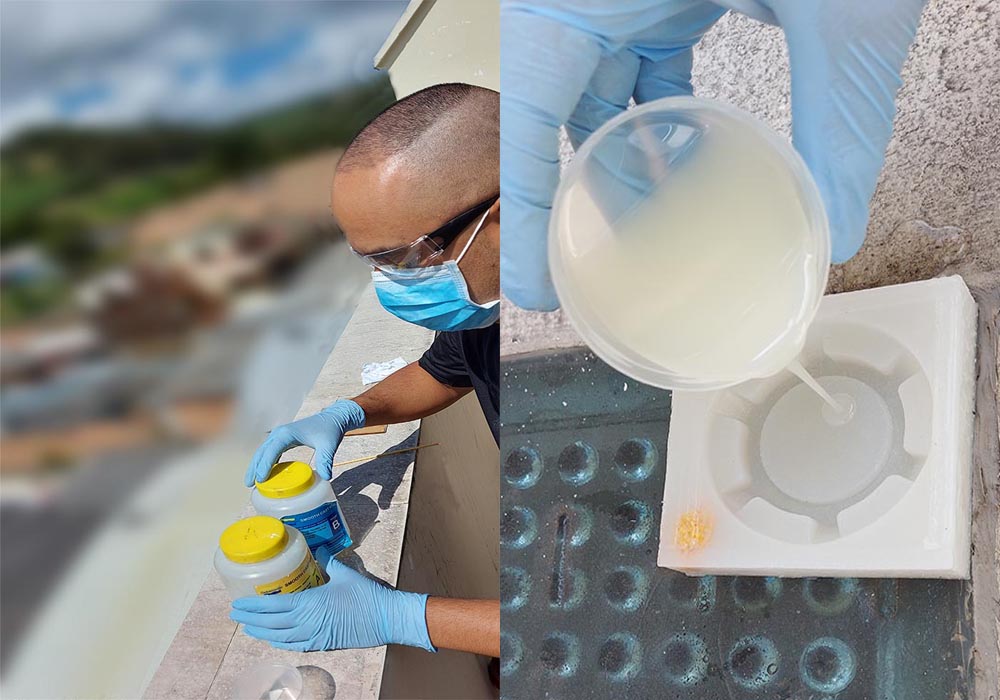
For this, I use Dragon Skin FX-Pro silicone ruber with a proportion of 50% of part A and 50% of part B
You can find the data and safety sheet in the following link:Smooth-On
The casting:
Once we have the resin mold ready, I put petroleum jelly to facilitate unmolding, the Smooth-On liquid plastic mix must be done in an
open and well-ventilated place, component A and B are used in equal proportions, this It has a working time of 2.5 minutes and a
curing time of 15 minutes, I let it dry for 30 minutes before removing it from the resin mold.
Calculating the material
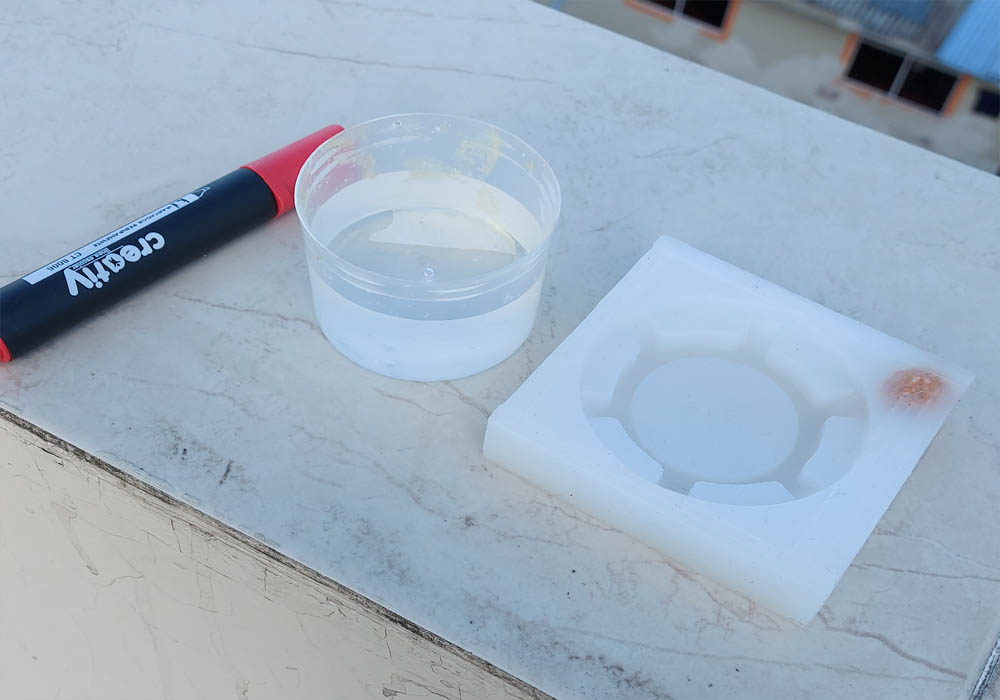
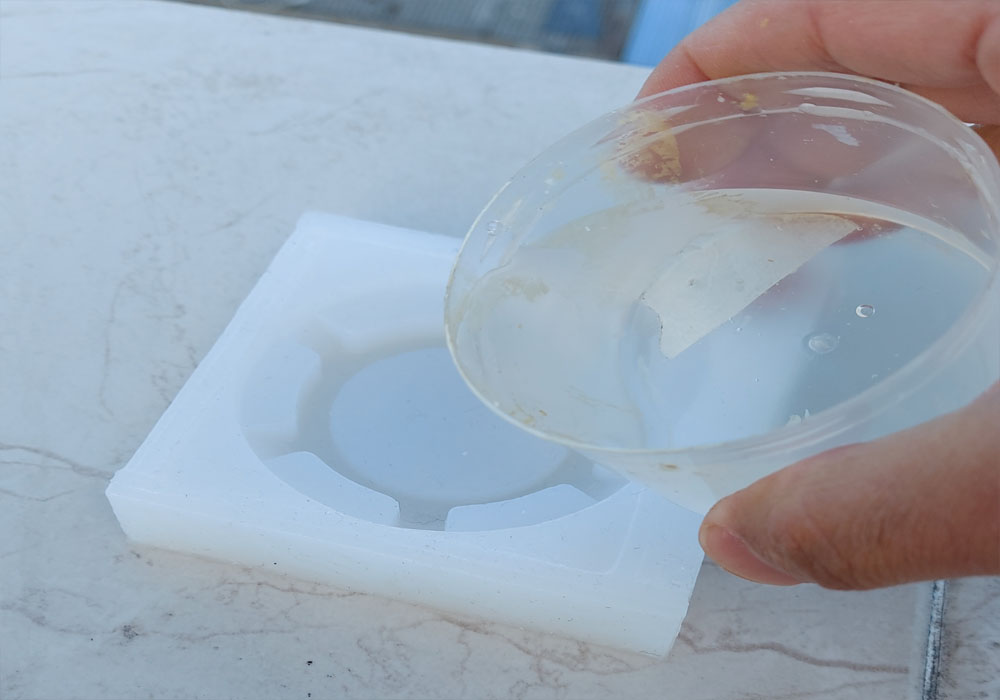
To calculate the appropriate amount of each of the components, use a container with water, place the water inside the mold up to
the upper edge, remove the water from the container, and put the water from the mold back in the container, then place a mark At
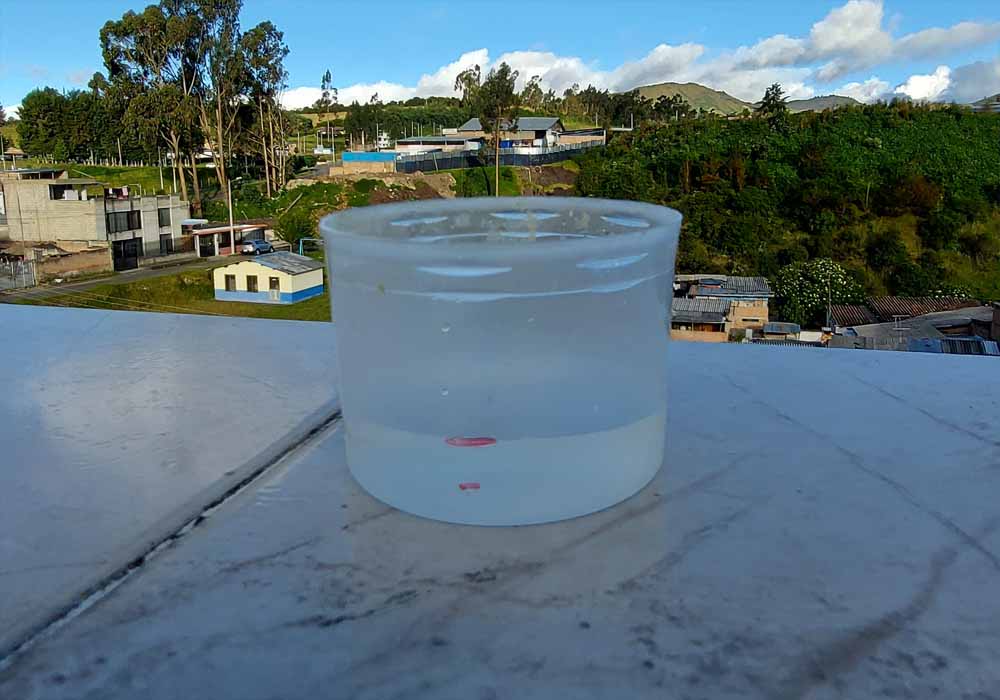
the water level of the container, I split it in half with the help of a ruler, ready now I have the measure of each of the two components to mix
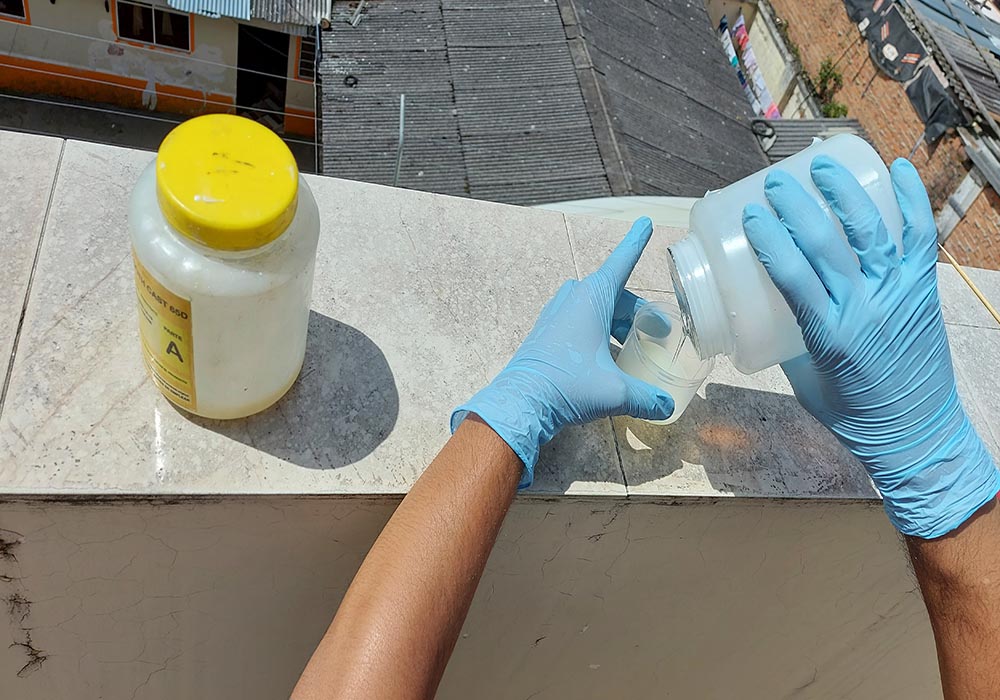
finally I just had to place each component up to the mark on the container, mix both components A and B
well and place the mixture in the resin mold previously smeared with petroleum jelly
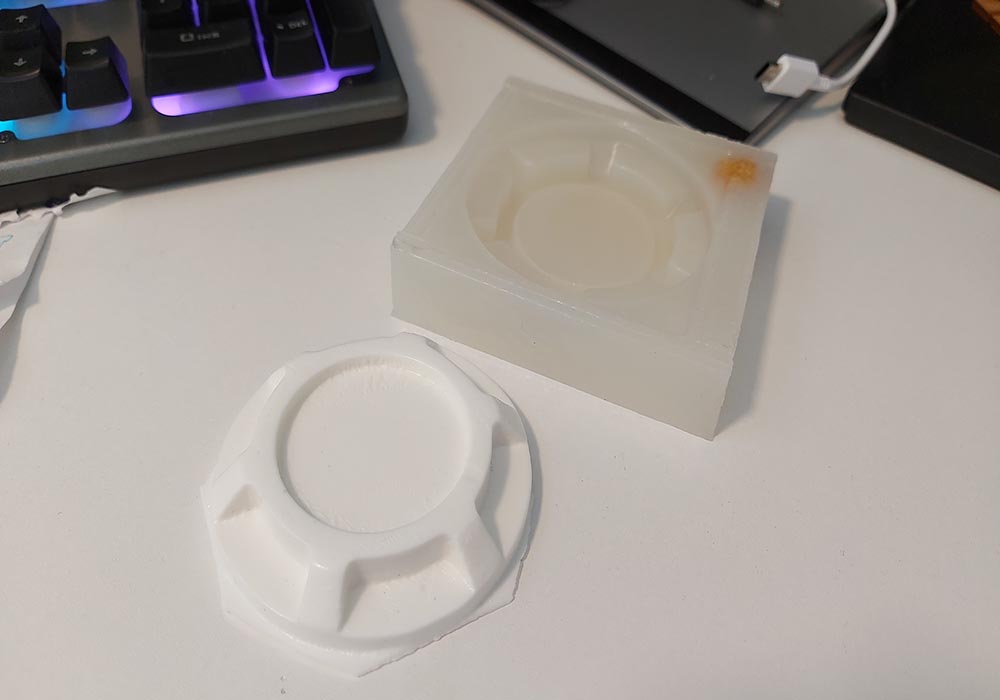
For this, I useSmooth Cast 65D with a proportion of 50% of part A and 50% of part B 30 minutes after, I separate the piece from the mold and this is the final result
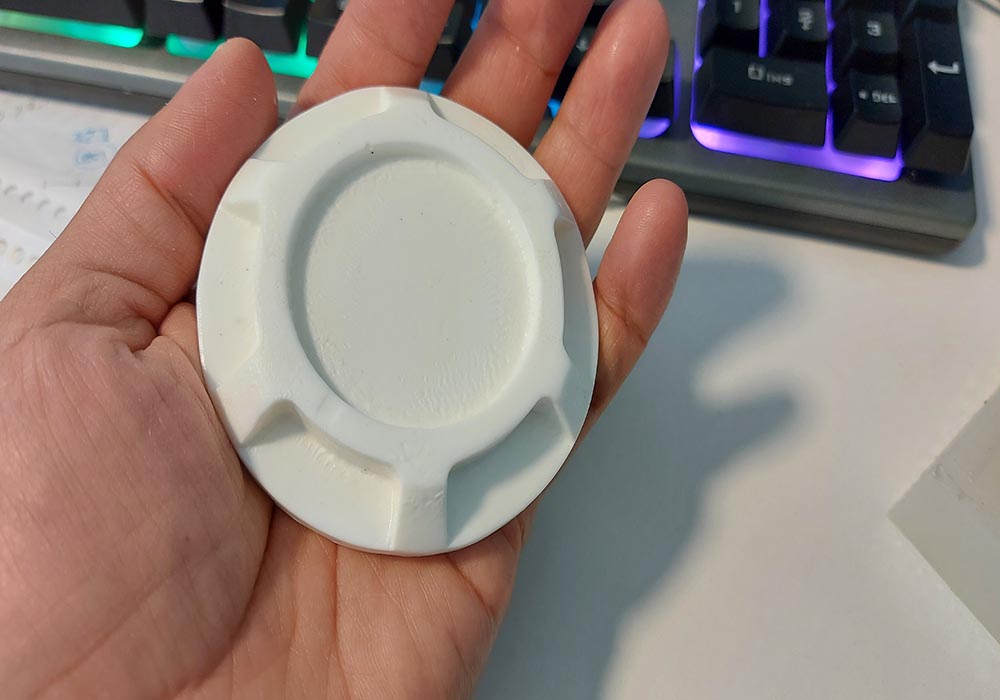
The final piece came off very easily from the silicone mold, but in this we can see imperfections resulting from poor sanding, I think the rush betrayed me
General Conclusion:
This was a very fun practice, you have to take certain care in the treatment of the mold, in my case the final piece was not
as exact as the original model, but the entire process of roughing and final finishing of the mold was done with a single 3mm flat
bur since it did not have other more suitable drills for final polishing, despite that the final result is quite acceptable