 Image taken from

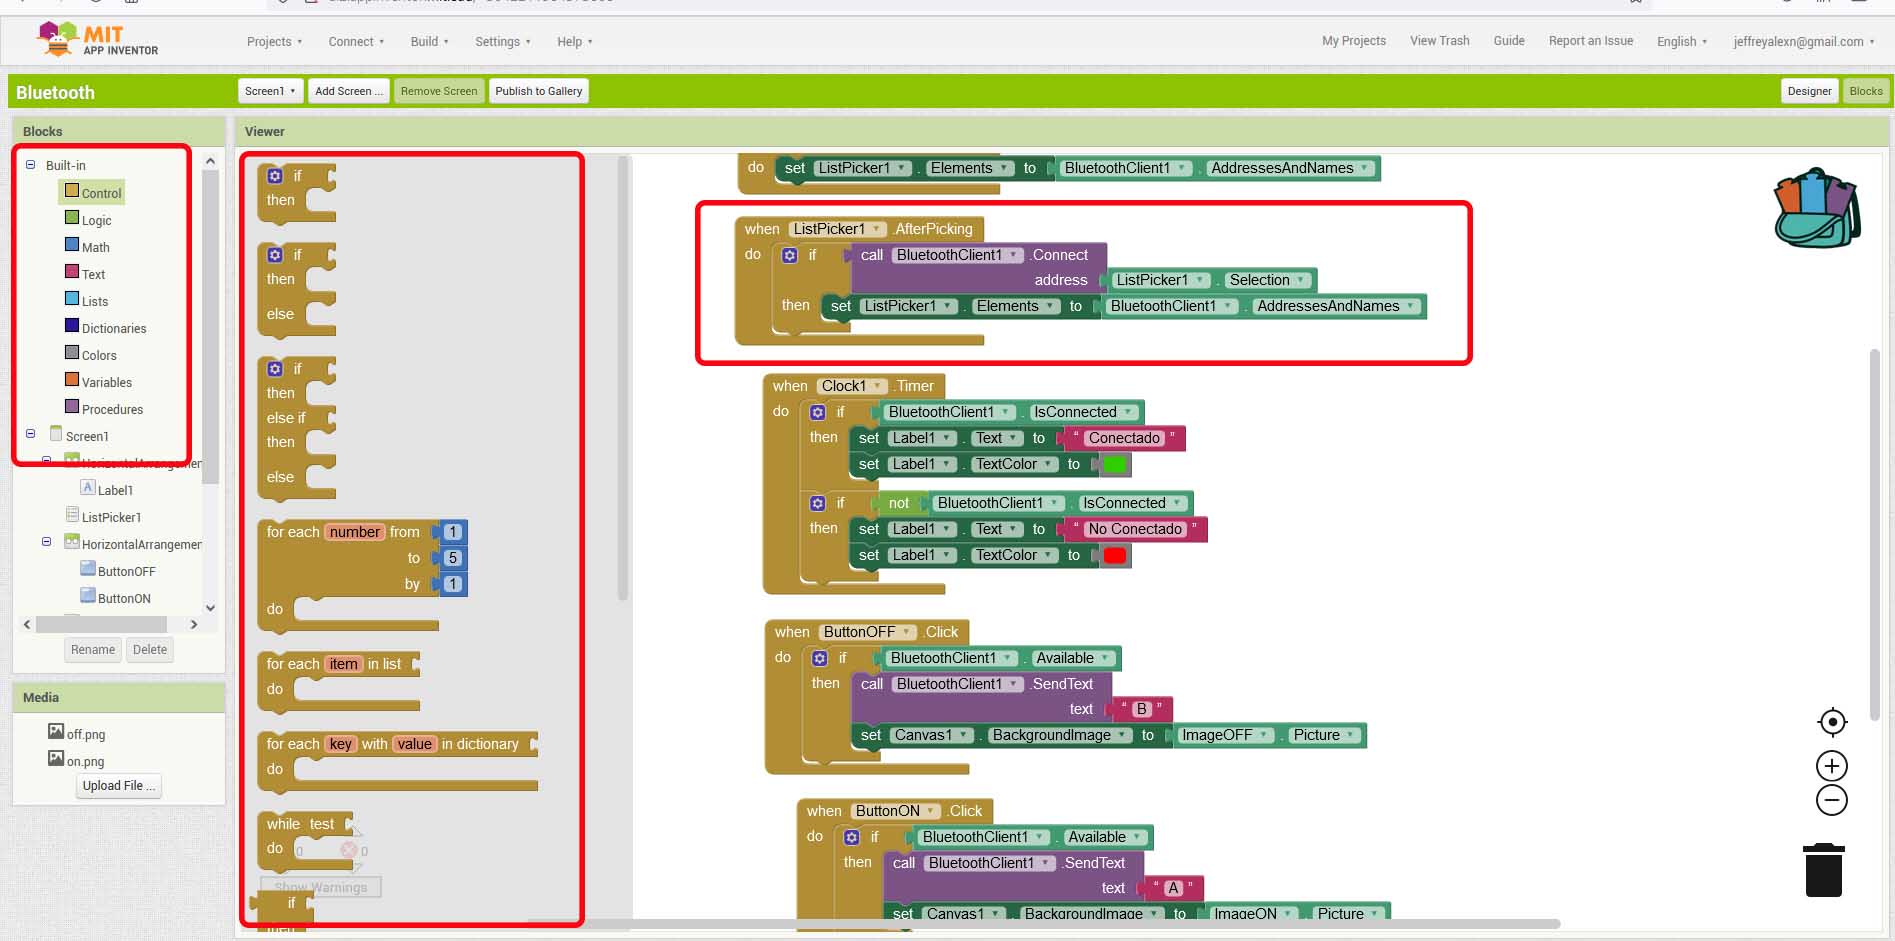
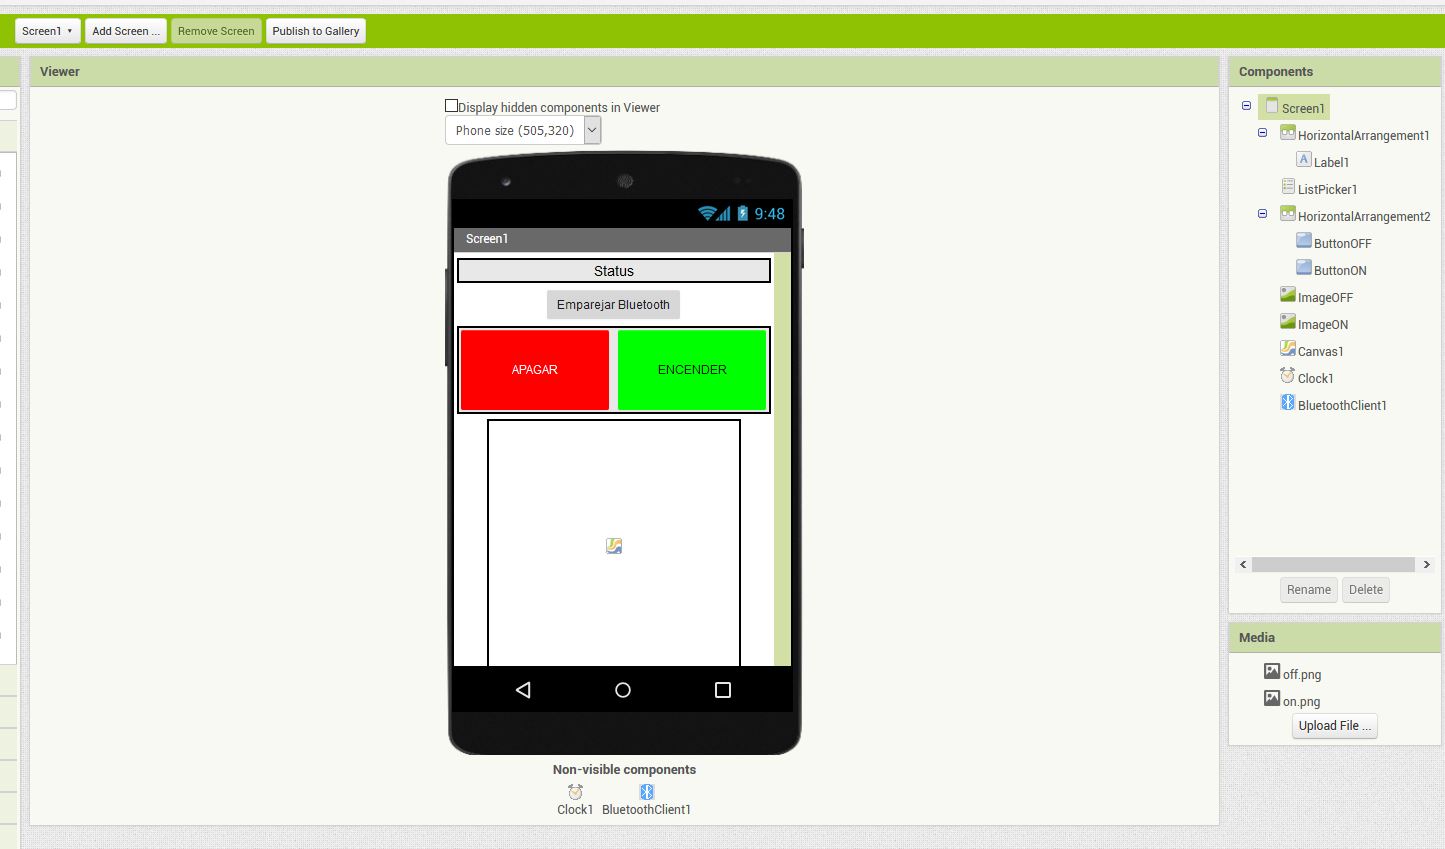

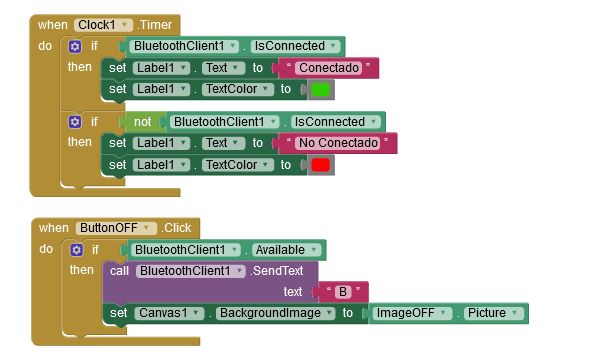
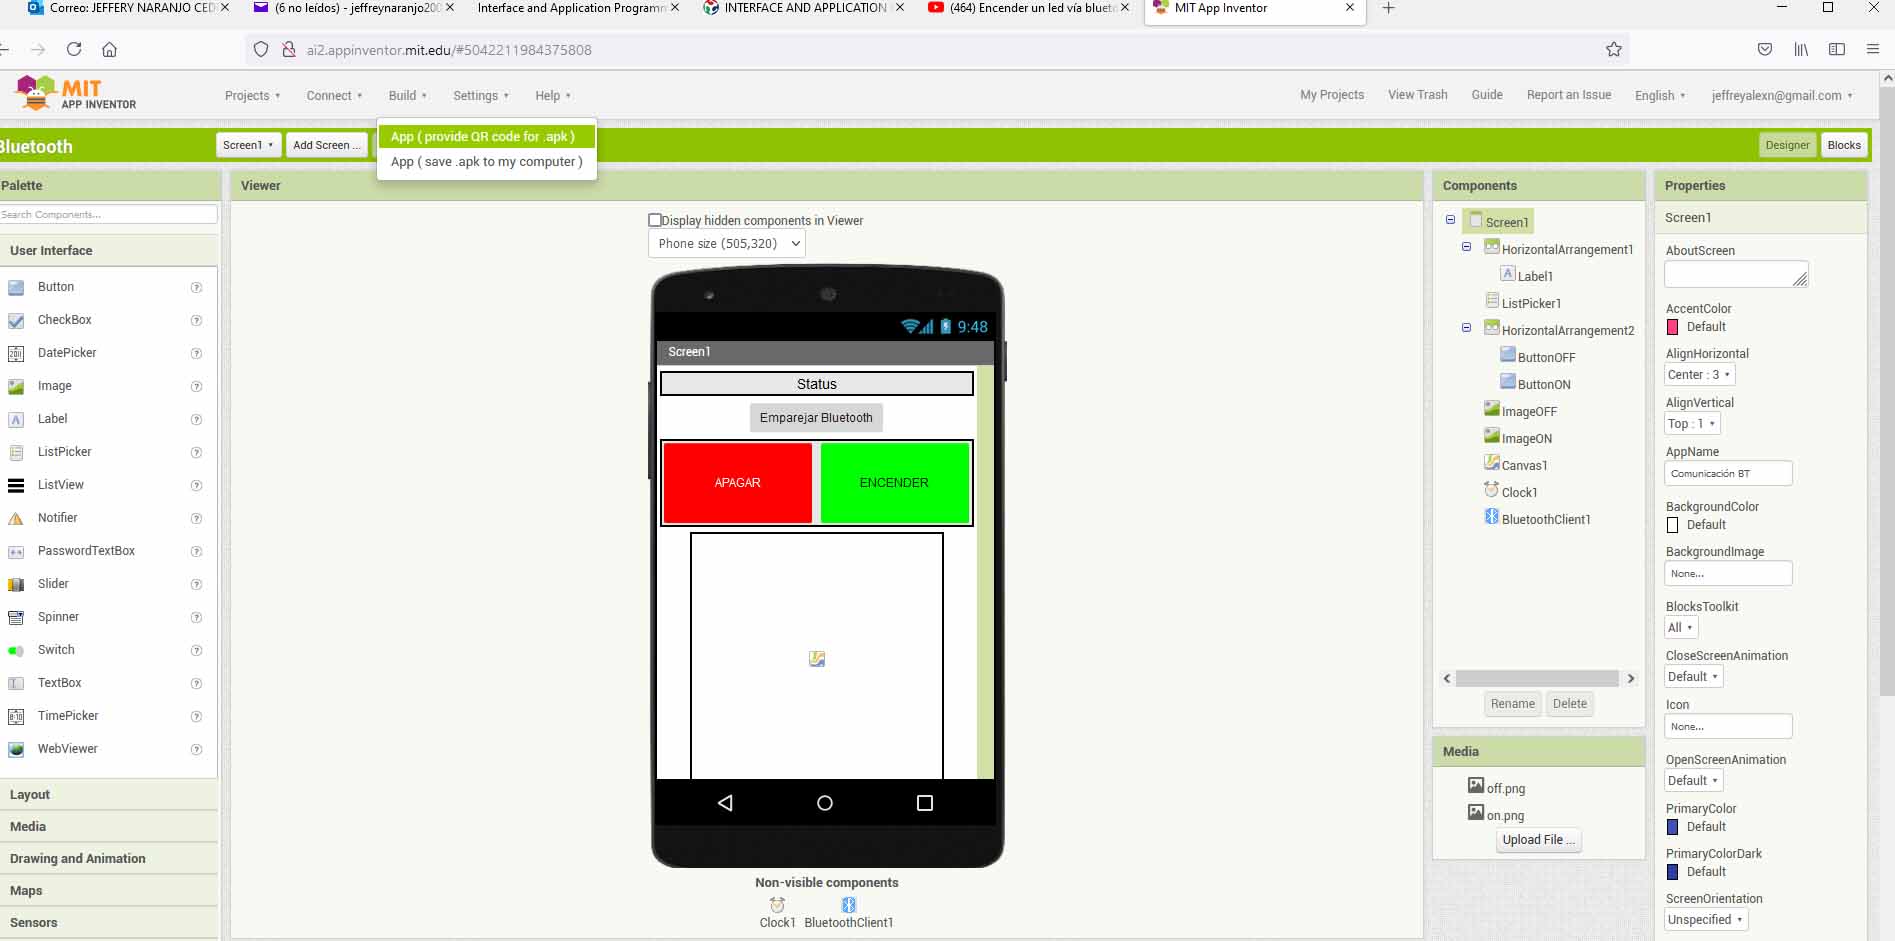
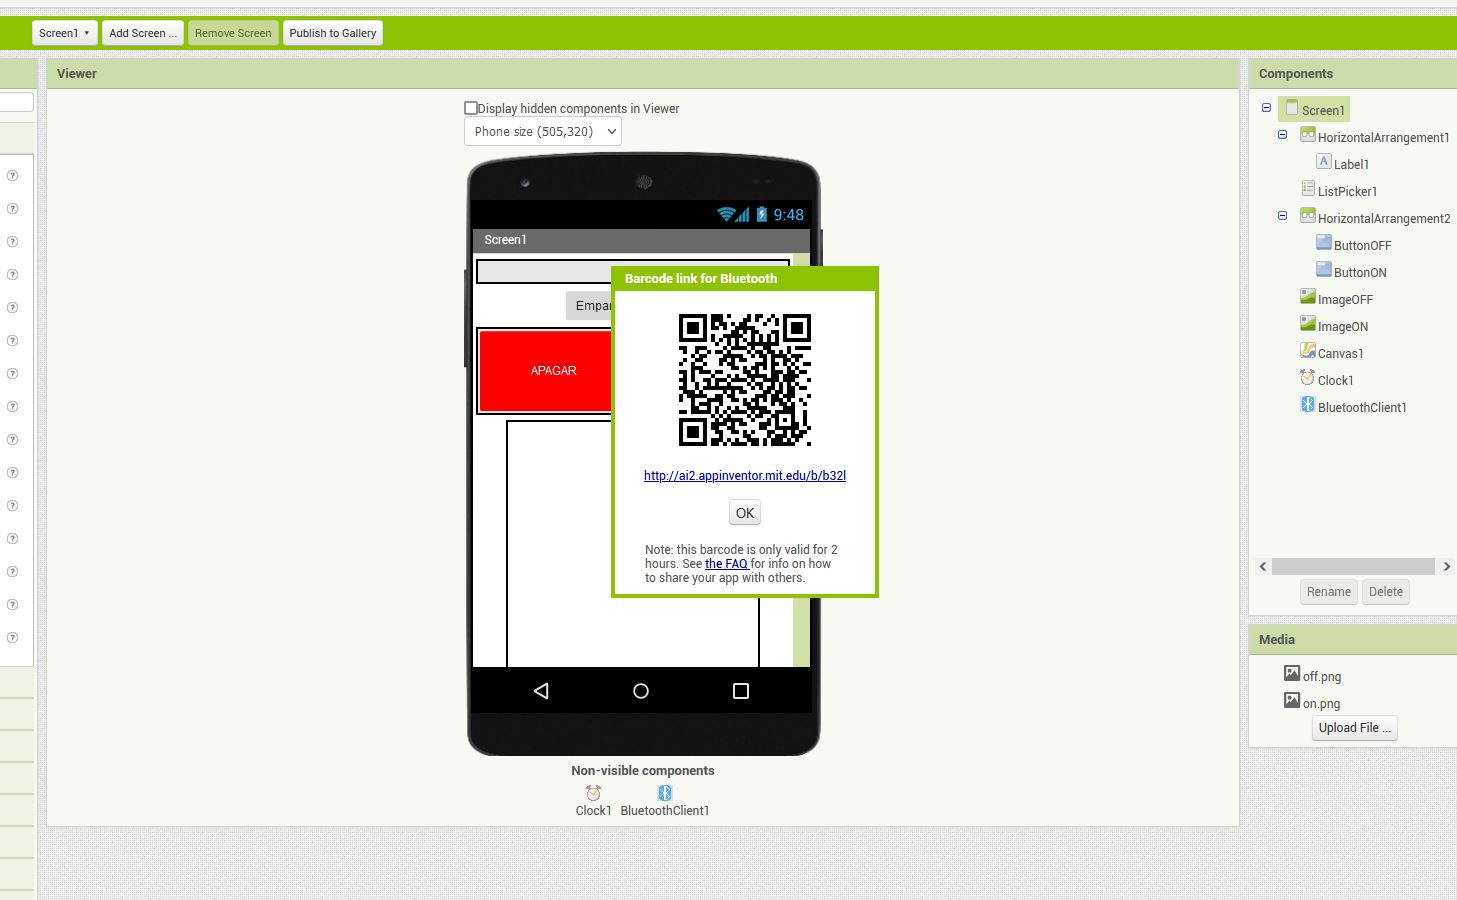
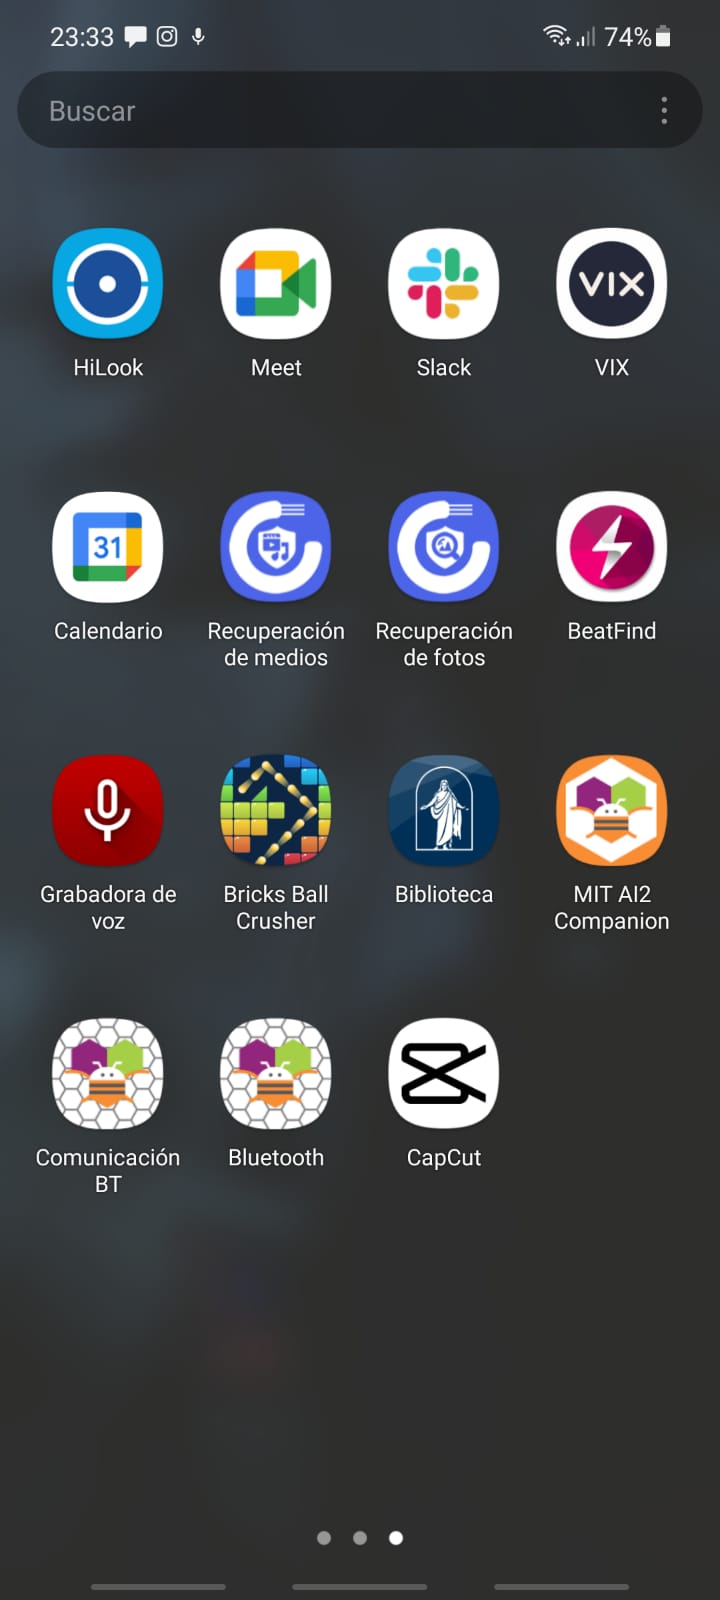

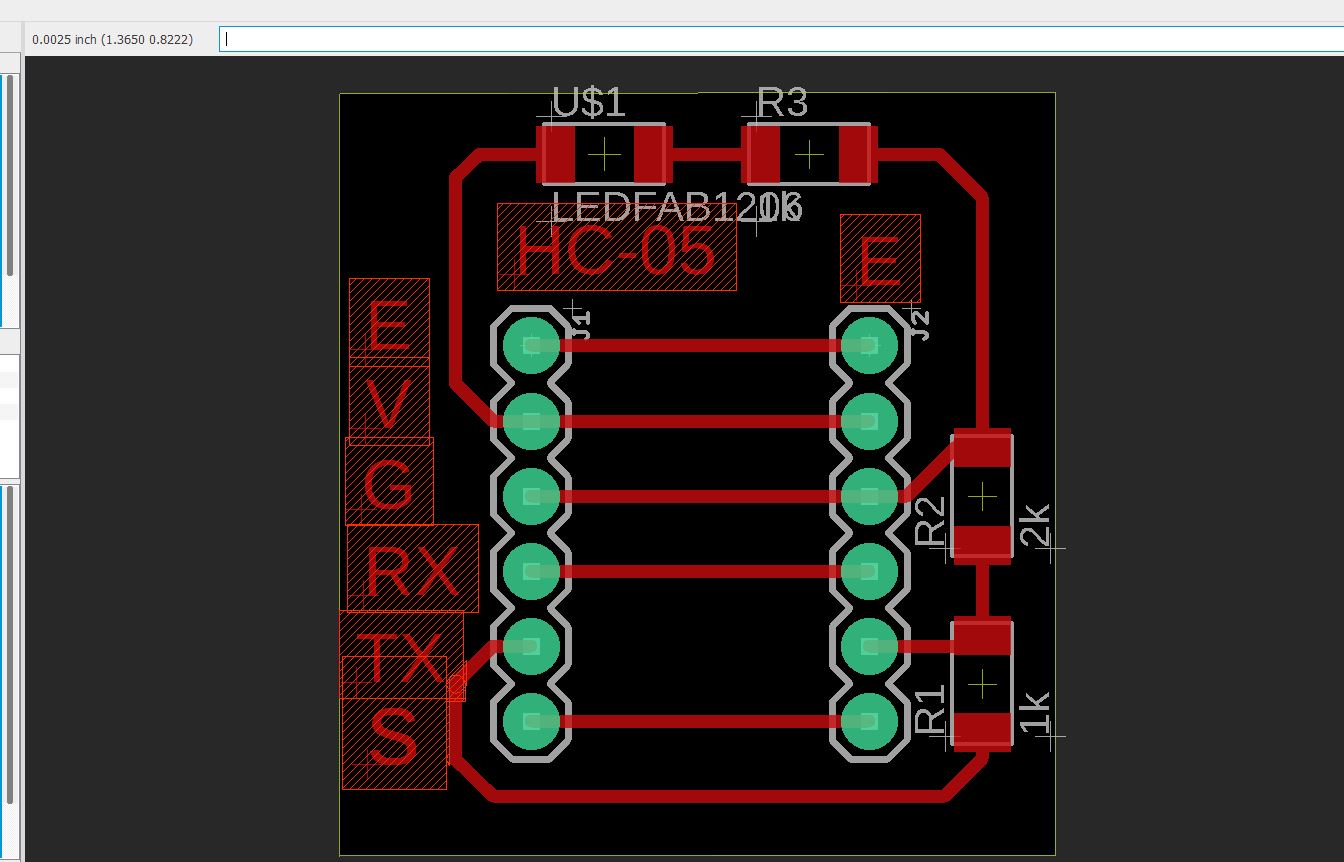
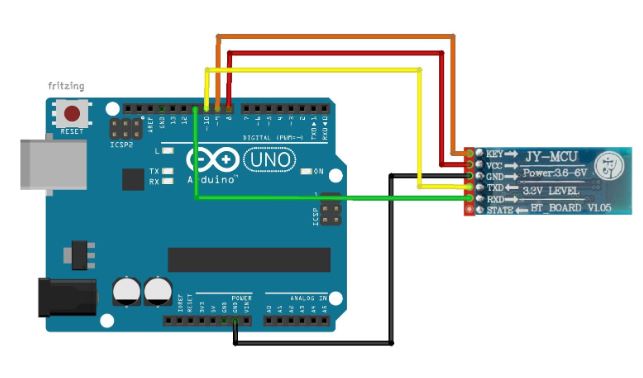
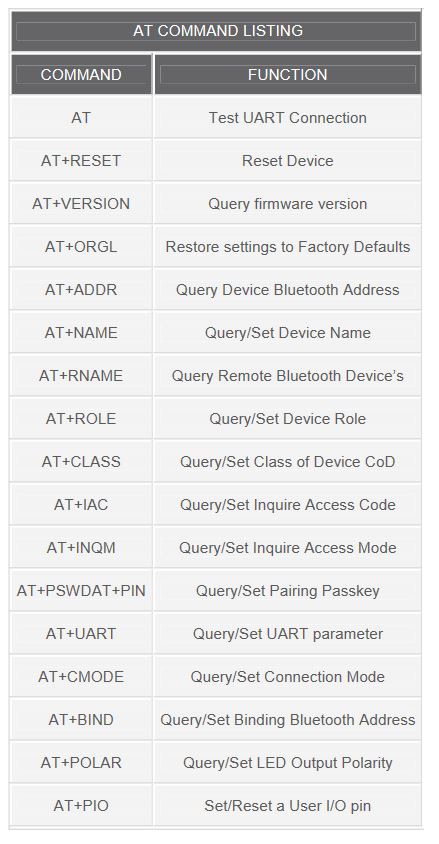 Image taken from
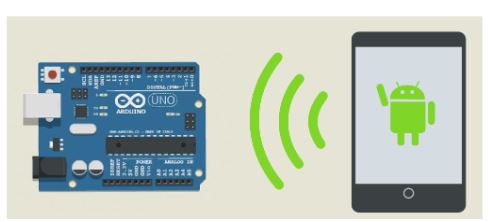
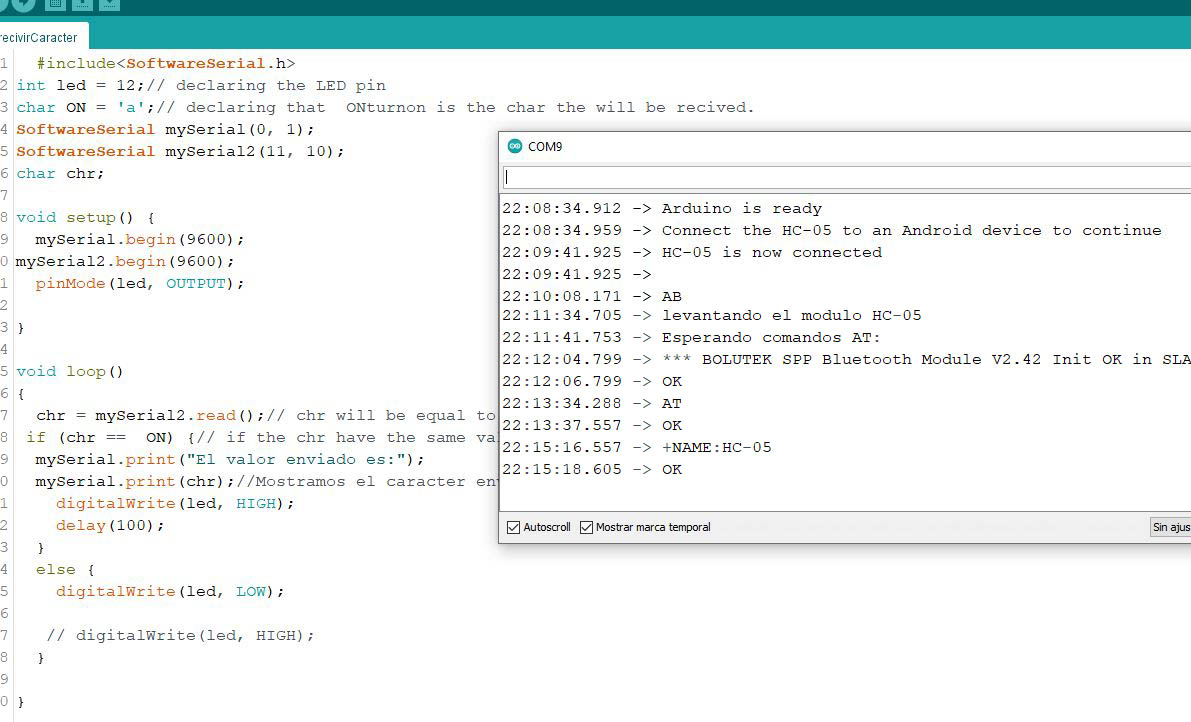 Image taken from
 This post follows on from Arduino With HC-05 Bluetooth Module in Slave Mode
The STATE pin on the HC-05 zs050 board is connected to the LED 2 pin on the small bluetooth module and the LED 2 pin is used to indicate when there is an active connection. This means the Arduino can connect to the STATE pin and determine when we have a connection. The STATE pin is LOW when the HC-05 is not connected and HIGH when the HC-05 is connected.
As a quick visual indicator you can put a LED + suitable resistor on the STATE pin. When the module is connected the LED will light.
You can also use the Arduino to read the value of the STATE pin.
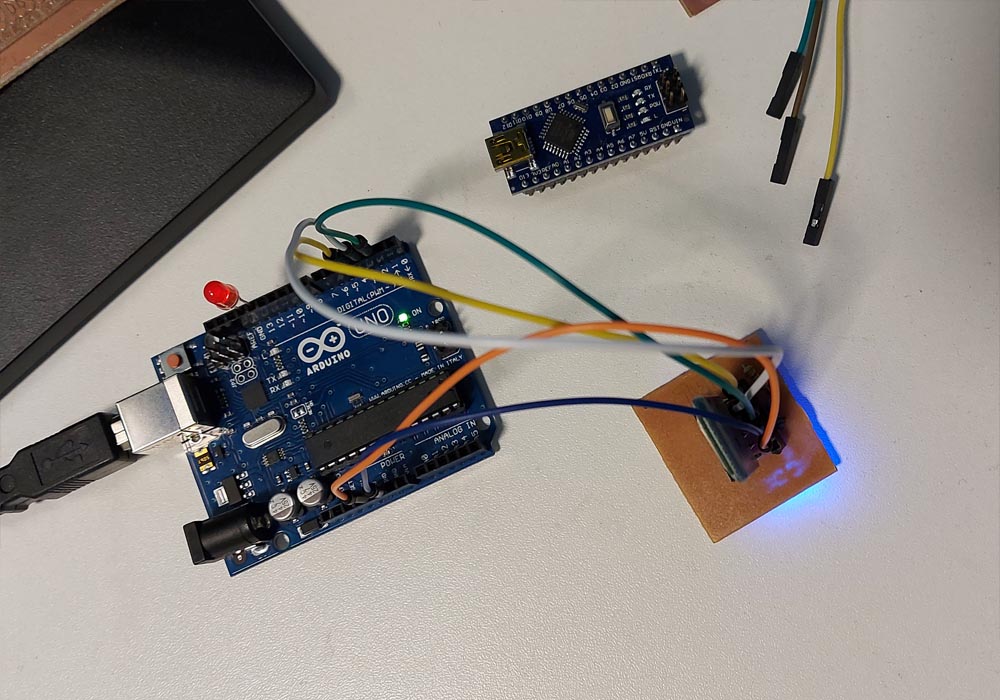
Add a wire from the STATE pin on the HC-05 to the D4 pin on the Arduino
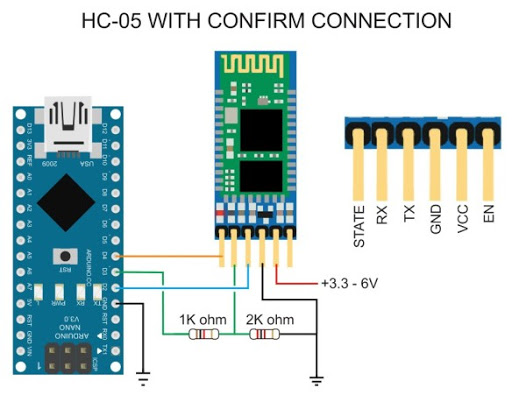
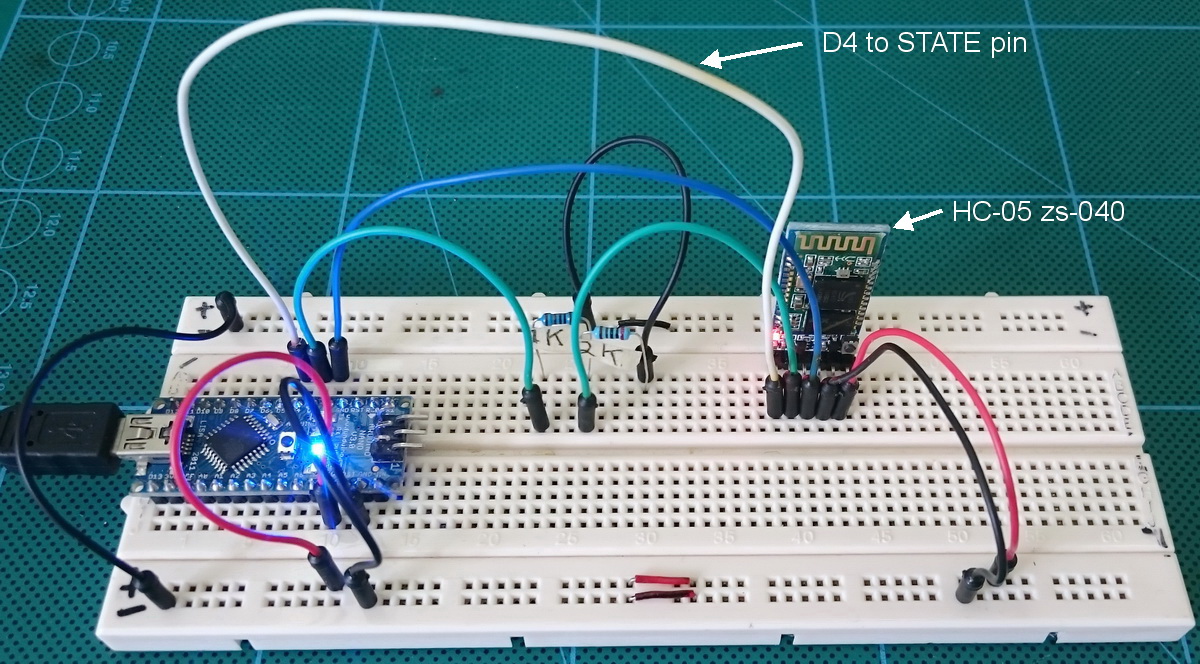 Image taken from martyncurrey
Upload the following sketch. The sketch now waits until pin D4 goes HIGH before starting the software serial and making a connection to the HC-05.
This sketch does not copy what you enter in the serial monitor input field to the serial monitor main window.
// Basic Bluetooth sketch HC-05_03 Using the state pin // Connect the HC-05 module and communicate using the serial monitor // // The HC-05 defaults to communication mode when first powered on. // The default baud rate for communication mode is 9600 // #include <SoftwareSerial.h> SoftwareSerial BTserial(2, 3); // RX | TX // Connect the HC-05 TX to Arduino pin 2 RX. // Connect the HC-05 RX to Arduino pin 3 TX through a voltage divider. // Connect the HC-05 STATE pin to Arduino pin 4. // char c = ' '; // BTconnected will = false when not connected and true when connected boolean BTconnected = false; // connect the STATE pin to Arduino pin D4 const byte BTpin = 4; void setup() { // set the BTpin for input pinMode(BTpin, INPUT); // start serial communication with the serial monitor on the host computer Serial.begin(9600); Serial.println("Arduino is ready"); Serial.println("Connect the HC-05 to an Android device to continue"); // wait until the HC-05 has made a connection while (!BTconnected) { if ( digitalRead(BTpin)==HIGH) { BTconnected = true;}; } Serial.println("HC-05 is now connected"); Serial.println(""); // Start serial communication with the bluetooth module // HC-05 default serial speed for communication mode is 9600 but can be different BTserial.begin(9600); } void loop() { // Keep reading from the HC-05 and send to Arduino Serial Monitor if (BTserial.available()) { c = BTserial.read(); Serial.write(c); } // Keep reading from Arduino Serial Monitor input field and send to HC-05 if (Serial.available()) { c = Serial.read(); BTserial.write(c); } } |
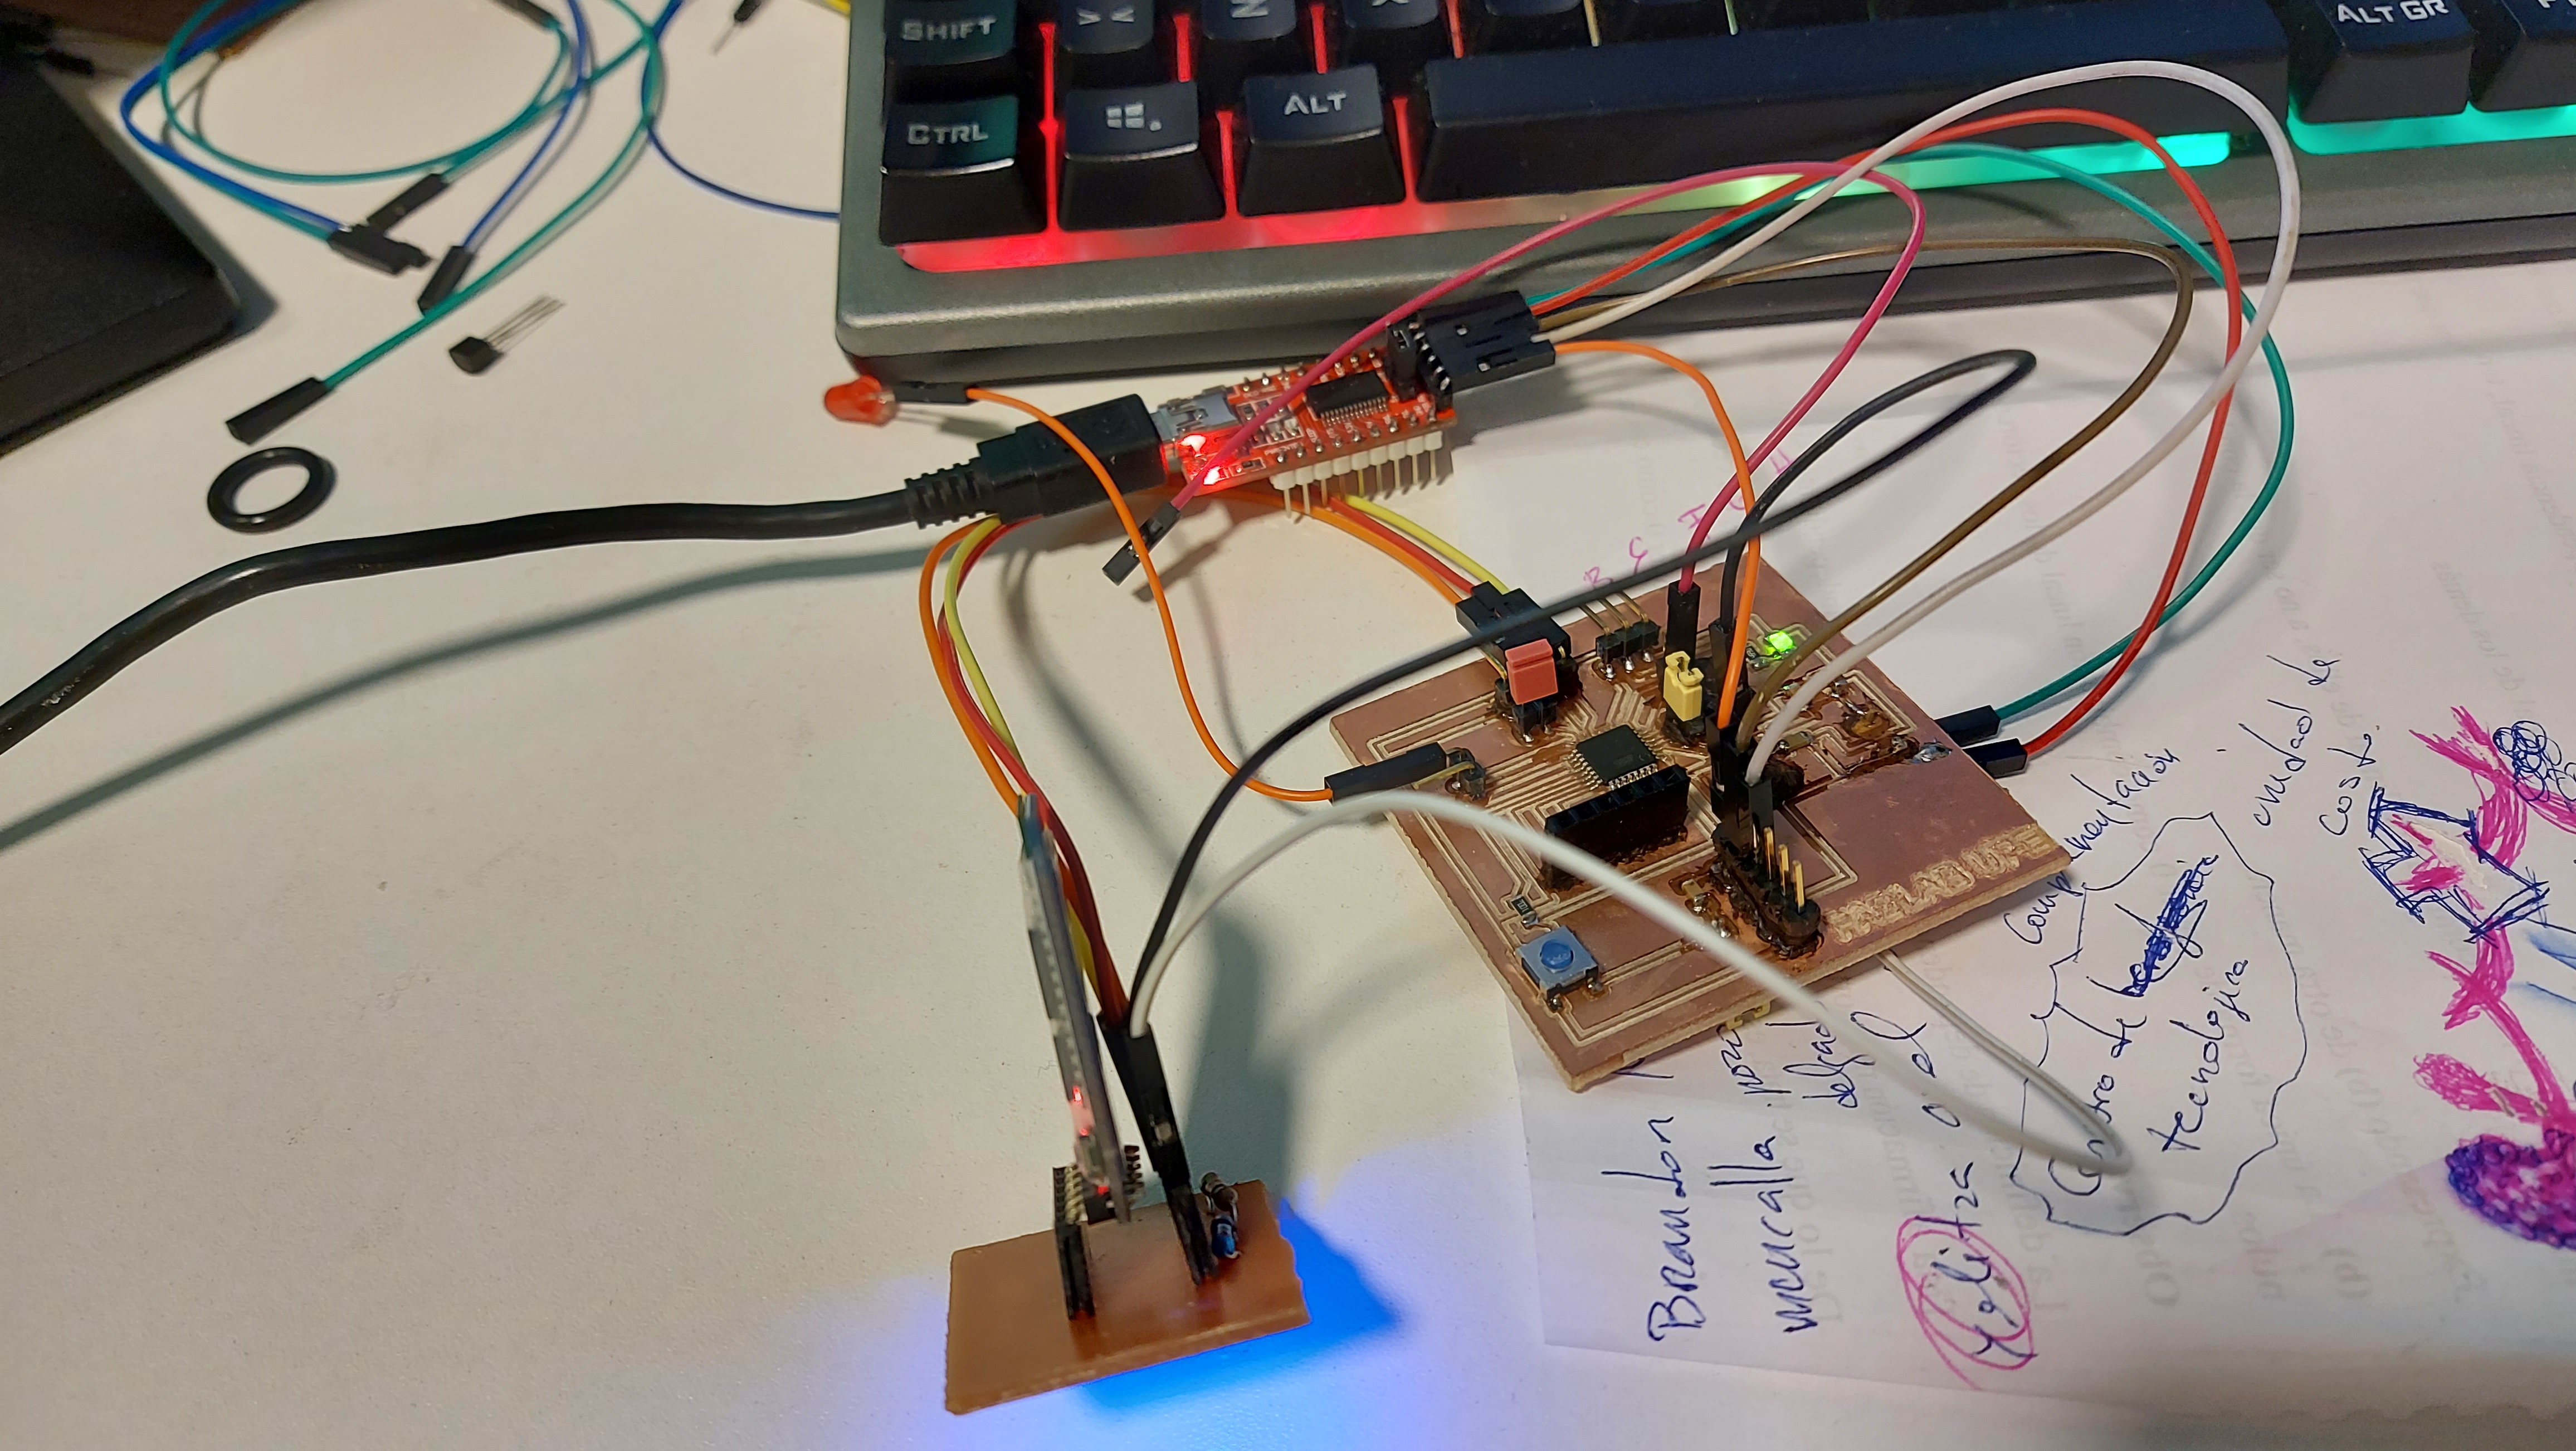
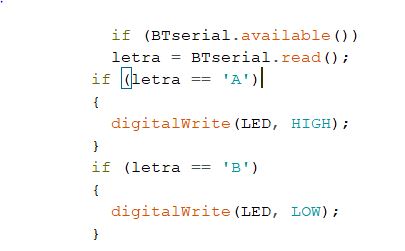
Connecting the Led and linking the code together
finally we include the following code at the end inside the void loop
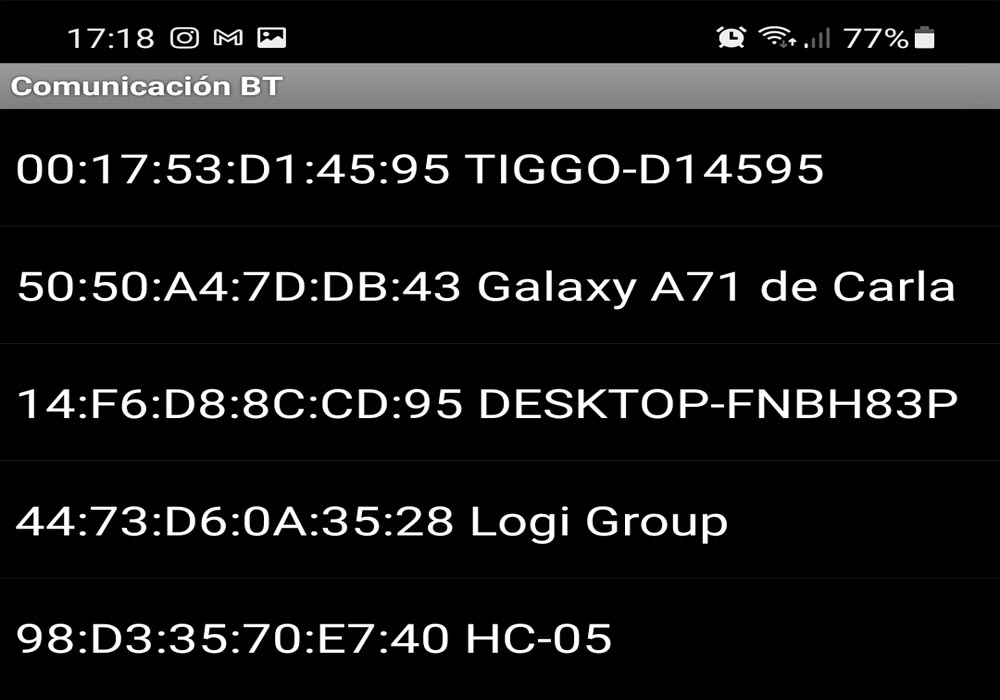
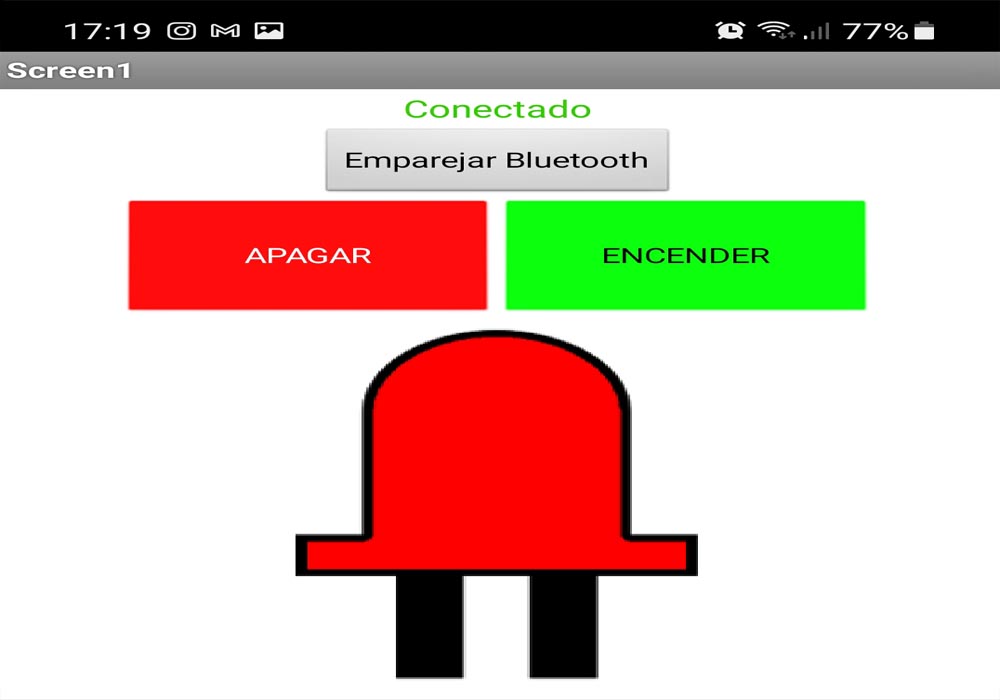
Performing the connection tests with the bluetooth module