WEEK 01 -
PROJECT MANAGEMENT & PRINCIPLES AND PRACTICES
PROJECT MANAGEMENT
html / css / git

CHECK LIST
- Make a website and described how you did it
- Introduce myself
- Document steps for uploading files to archive
- Push to the class archive
- Sign and uploaded Student Agreement
Before starting the Fab Academy I had the chance to follow an HTLM tutorials on Code_cademy to learn how to build a web site, organize text, add images, videos, and structure html pages. I had no preparation on this field, but this course was interesting, easy to follow and free.
HTML & CSS
Not easy to understand at the begining, loving it now.
HTML is the foundation of all web pages. It defines the structure of a page, while CSS defines its style. Without CSS, every web page would be drab plain text and images that flowed straight down the page. With CSS, you can add color and background images and change the layout of your page.
I learned how to biuld a web site from the tutorials on CodeCademy
but I didn't know where to write it or how to do it. My tutor recomended me to use visual studio,
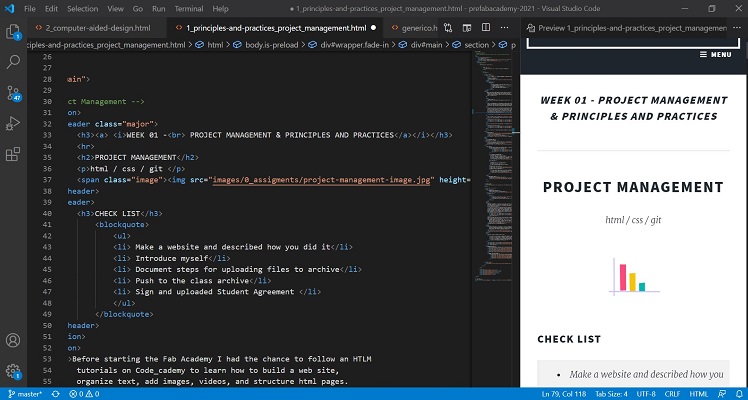
and I loved it, it is easy to use, it has the preview window which allows you to see the
result simultaneously while you work. I'll leave the link to download and install visual code studio on the links section.
Then, I decided to use a templete from html5.net. It has interesting formats to work with. At the begining I choose the one you'll see below.
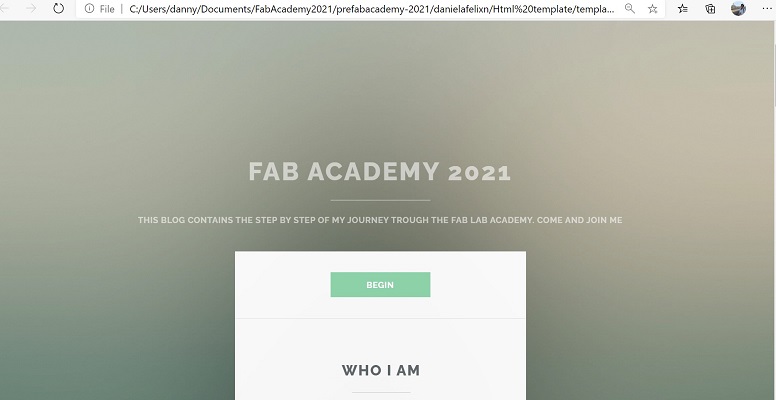
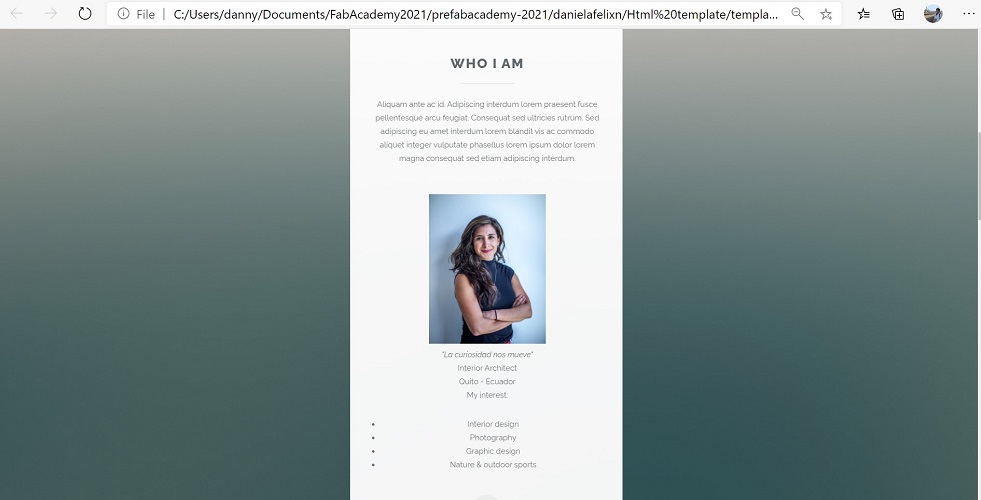
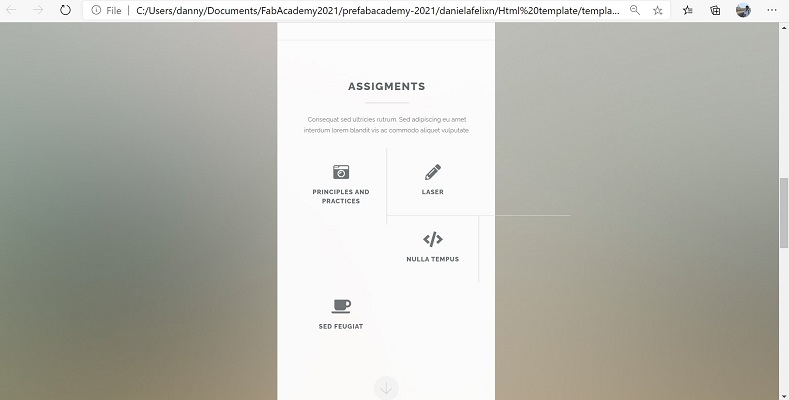
But it still wasn't what I was expecting. So I decided to try another template.
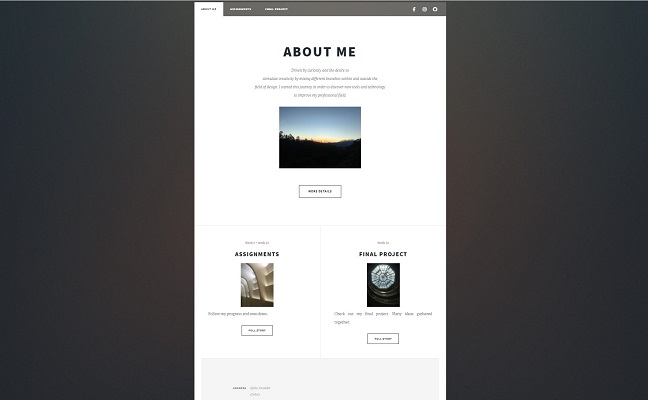
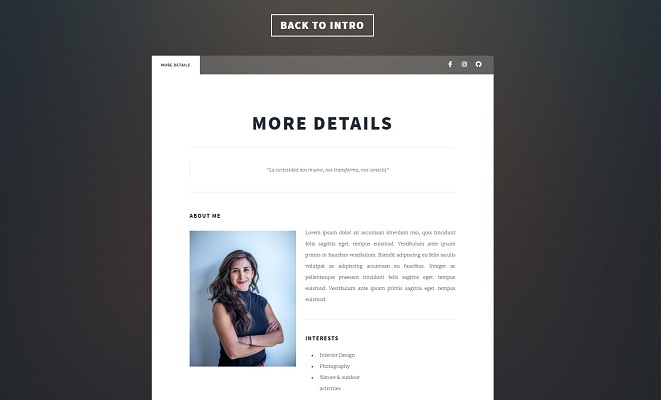
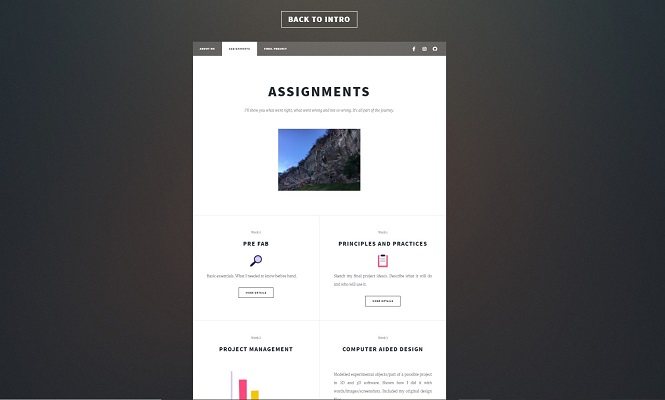
This is the one I'll continue developing throughout my process, sharing my experience and thoughts.
USEFUL LINKS
To follow my Pre Fab preparation you can go to this link.
THE STARTING POINT
A complete new language.
Followed this video to understand what git is GIT This one to understand how to install the Git BASH on my PC. Easy to follow the instructions (for windows in my case).
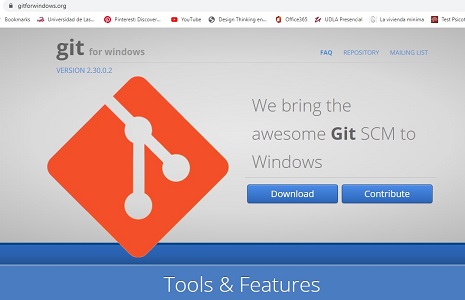
GIT bash
From the folder located in my computer, had to run the git bash and follow these steps to upload or download files to my repository.
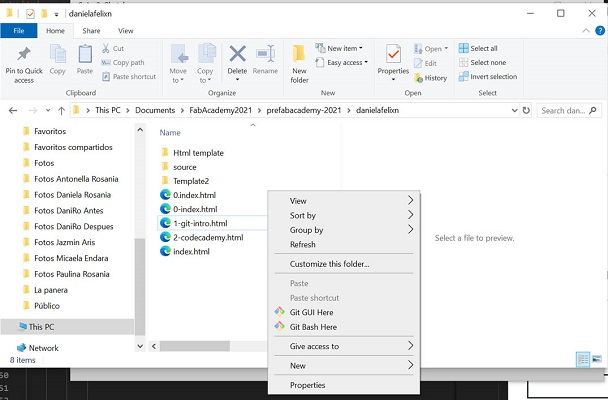
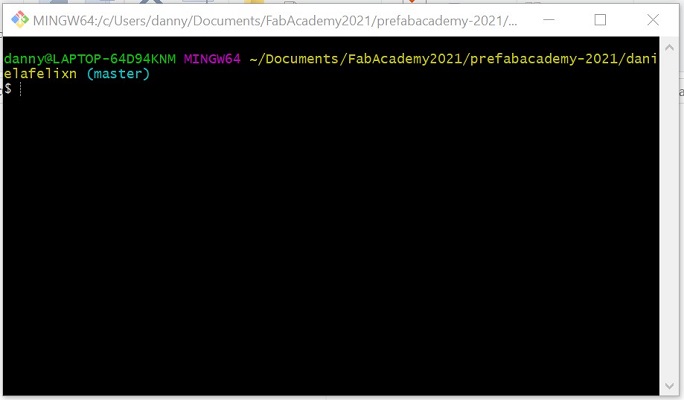
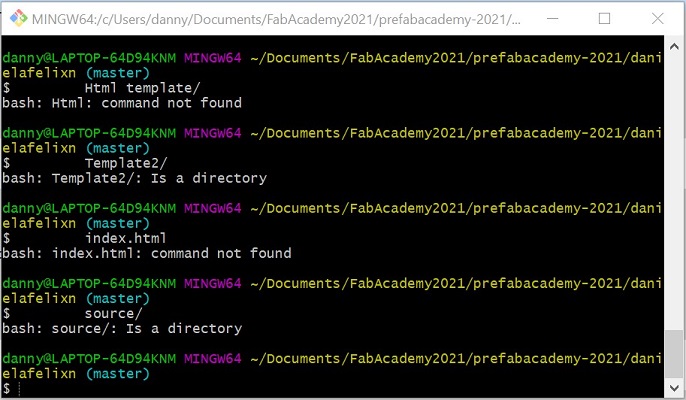
To upload TO THE REPOSITORY
clone (on Git) + Ctrl C
git status (see all the changes made)
git add . (remember the space and the dot - add the changes)
git commit -m "añadir descripcion" (to remember the changes made)
git push (upload final changes to the cloud)
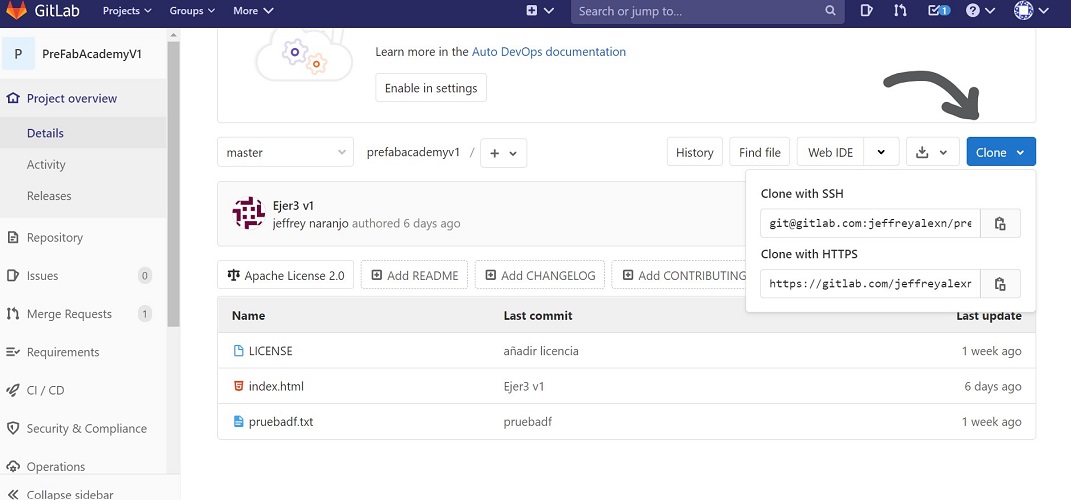
To download
git status (see all the changes made)
git add.
git commit -m"añadir descripción"
git pull (download changes to local computer)
Command line instructions
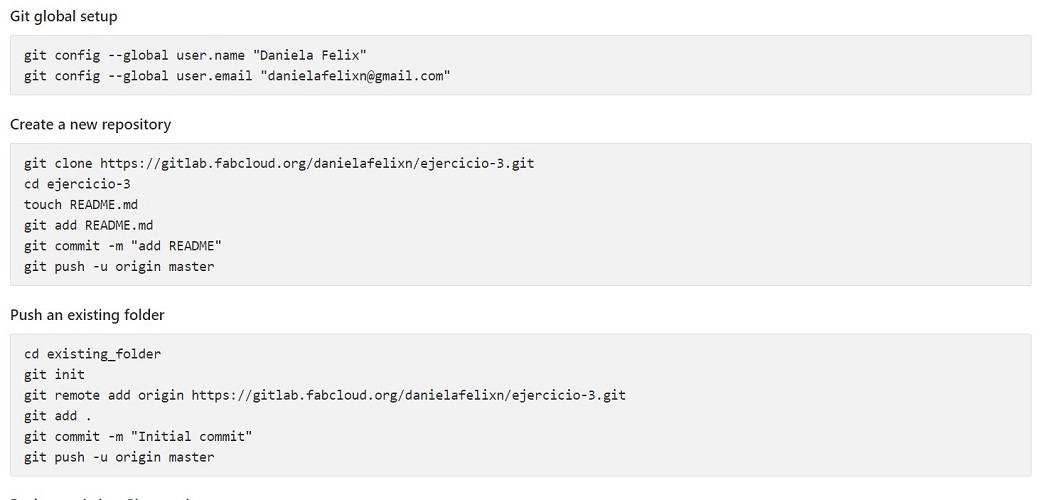

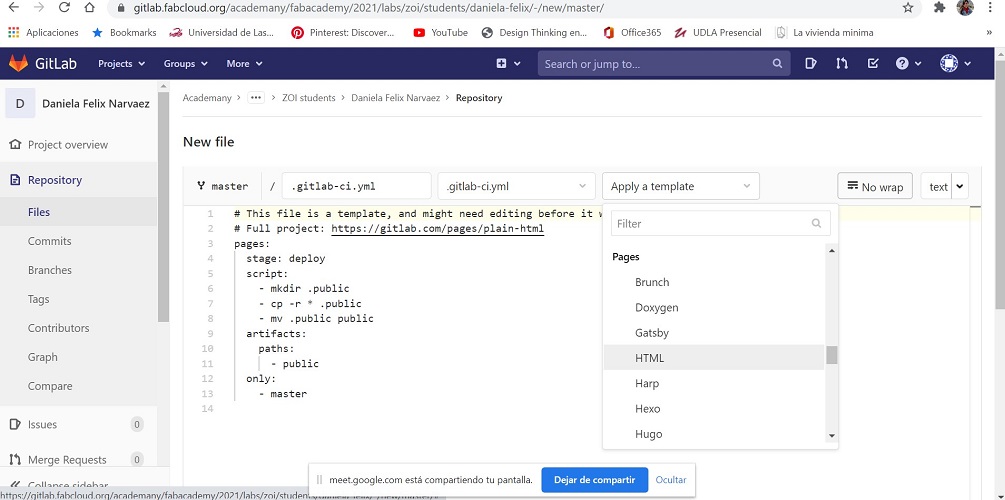
ENABLE HTML ON MY REPOSITORY
On the git default page there is a file for markdown, which I deleted and replaced
for a html one as show on the following picture. Without this step it wasn't possible
to access my web site on the avaliable link.
SOME USEFUL LINKS
Always necesary to remember some stuff
PRINCIPLES AND PRACTICES
What I want to do for my final project

CHECK LIST
- Read the Fab Charter
- Sketched your final project idea/s
- Described what it will do and who will use it
WHY
During the pandemic I realized I had no plants at home. As an interior designer I know how
important vegetation is to keep our environment fresh, to filter VOCs from the air and the
one I consider most important of all to alleviate the body’s response to stress and help it
to feel calmed and relaxed.
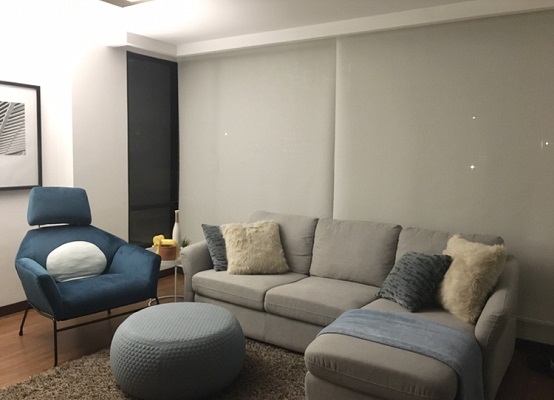
This is a picture of my apartment before the pandemics, no interior plants at all.
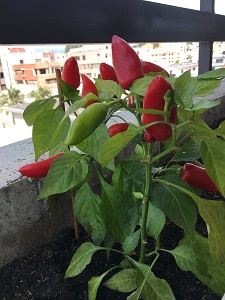
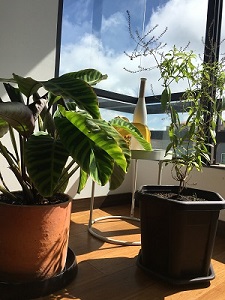
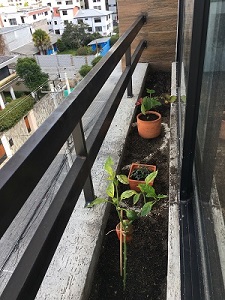
That was the moment my final project came to my mind. I needed something that would help me take care of my plants, prepare my own soil, keep growing my vegetables indoors, and use the organic waste I was having now that I cook at home.
We produce about 1kg of waste per day, and 30% of it is organic. I’m thinking about a vermicomposting bin which helps me keep a closed cycle. It starts with the organic waste I produce, then it goes to the composting bin where it processes the food into hummus, and I can use this hummus to sow new consumption plants, which later can come back to the composting bin.
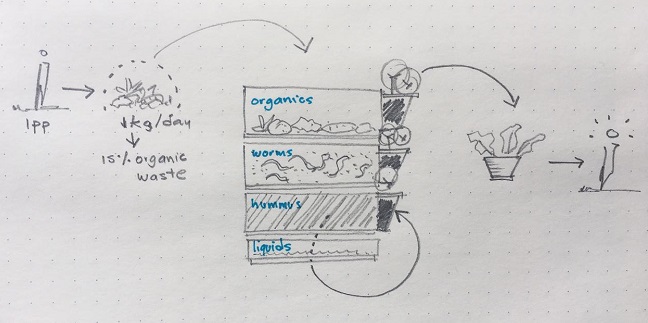
Planned cycle for my vermicomposting bin.
WHAT
The vermicomposting is the product of the of the decomposition process using various species of worms to create a mixture of decomposing vegetable or food waste, bedding materials, and vermicast. It provides way to treat organic wastes more quickly, compared to conventional composting, it is rich in nutrients and loaded with microorganisms that create and maintain healthy soil.
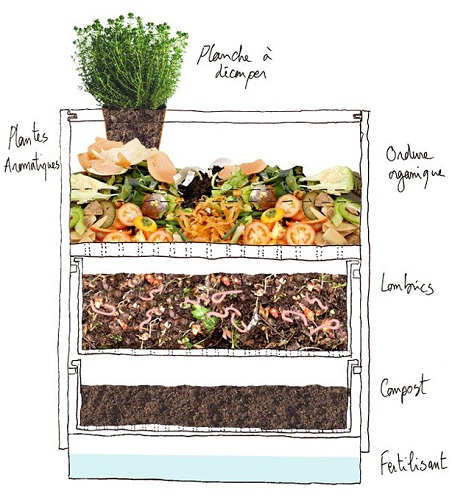
More details about vermicomposting
HOW
There are a couple of things I have on mind:
- I want it to have sensors to measure:PH, humidity, temperature
- I want it to do some stuff: automatic irrigation, (maybe nutrients... to think later)
- I want it to show me how it is going: leds or screen
- I want it to be modular in case my garden keeps growing I could add more modules, for this I consider the triangle is the shape that could work better.
- I want it to be aesthetic for interior.
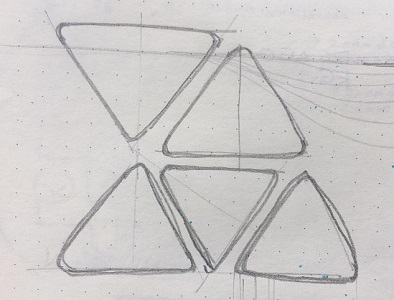
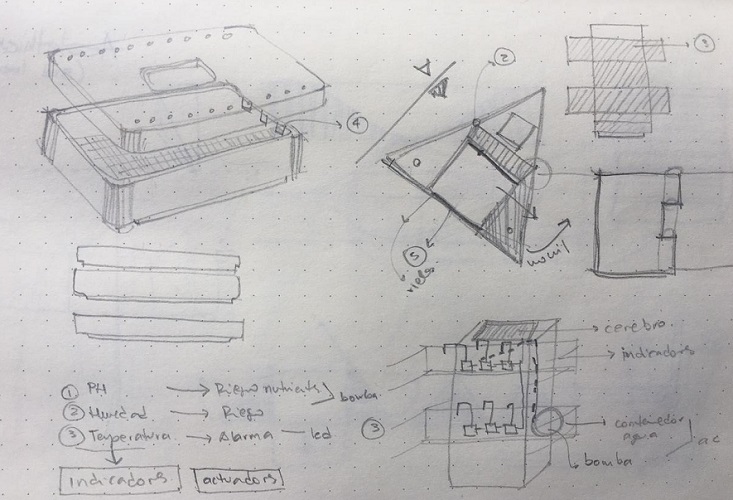
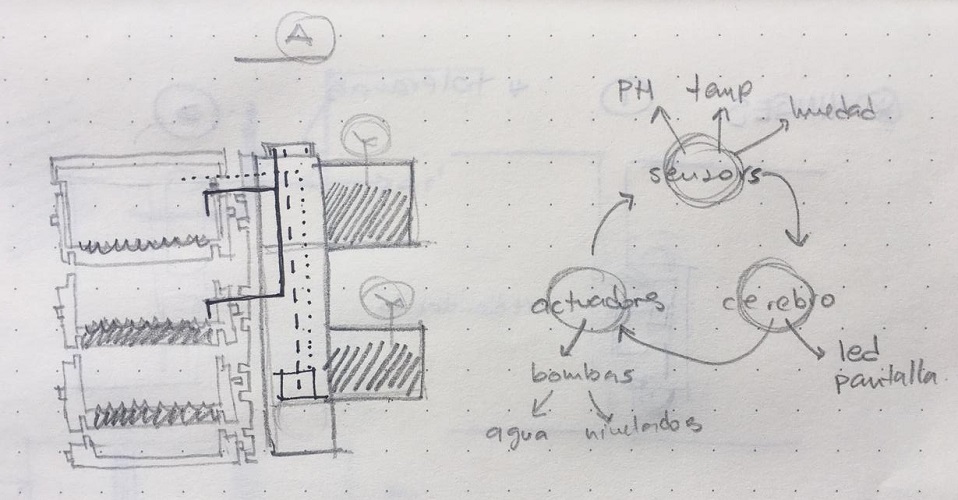
Starting ideas
REFERENTIAL IDEAS
Found some interesting referents, here I leave some pictures and links.
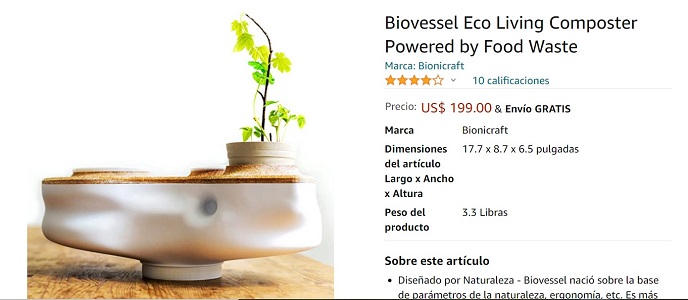
Biovessel, found on Amazon. Interesting design and price.
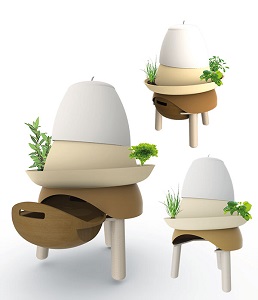
EcoBOL, found on Behance. Interesting functionality
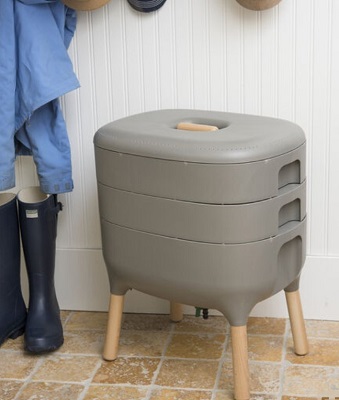
Worm farm composter, found on Gardener's supply Co. Interesting design, easy and nice for indoors.
I also found these projects on the Fab Academy web site, which I find interesting and useful
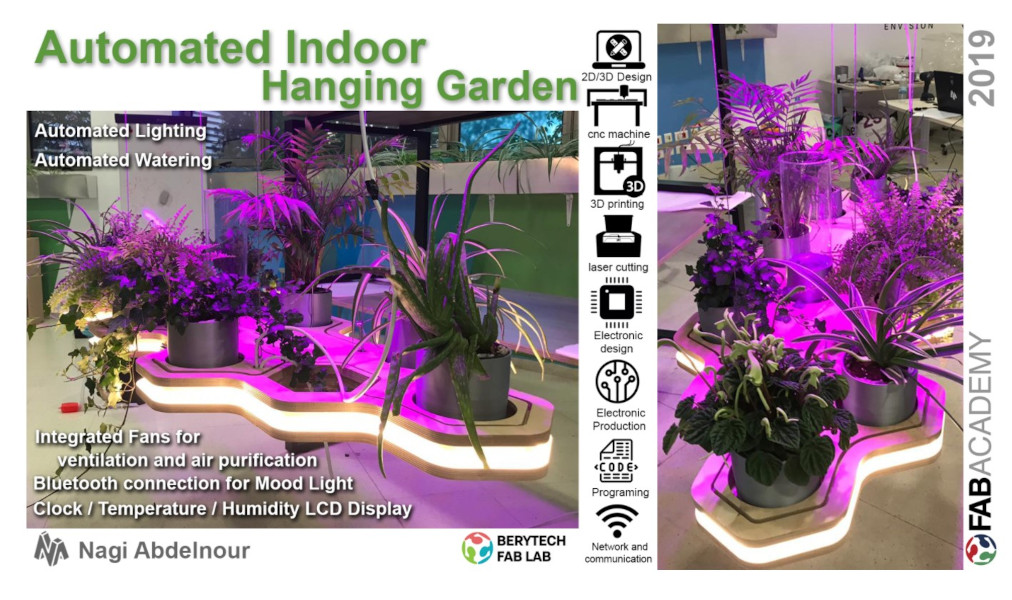
Automated indoor garden (Author: Nagi Abdelnour)
I like what he did with the base and lights, how he integrated all the components inside and added the light. I also like it because it enhaces interior spaces and makes life easier by making it authomatic.
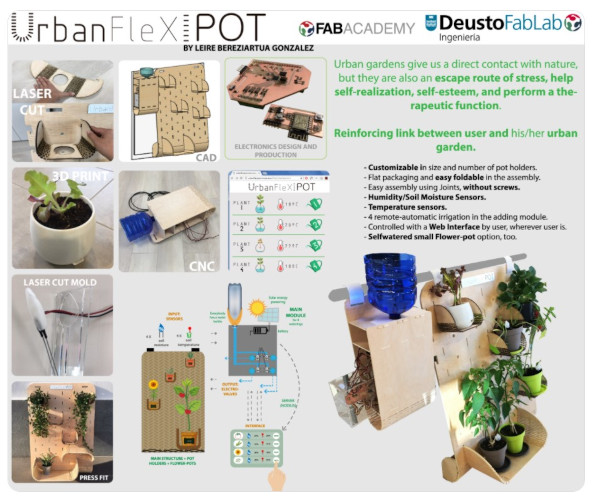
Urban flex pot (Author: Leire Bereziartua)
I like the idea of urban. I find it also nice for interior spaces.
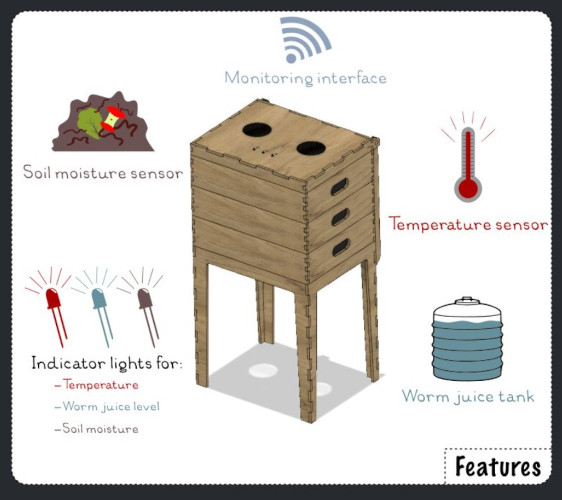
Worm composter (Author: Bejamin Lemay)
I'm also interested in worms and how to work with organic waste.
USEFUL LINKS AND VIDEOS
These web sites have more information about vermicomposting and how to take care of one.
Como usar la vermicompostera
Vermicompostaje domestico
Alimentación y cuidados de la lombriz
Compostera casera
Vermicompostera en departamento