
WEEK 11
MOLDING AND CASTING
Group assignment: review the safety data sheets for each of your molding and casting materials, then make and compare test casts with each of them.
Individual assignment: design a mold around the stock and tooling that you'll be using, mill it (rough cut + (at least) three-axis finish cut), and use it to cast parts
1. Group assignment
Go to the Sedicupct website
2. Individual Assignment
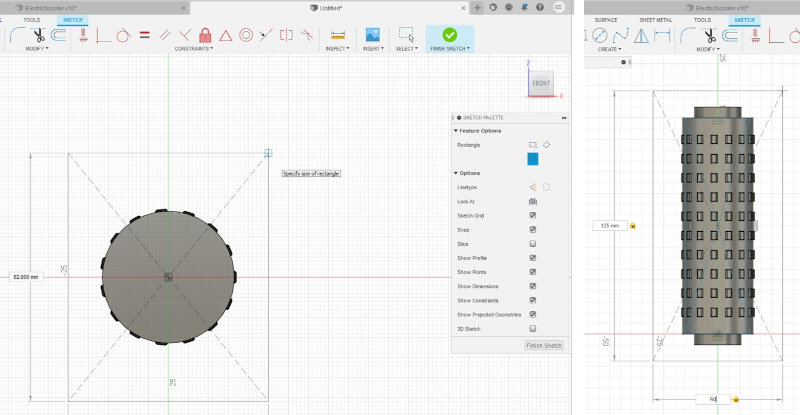
2.1 Handlebar design
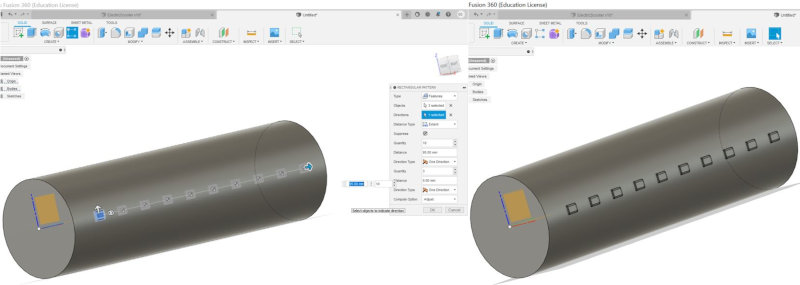
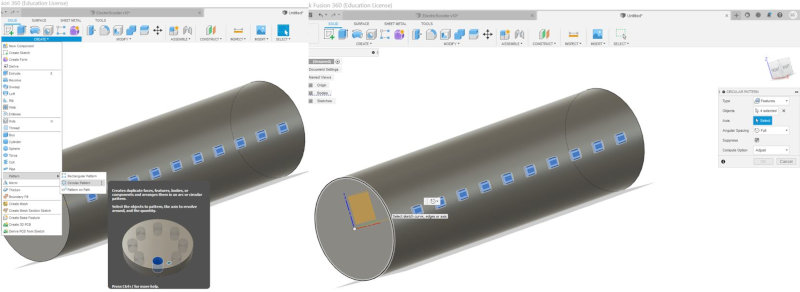
I am going to design the handlebar grip of my final project scooter model using Fusion360.
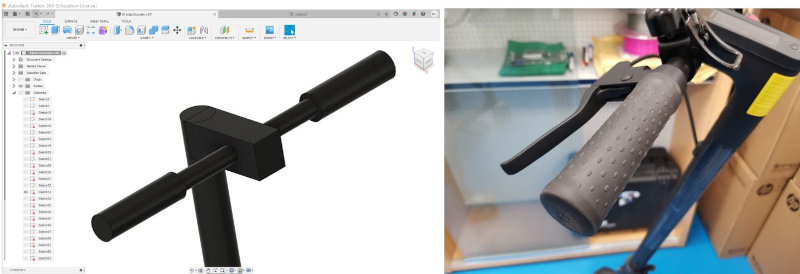

I have followed the tutorial of fusion360 tutorial. to make the model.
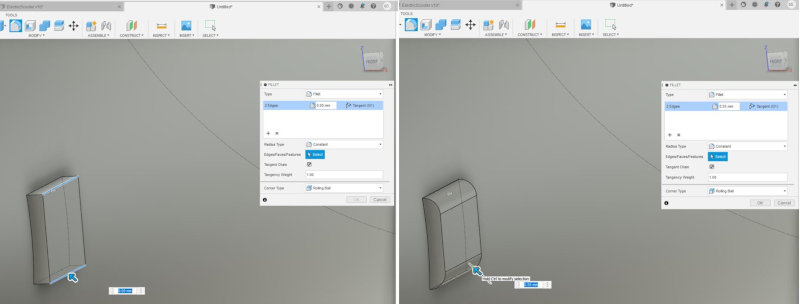
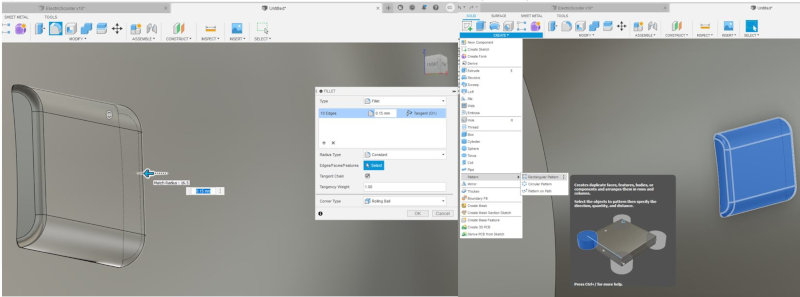
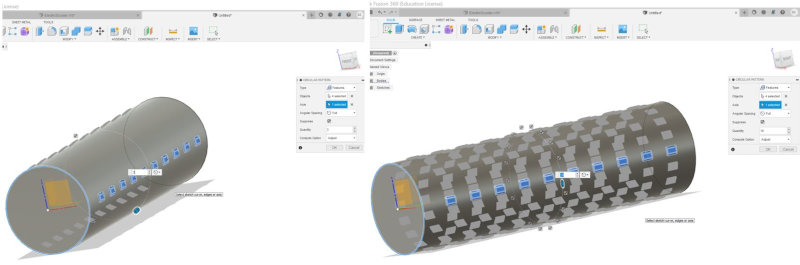
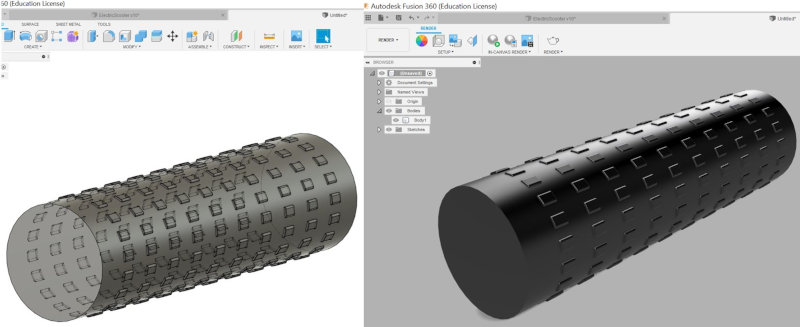
I have noticed that the inner tube of the handlebar was missing, so I extrude a 5mm tube on each side.

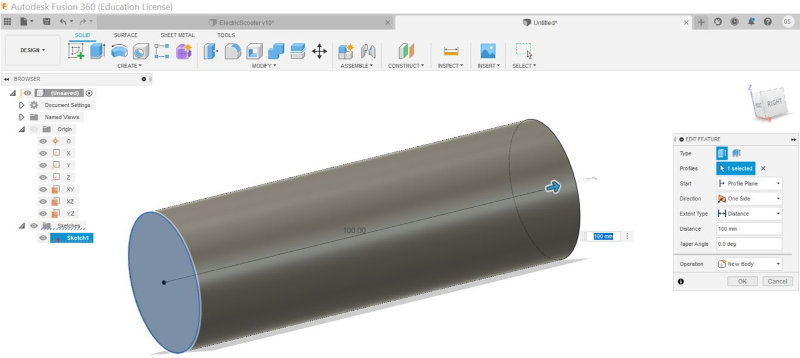
2.2 Mold design
I have followed the tutorial of fusion360 tutorial. to make the mold.
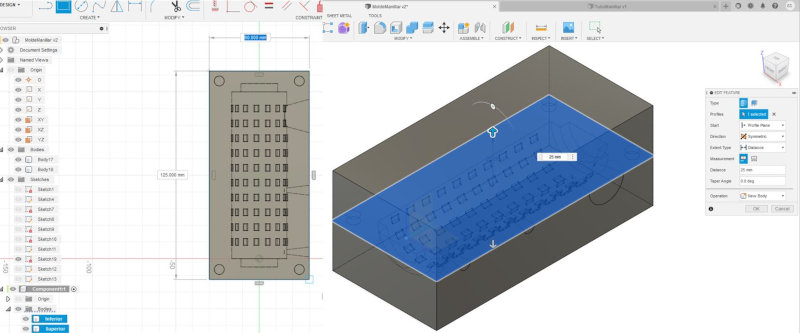
I should point out that the wax block measures 145x85x37mm. So the mold I make should measure less.
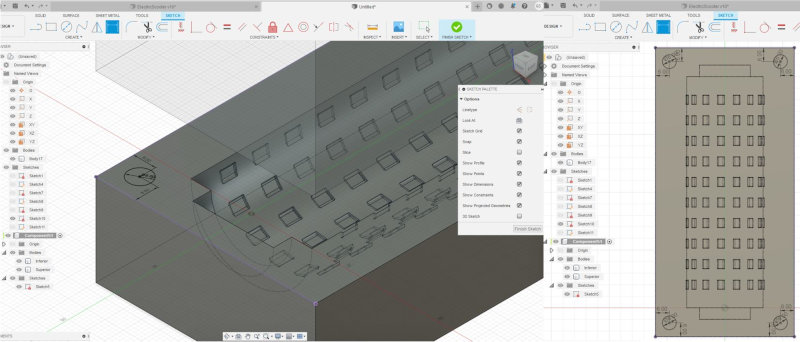
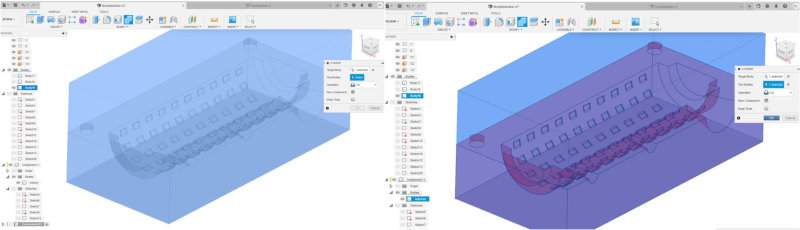
Extrude the mold model in symmetry.
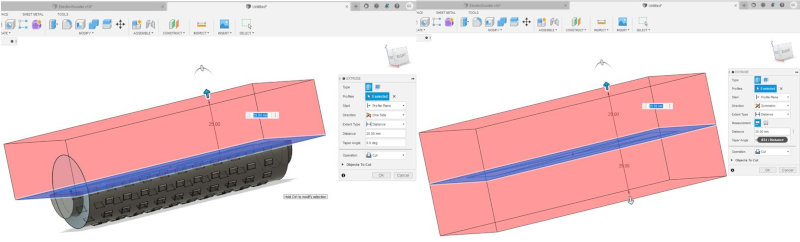
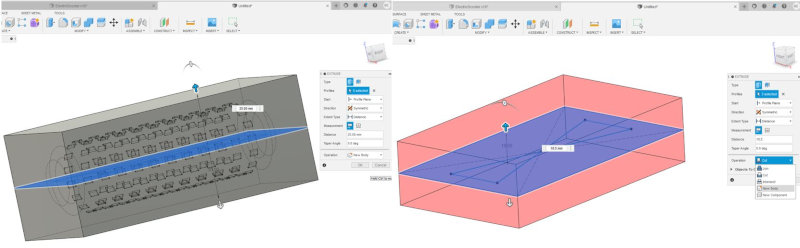
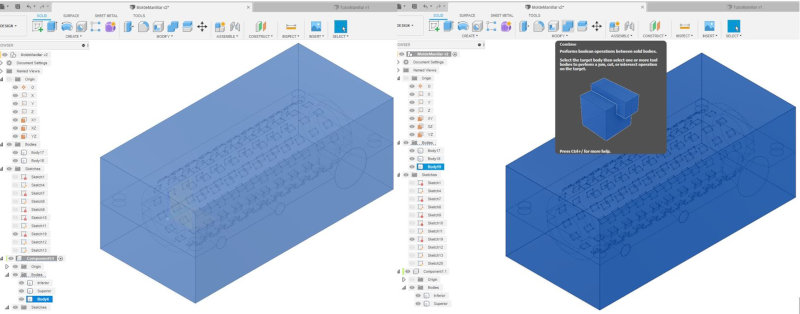
The Target Body: Select the Body2 (Box) and the Tool Bodies: Select the Body1 (Handlebar Handle).
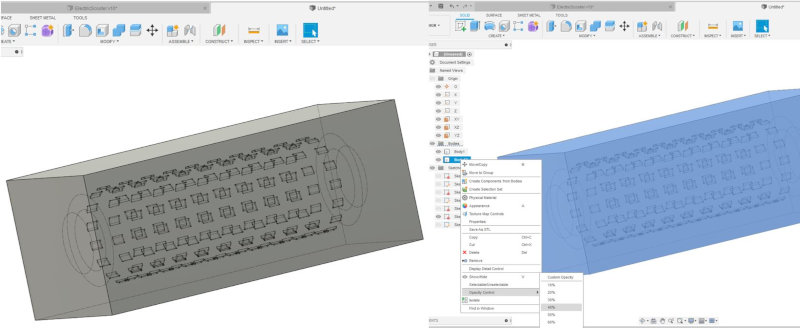
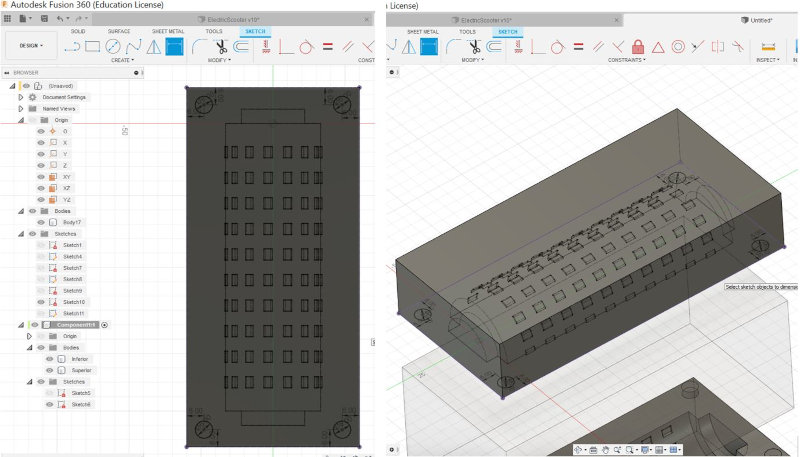
A new component is created.
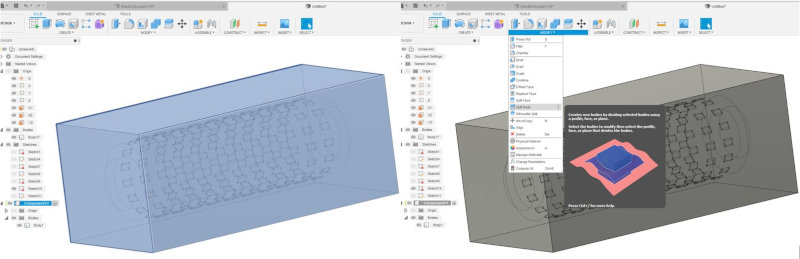
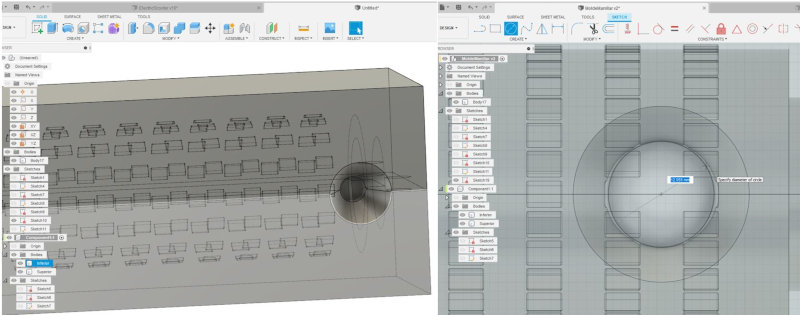
Select the Body to Split (Body1) and in the Splitting Tool (s) (select Origin XY).

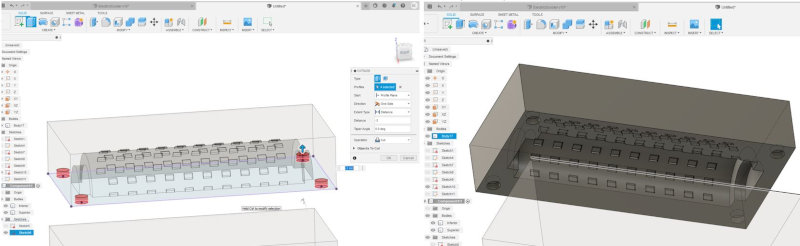
Move the upper section of the mold to see the inside of the model.
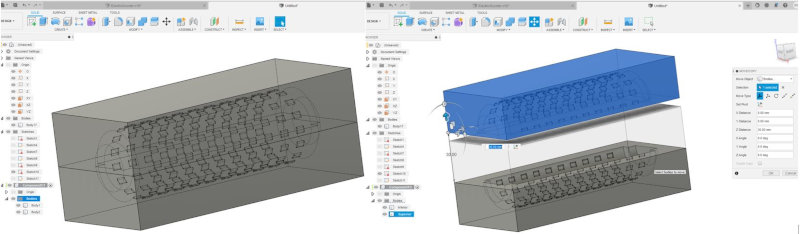
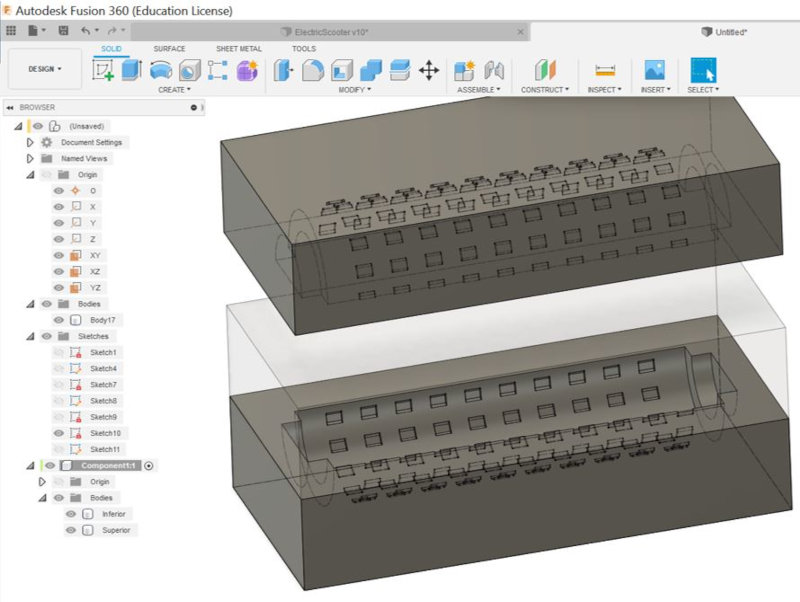
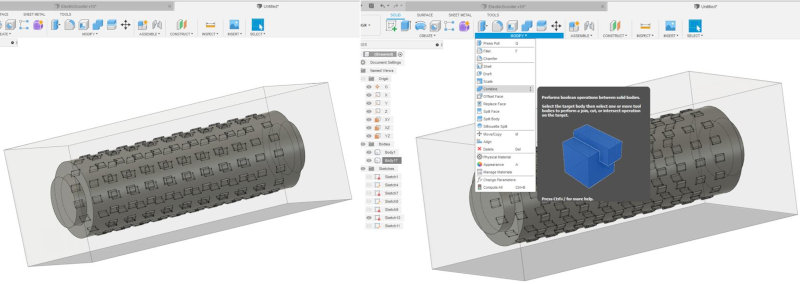
I also move the bottom piece to get it out of the transparent rectangle and to be able to edit on its face. Design the guide sections to fit the two models of each mold.
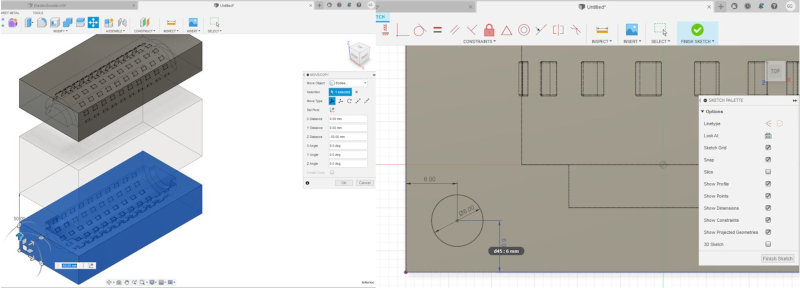

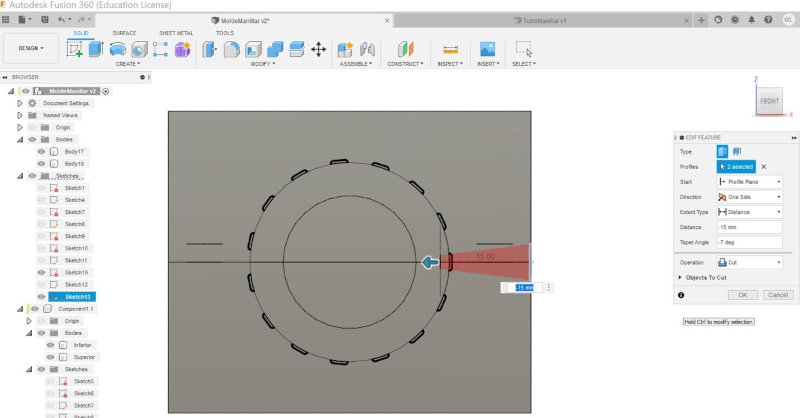
Make the same sketch with the top but with a negative extrusion.
Make the material inlet hole (casting).
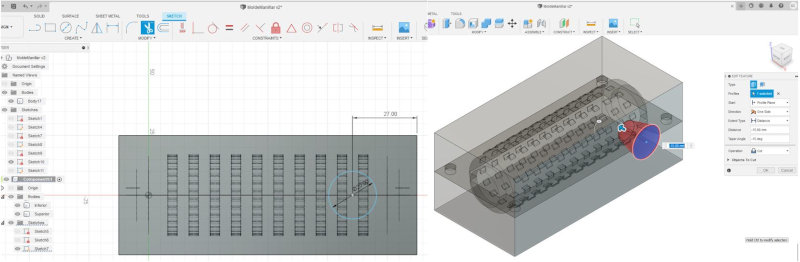
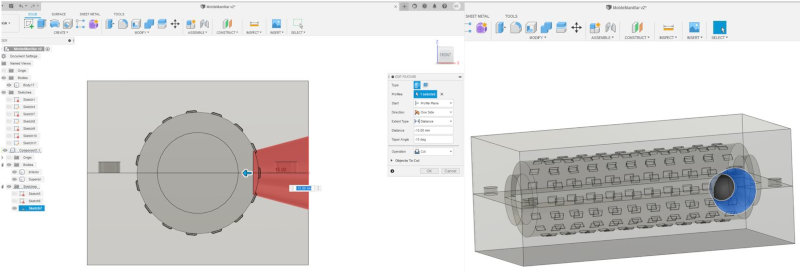
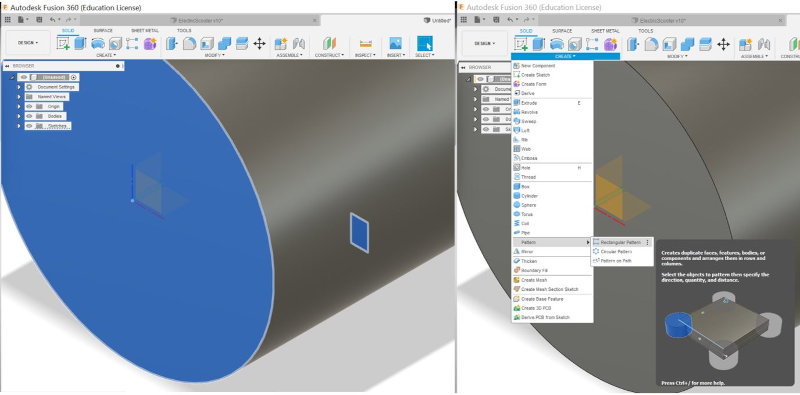
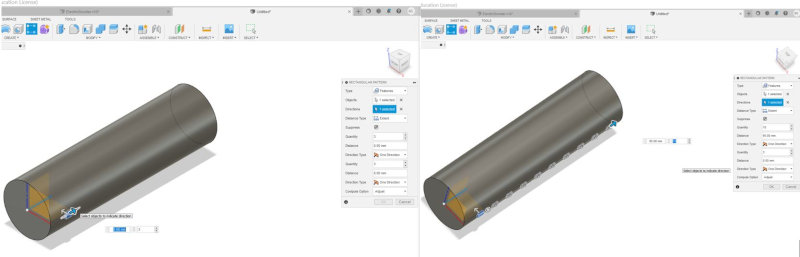
Make the air extraction holes of the molds.

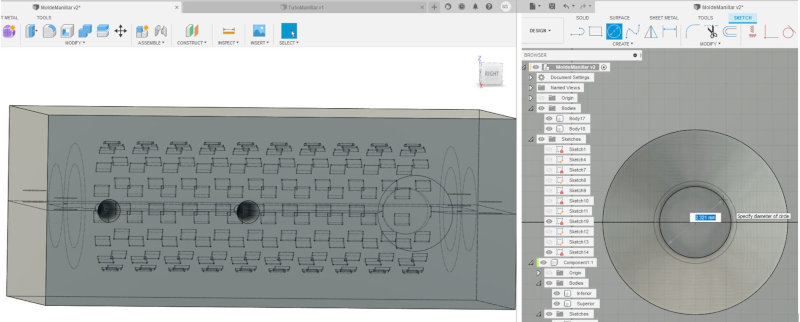
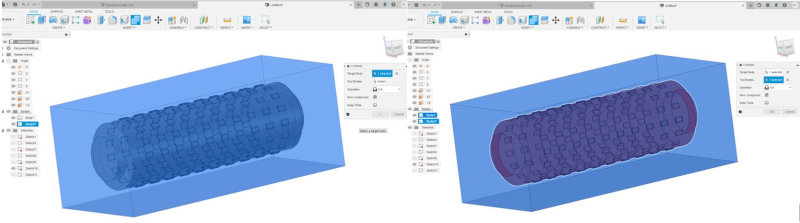
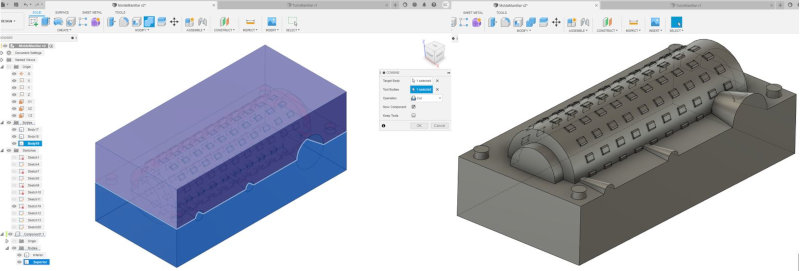
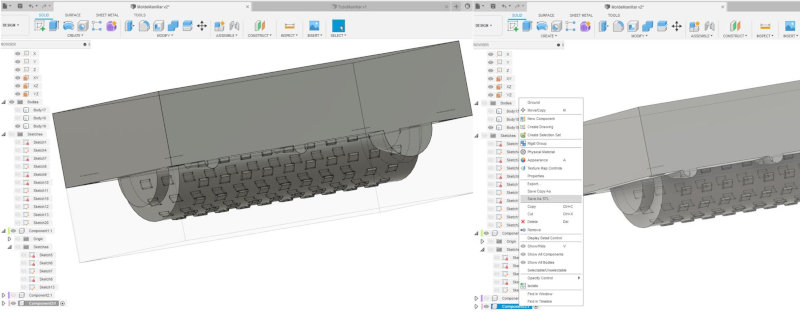
2.3 Design the back mold or mold negative.
Create a sketch with the dimensions of the square less than the dimensions of the mold.
2.3.1 Upper counter mold
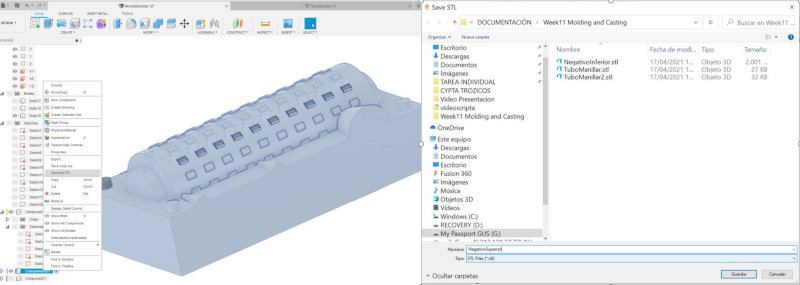
Export in stl the negative of the upper mold.
2.3.2 Lower counter mold
Export in stl the negative of the upper mold.
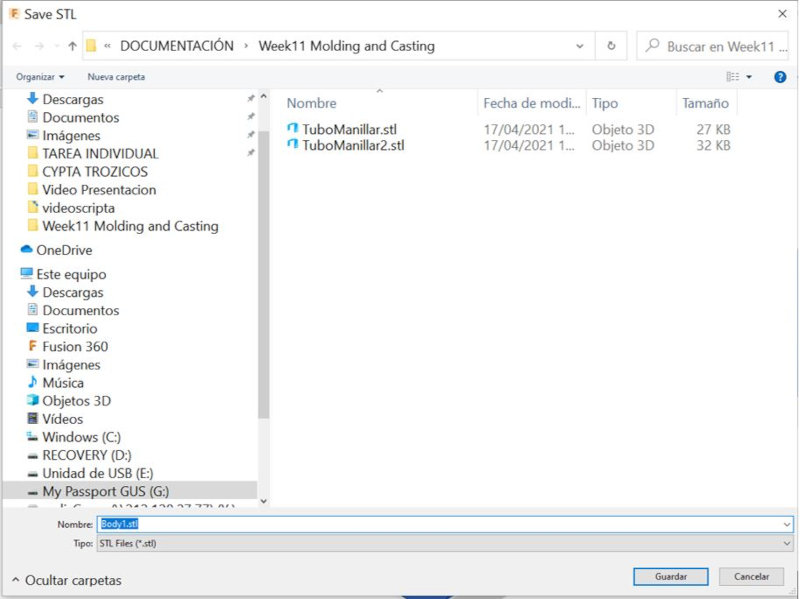
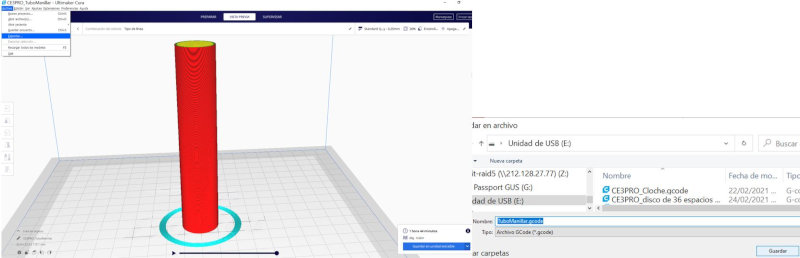
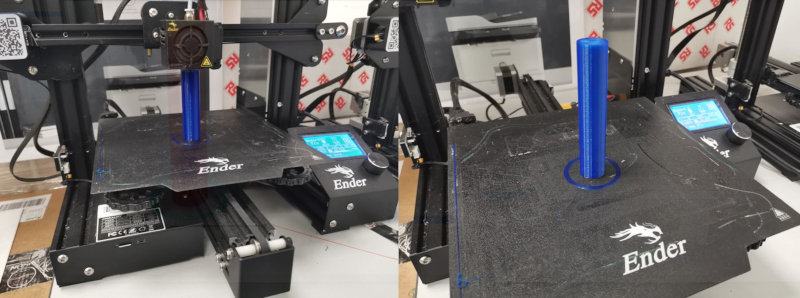
2.4 Handlebar inner tube design.
I design the handlebar tube in Fusion360 and export it to the CURA software to print it on an Ender3 printer.
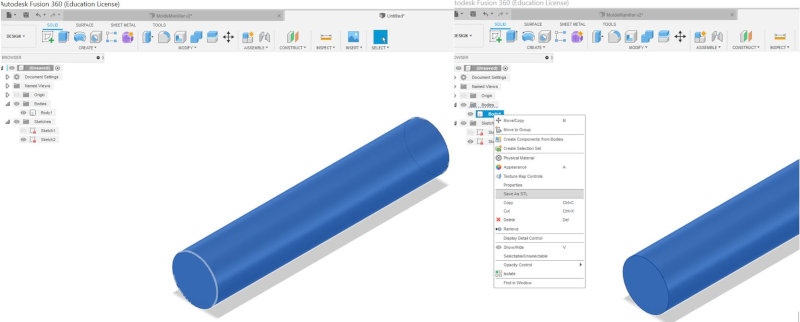
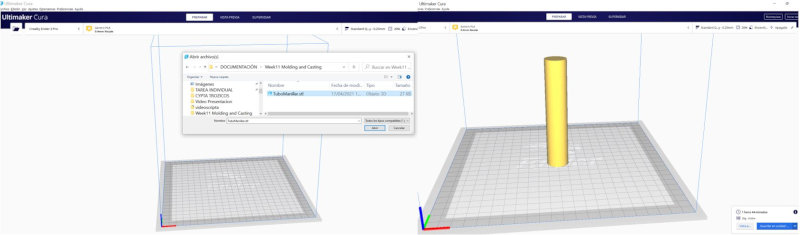
I export the model in .gcode to print it on an Ender3 printer.
2.5 COUNTERMOLD MILLING
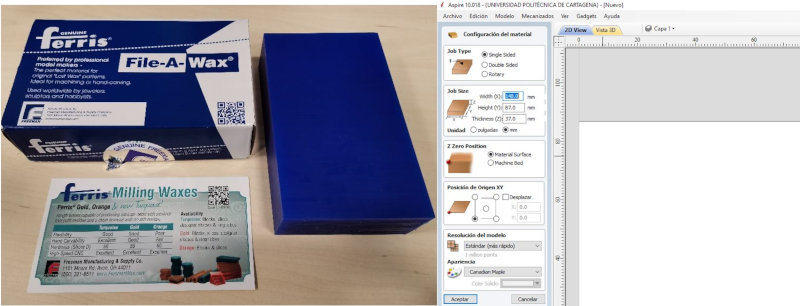
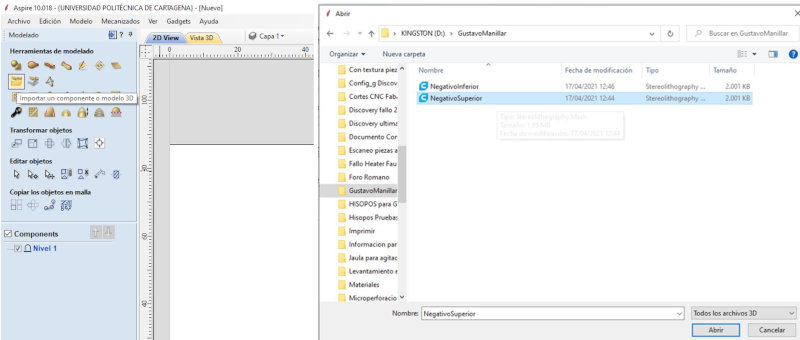
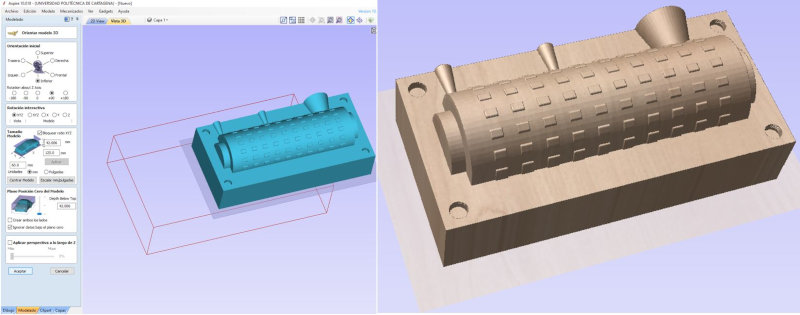
I use Aspire software to generate the 3D milling files.
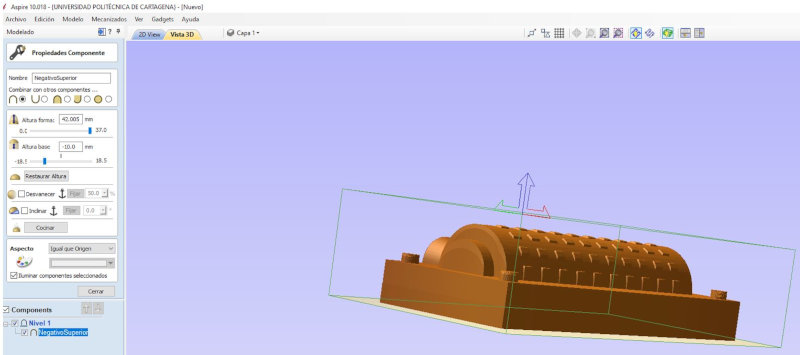
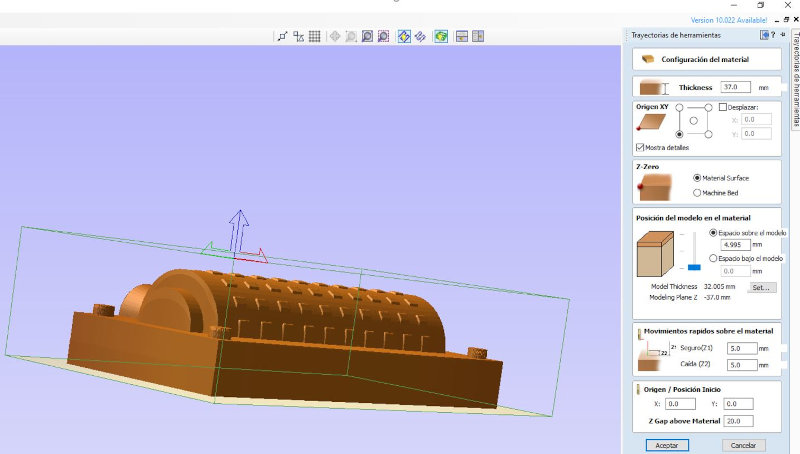
2.5.1 Upper counter-mold configuration
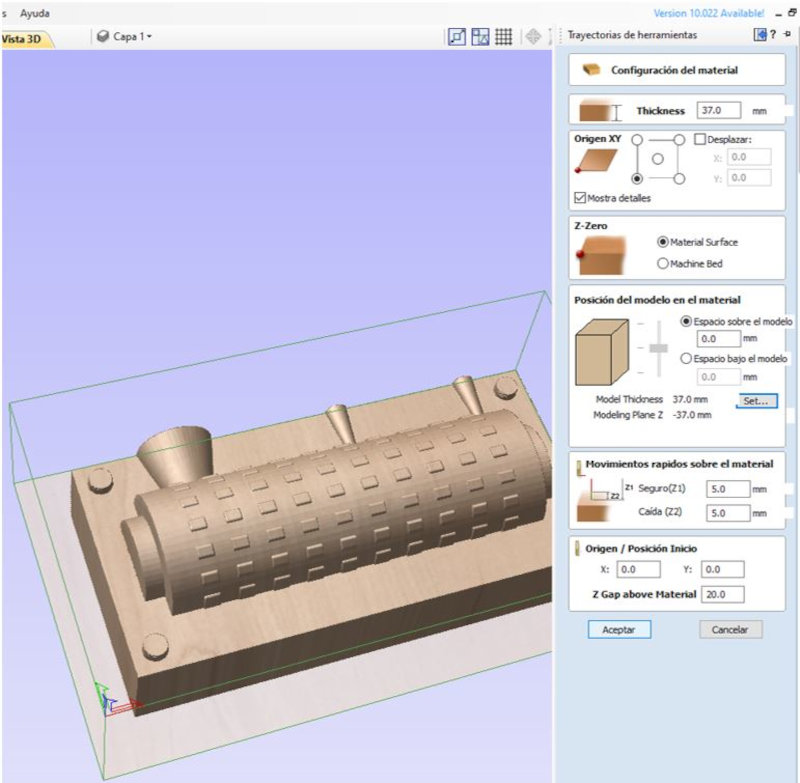
Configure material according to the dimensions of the wax block that I will use for milling.
Open in Model tab.
Orient model.
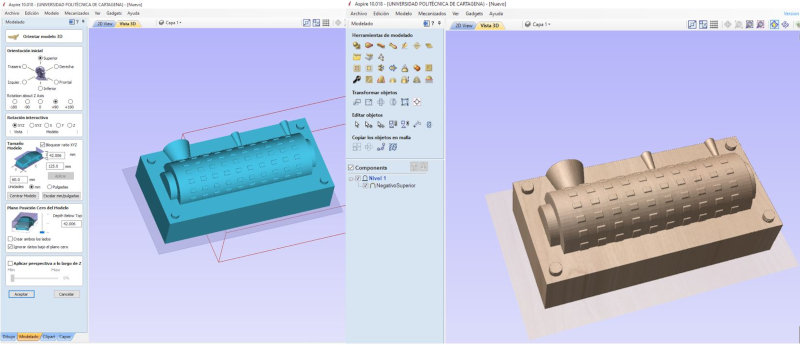
OPERATION STRIPPING and position of the model in the material: 37 (thickness of the material).
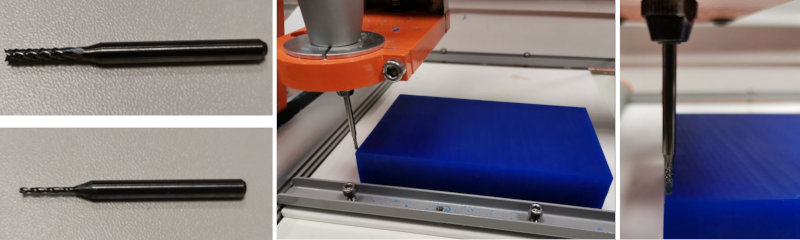
Select tool (2mm bit).
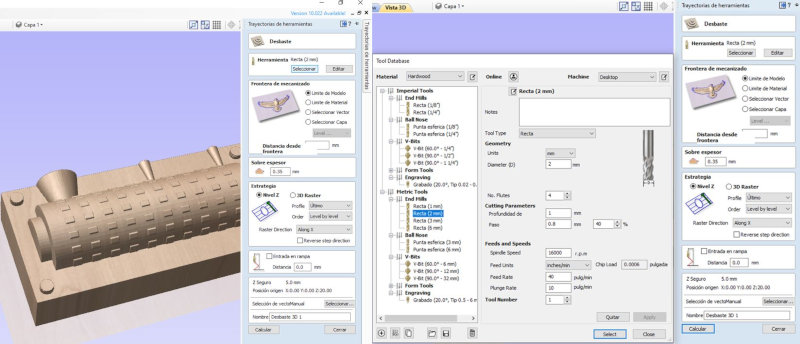
Extra thickness (20% of the diameter) = 2mm the maximum is 0.4, I put 0.35mm. 5mm ramp.

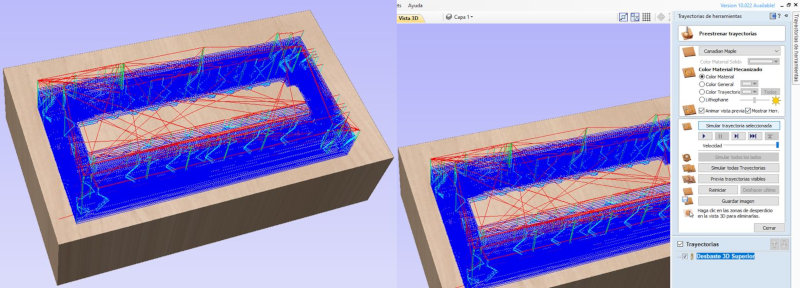
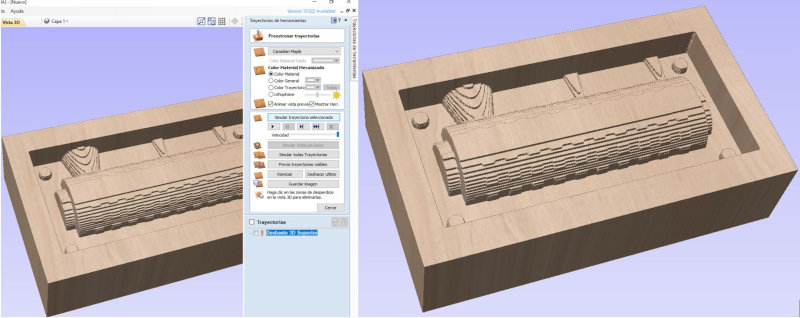
Simulate selected path.
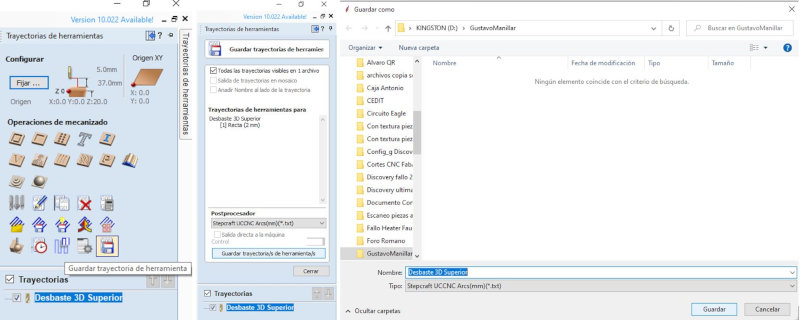
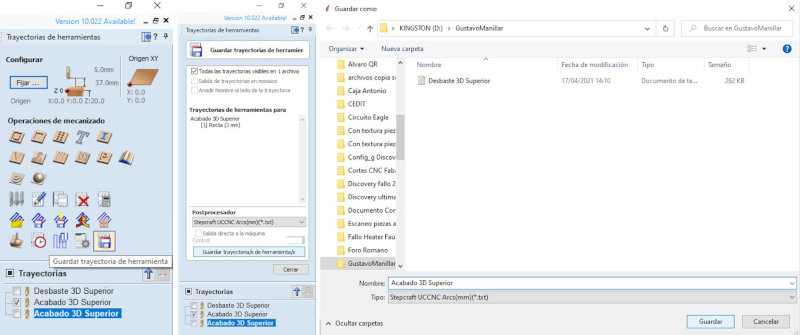
Save File.
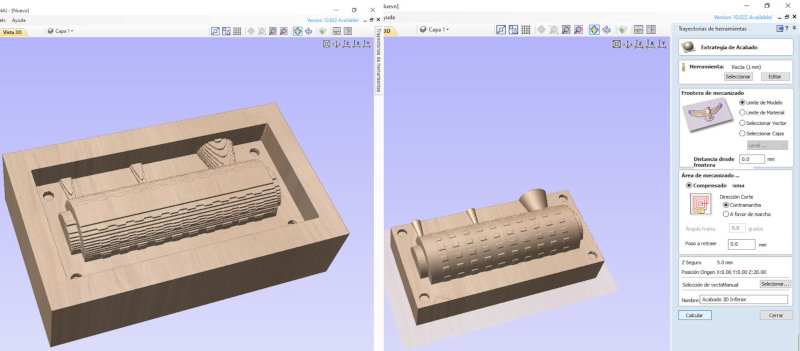
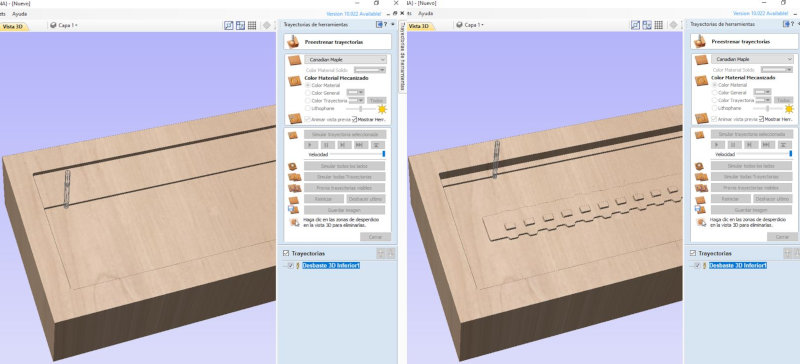
FINISHING OPERATION: Select tool bit 1mm.
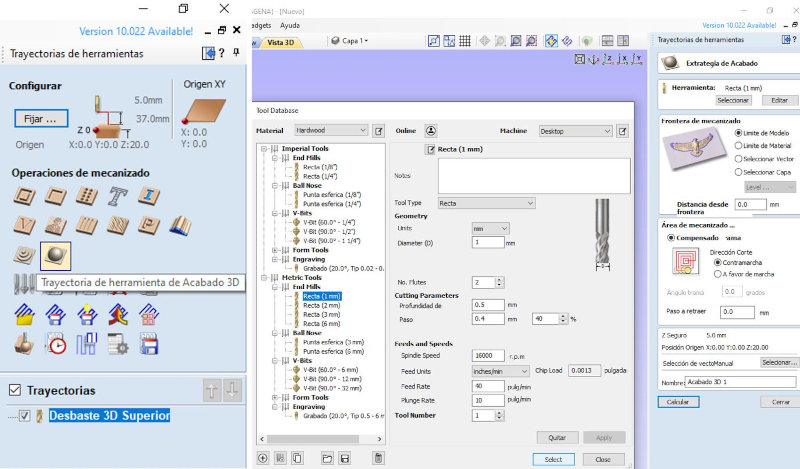
Machining area (Compensated), calculate and simulate all toolpaths.
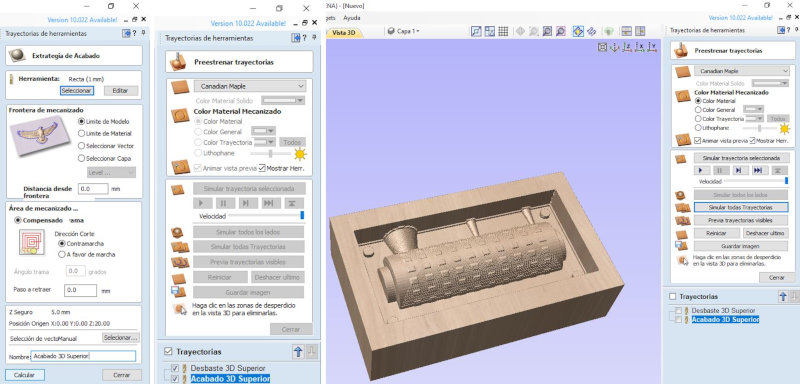
Machining (Screen) and simulate selected toolpaths.
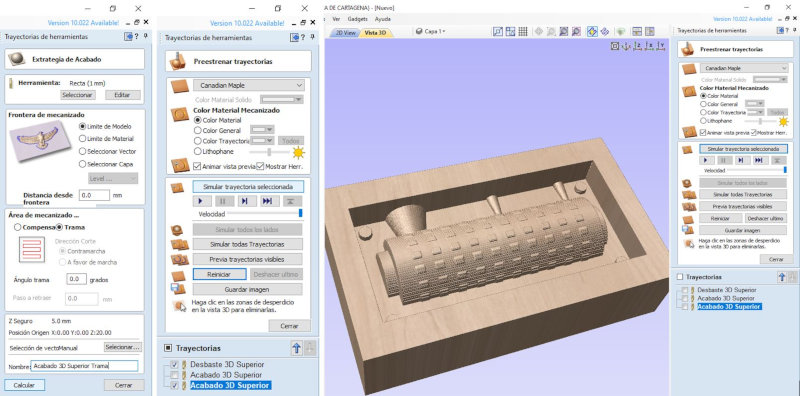
I am going to use offset machining which works better than hatch machining. Save the file.
Do the same procedure with the lower counter mold model.
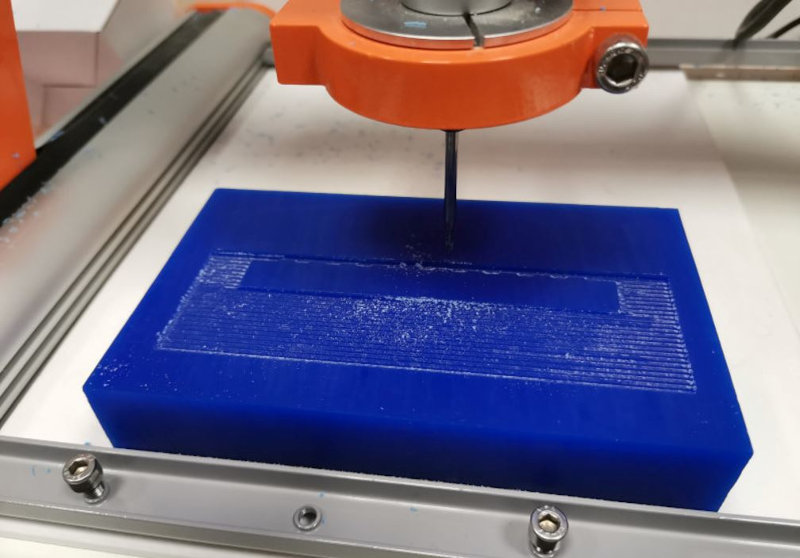
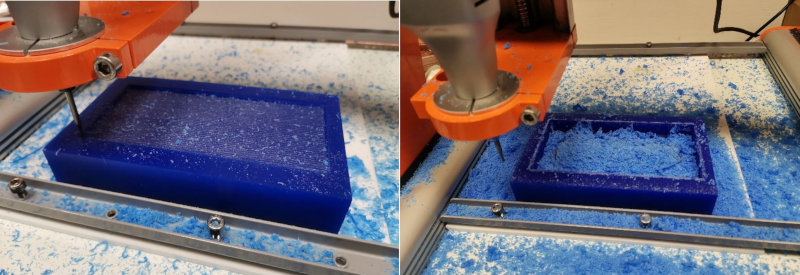
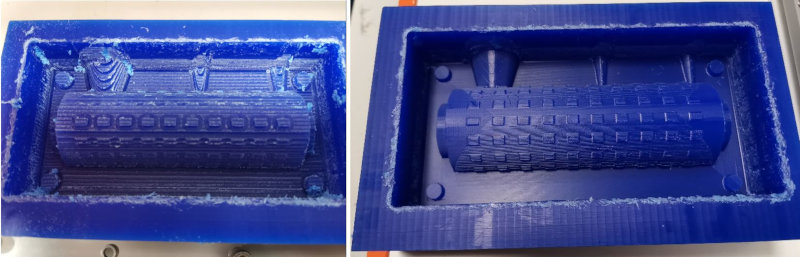
2.5.2 milling with the STEPCRAFT420 MILLING MACHINE
Abrir el programa UCCNC, cargar el archivo .txt. Configurar el x,y,z en mi Origen.
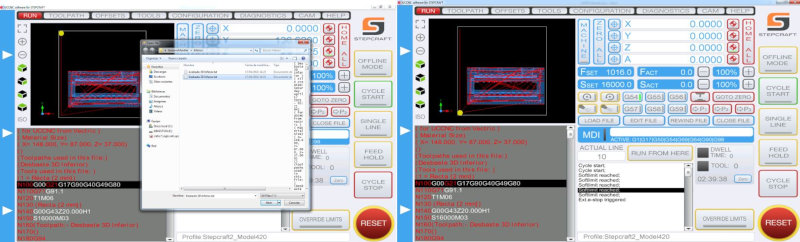
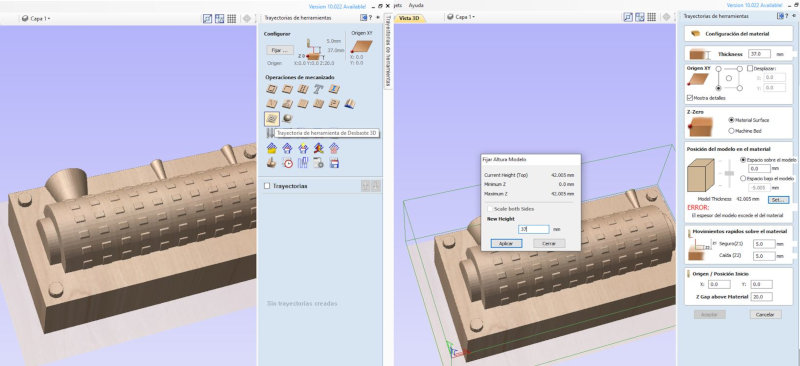
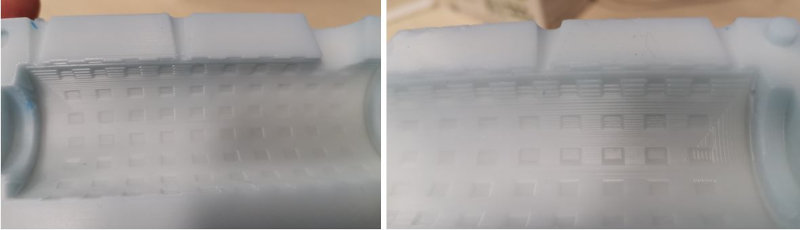
Milling I found an error, I have to lower the model a little when milling.
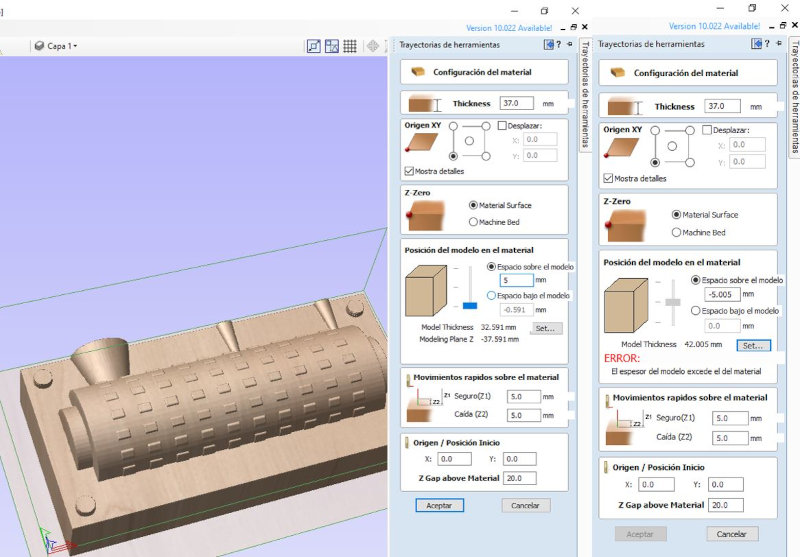
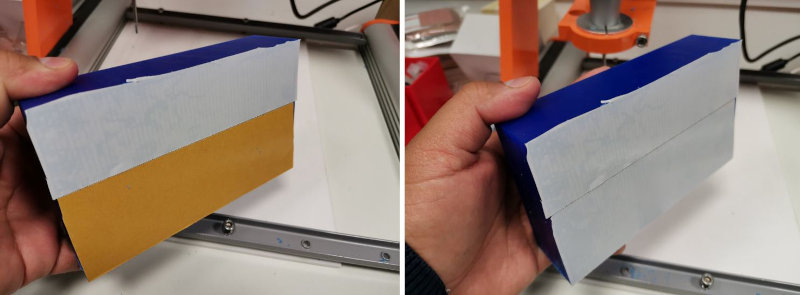
I select 32mm so that the total is 37 of the thickness, at the top there are the 5mm that I want to leave.
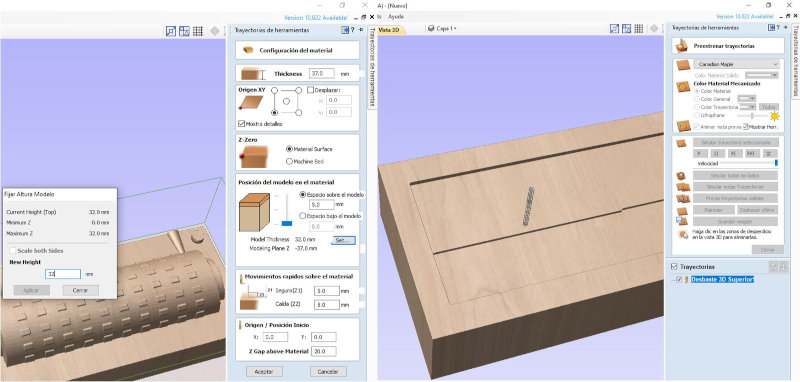
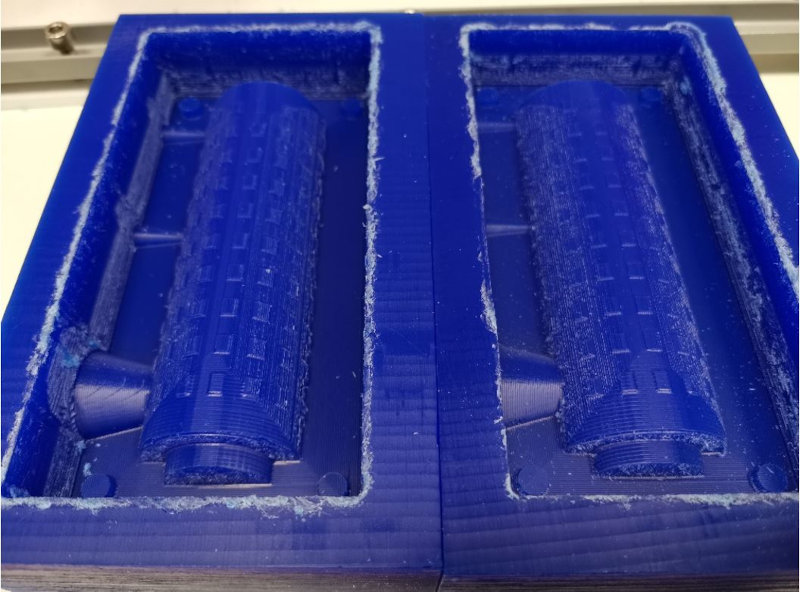
Correction in surface milling.
The model is oval, it has a deformation in the Z axis.
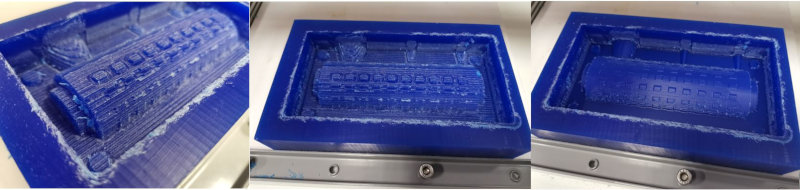
In the Aspire I find a way to lower the model below the surface (5mm) without affecting the Z axis relationship, avoiding the deformation of the countermold.
I re-mill in another wax mold to see the results.
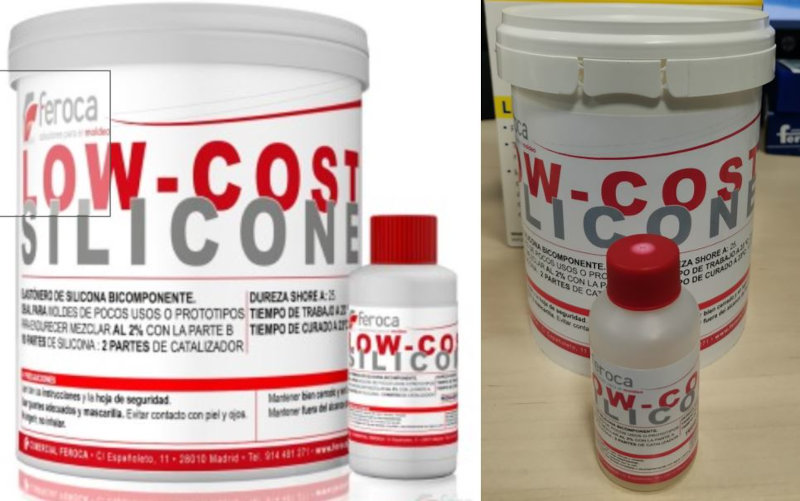
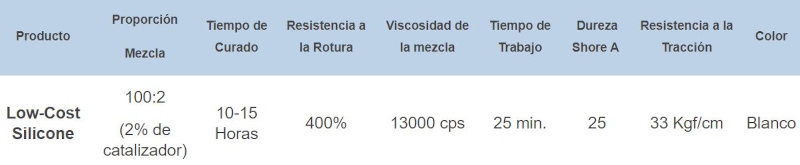
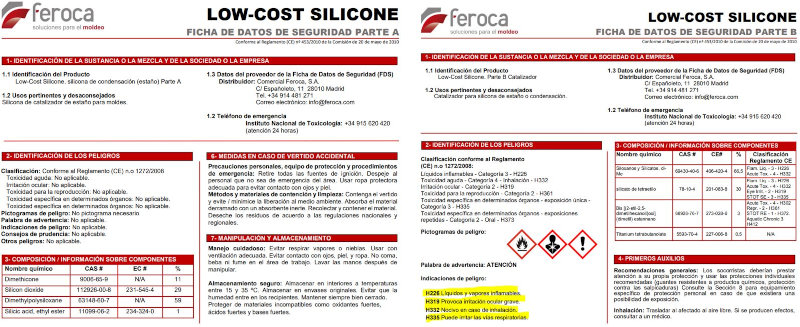
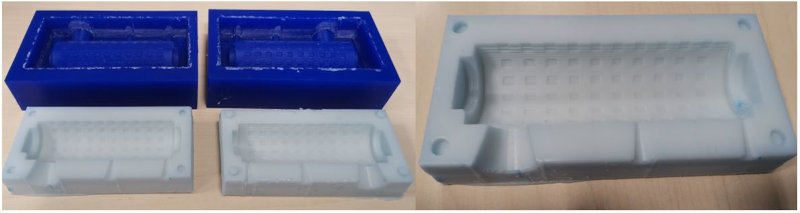
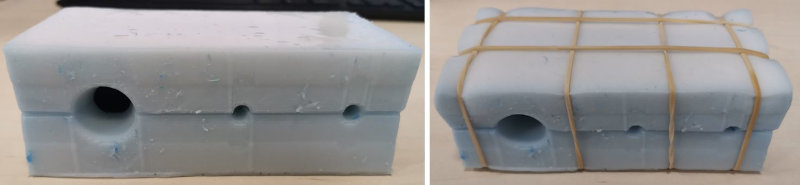
2.6 Mold material (Feroca Low Cost Silicone)
Feroca Low-Cost Silicone is a two-component silicone elastomer (parts A and B) that cures at room temperature, the base (part A) has the appearance of a viscous liquid which, after the addition of the catalyst (part B ), becomes an elastic material. It features exceptional fluidity and good operability. It is recommended for the application of molds for casting of Plaster, Polyester Resin, Polyurethane Resin, Epoxy Resin, Fiberglass, Wax, Soap, Bronze, etc. It is a type of soft silicone rubber with medium viscosity, so if desired you can lower the viscosity using Silicone Fluid. It is suitable for molds with complicated gaps that are difficult to remove from the mold.
Instructions:
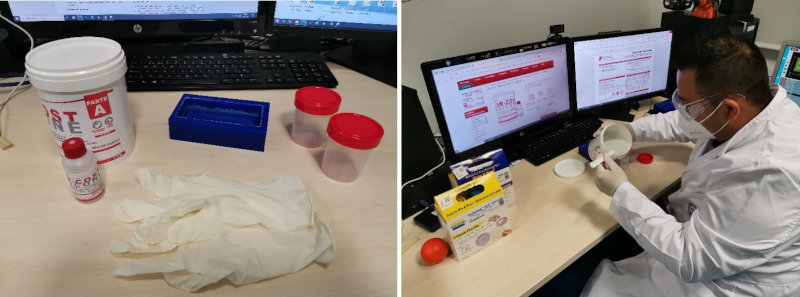
- Prepare the box for the mold and the original..
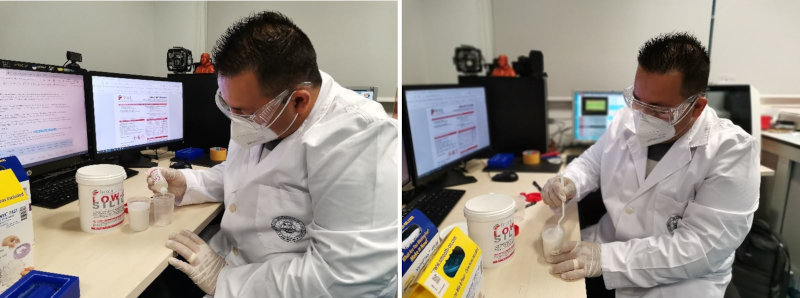
- Set aside 100 parts of the base (Part A) and add 2 parts of catalyst (Part B), mix both parts VERY well until a homogeneous mixture is achieved.
- Pour the silicone wash into the box or apply with a brush if it has been previously thixotroped.
- NOTE: Normally, low hardness silicone is used for casting molds, as it allows a better demoulding and thus does not damage the original.
Silicone page for the mold Low Cost Silicone Base + Catalyst.
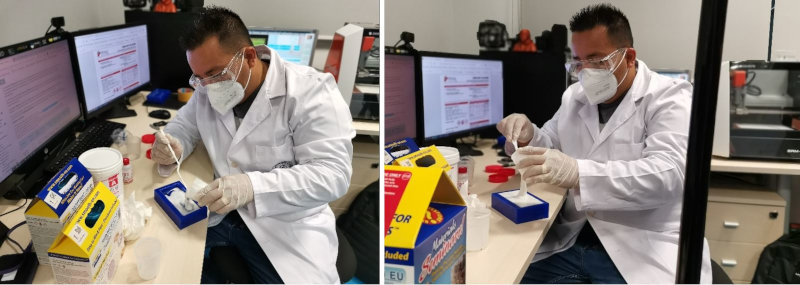

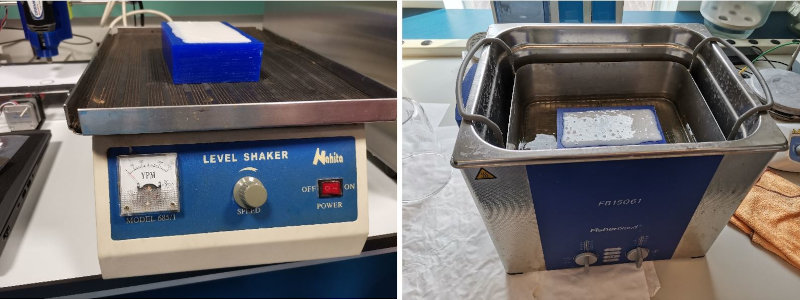
I have used a Machine of horizontal movement of the Technological Instrumentation Service (SIT) to eliminate the bubbles that are created in the silicone. Although the movement of the worktable can be adjusted, it did not help to eliminate bubbles. I also used an ultrasound equipment that they use in the laboratory to eliminate bubbles of other substances, but I also do not eliminate the bubbles of the silicone, I think it is too viscous.
One method of removing bubbles is to vibrate or bump the wax mold against a table. Wait 15 hours for the silicone to solidify and remove the mold.

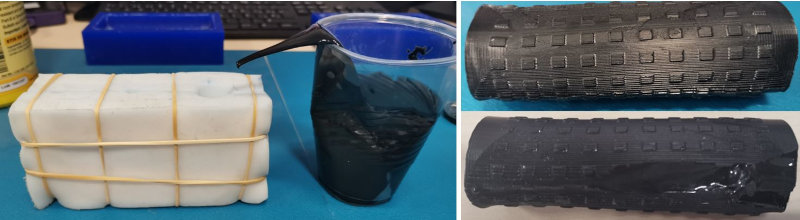
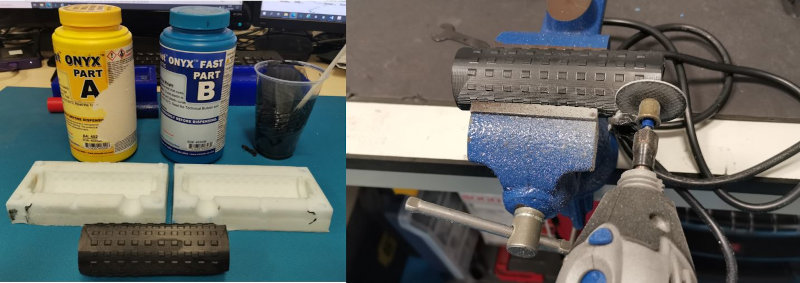
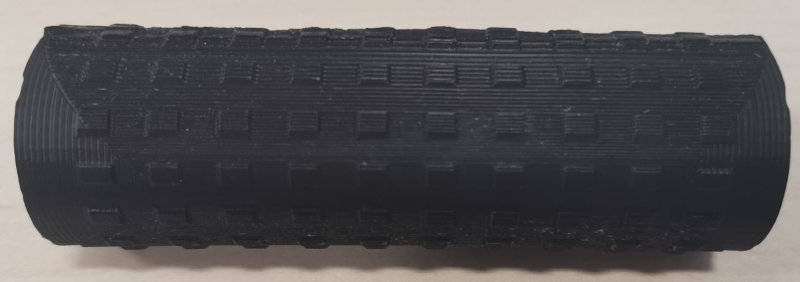
2.7 Casting material for the handlebar grip (Smooth-Cast ONYX FAST)
2.7.1 Smooth-Cast ONYX FAST
Smooth-Cast™ ONYX™ is a mercury-free urethane resin that cures at room temperature to a deep black, solid plastic. ONYX™ resins offer the convenience of a 1A:1B by volume mix ratio and have very low viscosities, so they are easy to mix and pour. ONYX™ resins have an ultimate Shore hardness of 80D and offer higher physical properties and higher heat resistance vs. other general purpose resins.ONYX™ FAST resin has a pot life of 2.5 minutes and a cure time of 10-15 minutes. ONYX™ FAST is a good choice for creating fast cold cast bronze, brass, copper, nickel/silver, etc. effects.

Mixing - Pre-mix Part-A and Part-B thoroughly before you begin. After pre-mixing both parts, dispense required amounts of Parts A and B into mixing container and mix thoroughly. Stir for at least 60 seconds.
Pouring into the mold should be done as quickly as possible, you have less than 2 minutes to fill the mold because it solidifies quickly. Be careful because an exothermic reaction is generated and the plastic cup will heat up.
2.7.2 VytaFlex 40 Urethane Rubber Compound
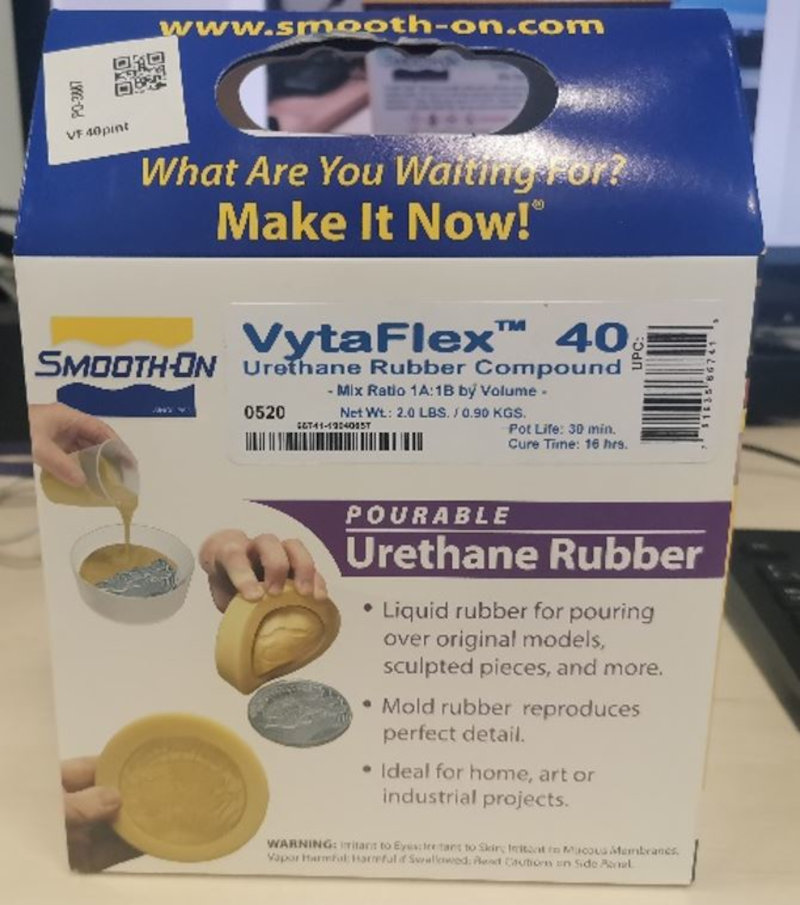 IMPORTANT: Premix Part B before using. After applying amounts equal parts A and B in the mixing bowl, mix well for at least 3 minutes scraping the sides and bottom of the bowl several times.

Hardening: Allow the mold to harden for at least 16/24 hours) at room temperature (73 ° F / 23 ° C) before removing from the mold.

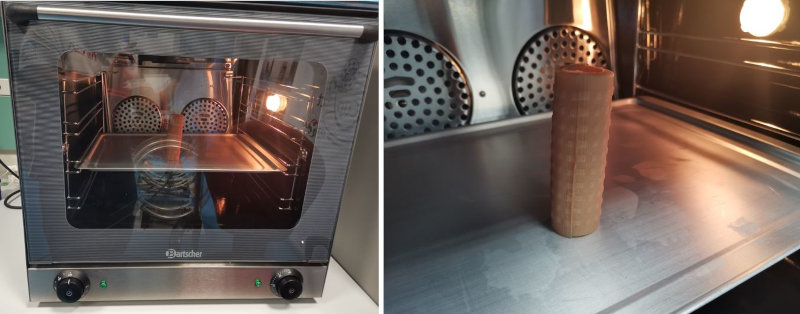
Extra Harden: Optional ... After allowing to harden overnight, heating the rubber to 150 ° F (65 ° C) for 4-8 hours will improve its physical properties and its performance.
3. My files
Files Fusion360
handlebar Project Fusion360 (.f3d)
Files ".STL"
Files Aspire ".crv3d"
Files UCCNC ".txt"
roughing Lower Counter Mold (.txt)
finishing Lower Counter Mold (.txt)