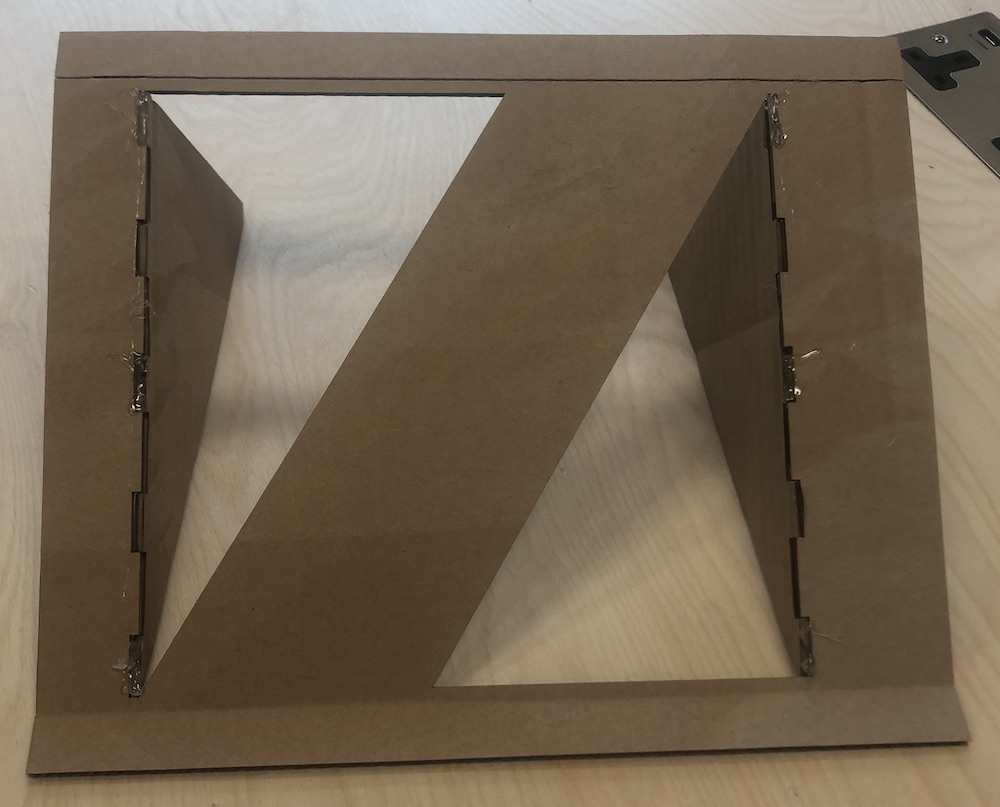
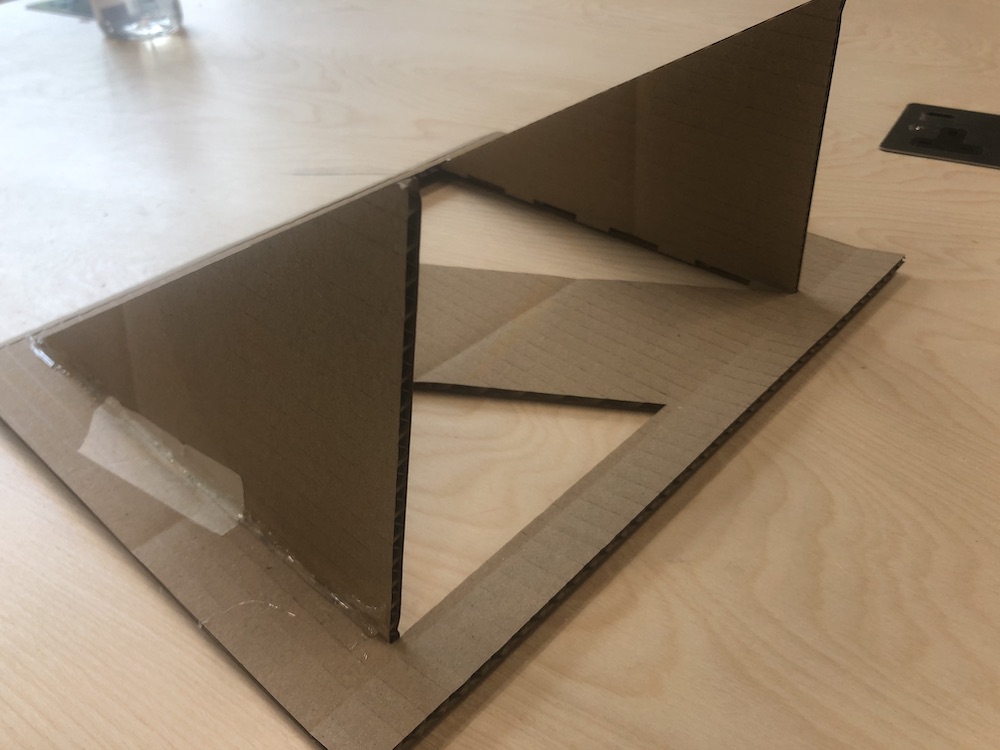
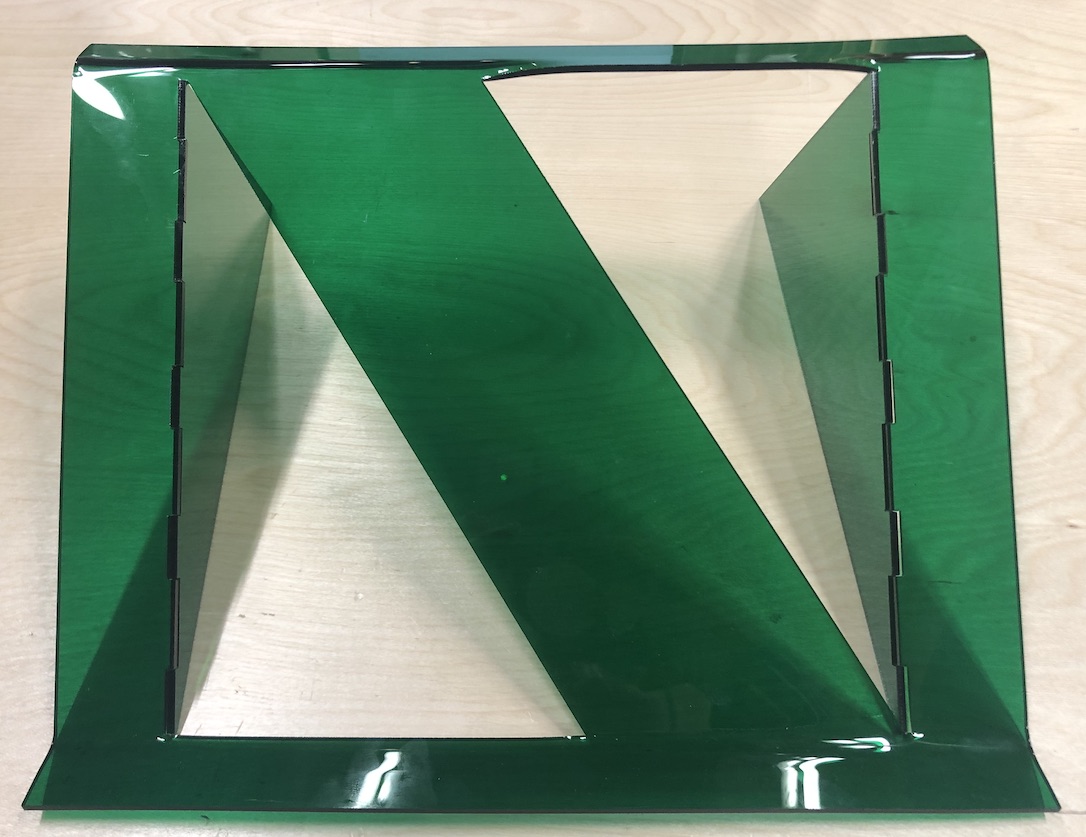
I first thought that this would be a good opportunity to use the line bender to make a laptop stand which has been on my list of things to make. I made it in fusion 360, wanting to mmake one that was able to fold away as I find the large bulky ones very annoying. I then cut it out on the laser cutter out of cardboard first.
Once this was done I realised that I would just try it out and see if it works. Sadly this didn't work well and in the end I realised I was trying to get this to work for the breif rather than trying to find something for teh breif. In the end I decided to change my idea and use the vacuum former to make a plant pot rather than using the line bender.

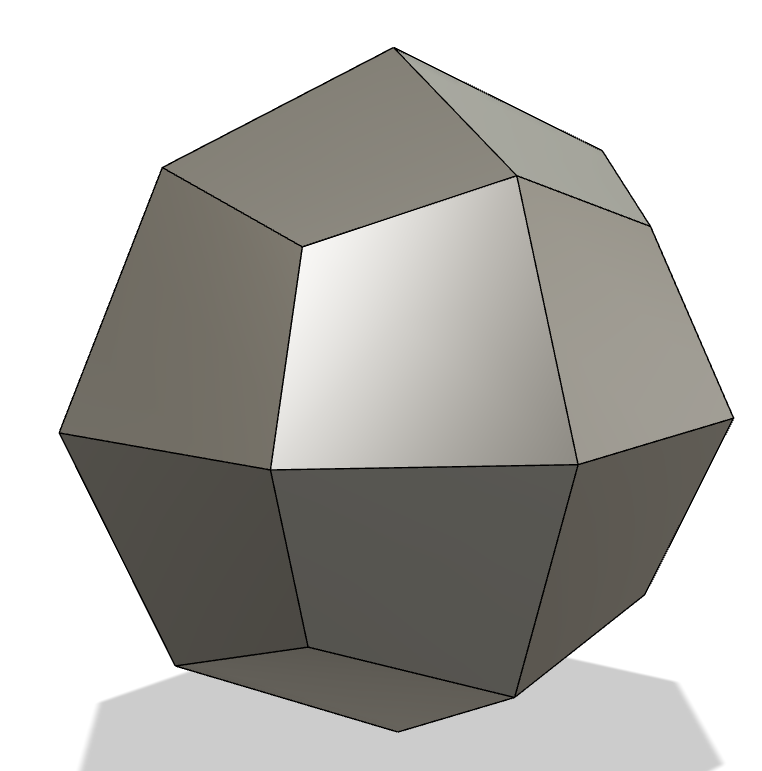
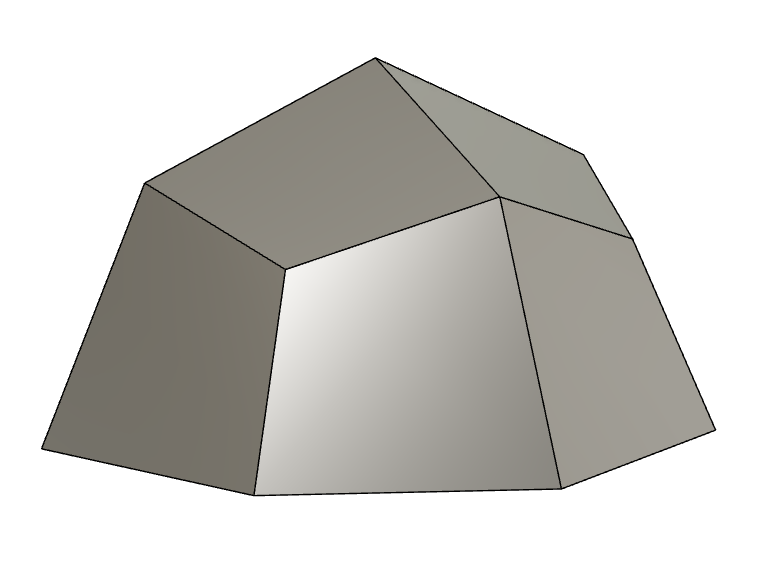
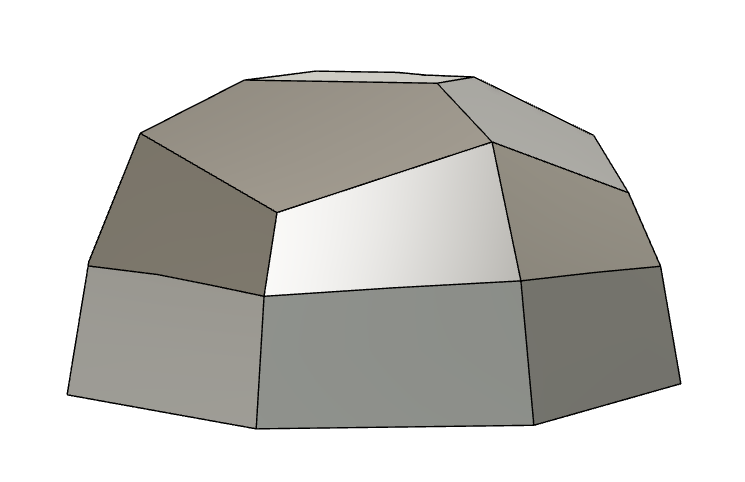
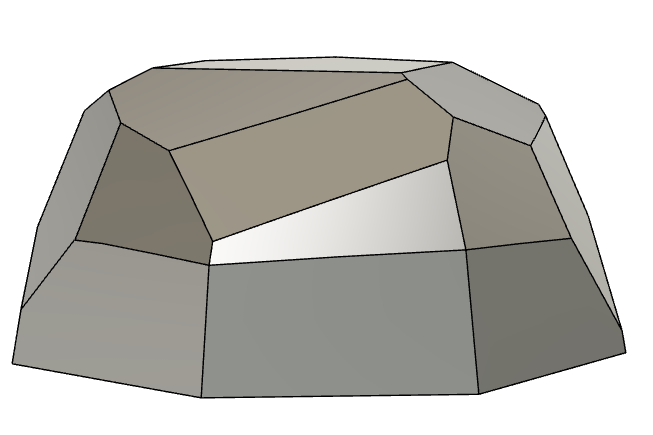
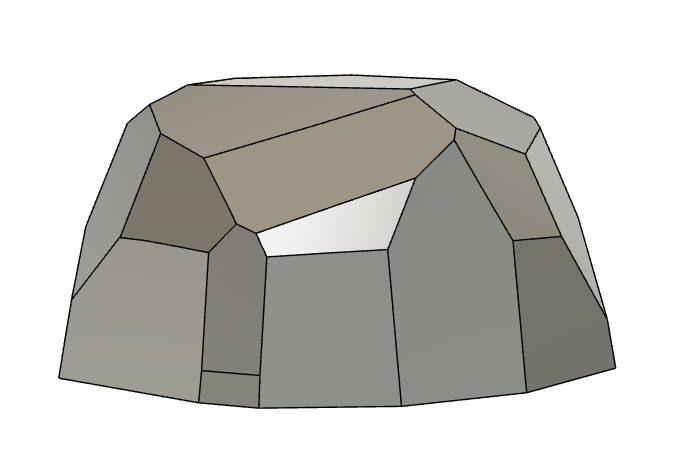
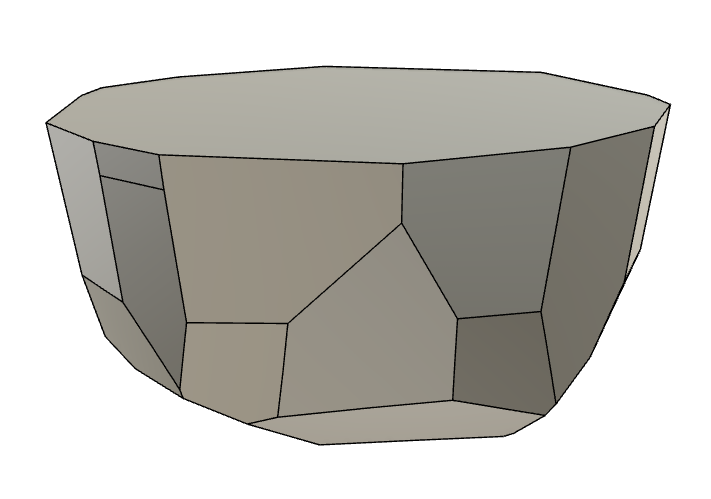
I used fusion to get the interesting shape that I was wanting for the overall look of the pot. I followed a few YouTube video Design a Crystal in Fusion 360 - Low Poly Modeling to figure out how to get an organic shape which was very useful and worked very well.
These are the stages that I went through to get the shape of the plant pot, I used different faces to make squres and then cut away at the piece to make the shape I wanted. It was long but fun in the end as this tought me a new skill in fusion.
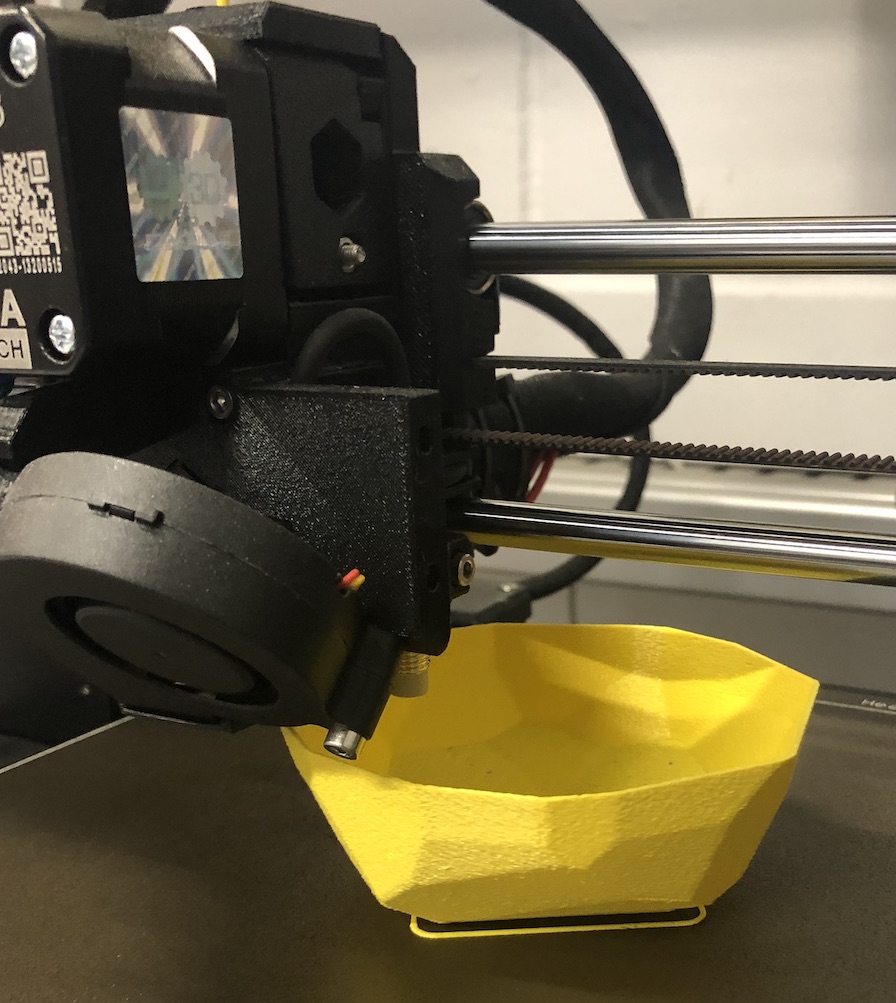
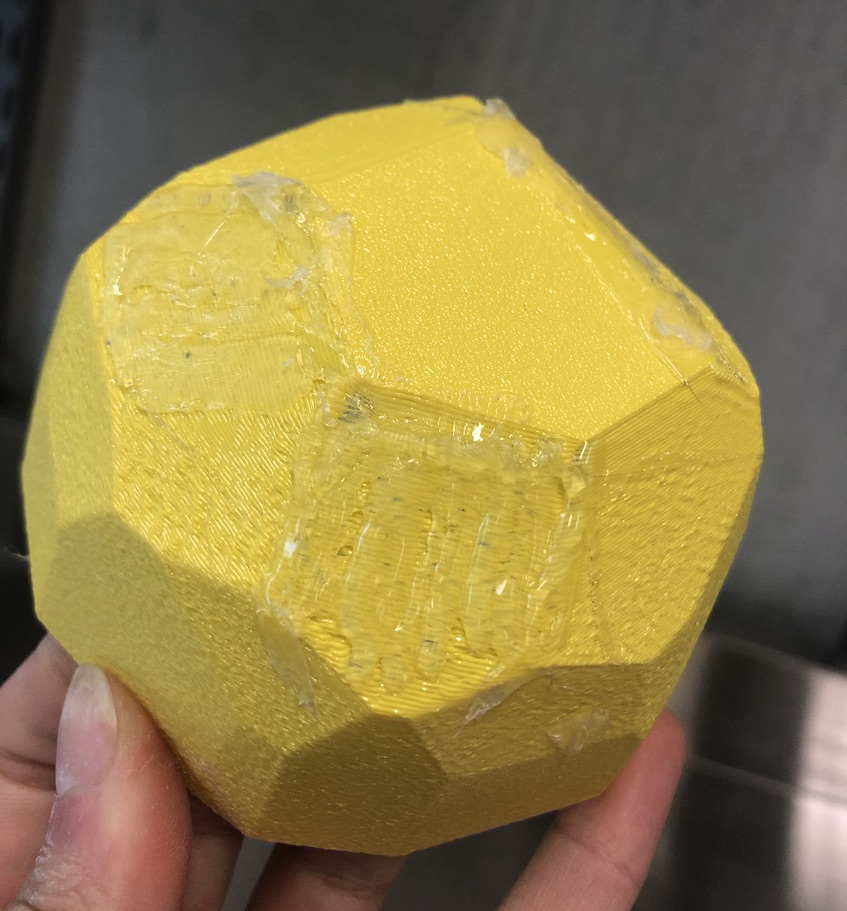
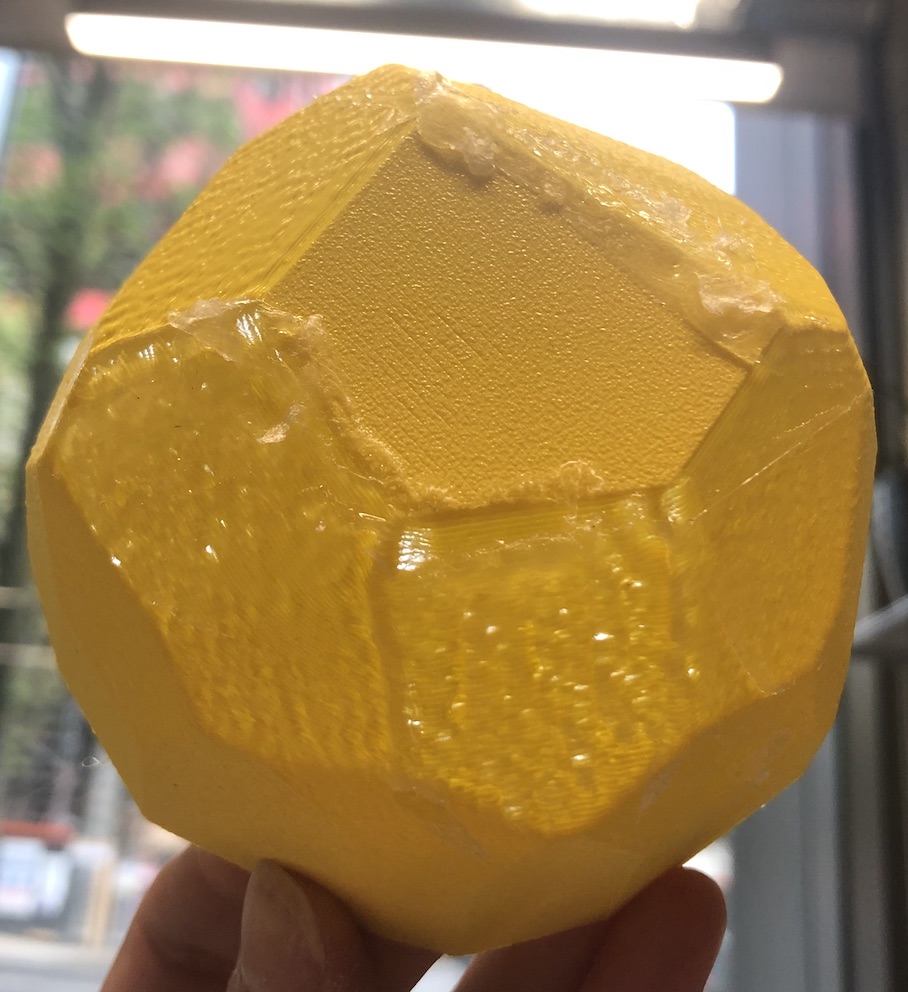
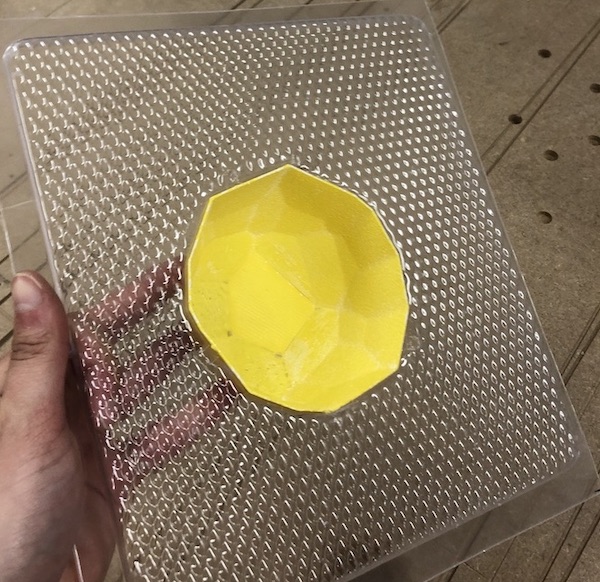
I decided to 3d print my piece as I thought this would be easier in the long run (which it was). I did have an issue as I used a 0.8 mm nozzle so the lines where a little out with each other. This then made it more difficult as there were gaps in the print, I thought the best option would be to cover these up, so I used a glue gun to fill the wholes. My plan was to fill it with plaster so that when I vacuum form it the whole piece would not collapse.
As you can see this did work and because the glue is clear you can still see the wholes that have been covered.
I then filled the 3d print with plaster so that when I place it into the vacuum former it would hold itself up.
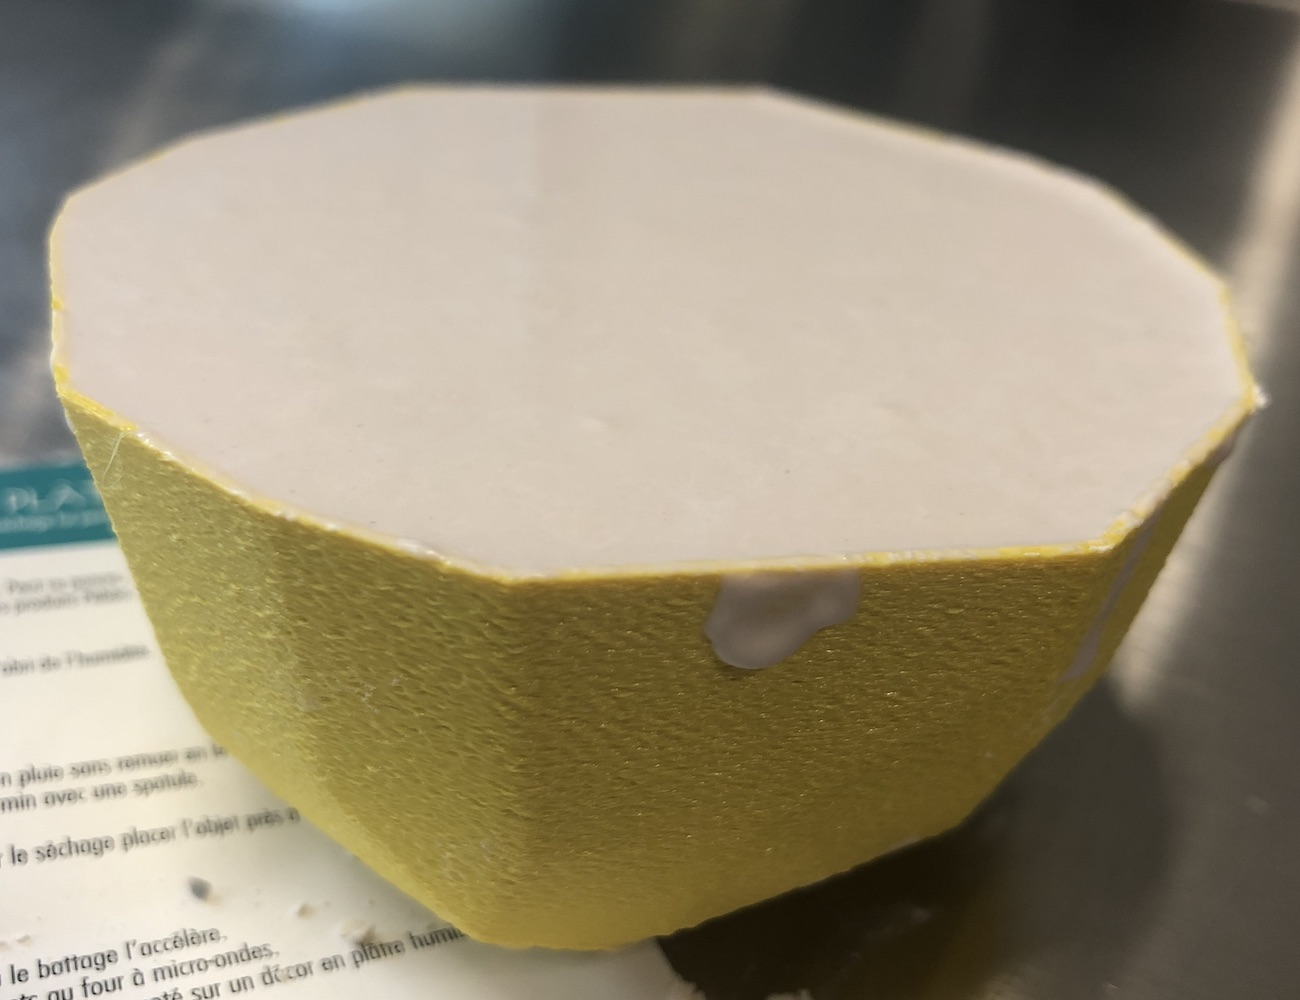
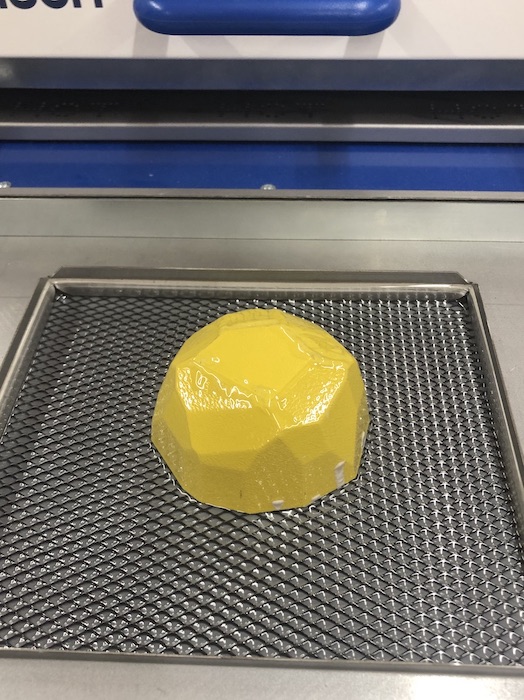
I placed my form into the vacuum former then followed the instructions for our machine.
I first change the larger window to a smaller window so I wouldn't waste materials in the making process. Here is the link to the video that I followed to change the window on our machine. Link here
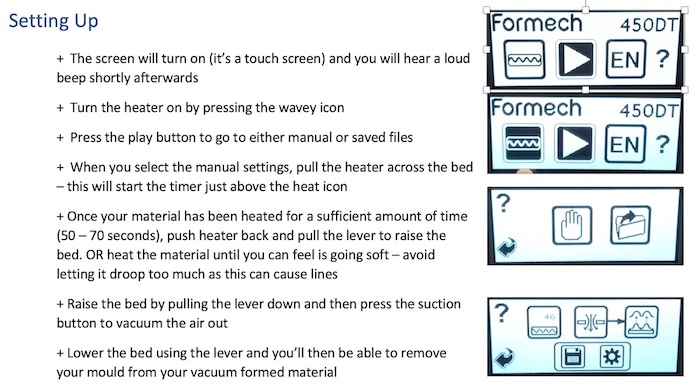
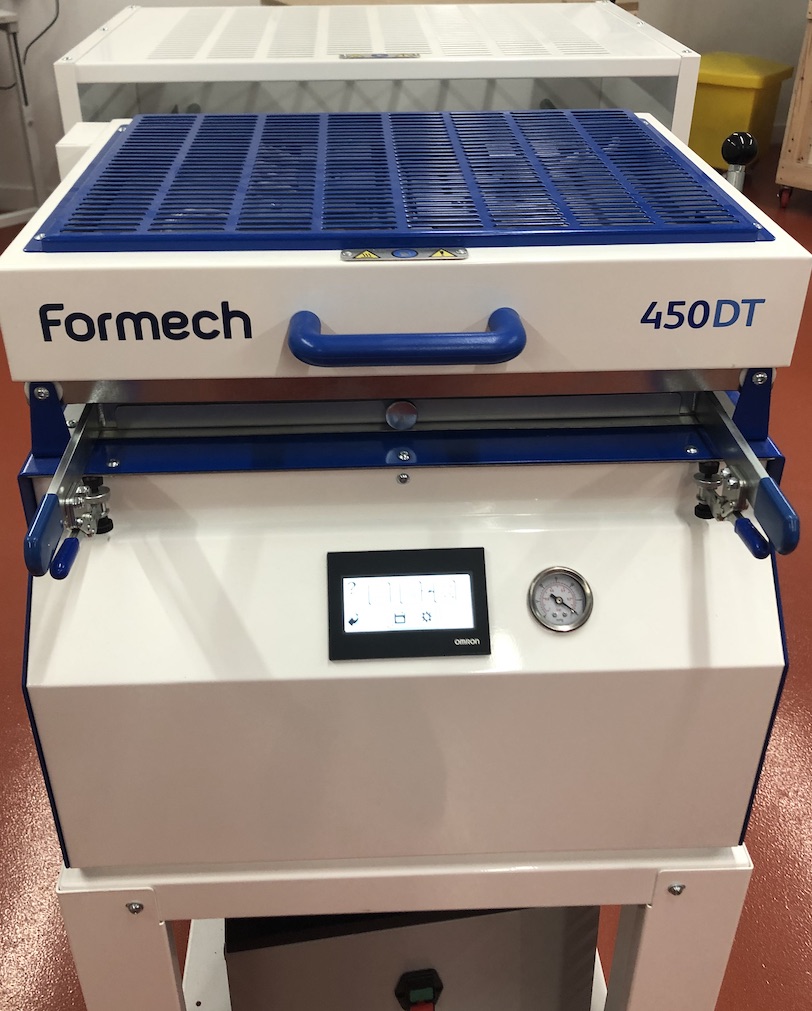
Once this is complete follow these instructions (this is only for the machine shown bellow follow your own machine guidelines as stated in their manual):
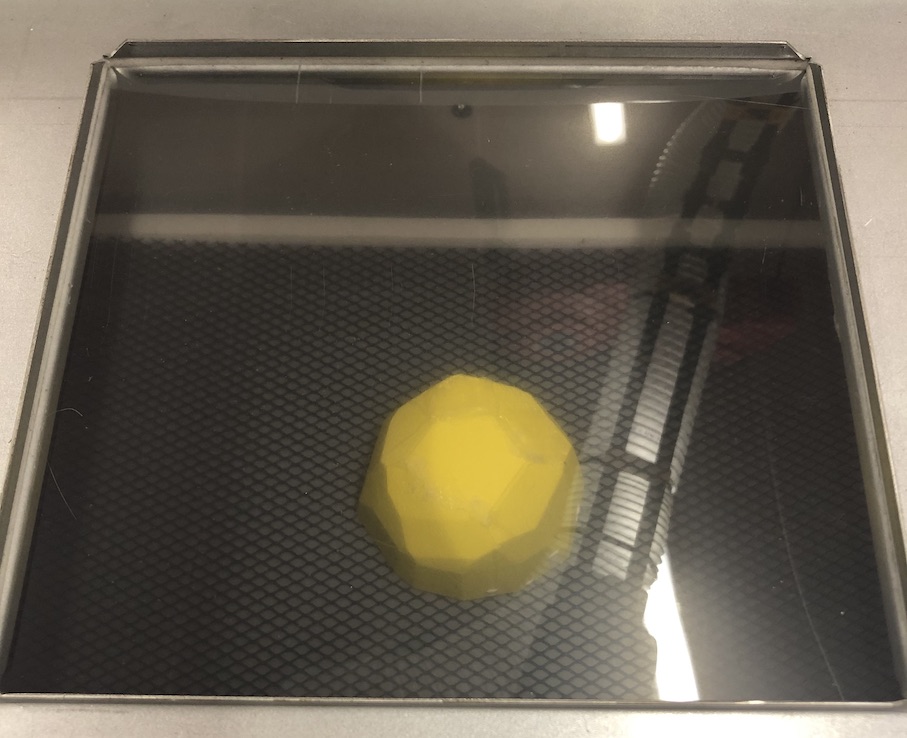
It came out very well which meant that I got the temperature correct when pulling up the form. I think because I added plaster it made sure that it didn't collapse.
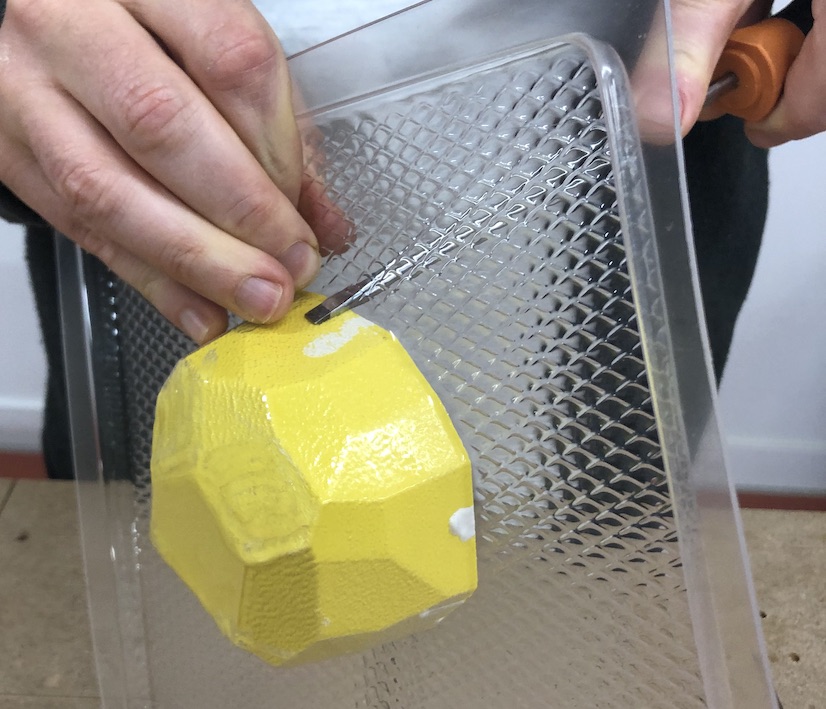
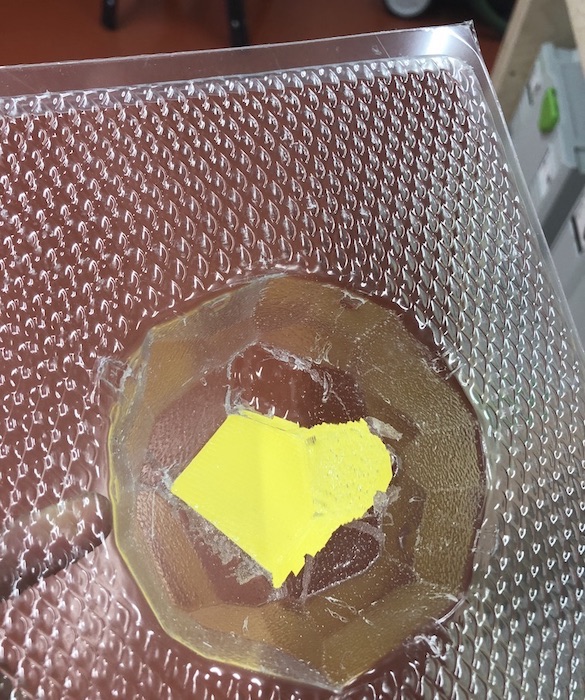
I had an issue because of the glue it got melted and ended up getting stuck to the plastic. I really struggled to get it out because of this, I thought it might have been because of the angle of the piece but I had made it so that it didn't come in.
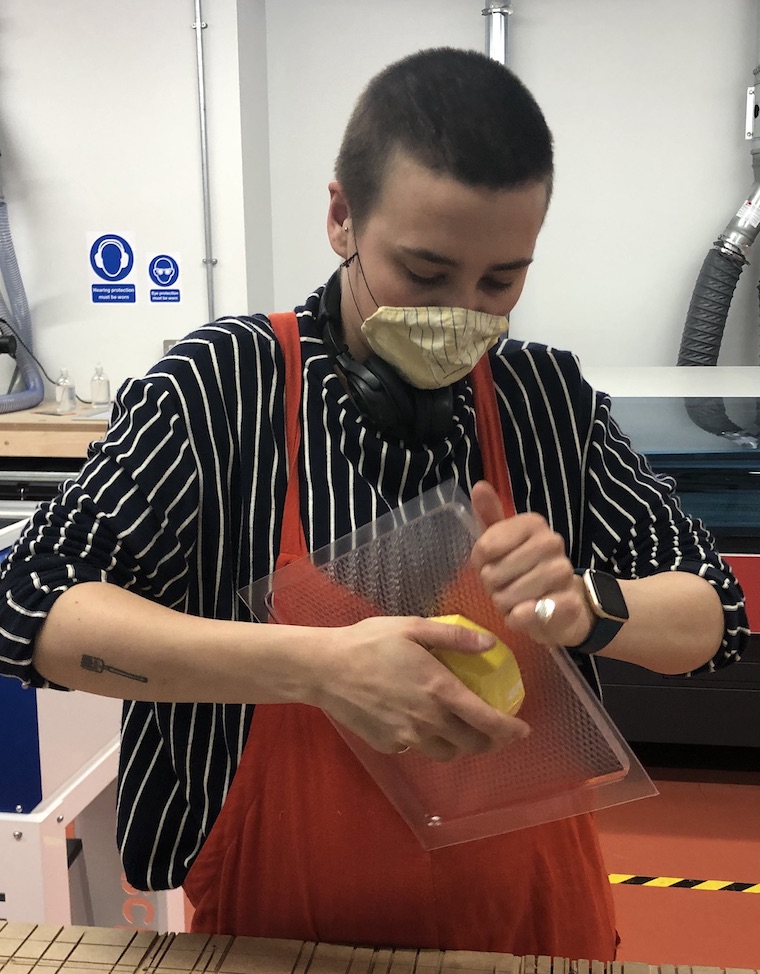
I then realised I could try and get the plaster out rather than the plastic so I placed it onto of some wood so that it would fall out once I hit it a few times with the hammer. This did work but because of the glue I couldn't get out the 3d printed filament. I ended up ripping it out but sadly couldn't use this mould again.
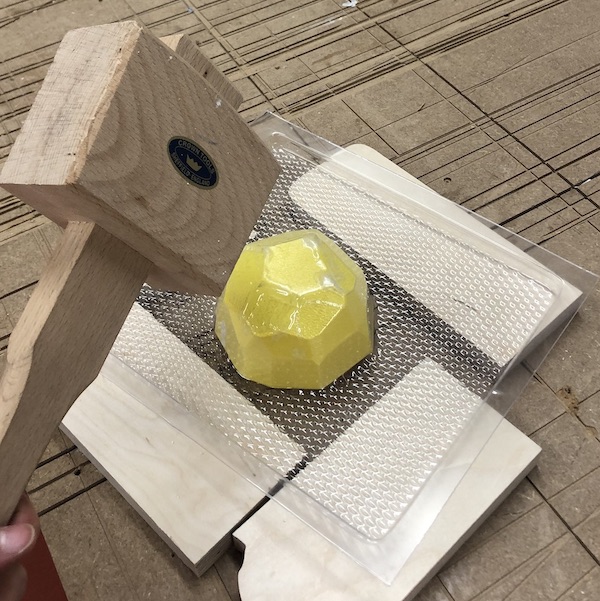
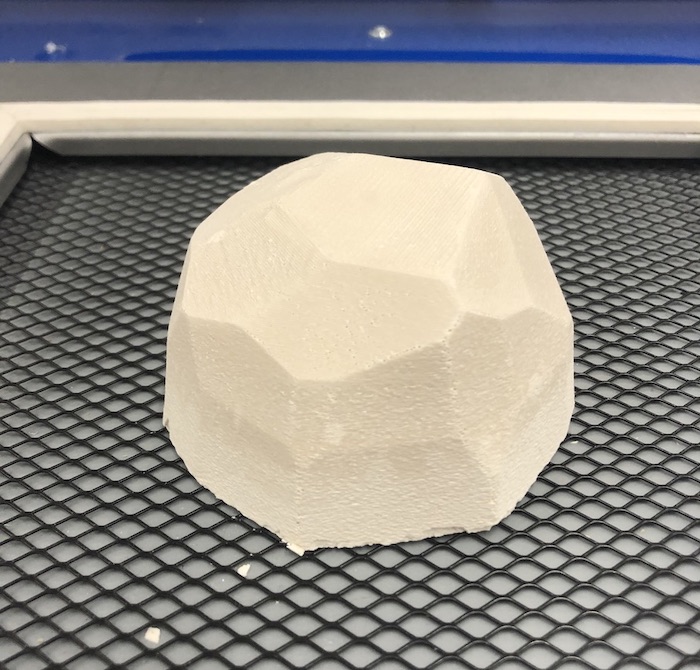
The plaster did come out well so this is a positive sign, I then needed to make a new mould as the one I had made wasn't appropriate because it still had 3d filament stuck in it.

I placed the plaster form onto the bed and processed to follow the instruction from above.
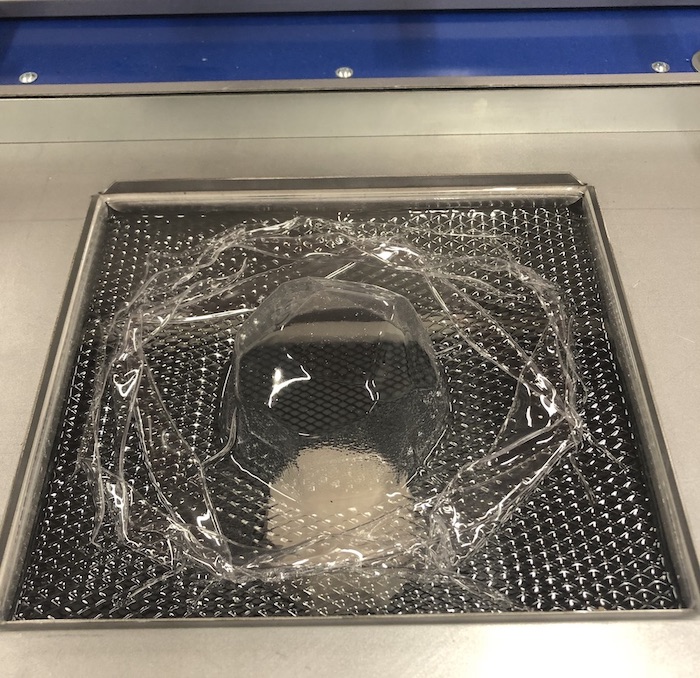
Unfortunately I left it too late and the plastic melted too far and therefore the result looked like this. Because this was a test anyway I didn't need to make another mould to waste plastic.
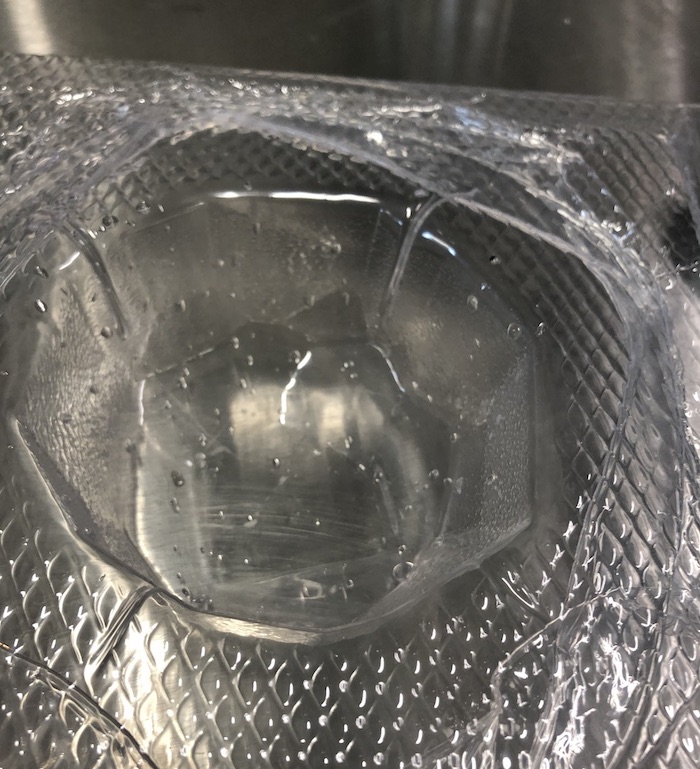
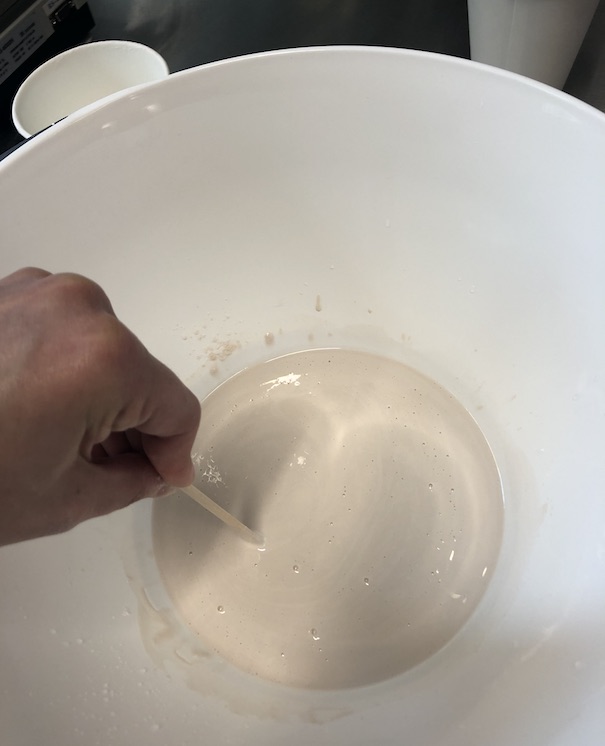
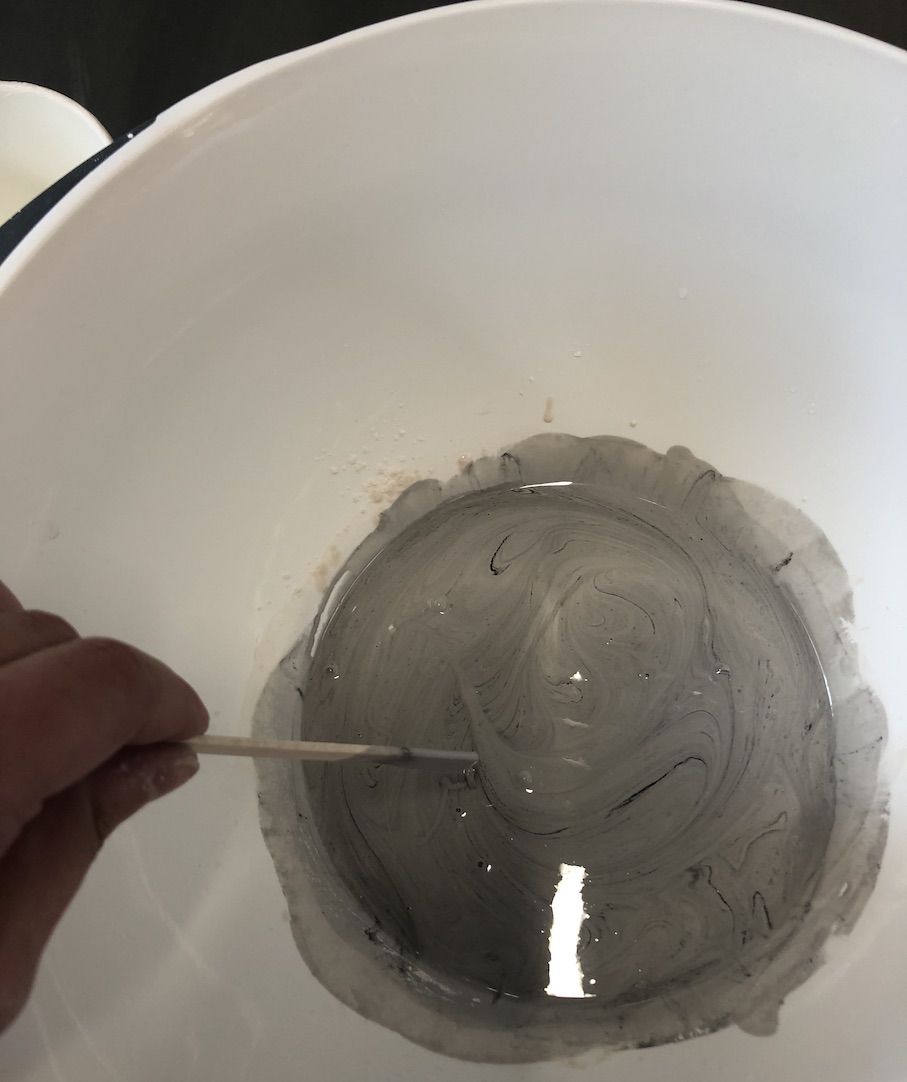
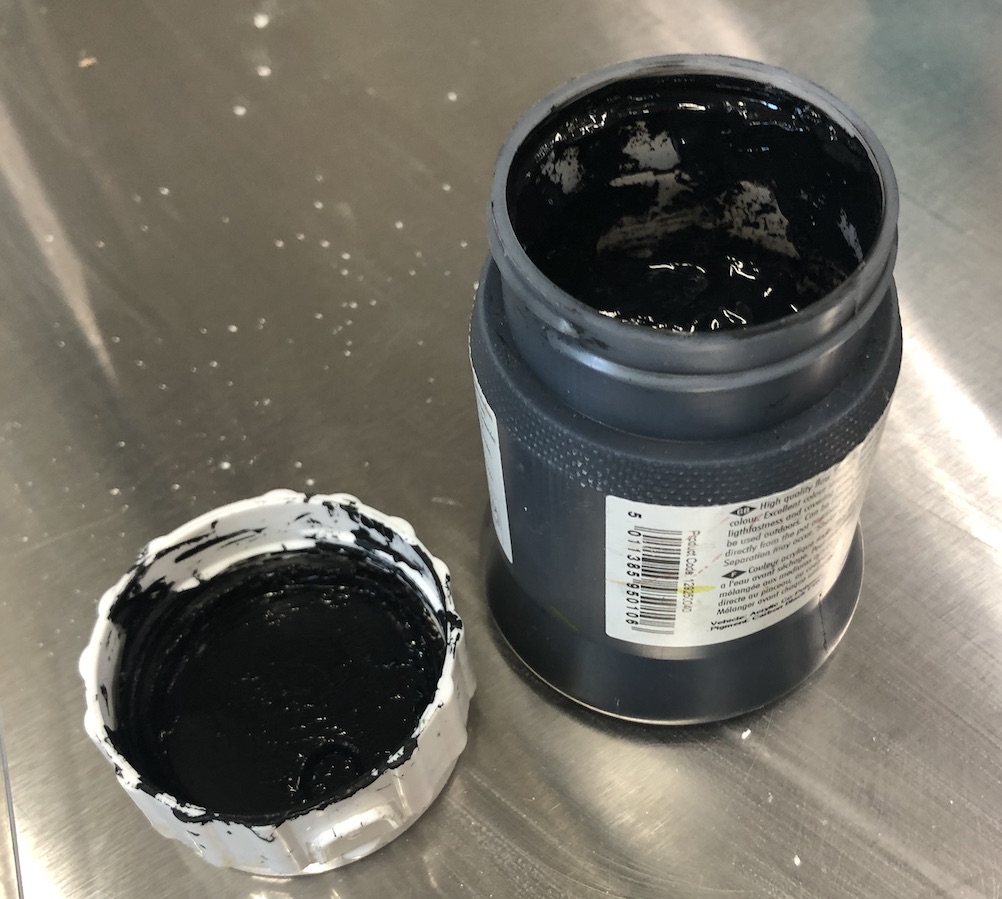
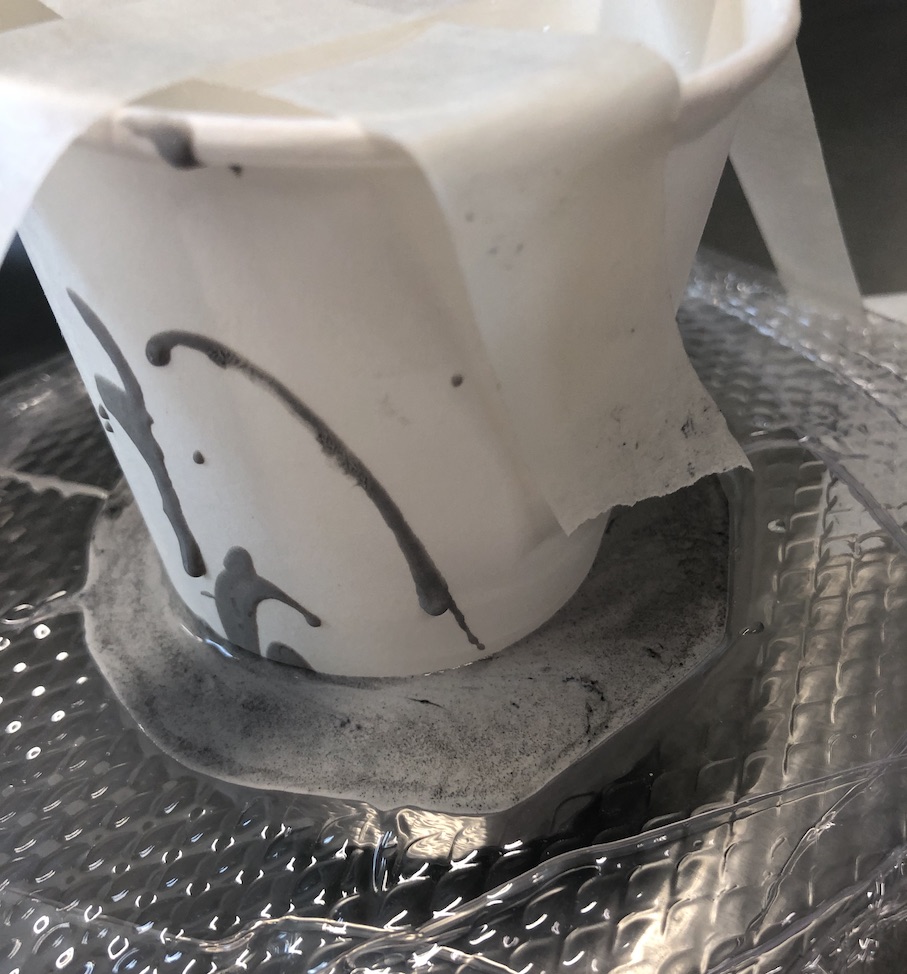
I measured out the water by filling up the mould and halving the amount, go water as this would be too much. Always read the instructions of your material, mine was 1 part water to 3 parts plaster. I also added some water based acrylic to the plaster to change the colour of it which did work well as you will see.
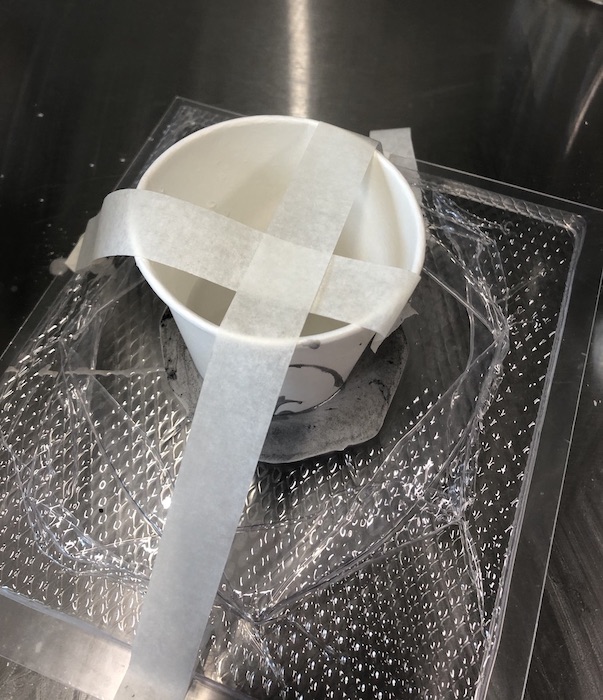
I placed a cup inside the mould so that it would make a whole for the plant to be placed in, placing tase across it to hold it in place and a water inside the cup so that it would stay down in the plaster.
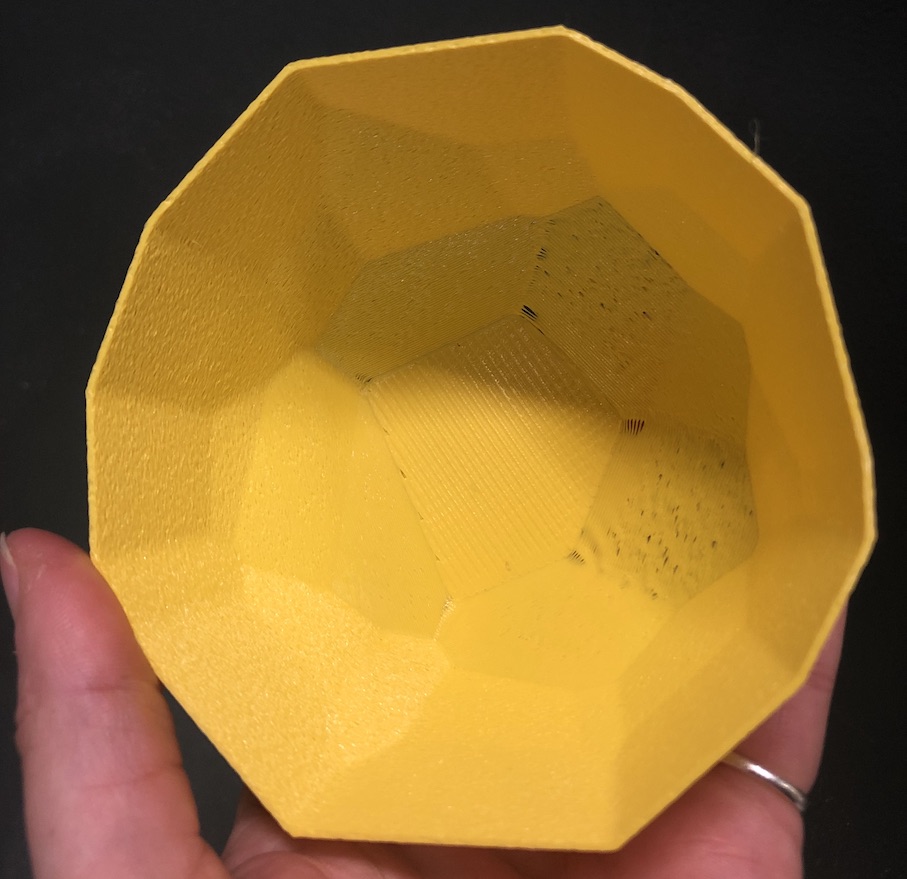
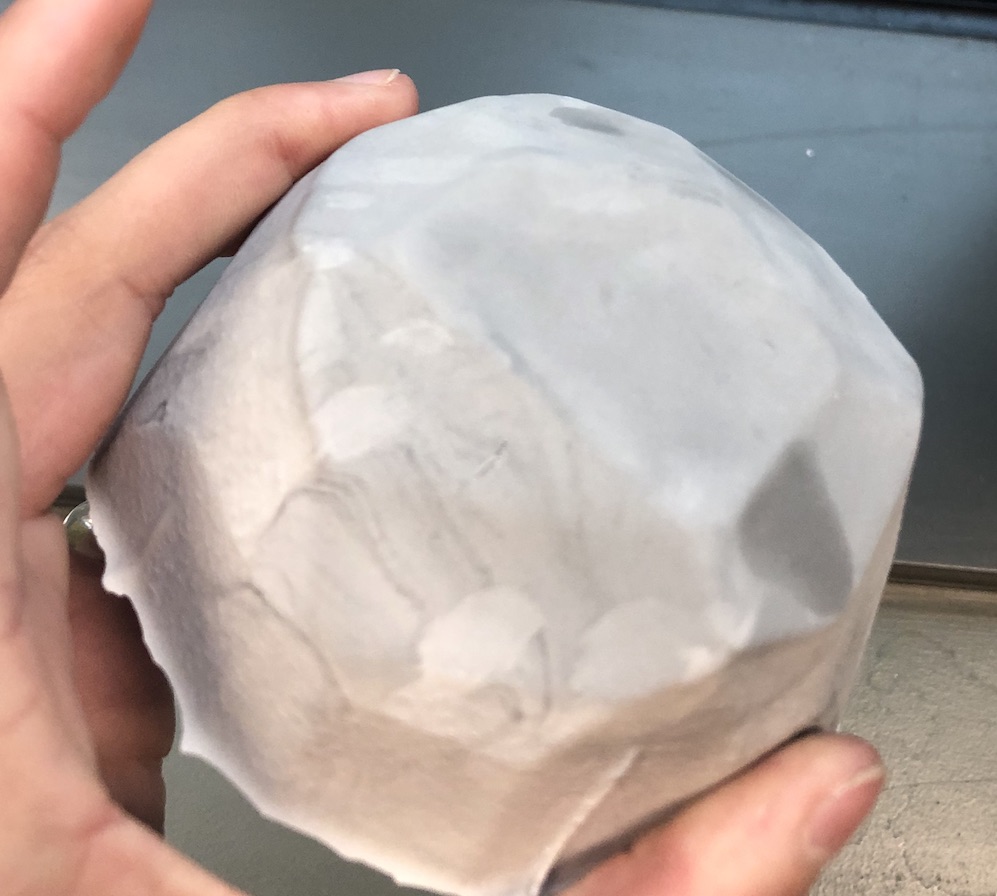
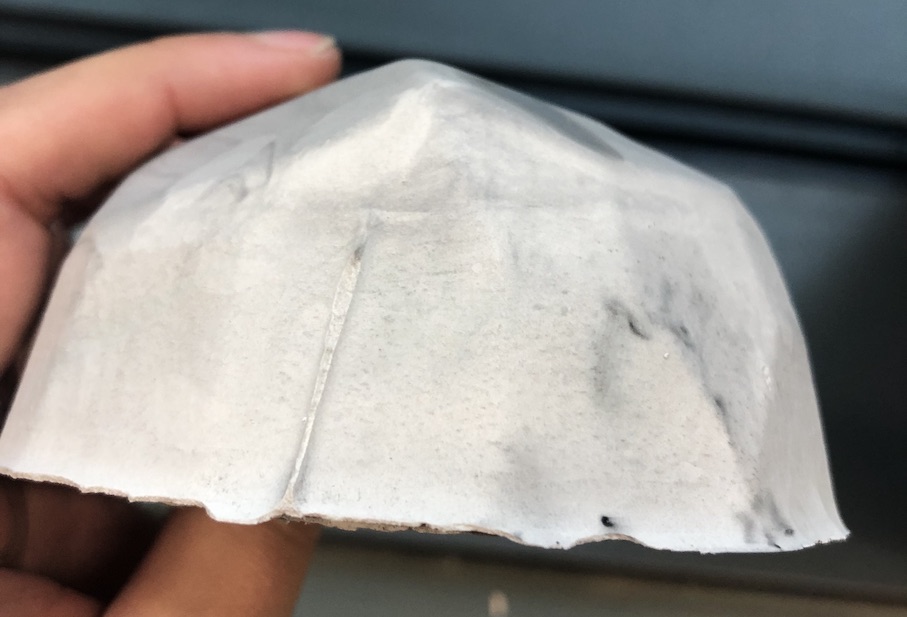
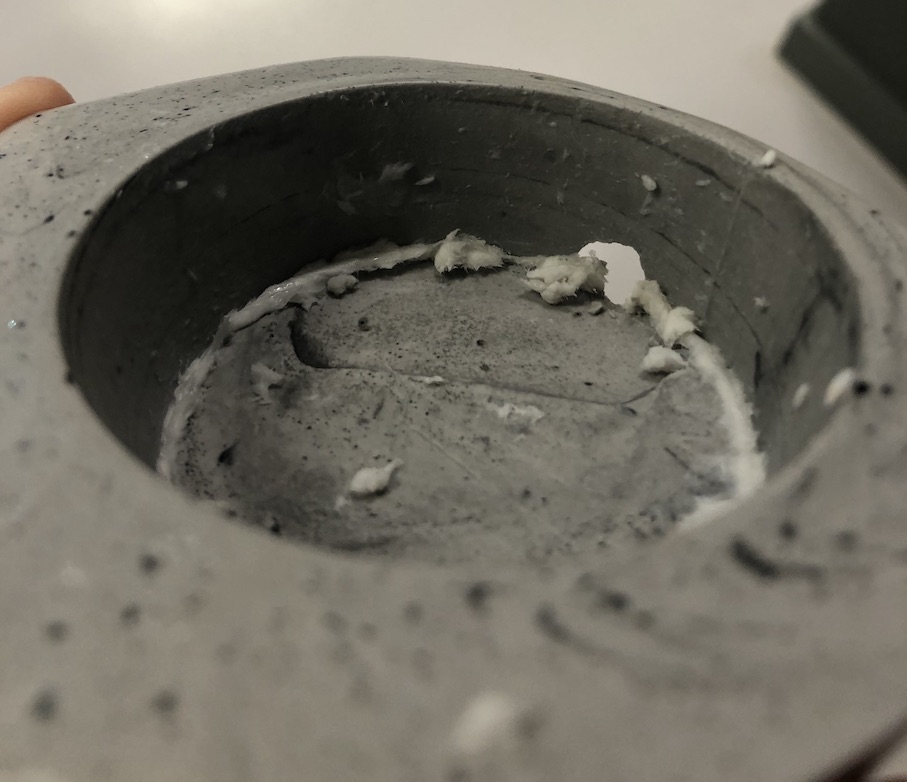
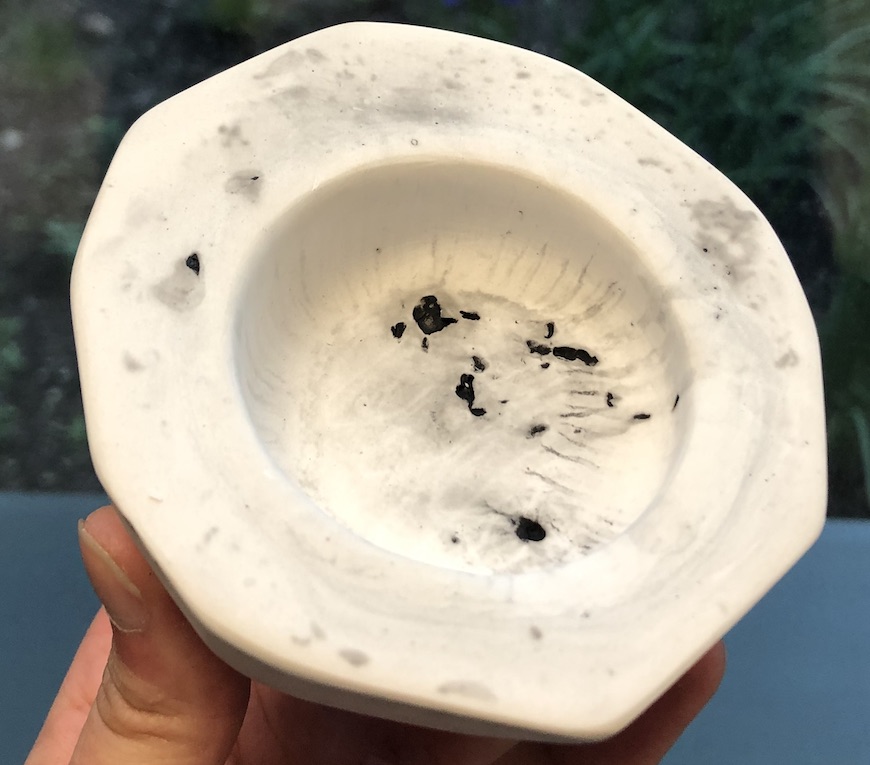
After a few hour it had dried and I could take it out, it came out well and because of the lines from the 3d print all of the texture was brought out. It also picked up the lines from the mould from when I melted the plastic got far.
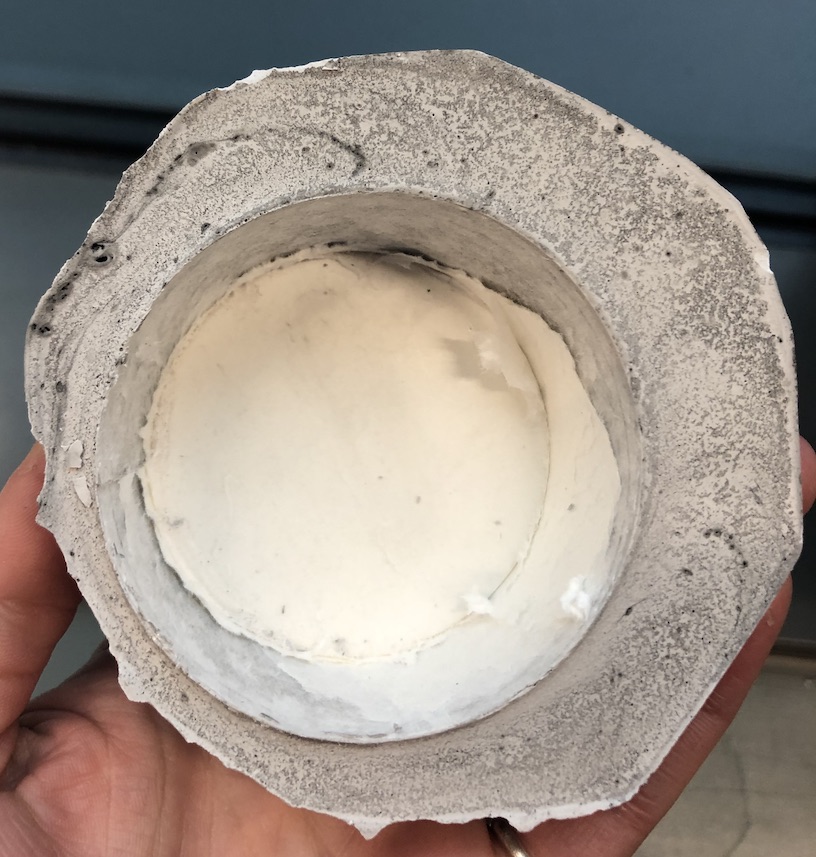
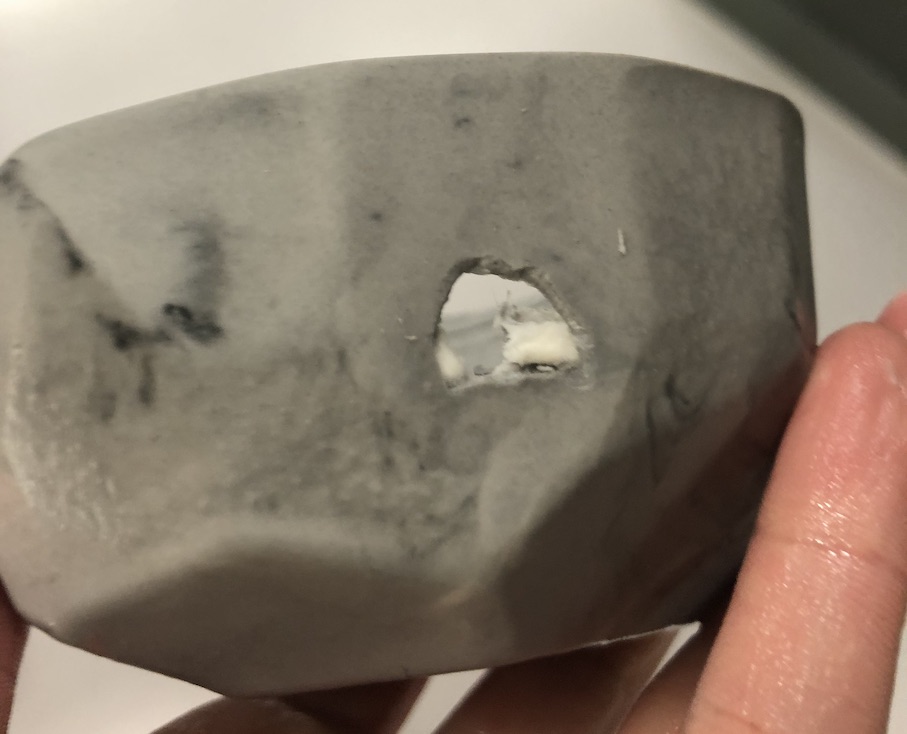
The cup also got stuck and I couldn't get it out of the plaster which was a big mistake. I also made the mistake of having it too close to the edge of the pot so the side of the piece was very thin and I edged up making a whole whistle trying to get the paper cup out.
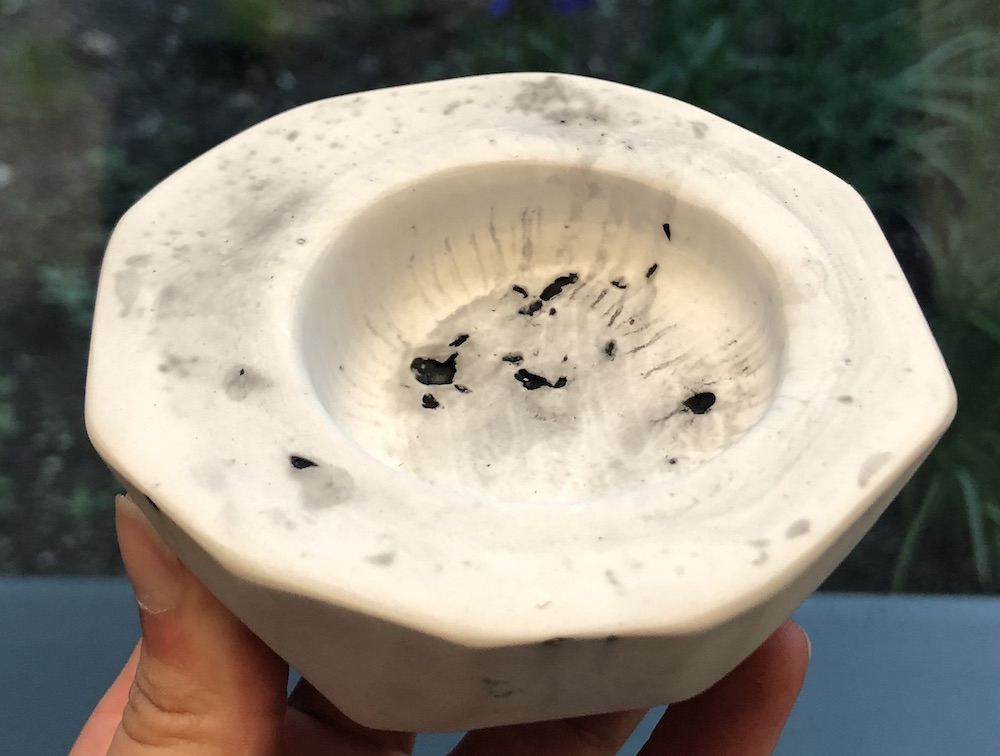
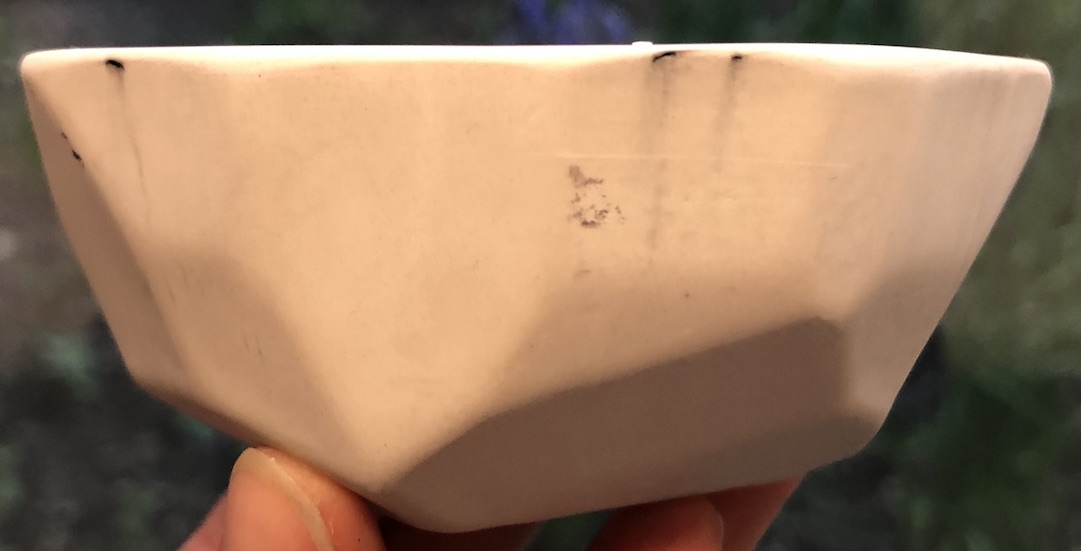
This time I made sure to not use the paper cup and instead used a plastic lid to make the whole for the flower pot. I sanded it down and it came out very well, I think next time I would make it deeper so that you can get a larger plant in it.
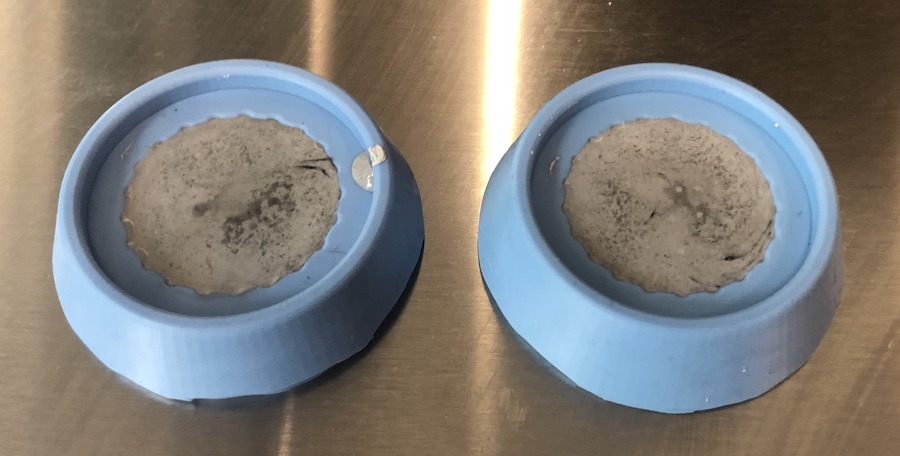
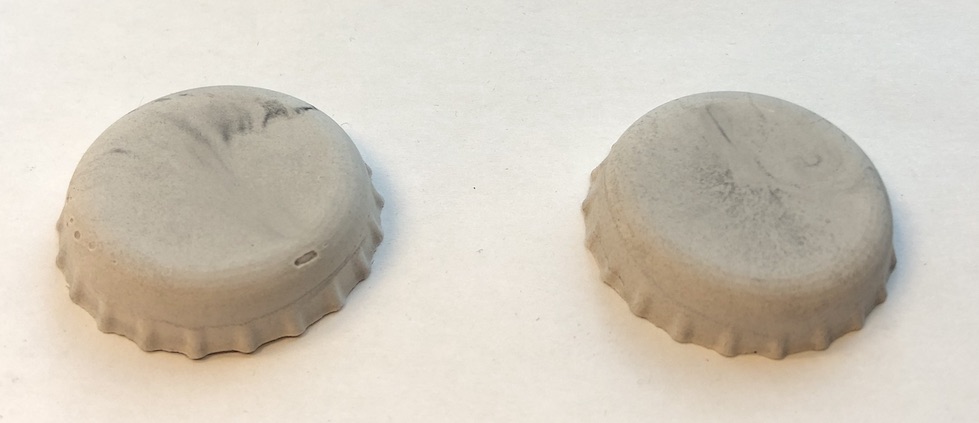
I made too much plaster mix so decided to make more bottle caps from moulding and cast week.