4. Computer controlled cutting
Vinyl cutter 1: decals
Since I am a remote student, I am trying to follow as much of the Fab Academy as I can from own homelab. And for the vinyl cutter, I have a brand new Silhouette Cameo 4. It arrived by the end of January, just before the Fab Academy started, and I just made a couple of test cuts playing with my kids. So, I don't really have a lot of experience with this machine.
The first thing I did today was to 3d print a pen holder, since I've tried to get one of those but were out of stock. I printed out this piece from user Homco in Thingiverse. I will see tomorrow how it works.
As the first assignment for this week, I will cut out some decals, and the first ones will be for my kids, since tomorrow morning they have to go to school disguised as real heroes. They chose fireman, doctor and scientist. I have to admit I liked their call, and I swear I did not micromanage them.
I did not like the app that was shipped with the Cameo, and I just learned this morning that in Fab Lab Region Nuernberg e. V. developed a pluging to make it work from Inkscape, so I went on to install it following this instructions. On a first look, I did not find a way to adjust the cutting depth, and I think that parameter is going to matter, since this cutter can go up to 3 or 4 mm in.
I prepared the three designs in Inkscape, using pictograms freely available in svg repo. I also went on to install one of my favorites fonts, DIN 1451, and learned that there is a free version, reading this article in Fonts Arena. Once downloaded, I tried to install it, but somehow the font manager did not pop-up, so instead I copied it to the folder ~/.local/share/fonts. I got used to work in Inkscape quite fast, I think that I will use this software more in the future.
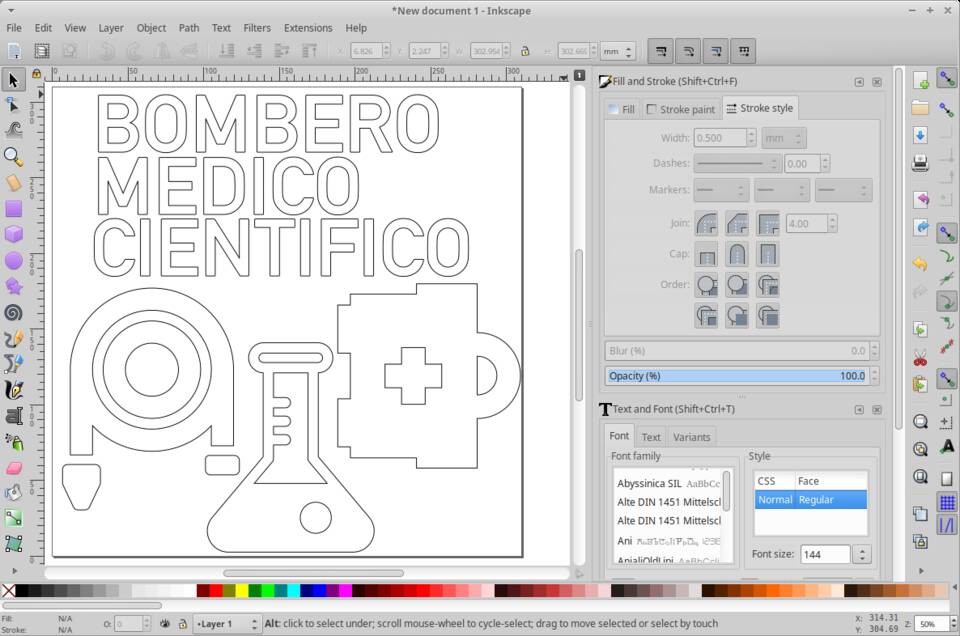
The nice thing using the Cameo with the Inkscape plugin is that all your computer workflow happens just in one program. I had two problems, though: the first, I did not figure out how did size of the document affectedthe output, since I had the paths selected in order to cut them, and a change in paper size in the document settings did not seem to matter; the second, everytime I unloaded the vinyl, I had to restart both the Cameo and Inkscape to get it back to work. The seetings that worked best were:
- Pressure: 10
- Speed: 4
- Depth: 2
About the depth of the blade, the Inkscape plugin does not control it. At first I used the original Silhouette Studio to get it to the right depth, but then I realized that it could be done manually, by removing the tool and clicking the base to fit the desired depth.
Once the first cut was finished, everything looked great... until I tried to remove the vinyl from the cutting mat. It was a complete mess, the backing paper would just reap all over, and it took me a while to finally remove all of it. The problem was that it had cut with the standard settings for vinyl, (labeled as 0, and did not find in docu for now what does 0 stand for in the case of vinyl), and the cutting depth was set in 4, so it cut all the way both throug vinyl and backing paper.
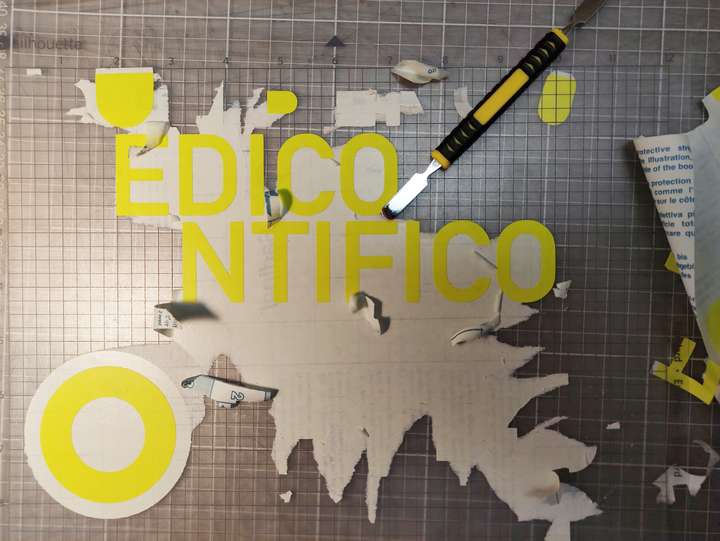
I had never cut vinyl decals before, so I did not get right at first how the transfer workflow was. Finally, I sorted it out:
- Use transfer film: first remove backing of this film
- Place the all the vinyl in the transfer film
- Remove backing of the vinyl
- Remove unwanted parts of the vinyl
- Place the vinyl on the end surface
- Remove transfer film
Now that I read it, the algorithm sounds pretty obvious. But it wasn't for me until I went through all the steps, so I will leave it as a list.

Transfering to my kids' coats was easy. I decided to leave the transfer on the letters, because this is just a costume for carnival day at school (Feb 12th), and it will be removed. Actually, our first idea when we learned earlier this same week that the kids should wear a real hero costume, our first choice was clear: cut some yellow stripes and stick them to the skipans, and voilá, now they wer snow plow drivers (we had some serious snowfall earlier this year, and yes snow plow drivers are real heroes). But them of course, they had their own opinion, and this assignment came out at hand..
Vinyl cutter 2 - Carnival masks
Picking up from week 02, I finished the Neil-fab-Mask. I worked entirely in Inkscape, and sorted out the way to easily get the outer cutout thanks for the curls, Neil. I drew a rectangle and then used the fill tool. Befor coming up with this solution, I was thinking as if I were in a cad program, and honestly, was kind of shocked finding out there was no propper trimming comand in Inkscape. But once I found the way to do it, I must admit it is a way mor elegant and efficient way of doing it. So, sticky note: when using new tools, try not to think as if you still were using your old ones!.
Group assignment: characterize your lasercutter
Even my local node for Fab Academy is Fab Lab Leon, I am a remote student, using the prototypes shops avalible at the URJC, where I am currently employed.
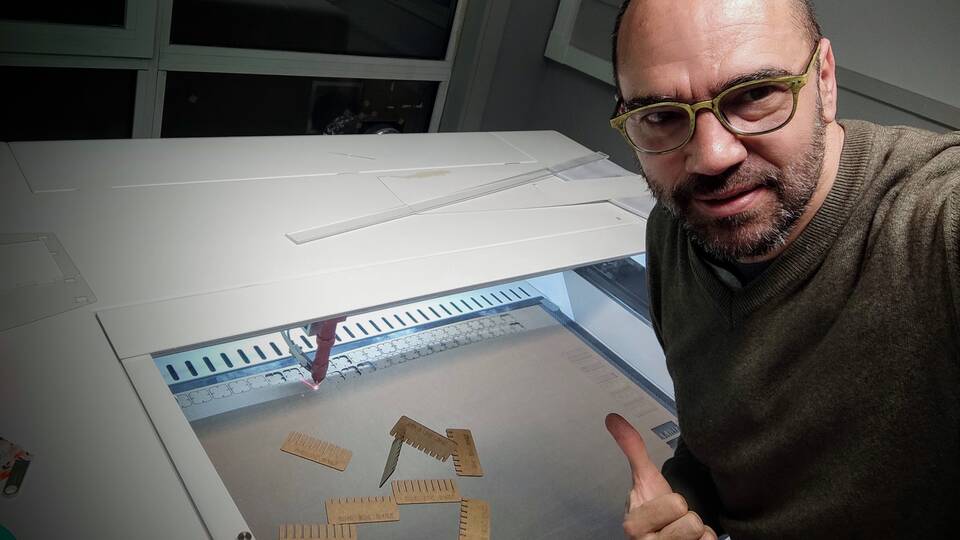
The laser cutter I will be using is a Bodor CO2 1006, that is equiped with a 90W CO2 laser tube. The working area is 1,000x600 mm, and to control it I used Lightburn.
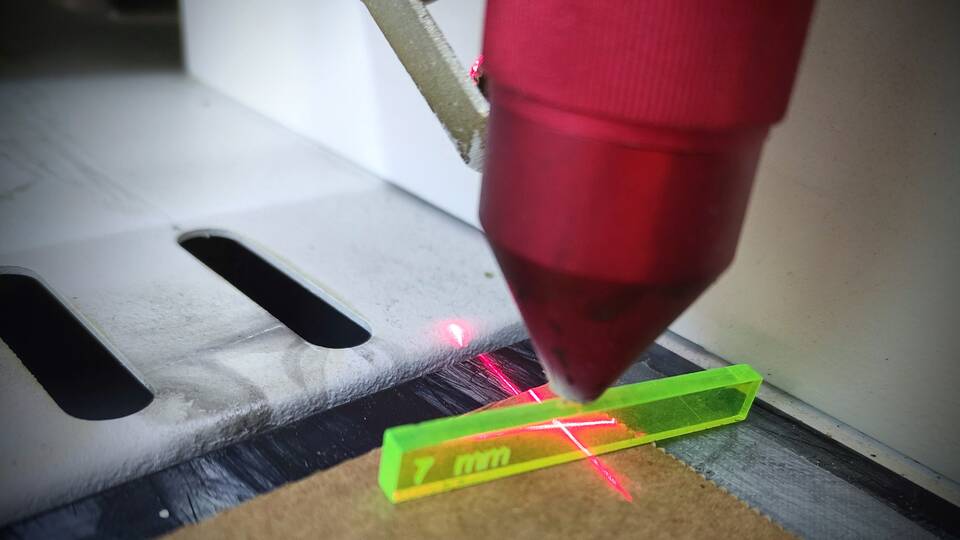
The focal distance of this laser is 7 mm. In order to adjust it, the level of the base can be modified, and we have a piece of PMMA to check that it is correctly set.
Next, I prepared a card, to check power and speed. Power is set as a % of the maximum output. For 2 mm nominal cardboard, I used 32% power. Speed is set in mm/sec, and since cardboard is easily cut, I used 100 mm/sec. For the engraving parts, I lowered the power to 17%.
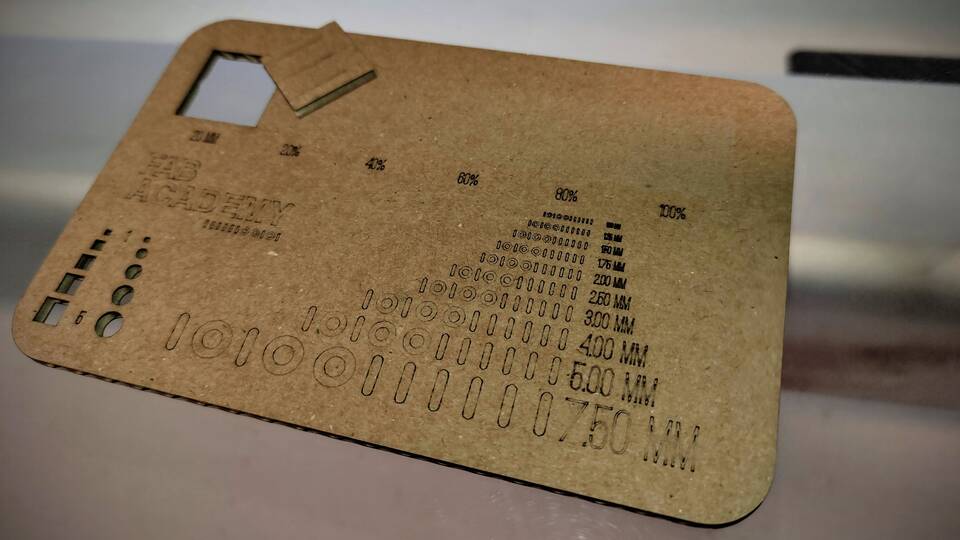
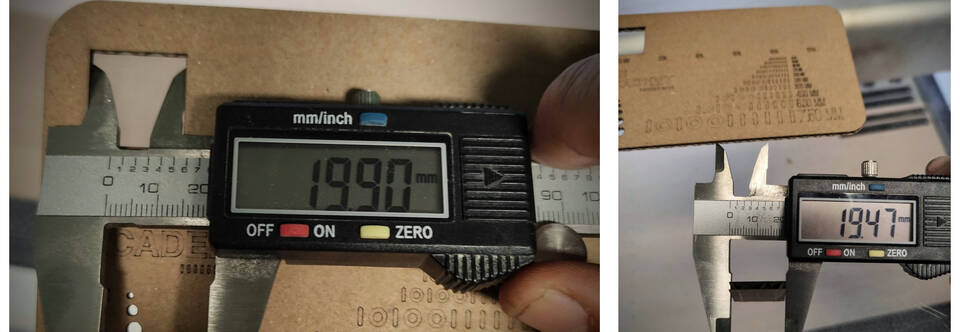
To check the kerf, I cut out a 20x20 mm square, and measured both positive and negative with calipers. I found the kerf for this material, with this cutter and at this focal length to be 0.2mm.
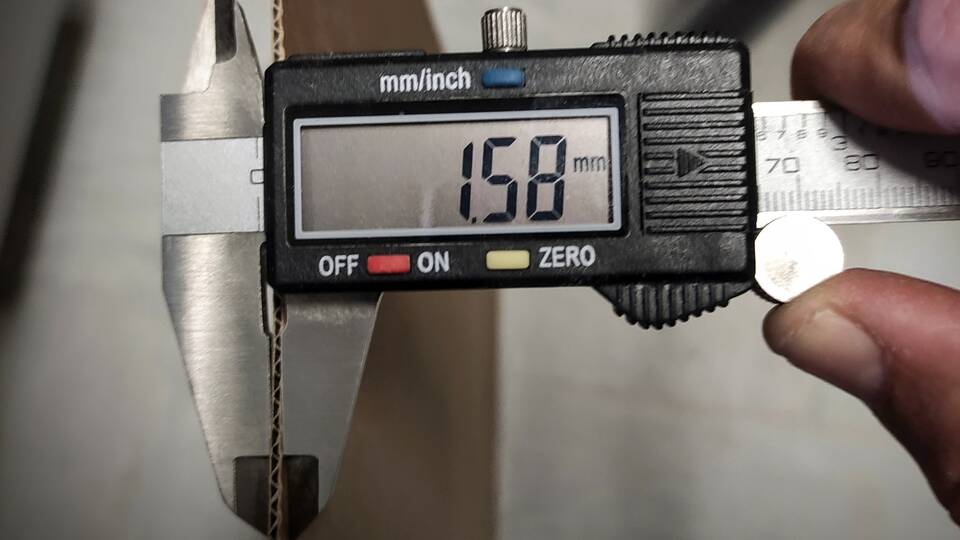
Next, I measured the thicknes of the cardboard I was to cut with the calipers:
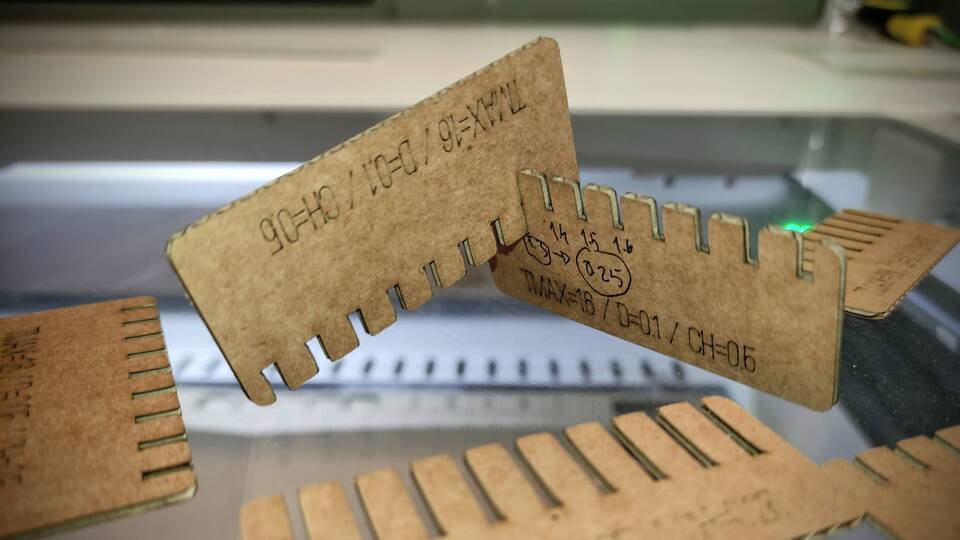
And finally, before cutting the real job, I prepared and cut a few "combs", to find the correct fit between parts. Once I got it, I was ready to parametrize the parts that I would later cut.
Press fit kit 1 - FreeCad
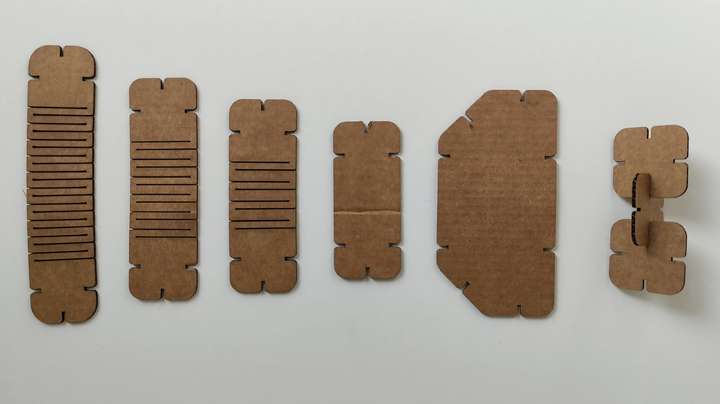
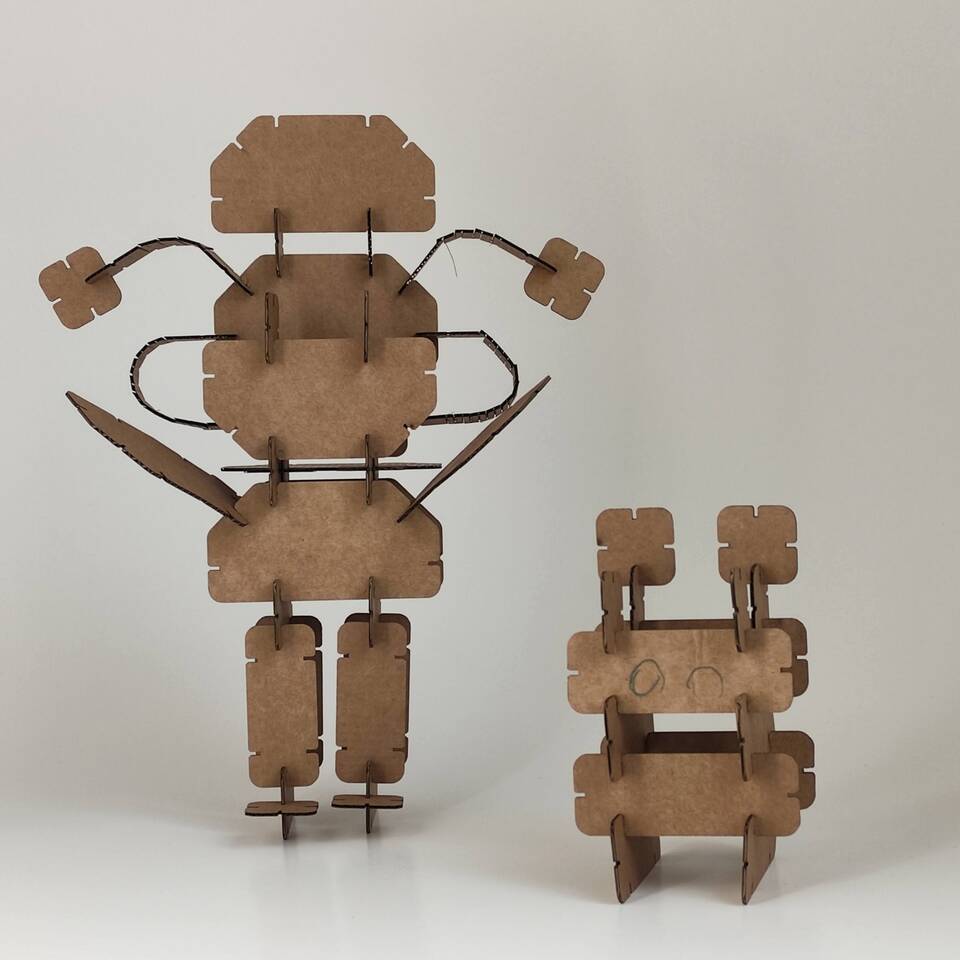
For designing the press-fit kit, I decided to use FreeCad. I know I could do it fairly easily in Fusion 360, but I'd rather stick to FreeCad, at least until I run out of time. I first used the Sketcher and Part Design Workbenches, to define the pieces of the kit. I added, after quite a bit of time figuring out how would they combine in a meaningfull way, three pieces: the basic is the square, then a recangle and lastly a piece to make 45º angles. The kit has been carefully designed so the rectangle has the same distance between slots as three basic squares. When using the 45º piece, it is also possible to match other parts of the orthogonally fitted parts.
I had never used before none of the Assembly workbenches in FreeCad, so I thought it would be nice to give it a try. I used the Assembly 3 workbench, which is installed by default int the 0.19 FreeCad version that I am using. I first went thorugh the documentation in the FreeCad Wiki, to have an overview. The fundamental info that I got is that you can have a file just with the assemblies info, and the parts are linked to this file. Any change in the part should be made in the part file. And since it is a link what it is created, a part can be referenced with any number of instances. I followed a very well documented and didactical tutorial by JP Granet. There is also a very good one by Realhunder for complex assemblies which for sure will come handy along our learning path.
I also scripted the square part usign the software that I enjoyed the most while working as an architect, whic is Vectorworks. The license I have dates back to 2006, and due to hardware dongle issues only works in Mac OS X 10.4 and Windows 95 or Vista. But I think it is worth showing what is able to do, since it has an extremely powerful (for designing) scripting language built in it. With it, you can create fully parametric objects, that get redrawn in real time every time you change parameters. Parameters are defined in the script as variables, and the value is set from the object info palette, when the object is selected. Vectorscript is based in Pascal, and it was the first time I got to program anything. The code is not elegant at all. I tried some other options, like defining one side and then place it accordingly in the right places, but did not make it work.
VectoScript file for square piece of press fit kitI think that really this is the way of designing this pieces, and I wonder if it would be possible to do it not using CAD specific tools, like javascript. I know of paper.js, by Jurh Lehni and Jonathan Puckey, but I do not have enough skills yet to try to make something viable.
For the bending, I read this article, lattice hinges explained, and then I parametrized the pieces in FreeCad, using the part desing workbench. In the end, I figured that the best way to procced was to make a simple sketch, and later add features. I will refine this proccess next time I have to use it.
FreeCad file for press fit kit parts
Press fit kit 2 - geodesic dome
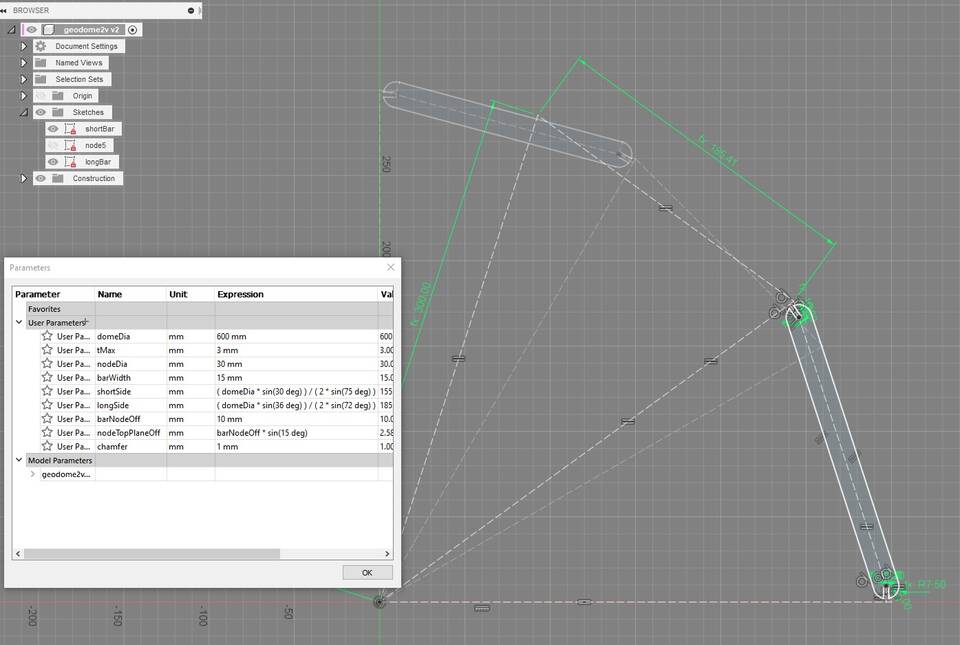
In the last week, computer aided design, I drew a 3d model of a geodesic dome in Rhinoceros. It was not parametric, so this week, just to test another piece of software, I used Fusion 360 to parametrize, just in 2D, the different parts of a geodesic dome.
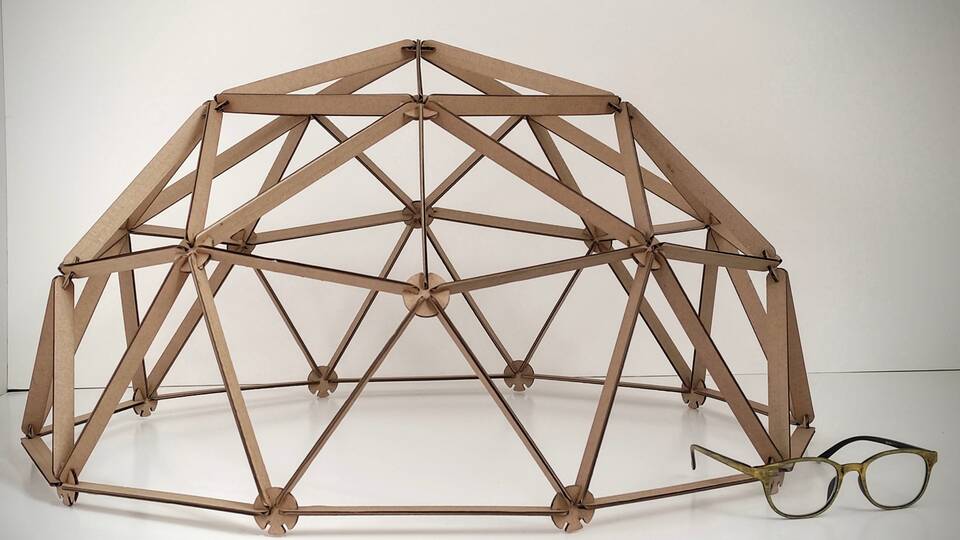
It was good fun to build, so I prepared a second kit and assembled during the weekend with the kids.
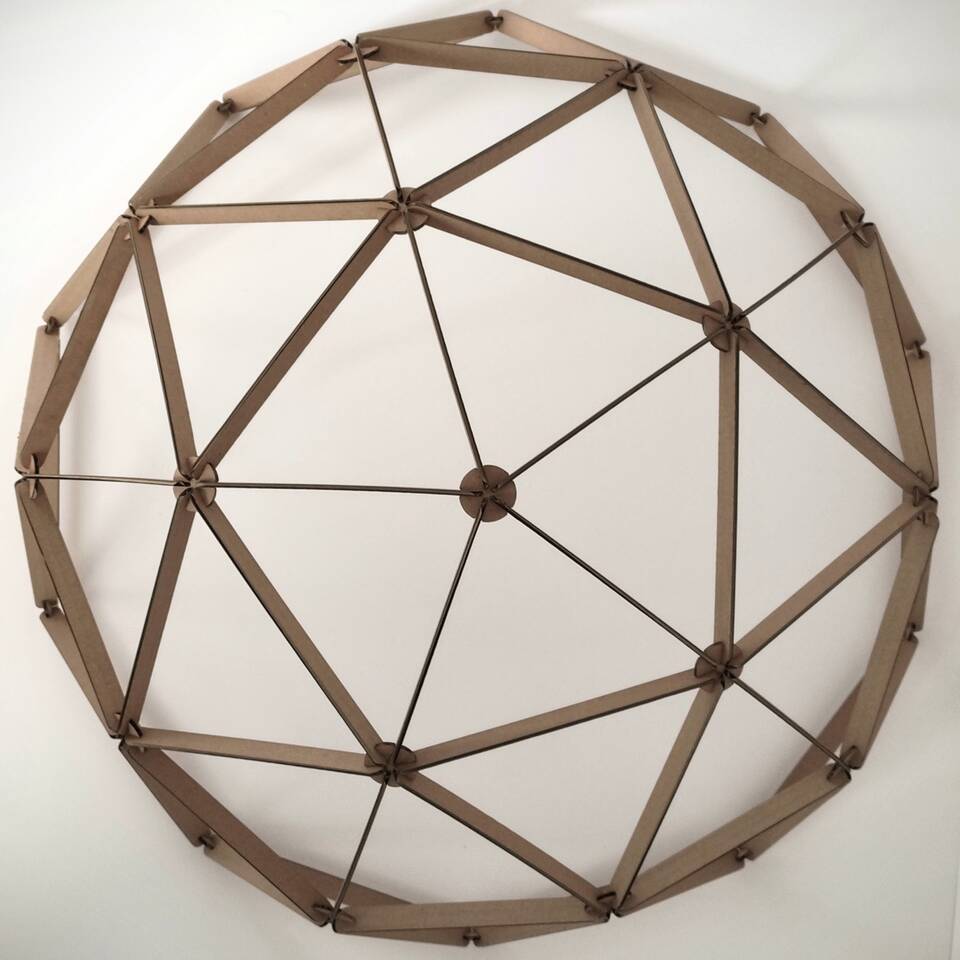
The plan view of the dome is quite impressive, with the top pentagon clearly visible.
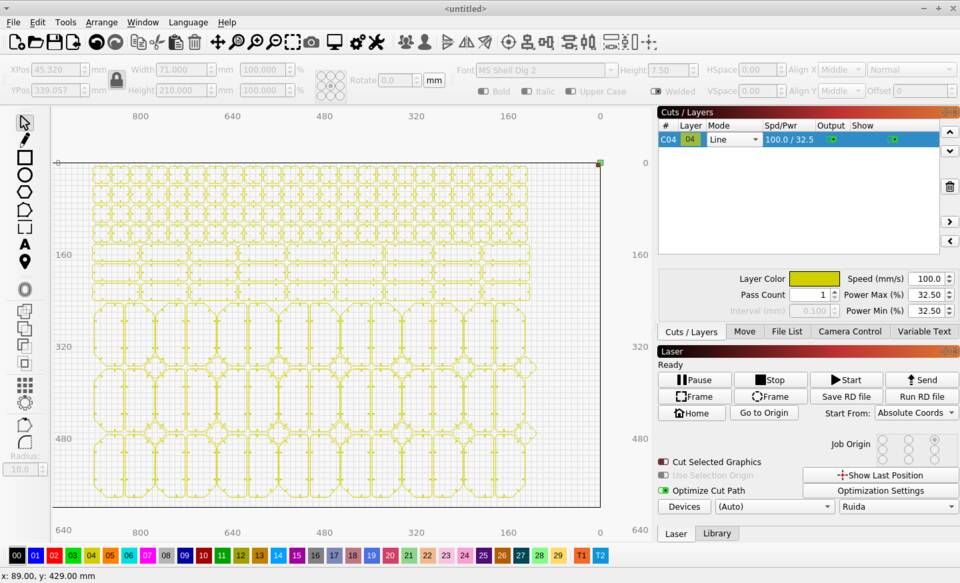
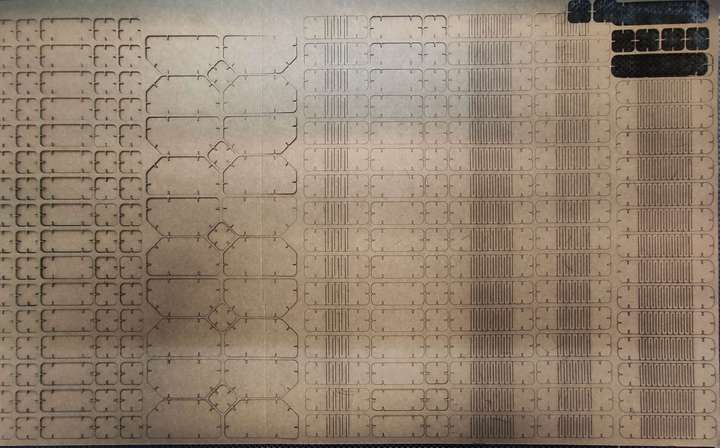
This are the files of the geodesic dome. Note that the Rhino is a 3d model, wheras the fusion file is just a parametrization of the four different parts of needed to build it. All parts were later replicated in Lightburn
Overall, it was a great week. I had used the laser cutter, but just in the class enviroment. And for the vinyl cutter, I had never used it before, and I think is a great tool for the lab.