Week 3
Finally, the most fun week has arrived, in this week we got to discover and use the machines lab aka the laser cutter and the vinyl cutter, and I am really excited to design and experiment things on those machines. For this week's assignment I will:
1. Cut something with vinyl cutter
2. Characterize the laser machine
3. Make a press-fit construction kit
here is the link for the Group assignment.
Vinyl cutter:
So I really wanted to make a logo for myself then cut it using the vinyl machine, so I started watching some videos on how to make a simple logo using GIMP Tutorial
Here's some steps on how to design your logo:
1. Create a new image :
2.then just draw two layers of your boarders for me I chose circle and rectangle:
3.Then just simply write your name inside the boarders then you can customize them the way want it, I put some outlines to make it look fancier:
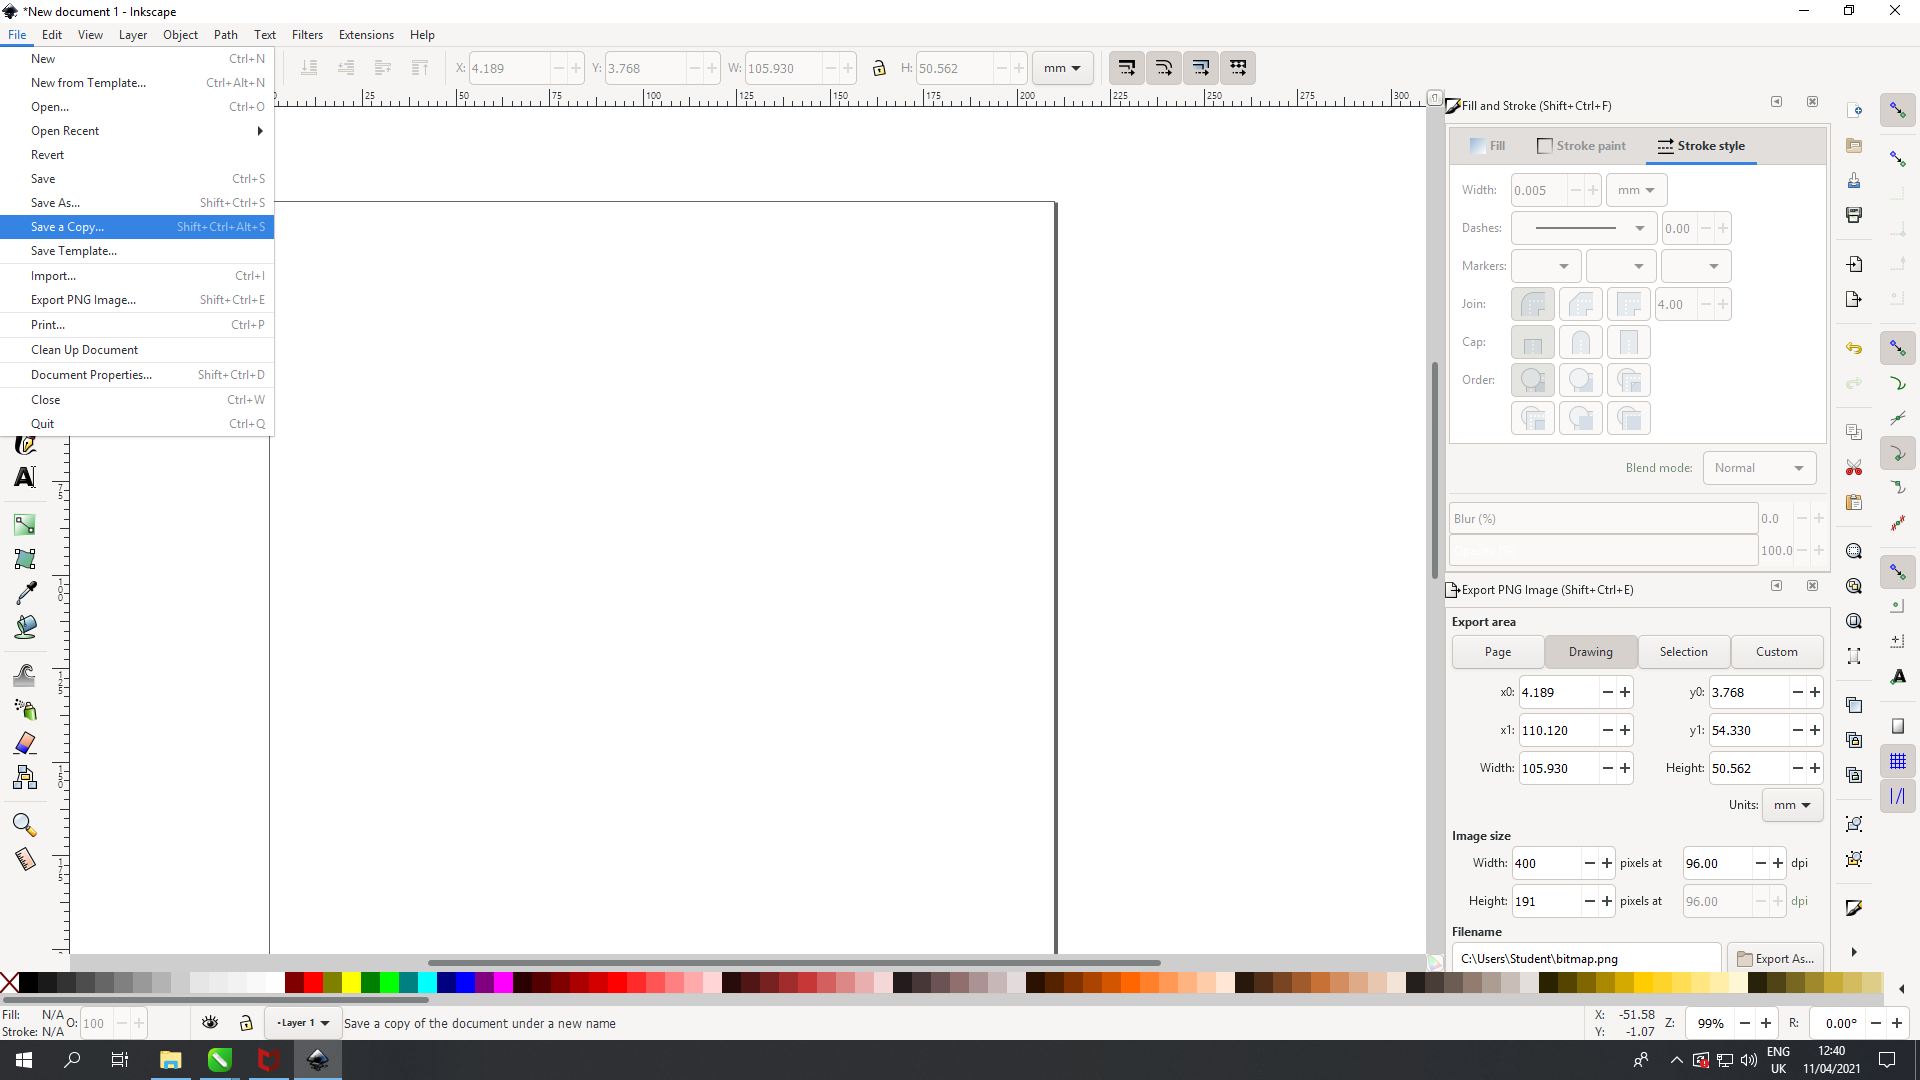
4.Then save as pdf so can cut it using the vinyl cutter:
Printing the logo:
So, at first we kept getting this error and the problem was that the roller wasn't beneath the little support metals in the machine so we made sure that it was installed properly:
we used a program called versa studio to edit the machine settings and import the pdf files to it:
video while printing the logo:
And this is how it turned out:
Cutting and weeding:
So another thing we did using the vinyl cutter is to cut the sticker itself by outlining the boundaries that we want to cut and then use the weeding process to take and stick it on wherever we want
To make an outline boundary I used CoralDraw so the trick is to make a color palette and then use the smart fill tool to make boundaries around the part that you want to cut and then we used the Roland versa studio software to print and cut the sticker:
After printing and cutting the sticker we used masking tape to do the weeding and then stick on my laptop
:Important Note:after doing the cutting and weeding I realized that I have made a mistake and it was doing the weeding process after applying the transfer tape on it but the correct and much easier way is to do the weeding before applying the transfer tape so next time I will make sure to follow the right order.
Different technique
I was not very satisfied with the result so I tried a different technique to cut the sticker so I tried a to print and cut this Viking picture and because I wanted to keep all the details I did this :
- Import the image and blur it
- Take the outline vector of the blur image
- Break apart so I can fill it
- Use the smart fill to highlight the outline with the Roland cut color:
- Now import the picture again to take the vector out of it:
- Fit the vector with the outline:
- And now it's ready to be cut:
the results:
Group assignment:
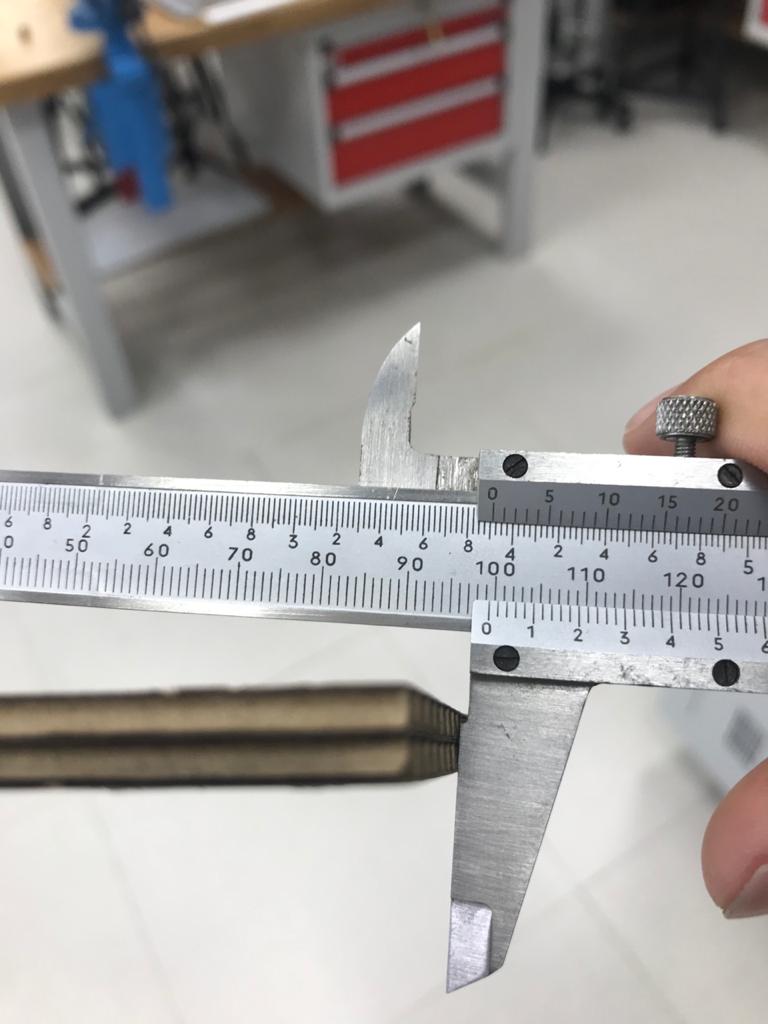
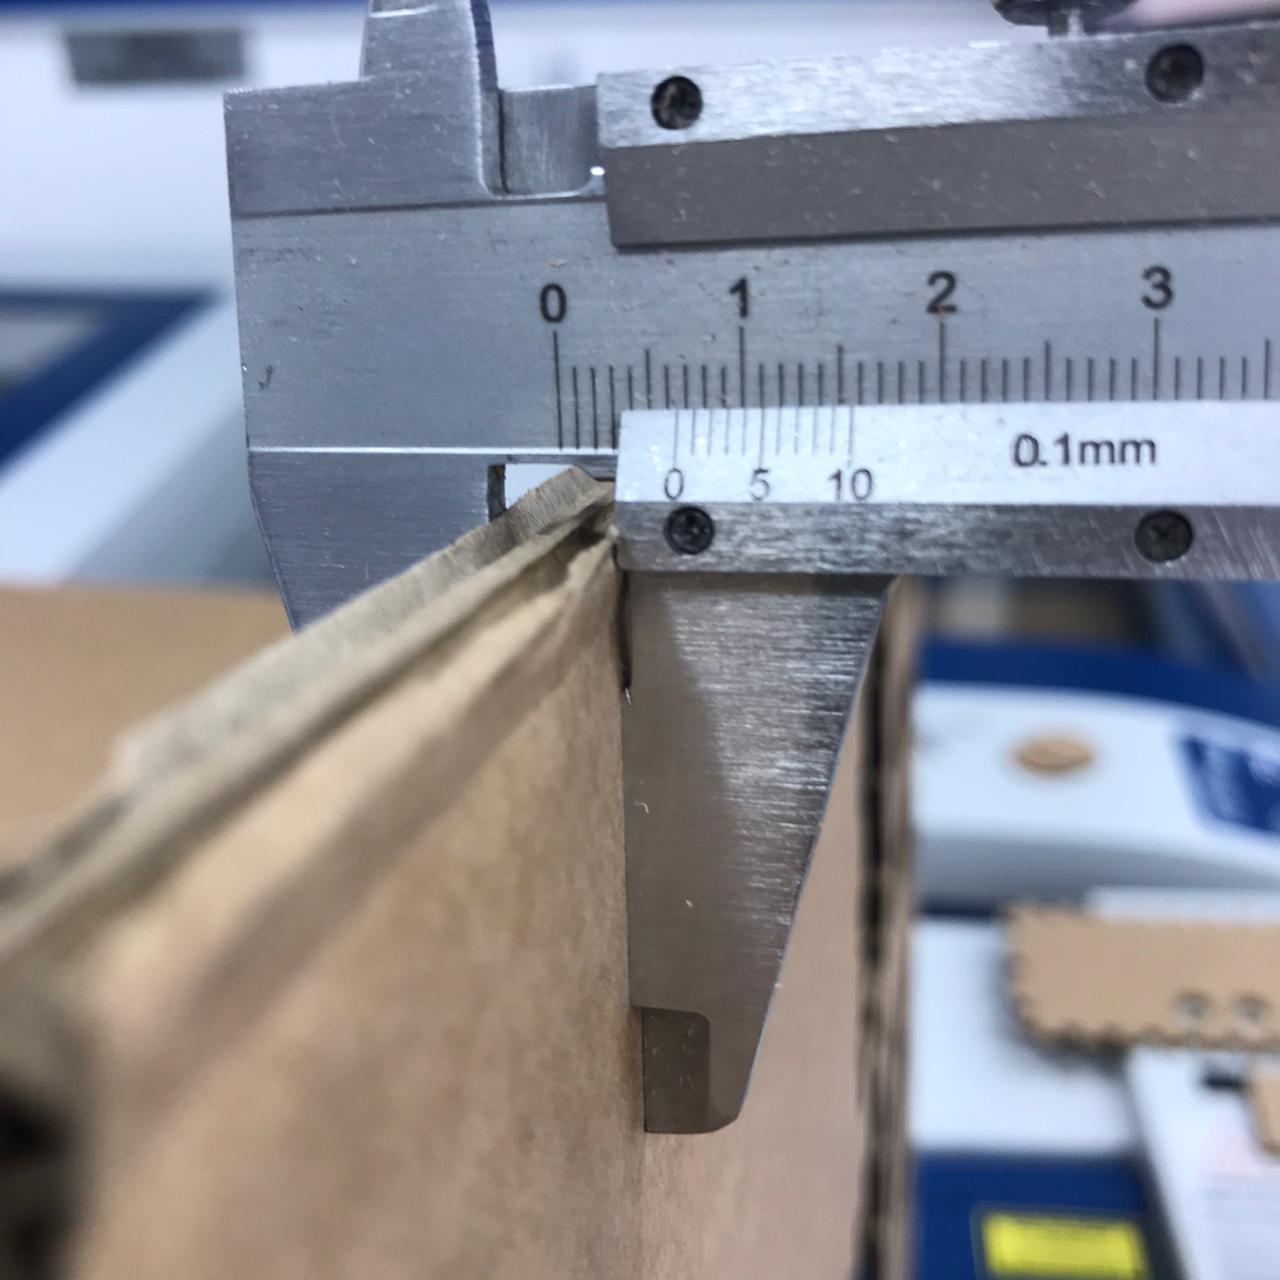
So, the first test that we did a simple dimension test by making a 10 cm square then we measured the actual size to get the kerf number. we also did a fit test, but we forgot to document it
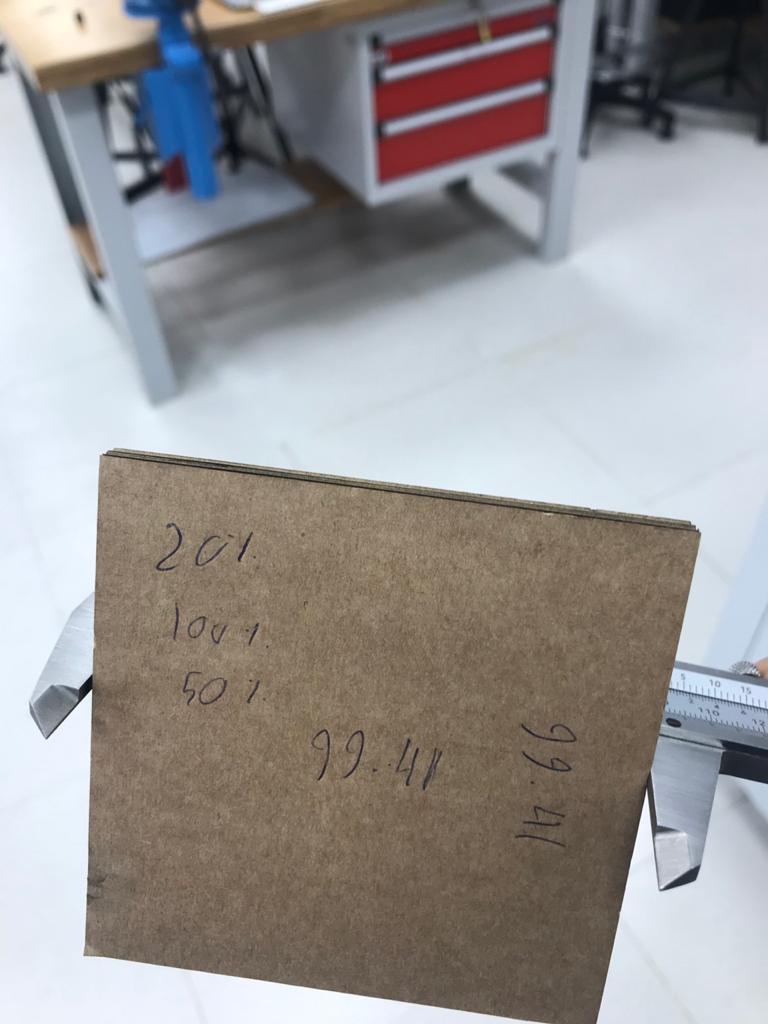
| Speed | Power | Frequency | Actual Size | |
| sample 1 | 20% | 100% | 50% | 9.941cm |
| sample 2 | 15% | 100% | 100 | 9.964 cm |
So based on these values we calculate the kerf to be 0.18mm which is a high kerf that means we probably needed less power or less speed to cut with these settings.
Laser cutter:
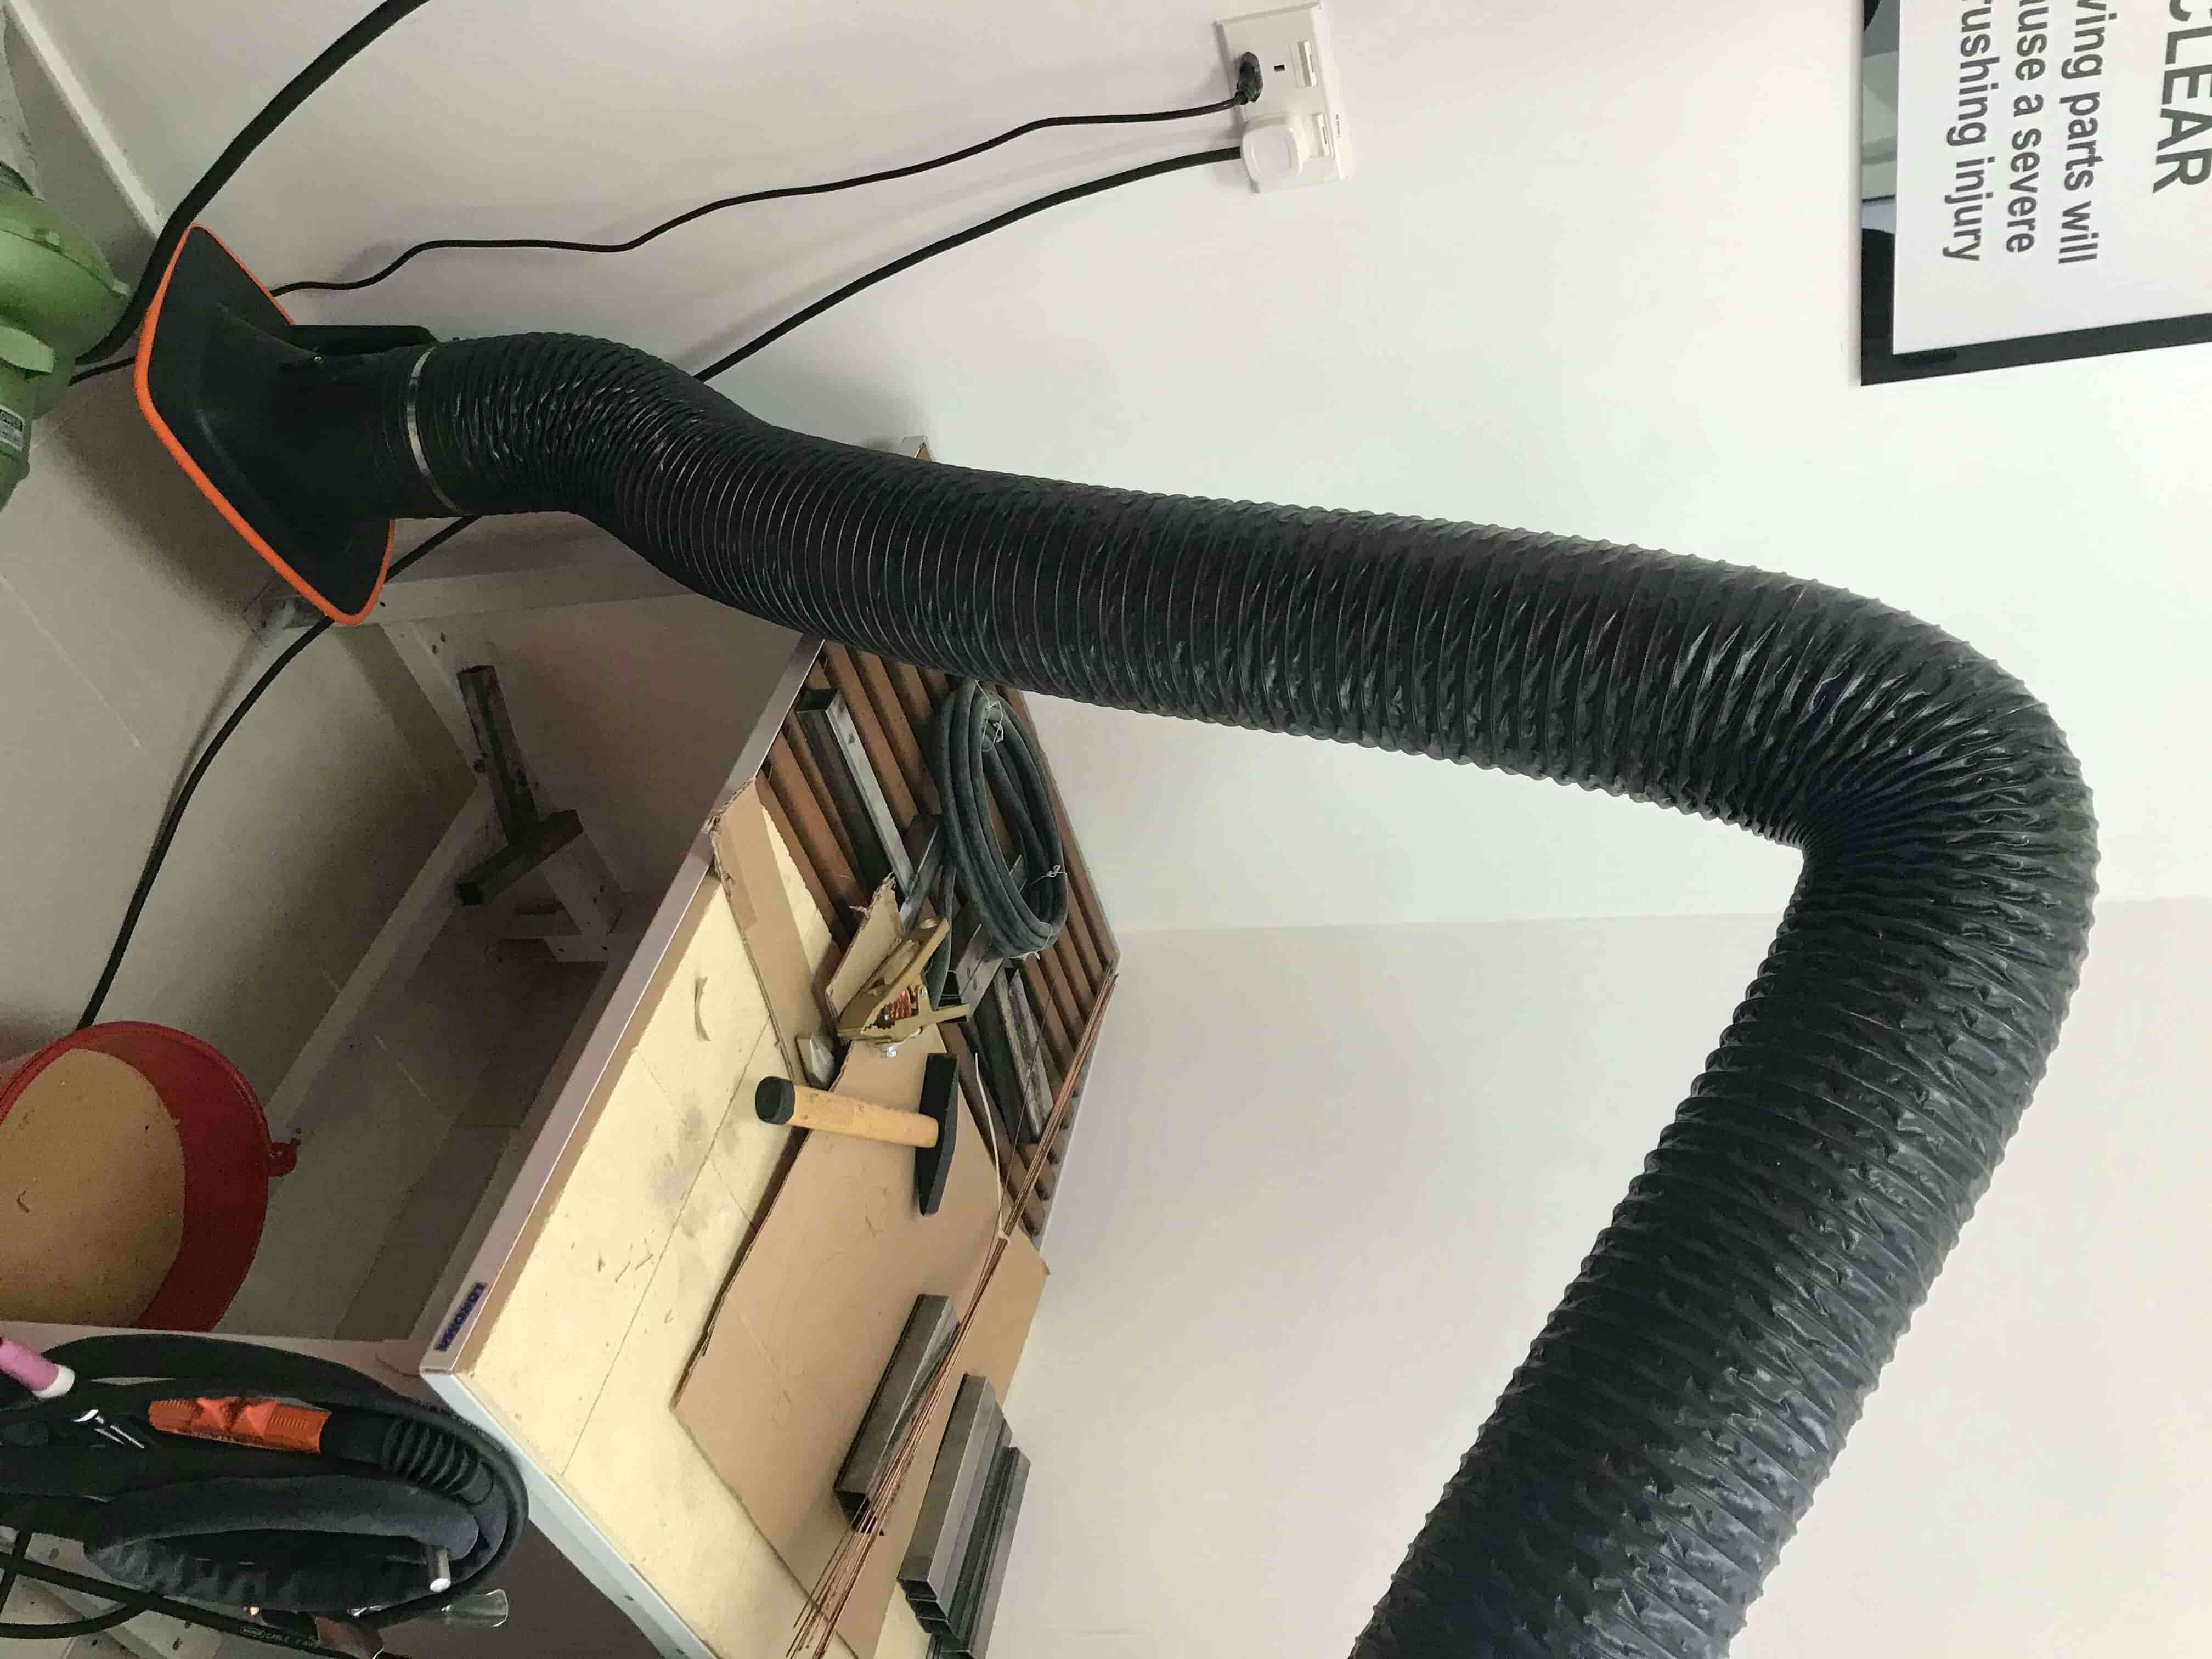
Safety rules:
1. Always have at least people in the room before using the laser machine.
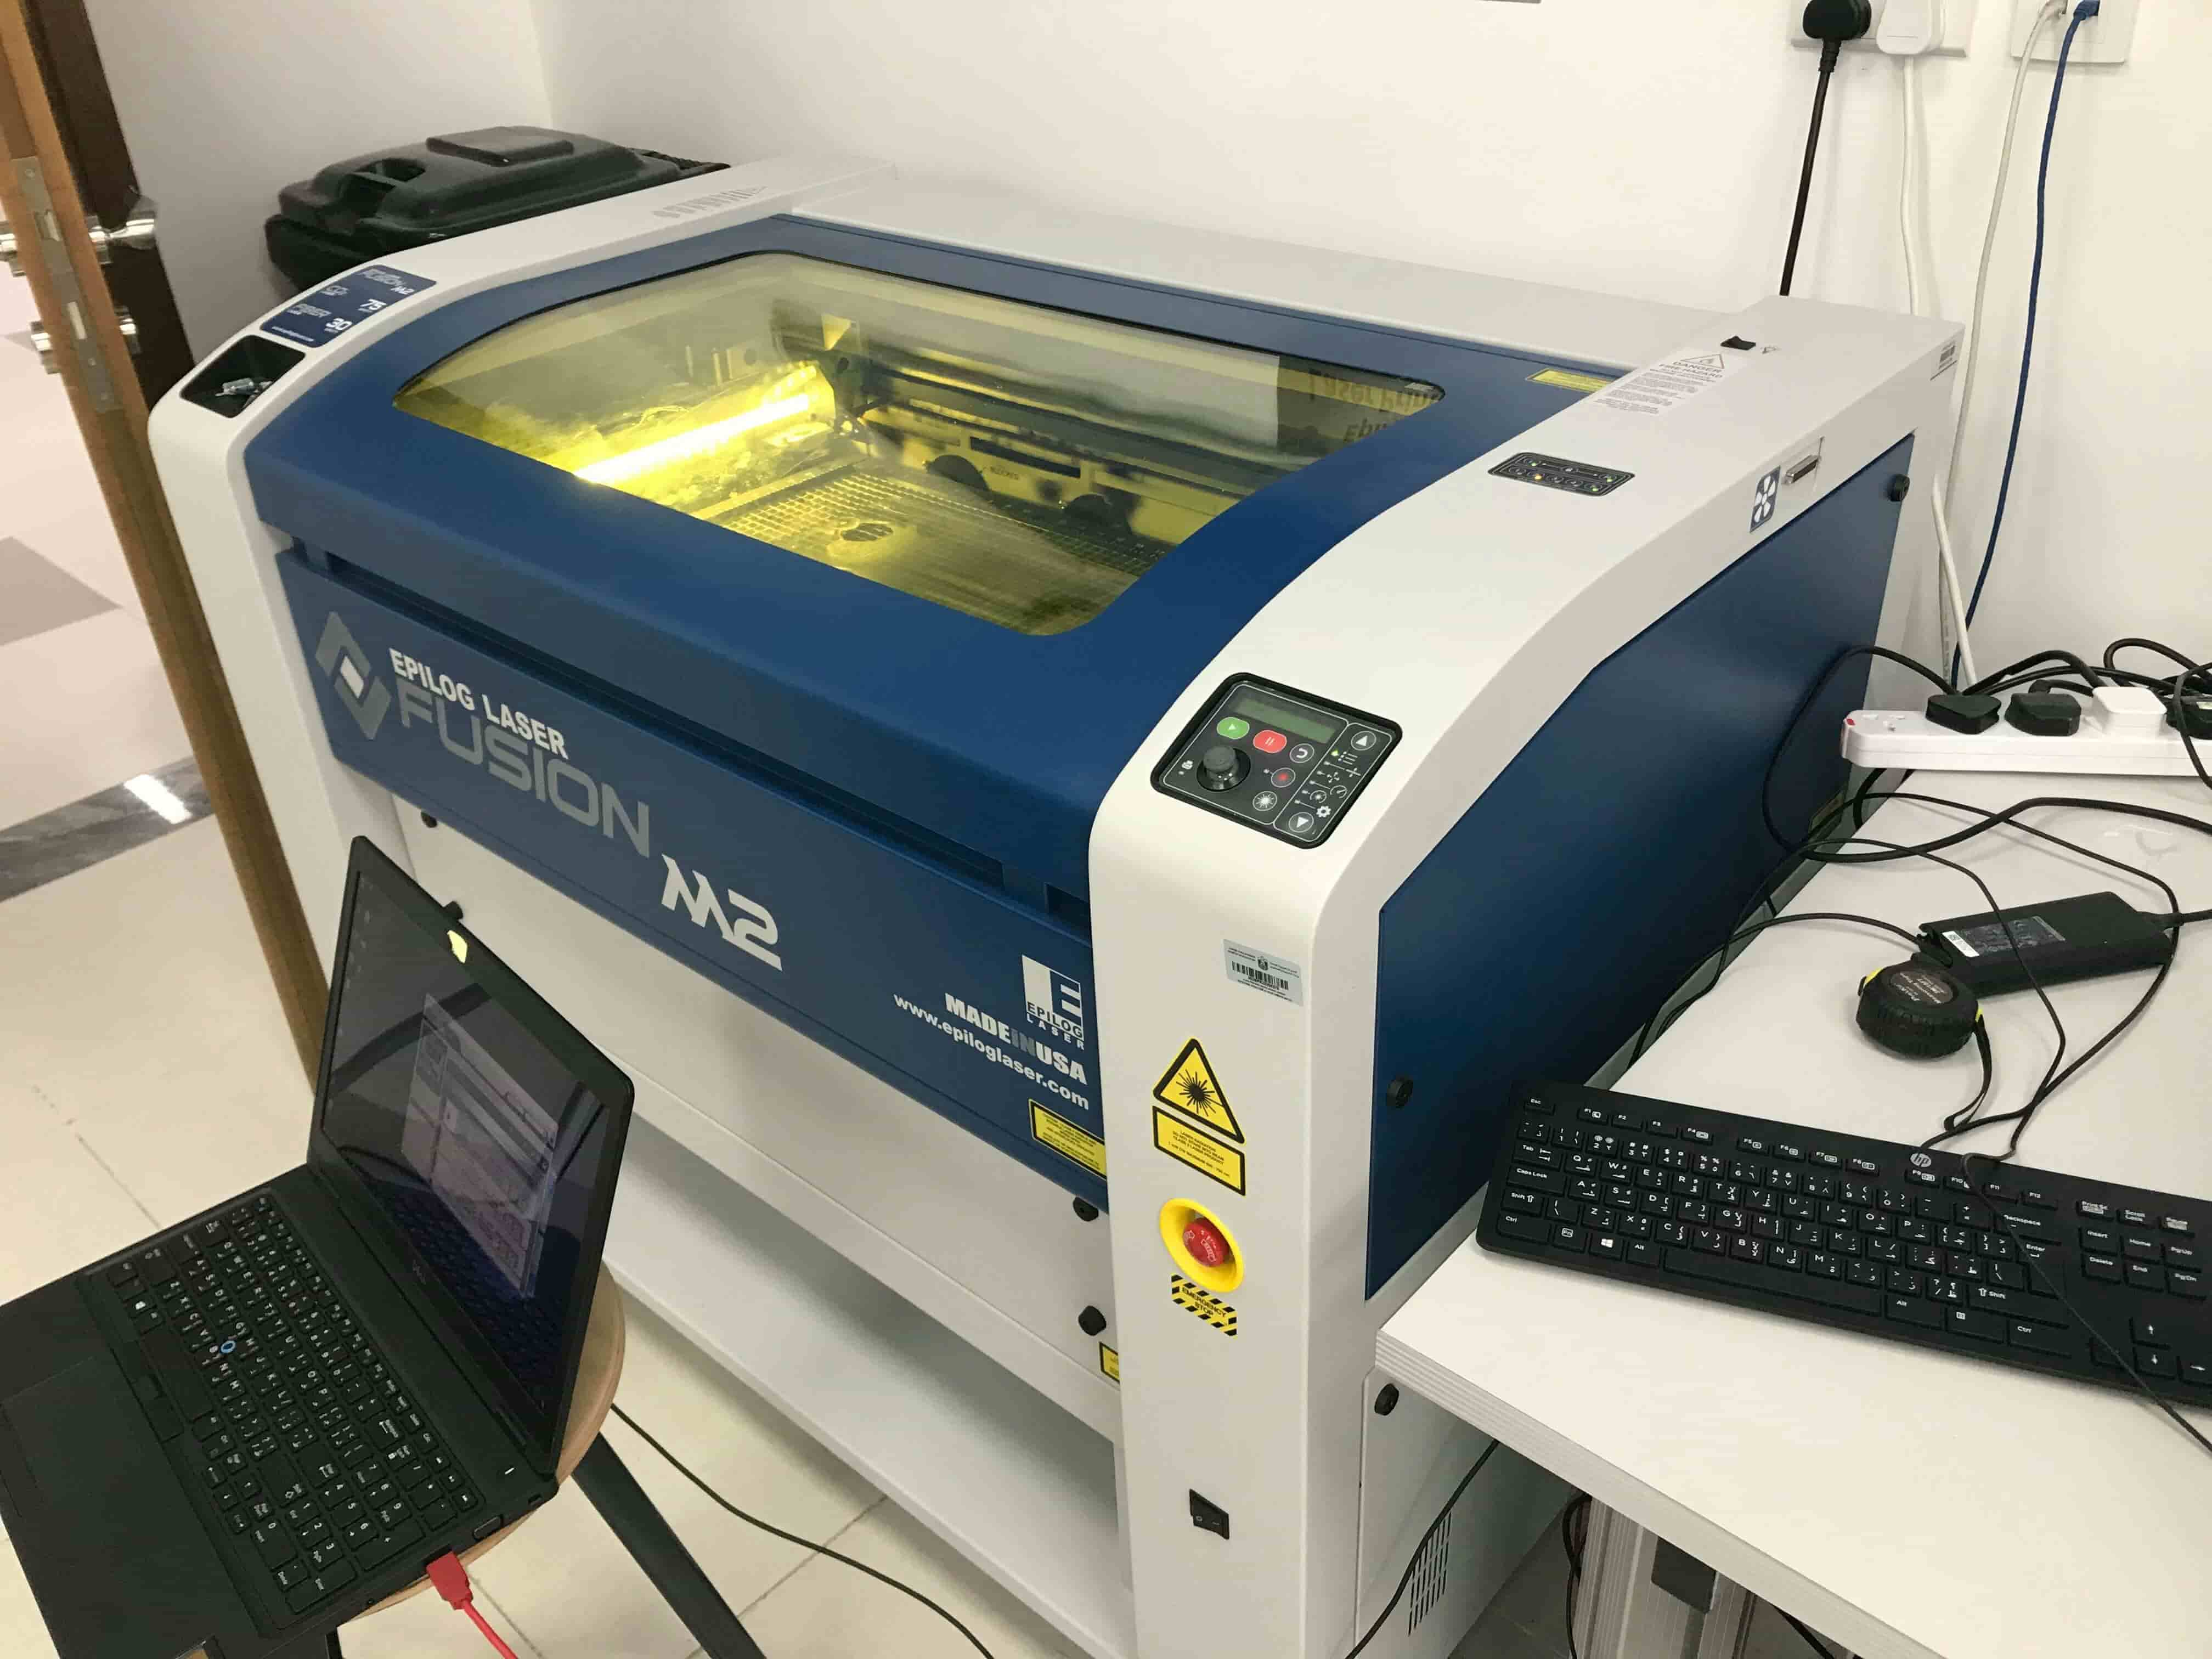
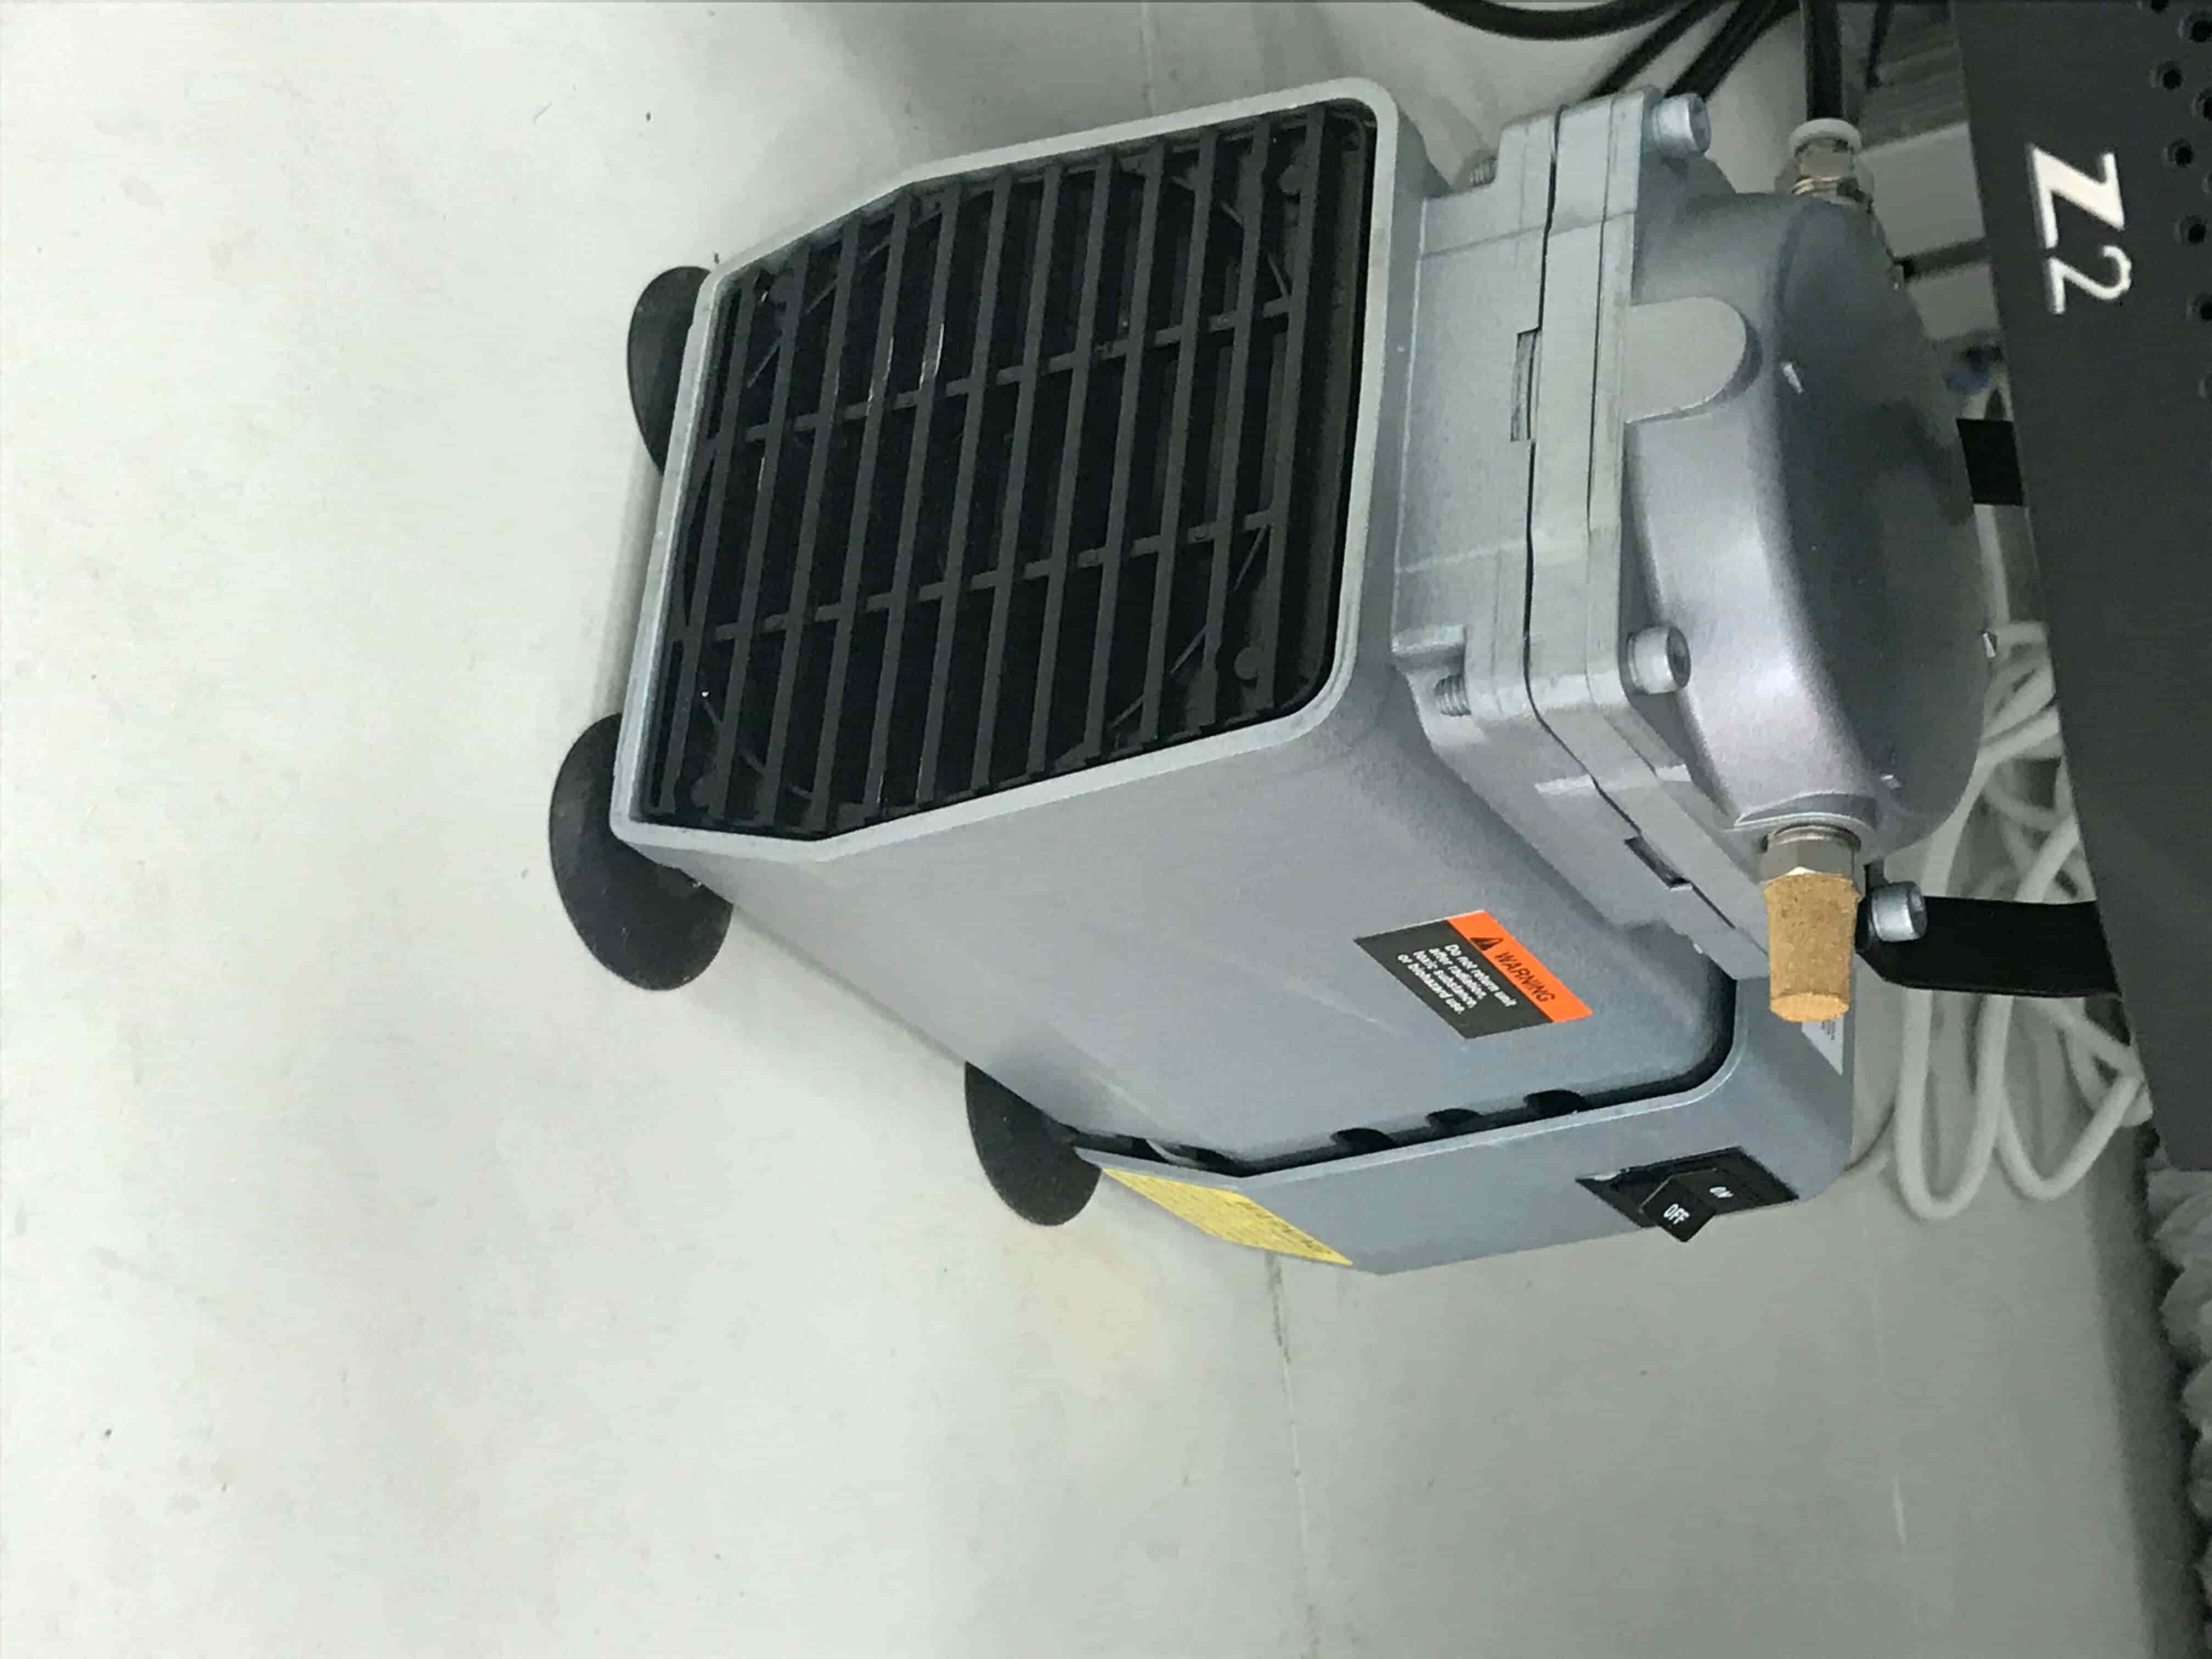
Testing the machine:
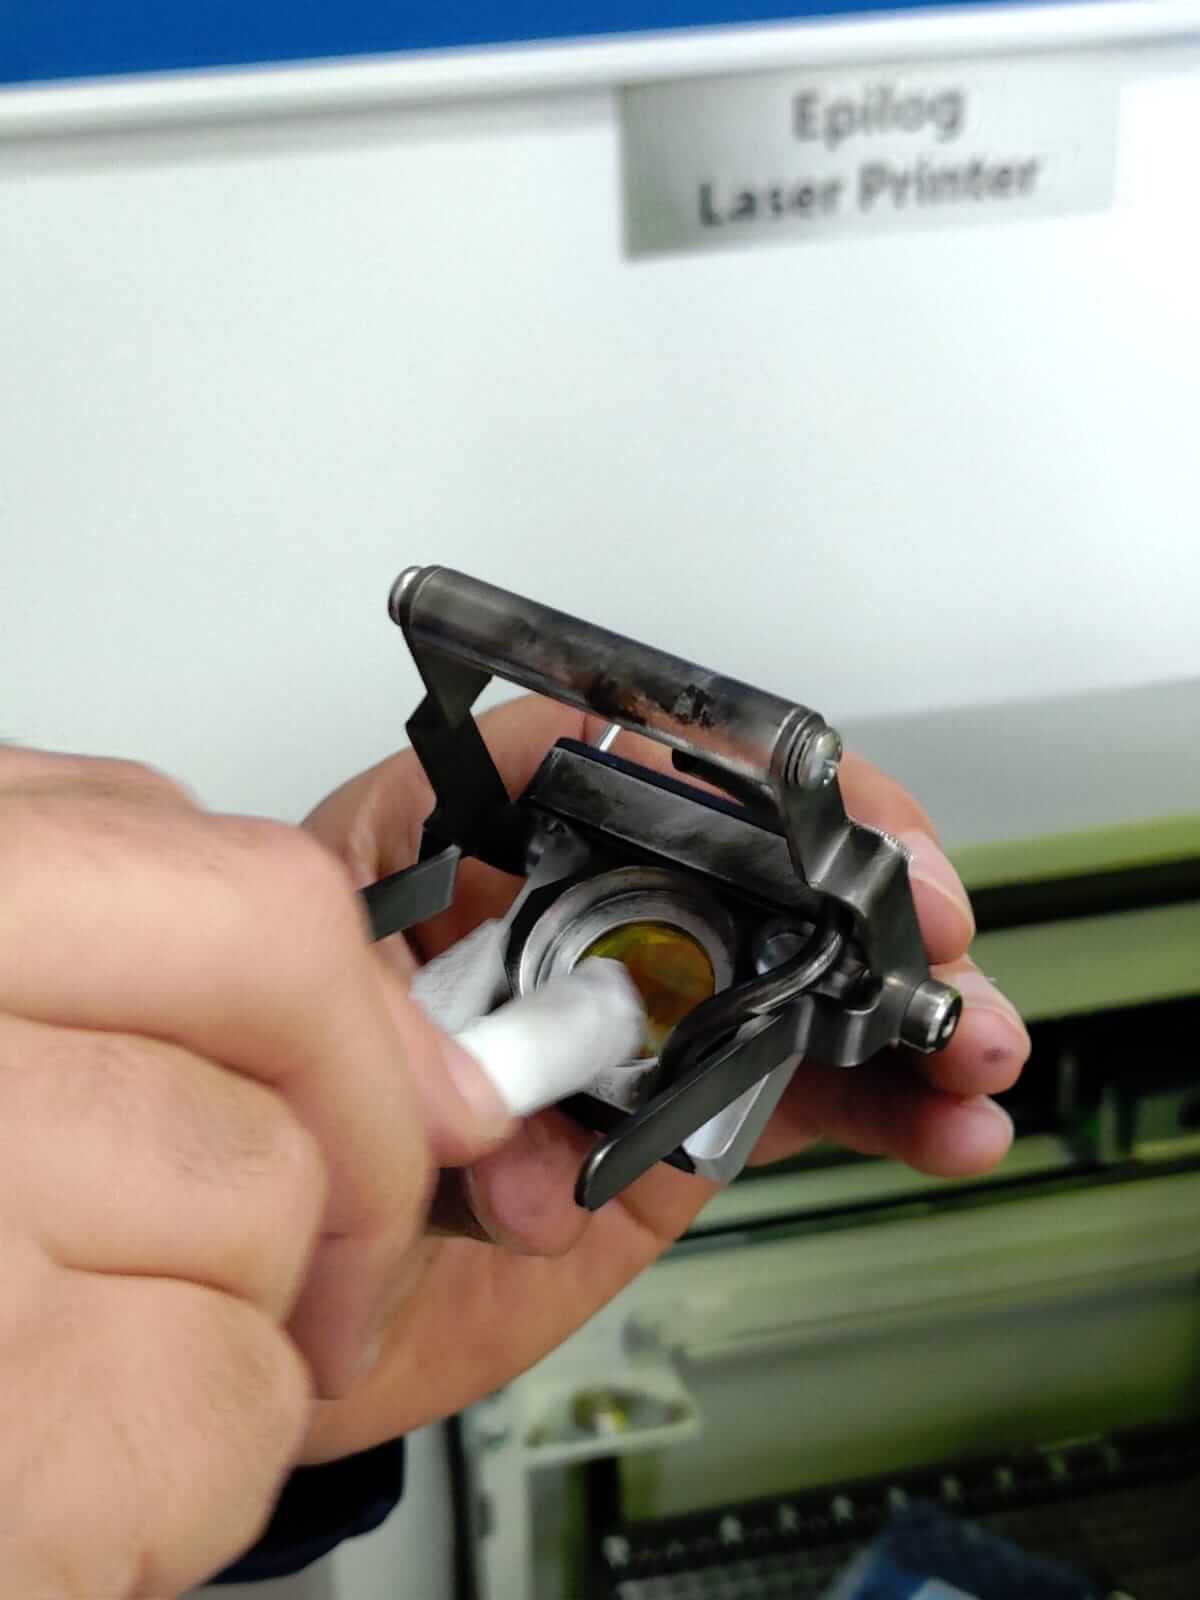
before using the laser machine, I had the honor to clean the laser optics and it was an interesting experience. and it is always good to clean the lenses so the accuracy will be better

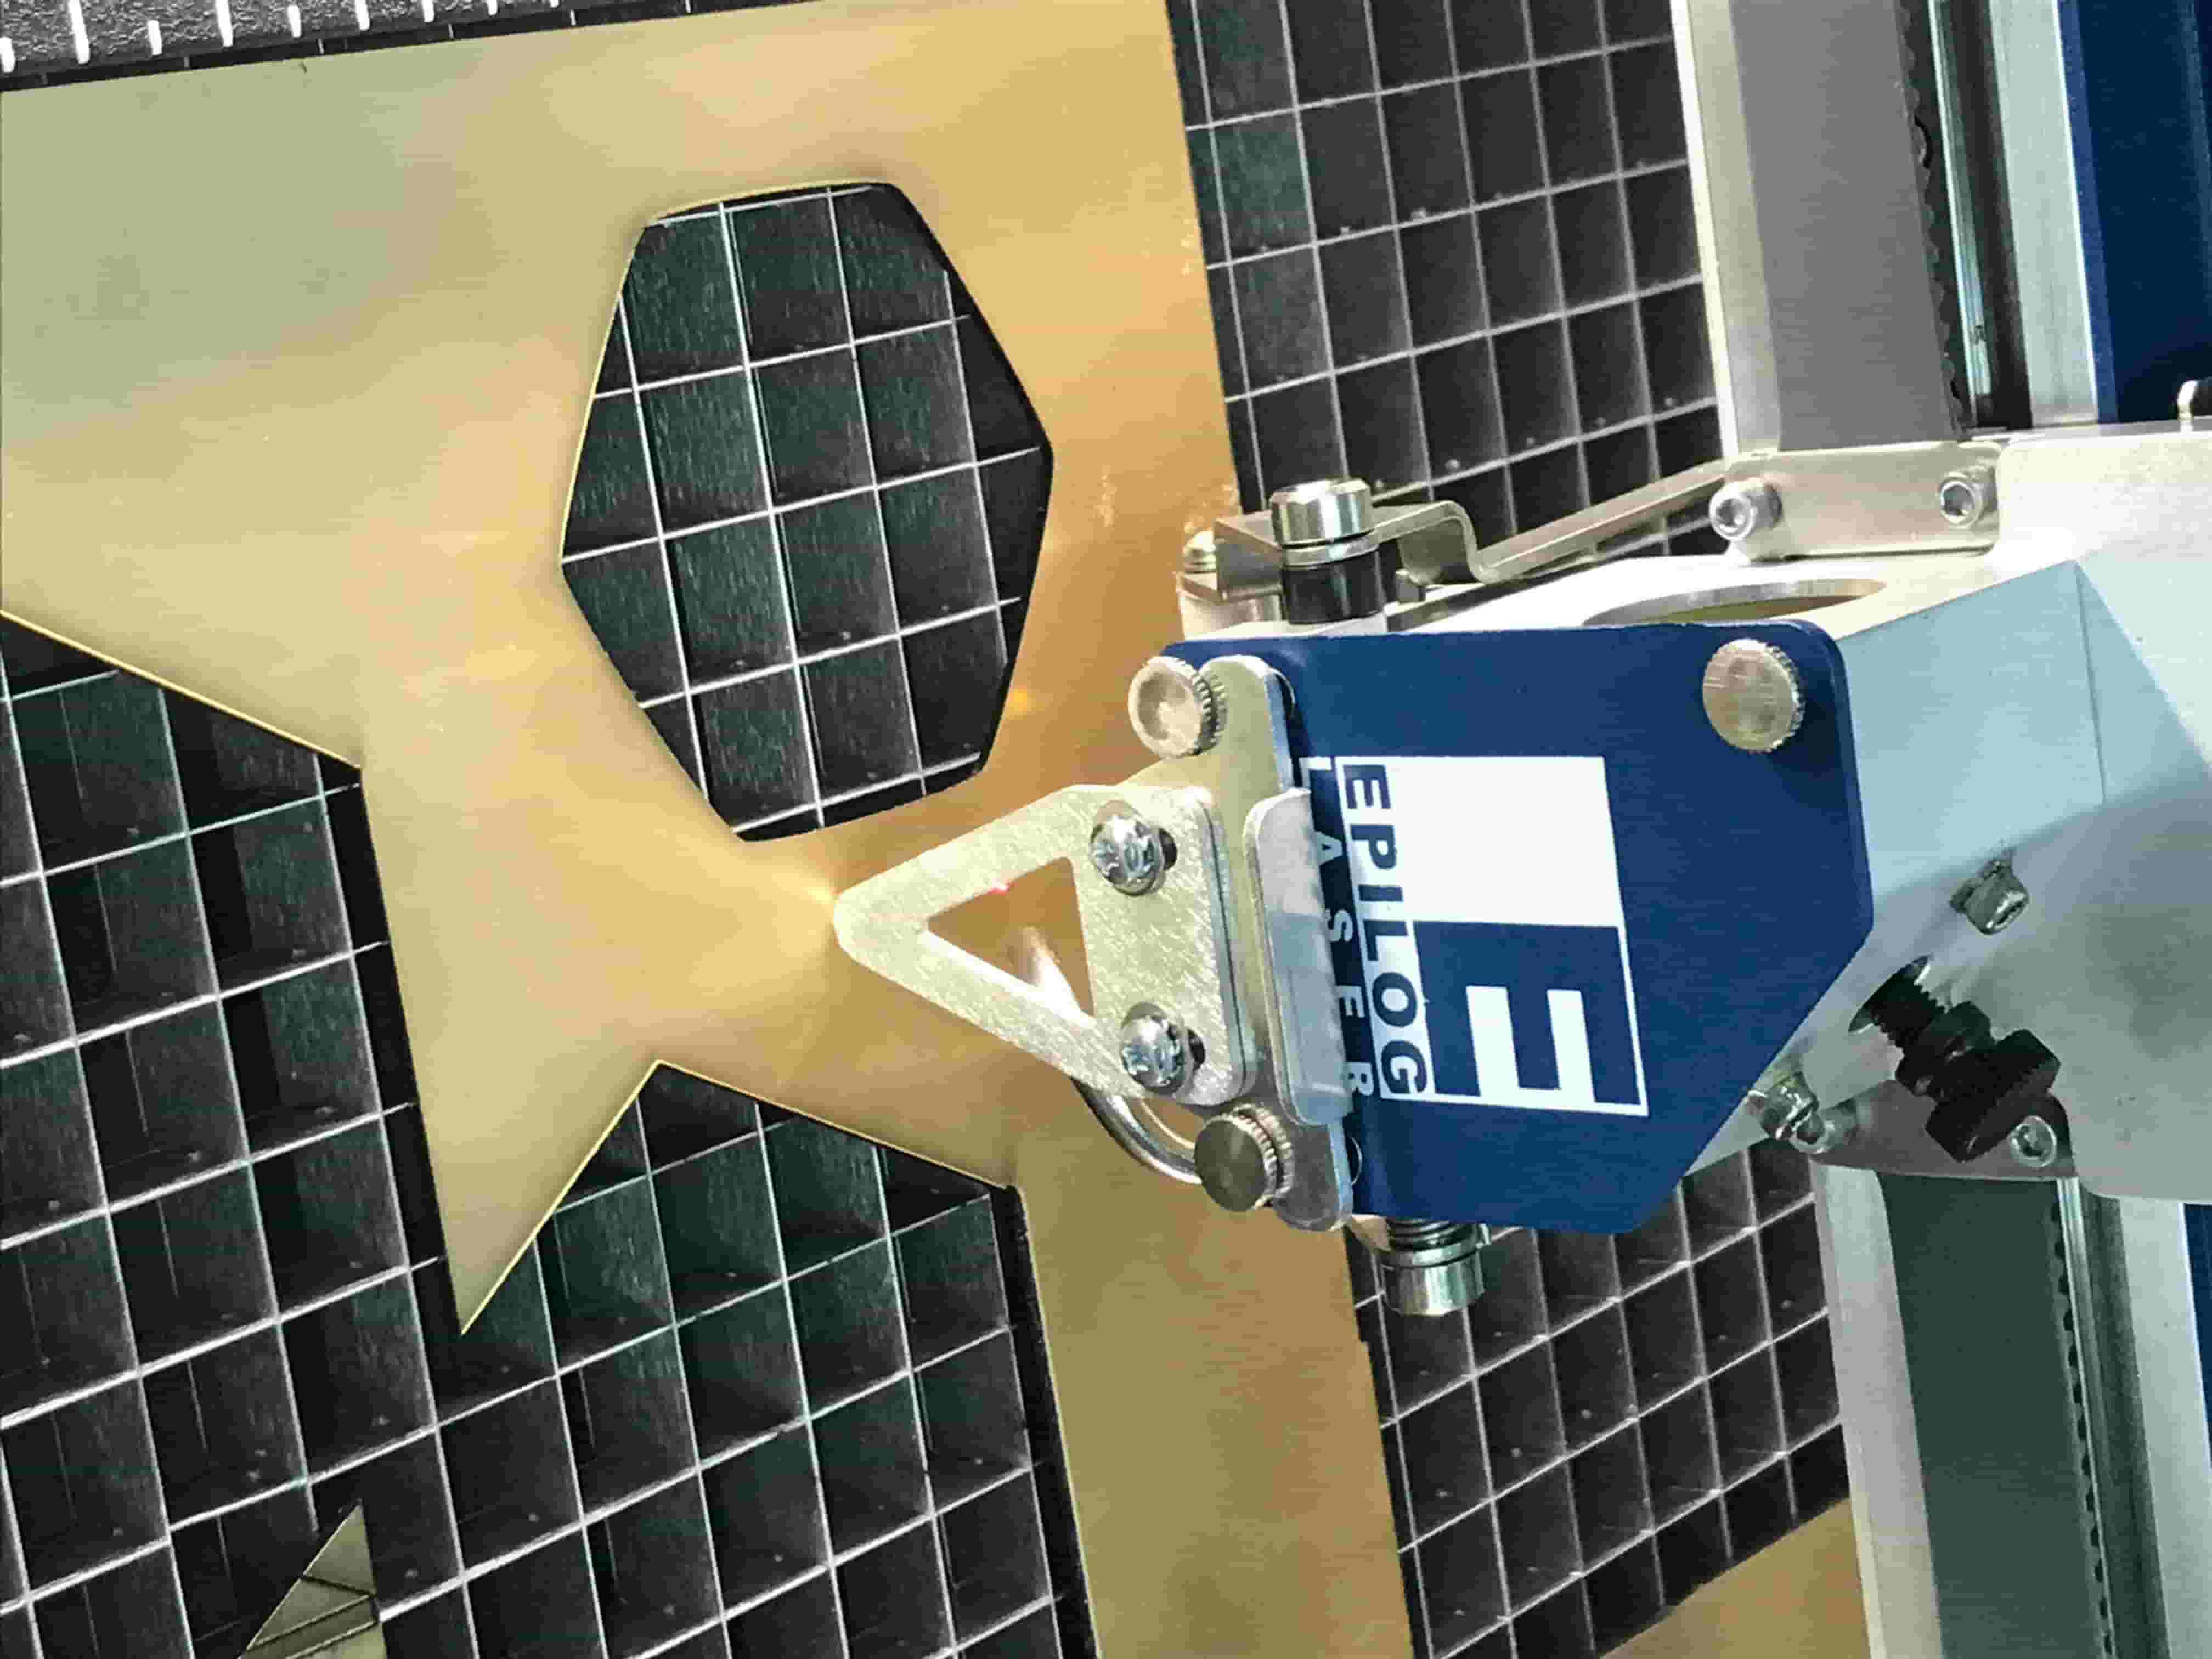
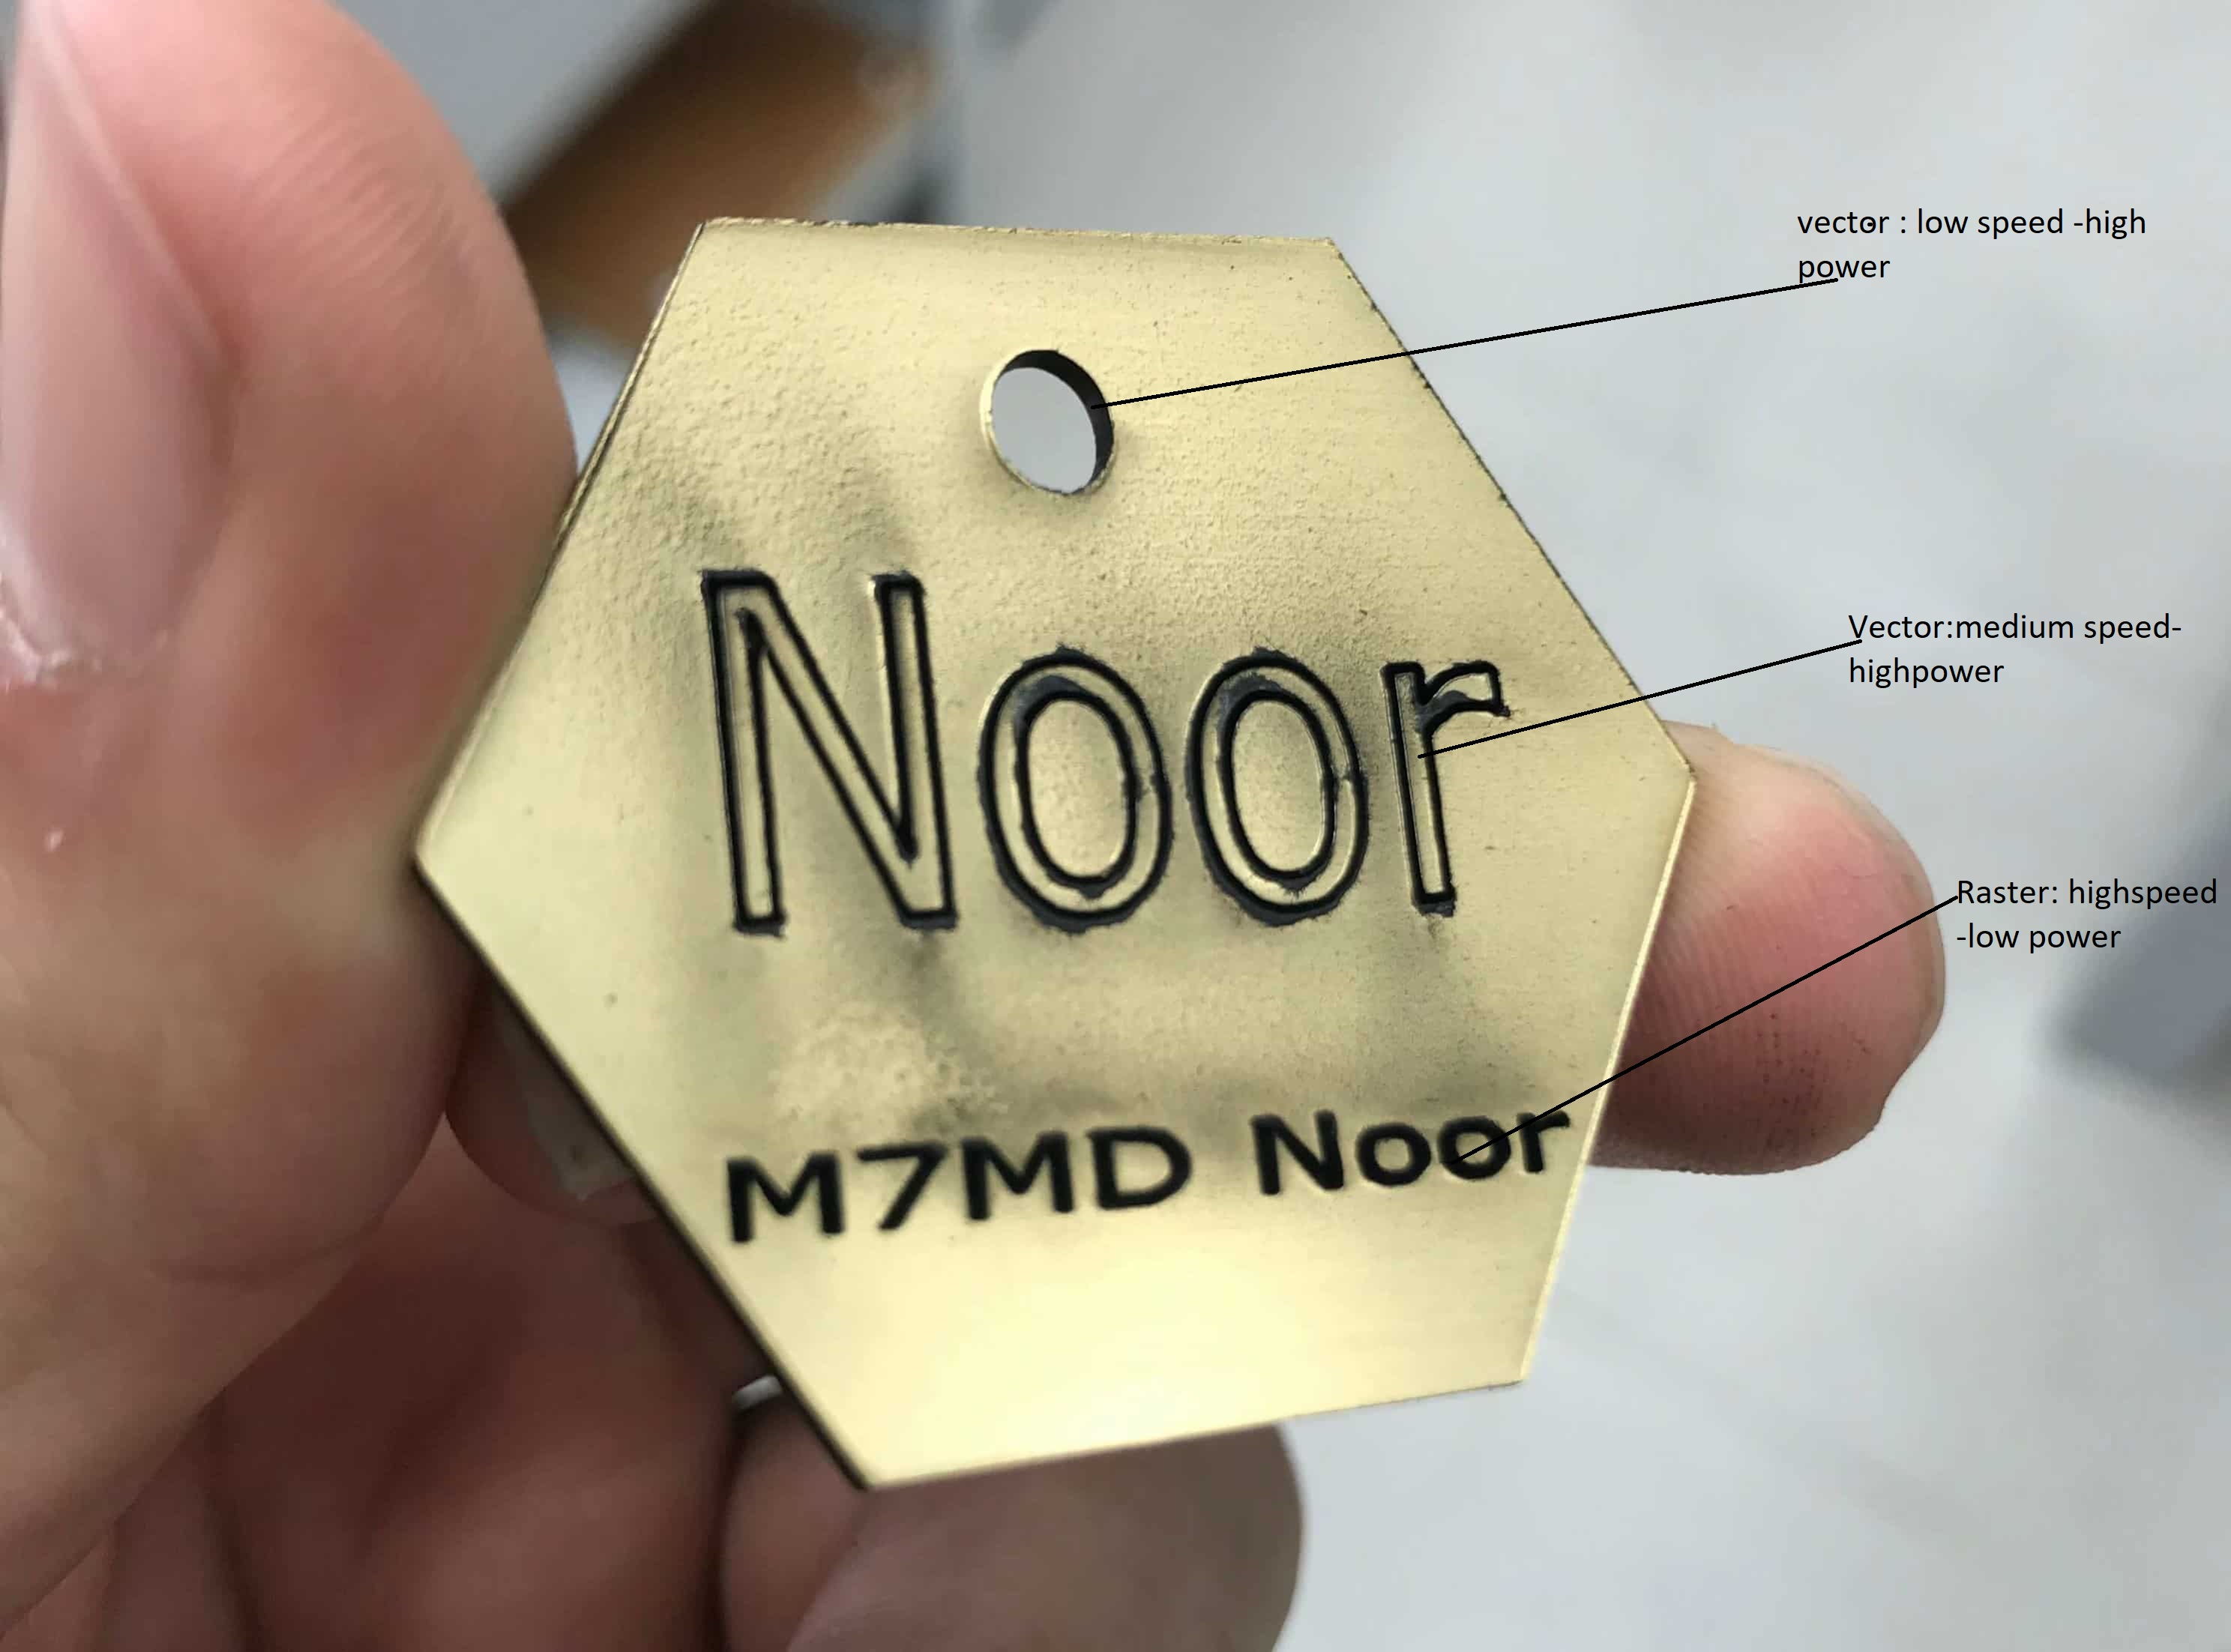
So, I wanted to test the machine with some simple drawing that combines raster and vector so I made this medal for myself and tested it if I can cut it:
Processes involved in using the laser cutter:
To use any laser cutter you need to do the following steps :
- Make sure everything is turned on and all the safety steps has been done:
- Calibrate the laser focus (depends on the material thickness).
- Choose the material and measure its thickness because it is mandatory to measure your Kerf
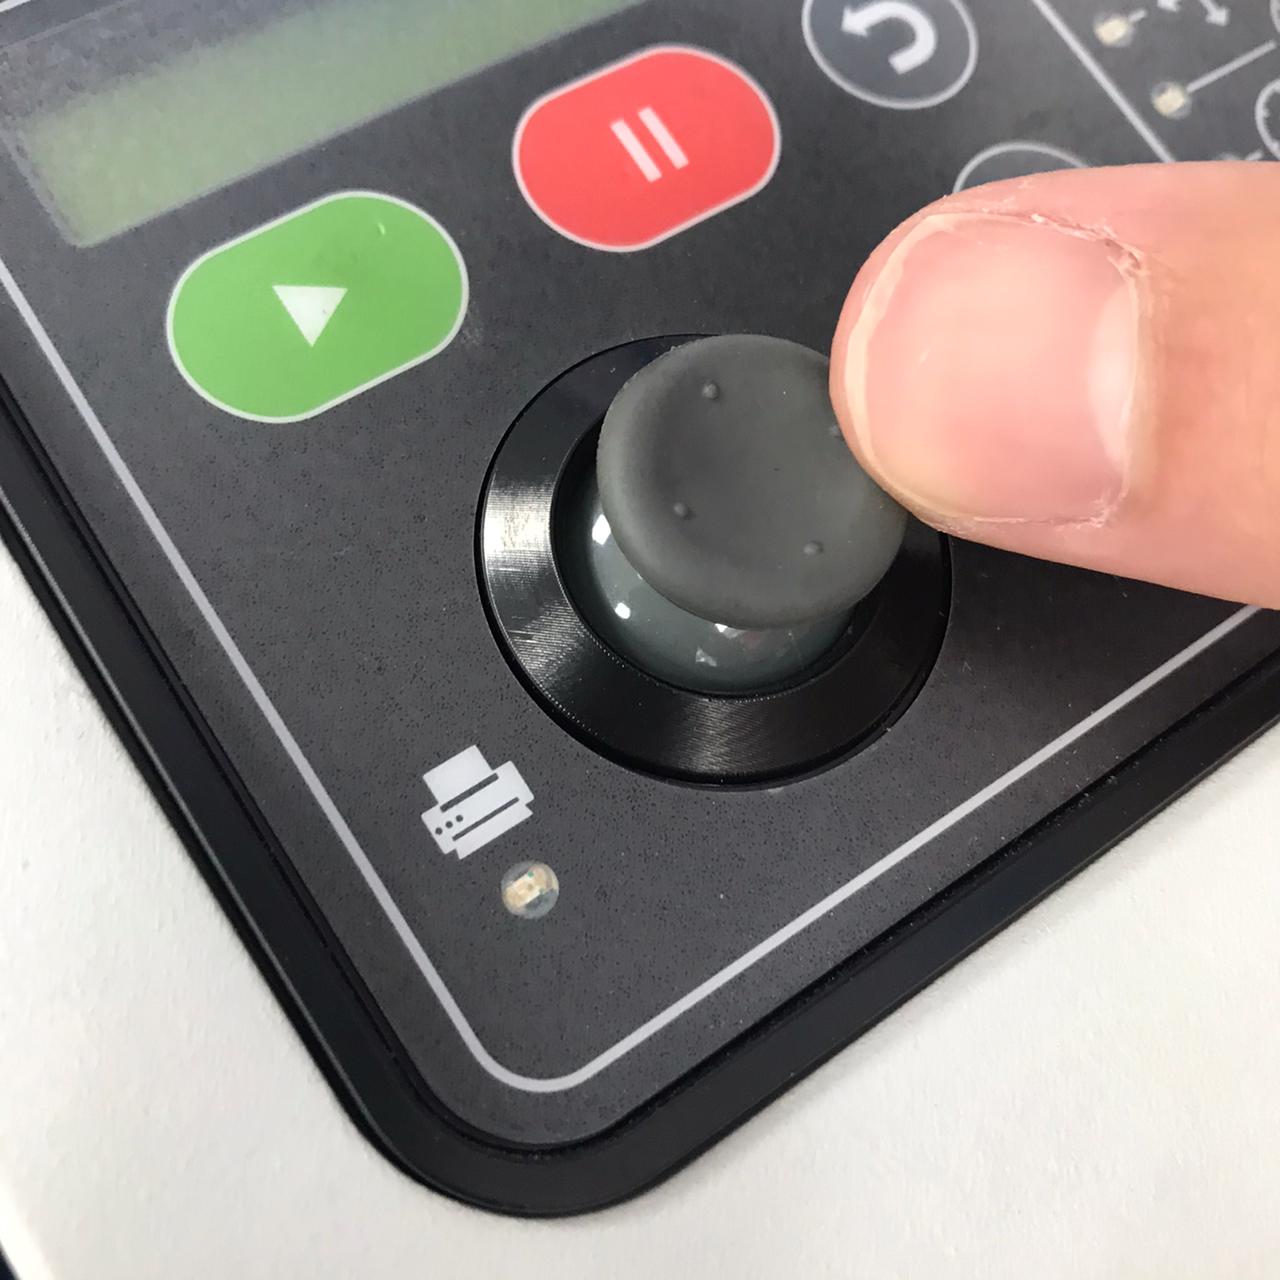
- Put your material nice and flat and then set the origin start with the joystick controller.
- Measure the kerf and acount for it in your design.
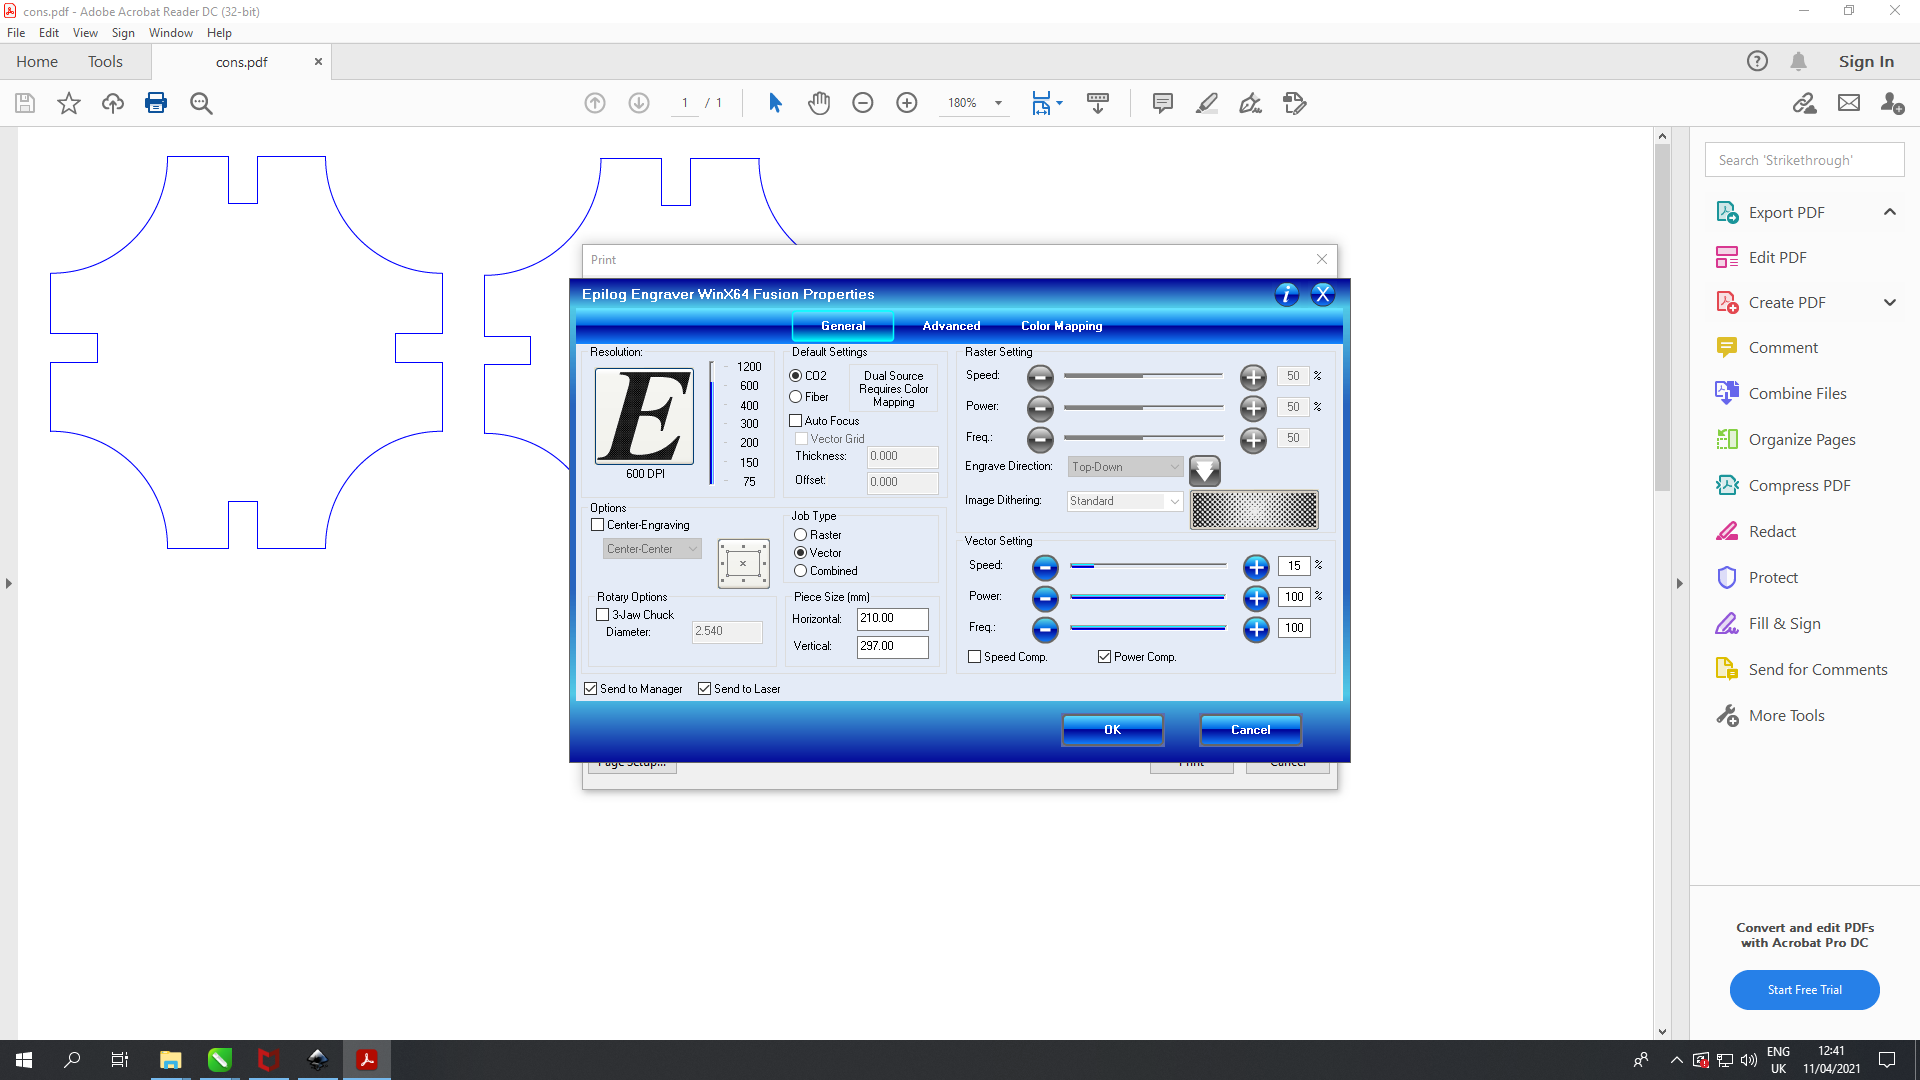
- Now to print your design:
- Take your design and export to a software like Inkscape or CorelDraw
- If you choose to print with color mapping, make sure to assign each color to the settings you want
- For me I print using the raster/vector option which means hairline for vector and normal lines for raster.
- export your file as pdf then print
- Finally you will see that your laser cutter has read your file then just simply press the cut bottun to start cutting
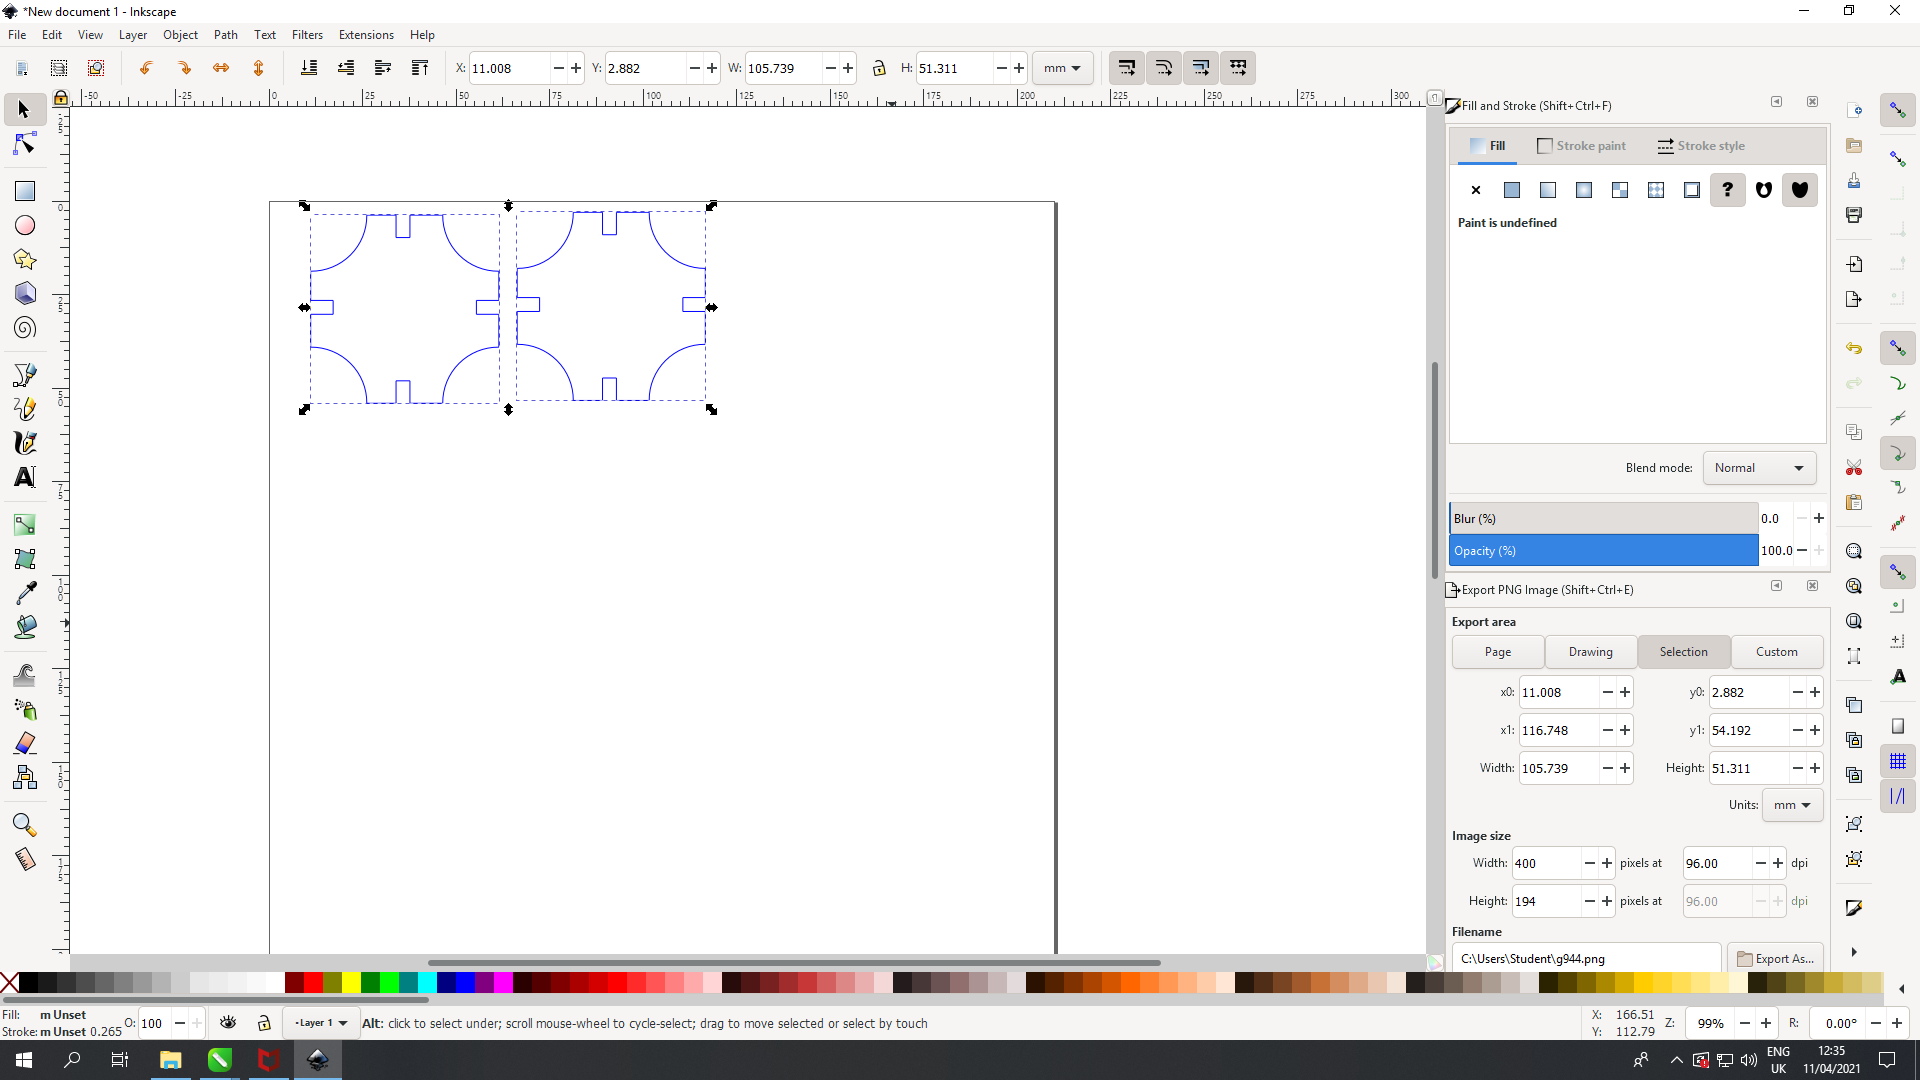


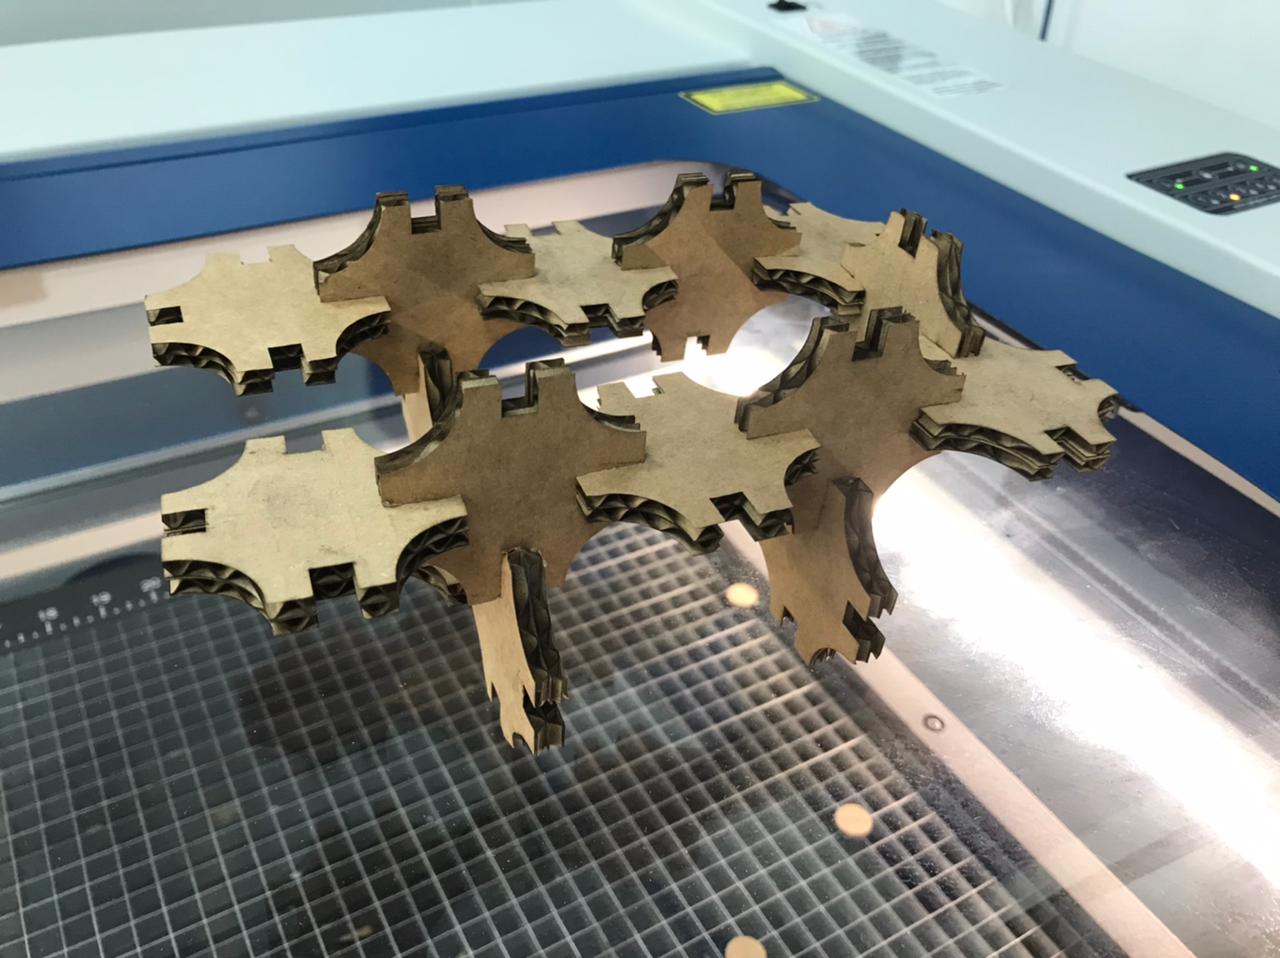
Construction kit:
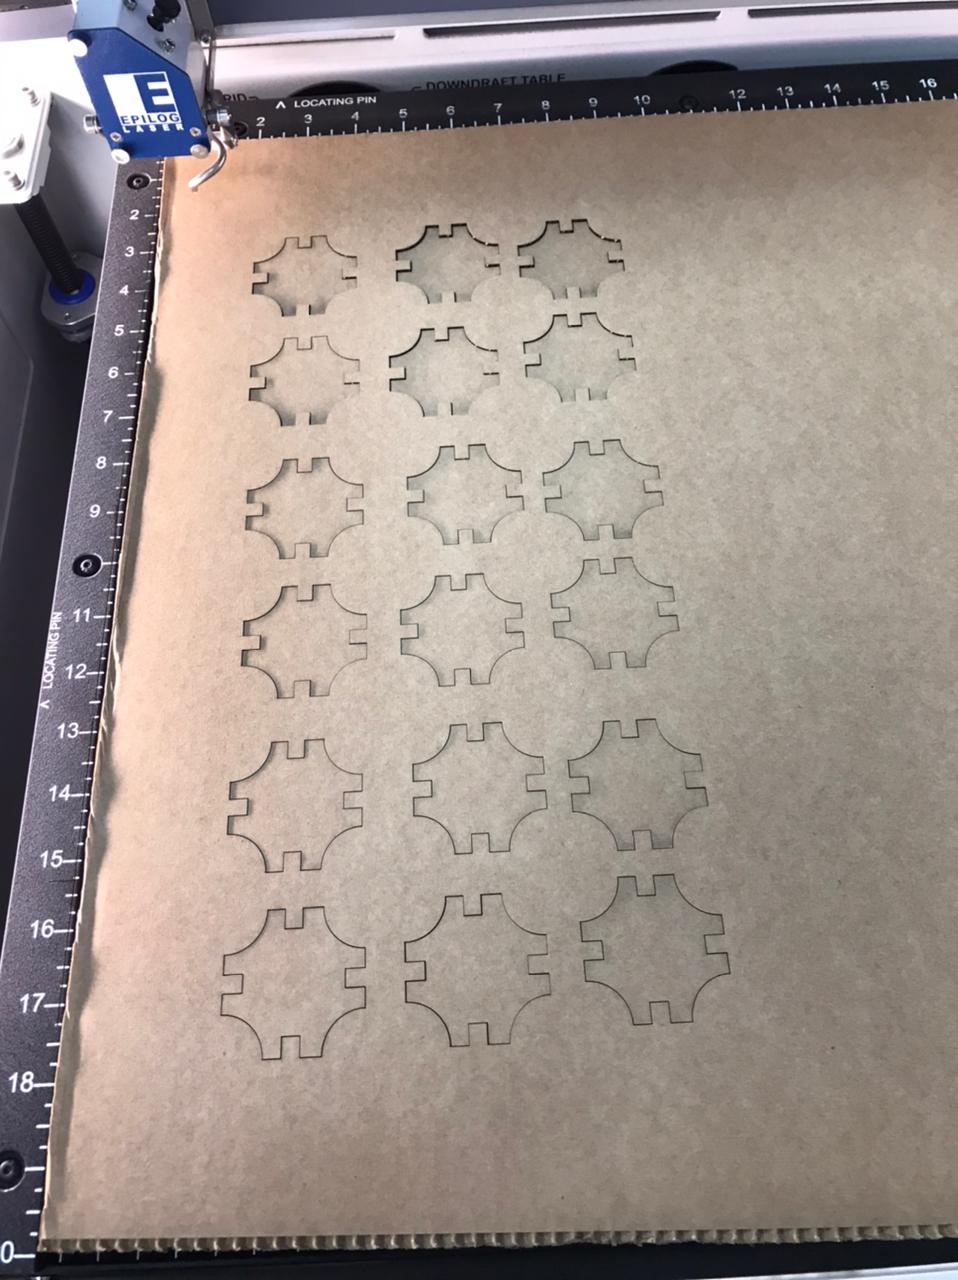
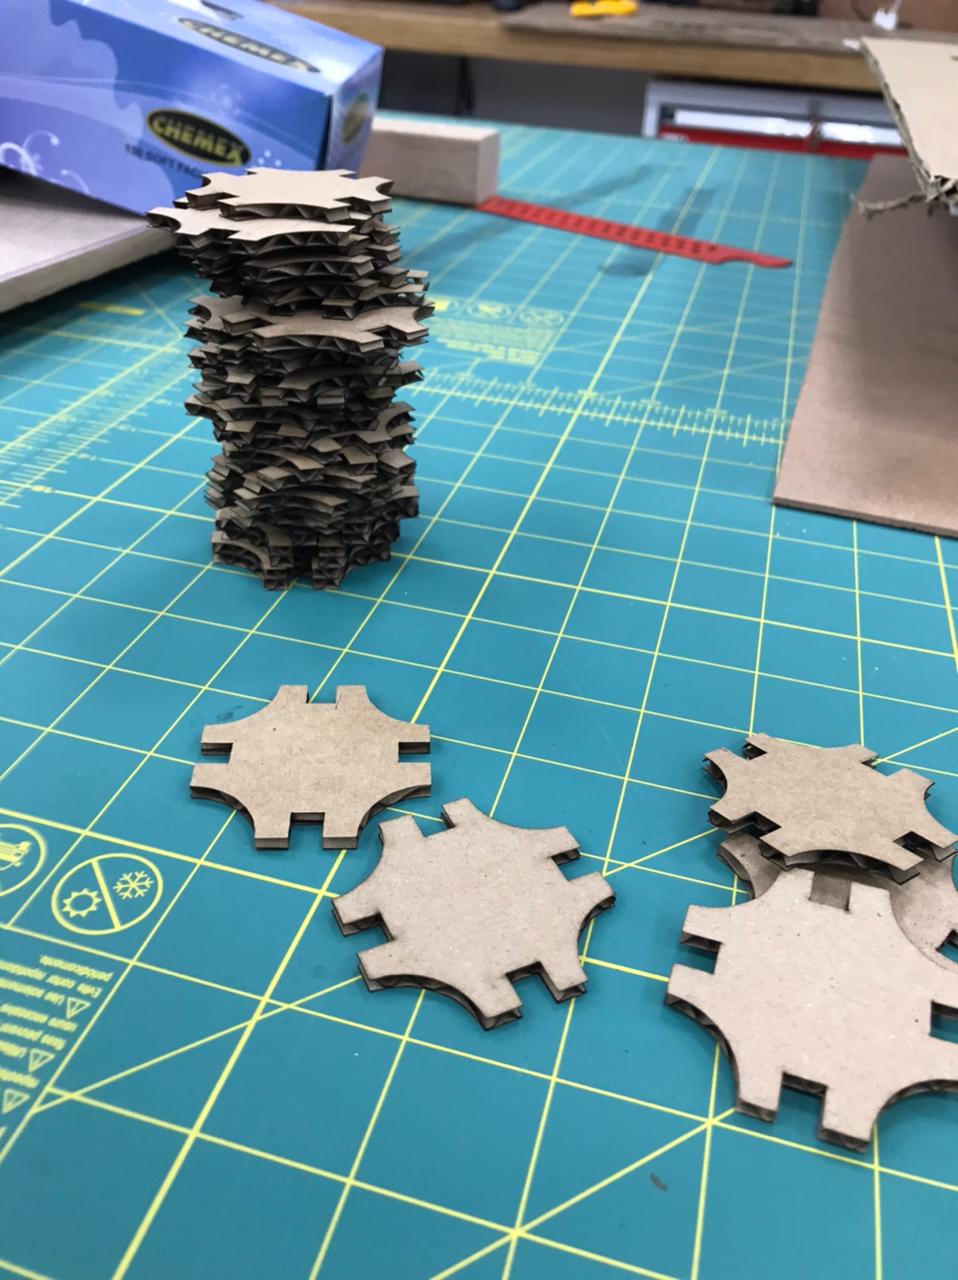
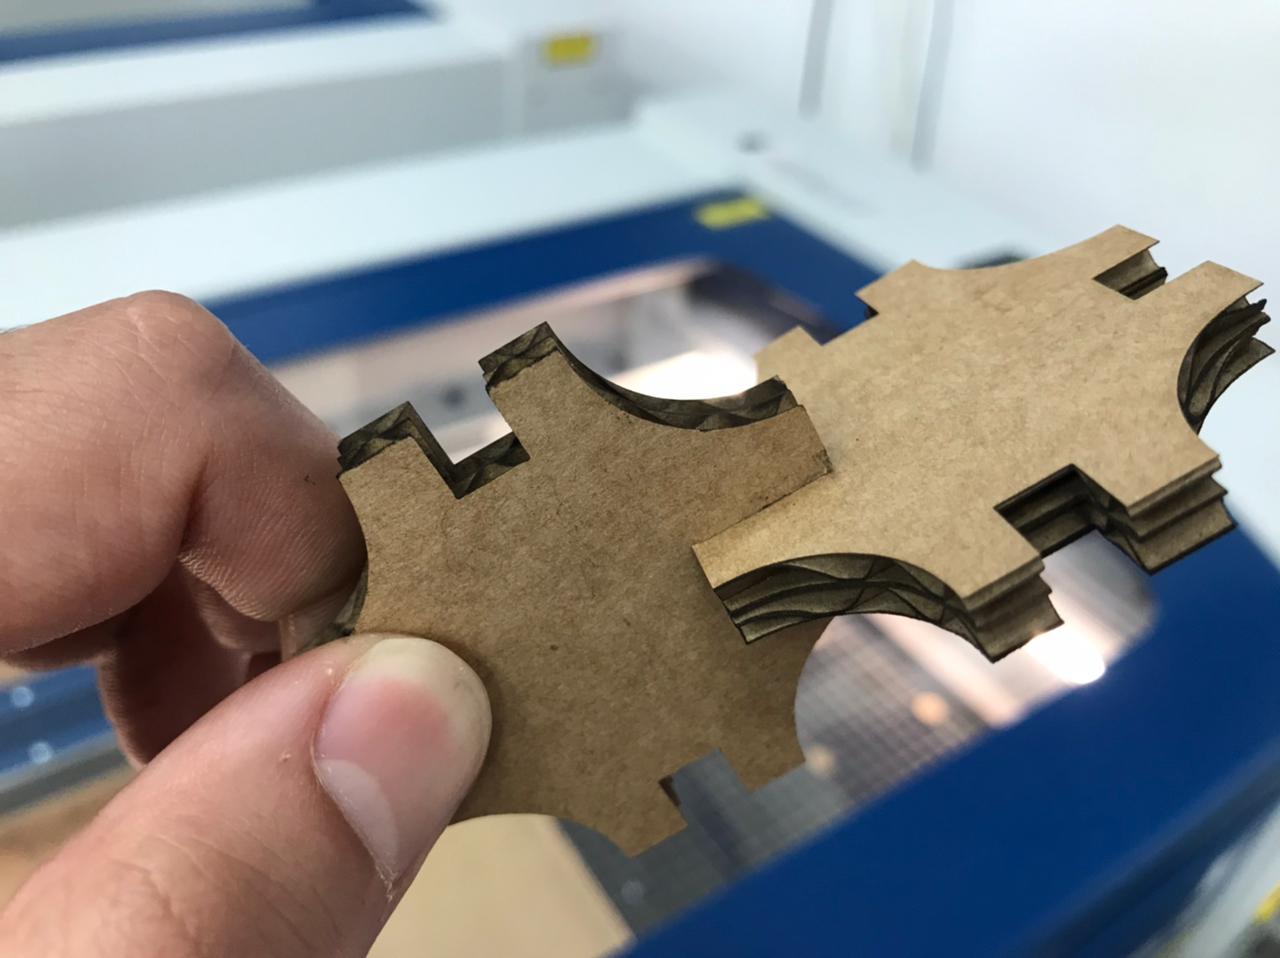
I didn't have a lot of time to think of a good design due to Covid restriction so I just created some rectangles and circle and simply just put them together. Also the quality of the material I used was terrible so my kit did not look that good lol :

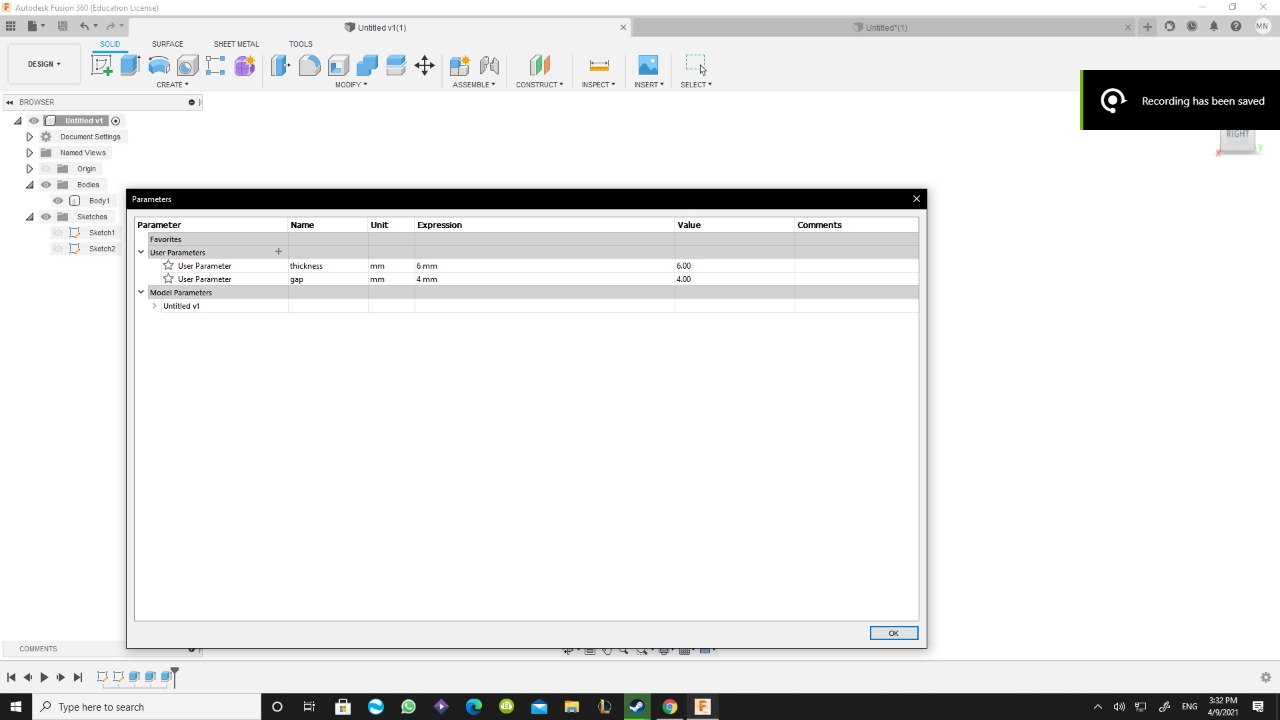
so the way parametric design works that it sets up the structural geometry of a project through parametric modeling techniques like for example setting the thickness value so then later it can be changed to match your material thickness once you measure. in this assignment I assigned to parameters: thickness of the matrial and the finger gaps so I can adjust the kerf later on (the the available screenshot is showing the initial values I assigned but I changed them later based on the material I used).
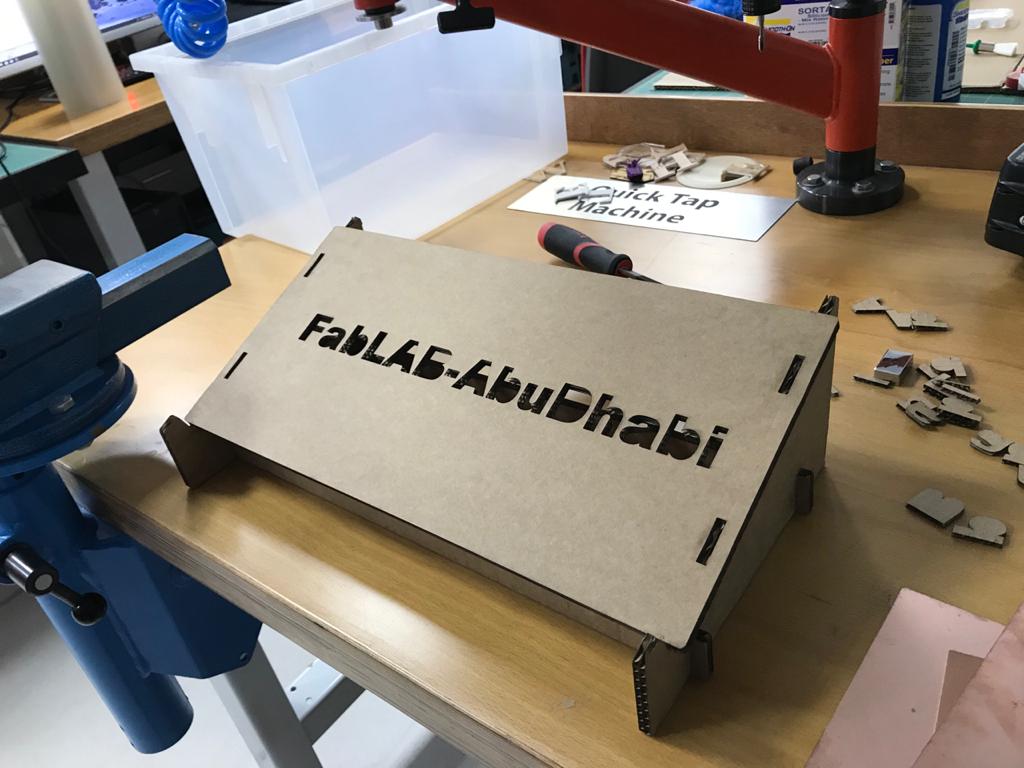
Side project :
so, I watched this amazing video that explains how to model a laptop stand using fusion360 and I decided to do the same and then laser cut it by taking the 2D sketches of the model:
Now before we start modeling, we need to make some parameters so we can change the model based on the material thickness and kerf as well as the width of the laptop : The only two parameters in this design were the thickness and the leg width these parameters will help me use this design with different kind of material as well as different kind of laptop
.png)
Here's some steps on how to model:
1. First draw the leg and copy to the other side:
.png)
.png)
2. Sketch the top view on the two legs
.png)
3. Draw some openings to the top can join the two legs then extrude as followed:
.png)
.png)
4. Make some supports so the stand doesn't get wiggly and unstable and make two of them :
.png)
5. Finally use the fill tool to make it easier for the bodies to join as follows:
.png)
.png)
6. Now to laser cut it we need to take the 2D sketches of each view then export it as DXF file
.png)
Laser cutting the laptop stand :