12. Molding & Casting
Overview
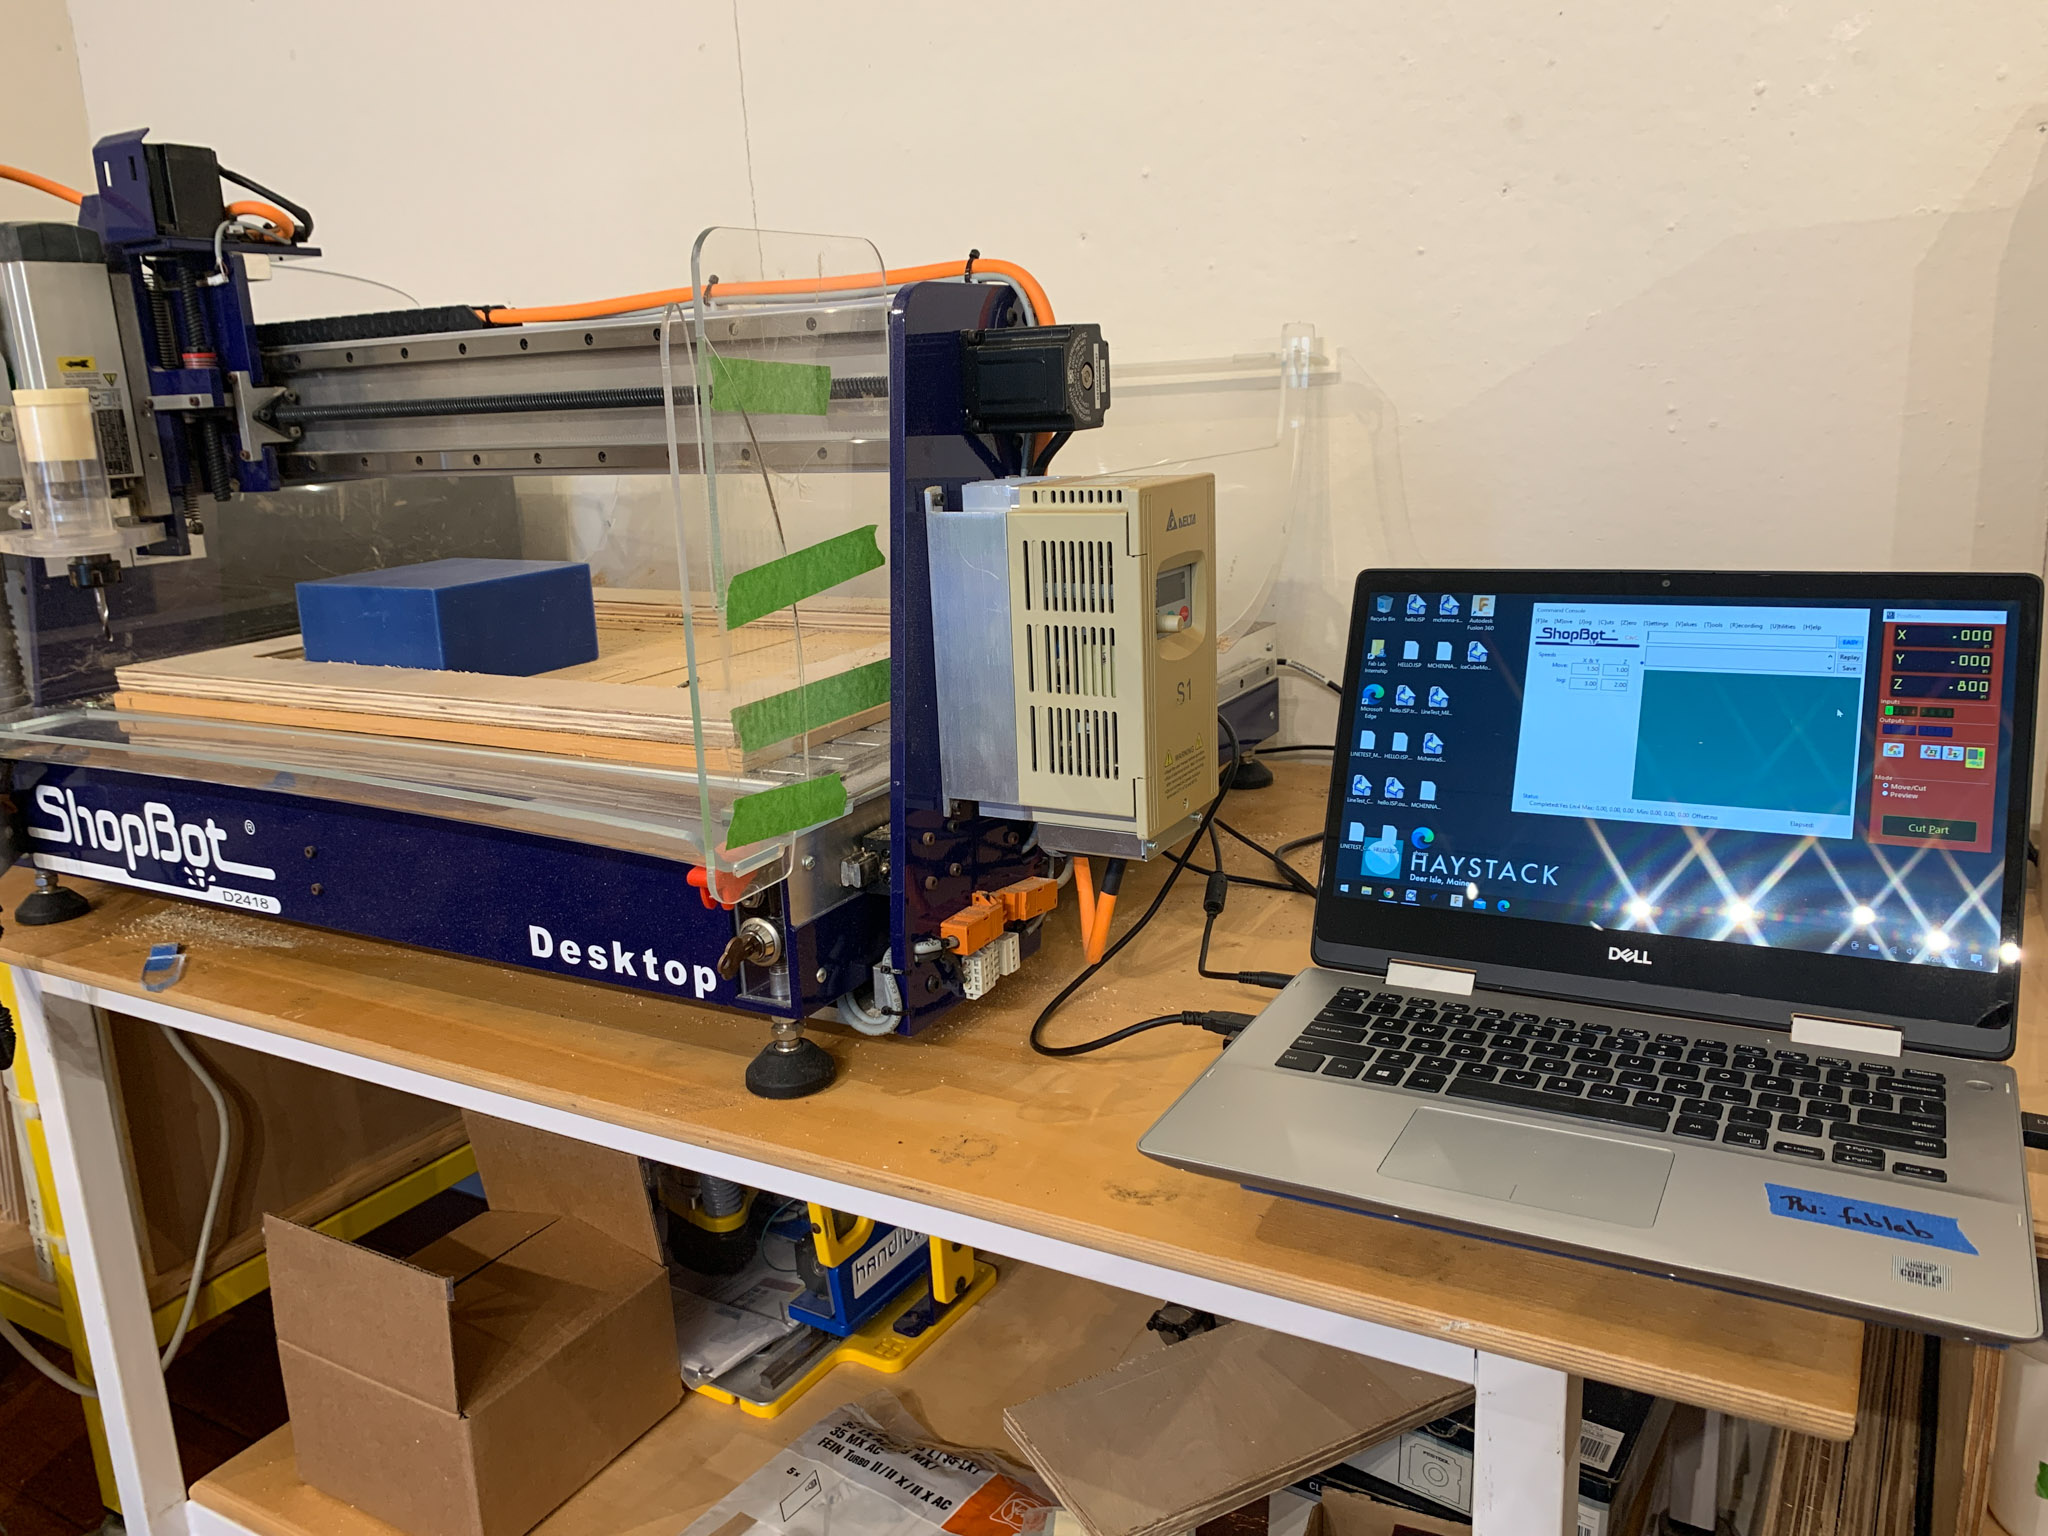
Project: Ice cube mold for old fashion cocktails, 2” cubes with a custom decal for personalized enhanced drinking experience. Machine: ShopBot Desktop 24 + VCarve Pro Molding Material: OOMMOO 25 Casting Material: Water
Design - Fusion 360
For my mold design, I wanted to make a custom-ice cube mold for making cocktails. I enjoy the occasional “old fashion”, which is a whiskey drink that typically is served with a big piece of ice when you go to a fancy bar. I would like to see if I can embed a design on the ice cube, so I am going to make a graphic to be raised on the surface of the ice cube.
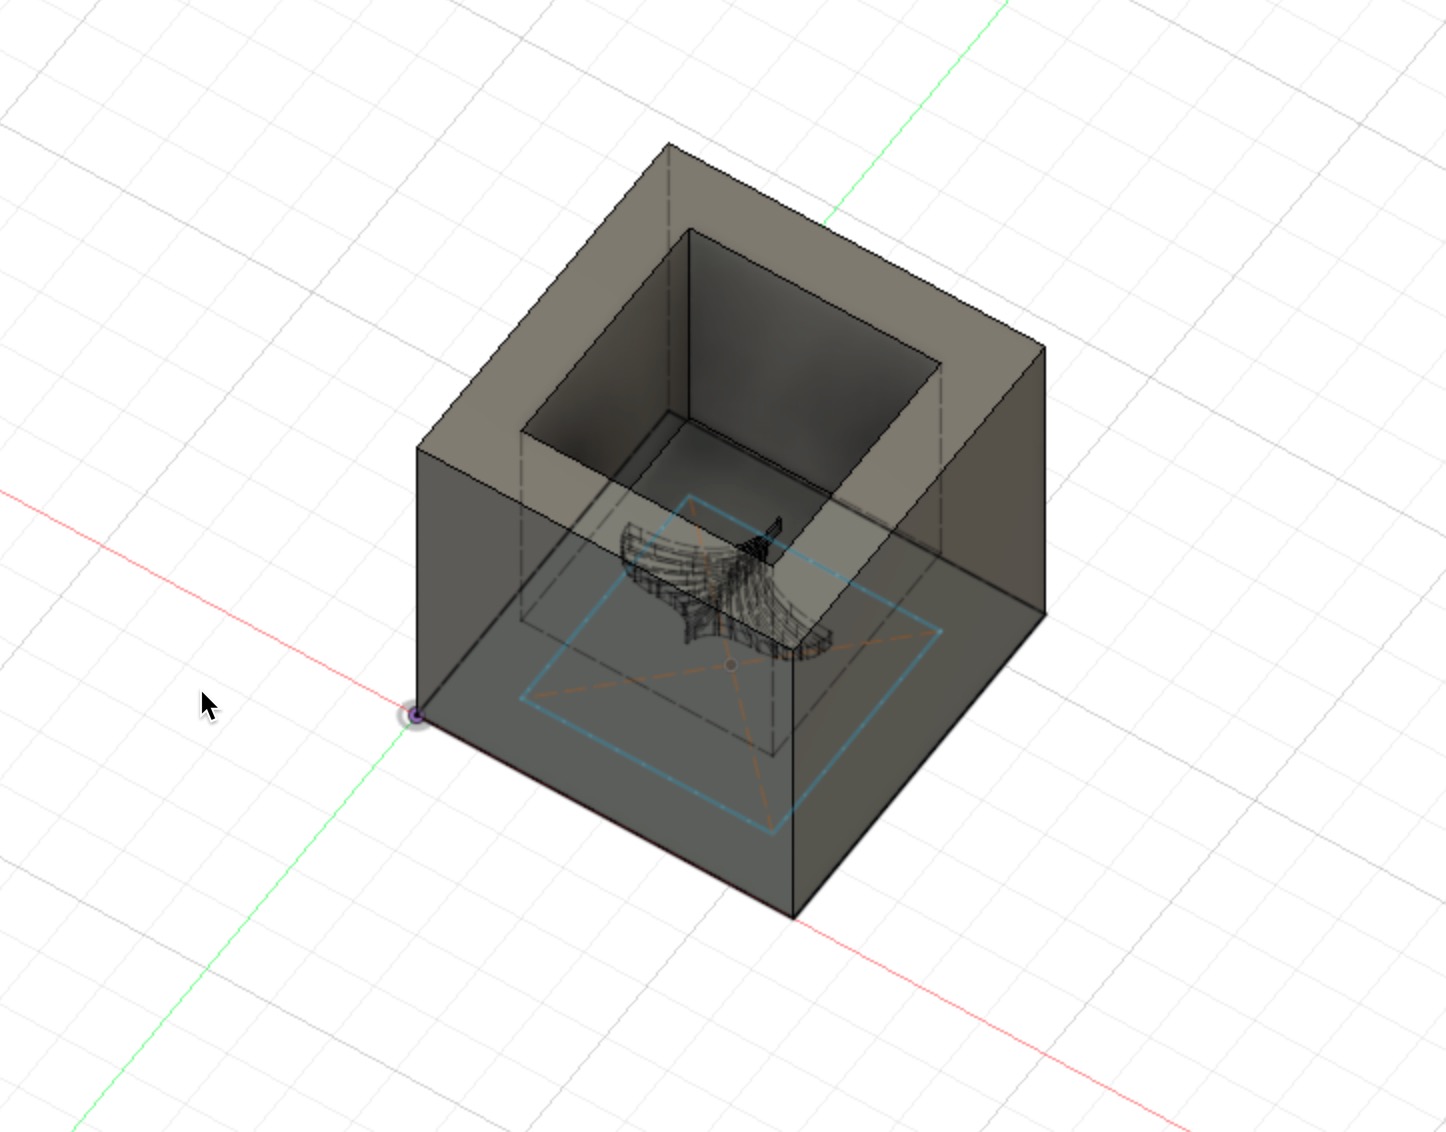
My first attempt at the design was inverted. Designing molds is a game of inverting your design twice. You essentially are making a model of your final casted part because the mold will be inverted from the design and final casted part. This can get confusing quickly.
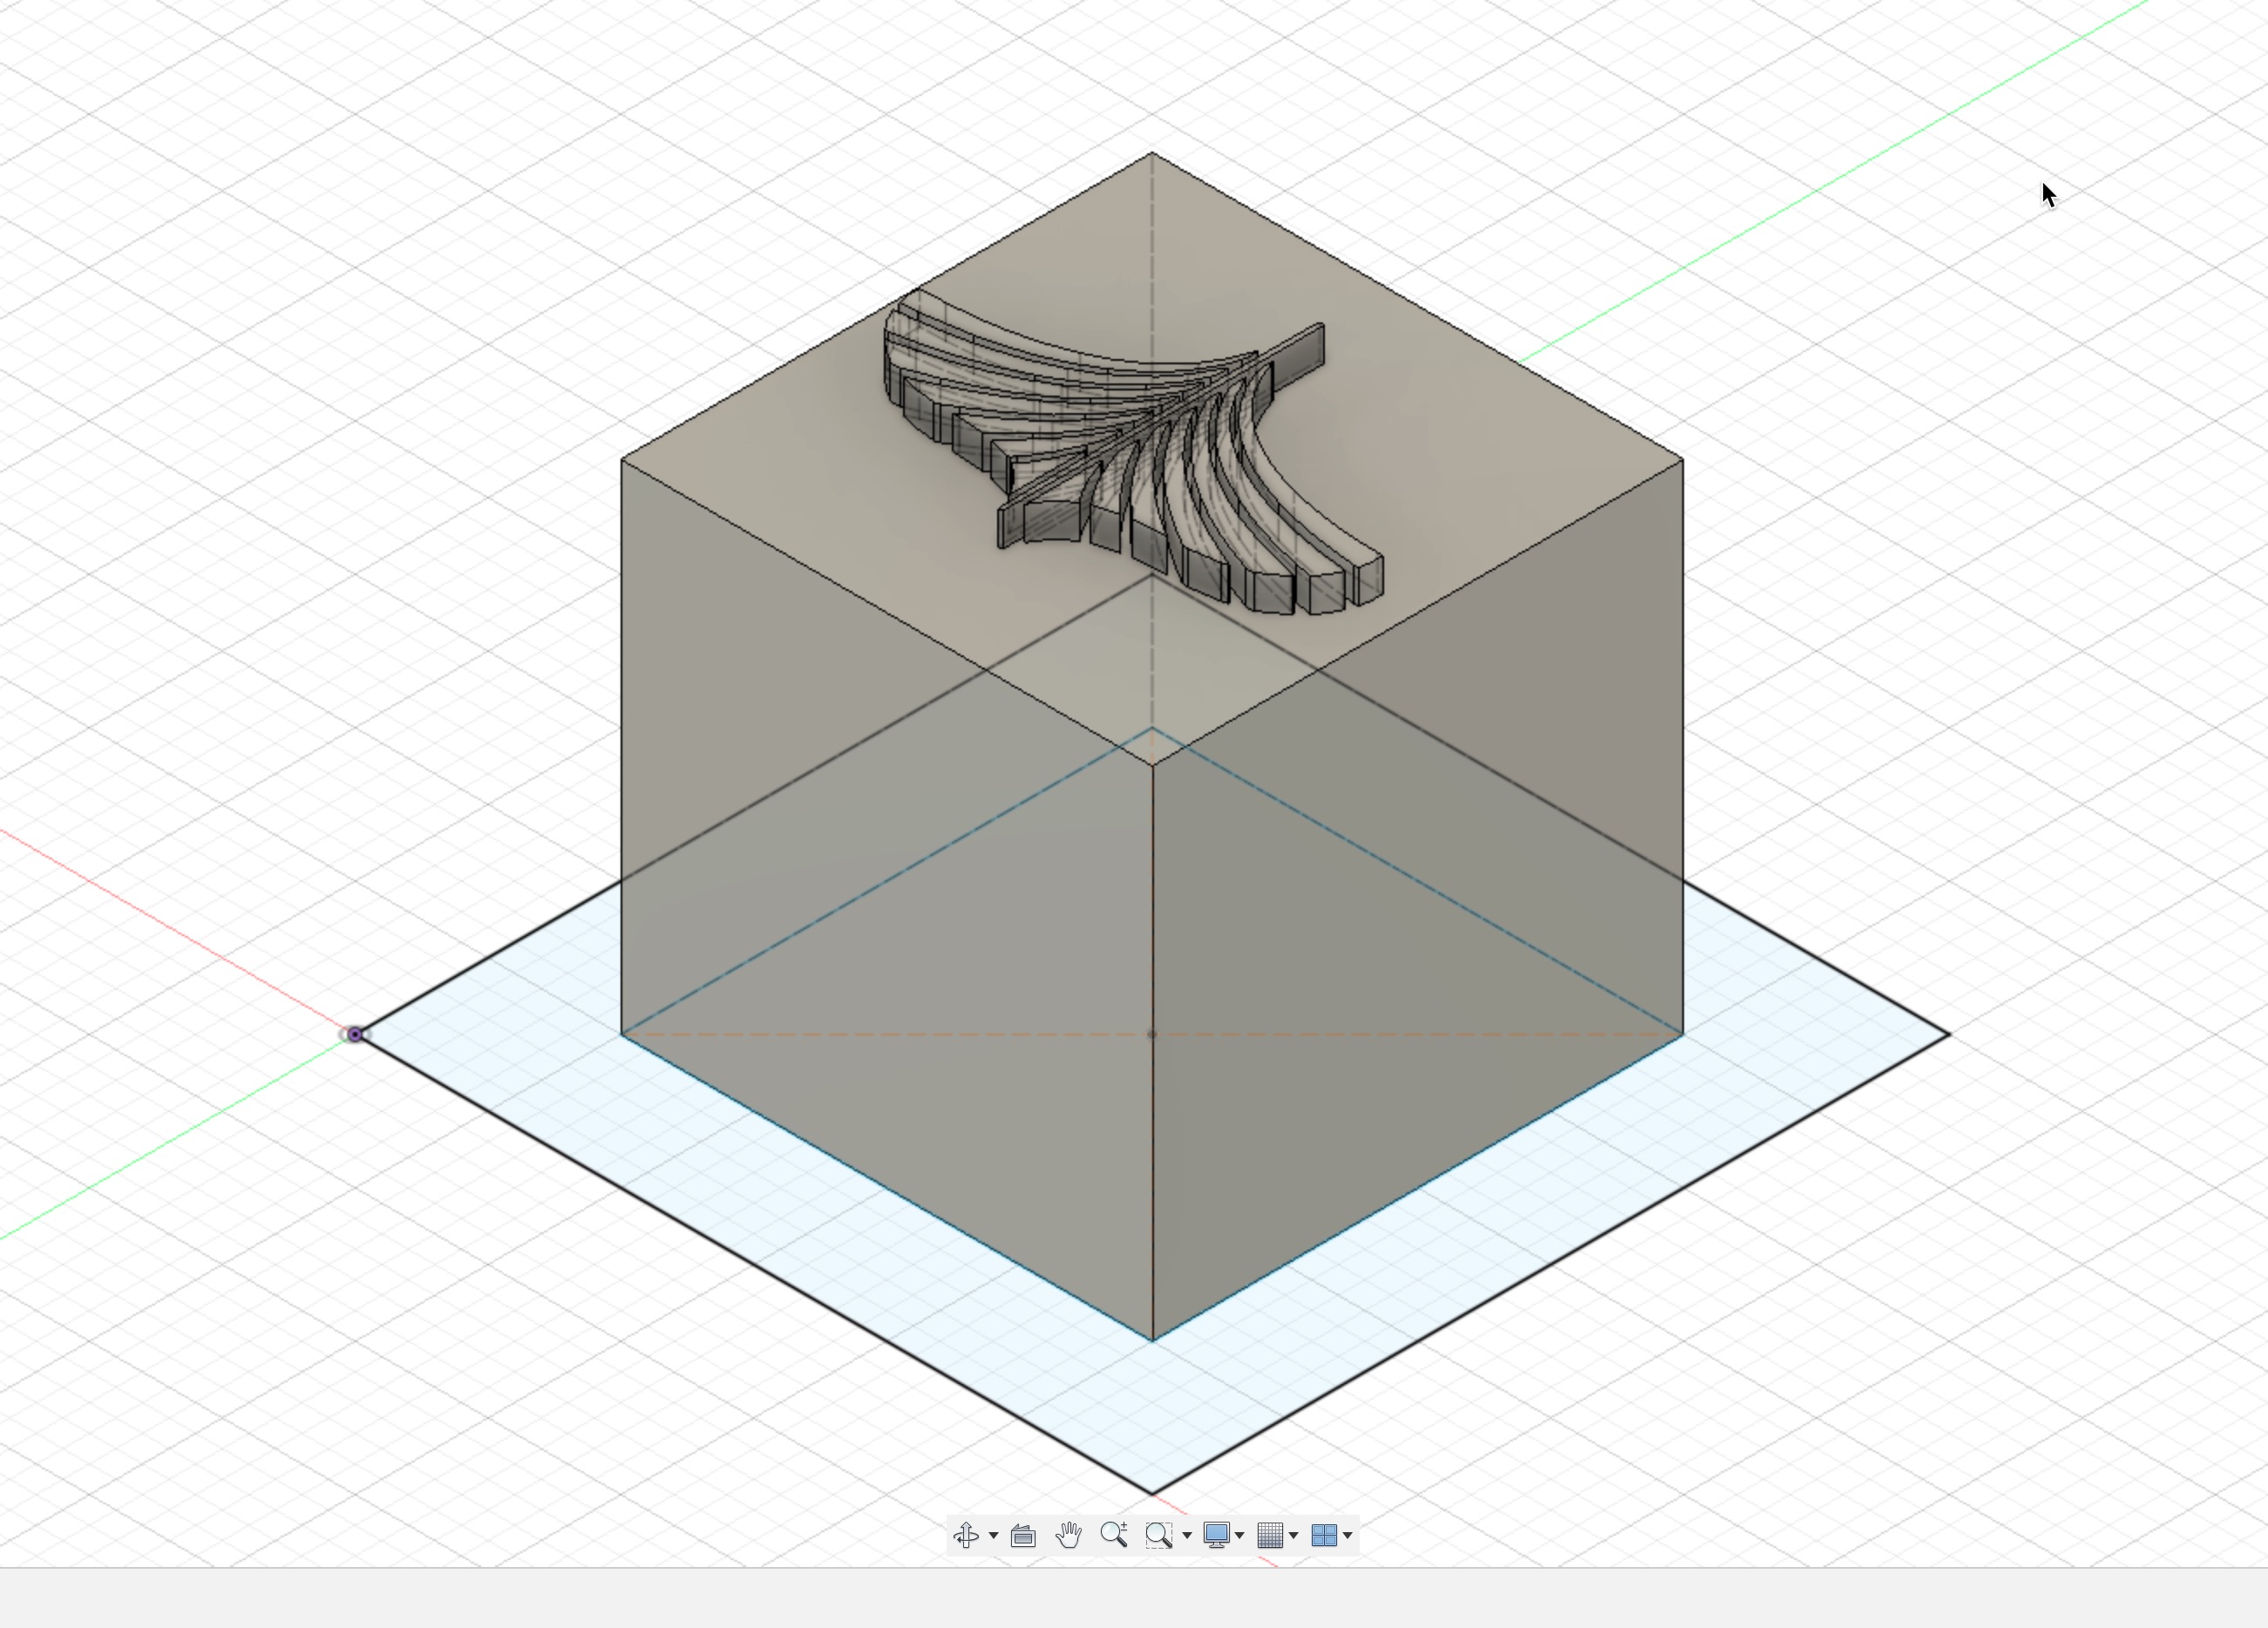
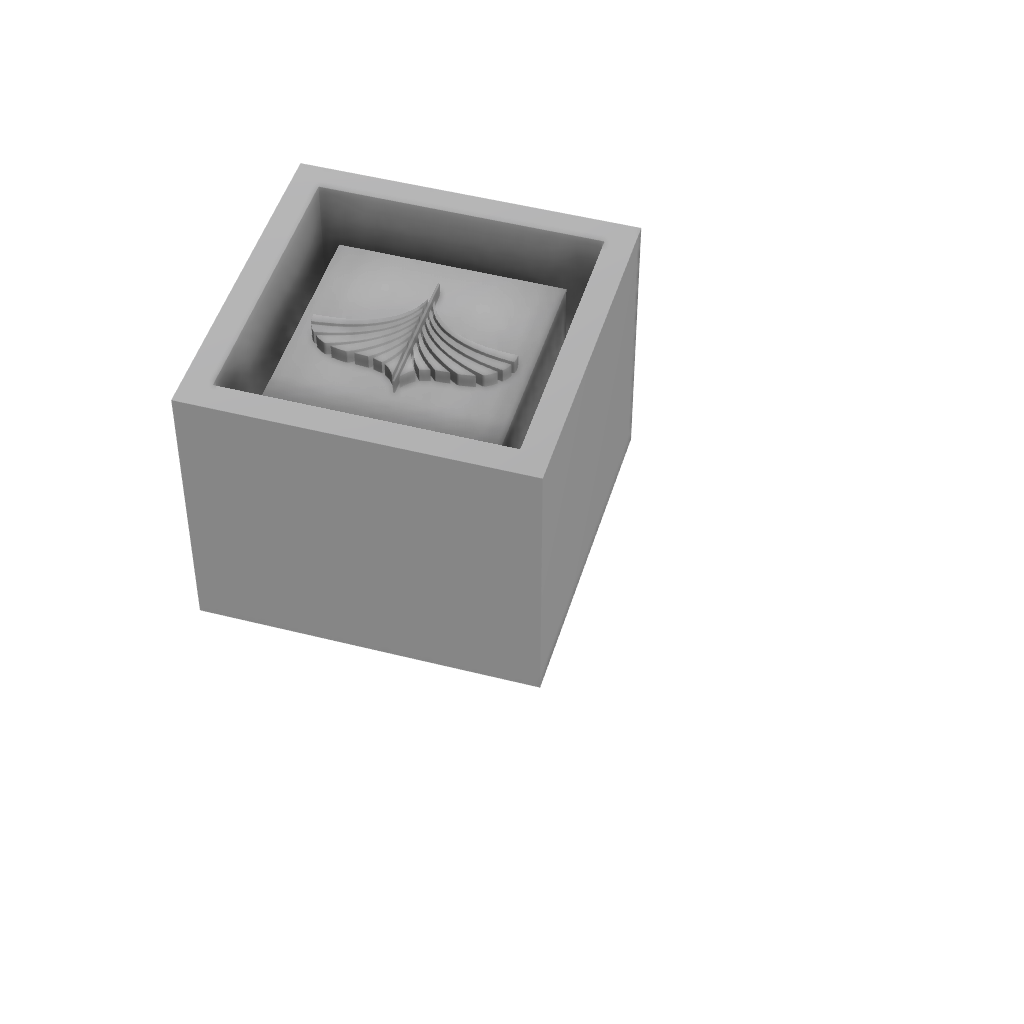
This is what I wanted the ice cube to look like when it comes out of the mold.
I added a channel to create the walls of the mold, I designed this with a 0.25” wall thickness which turned out to be more than enough. I may even make the walls thinner to save on mold making material.I ended up not utilizing this design that I made in Fusion. For two reasons. First, the design itself doesn’t need to be a 3D mesh file, which requires using a different CAM program and was not something I was ready to tackle at this point. So, I eventually designed this in VCarve Pro using the 2D CAD and CAM tools. The next section explains this a bit more.
Redesign - VCarve Pro
I decided to switch from 3D STL model to 2D vector - tool path mode. The mold design that I am doing is not truly a 3D shape so it can be programmed with 2D tool paths in VCarve. This makes the whole process much easier.

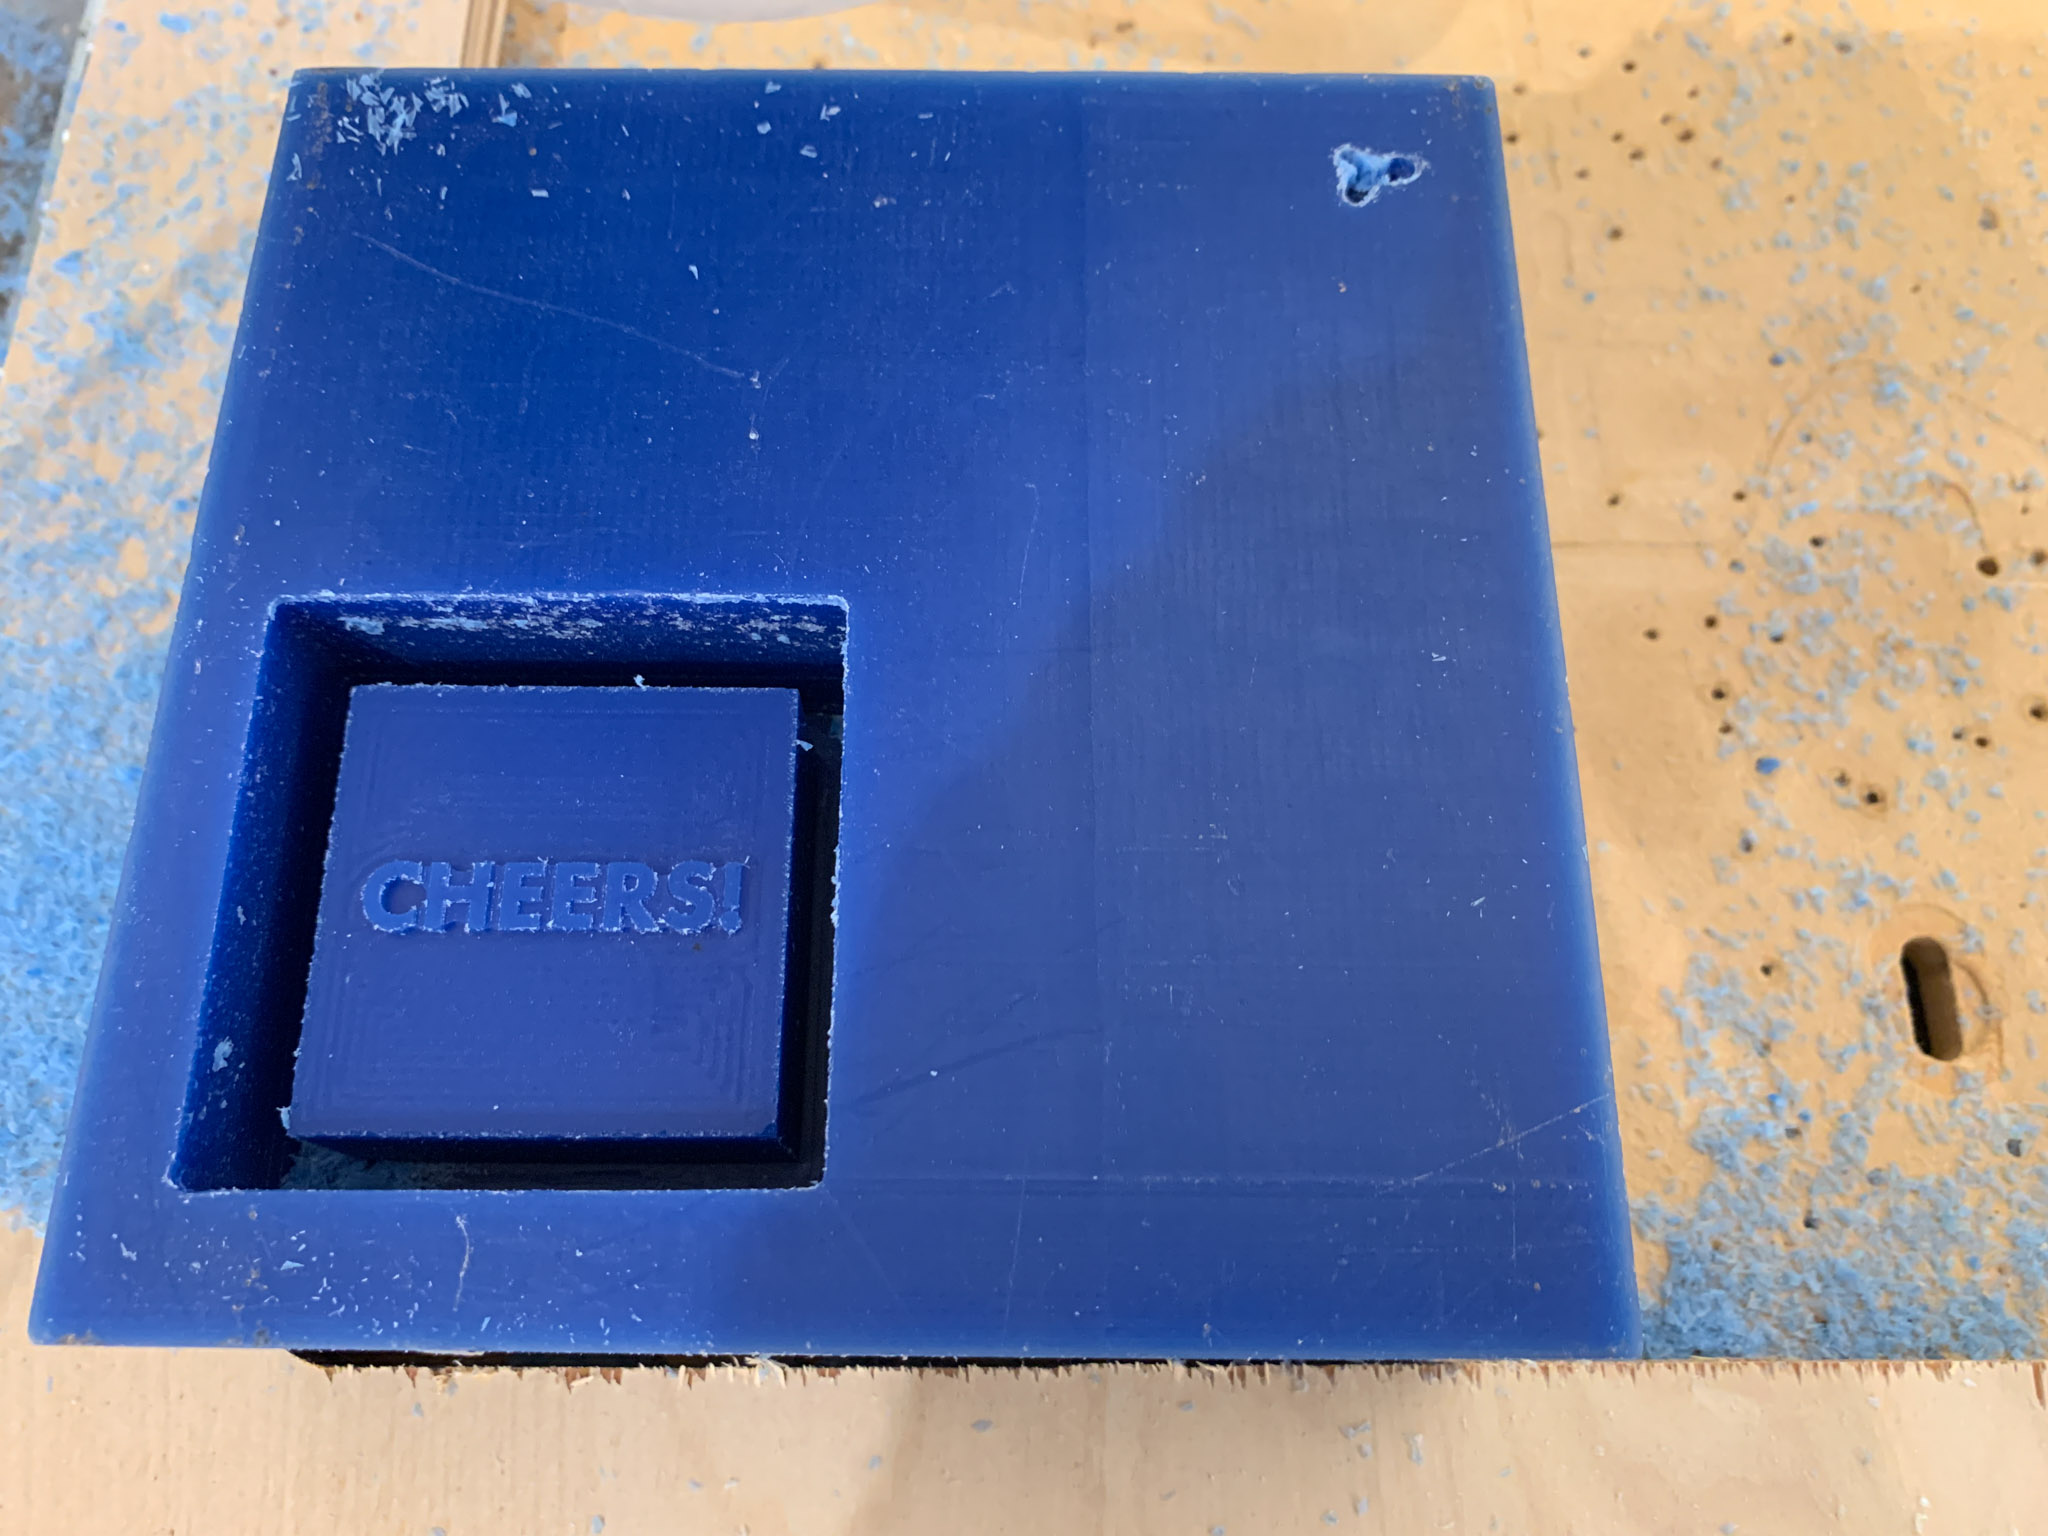
I used the design tools directly in VCarve to design the mold. The text tool allows you to easily embed and format text within your paths.

The mold design would be mostly determined by the toolpaths programmed in VCarve, so I spent time experimenting with different parameters for this section.

I ended up with four toolpaths using a total of two tools: 1/8” endmill and 1/64” endmill for the lettering detail.
| Toolpath | Tool | Cut Depth | Pass Depth | Feed Rate |
|---|---|---|---|---|
| 1/8” | 1.5” | .125” | 1.5 in/sec | |
| 1/8” | 0.25” | .125” | 1.5 in/sec | |
| Pocket (rough) | 1/8” | 0.1” | .1” | 1.5 in/sec |
| Pocket (finish) | 1/64” | 0.1” | .025” | 1.5 in/sec |
Milling the Mold
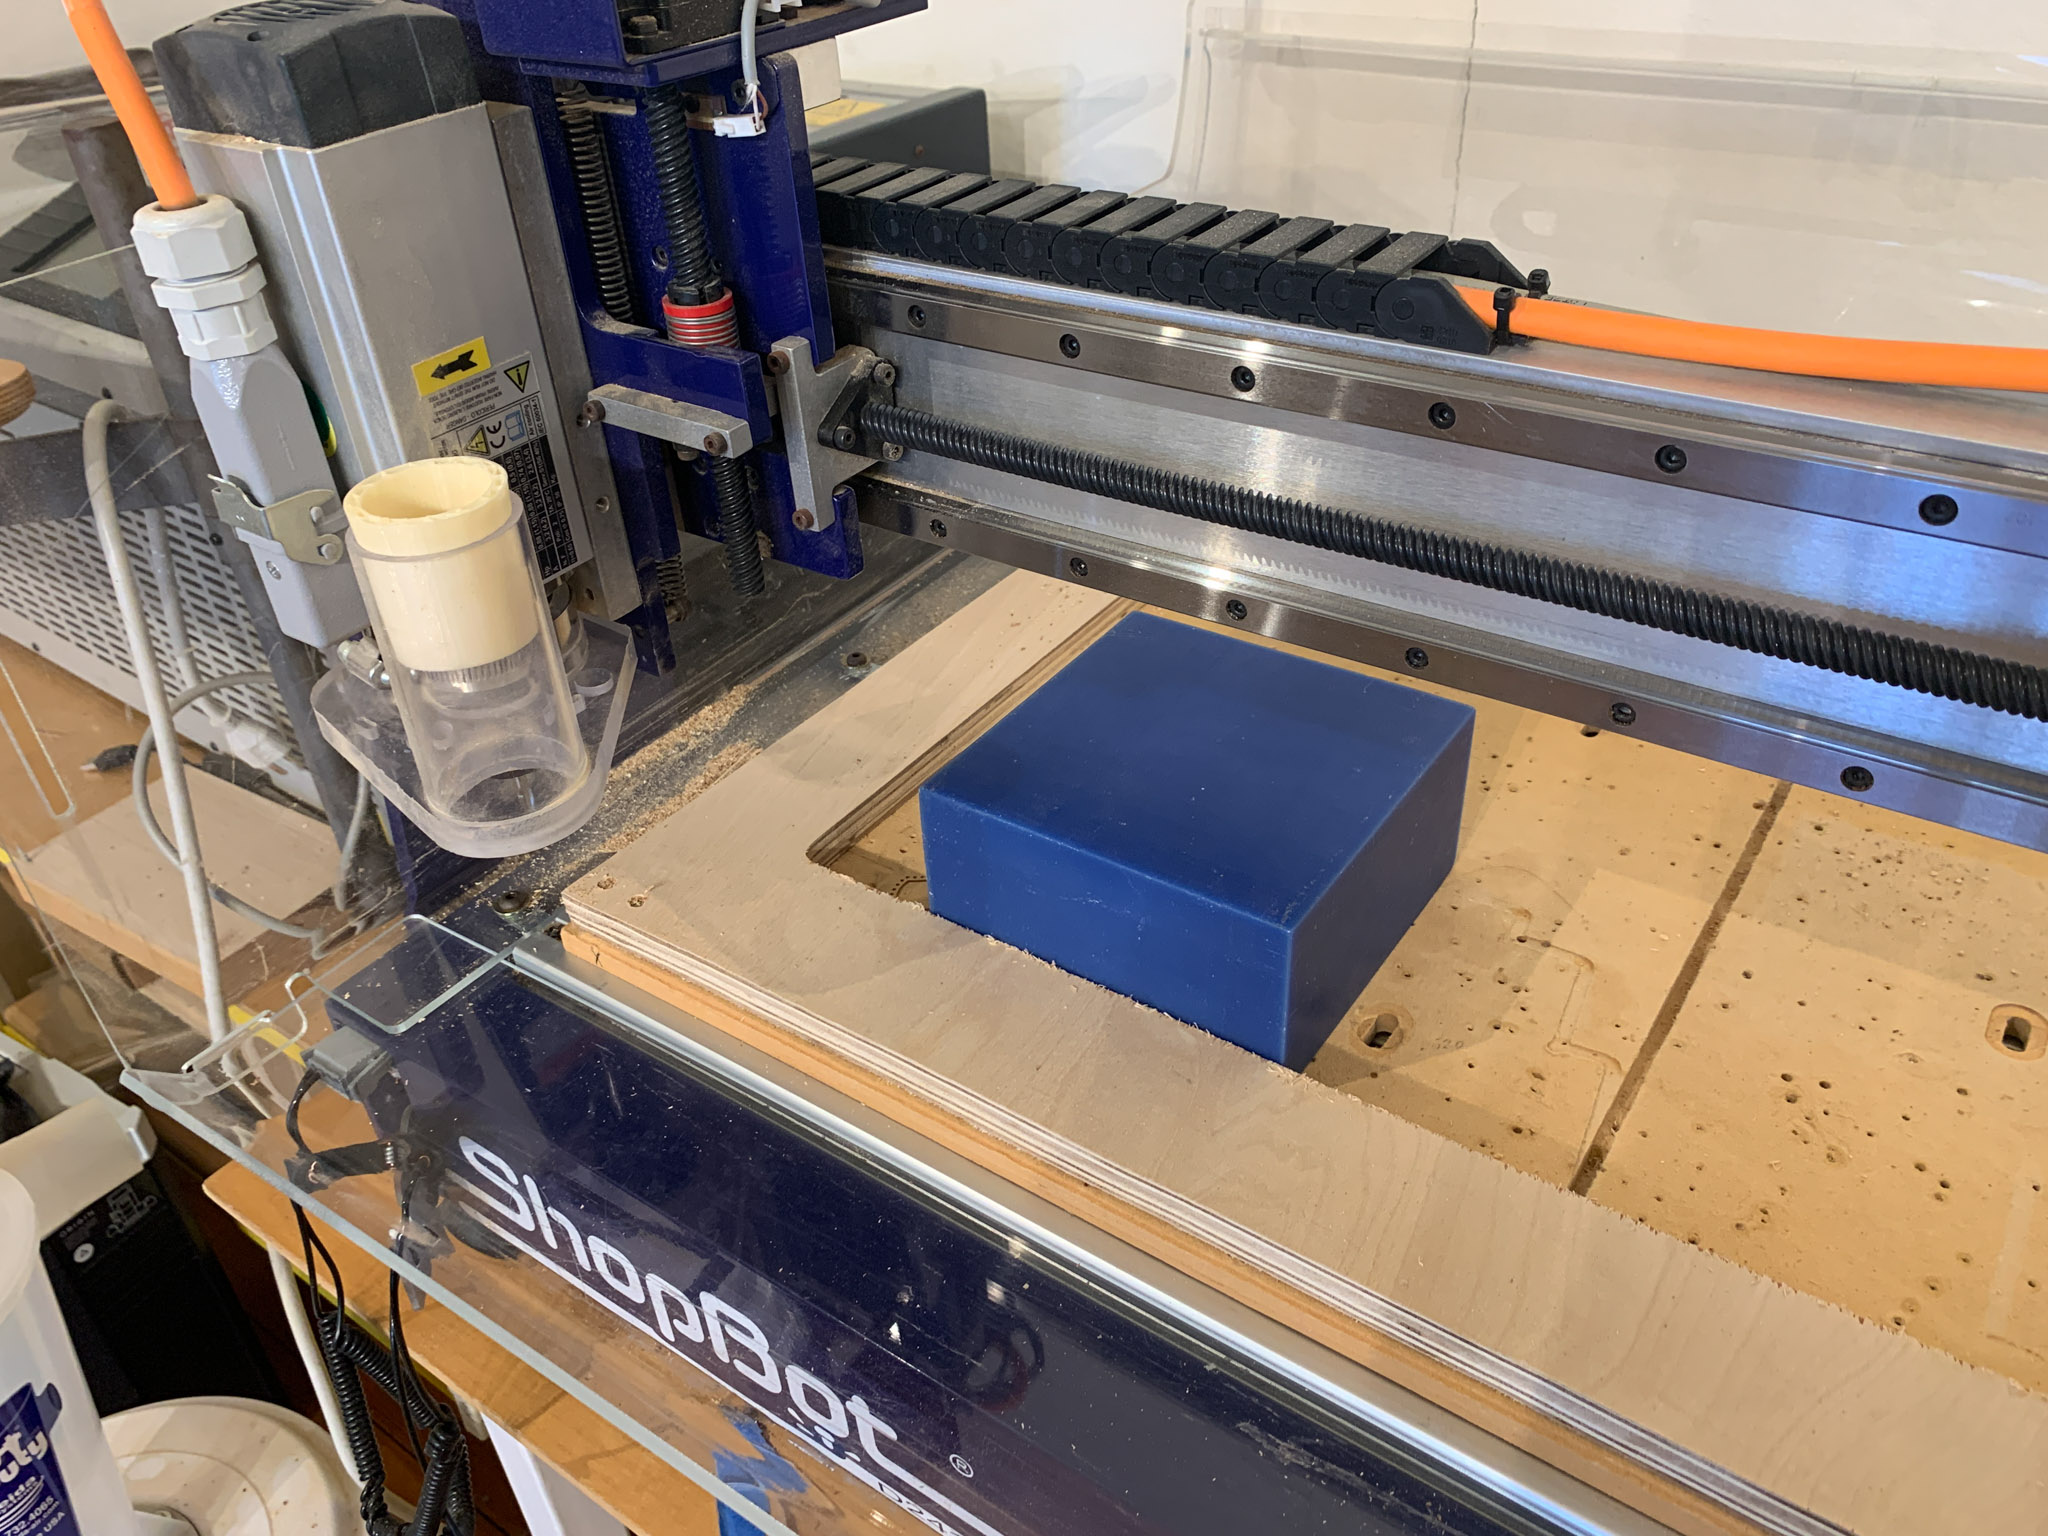
I used a 6” x 6” x 3” piece of machine wax to make the mold, and milled it on a ShopBot Desktop 24. I ran into some issues with my first two attempts, which the following videos highlight.
This video illustrates an import concept. Fixture your material securely to the machine. I had used double-sided tape on the wax and it definitely was not strong enough of a hold down for this. To correct for this, I used a piece of plywood and some screws to firmly brace the piece of wax agaisnt the plywood.
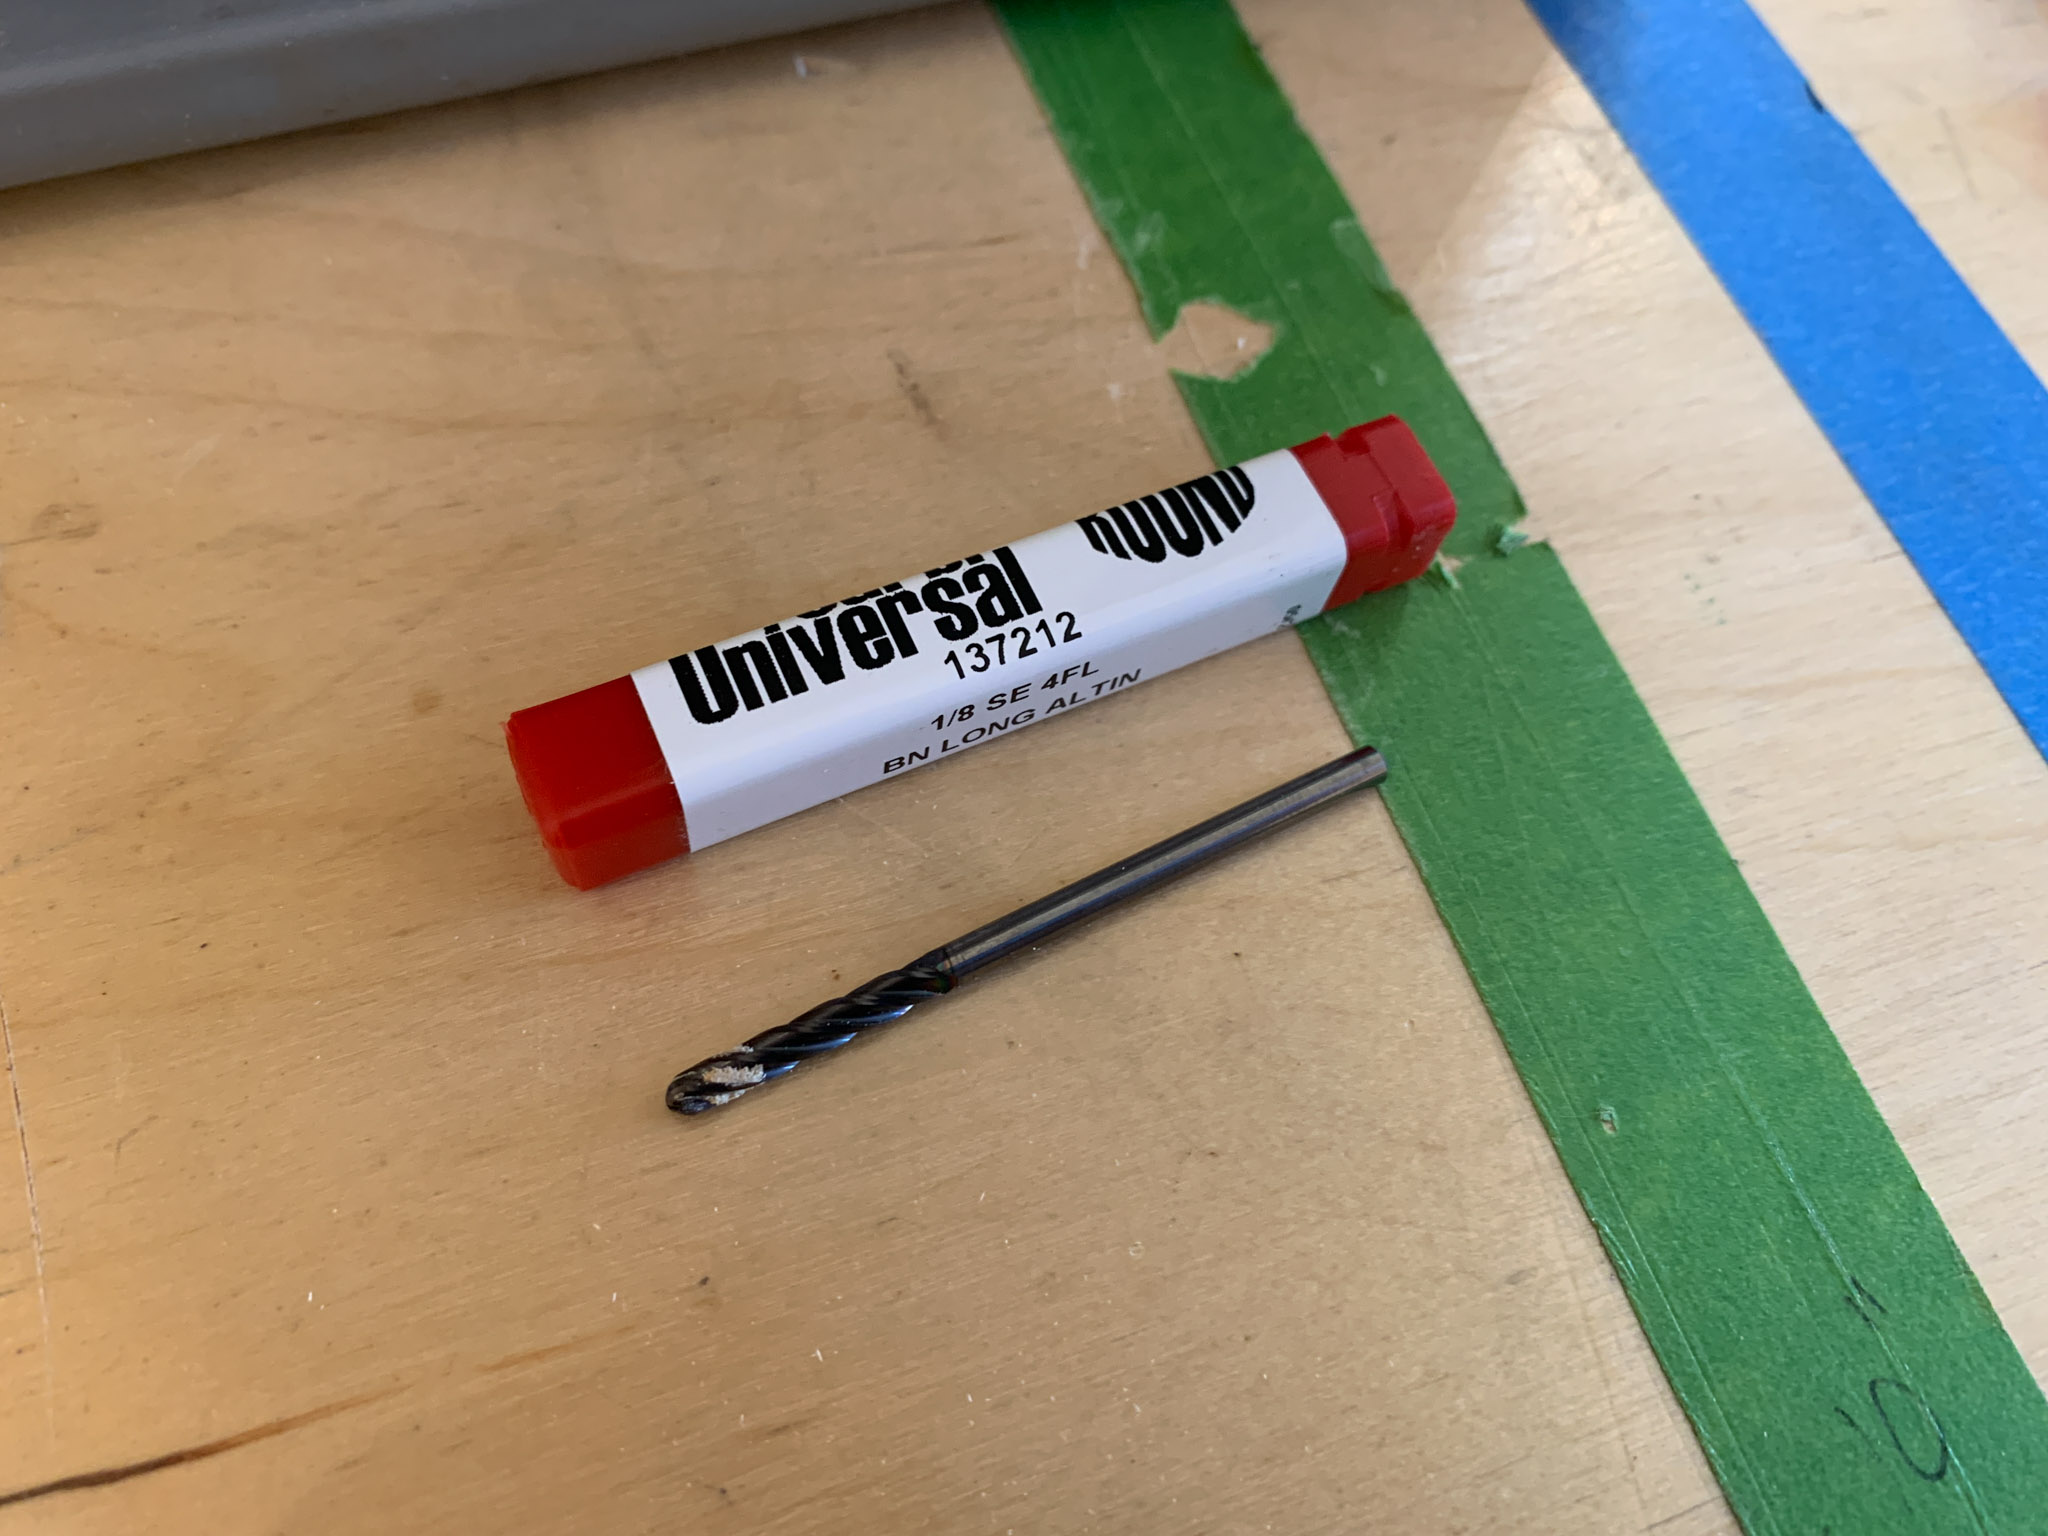
Another mistake I made was pluging too deep with the 1/8” endmill. I had thought I could do this with less passes because I figured wax is soft and would be easy on the tool. Wrong. The tool broke instantly and I had to order some new tools for the lab.
Here is a final time-lapse video of my mold milling out on the ShopBot. I wanted to experiment taking videos with our lab’s iPad and tripod setup. Eventually, I will make more short videos for students trying to use the space. I realized that vacuuming up the wax chips was a mistake, as I could have saved them and melted them down.
Molding Making
Materials
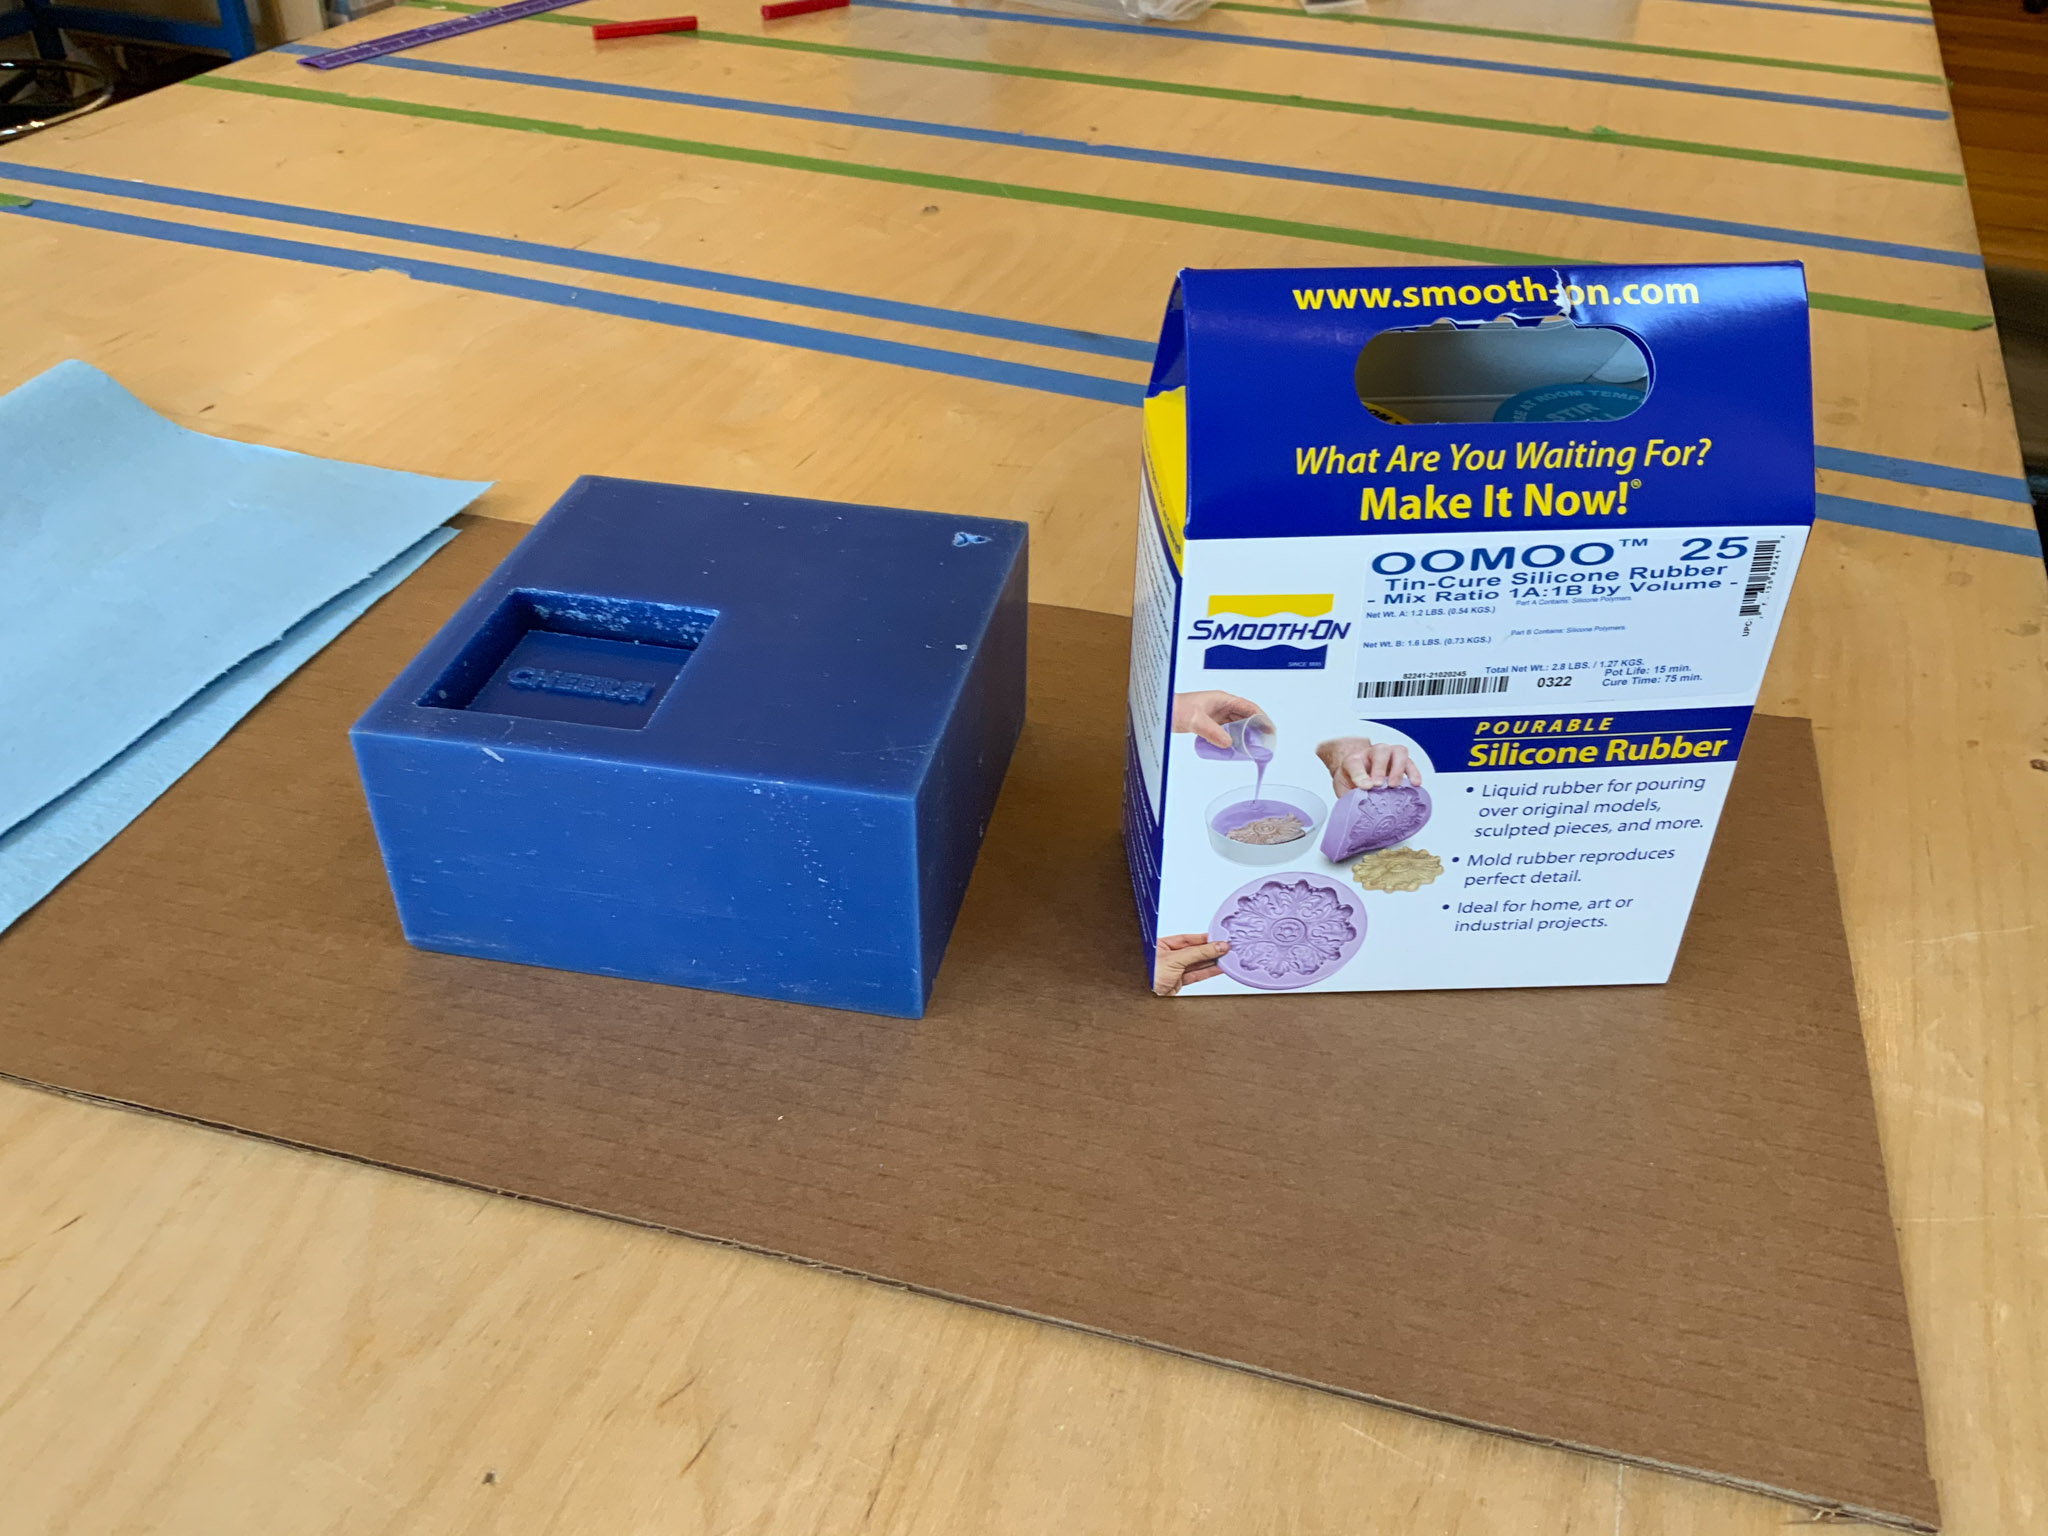
OOMOO 25 is a great starter material. It is silicone-based, needs no ventilation. It can provide good detail and flexibility, but is not that strong and can tear so it will not last a lot of casting cycles. It also has a really good safety profile and so is not extremely hazardous to work with. It is great when working with students, so and it is the material that I wanted to start with. It is not food safe, and so I will eventually use a different material (Sorta-clear 18 or equivalent) after making my prototype, first mold.
OOMOO 25 MSDS - Ratio 1:1 - Pot Life 15 minutes - Cure Time 75 minutes
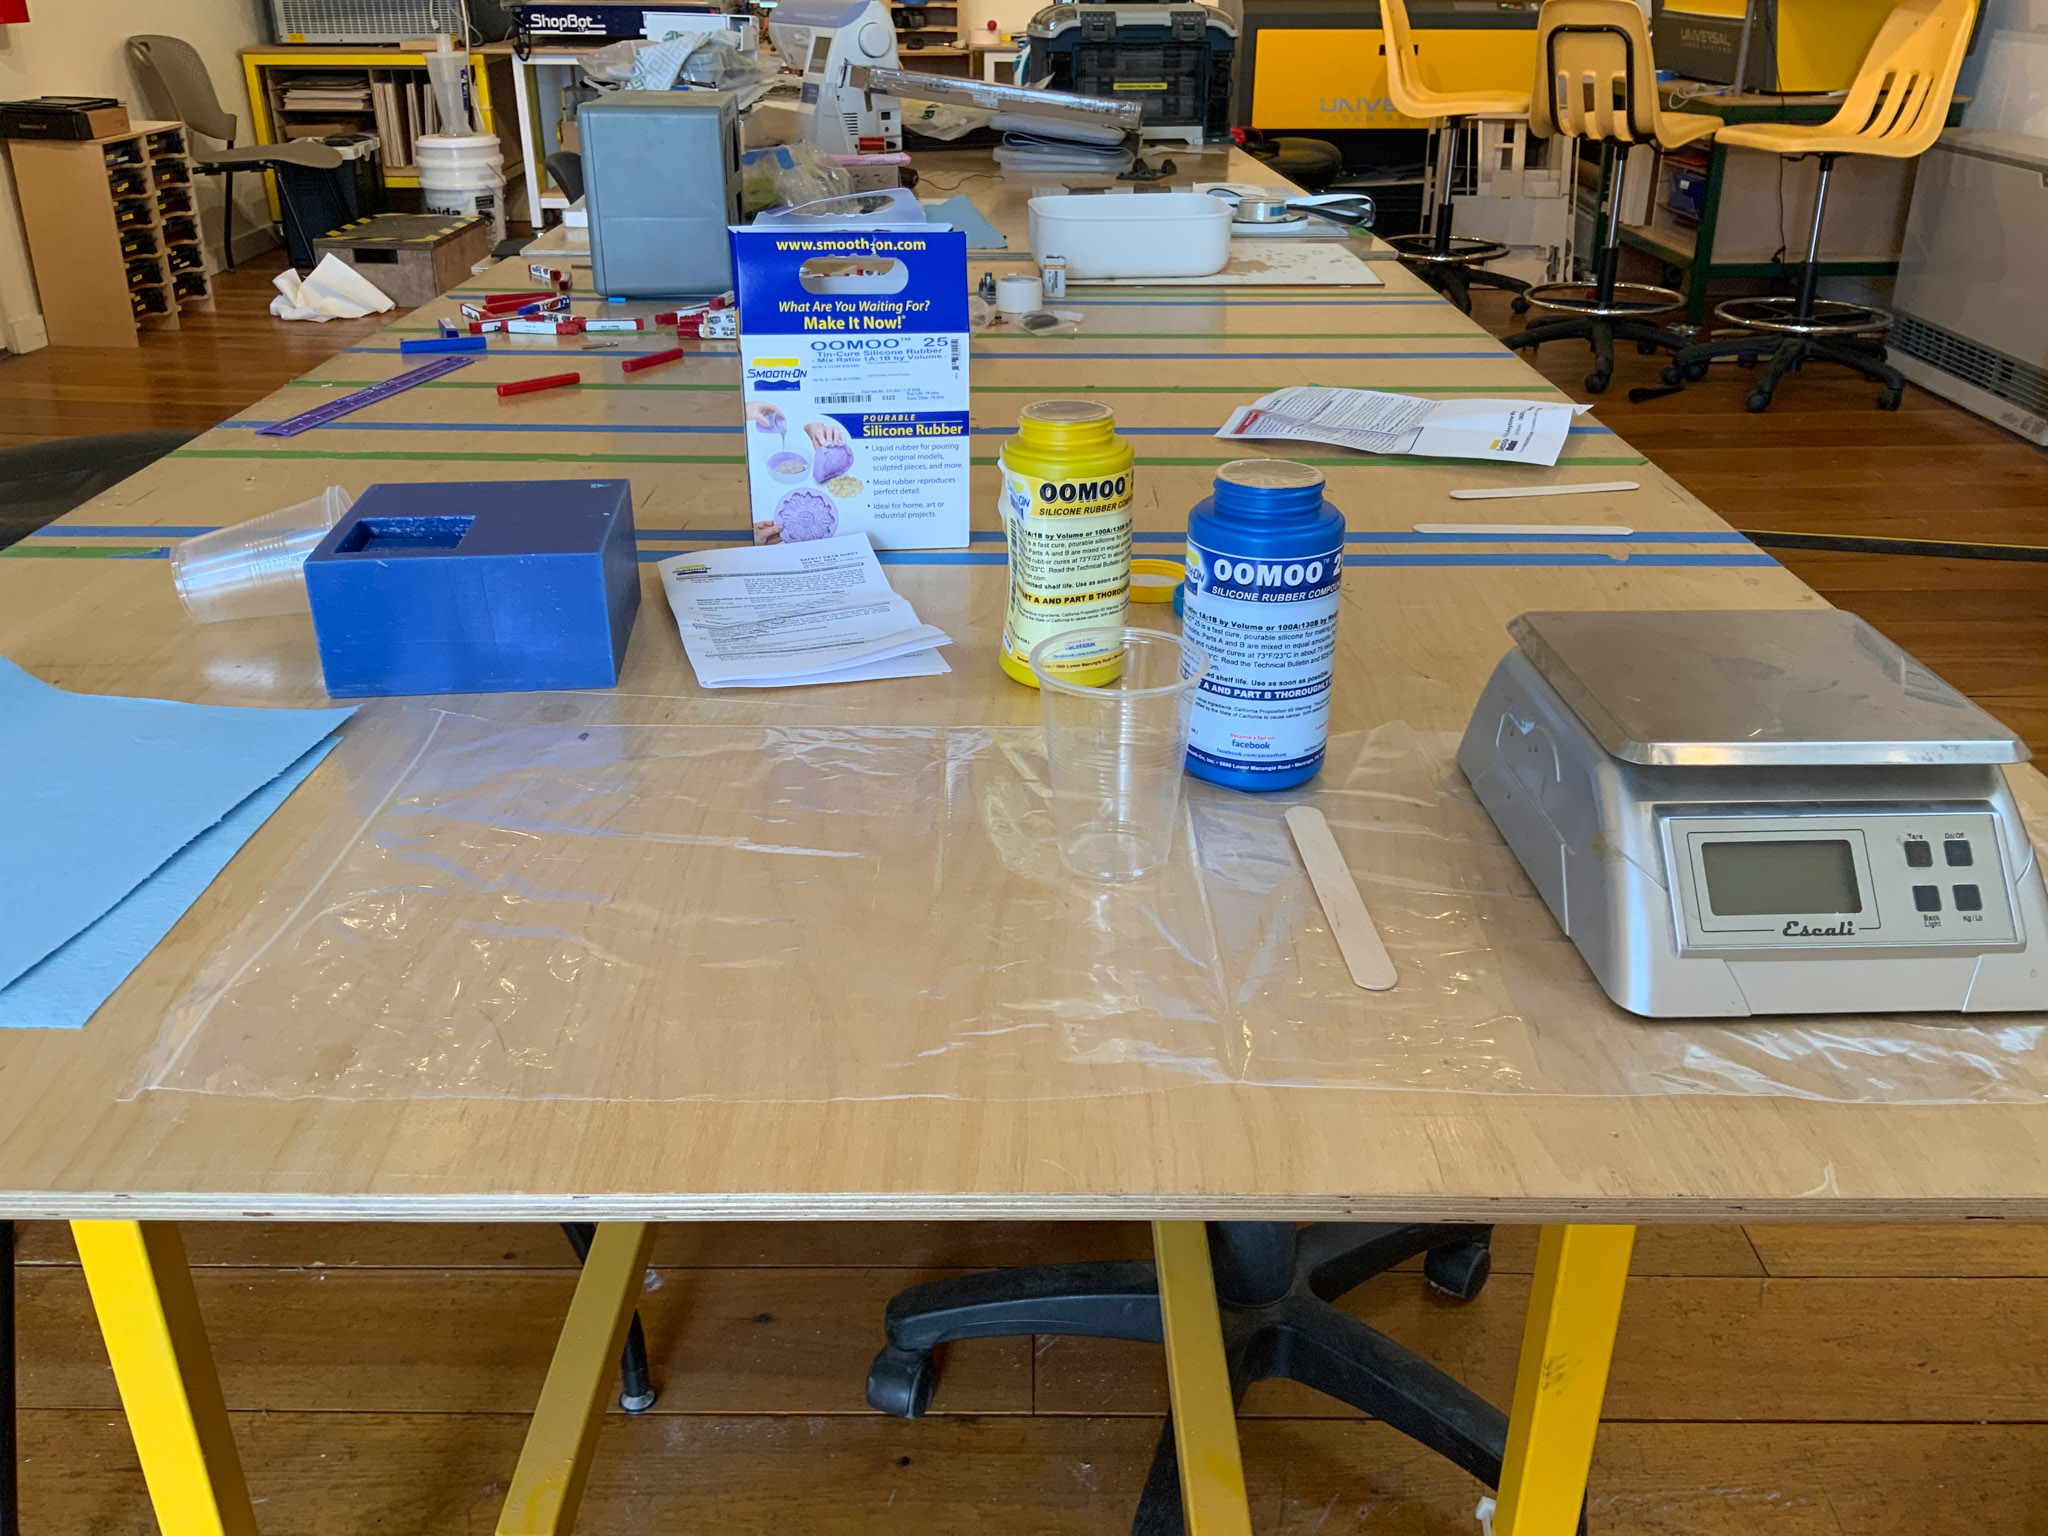
For my setup, I put down some plastic material to protect my work surface from any spills. I used a scale to measure the equal parts of A and B.
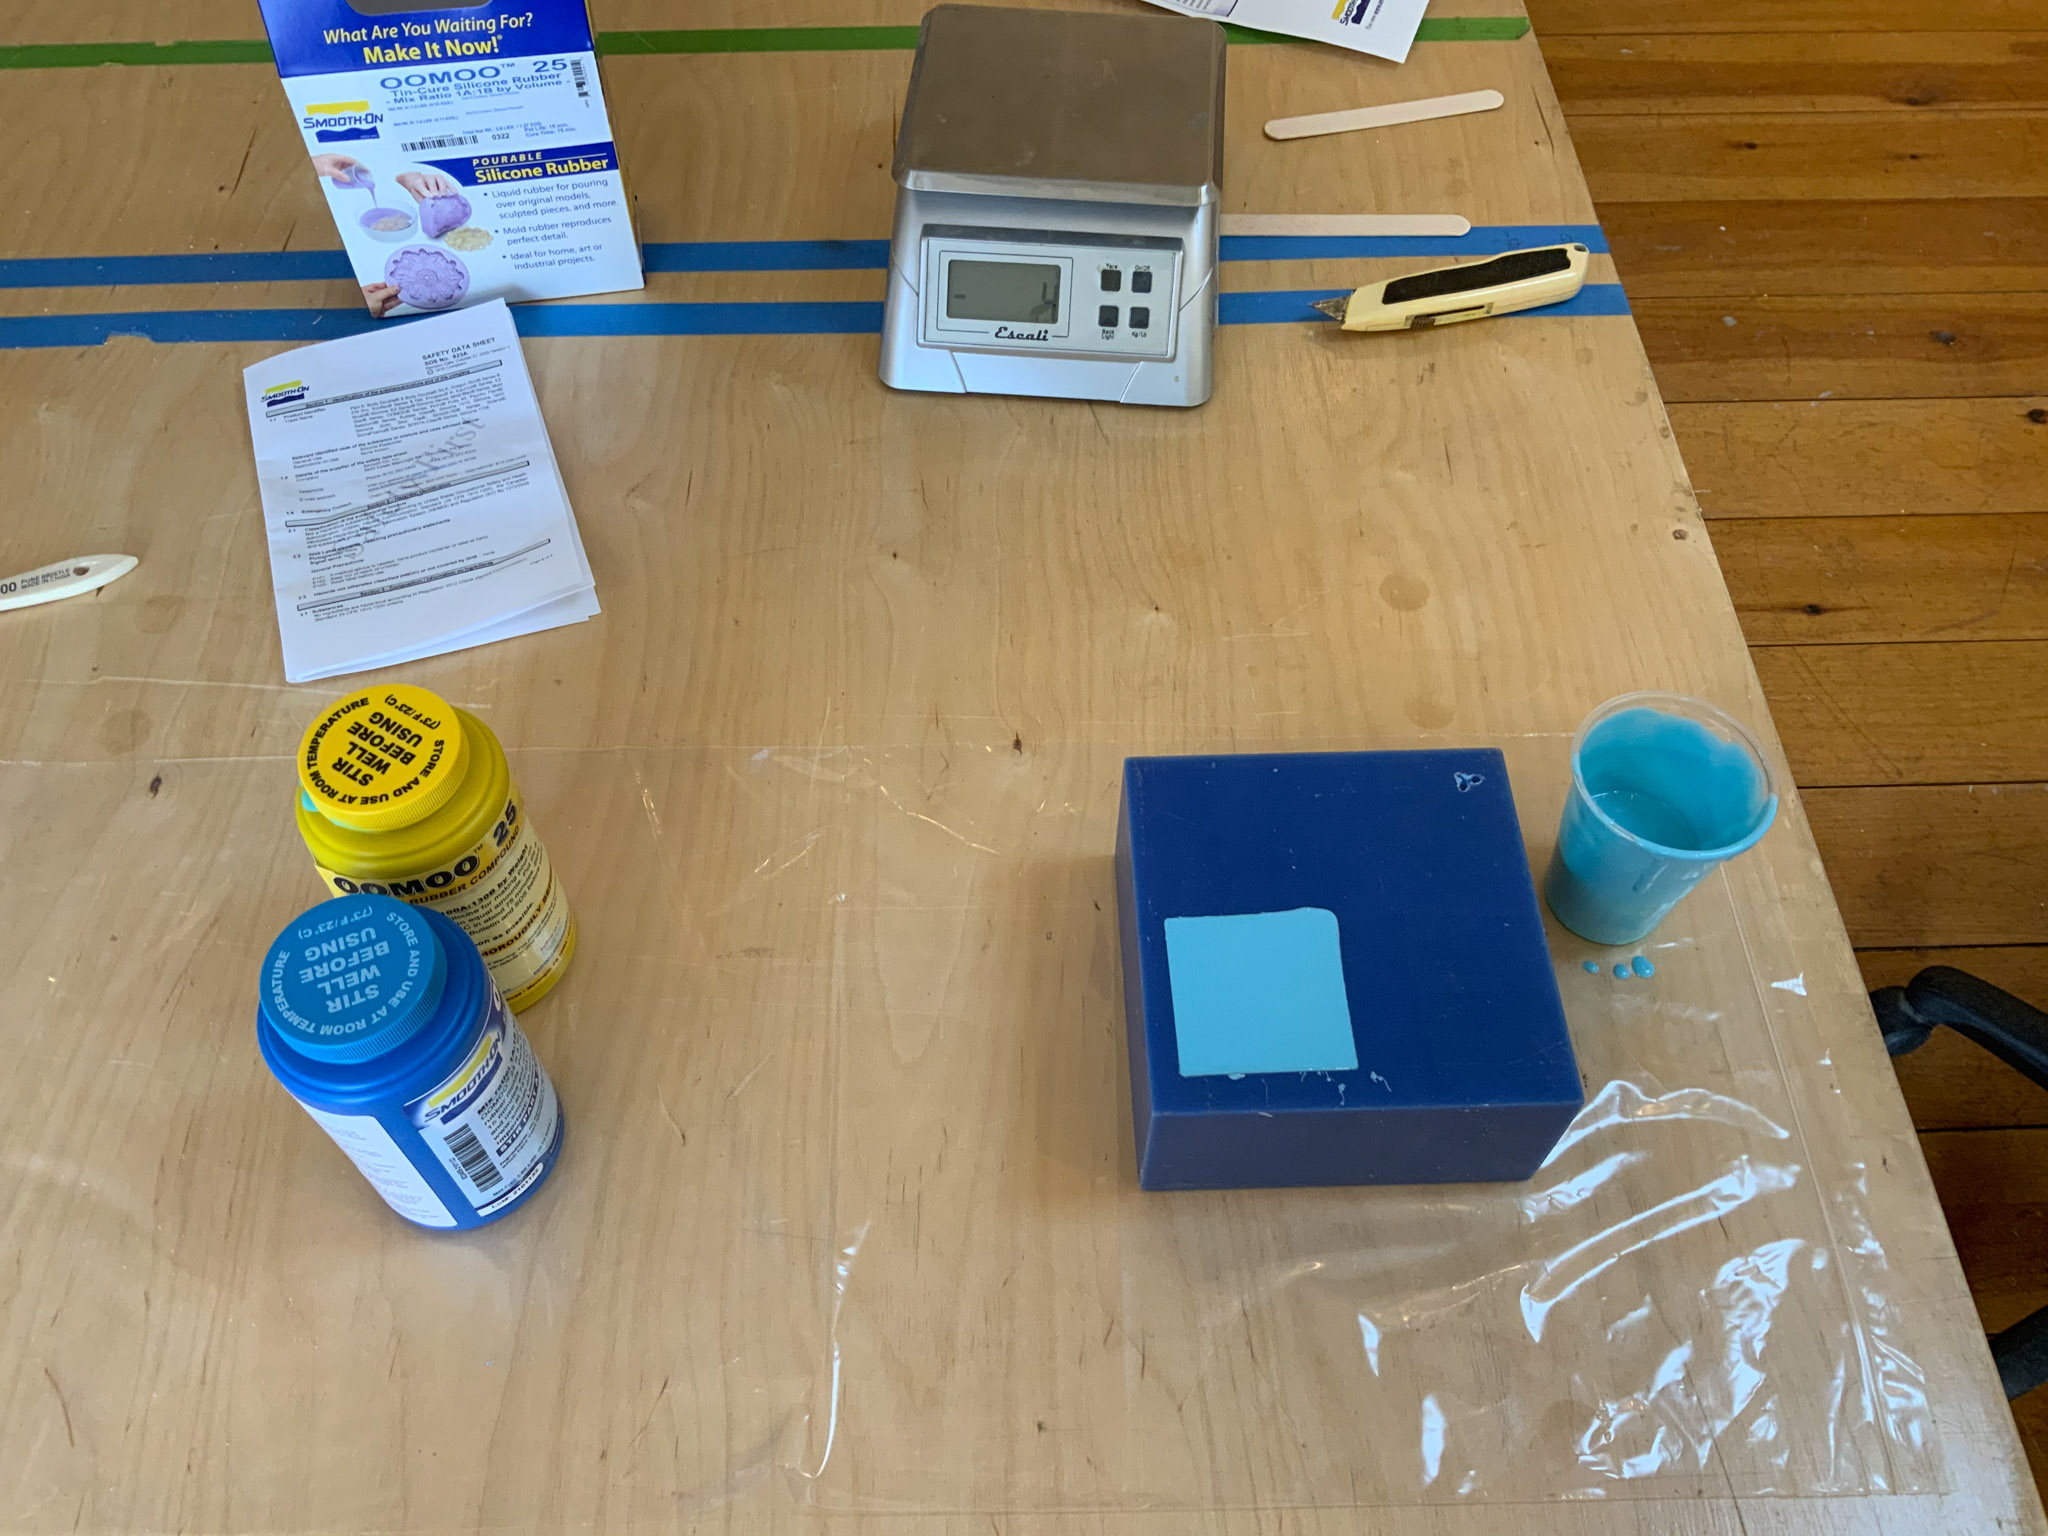
I then poured the OOMOO mixed material into the wax mold, trying to keep a small bead to minimize air bubbles.
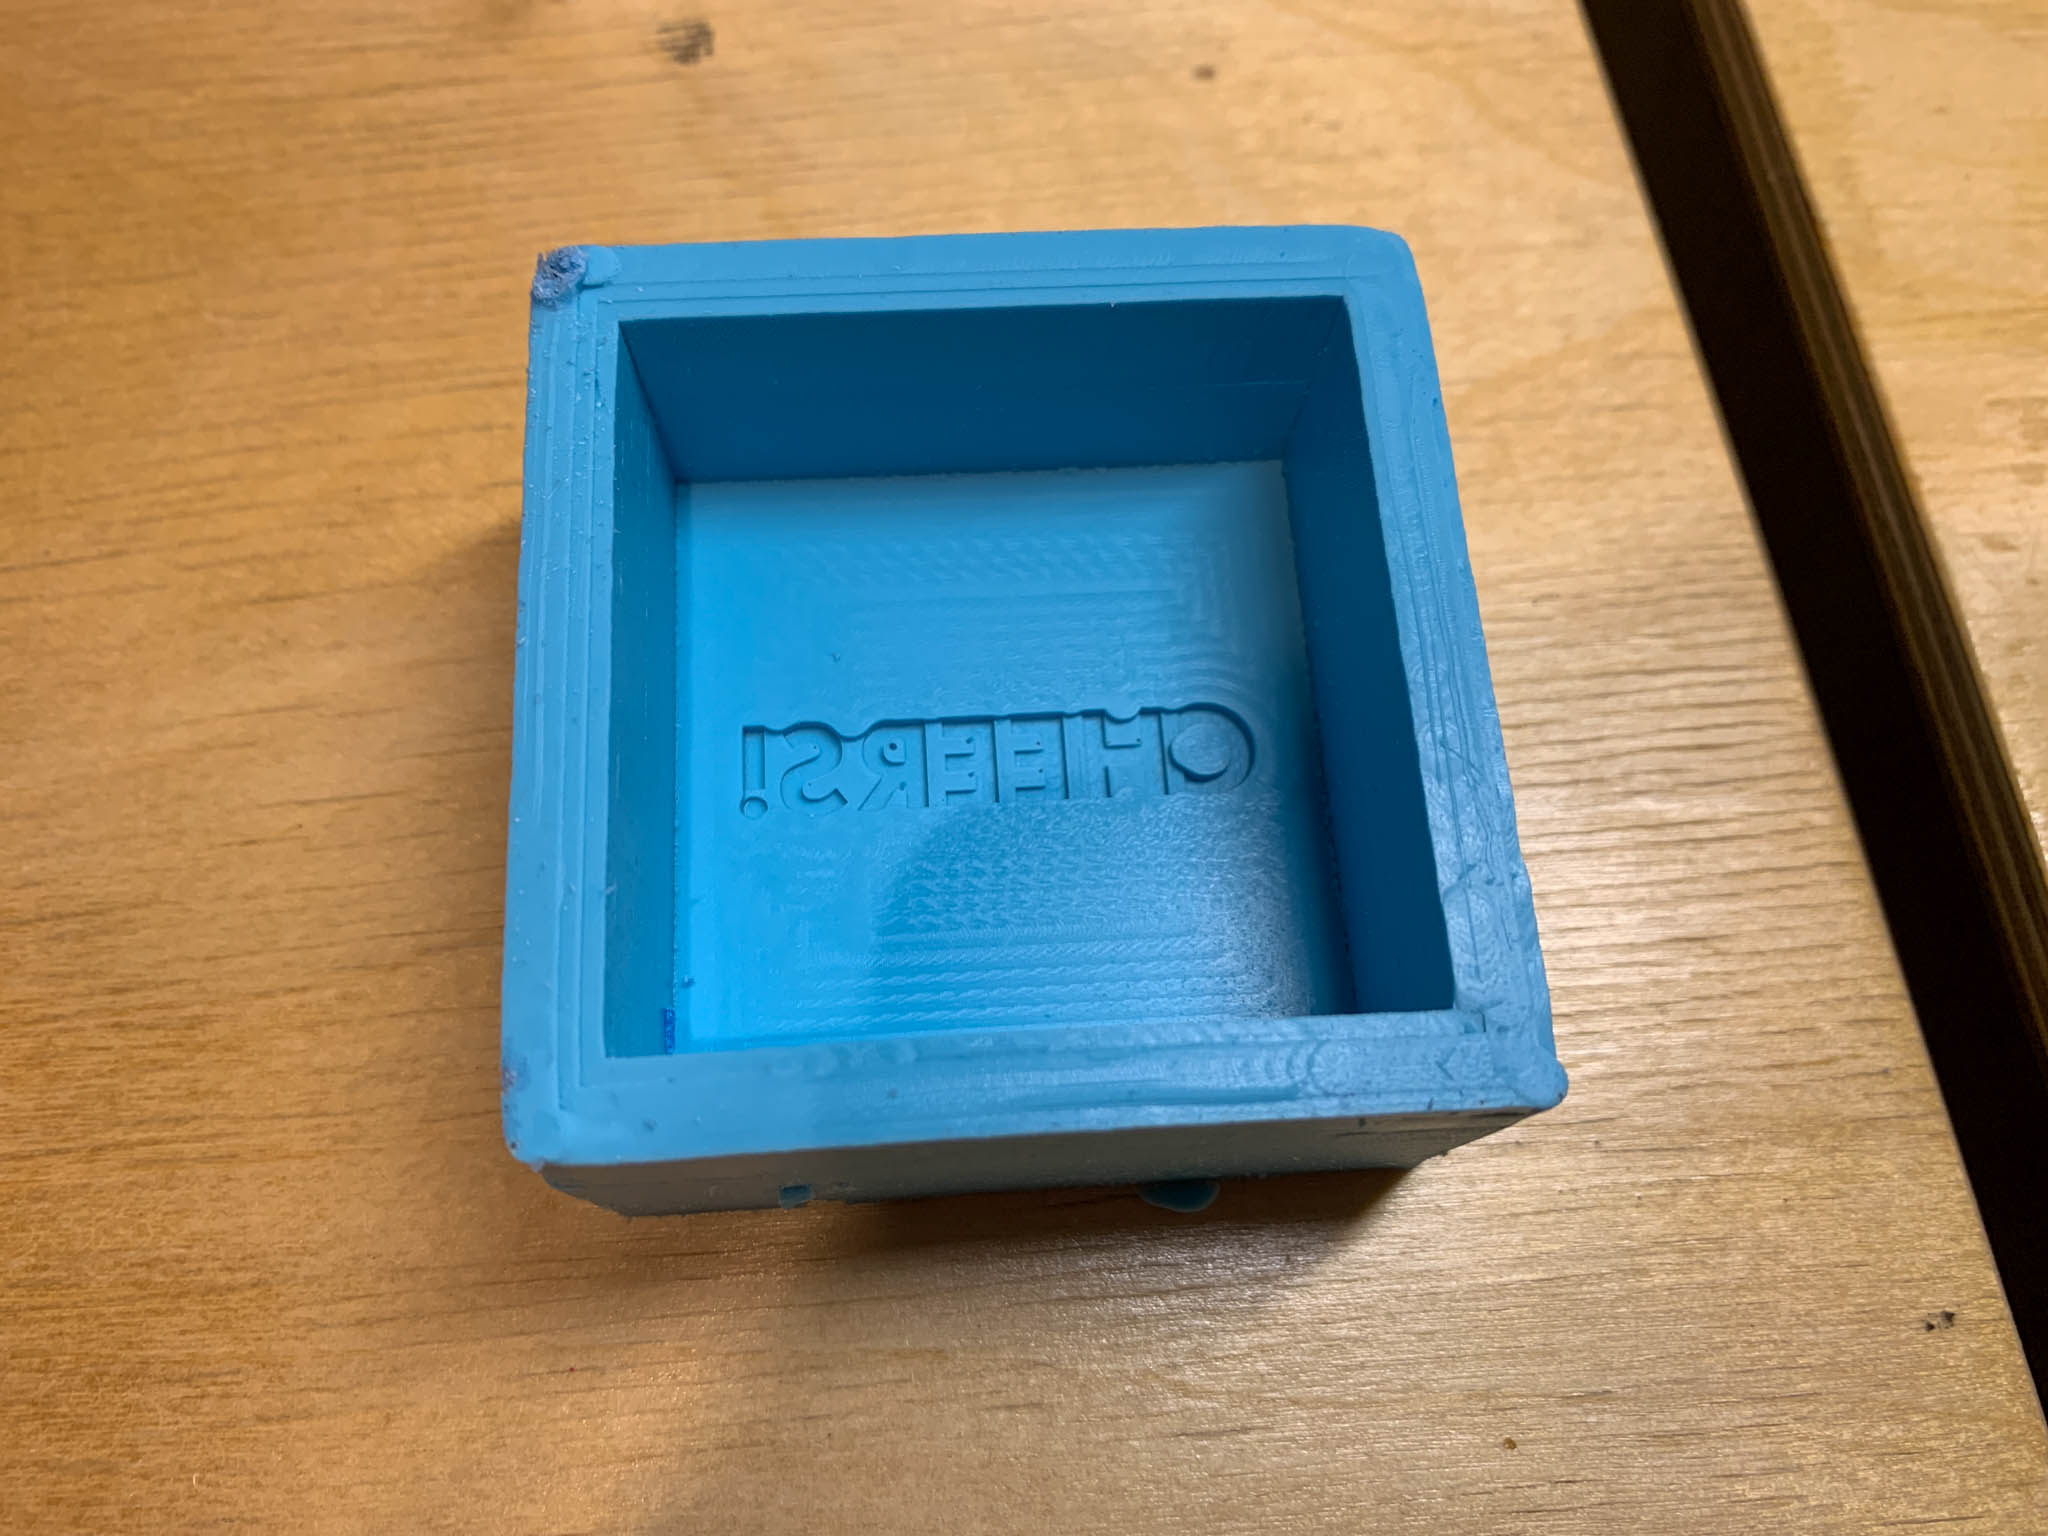
After about 2 hours, I removed the mold from the wax and it came out surprisingly well for my first mold.
Casting the Ice Cube
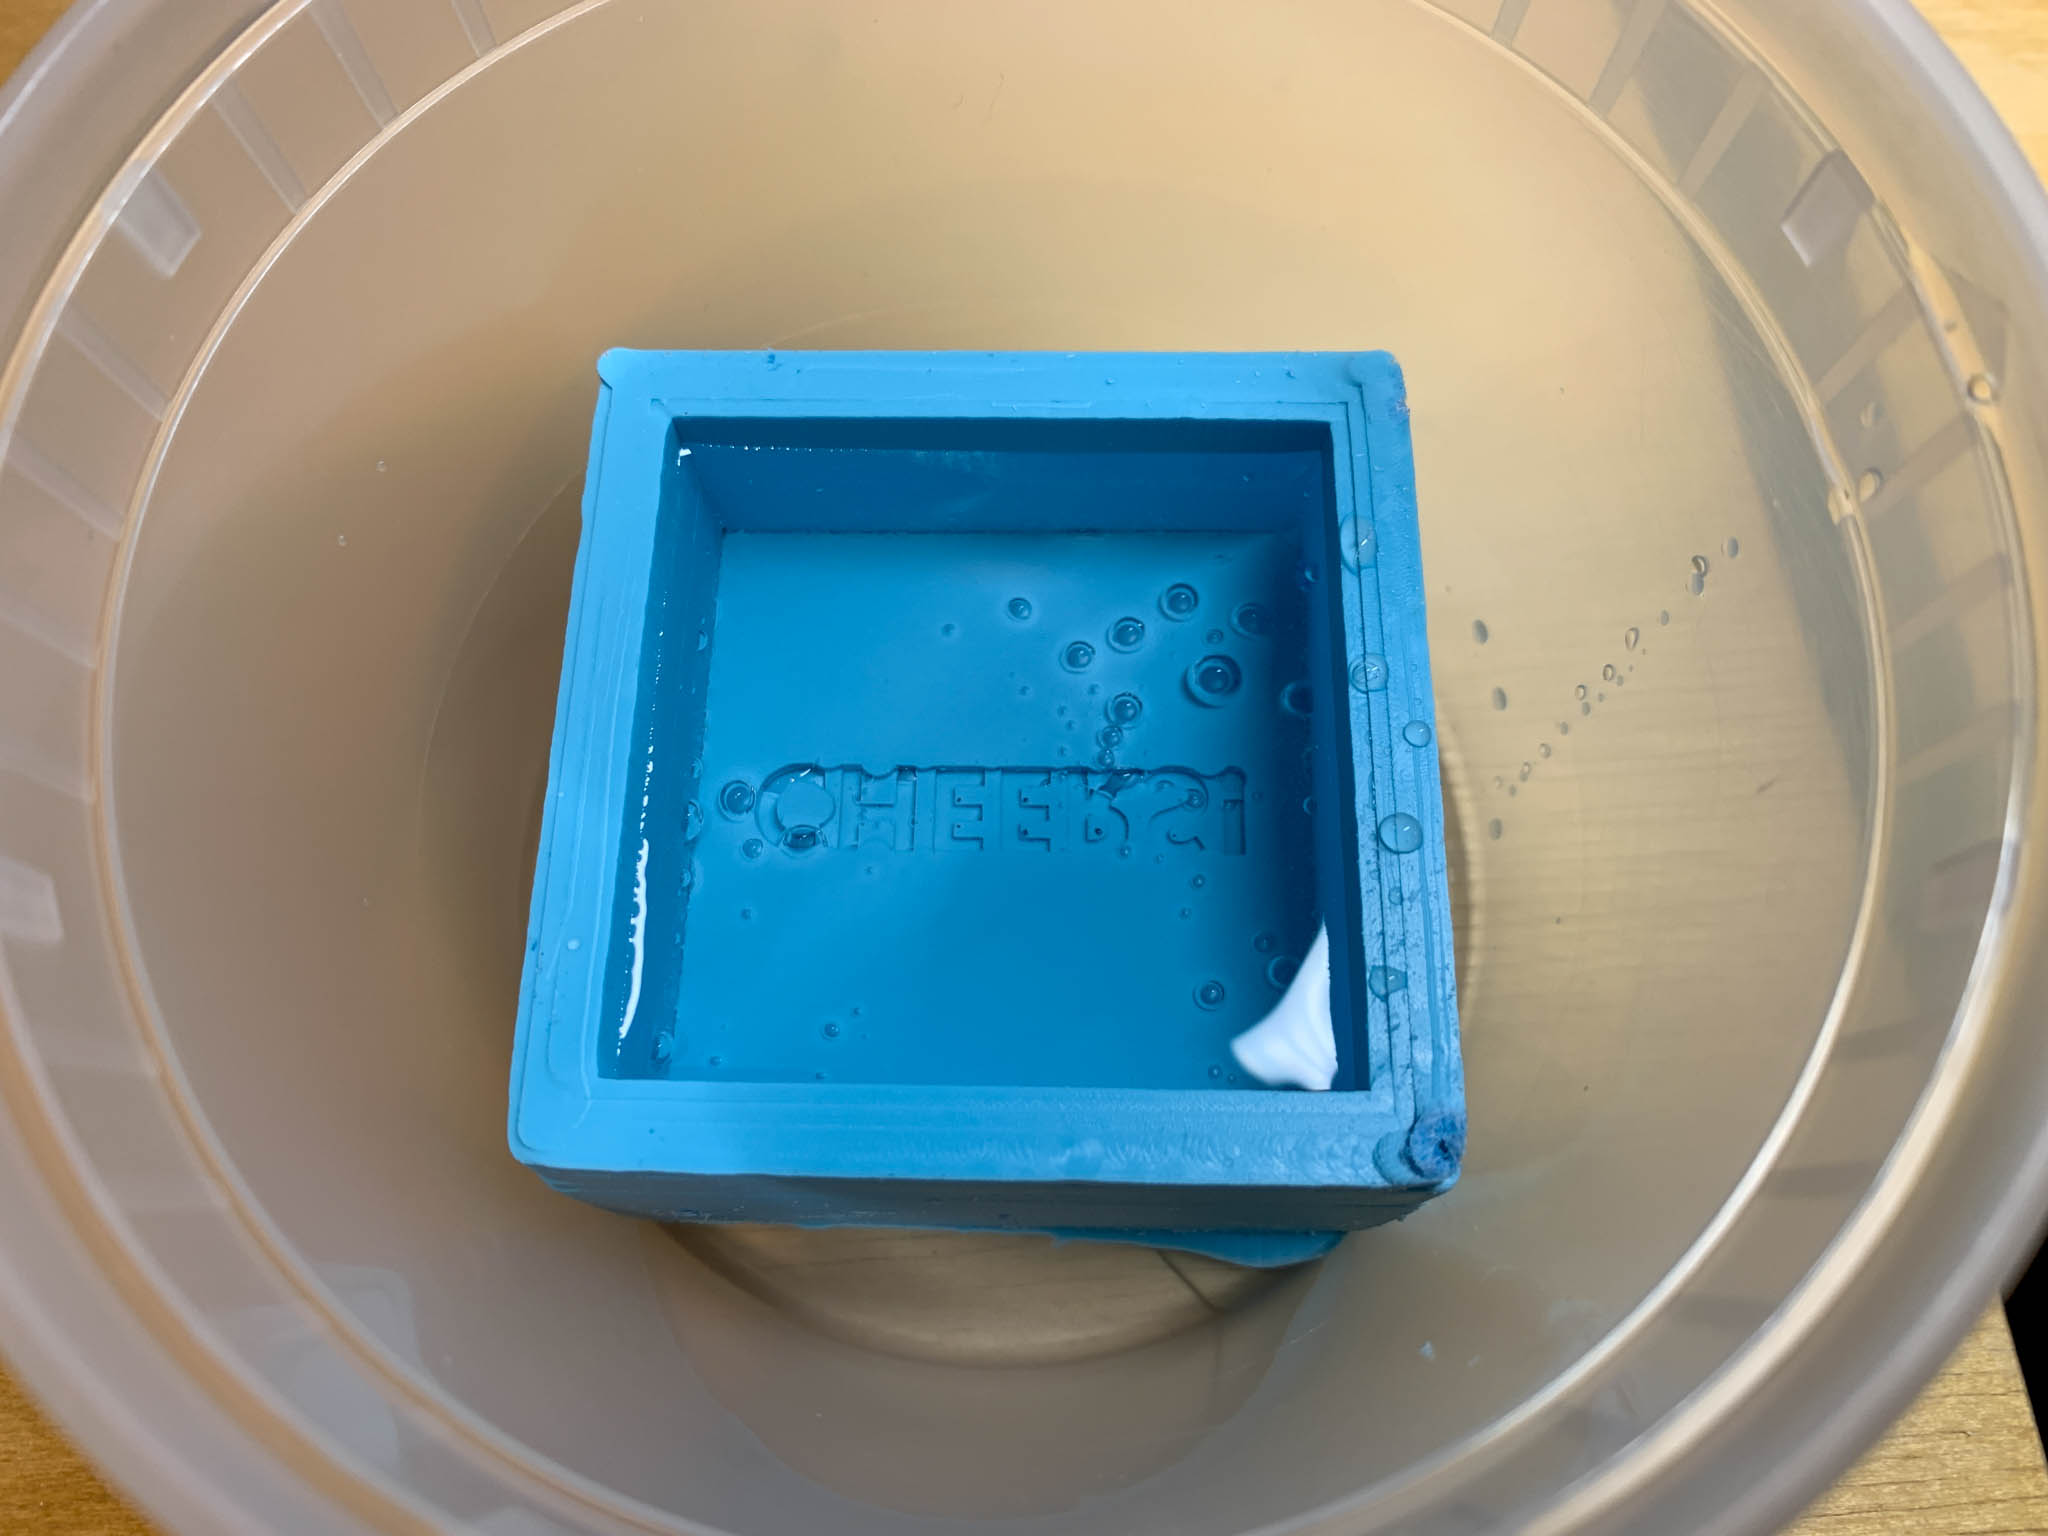
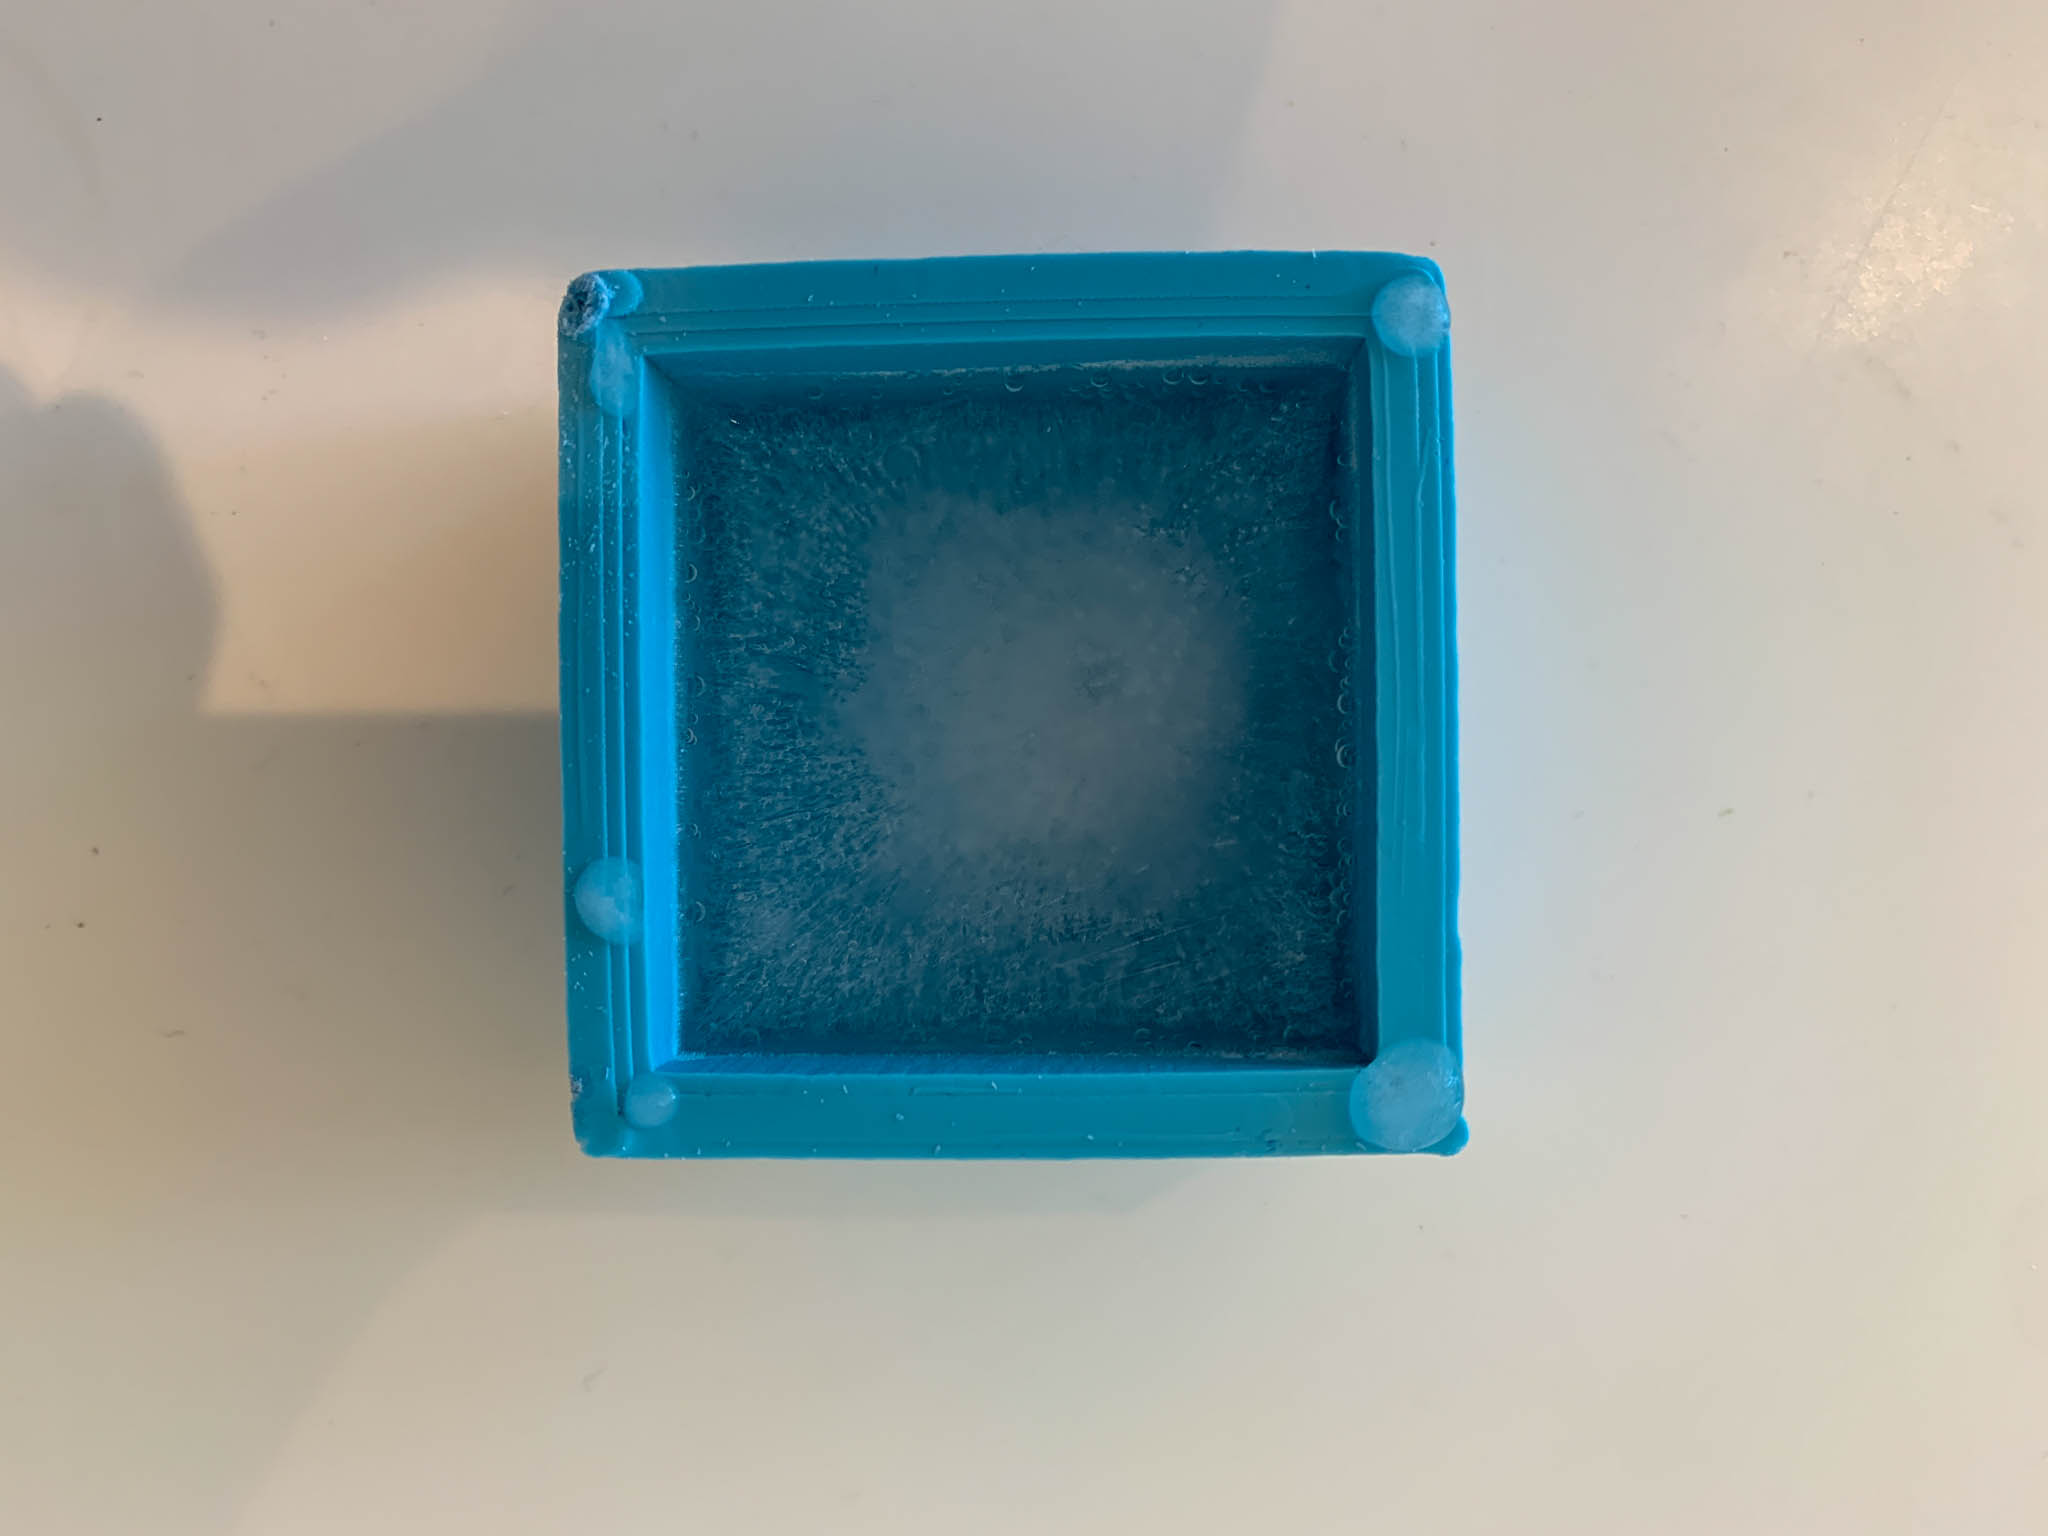
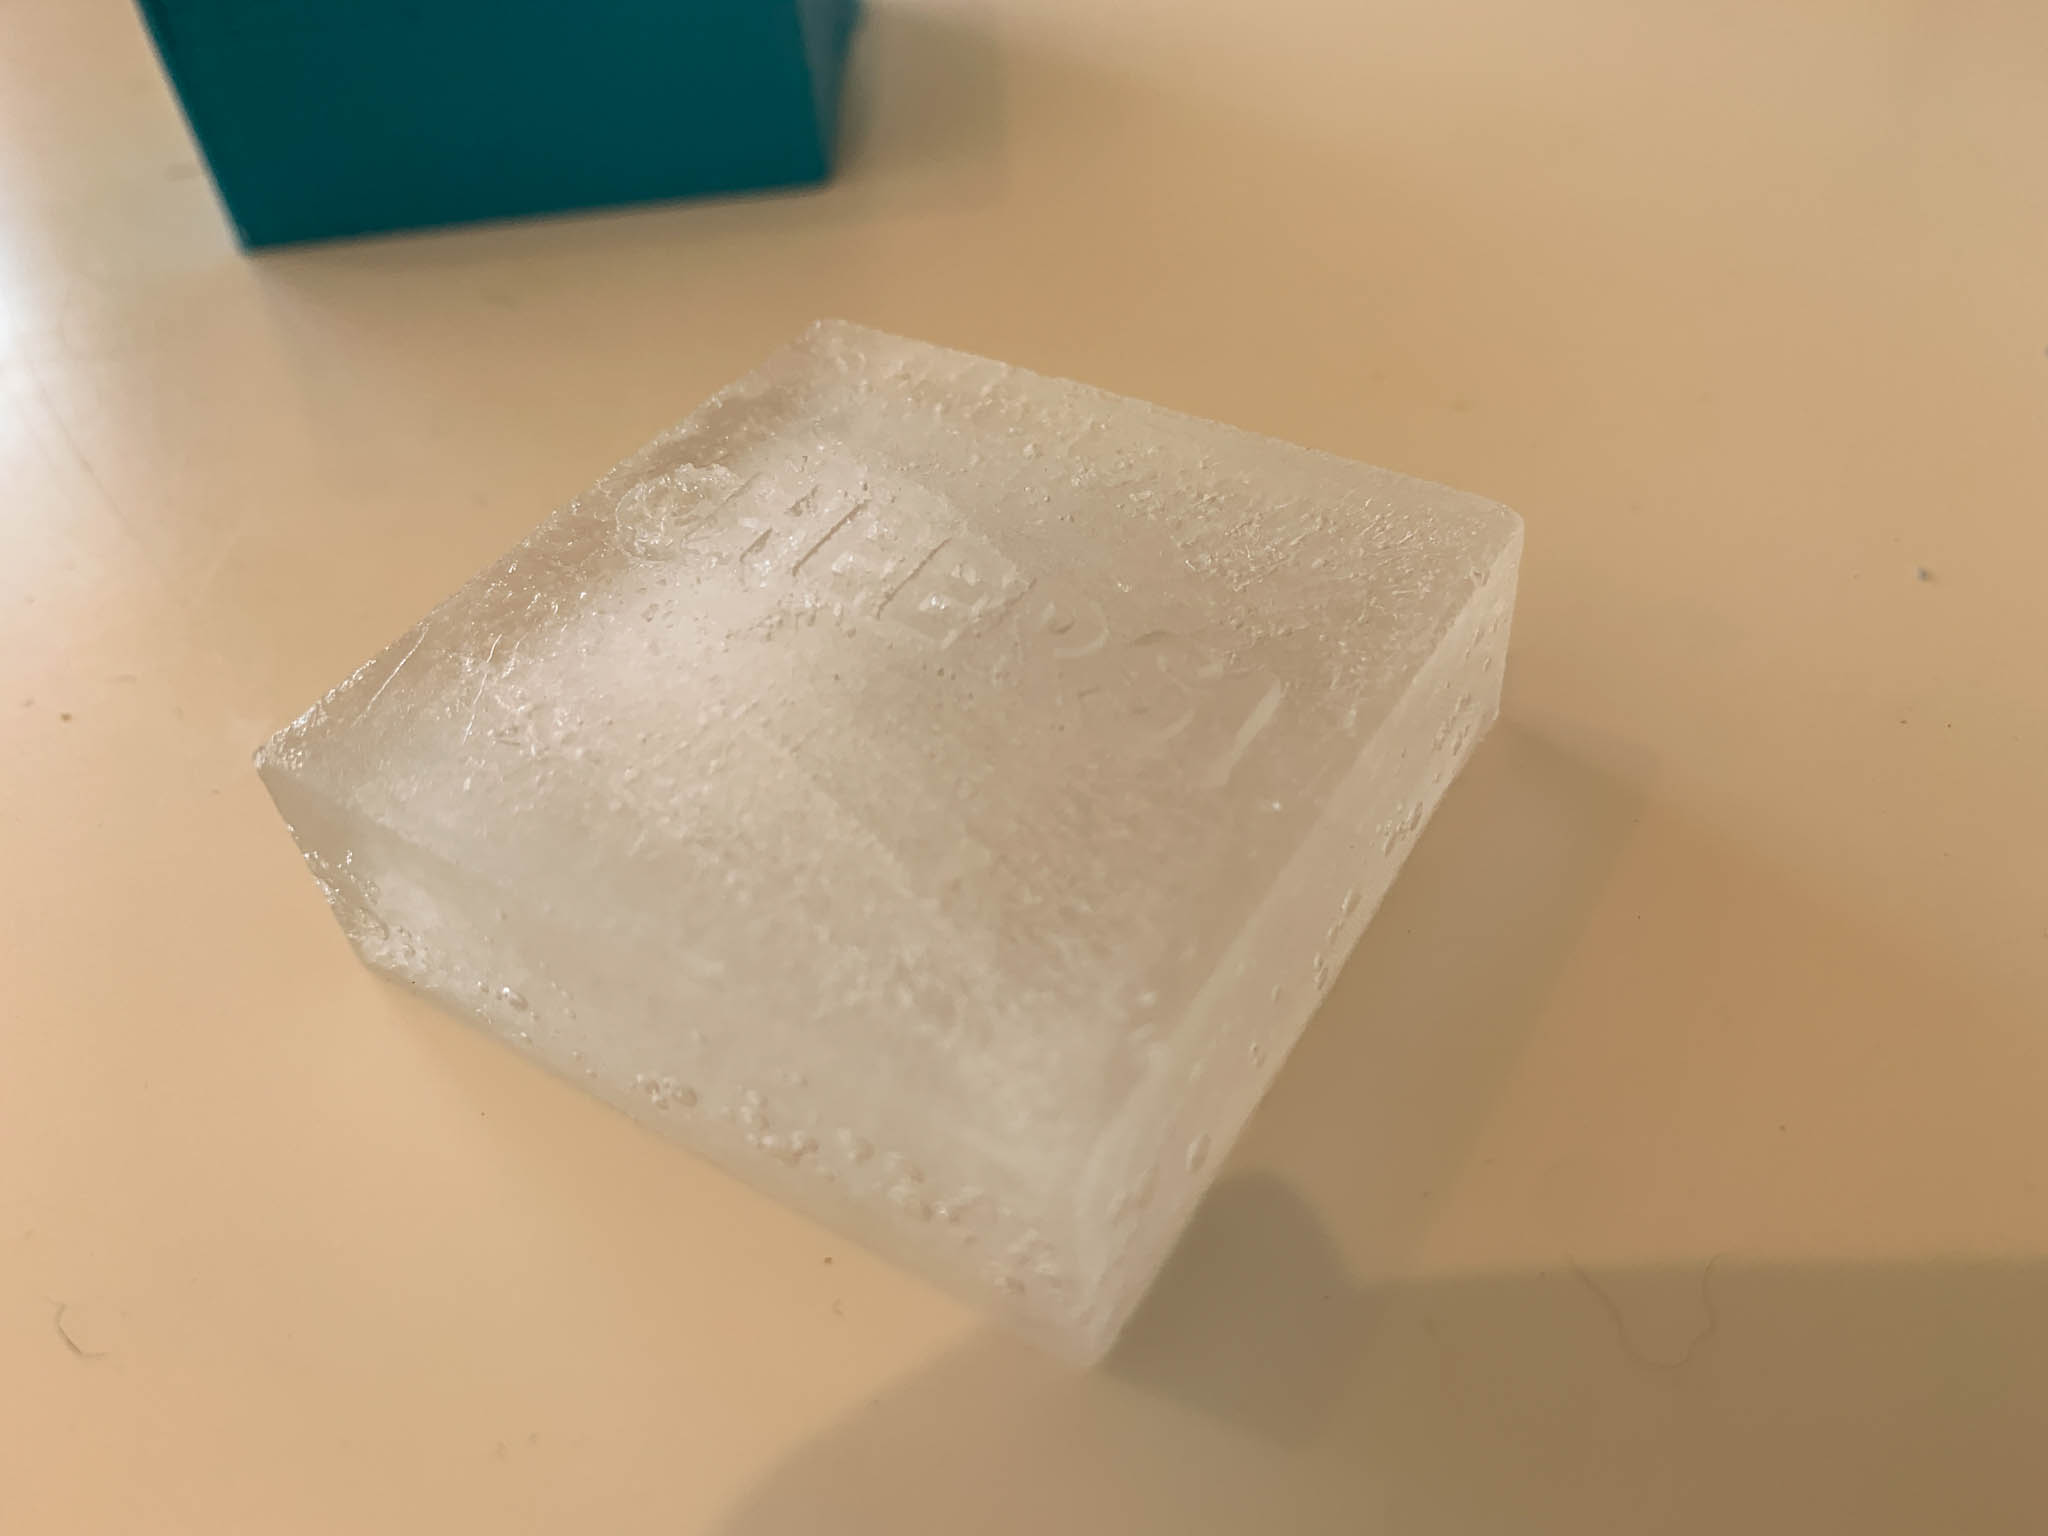
The ice cube come out the text barely readable, I am probably going to ditch the idea of doing an embedded graphic into the ice cube and instead make an interesting shape like a sphere or some other 3D shape.
3D Mold (Simulation)
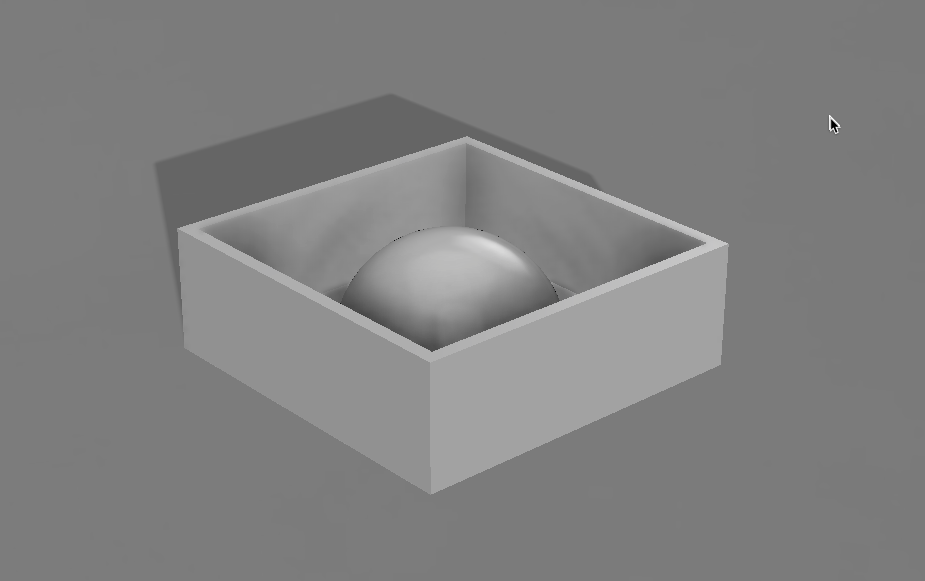
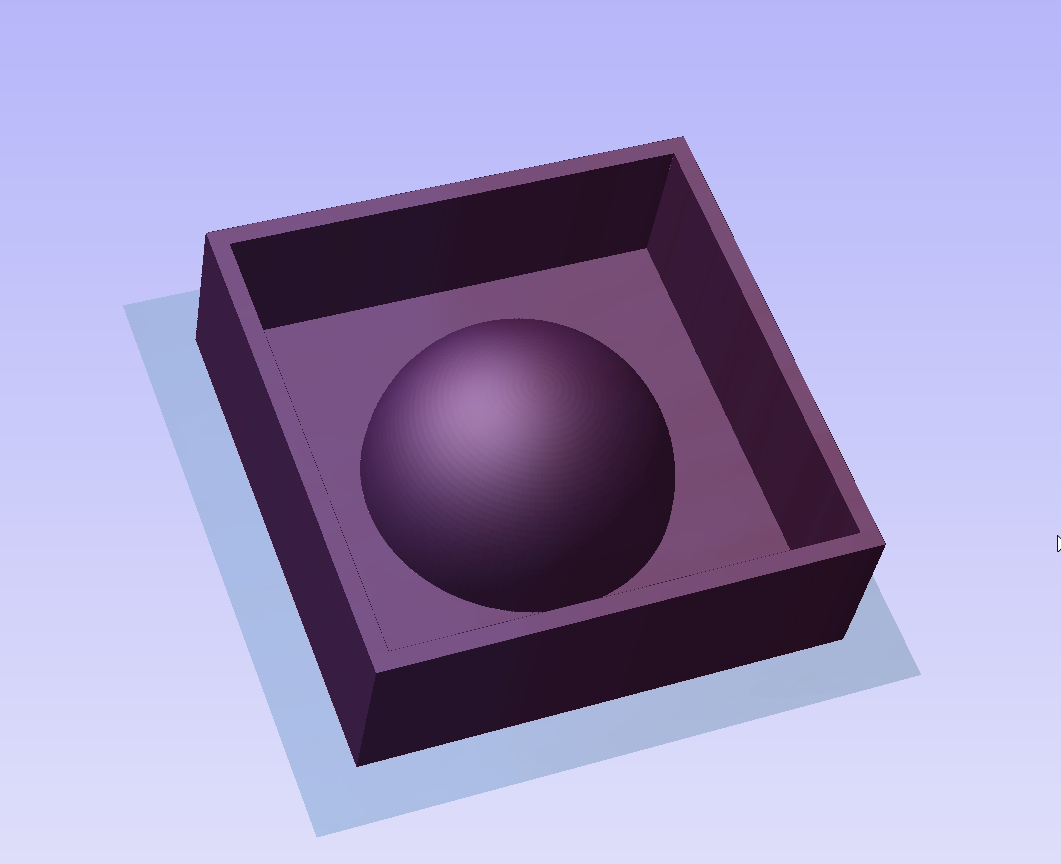
Based on feedback, I needed to develop a truly 3D model that could be milled into a mold, not just a 2D design milled into the wax. For this component, I designed a half-sphere in Fusion 360 and exported an STL for import into V-Carve. Below is the rendering of the design that I generated in Fusion 360.
3D CAM with V-Carve
Milling a true 3D mold requires designing different toolpaths in V-Carve. When you import an STL into the program, it will automatically prompt you with new settings required for handling 3D meshes and projects.
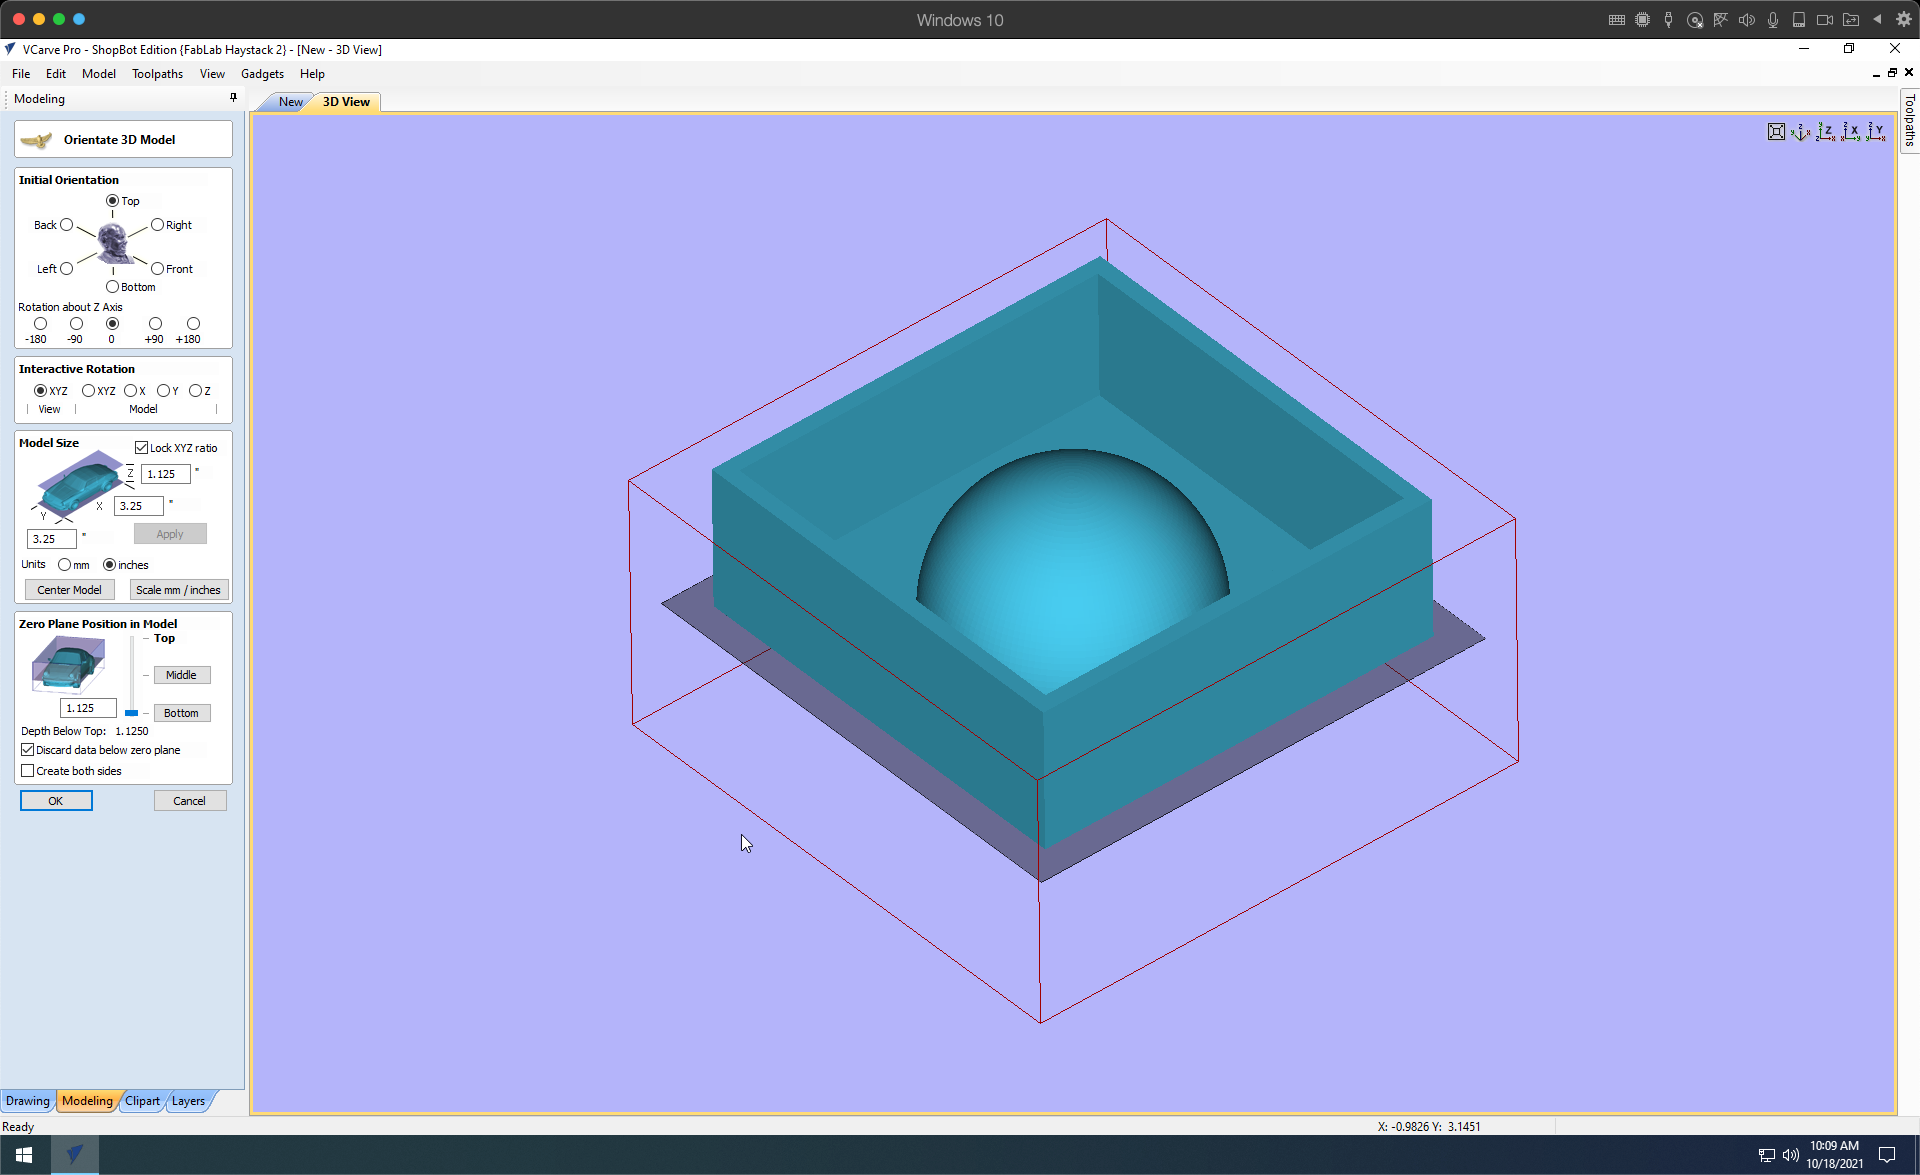
The photo above is a screenshot of 3D model import process within V-Carve. You need to make sure that the orientation and scale of the model are correct before proceeding to the 3D toolpaths.
There are two new toolpaths that are required for this project: (1) 3D Roughing Toolpath, and (2) 3D Finishing Toolpath. A Roughing toolpath allows you to use a bigger tool, clearing away more material faster. The finishing toolpath will use a smaller tool, providing the finer detail. In this case, I used a 1/4” endmill for the roughing pass, and a 1/8” ballnose for the finishing pass. A ballnose allows for contours when milling as the tool is curved at the end. An endmill has a straight edge and would produce a step-like effect into the material.
Above is the final rendering of the 3D toolpaths. In the video below, you can watch the simulation of the 3D toolpaths, both roughing and finishing.