15. Wildcard week
coffee plastic/rubber
For the final project we also want to use stamps/lino cuts as medium to print. As we want to keep the project as eco friendly and DIY as possible
In this week i play around a bit with making bio plastics from food waste. Since we both love coffee. What better to use than left over coffee ground to make plastic.
We want a rubbery plastic we can cut graphics in the same as you do in stamps or linoleum. We also would love if we could put it in the laser to engrave it and make stamps that way.
I did some searching the web and collected lots of info on the subject +11B. bio plastics
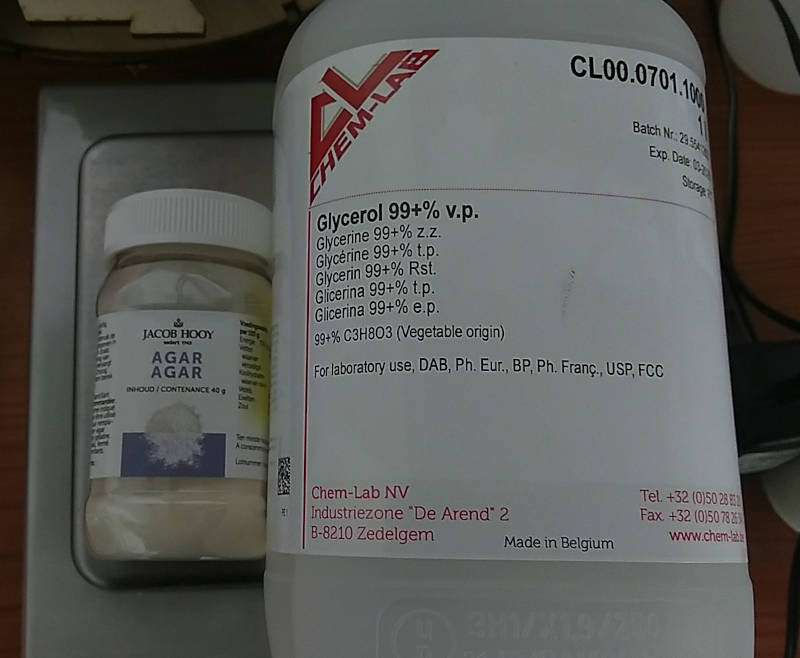
Out of all this we distilled a general agar agar based vegan recipe
 basic recipe agar:
 water : 40ml
 glycerine: 0 → 5.4 gr, increased flexibility/rubbery texture
 agar: 1.6 gr


 agar-clay recipe:
 water: 40ml
 glycerine: 2.7 gr
 clay: 5 gr
 agar: 1.6 gr
Time to get alle ingredients and start cooking ;-)
First thing to do is make sure the waste coffee is very well dried before using it. Also the first batch we tried the grounds were to course. We had to grind them much finer to almost dust.
The first test were with agar an glycerine only. Later Isabel tried also a recepi with clay, that looked a bit smoother and less fragile.
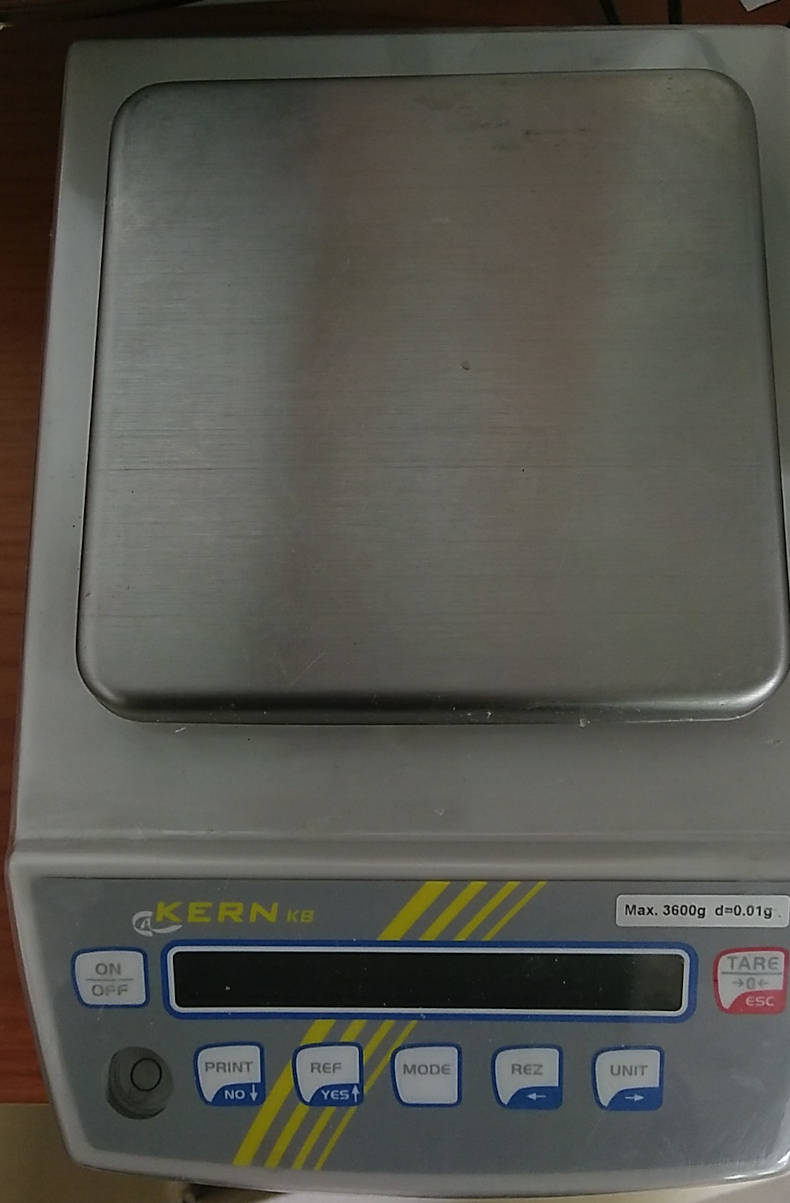
You need a scale to measure the right amount of everything
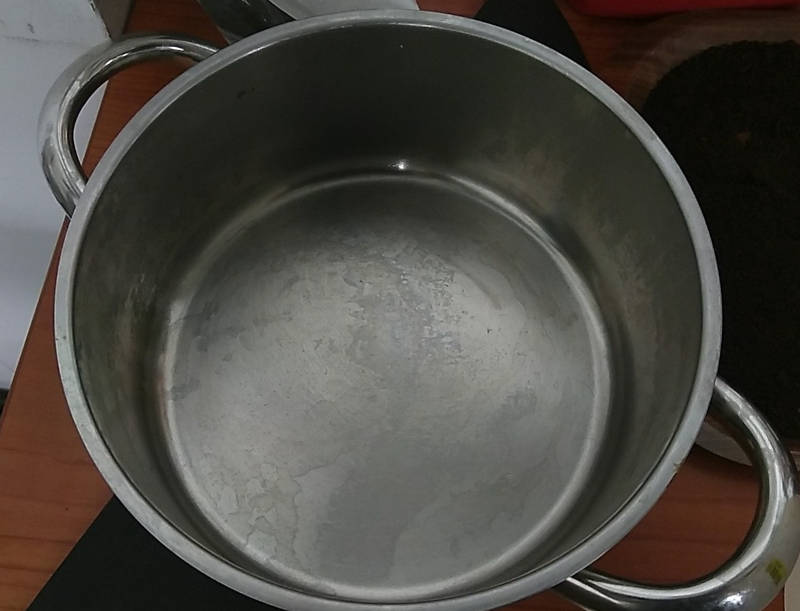
And a pot to mix and cook everything in. Everything we use is non toxic, but maybe it is best to use a pot you are not using to make food in.
Start cooking
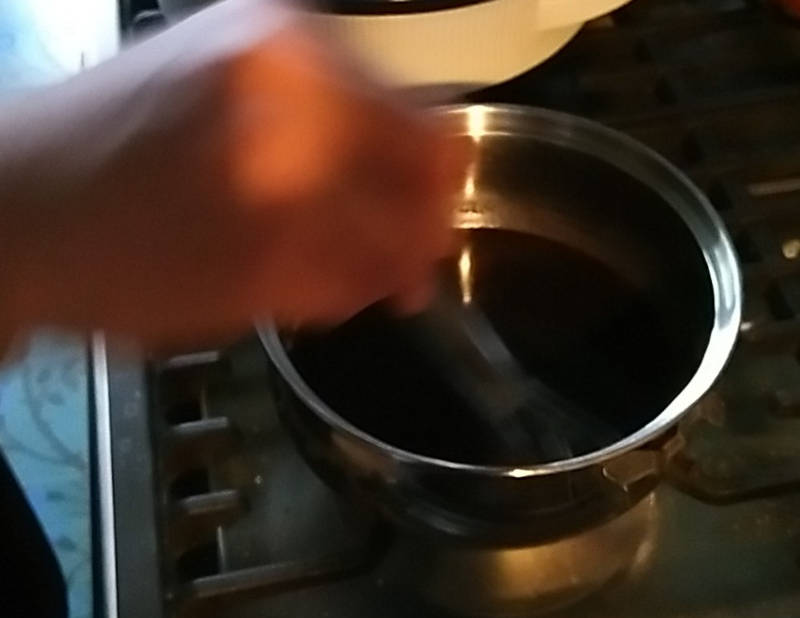
Steps:
- Boil the water
- Add the glycerine and agar agar
- Once it boils, put in the coffee( and clay)
- Leave it boil for a good five minutes, stirring your heart out (otherwise it sticks)
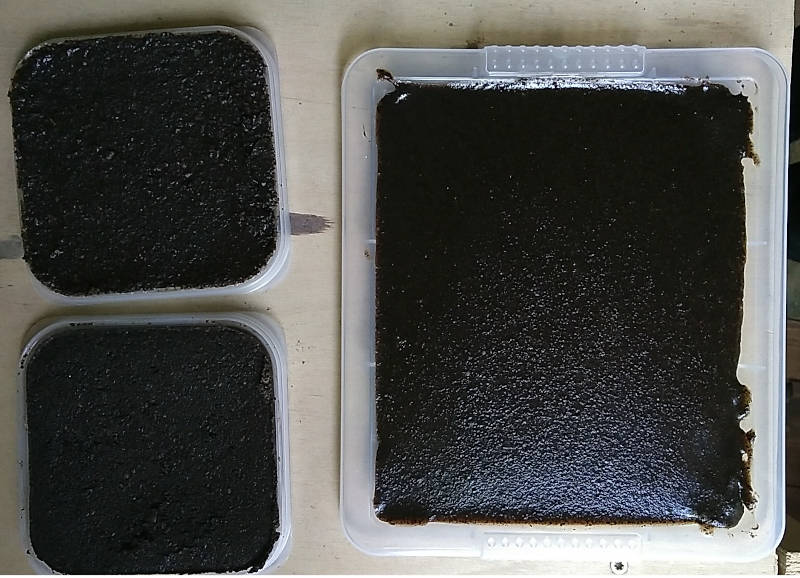
- Pour it in a container (I used plastic lids from boxes)
- Leave it for about five minutes
- Take it out of the container (otherwise it stays moist and molds tend to form)
- Leave it to dry for a couple of days. I really needs to dry long time.
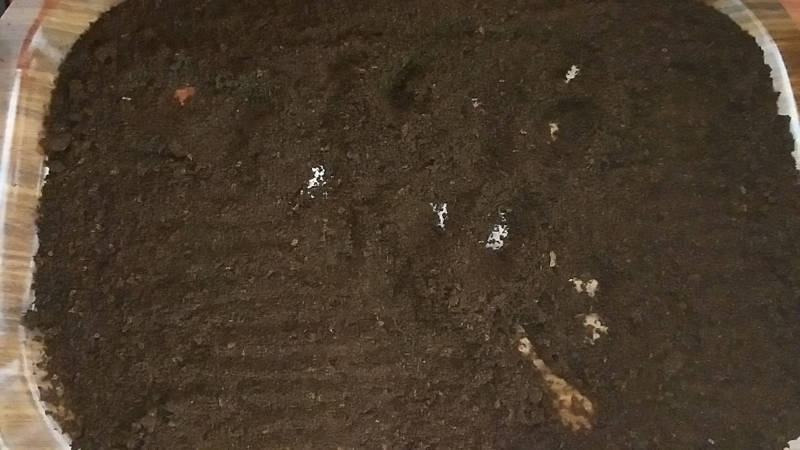
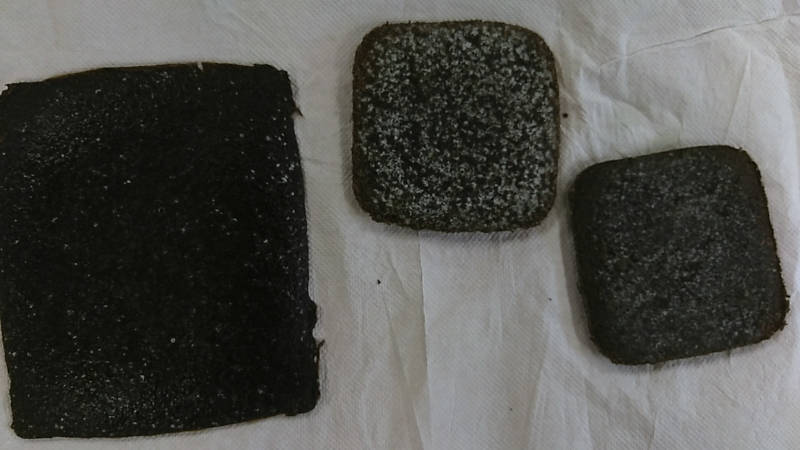
These are the results, at various stages in the drying period. I did leave the first ones in the plastic for to long and got molds in them. The next we put on a grid to dry.
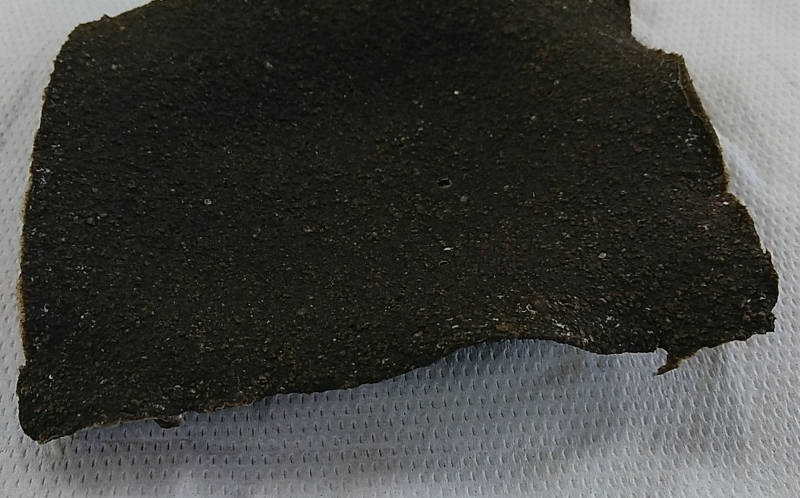
The dried plastic had shrunk a bit and curled so it was difficult to make it flat enough
laser cutting the coffee plastic
Once the pieces were dry the looked good to make lasercut stamps out of them. So we needed to try that!!
I ended up using the little robot I designed in the second week as an icon for my webpage. I adjusted the scale to be a good little stamp size
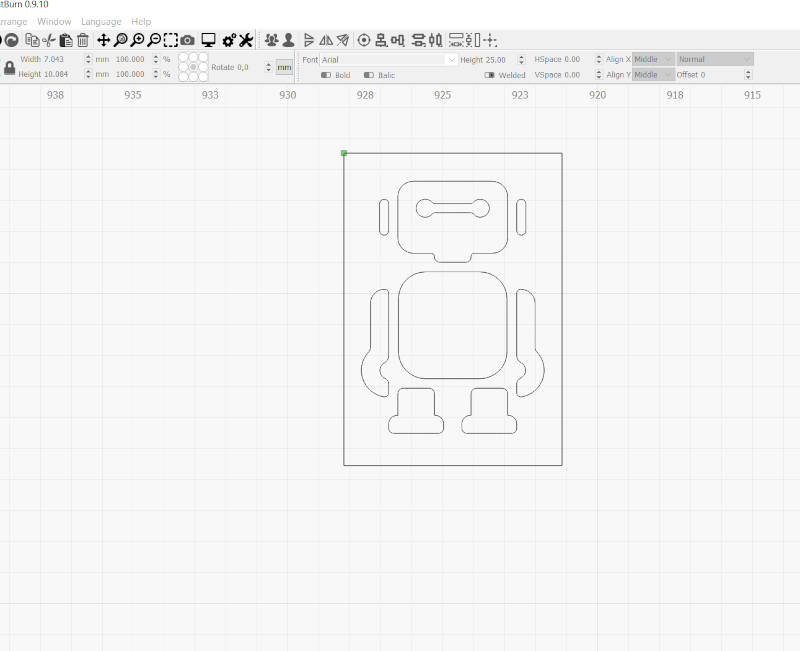
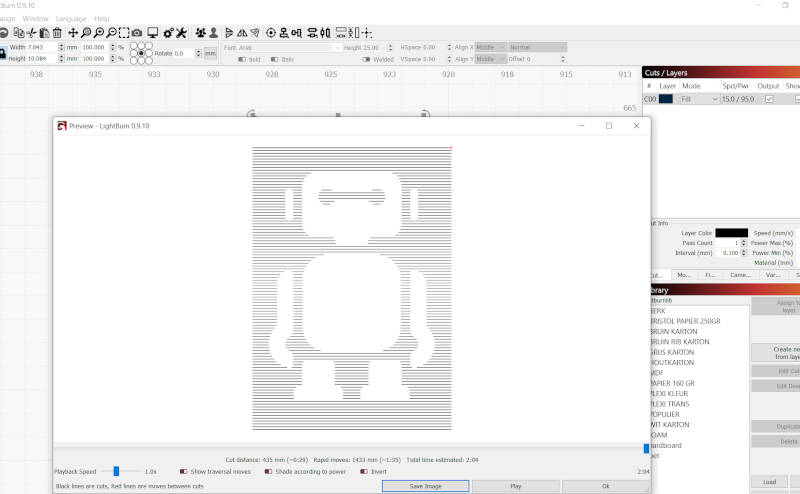
Put the right settings and have the inverse engraved with a fill setting.
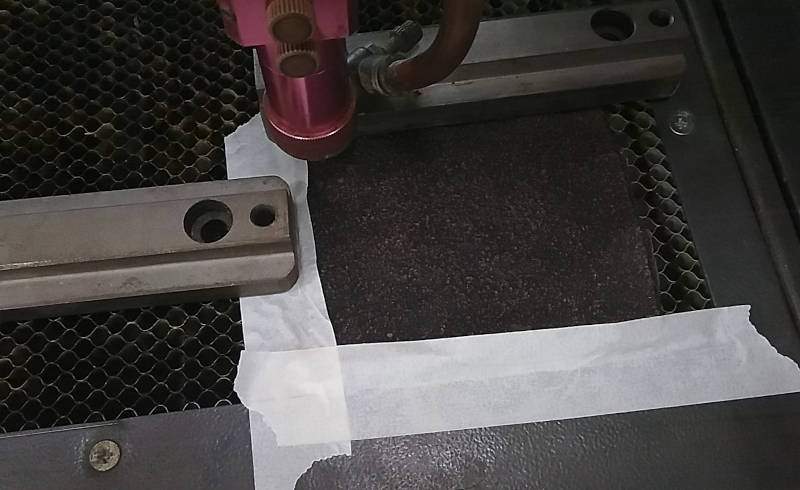
I had to put some tape and weights on the piece of coffeeplastic, because it was not flat and curled in all directions. To have a decent result engraving I had to make it as flat as possible.
And this was the result out of the laser.
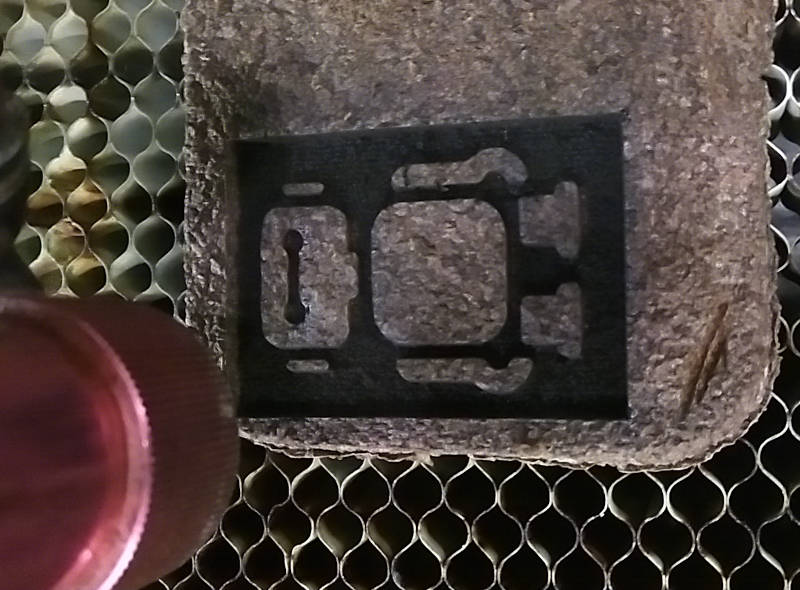
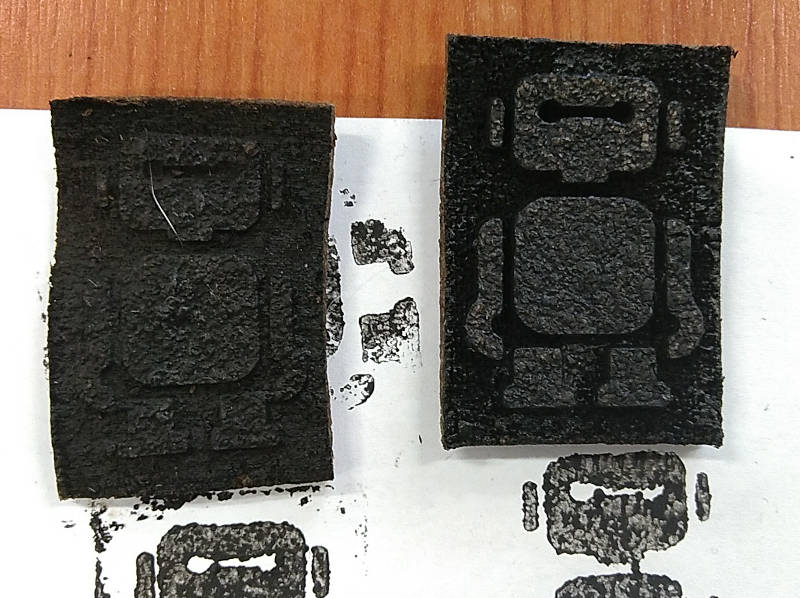
And we did some first tests with basic black acrylic paint.
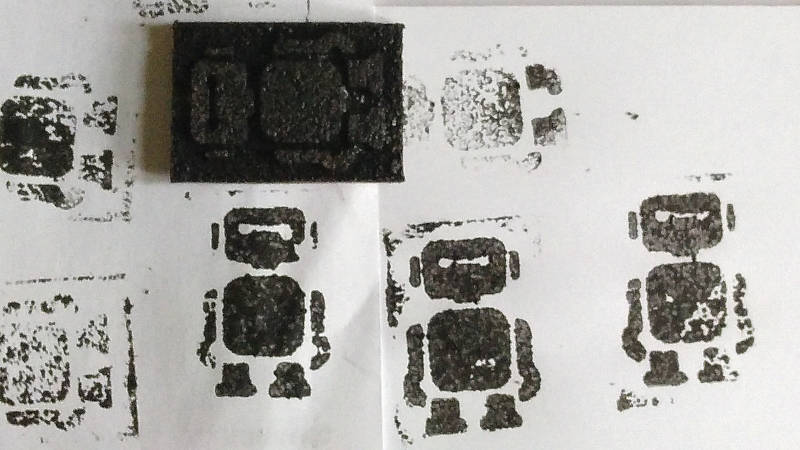
It needs some finetuning and the plastic made with the finer coffeegrounds will have less of the texture. They are still drying. But the texture itself is also a nice result. 🙂
We also would like to look into making ink or paint based on coffee. But that will be for later.
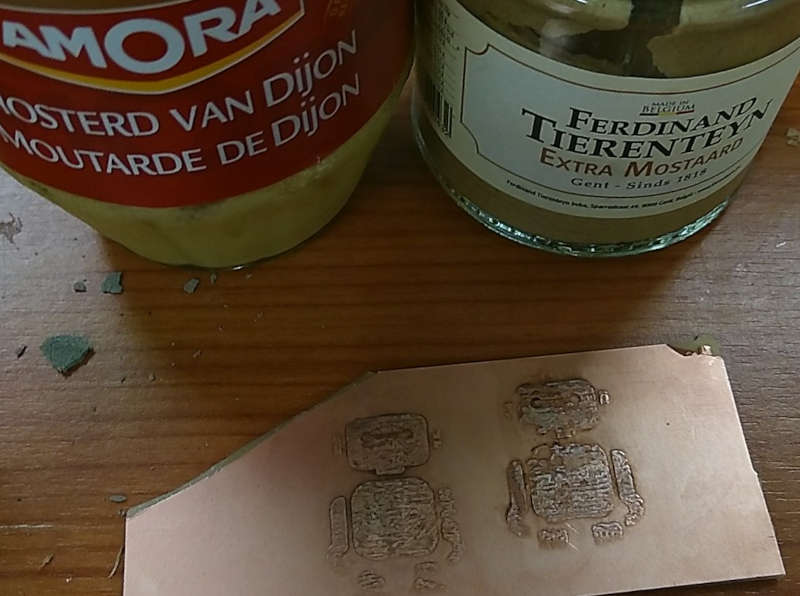
tests engraving copper with mustard
I had read some posts online about being able to use mustard as an agent to engrave on metals in a standerd CO2 laser cutter. So of course I had to try this out. We also had some scrap pcb bits left over from all the board milling we did. So we put those to use for this.
Have to look further into this. It had some results, but not good enough to compare to the commercial sprays. So we have to keep looking for better settings, or mustard ;-)
So far i did some tests with 4 different brands I found in the fridge here.
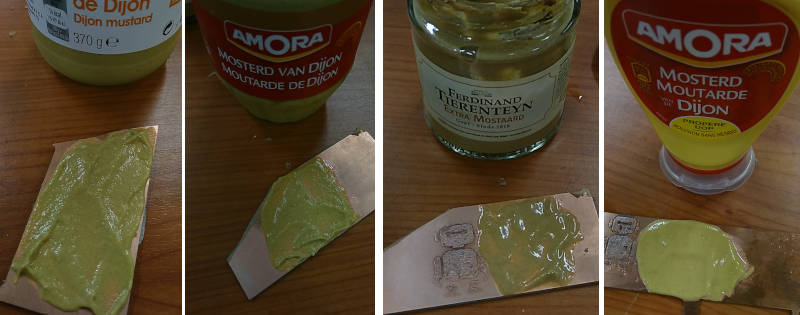
And these are the results.
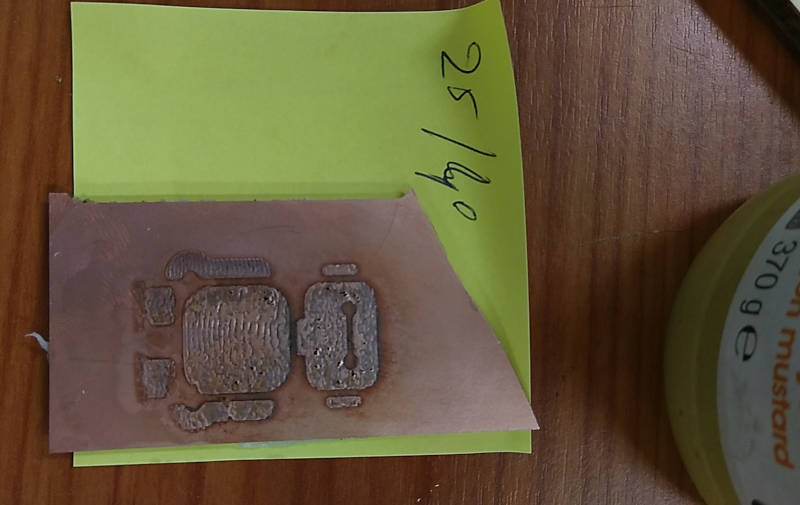
I should also test this on steel instead of copper, maybe that has better results. I also need to test the statement that it should work with a paper towel soaked with vinager.