♦ 3D Scanning and Printing♦

|
|
I was more excited for this ,because in this week we are going to use 3D printer and scanner.
Neil told about additive and subtractive method.He shown different test pattern,also he told about different type of material used for 3D printer and different types of printer.On second day we visited Dassault System Lab ,pune.In that lab we have seen different printers and materials .Also we have seen different objects.They told about scanner.Dassault systems works in different domain.They work on virtual reality,agumented reality.It was good experience of visiting to Dassault System.
After that our local instructor Komal maam gave lecture on design rules and additive and subtractive method.
Then our another instructor Aditi maam told about how to operate 3D printer and also about software.
Please refer group assignment here:
Group Assignment:Test the design rules for your 3D printer.
Individual Assignment: 1) Design and 3D print an object (small, few cm3, limited by printer time) that could not be made subtractively.2) 3D scan an object .
What is Additive and Subtractive method:
Additive Method:Layer by layer material is added one over the another to develop desired solid 3d product. Material deposited with the help of nozzle.
Subtractive Method:Layer by layer material is removed from solid block to fabricate 3D product Solid block clamp over the machine use cutting tool which remove the material from solid block.
What is 3D printing:
The 3D printing process builds a three-dimensional object from a computer-aided design (CAD) model, usually by successively adding material layer by layer, which is why it is also called additive manufacturing.The most-commonly used 3D-printing process (46% as of 2018) is a material extrusion technique called fused deposition modeling (FDM). While FDM technology was invented after the other two most popular technologies, stereolithography (SLA), and selective laser sintering (SLS); FDM is typically the most inexpensive of the three by a large margin, which lends to the popularity of the process.(Wikipedia)
Introduction of Machine:
In Vigyan Ashram ,we have Julia Extended 3D printer from Fracktal works.We have used Julia for group assignment which is about characterize the design rules for 3D printer and also for individual assignment.For generating Gcode we are using Fracktory 3.0 software.This machine has advantage ,we need not to set origin.It automatically set the origin and directly follow the Gcode.
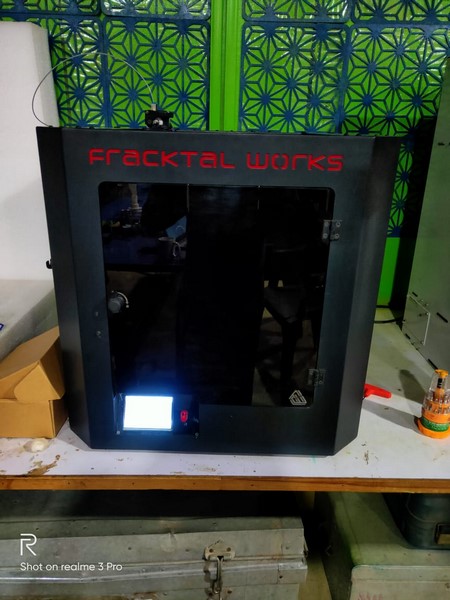
Julia extended
Machine Specification:
Bed Size:250 mm x 250 mm x 300 mm
Print Technology: Fused Deposition Modelling (FDM)
Filament Diameter: 1.75mm
Nozzle Diameter: 0.4mm
Nozzle Temperatures:Upto 240 °C
Bed Temperature: Upto 110 °C
Compatible Materials:ABS, PLA, Tough PLA, PLA+, PETg, PVA, PVA+,
BVOH,Polycarbonate, Nylon 12*, Carbon Fiber Nylon*, Carbon Fiber PLA
Supported File Types: STL, OBJ
File Transfer :USB Pen Drive, WIFI, LAN
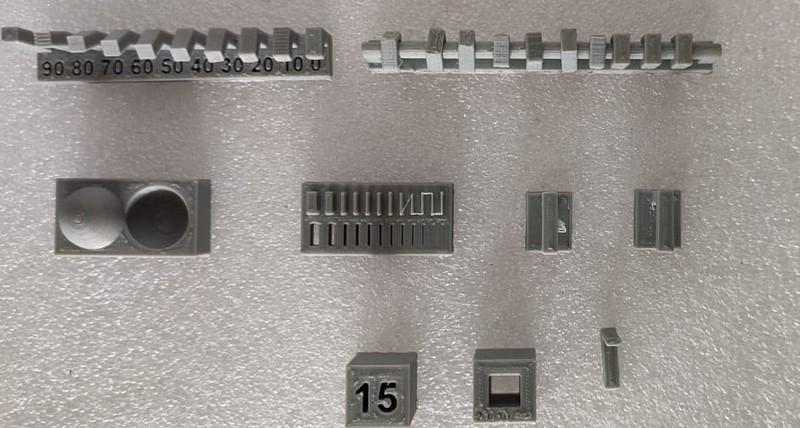
Group Assignment
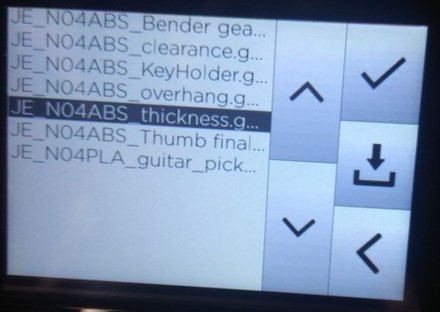
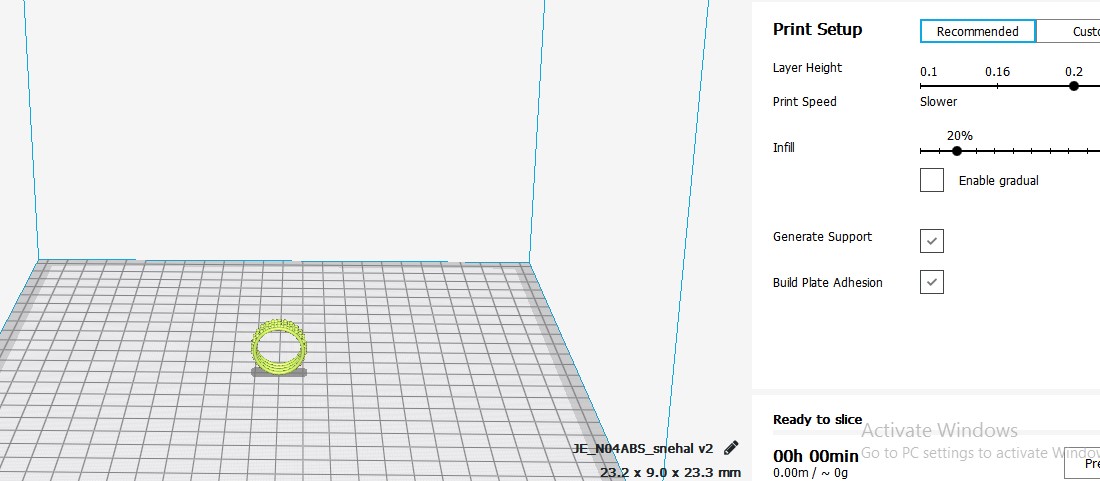
In group assignment we have to check design rules for Julia.For that Neil has given different test patterns.We downloaded all test patterns and printed it one by one .I did assignment with my partners tejswini,vikram, shreyas and nikhil.We have to set nozzle and bed temperature.There is option for material selection.In machine setting there is option of cooling also.
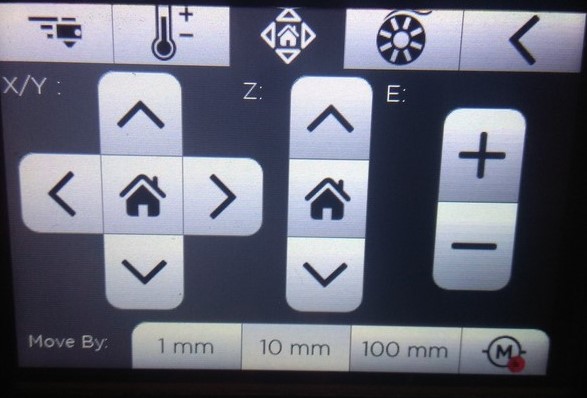
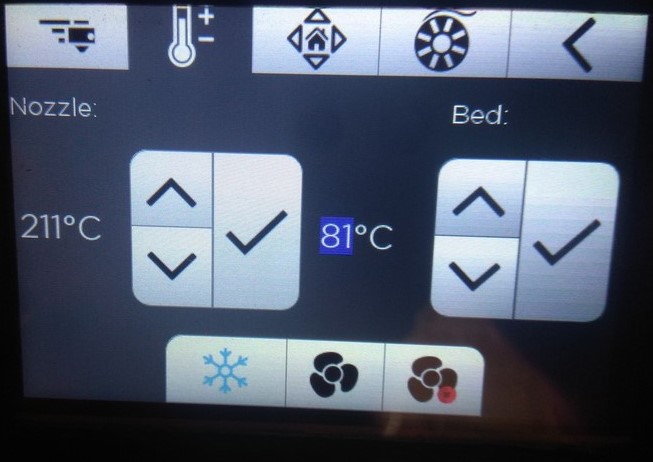
Below figure shows the setting of 3D printer.By pressing the home button we can set the default origin.Also we can set nozzle and bed temperature according to material.Just click on file which you want to print.
|
|
|
Setting
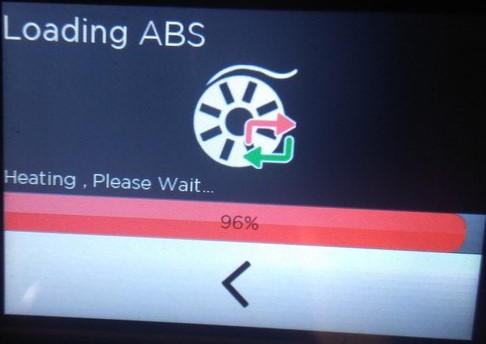
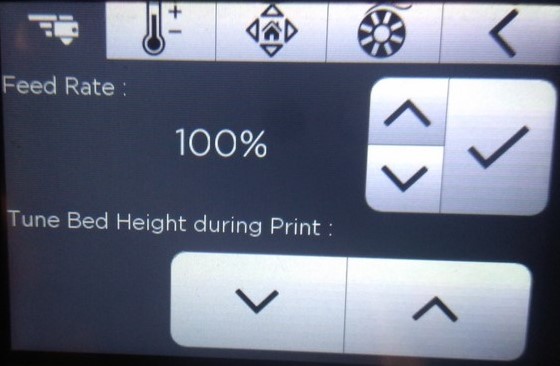
By clicking on change filament,change the material which you want and select.It will load after that select feed rate as 100%.This printer is easy to operate.We can give file through usb or we can save file there.
|
|
|
Test Parts:
Overhang
Clearance
Angle
Bridging
Wall thickness
Dimensions
Anisotropy
Infill
Surface finish
Individual Assignment:
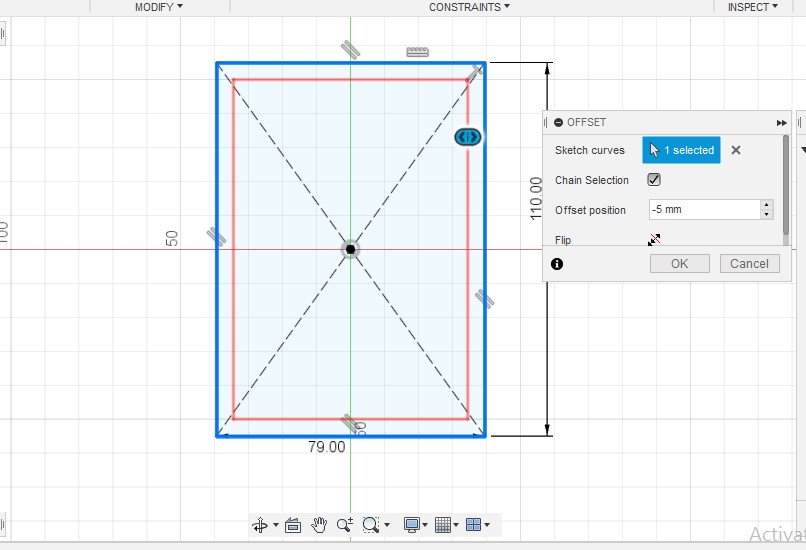
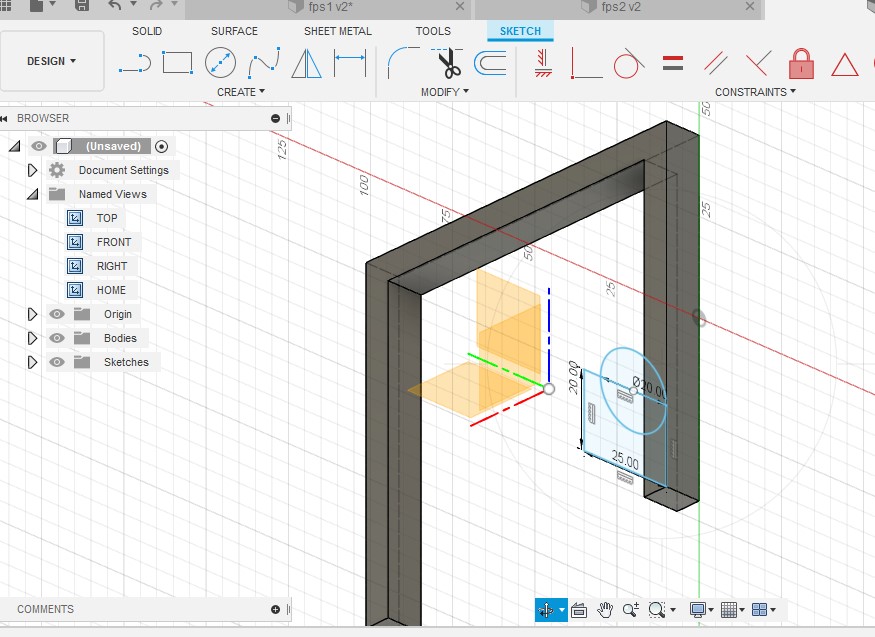
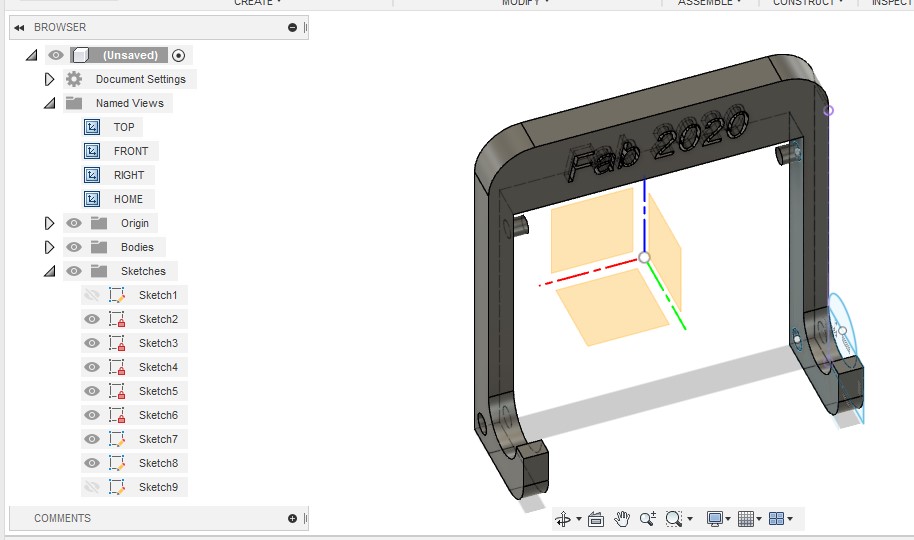
In individual assignment we have to make any object which is few cm and it can be made by only additive method.So I decided to make something useful.I discussed with my instructor.Aditi maam gave me idea of making of phone stand.I watched some videos on you tube and started making of design.I feel fusion 360 is easy compared to freecad ,so I started with fusion 360.
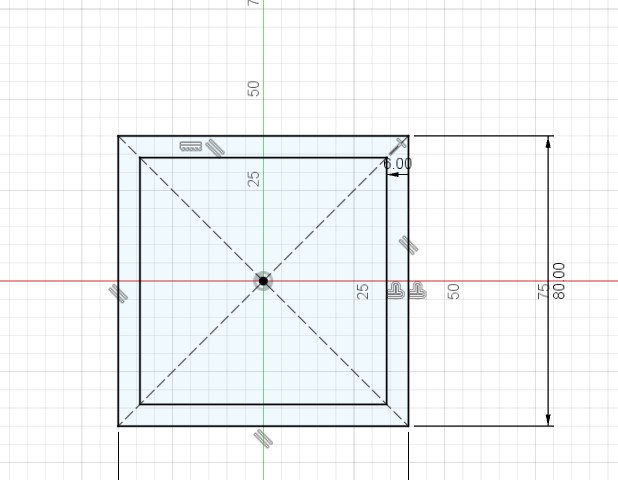
Draw rectangle and make offset inside i.e -5mm and draw two circle one of 5mm and other 6mm .Use extrude command.
|
|
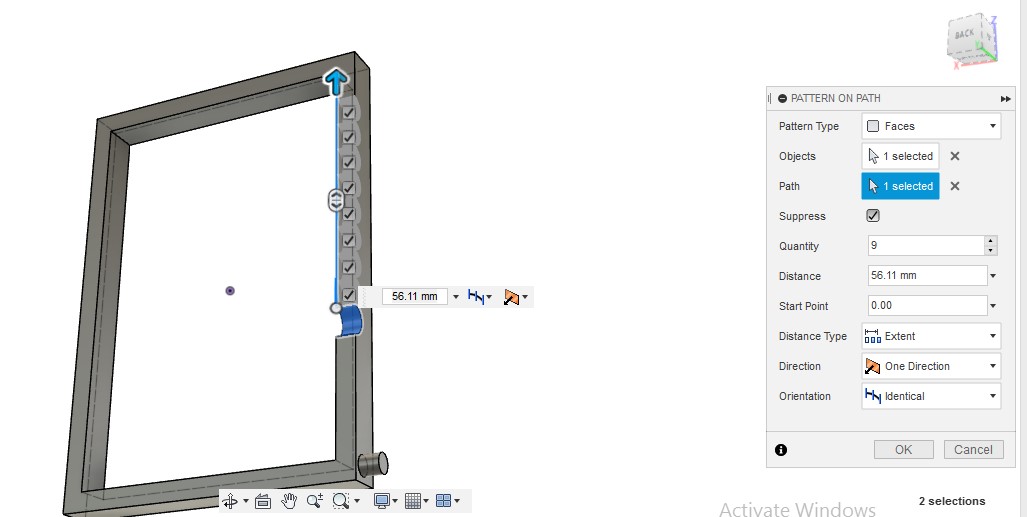
Go to sketch and apply pattern command .Select the object which you want to make pattern .
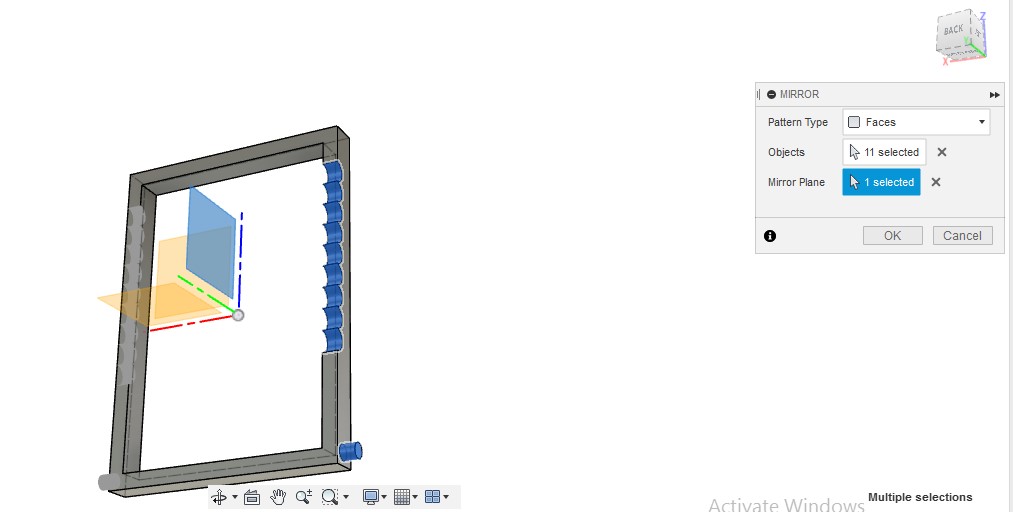
Select the quantity.After that I have to mirror it on other side ,so I have used mirror command.
For mirroring select the plane and apply mirror command.
|
|
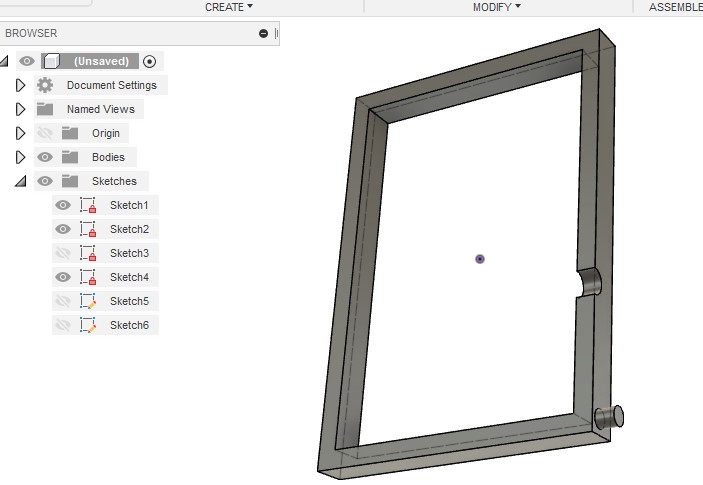
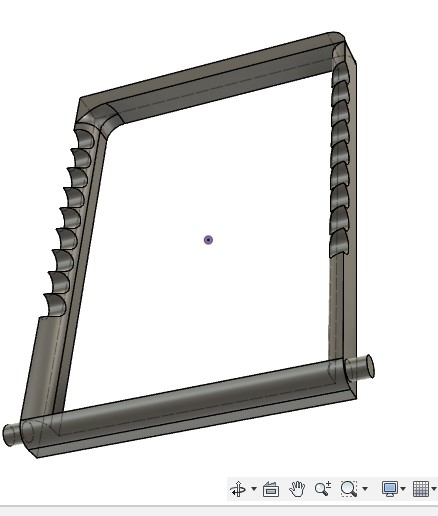
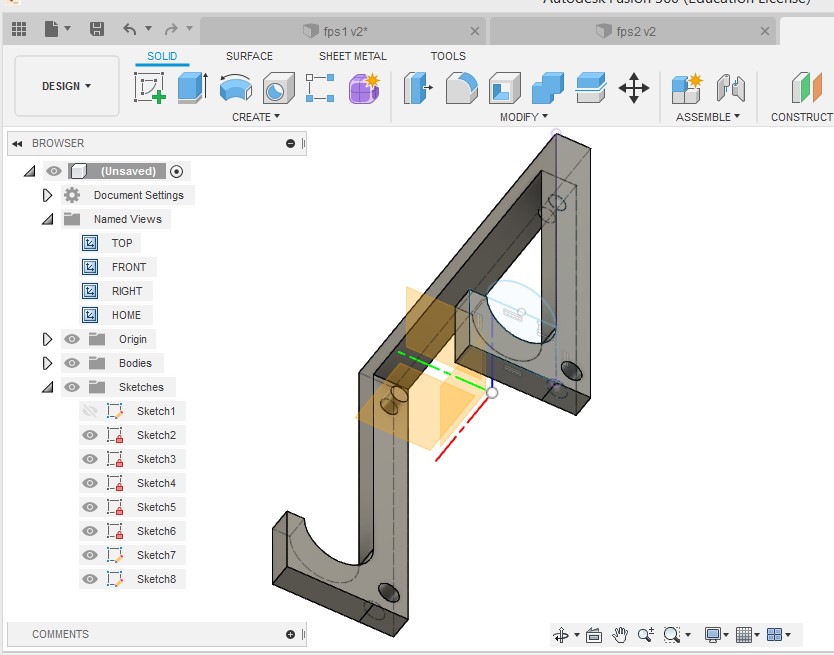
Now first design part is ready.I have to make two other parts.
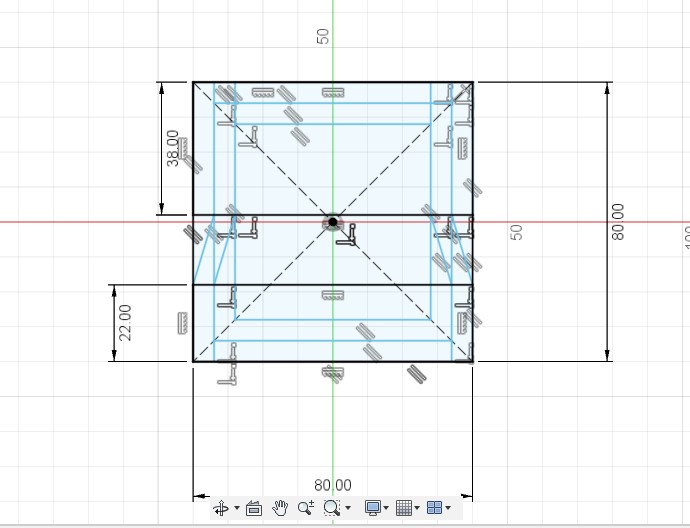
For second design I drawn rectangle.Make offset of 5mm.
|
|
Use extend command to make line extended.And draw line as shown in figure.
Select the part which you want to extrude.
|
|
Draw two circle one of 5mm and other 6mm.Now apply extrude command to that circle.
Second design is ready.Now make third design.
|
|
Draw square and extrude one part also draw circle and extrude that part also.
By using text command right the text which you want.
|
|
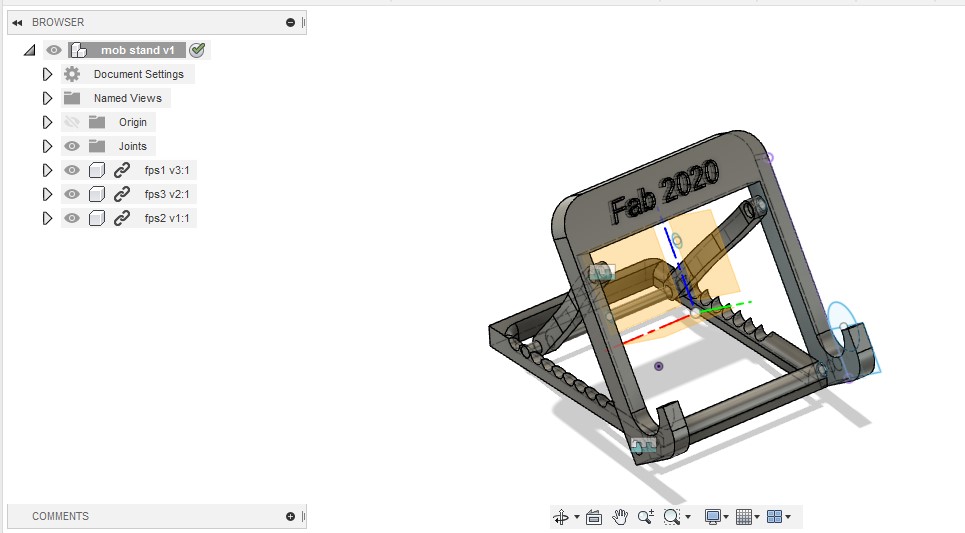
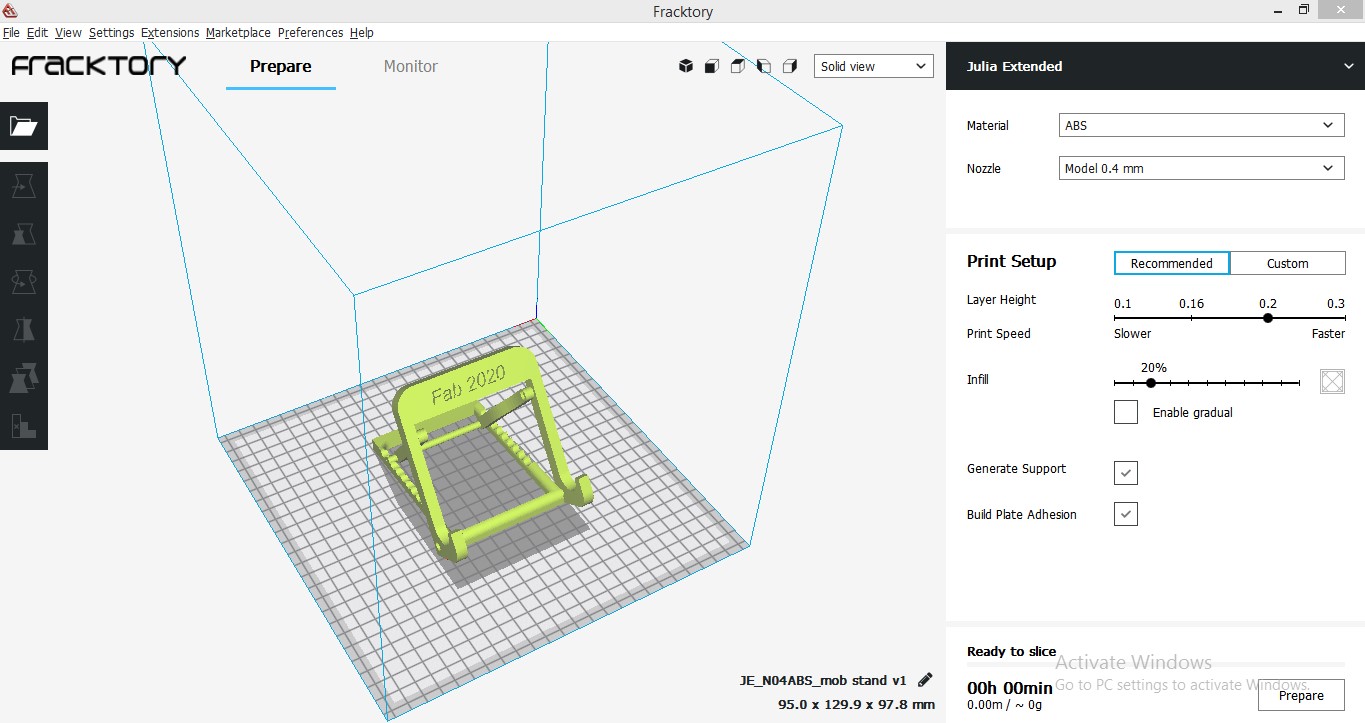
Now assemble the all parts using assembly option.Save file in .stl format.To convert stl file into Gcode you required another software which is facktory.In this software you can set different parameters like material ,infill,origin.
|
|
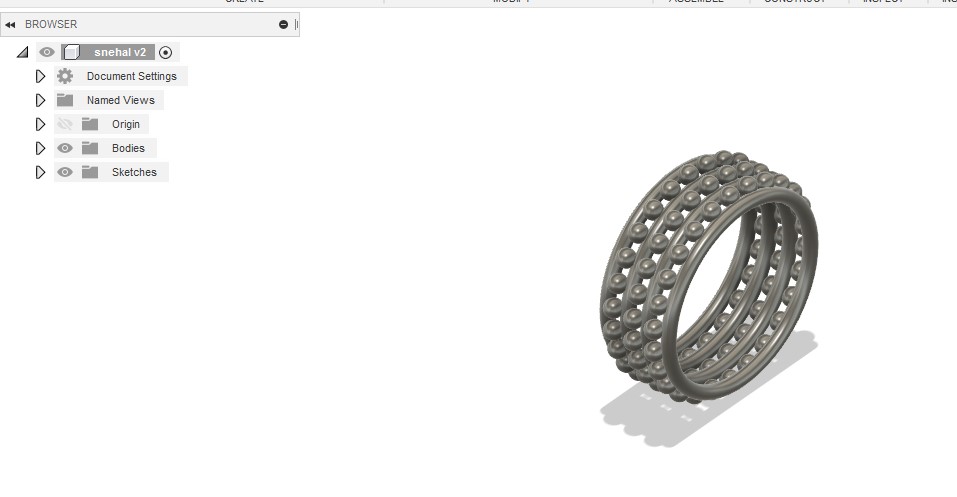
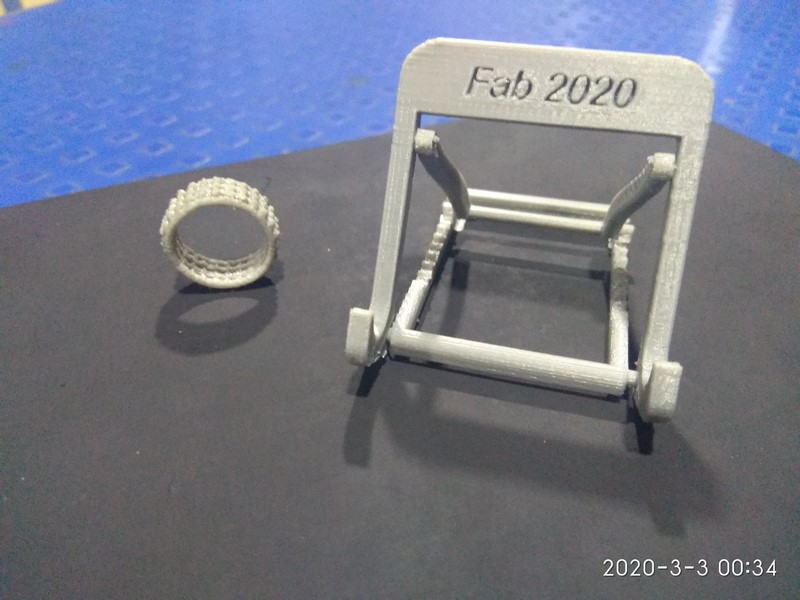
This is another design I made.I made this ring using sphere , extrude command.
Also I have used pattern and mirror command.
|
|
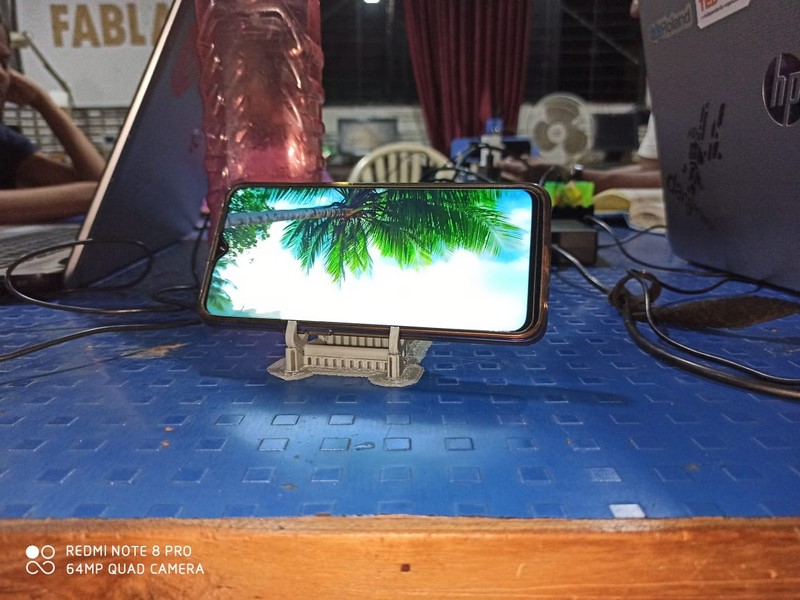
These are some images of my final results.As I made foldable mobile stand ,so I have taken trial.
I kept my mobile on stand and I clicked photo.
|
|
Why it can not made by subtractive method?
Reason behind it is ,if I will make this stand using subtractive method ,it will take more time to do it and also time require for machine will be more.Second important reason is ,I have given links in design ,that links are not possible in subtractive method.Accuracy is more in additive method.Thats why I made this using additive method.
Advantages of 3D printer:
Flexible Design:3D printing allows for the design and print of more complex designs than traditional manufacturing processes.
More traditional processes have design restrictions which no longer apply with the use of 3D printing.
Rapid Prototyping:3D printing can manufacture parts within hours, which speeds up the prototyping process. This allows for each stage to complete faster. When compared to machining prototypes, 3D printing is inexpensive and quicker at creating parts as the part can be finished in hours, allowing for each design modification to be completed at a much more efficient rate.
Print on Demand:Print on demand is another advantage as it doesn’t need a lot of space to stock inventory, unlike traditional manufacturing processes. This saves space and costs as there is no need to print in bulk unless required.
Strong and Lightweight Parts:The main 3D printing material used is plastic, although some metals can also be used for 3D printing. However, plastics offer advantages as they are lighter than their metal equivalents.This is particularly important in industries such as automotive and aerospace where light-weighting is an issue and can deliver greater fuel efficiency.
Fast Design and Production:Depending on a part’s design and complexity, 3D printing can print objects within hours,which is much faster than moulded or machined parts.It is not only the manufacture of the part that can offer time savings through 3D printing but also the design process can be very quick by creating STL or CAD files ready to be printed.
Minimising Waste:The production of parts only requires the materials needed for the part itself, with little or no wastage as compared to alternative methods which are cut from large chunks of non-recyclable materials. Not only does the process save on resources but it also reduces the cost of the materials being used.(source:wikipedia)
Limitations of 3D printer:
Limited Materials:While 3D Printing can create items in a selection of plastics and metals the available selection of raw materials is not exhaustive. This is due to the fact that not all metals or plastics can be temperature controlled enough to allow 3D printing. In addition, many of these printable materials cannot be recycled and very few are food safe.
Restricted Build Size:3D printers currently have small print chambers which restrict the size of parts that can be printed. Anything bigger will need to be printed in separate parts and joined together after production. This can increase costs and time for larger parts due to the printer needing to print more parts before manual labour is used to join the parts together.
Design Inaccuracies:Another potential problem with 3D printing is directly related to the type of machine or process used, with some printers having lower tolerances, meaning that final parts may differ from the original design. This can be fixed in post processing, but it must be considered that this will further increase the time and cost of production.(source:wikipedia)
3D Scanning
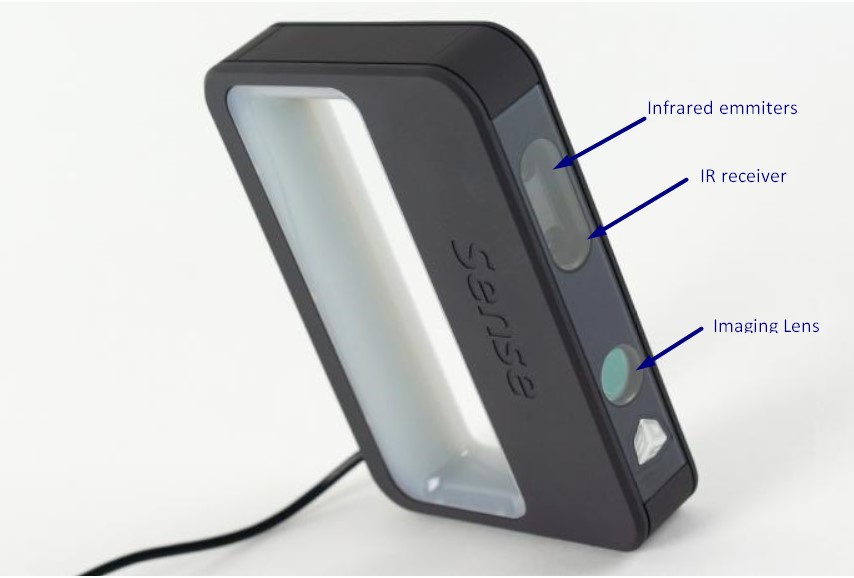
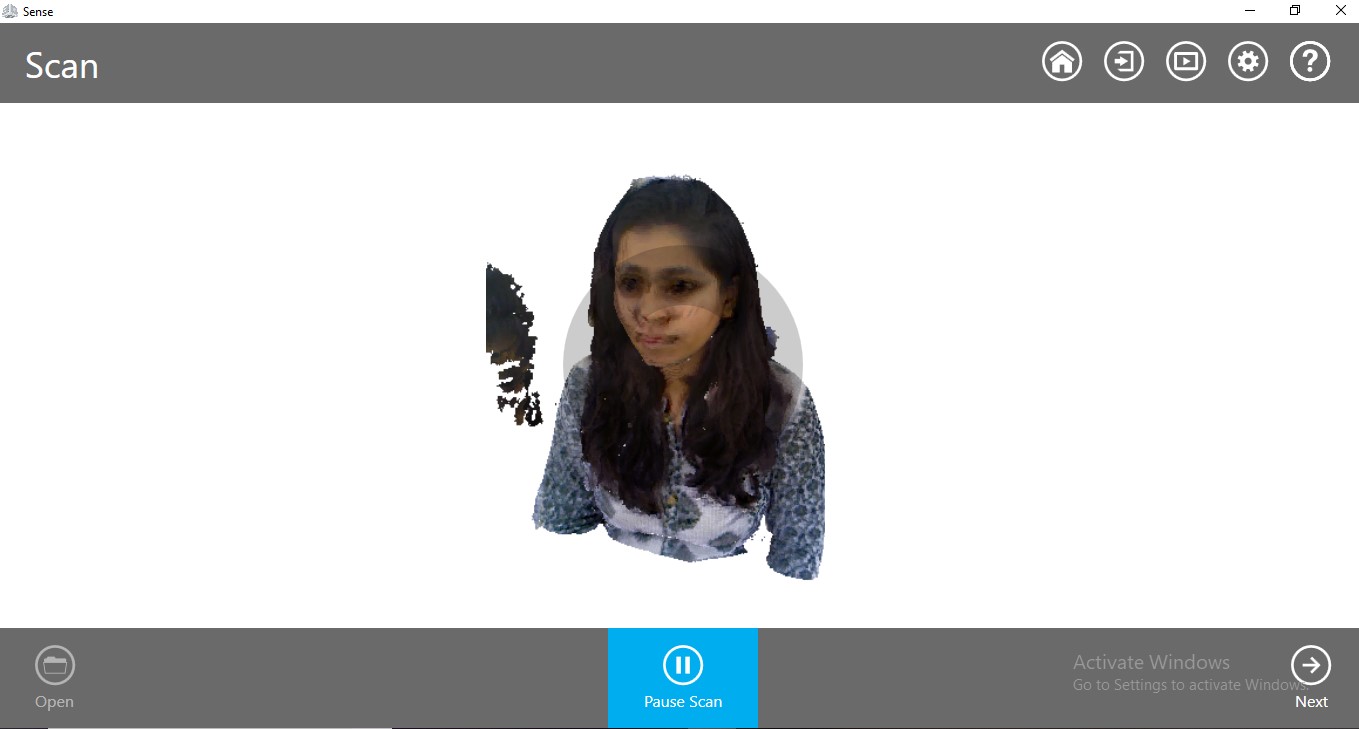
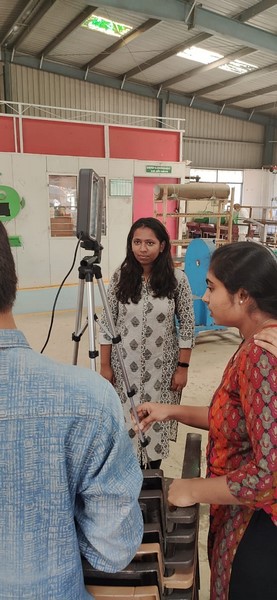
For 3D scanning we have used 3D sense scanner.I enjoyed this assignment.I scanned myself and also I scanned teddy bear.All my partners help me in scanning.During scanning many times it shows lost tracking because scanner unable to scan the object.For scanning you require more patience.
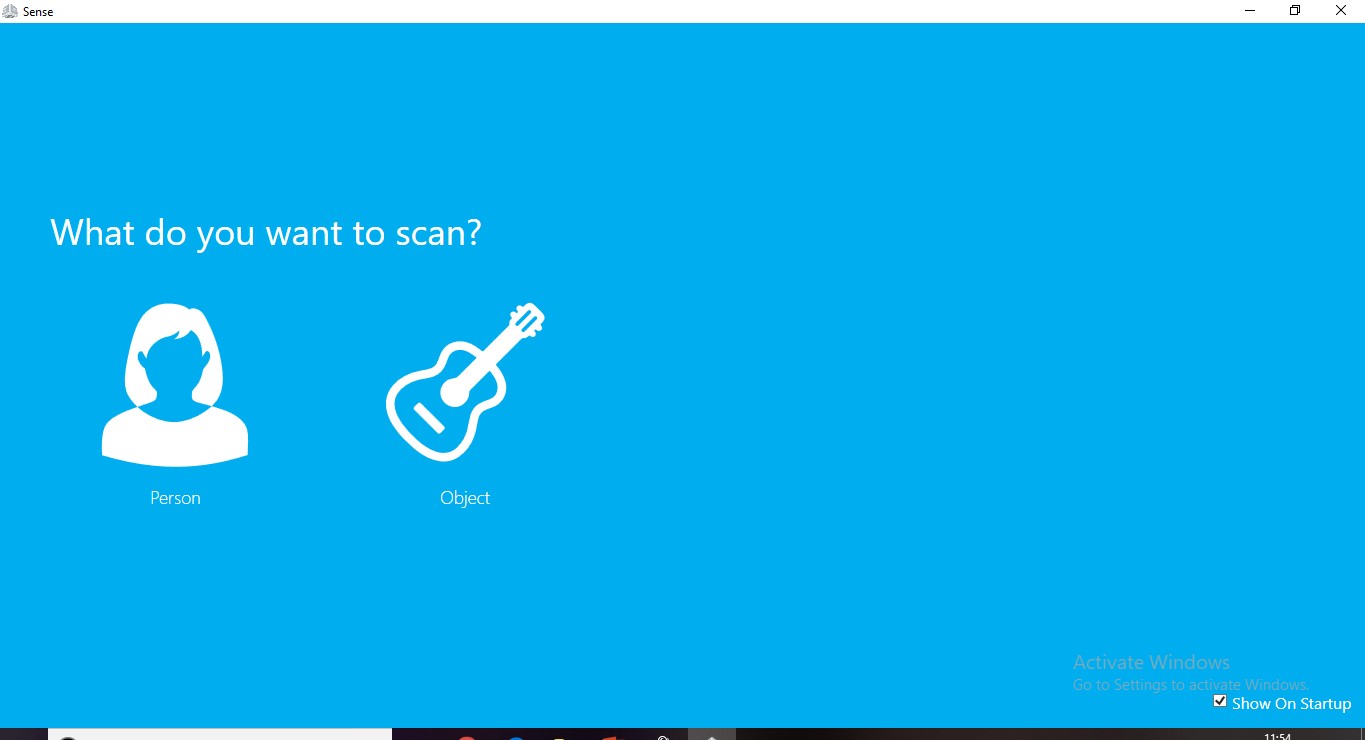
For scanning you required 3D sense software.This software is open source.We can download it from internet.Connect scanner to computer.We can scan person or object.If you want to scan person ,click on person .In this software we can solidify our object or we can change color.Save file in .stl format.
|
|
For scanning we requires patiences because it shows lost tracking when to get out of range.
By doing trial we get final scanned object.When I am scanning I got error like lost tracking .
I did it 2,3 times ,after that I get my scanned copy.All members helped me in this assignment.
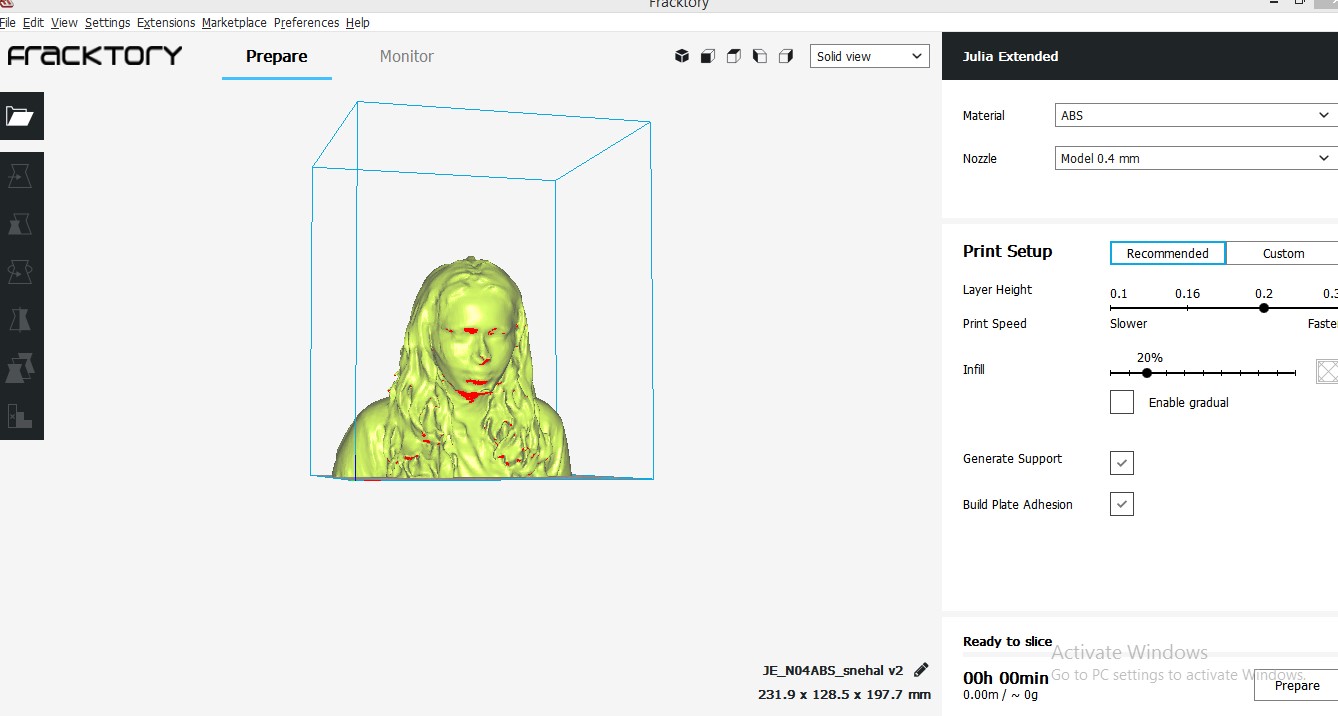
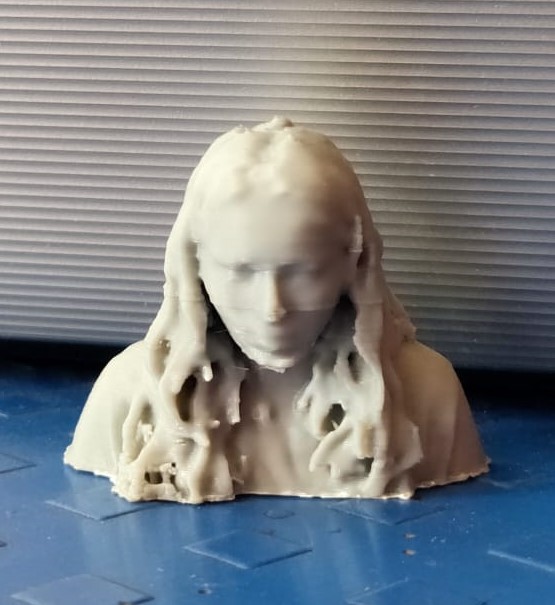
This is final 3D printed object of my scanned object.
Advantages of 3D scanning:
Quickly capture all of the physical measurements of any physical object.Save time in design work.Ensure parts will fit together on the first try.Compare “as-designed” model to “as-built” condition of manufactured parts.
Learning Outcome:
In this assignment I have learned 3D printer and scanning.In 3D printing I learned additive and subtractive method.Also I had hands on experience of printer and scanner.In this week we have tested characters of our 3D printer.
