♦ Interface and Application Programming♦
This week is all about interface and application programming.What does it mean?You have to build communication between your input and output device.In wednesday lecture Neil told about different methods of making of application.On next day our colleague Manoj took lecture on Python .He took brief on how to make application using Python.Also our instructor Arundhati Ma'am and Suhas Sir took lecture on MIT APP Inventor and processing.
Please refer group assignment here:
Group Assignment: Compare as many tool options as possible.
Individual Assignment:Write an application that interfaces a user with an input &/or output device that you made.
Individual Assignment:
For making of application we have different options like MIT APP Inventor,processing and Scratch.I will make application using MIT app inventor.Instead of this I tried different gaming and program using Processing.Also I tried Scratch and made small game.
MIT APP INVENTOR:
MIT App Inventor is a web application integrated development environment originally provided by Google,and now maintained by the Massachusetts Institute of Technology (MIT).It allows newcomers to computer programming to create application software(apps) for two operating systems (OS): Android (operating system)|Android, and iOS.It is free and open-source software.
Process for App Development:
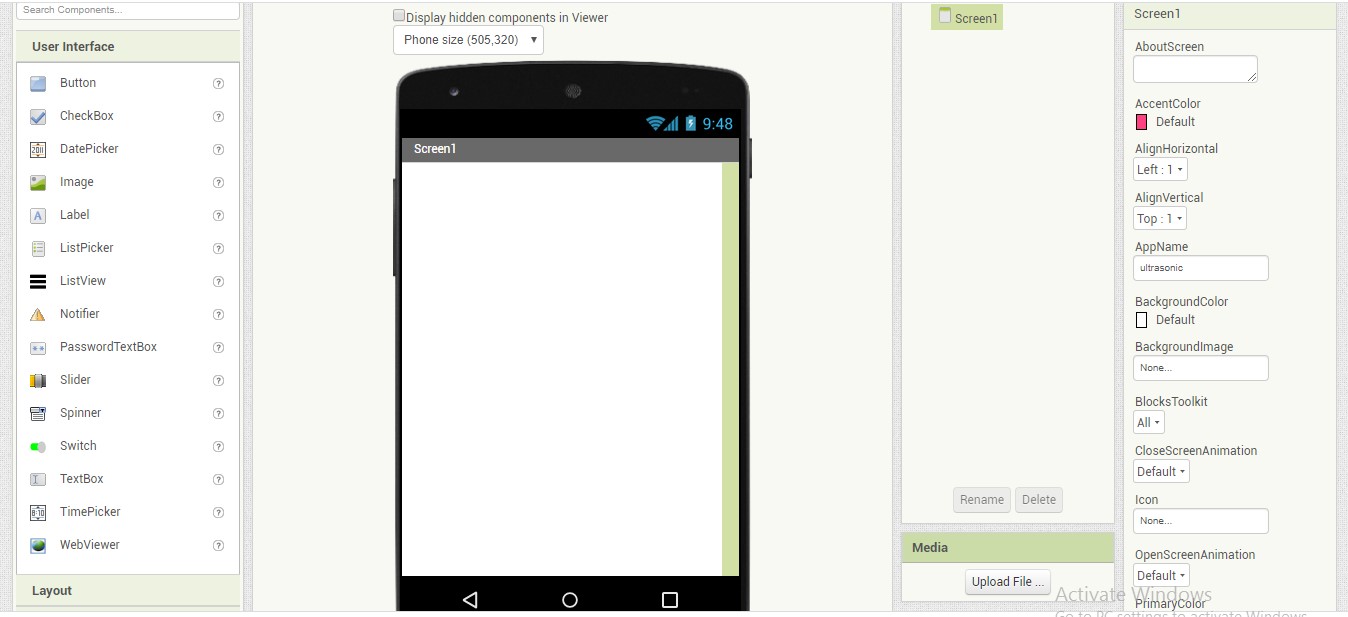
I searched MIT app inventor on google and sign in using google account.Then I go to project and started new project. New project window look like this.
Then select listpicker.You can change the background color.Also you can set height and width.
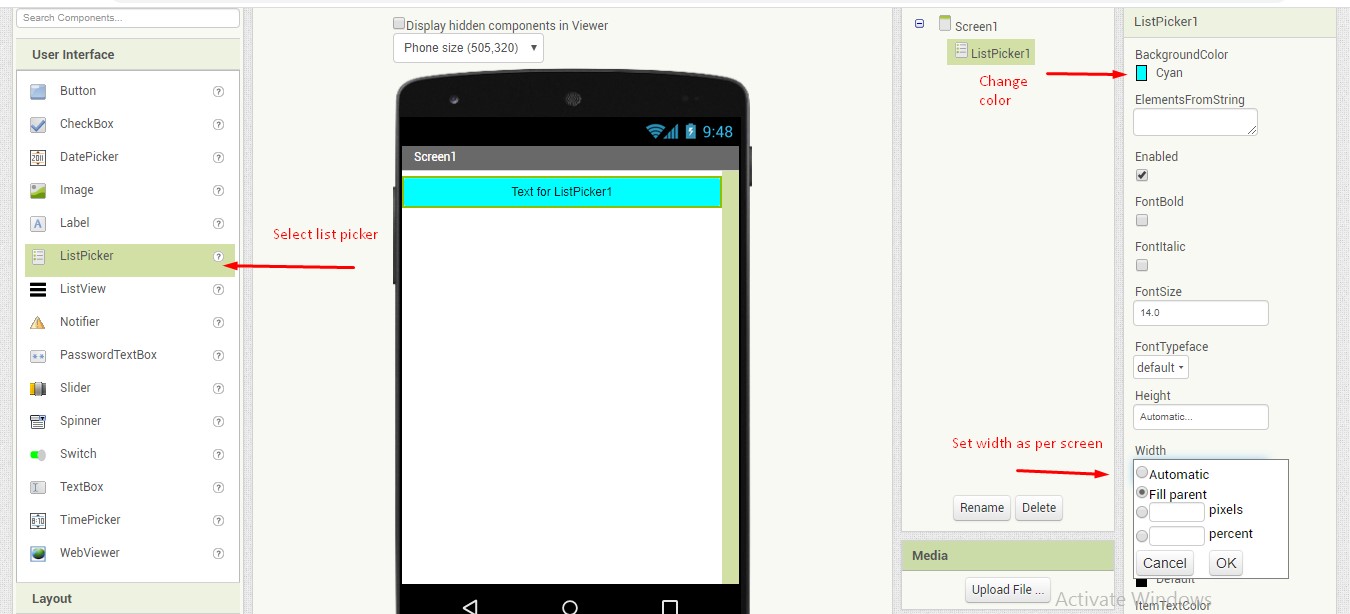
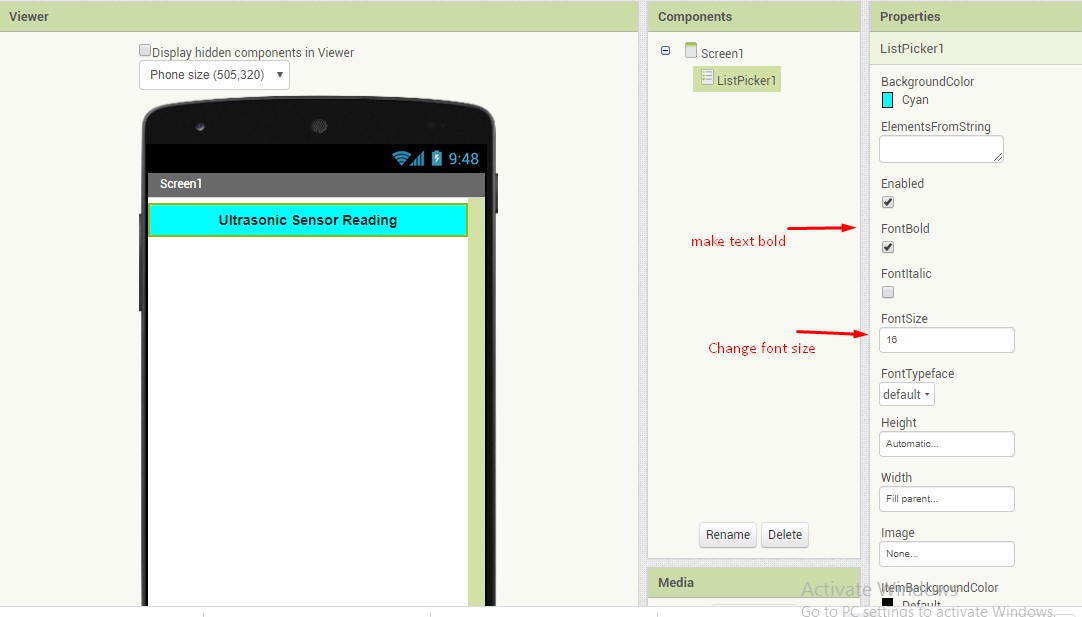
If we want to change text ,font and text style ,so we can do that.
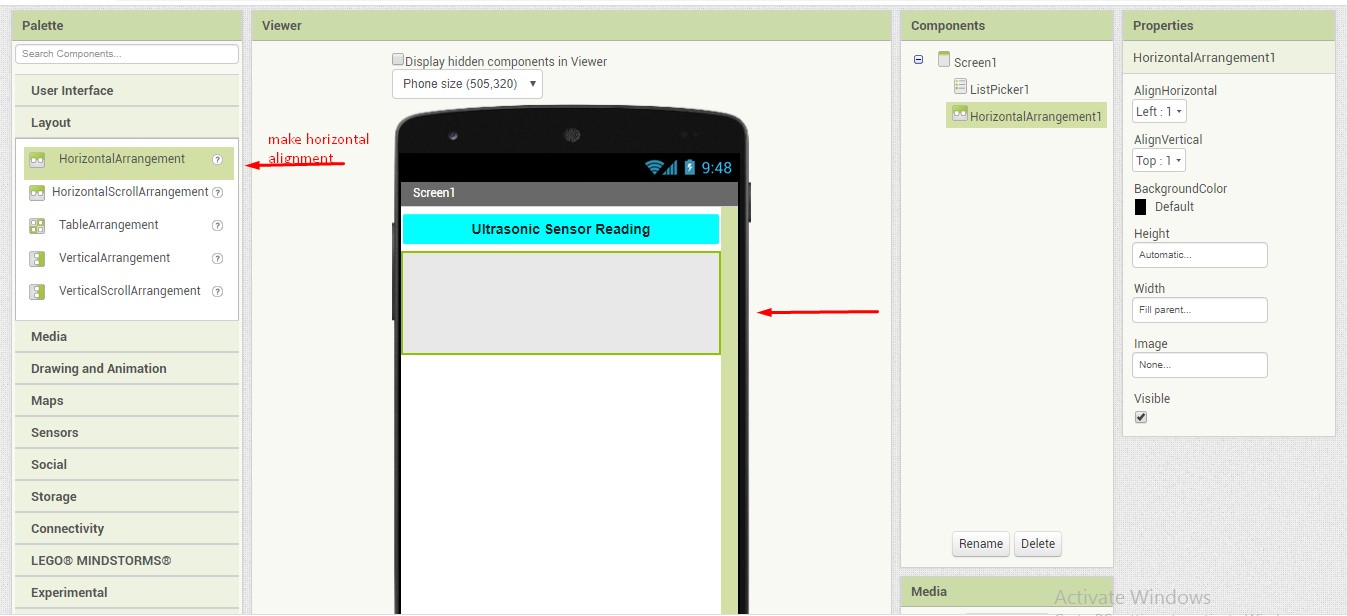
Also we can set layout as per our requirement as horizontal or vertical as shown in figure.
Now add the button and also we can change the text of button.

If you want to add any images so we can add that also.And you can change the height and width of image because you have to set image in screen window.
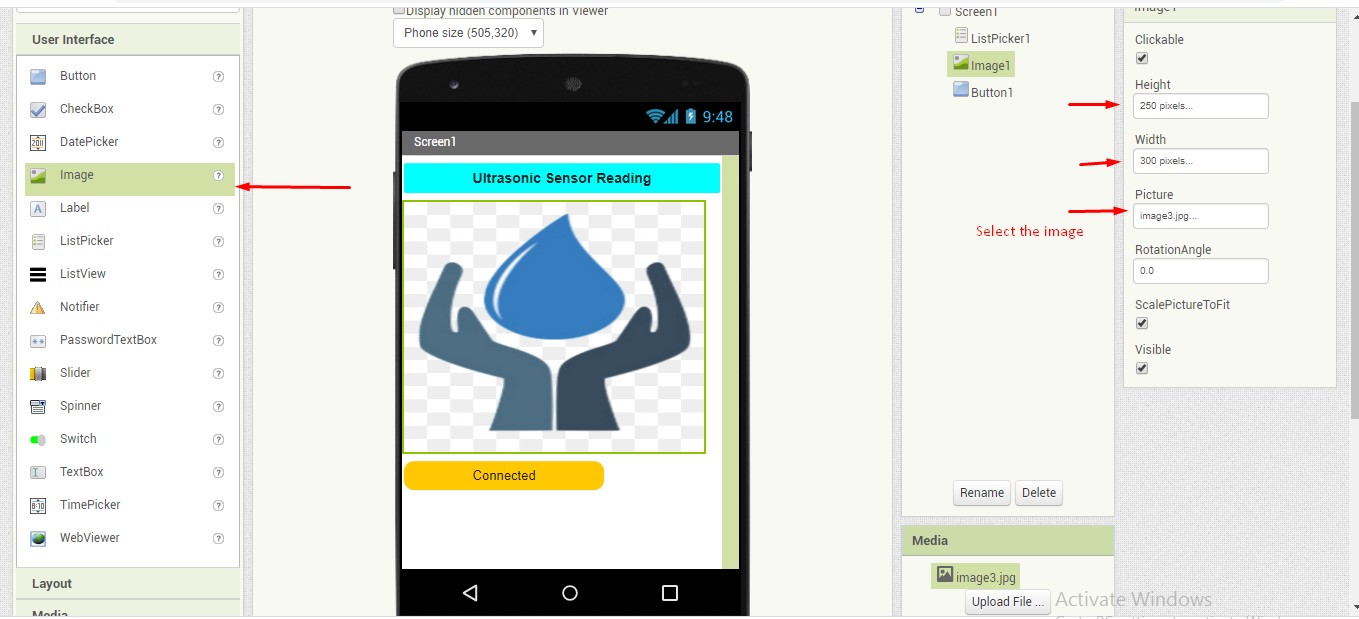
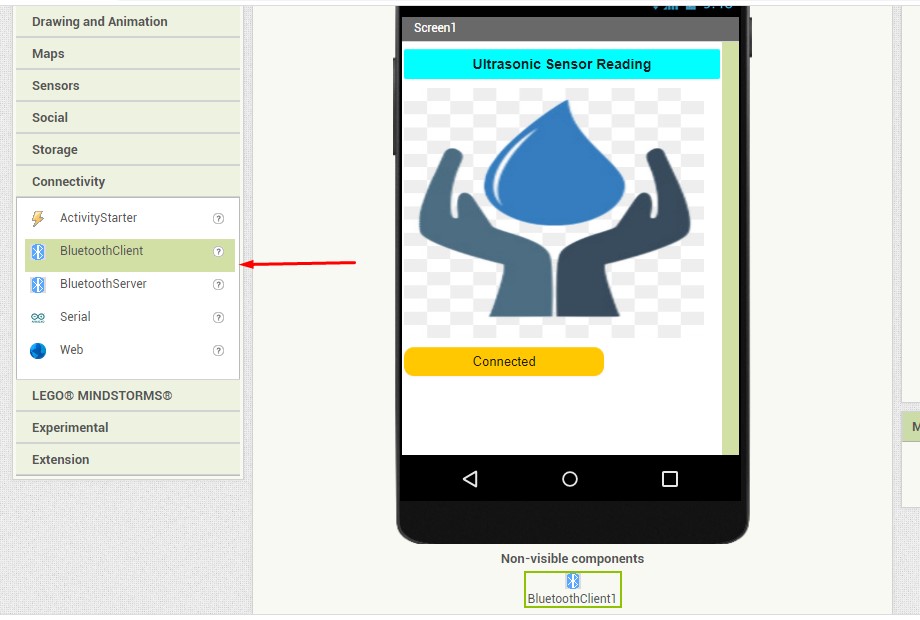
Main thing is bluetooth connectivity.select bluetooth as bluetooth client.This window will be invisible.
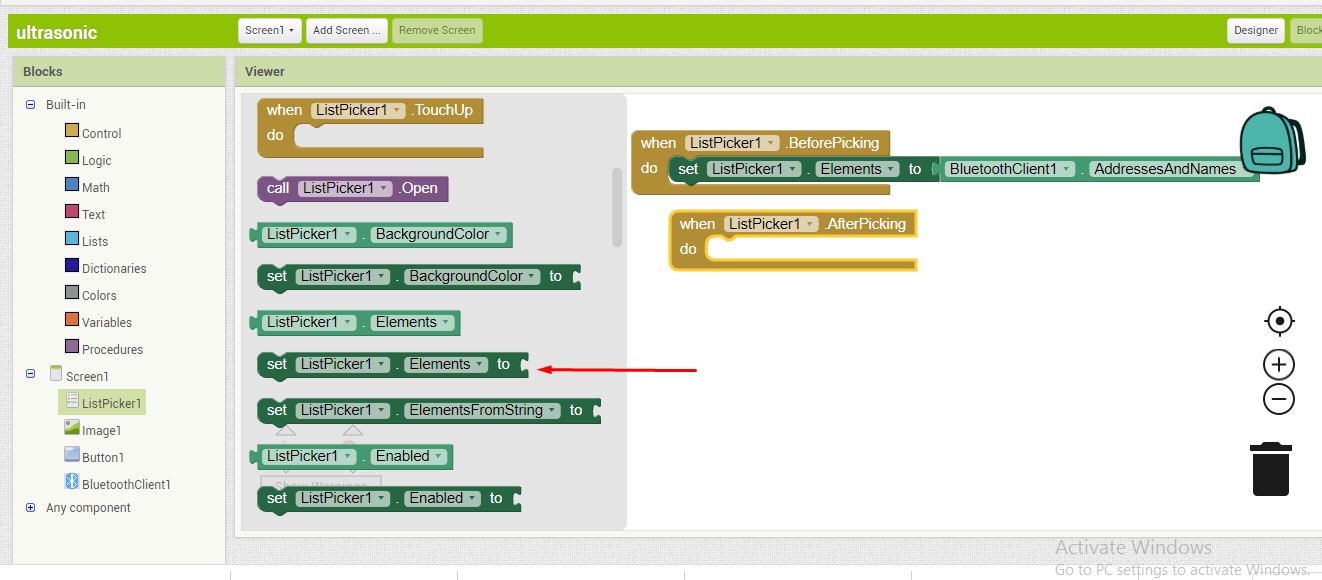
After design of app ,go to block window and select the block.

Select the block as per your flow of application.
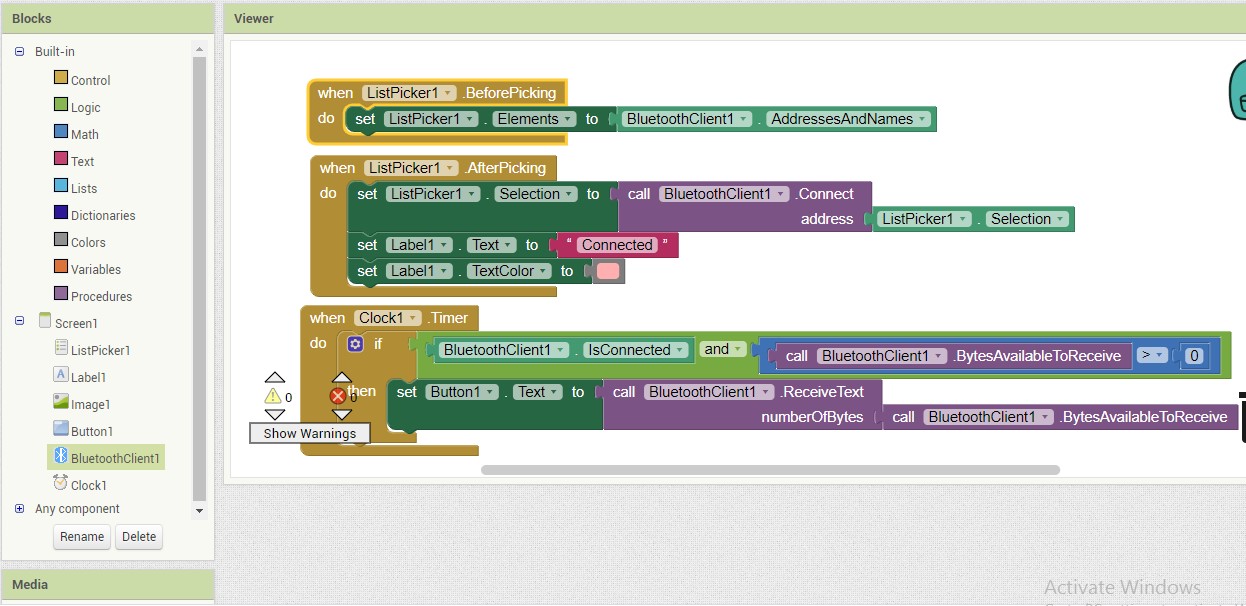
This is the final block code of my app.
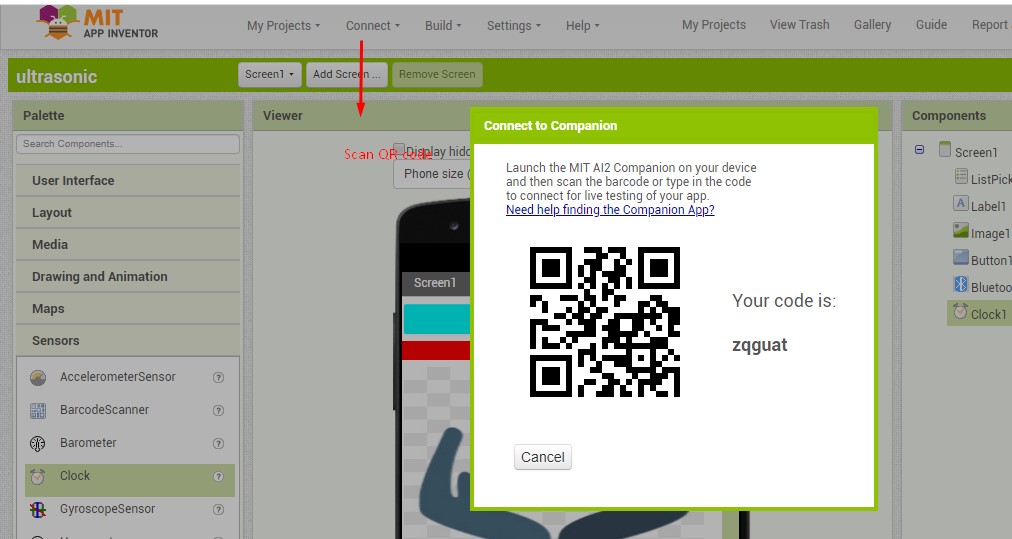
After completion of App ,now its time to interface your hardware to it.For that I have downloaded android app.For downloading this app I have two options in app inventor i.e scan QR code and download .APK file.I scanned QR code and installed app in mobile.
For bluetooth select the connectivity as bluetoothclient.Just connect the bluetooth module to your hardware.It has only four pins VCC,GND,TX,RX.Connect Vcc,Gnd to controller,also connect RX to TX and TX to RX.Now connect bluetooth to tour mobile and you will see the output on your mobile.
As I have used my input board which I have designed in input week ,connections of input board to ultrasonic sensor are given in input week assignment.For more details please go through input device assignment.Input Device:
I am giving here APK file of my APP.
Processing:

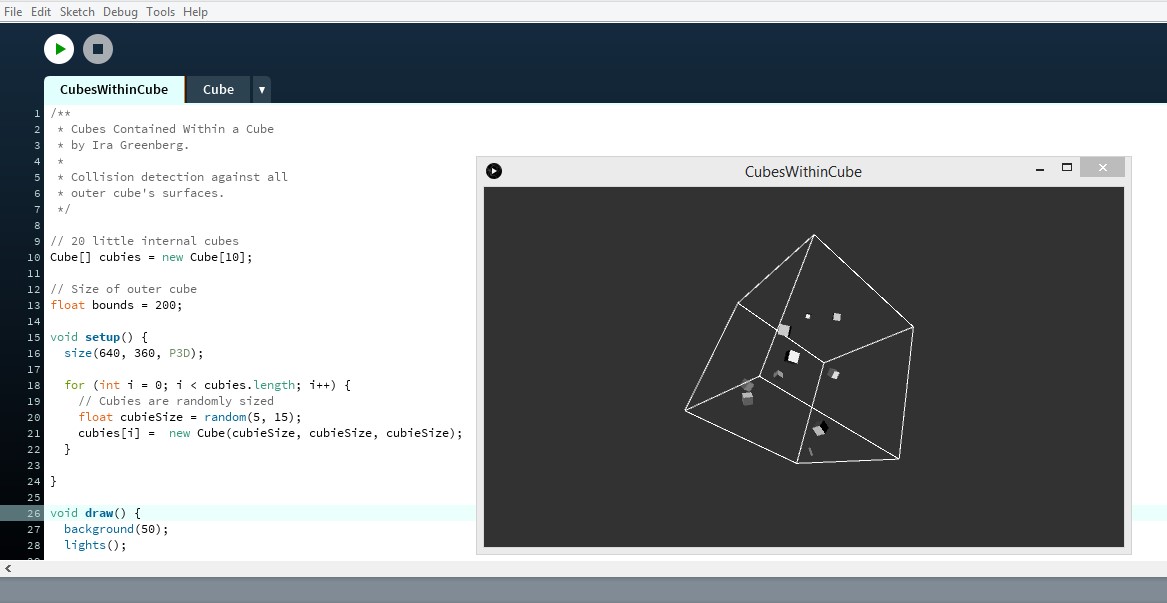
Processing is an open-source graphical library and integrated development environment (IDE) built for the electronic arts, new media art, and visual design communities with the purpose of teaching non-programmers the fundamentals of computer programming in a visual context. Processing uses the Java language, with additional simplifications such as additional classes and aliased mathematical functions and operations. It also provides a graphical user interface for simplifying the compilation and execution stage. The Processing language and IDE have been the precursor to other projects including Arduino, Wiring and P5.js.
This is one of example of processing.In this example I have just changed the some parameters like no.of cubes and no.of iterations.The structure of Arduino IDE has "Void setup and void loop" and the structure of processing has "void setup and void draw".After that run the processing window and check the output.
Here three commands I understand and important are as follows:
1. Serial communication command which directly communicate with the serial port data.
2. If and else - to add conditions
3. Void draw - to draw the graph (GUI)
I have used arduino and ultrasonic sensor for the processing.I have just connected VCC and GND to arduino and ECHO and TRIGGER pin to arduino D3 & D2 pins.I have added this processing part for my learning purpose.For this assignment I have made app in MIT app inventer.
I have added code files here.
Learning Outcome:
I learned how to make APP using MIT app inventor.Also I learned Processing ,I tried different example in processing.I learned basics of scratch.
