
Networking and comunications
Week 14- Documentation
Assignments:
- Individual assignment:
Design, build, and connect wired or wireless node(s) with network or bus addresses - Group assignment:
Send a message between two projects
Hello.bus.45:
In this exercise I'm going to program tha hello.bus.45.bride and the hello.bus.45.node. The bridge board will act as the master and the node will act as the slave. To program the bus you need to program each board and then connect them all together and then you can send messages.
A bridge is a device that performs Network bridging, which is the action taken by network equipment to create an aggregate network from either two or more communication networks, and or network segments
The definition of a node depends on the network and protocol layer referred to. A physical network node is an active electronic device that is attached to a network, and is capable of creating, receiving, or transmitting information over a communications channel.
Setting up the Raspberry Pi:
-
<<<<<<< HEAD
- I started out by connected my hello bridge(Master) by FTDI and and also to the FabISP44
- Then I found the board on the Linux computer that I'm going to be working with.
- I started out by connecting the Raspberry Pi to: a monitor, keyboard, computer mouse and a power.
- Then I opened up Terminal and started to set it up with all the right software.
- The lines that I wrote to get all the software where (in this order):
- sudo apt install firefox-esr
- sudo apt install python3-pip
- sudo pip3 install intelhex pylint pyserial
- sudo apt-get install avrdude
- sudo apt install libusb-dev
- sudo apt-get update
- sudo apt-get upgrade
- sudo apt-get update
- sudo apt-get install binutils gcc-avr avr-libc uisp avrdude flex byacc bison
- sudo apt-get install python-tk
=======
After I had all the software it was time to start programming.
Programming the boards:
- I Started out by connecting the board. I connected the board to my programmer (in my case it's the FabISP44) through the 6 pin connector and then I powered it thorugh the 4 pin connector.
- Then I went to the computer and opened up Terminal in a Linux computer (in my case I'm working with Raspberry Pi).
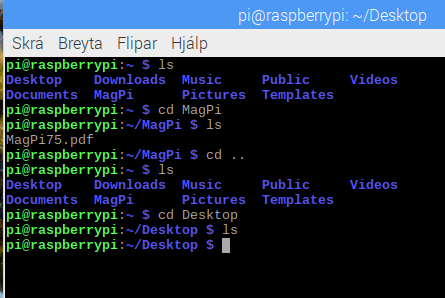
- In Terminal found both the c and .make file. To navigate through the terminal you use the codes cd and ls. Ls is short for list and you use that to see the files/folder in the folder that you're in. Cd is to move to one folder/file to the other (cd the folder/file name)
- Then you type:
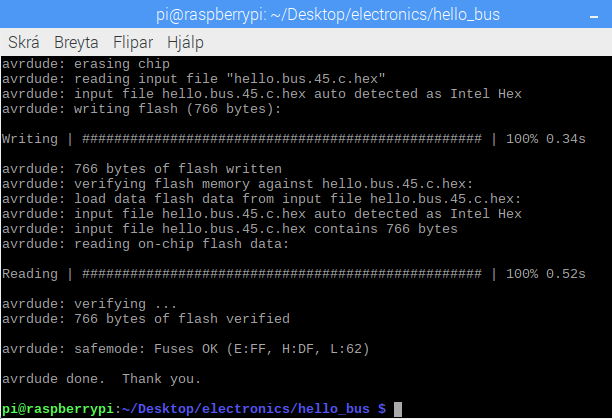
- sudo make -f hello.bus.45.make
- sudo make -f hello.bus.45.make program-usbtiny
Now I have programmed the first board and in my case it was bridge and in the original Neil code is set to 0 so the node I just programmed will blink the light if 0 is pressed on the keyboard. Next I'm going to be programming the node.
- To program the next board I first need to type in:
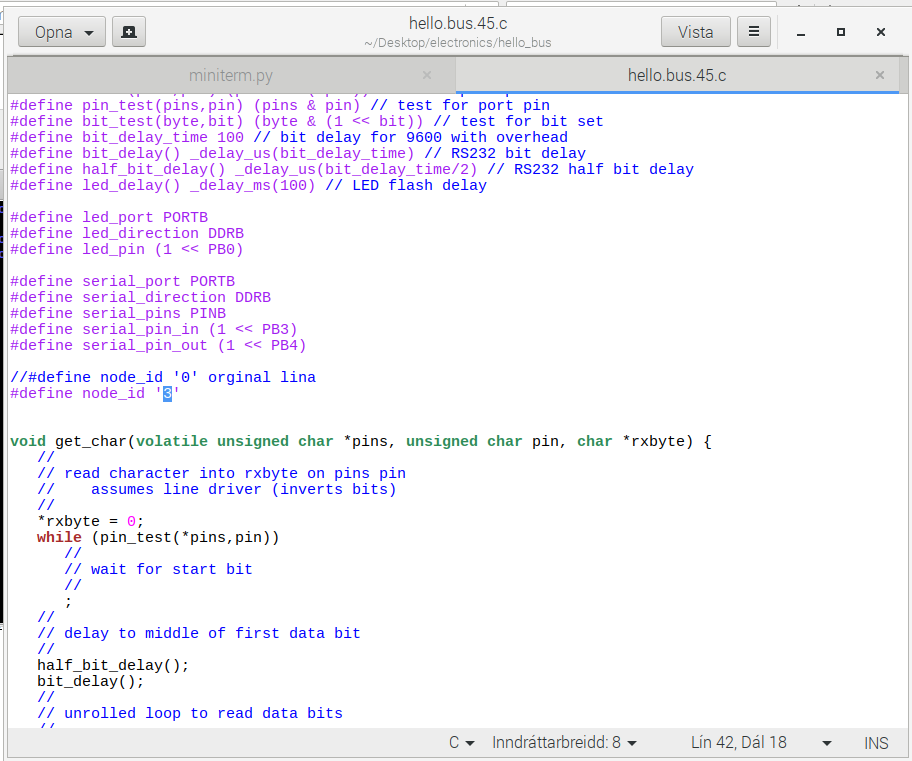
- gedit hello.bus.45.c
This line of code openes the c file and lets me change it. I changed the 0 in the ????? line to 1 and then saved the code.
- gedit hello.bus.45.c
- After saving the code it was time to program the board so I typed in:
- sudo make -f hello.bus.45.make
- sudo make -f hello.bus.45.make program-usbtiny
- Now I have programmed that board and need to repeat this process again but but I just need to change the number of the board with the gedit.
Controlling the board:
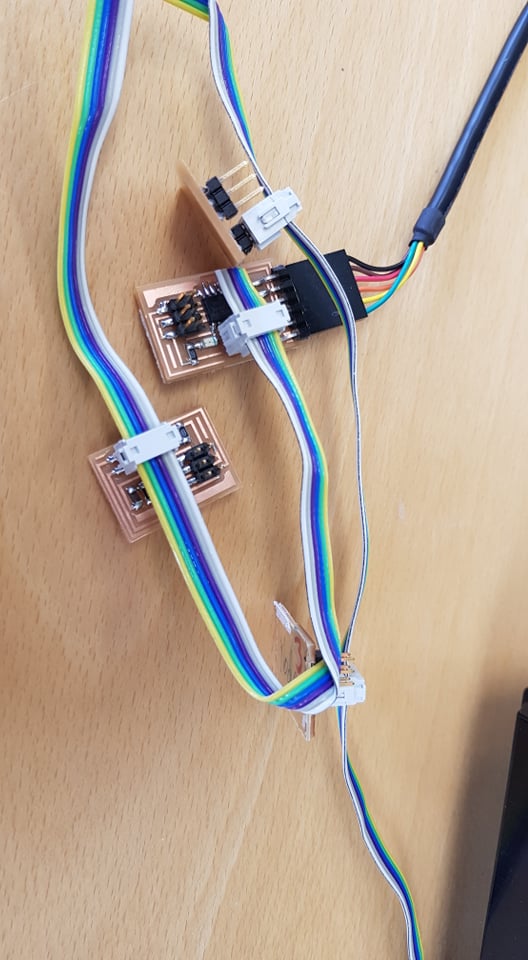
- After you have programmed all the board that you want and have maked sure that they do not have the same number in the ?????? it's time to connect them all together. You connect them together with a multi ribbon cable through the 4 pin connector. Also remove your programmer and connect a FTDI cable to the Bridge board.
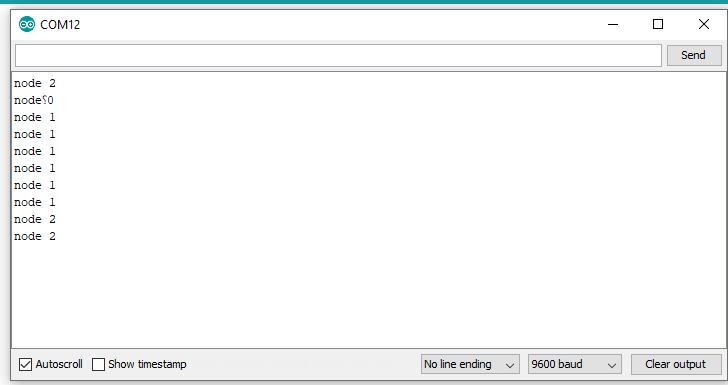
- Next open up Arduino, find the right port (the port that the FTDI cable is connected to) and select it in Arduino and then open up the serial monitor.
- In the serial monitor select 9600 baud
- When all that is selected it's time to start sending messages between those boards. To send massages type in the top text box in the serial monitor and then press send. The only messages that you can send are 0, 1, 2, 3 in my case and when you send any of these numbers the led on all of the boards will blink but the board that the number is programmed to will blink 2 times.
 >>>>>>> 2b829190687f015d7d23c230f521880f8197eea0
Problems:
When I was programming the board the main problem was that I was running python3 but I needed to run pyhon2.7 and the computer did not allow that. Another problem that I faced was that I was not able to open up the serial on the Linux computer beacause I was missing some software and was not able to get it so I moved on to the Arduino software and ran the serila port there.