Molding and casting
Week 15- Documentation
Assignments:
- Individual assignment:
Design a mold around the stock and tooling that you'll be using, mill it (rough cut + (at least) three-axis finish cut), and use it to cast parts - Group assignment:
Review the safety data sheets for each of your molding and casting materials, then make and compare test casts with each of them
The final project computer box:
Designing the box:
The Idea here is to make a box that looks like a volcanic rock to tie the project more to the volcano. to make the box look like a volcanic rock I'm going to 3D scan a volcanic rock and then place a box inside it.
I started out by designing the box that would fit inside the rock. The box that I designed in Fusion 360 is made so that the screen will stick out of the rock. 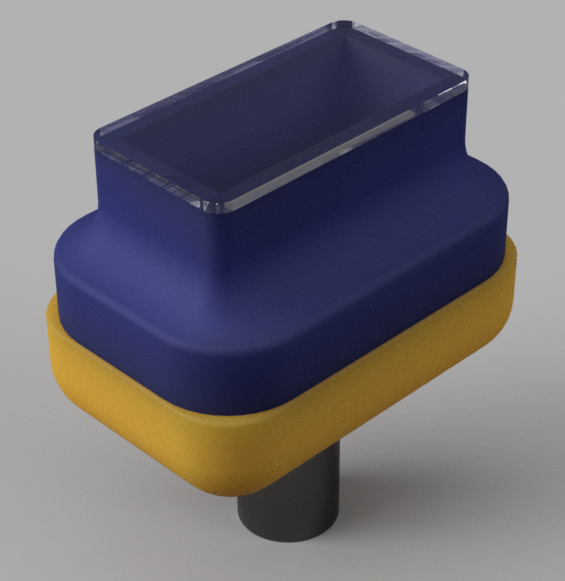
After I had finished designin the box in Fusion I then saved all the part seperatly as STL and then 3D printed the box in 60% of the original size because I did not want to wait 10+ hours for something that I then needed to change. The box is made up by 4 parts: the glass, the lid, the box and then the pipe for the temperature sensor. After I had printed the small version and found out that I did'nt need to change anything I then went on and printed it full size. 
Scanning the rock:
I started out by hiking my local volcano Eldfell to get a volcanic rock to scan for this project. The reason why I'm using a volcanic rock for this project is to connect the project more to the volcano and the device is going to be measuring the heat in the ground on top of the volcano.
Next thing I did was to scan the rock and I used NextEngine to scan it. After taking a couple of scans I decided to spray paint the rock green to make it easyer to mark it with a marker and I need to mark it to allign it. After I had spray painted it it was way easyer to mark it and I marked it with numbers 1-4. 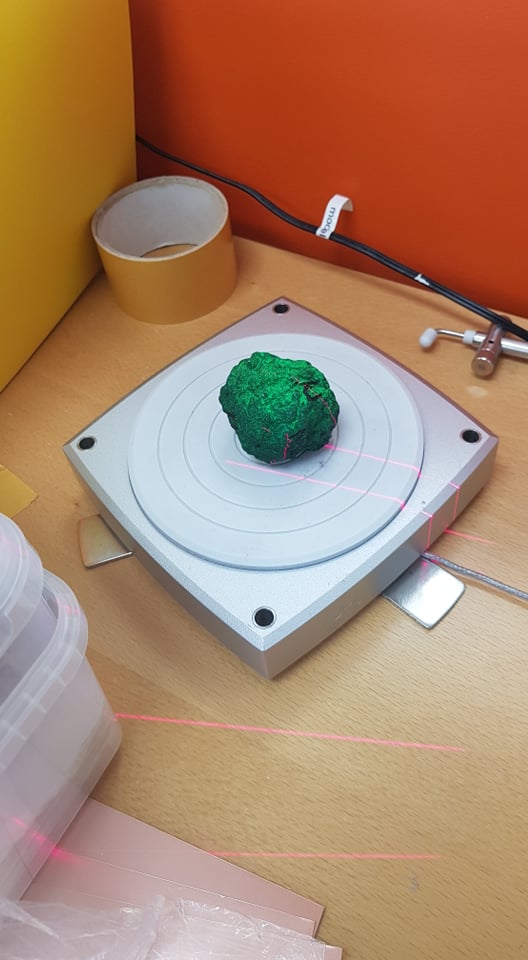
The computer was always crashing so I said good bye to the NextEngine and said hello to Recap photo. I took pictures every 10 degrees around the rock and also from above. I then imported the images into Recap photo and after it had made the mesh file I then went and deleted all the backround. 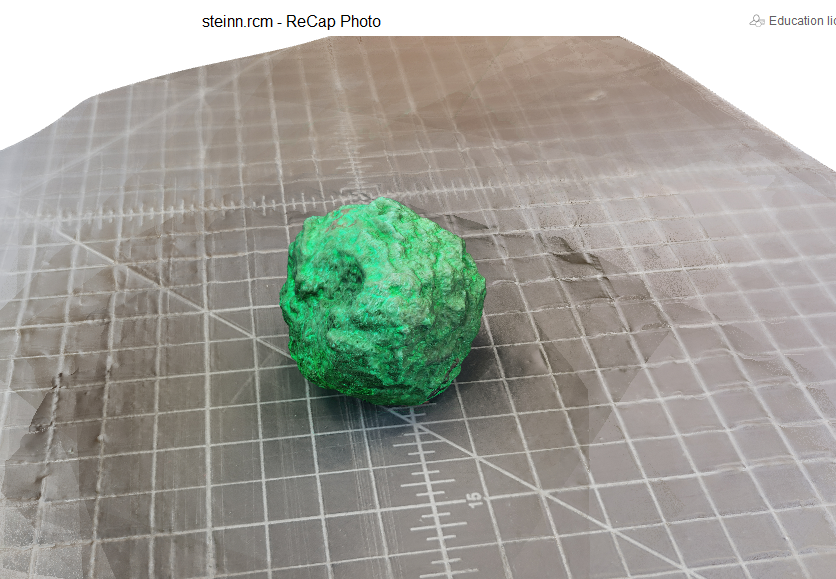
Designing the molds:
When I had finished making the mesh file in Recap I imported the mesh file into Fusion and started out by making the mesh file into brep file by selecting the mesh and right clicking and there selecting "mesh to brep". After making the mesh a brep I then could start making the molds. I made the mold by also importing the computer box that would then fit inside the box. After importing the file I then copy pasted the rock, one for the lid and one for the box. After that I placed the lid and the box inside a rock. I was not thinking correctly but then I started making the positive mold when I should have been making the negative and after a day of working on that I realized it and started making the negative mold. With making the negative mold I started out by making the wax cube that I would mill but then I realized that the wax cubes where not big enough so I had to combine the wax cubes together so that the molds would fit on the cubes. After I had melted 2 cubes together I talked to Frosti and he recomended that I would make it smaller because the size was kinda too big and would need a lot of material. The 3D printed sample is 60% of the full size and I will be scaling the project down to 60%.
Designing the molds v.2:
After I had designed the other molds we decided that it would be a waste of material because it was so deep and needed a lot of material to make so I decided to make another mold. The mold that I designed is a ball and can be used to test how well different materials bounces. The mold has a pouring tunnel and also an air tunnel. The mold is made to fit into each other to make it easyer to mold. The walls on the sides of the mold are at 10% angle to make it easyer to remove after casting the molds. After I had designed the molds I saved them as STL an imported them into VCarve pro for making the toolpaths.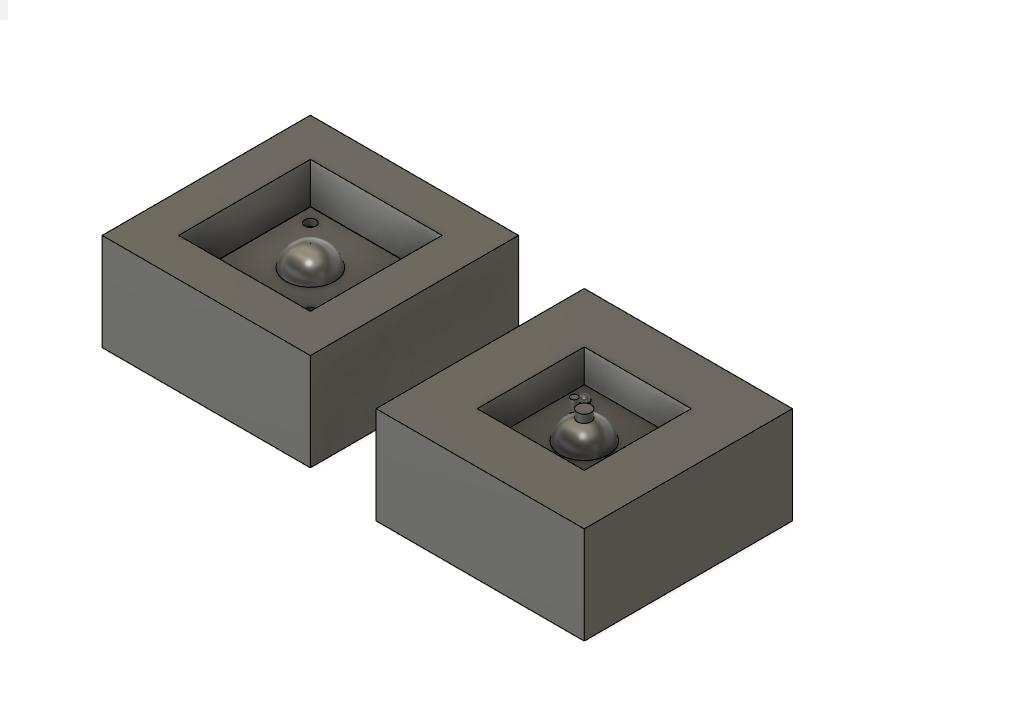
Milling the molds:
I started out by impotring the STL model into VCarve pro by making a new file and there I selected the right measurements for the material in job setup, in my case it was 155mm x 155mm and 70mm in thickness and when you are happy with that you select ok. After that I went to model and there I selected import component / 3D model. Then I found my STL file that I was going to be using. After importing the model into VCarve I then went to the toolpaths and selected the 3D model and then the 3D roughing toolpath. I was using a 0.25 inch ball nose drill for my cut. After making that path I then did the same thing just with the 3D finishing toolpath. After making all the paths it was time to save the toolpath's. You can make both of them into one file but because my shopbot is always shutting down I choose to make two paths.
After making the path it was time to start the cut. 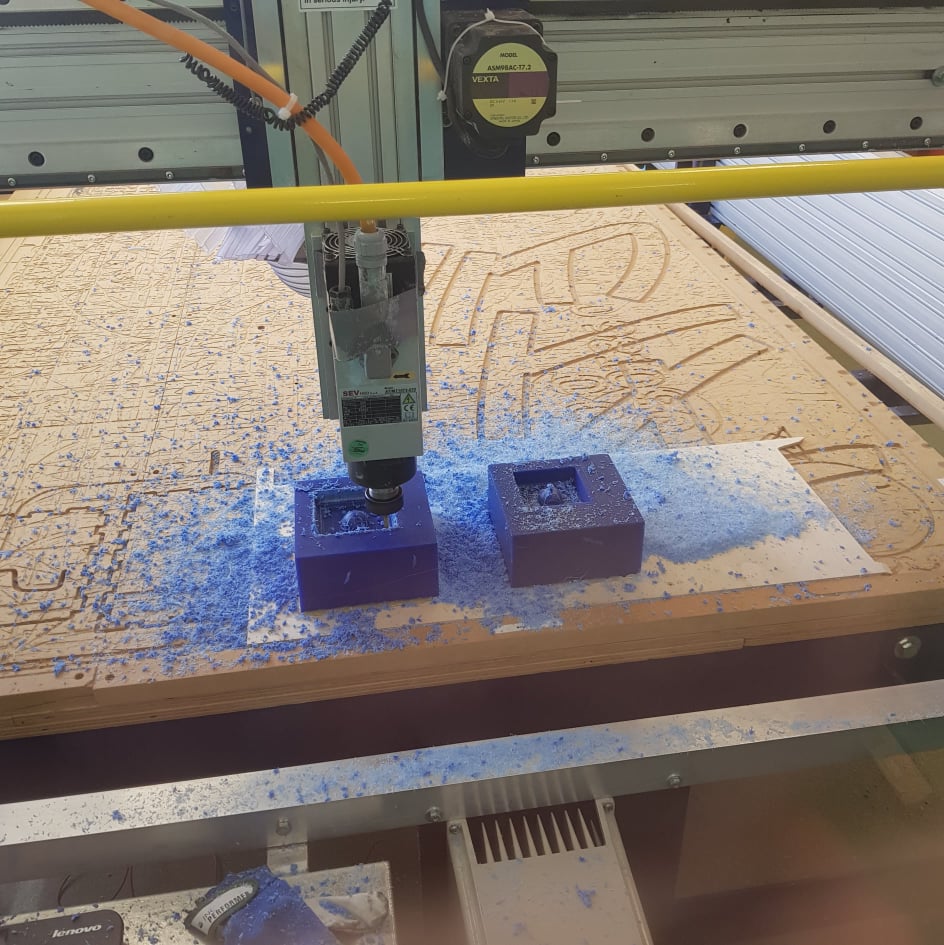
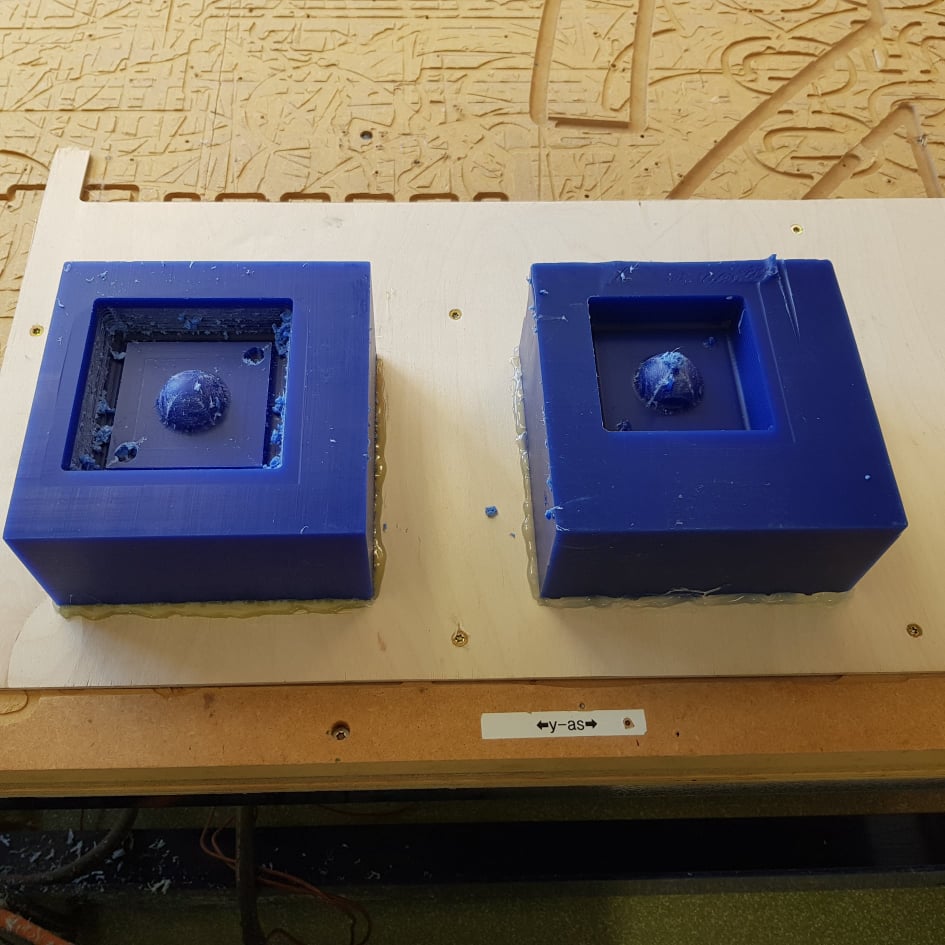
Molding and casting:
After milling the molds all I needed to do was to mix the silicone rubber (1/1 weight) and put it in the molds. I started out by putting sope in the molds so that the silicone rubber would not stick to the molds. Then I placed part A and part B in two seperate boxes and stirred the air bubbles out the best I can and then I mixed the two materials together and stirred them well together and tried to get rid of all the bubbles. After that I placed the silicone rubber mixture into both molds and let is dry over night and the next day I removed them from the molds.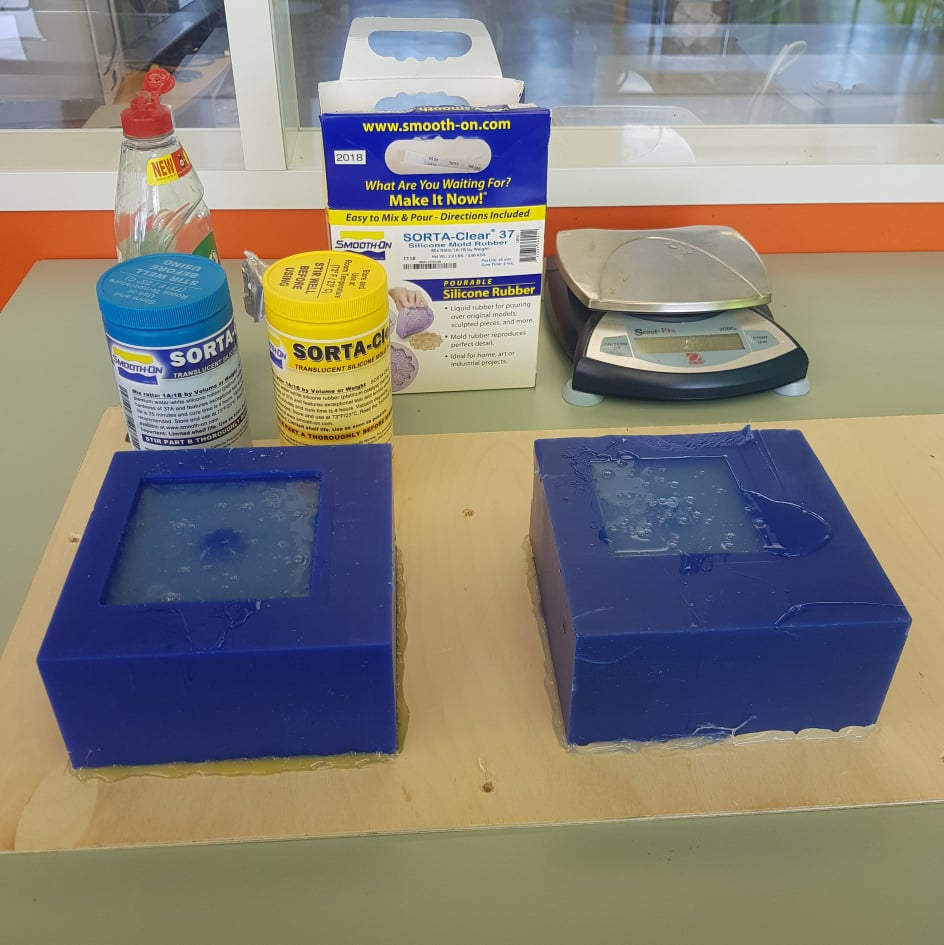
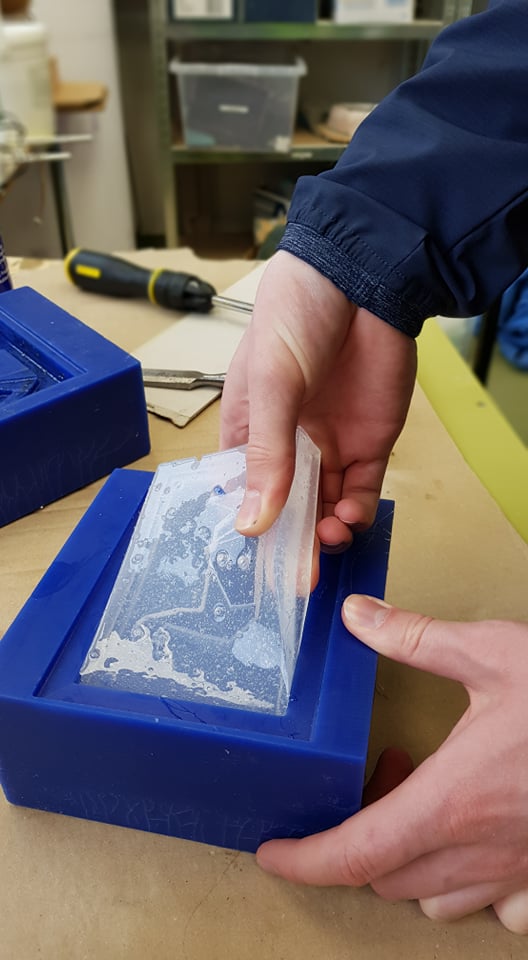
After removing the silicone rubber it's time to inject the plastic into the mold that I made. I started out by making the holes where the liquid plastic goes to make it easier to inject it. Then I found material A and B and shaked them well before mixing them equal by volume(1/1) and then stirring them well together. After that I pured the liquid plastic into the mold. I pured way too much into the mold so the liquid plastic went all over the place. 
After that I placed a latex glove over the mold and placed a weight on top of that to pressure it together. After that I let it dry over night.
After it had dryed over night I removed it from the mold and when I had removed it from the mold there was a little bit extra material because there was'nt enough pressure to keep it together.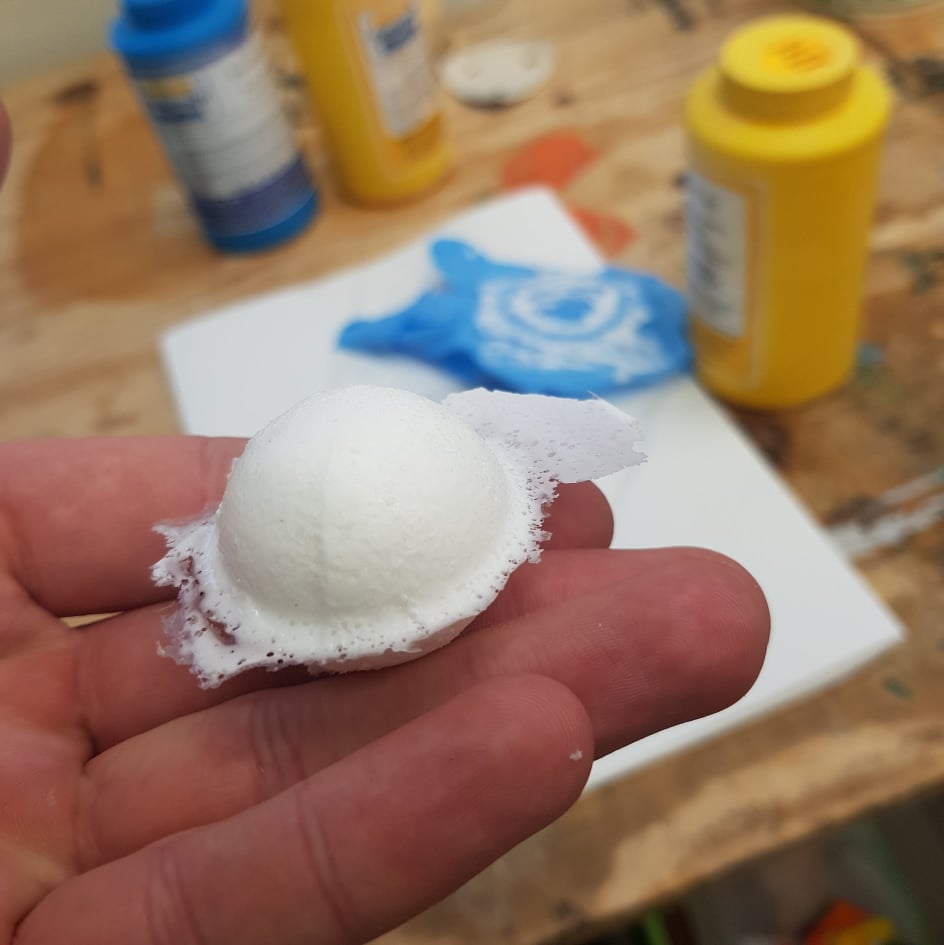
I removed the extra material with a knife and a sandpaper. After I had removed the material the ball was finsihed. 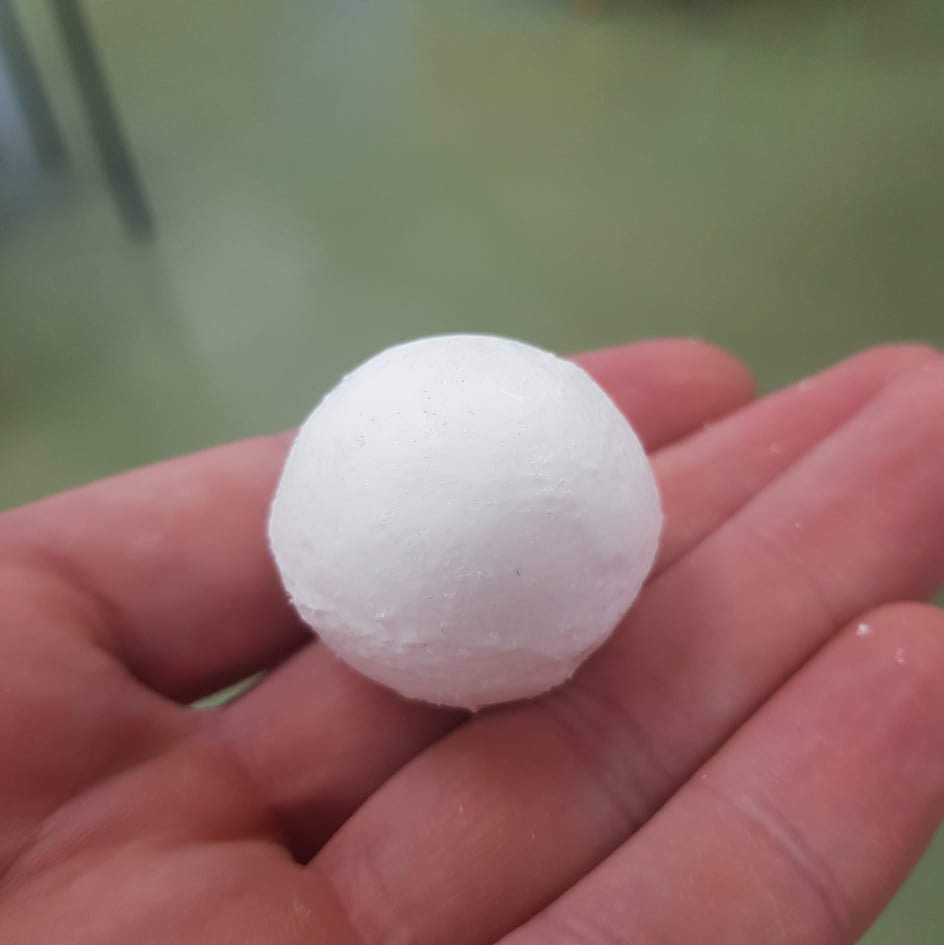
Reading the data sheet:
Group assignment:
The group assignment for this week was to test the material that we are using.
Some of the material that we tested was material that had expired according the packaging but we tested it anyway. We started out by finding old molds that someone had made and used those molds for the tests.
Material 1: Silicone Rubber
The silicone rubber we where not sure about because it expired in 2018. The silicone rubber is mixed 1/1 by wight. After we had equal amount of A and B we mixed them carefully together and tryed not to get any blubles. Then we stirred them together and tryed to get rid of all the bubles because you want to get rid of all the bubles when you pour it so the final product is as pure as possible. After we had mixed them well together it was time to pour the material in the mold that we had found in the Fab Lab that someone had made. When we poured the rubber we started on the lowest point and kept on poring there untill we had finished all the rubber. Then we let the silicone rubber dry over night and then we removed it from the mold and the final product a lot of bubles in it wich is not ideal for molding and casting but might be greate if you are creating a lamp or something.

Material 2: Liquid Plastic Compound
Material 2 was liquid plastic compound witch dryes in about 30min after A and B are mixed. The plastic compund is mixed by weight and it's 100% A and 90% B. We mixed 100% of A and 90% B together just like we did with material 1 and when Frosti was mixing it together I was getting the mold ready by coding it with soap to make the compound not stick to the mold. After mixing it well together we poured it into the mold and started with the lowest point just like with material 1.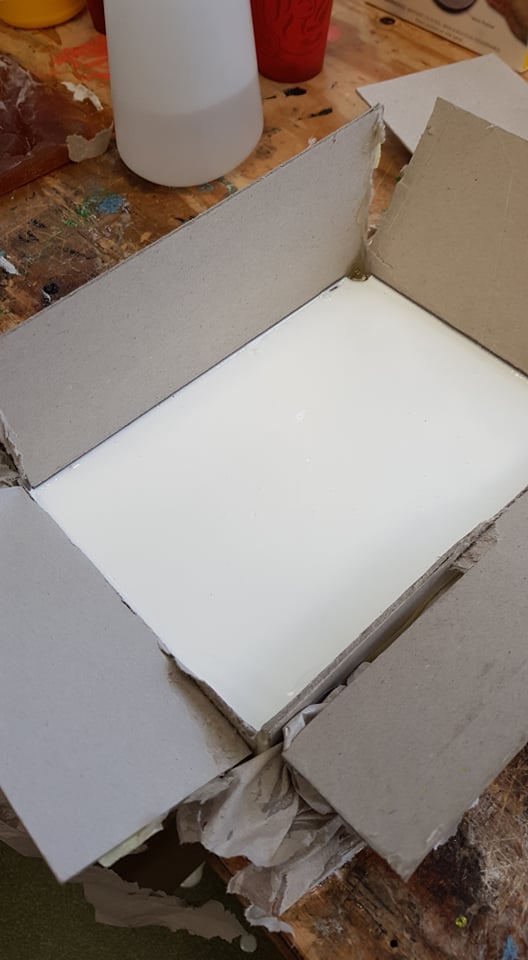
After the compound was in the mold it started to get white after just a couple of minutes. It was dry after about 30 minutes but we let it dry overnight for no reason. 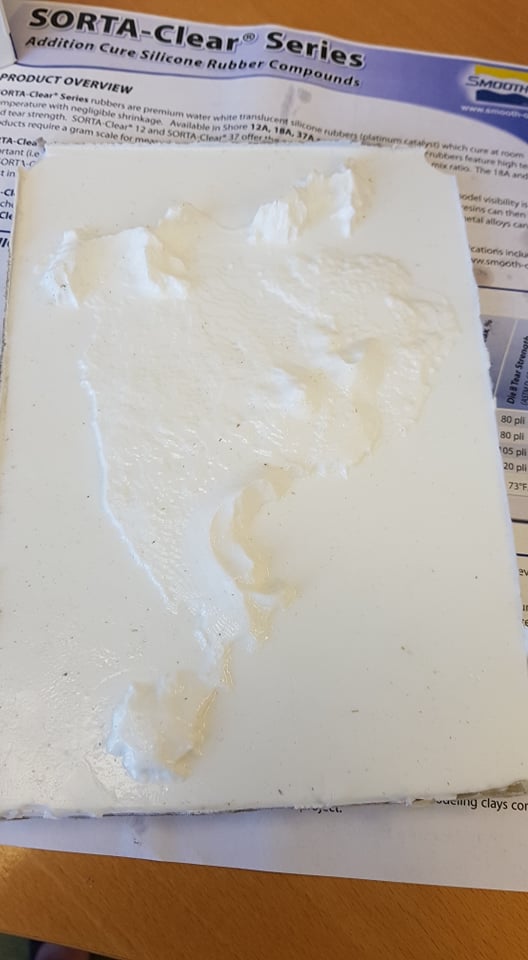
Material 3: Gypsum cement
Material 3 was gypsum cement and it works like sement all you need is water and the cement mix. When mixing this you have water in a glass or something and then you scoop the cement mix into the glass of water and you stir it and then after mixing it you scoop more and more cement mix into the glass of water untill its like stirring jogurt. When it's like jogurt you can put it into the mold and just lilke with the other materials you start with the lowest point. 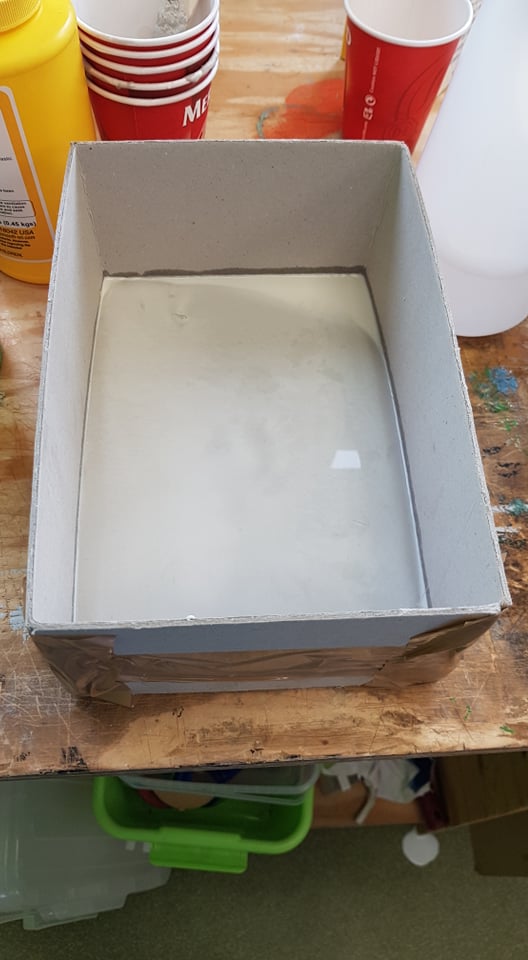
After placeing it into the mold all we needed to do was to let it dry, we let it dry overnight.

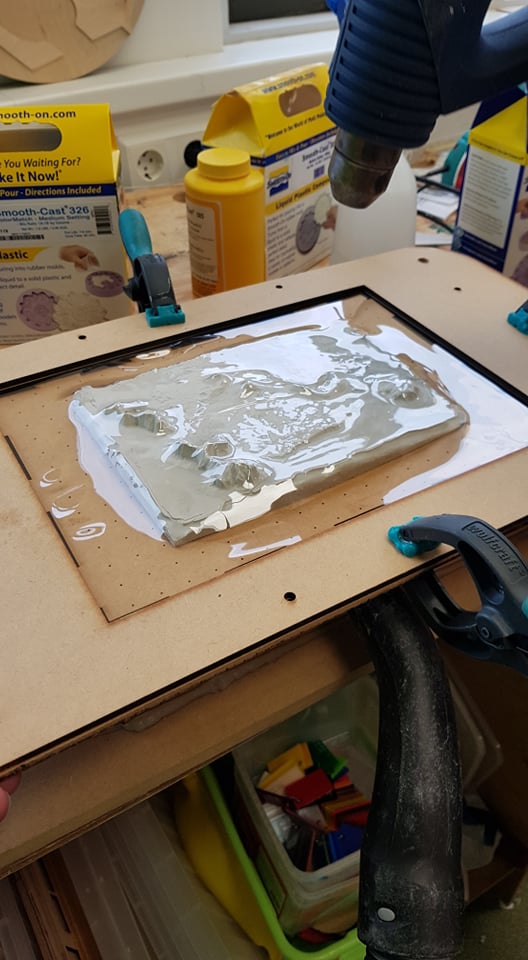
Material 4: Vacume forming
Vacume forming is one way to do a mold but is mostly used as a packaging for stuff. The process is very easy and takes a short amount of time. We started out by connected our vacume to the board that we are going to be using to make the mold on. The board works that way that it has a sucktion witch pulls the heated plastig and makes a mold around the object that is on the board. We used heatgun to heat up the plastic to make it form to the object and with the heated plastic we pressed it against the object and in my case it was the mold out of the cement that I had made earlyer. If you heat the plastic too much you will make a hole into the plastic witch is not good.