
Computer controlled cutting
Week 3- Documentation
Assignments:
- group assignment: characterize your lasercutter's focus, power, speed, rate, kerf, and joint clearance
- individual assignment: cut something on the vinylcutter design, lasercut, and document a parametric construction kit, accounting for the lasercutter kerf, which can be assembled in multiple ways, and for extra credit include elements that aren't flat
Vinyl cutter stickers:
- I started out by making logo that I wanted to print out. I made the logo in Inkscape and saved it as pdf.
- Step two was to select the color and insert the roll into the vinyl cutter.
- After I had inserted the vinyl roll that I wanted to use I turned on the cutter and selected that I was unsing a roll. Other options are edge if you vant it to cut very close to the edge and sheet for if you are not using a roll. The force that I'm using is 120GF and the speed is 20cm/sec.
- On the computer connected to the cutter I selected the pdf file and clicked print and then print properties. In print properties I selected the size of the paper I was using. In my case I selected 150x250mm witch is larger than what I printed to be safe.
- After going through print properties I selected print to print the stickers.
- After it had cut the vinyl I turned off the printer and then removed the roll from the cutter.
- After removing the material from the cutter I removed all the extra material fom the stickers and then until there was nothing left but the sticker.
- After that I put on a clear sticky plastic to protect the vinyl. I made sure that there where no air bubbles under the plastic.
- Then I put the sticker on my laptop.
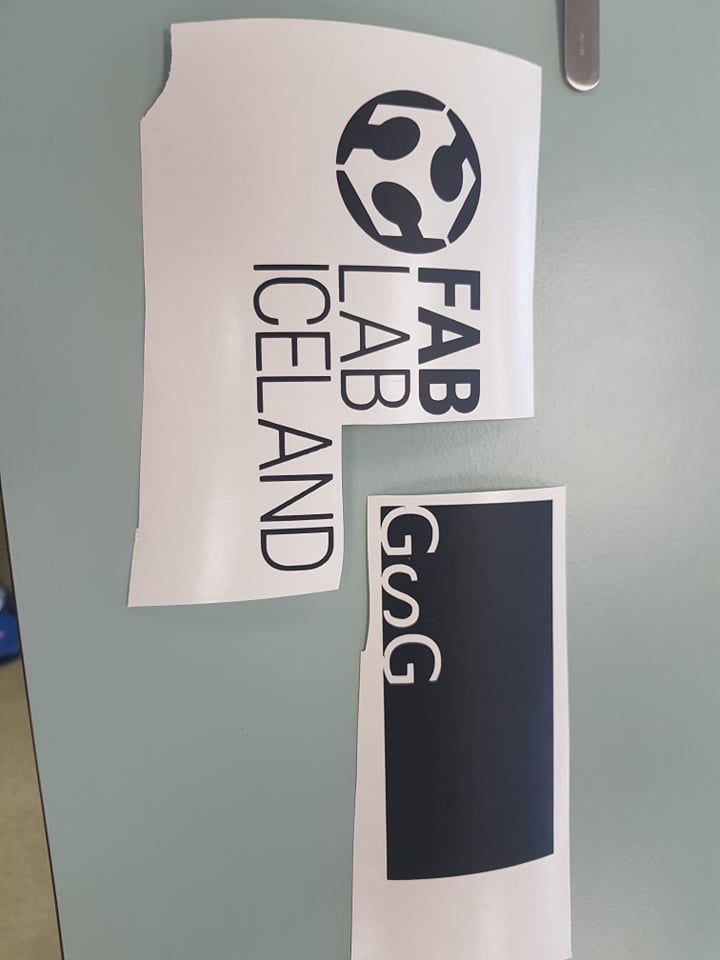
On the vinyl cutter
Manual
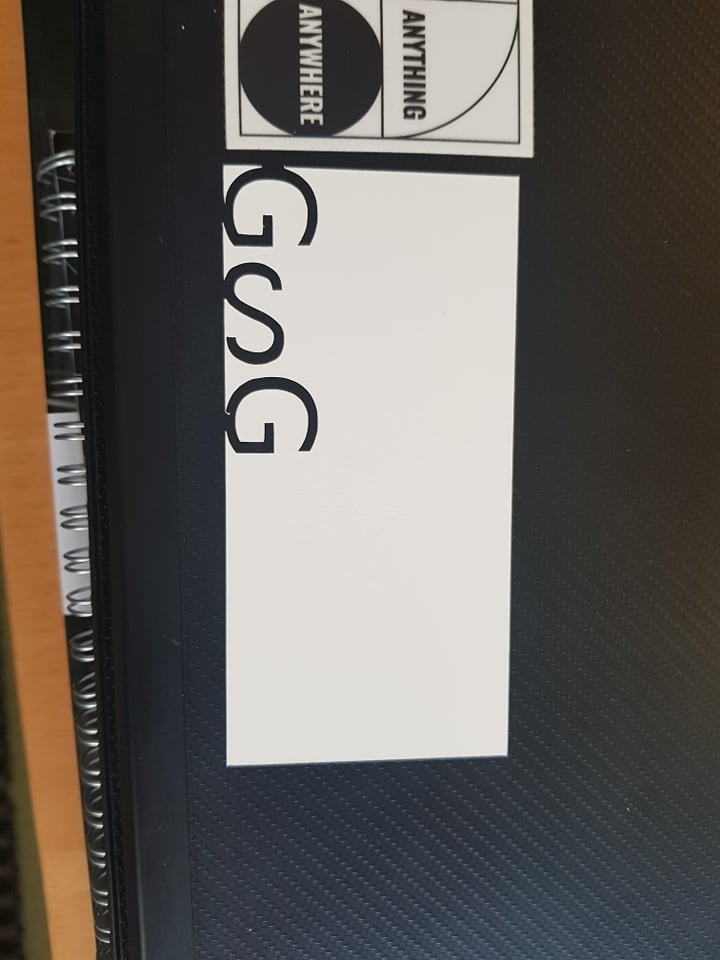
Problems:
The problems I had with the stickers was:
Parametric construction kit:
Working with parametrics was something that I had never done before so there was some learning curve of trial and error.
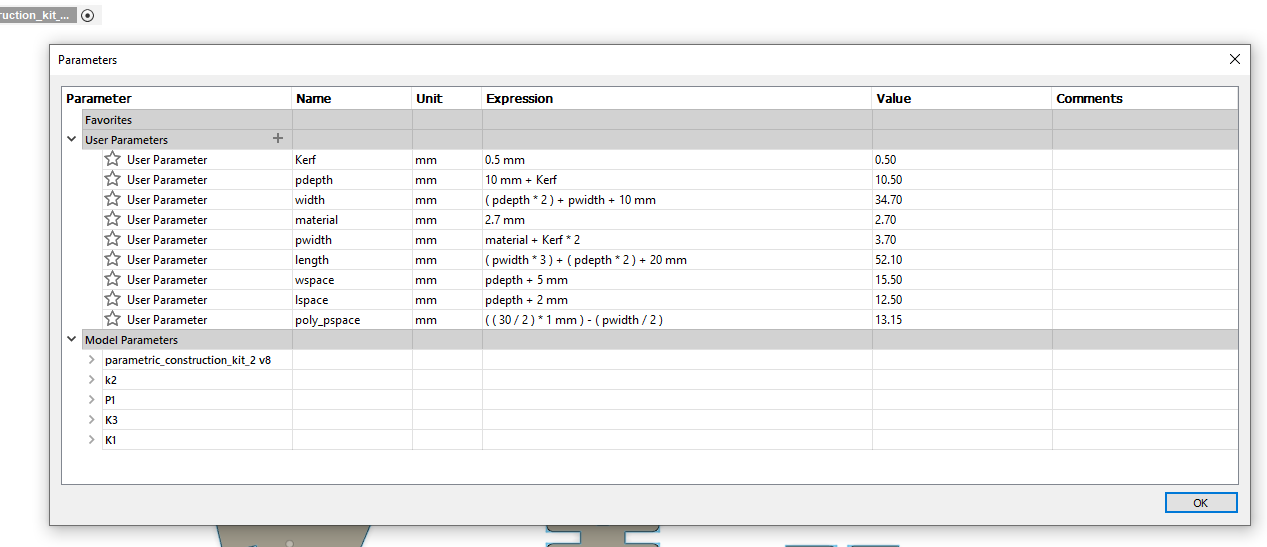
- I started out by going to Fusion and make parametrics that I wanted to have.
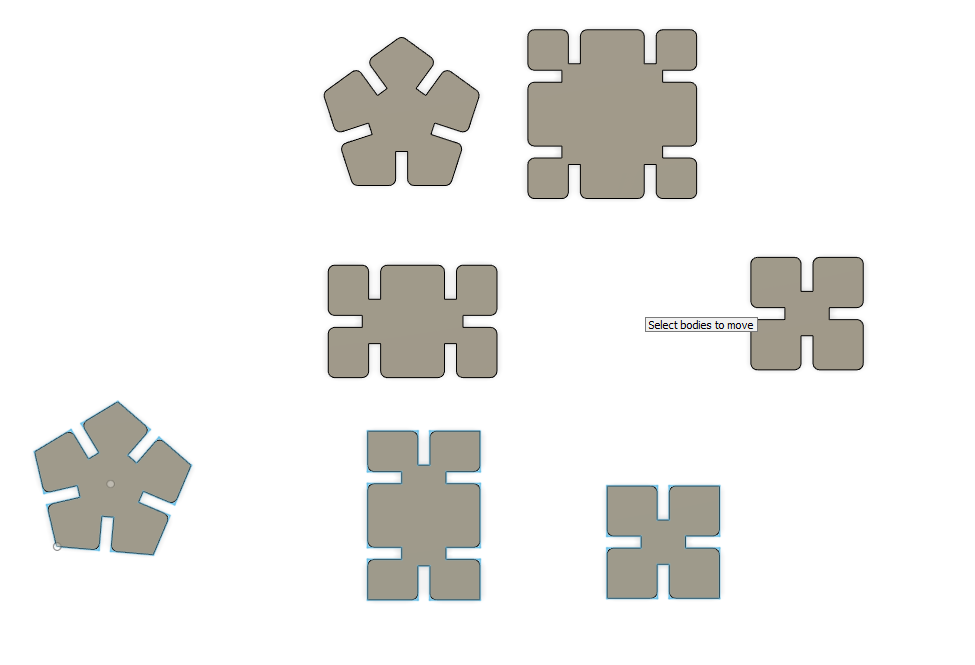
- After that I made a sketch of what I wanted. Make sure you're not extruding, make the sketch look like the final results from the start.
- I used the parametrics as much as possible.
- After the sketch was ready I extuded the sketch to the material thickness and repaeted the process of making more sketches (not the same)
- After making a couple of pieces I right clicked on each sketch and clicked safe as dxf and repeated that with all the pices.
- After I had saved the pieces as dxf I imported them into Inkscape.
- After importing I made sure that the line width was 0.02mm for laser cutting.
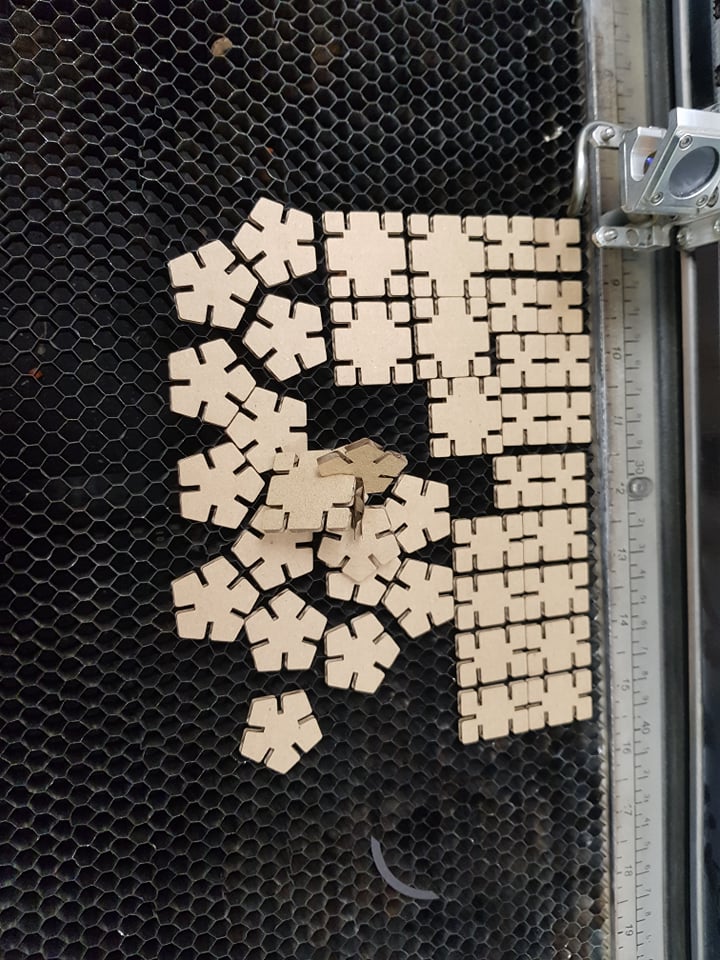
- Then copy pasted them a couple of times because I wanted to make a lot of them and placed the close together to minimum waste.
- -I placed material into the cutter.
-Turned on the fan and Laser cutter and wated 20 seconds to make warm up.
-Then I pressed "pointer" witch turnes on a laser so show where it's pointing.
-Pressed "XY off" then "go" and that makes me able to move the pointer.
-After that I moved the material up and down with the arrows on the laser to help the laser cut the path precisely.
-I moved the pointer to a new place where I knew that the laser would have enough space to cut my file.
- After finding a good place I pressed "set home" and now I have 0 my X and Y.
- Then I closed the lid and was ready to move on to the computer. - I opened the pdf file and clicked on "print" and in print I clicked on "print properties"
- In print properties I selected the laser settings and I was only cutting so chose only vector.
Vector
-Speed: 60
-Power: 90
-Freq.: 500 - After that I hit "print" and then "go" on the laser and the laser started to cut.
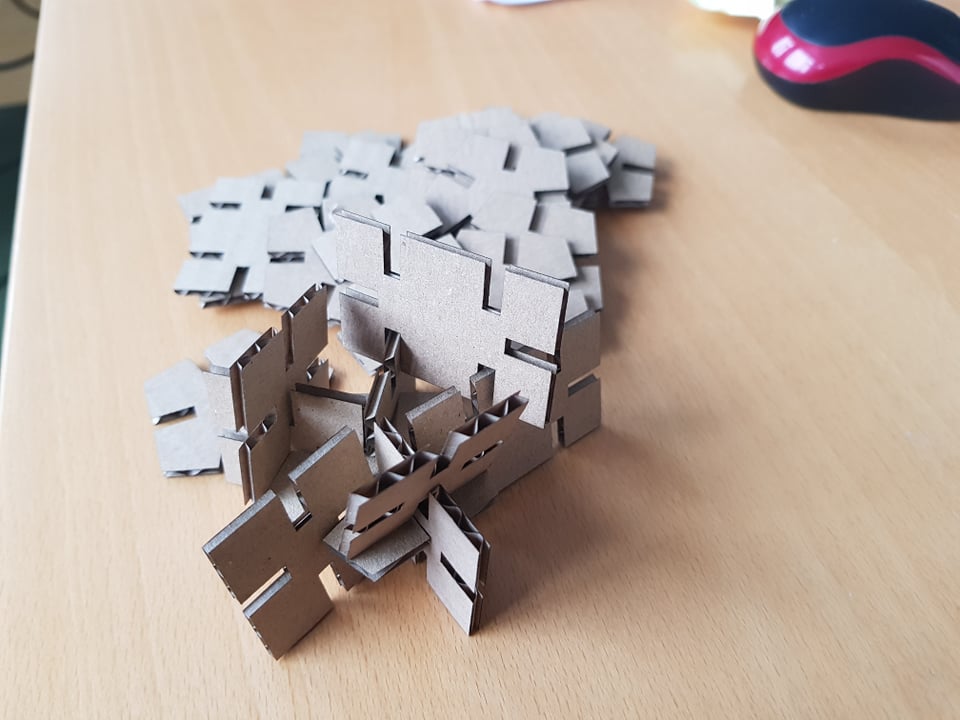
- After it was done cutting I wated for 30 seconds to make sure all fumes where gone and then removed the materila and started playing with the kit.
On the laser cutter
On the computer
Problems:
The main problem I had was to export the Fusion file as an dwx file. The problem I had was that when I made the components I made a square and then extruded the pice to make it the way I wanted, the problem with that is to export as an dwx you need to right click on the sketch (not body) and then click save as dwx. When I did that all I got was a square with no joints. I solved that problem by starting from scratch. The problem by using the sketch was that the fillets did not come also so the model is a bit blocky.
I had tried a lot of ways to get the model into Inkscape, I tried it by going to file and exporting as dwx all I got where some random shapes that I did'nt want. I also tried to exporting it as dwf and open it in Autocad and in Autocad make a pdf file that I opened in Inkscape but when I printed that file it was way too small.
Kerf:
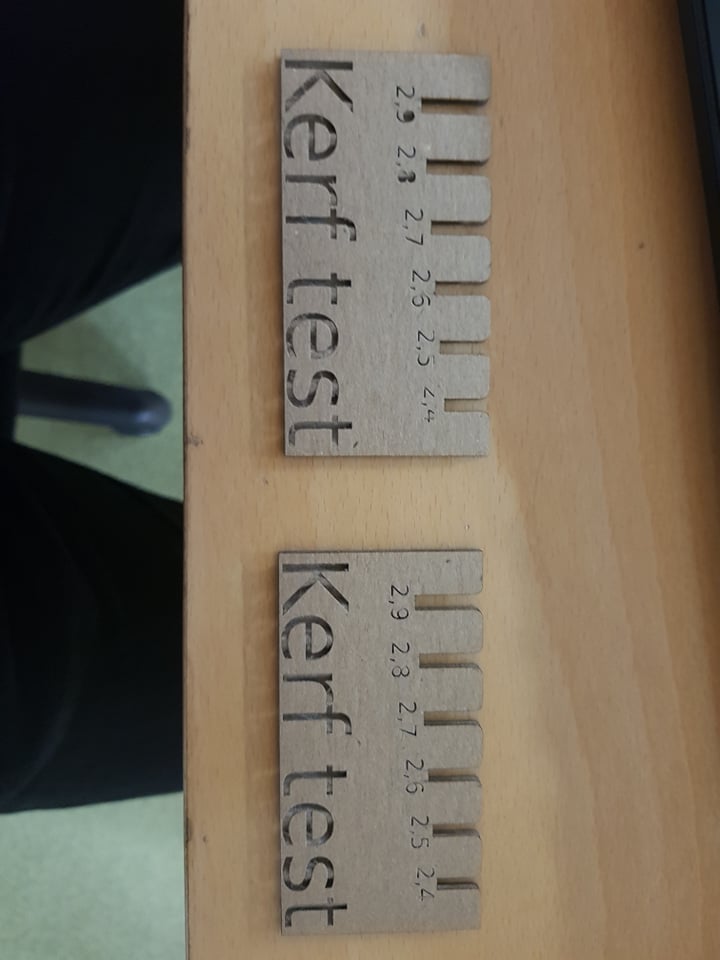
I tested the kerf by going to Fusion and making a test joints that where from 2.4mm to 2.9mm in width. I made two of these test plates to make them fit together and see what size fits best together. The thickness of the cardboard was 2.7mm and the pieces that fit the best together where 2.6mm in width witch means that the kerf is 0,05mm.

- I sterted by making the plate in Fusion and made the joints parametric. The parametrics where the spaces inbetween the joints and the joints.
- After that I exported that as an dwx into Inkscape. I was able to make the dwx format by right clicking on the sketch and click on safe as dwx.
- After that I made the letters to indicate the sizes of the joints
- To make it ready for laser cutting I made the line width 0,02mm to indicate where to cut.
- On the laser cutter I went to print properties and selected that I wanted to raster and cut
Raster settings:
-speed: 80
-power: 40
Vector settings:
-speed: 60
-power: 90
-freq.: 500 - After that I printed it.
- And then tested how well each thit/li>
Tutorials I used:
- Fusion360: Automatically sized finger-joints
- Fusion360 - Laying out flat sheet components to prepare for CAM
- Laser cutting - How to save as DXF in Fusion 360
- DXF Segmented Line Fix in Inkscape 2
- Skera límmiða í Roland vinylskera í GX-24 í Fab Lab
Files:
- Inskape: Fab lab Iceland sticker
- Inskape: GSG logo sticker
- Fusion 360 model: Parametric construction kit
- Inskape: Parametric construction kit
- Inkscape: kerf
Software I used:
- Fusion 360: Integrated CAD, CAM, and CAE software
- Inkscape: Professional quality vector graphics software
- AutoCAD: is computer-aided design (CAD) software that architects, engineers, and construction professionals rely on to create precise 2D and 3D drawings.
Machines I used:
- Roland: Vinyl cutter
- Epilog mini helix: Laser cutter