
Week_11 - Output Devices
Assigment
- group assignment:
- measure the power consumption of an output device
- individual assignment:
- add an output device to a microcontroller board you've designed, and program it to do something
You can find our group assignment on Fablab page or in Piotr Bejneka week 11 Group assinment where he measures the mA of the LCD.
Individual assignment
This week, the main task is to connect the output device and get some reaction in the designed board.
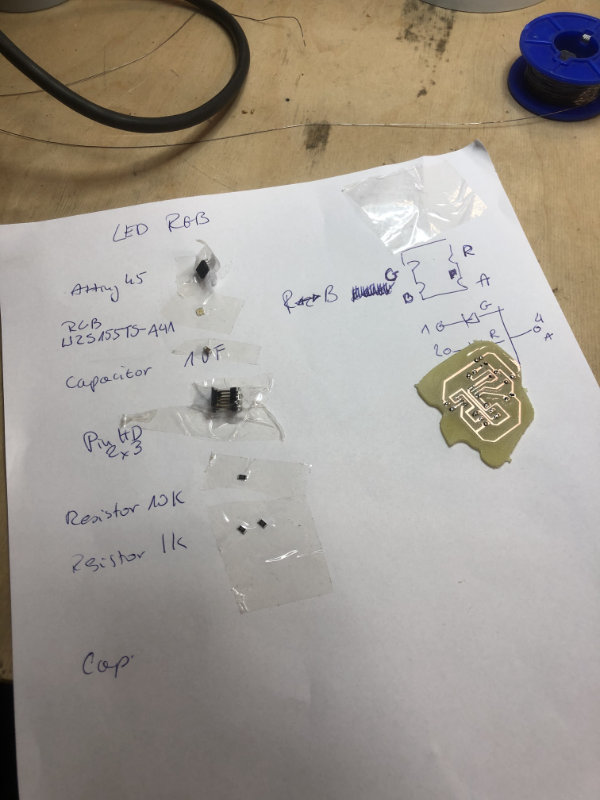
The necessary elements:
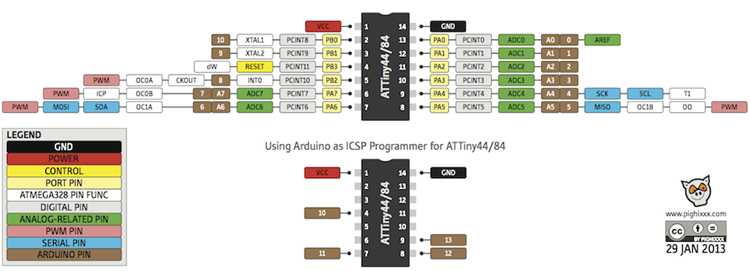
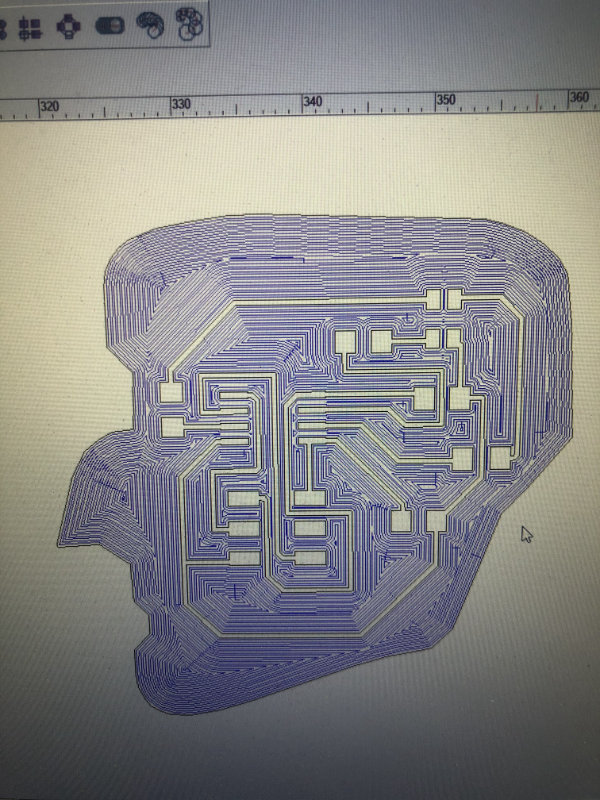
I started by looking at pinout attiny 44
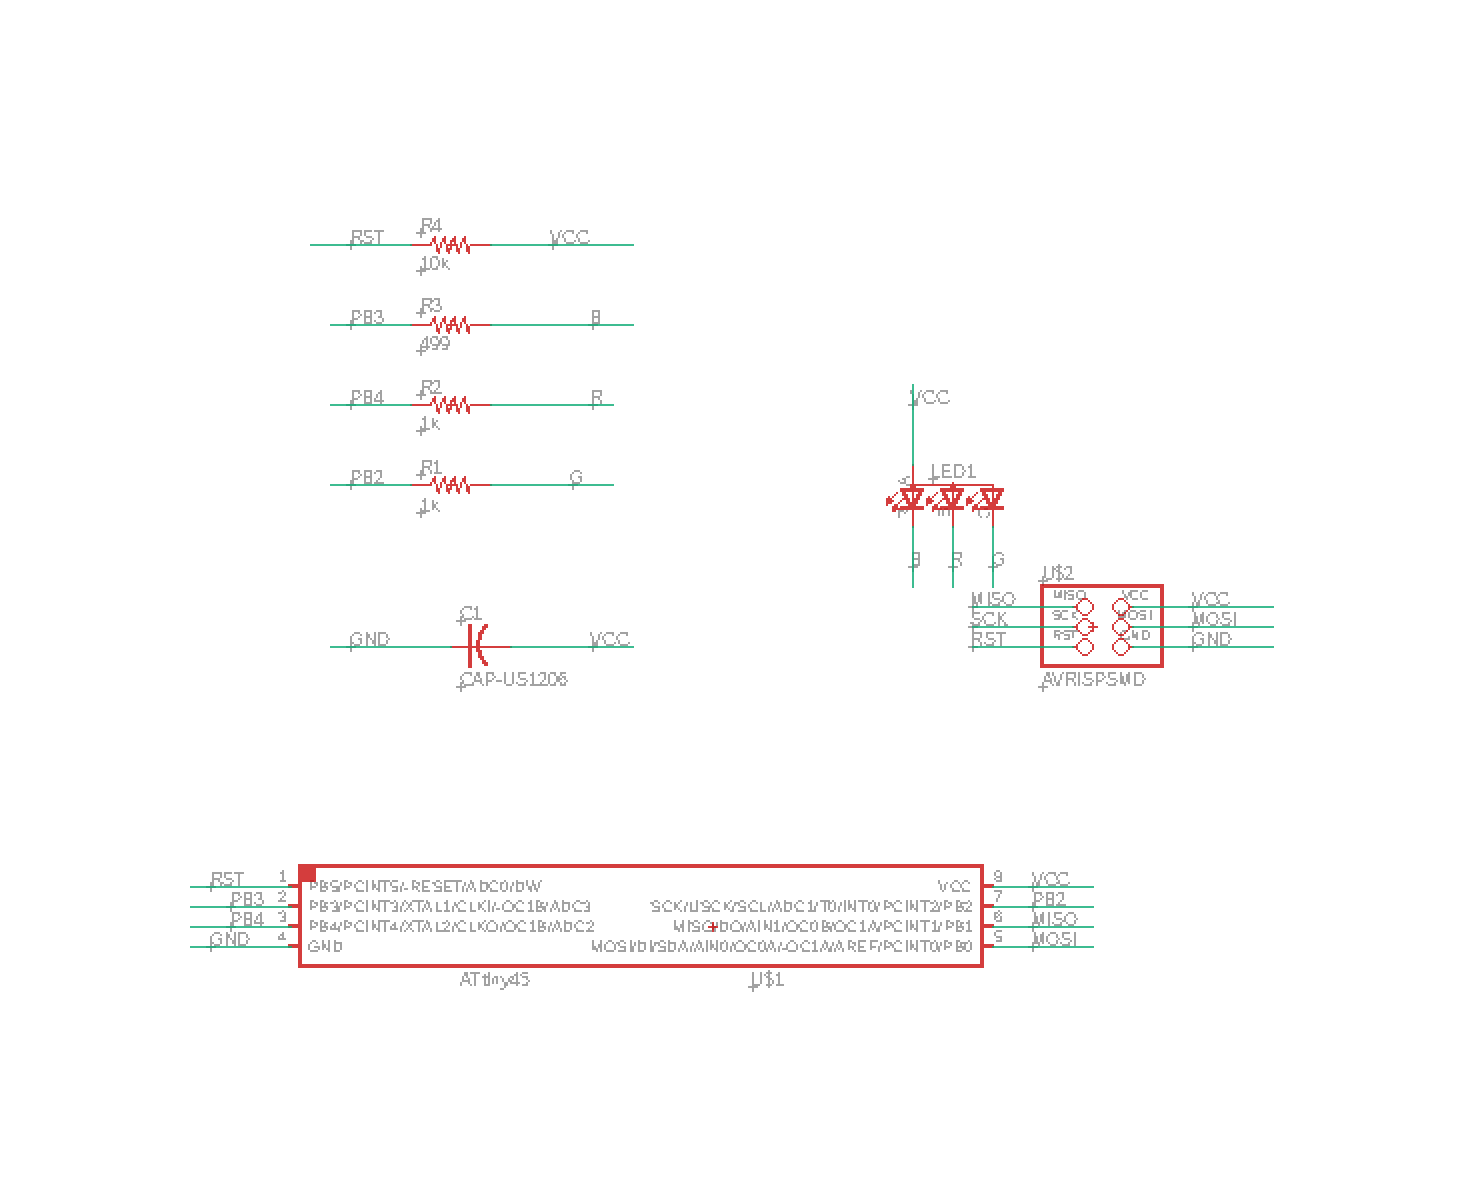
The hardest moment is always to imagine the tile
we design to make the connections between the
components in such a way that they cross as
little as possible, and if they cross, think
about changing Attina's pins in connection
with the components.
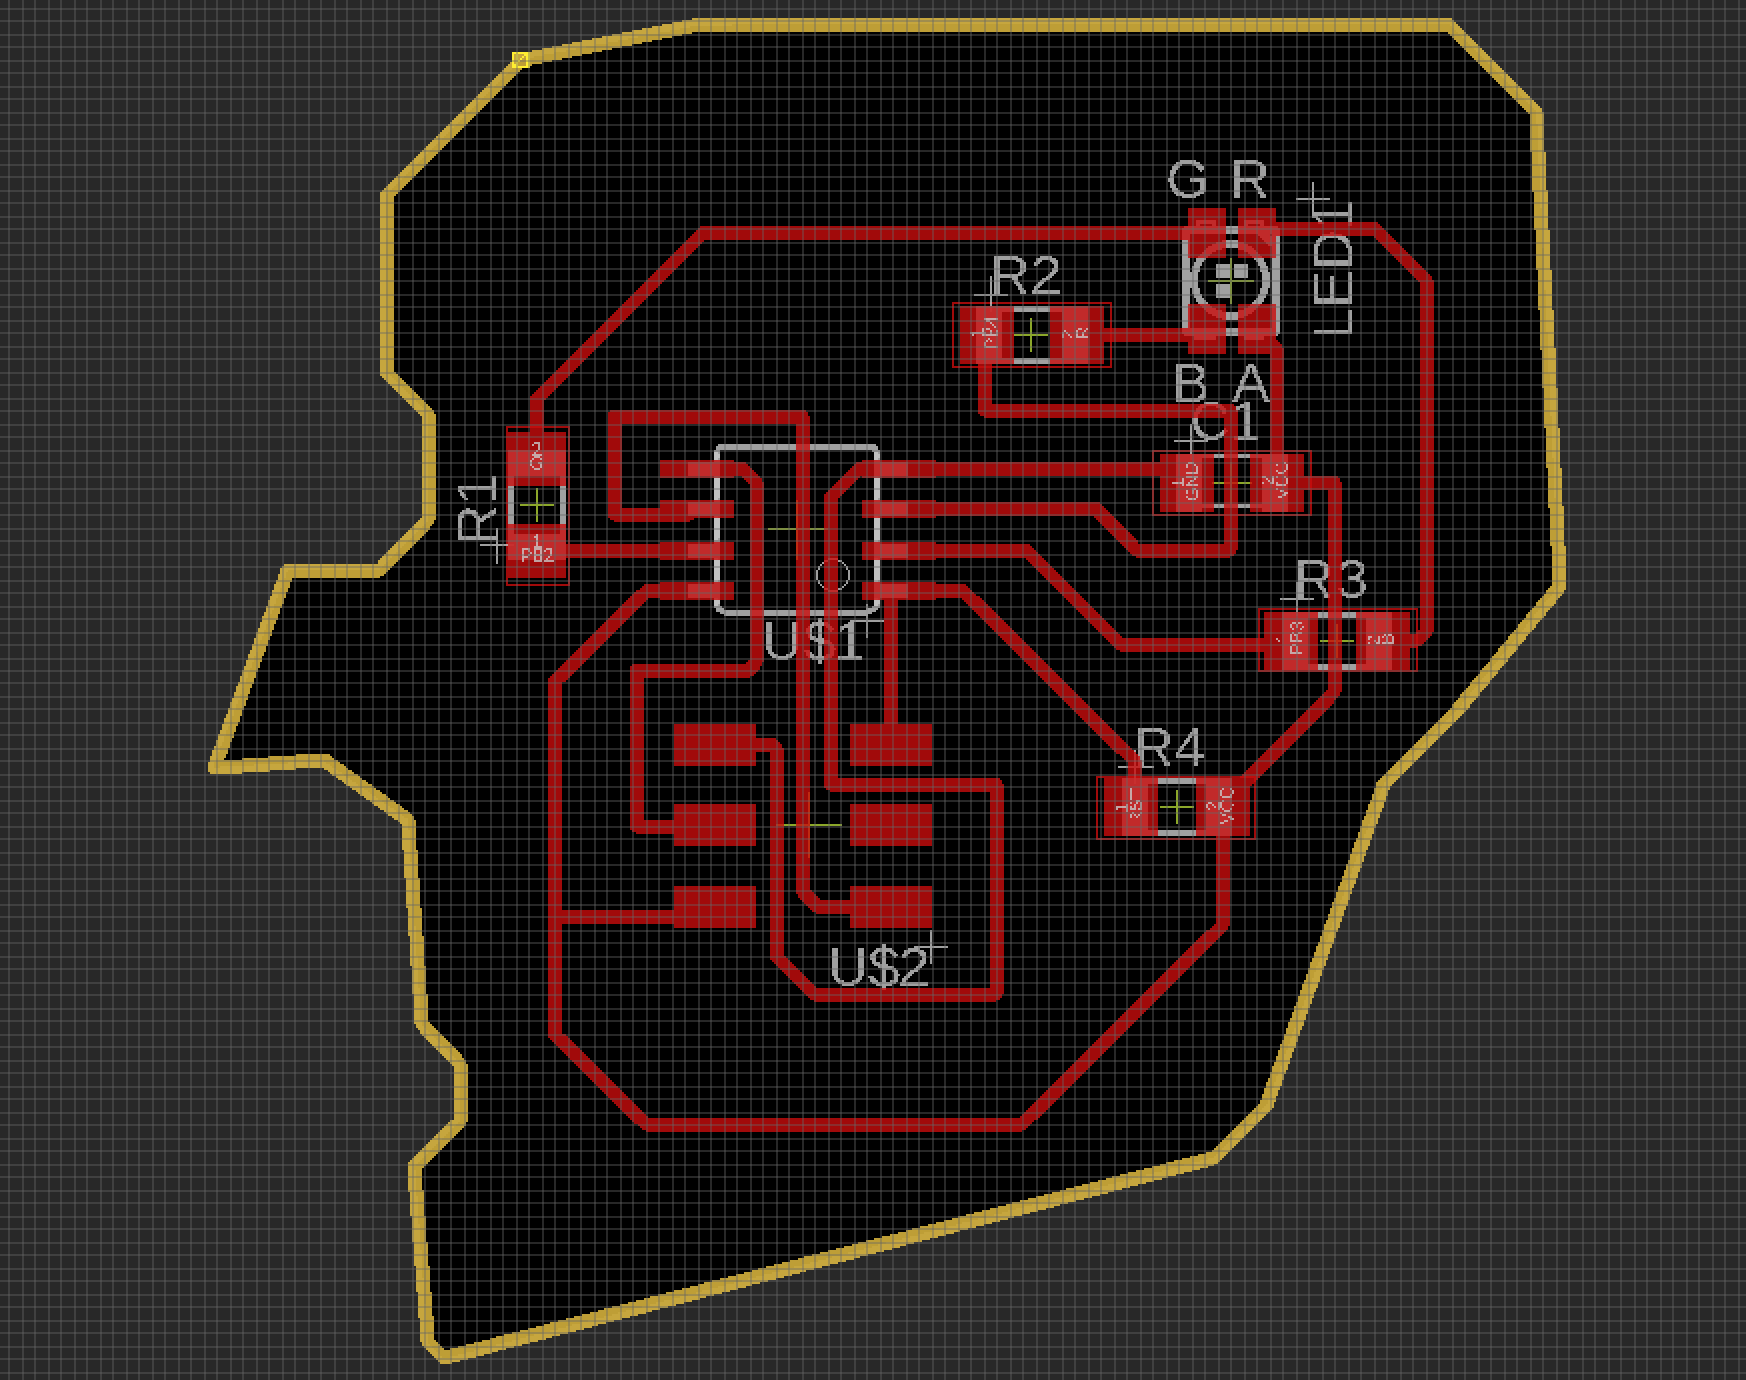
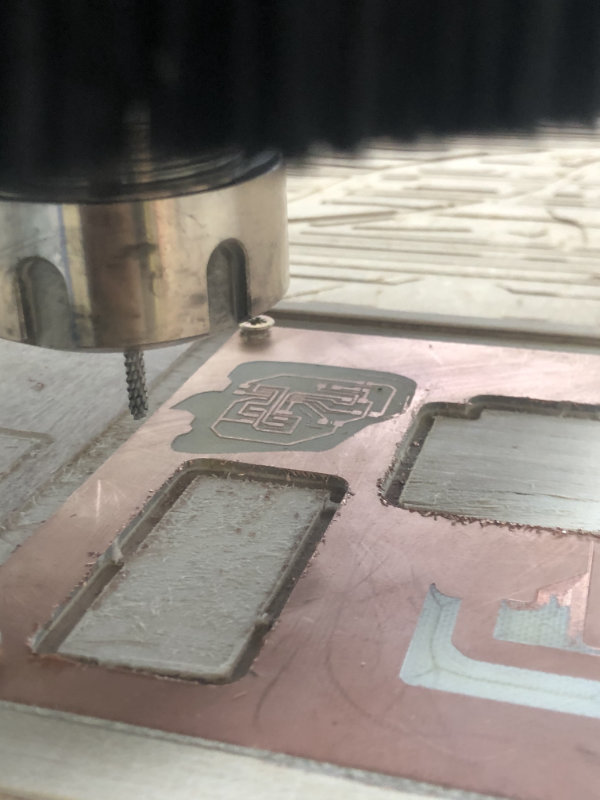
CNC MILLING
After designing the tile,
it's time to milling out its
files attached as always at the
end of the page.
Assembling
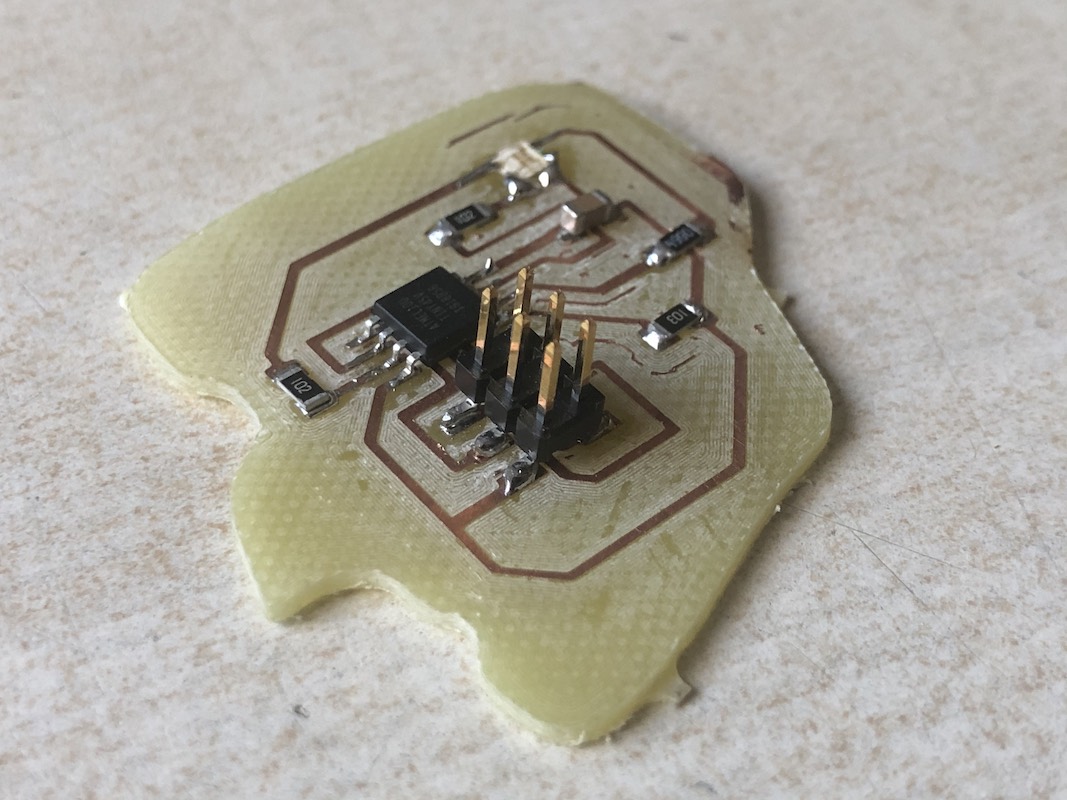
Arduino code
I made the same layout for the arduino. Using LED RGB of several jumpers and Arduino.
		const int redPin = 7;
		const int greenPin = 6;
		const int bluePin = 5;

		void setup() {}

		void loop() {
		  analogWrite(redPin, random(0,255));
		  analogWrite(greenPin, random(0,255));
		  analogWrite(bluePin, random(0,255));
		  delay(500);
		}