Week 15: molding and casting
group assignment:
review the safety data sheets for each of your molding and casting materials,
then make and compare test casts with each of them
individual assignment:
design a mold around the stock and tooling that you'll be using,
mill it (rough cut + (at least) three-axis finish cut),
and use it to cast parts
Group assignment
Worked with Achille, Hannu, and Jari in group assignment this week. We used Smooth-Sil™ 940, OOMOO™ 30 and Smooth-Cast® 305 to test casting.
We started by reading safety instructions first. Main safety points for each of the materials:
- Mixing should be done in a properly ventilated area
- Wear safety glasses
- Long sleeves and rubber gloves
- Wear vinyl gloves because latex gloves will inhibit the cure of the rubber
Smooth-Sil 940
Smooth-Sil™ 940 is food safe platinum cure silicone rubber. Safety data sheet and instructions for using in food application.
- Pot life: 30 minutes
- Cure time: 24 hours
- Mix ratio by weight: 100A:10B
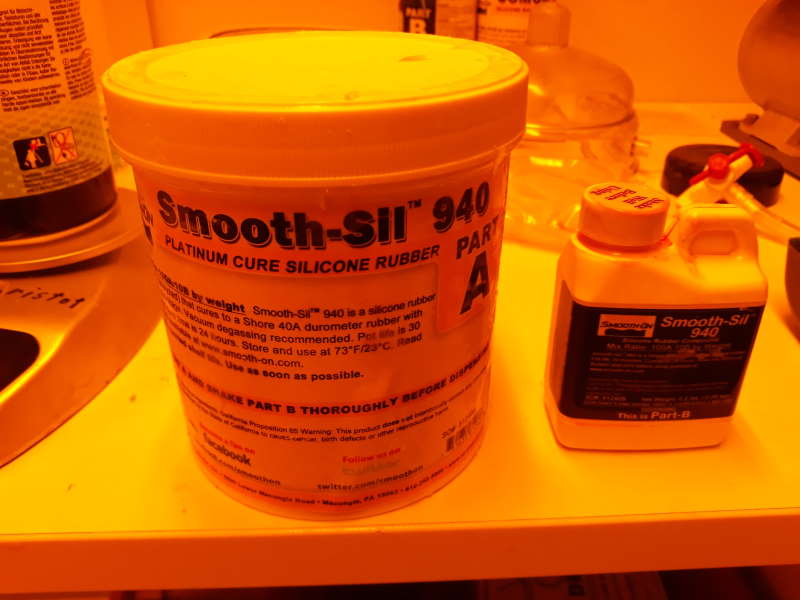
Smooth-Sil™ 940
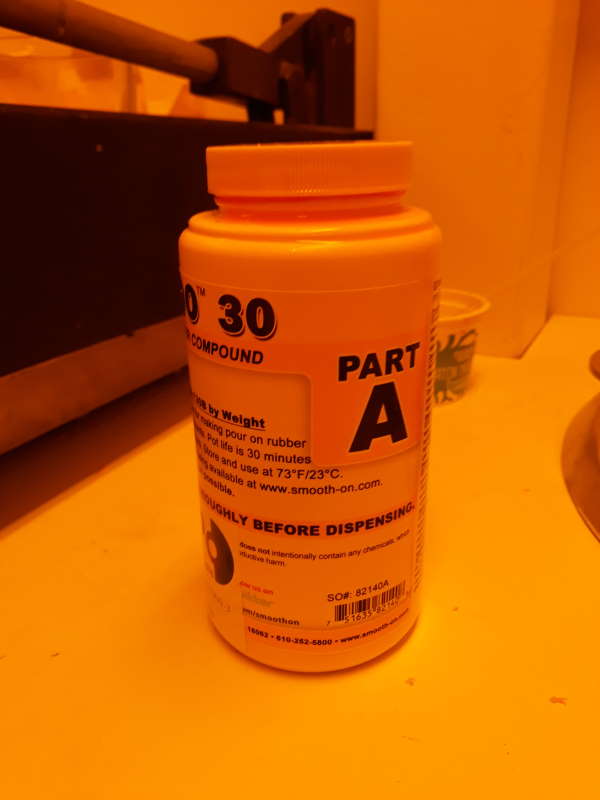
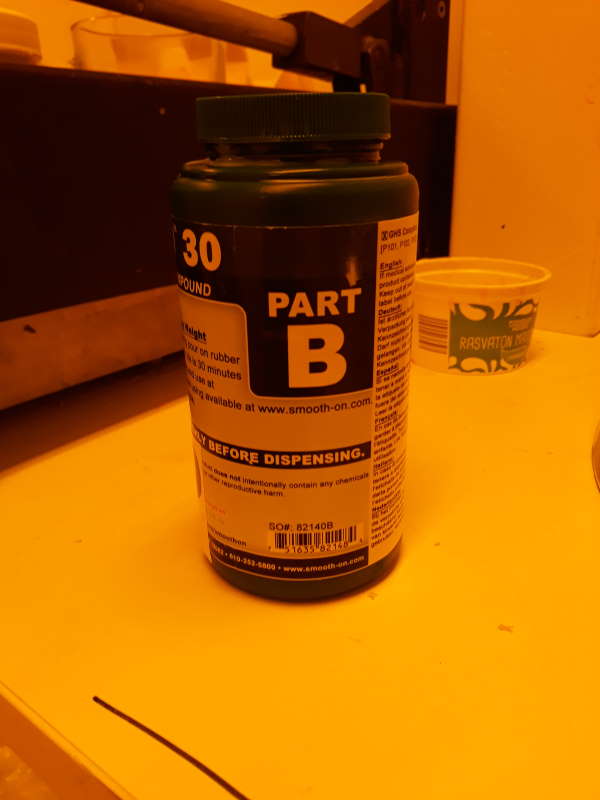
OOMOO™ 30
OOMOO™ 30 is an easy to use tin cure silicone rubber compound. It has low viscosiry which makes it easy to mix and pour. It is not necessary to vacuum degassing the mix. Safety data sheet.
- Pot life: 30 minutes
- Cure time: 6 hours
- Mix ratio by weight: 100A:130B
- Store and use material at room temperature, 23 degrees of celcius.
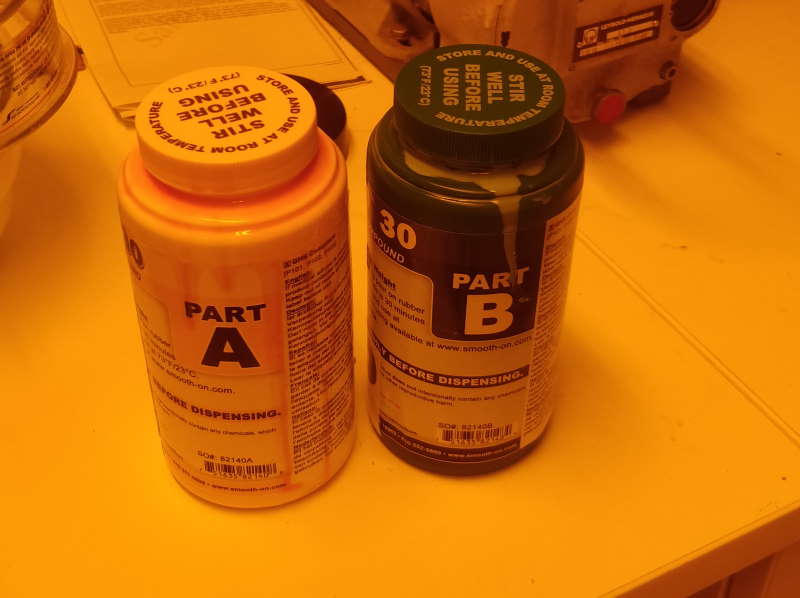
OOMOO™300
Smooth-Cast® 305
Smooth-Cast® 305 liquid plastic is ultra-low viscosity casting resin. Castings are bright white and virtually bubble free. Vacuum degassing is not necessary. Safety data sheet.
- Pot life: 7 minutes
- Cure time: 30 minutes
- Mix ratio by weight: 100A:90B
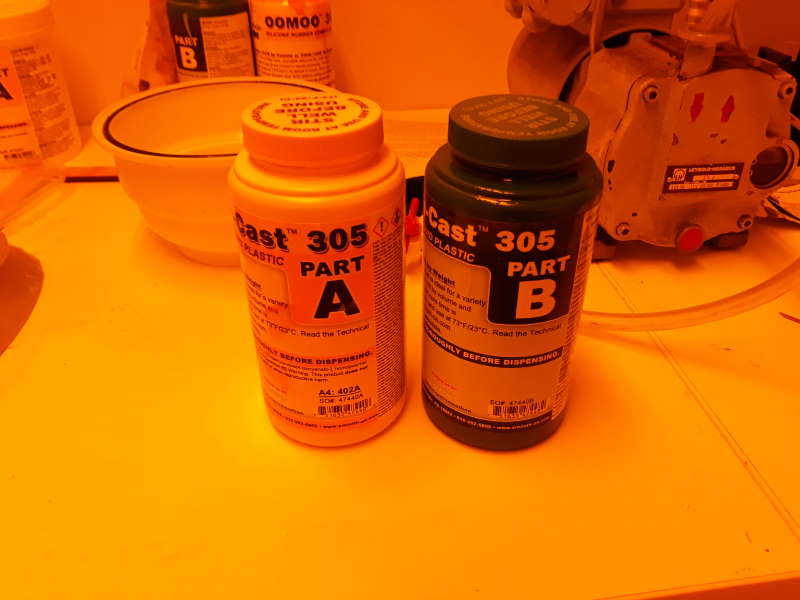
Smooth-Cast® 305
Casting

Smooth-Sil™ 940 and OOMOO™ 30 work pretty much same way as only difference at this point is the mix ratio by weight. After calculating and pouring the materials we mixed them by using a stick. Material needs to be mixed throughly for few minutes. OOMOO™ 30 is a little bit more dense compared to Smooth-Sil™ 940. This was noticeable when pouring materials and mixing them.
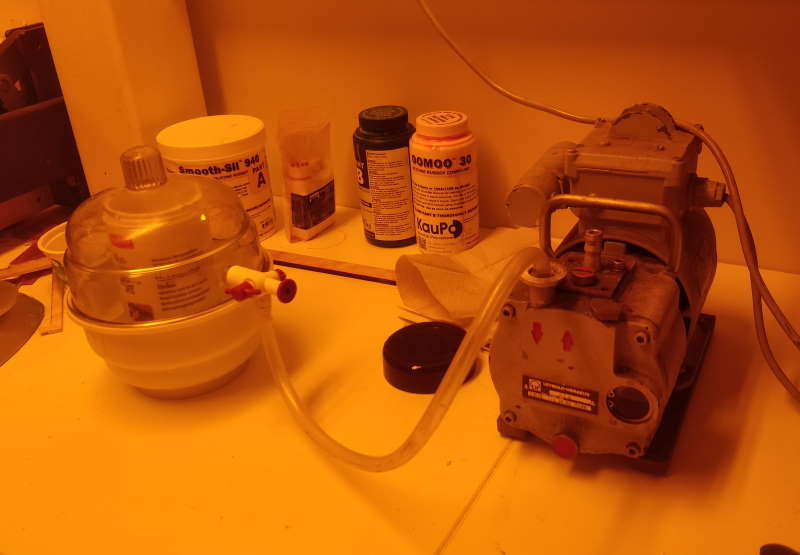
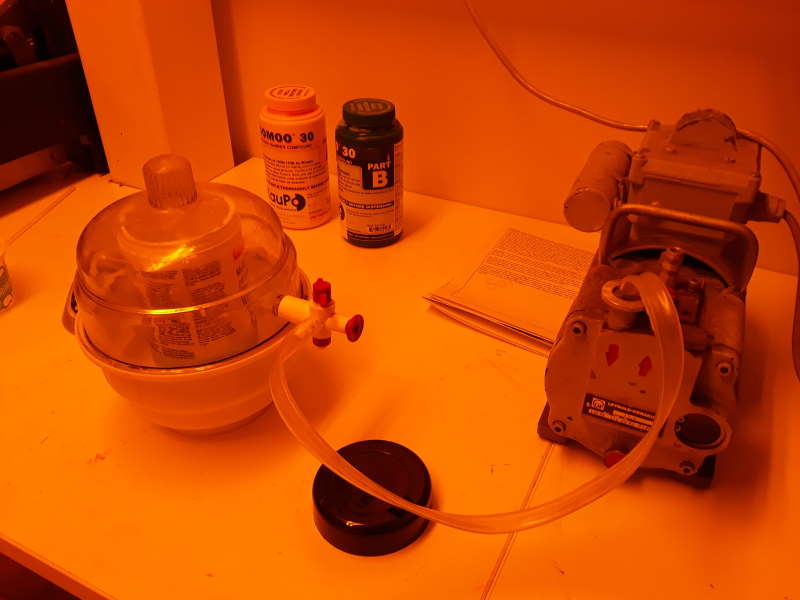
After mixing it is time to vacuum degassing the mix. For OOMOO™ 30 it is not necessary according the package, but we did it anyway. It took about 5-10 minutes for both.

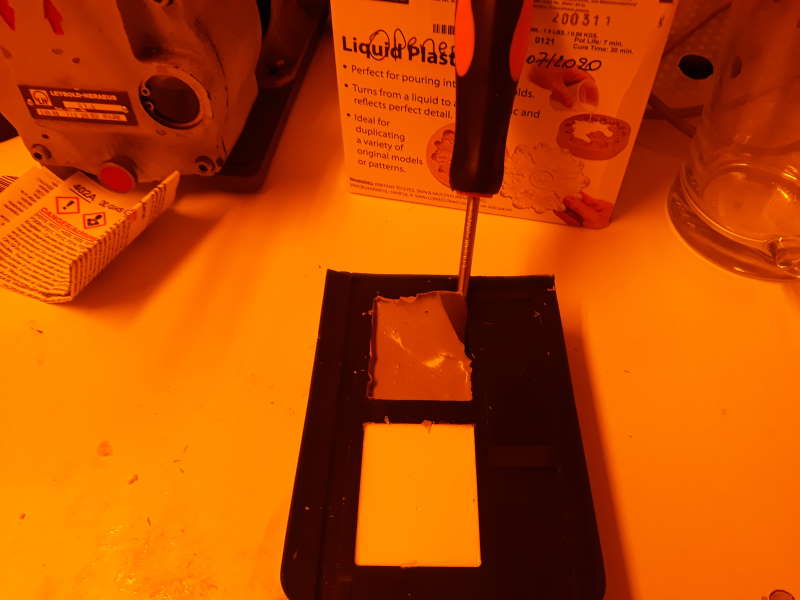
This is Smooth-Cast® 305. It was totally different since it is liquid and was faster to use compared to other materials used. Before pouring Smooth-Cast® 305 A and B have to be shaked throughly. After shaking we poured it to a container on a scale and mixed the material.
We poured OOMOO™ 30 and Smooth-Cast® 305 in a older wax mold and Smooth-Sil™ 940 was used for Achille's individual assignment. Documentation for it can be found from Achille's page.
We made two mistakes at this point. We did not mix enough of OOMOO™ 30 so we had to use screwdriver to lift it carefully off the mold. This could have been avoided if we had quickly mixed a little bit more of it. It is good idea to have a little bit of extra material going over the edges of a mold so negative mold can be easily detached. OOMOO™ 30 and Smooth-Sil™ 940 are easy to cut with knife.
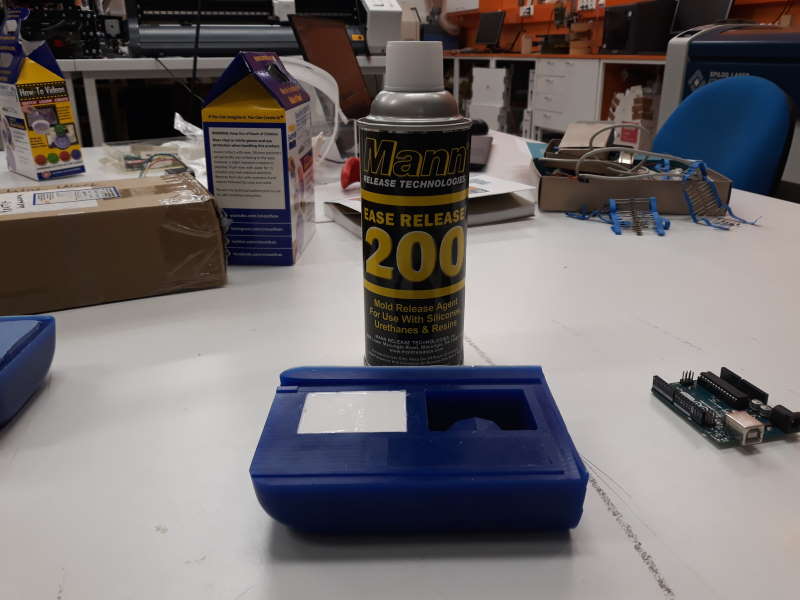
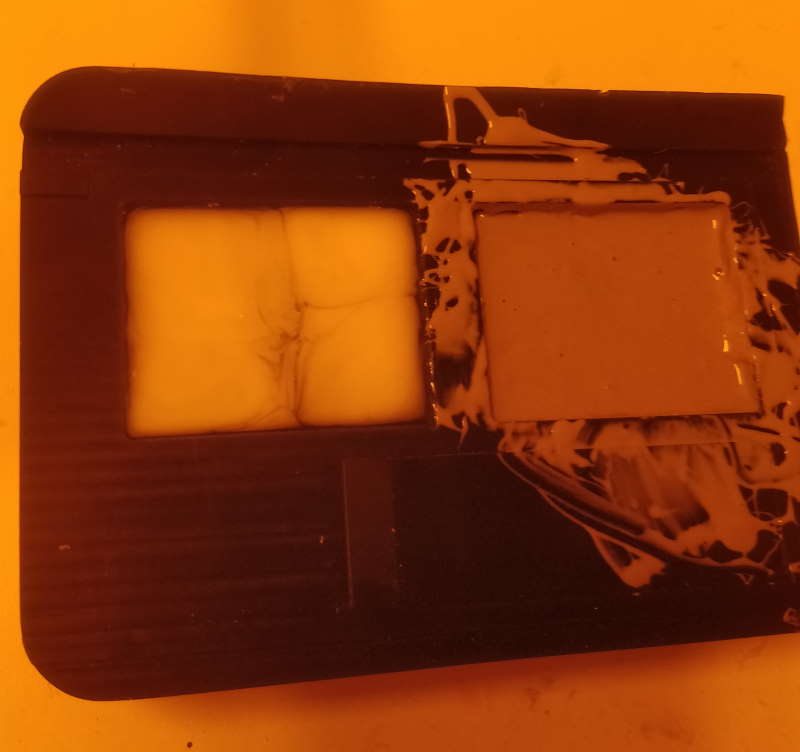
We poured Smooth-Cast® 305 in a wax mold and it is very difficult or nearly impossible to get it out of it without damaging it. We spoke about this with local instructor Ivan and he told about options we could have done beforehand to make this possible. We could have used Mann's Ease Release™ 200 to make it easier to get it out. Another way would have been including screws or something similar in the mold while mix is curing.
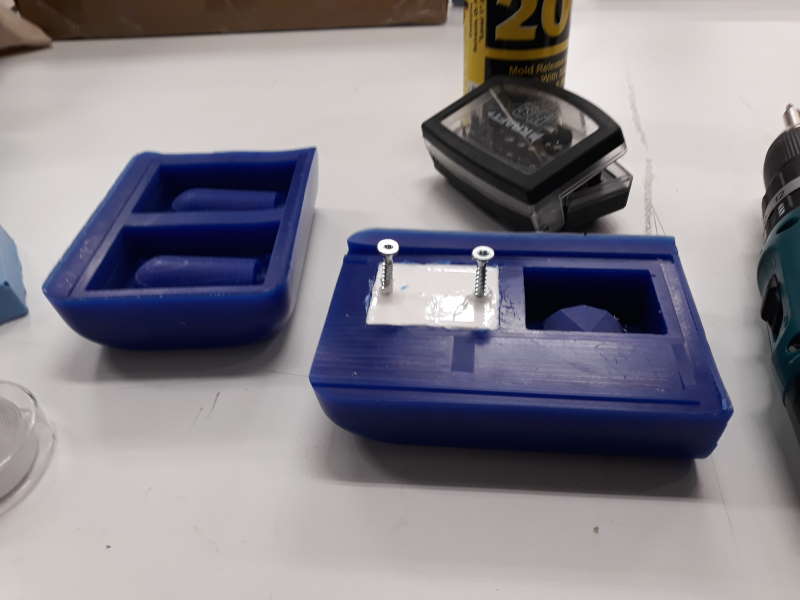
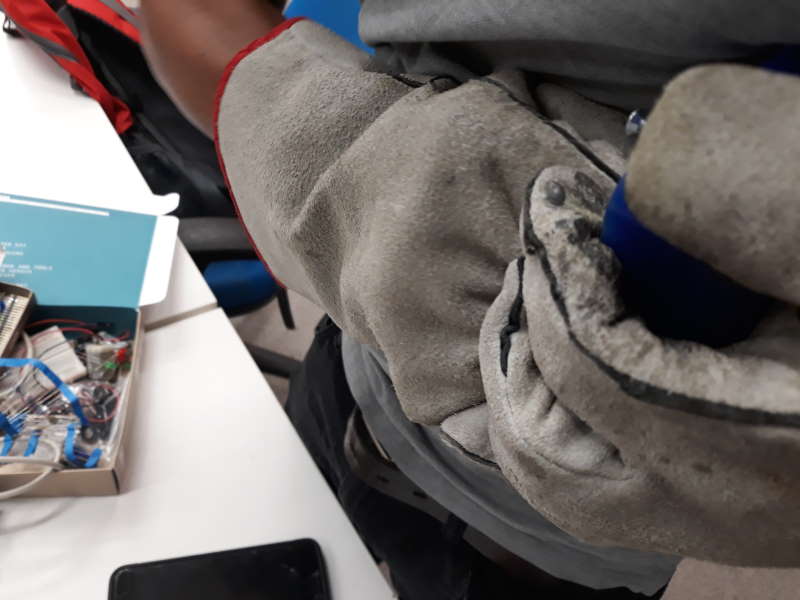
To save the wax mold we had to use a drill to put some screws in the negative mold to get it out. By using force we got it out.
We gave a another shot for the Smooth-Cast® 305 and used it on the mold made from OOMOO™ 30.
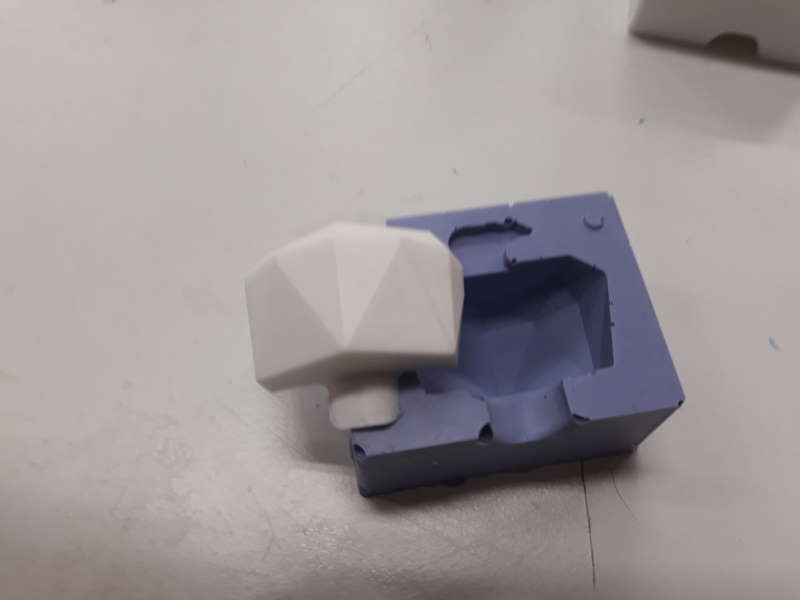
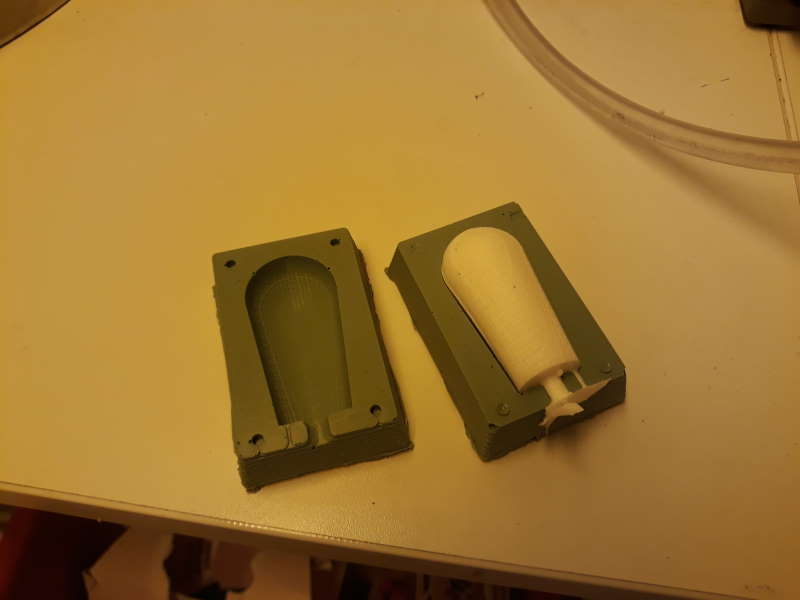
Here is the mold made from OOMOO™ 30 and casted object from Smooth-Cast™ 305.
We learnt from this group assignment how to use safely Smooth-Sil™ 940, OOMOO™ 30 and Smooth-Cast® 305 and differences between them.
Individual assignment
It took a while (again) to get an idea what to make. While looking at an arcade stick on a table I got the idea. I want to make a shape of bat top handle. It is another popular style of a top for joystick on arcade stick. More common one is ball top which I also have.
Designing the mold
I used Fusion 360 once again.
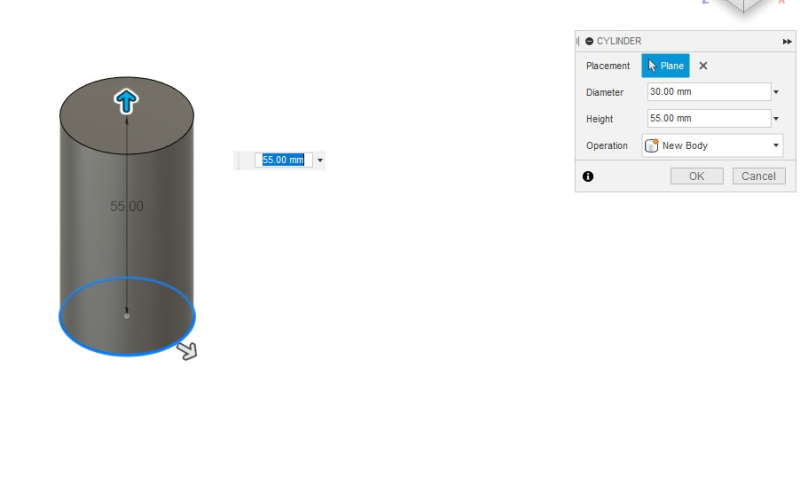
I started by making a Cylinder for the bat top. Final measurements are 30mm diameter and 65mm length.
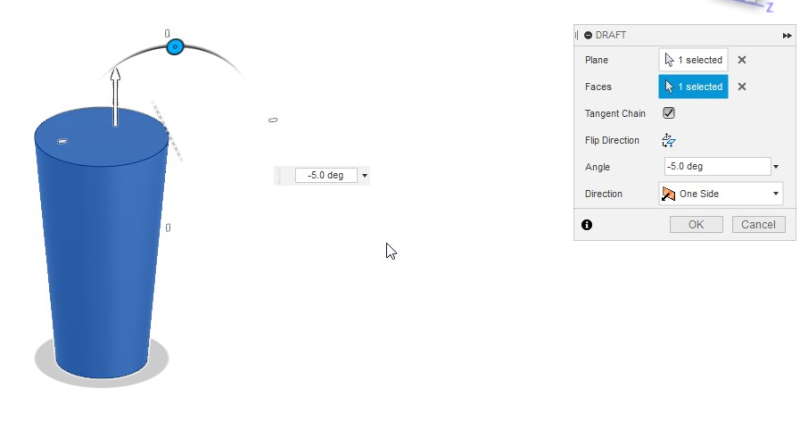
Next I used Draft to change the shape. Settled with -5 degrees on this.
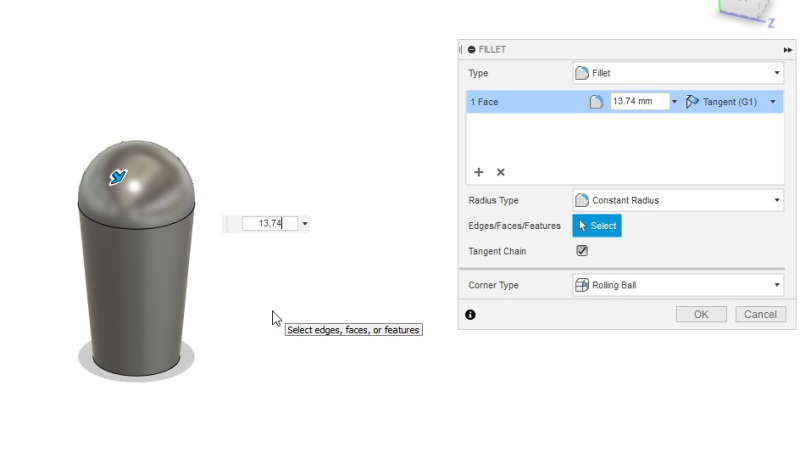
Finishing touch with Fillet. With 13.74mm I was able to get smooth half circle on the end of the cylinder.
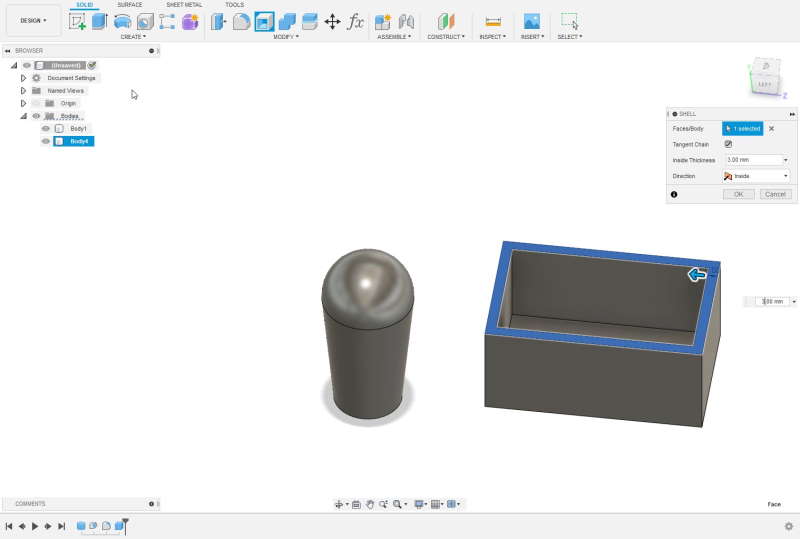
Next I made a Box and used Shell on it. Size of the Box is 60mm x 85mm x 23mm. Size of the shell is 5mm to outside.
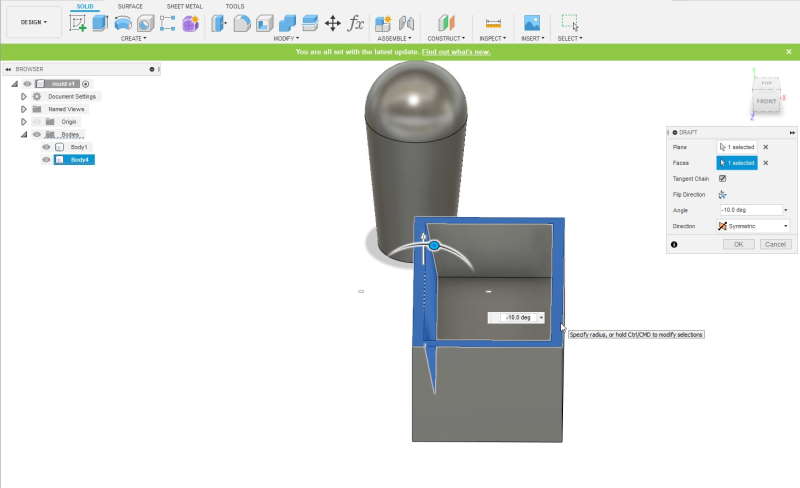
Neil and local instuctor Ari advised to use small amount of angle on walls to avoid breaking end mills. I don't know what the amount would be perfect so I used -10 degrees to be sure.
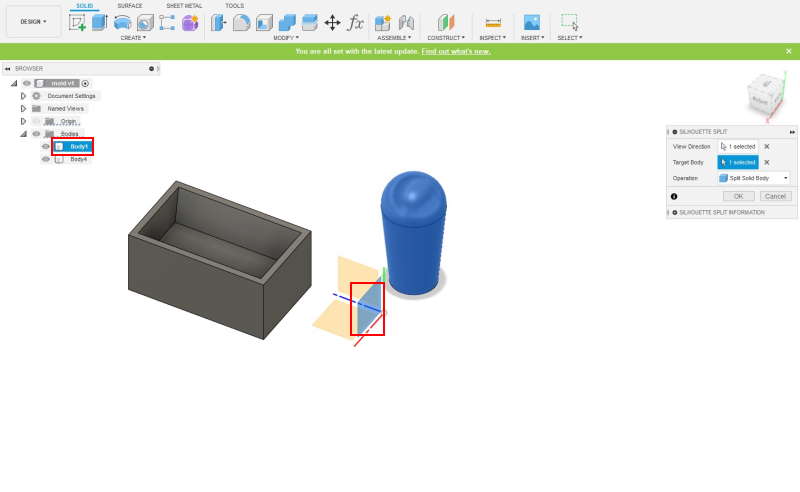
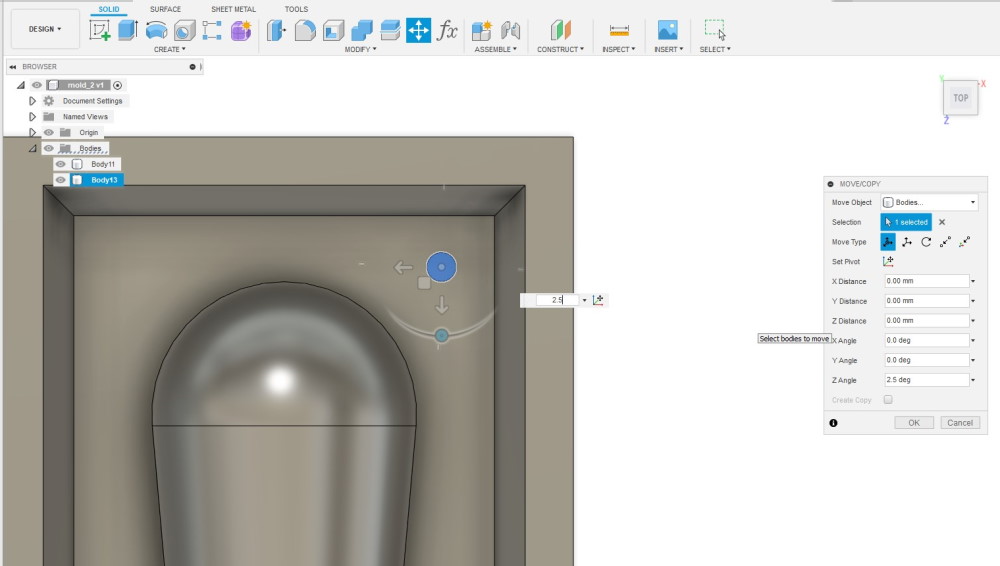
I cut the cylinder half with Silhoutte split. To use this select side of the origin and a body. Side of the origin will determine which way the object will be cut.
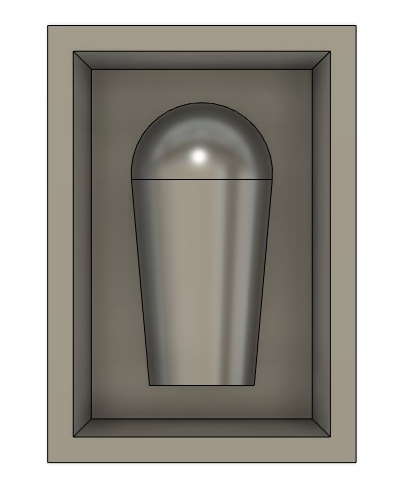
After splitting the cylinder I moved one of the pieces inside the Box.
With same technique I made holes for filling and air. I am not sure if the hole for air is necessary for this kind of simple mold but made it to be sure.
To make both sides of mold to snap together I created a small cylinders to each corner of the mold.
Also checked that pieces were in same distance from each other and walls before copying this. This way it should be a match with the other half of the mold.
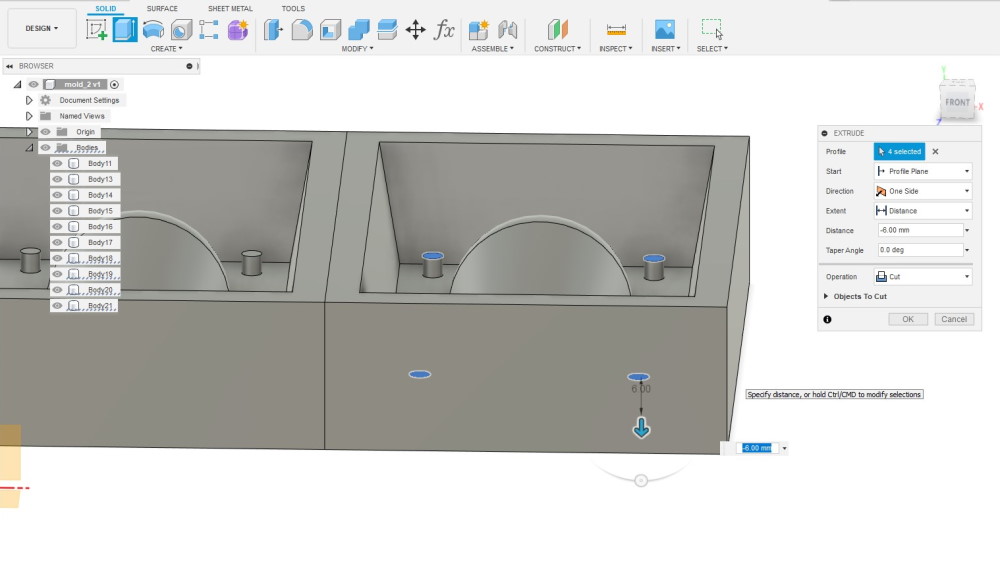
At this point I made a copy of the original one. For the copied one I used Extrude on the cylinders in each corner to make them holes.
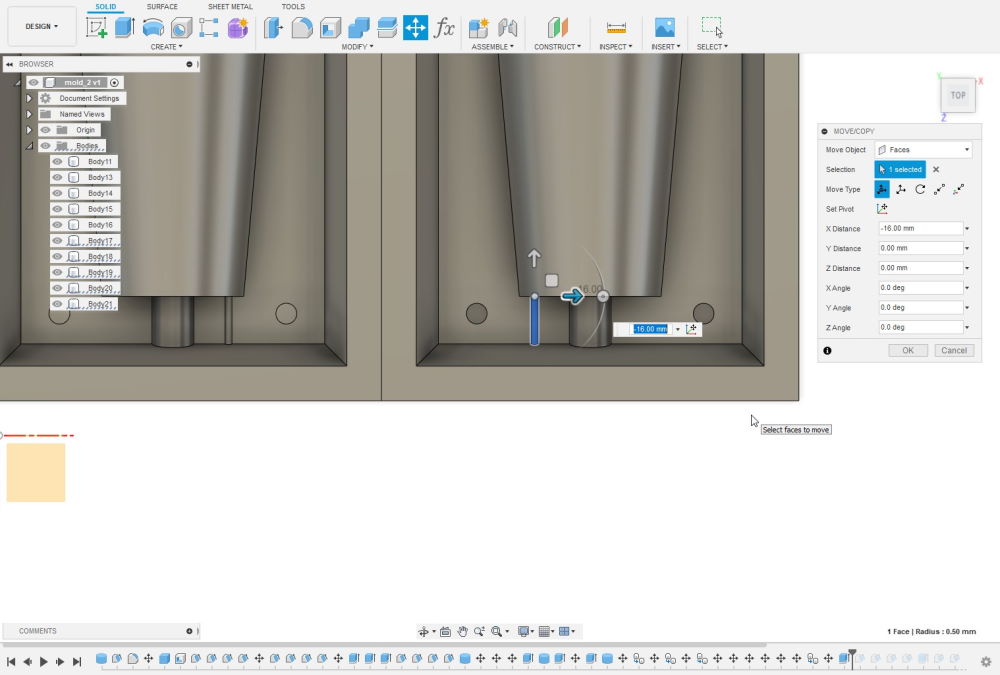
Last thing to do was to move the air hole onto another side.
Model is ready for the milling now.
Milling the mold
I had to first make cut files (.prn) for the SRM-20 milling before I could mill the mold. Files were made in MODELA Player 4.

All of the action which are required for these steps are under Set-dropdown menu. First I selected Modeling Wax as a material from the top right corner in the main window.
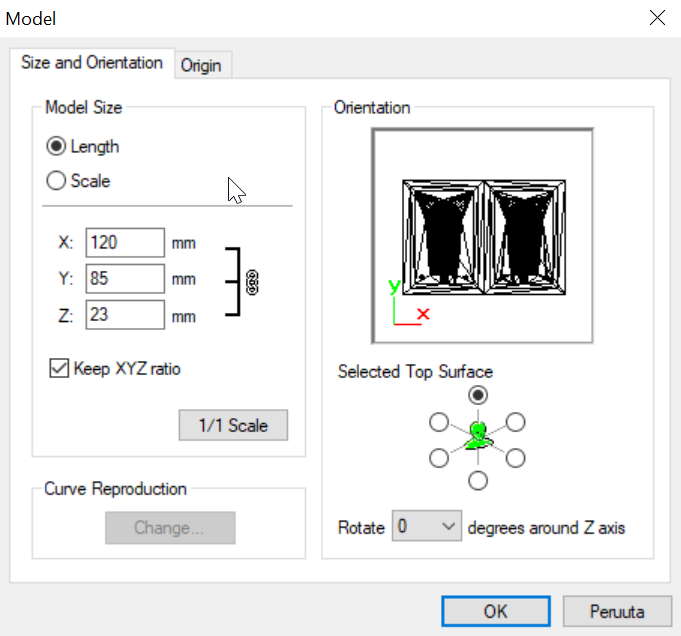
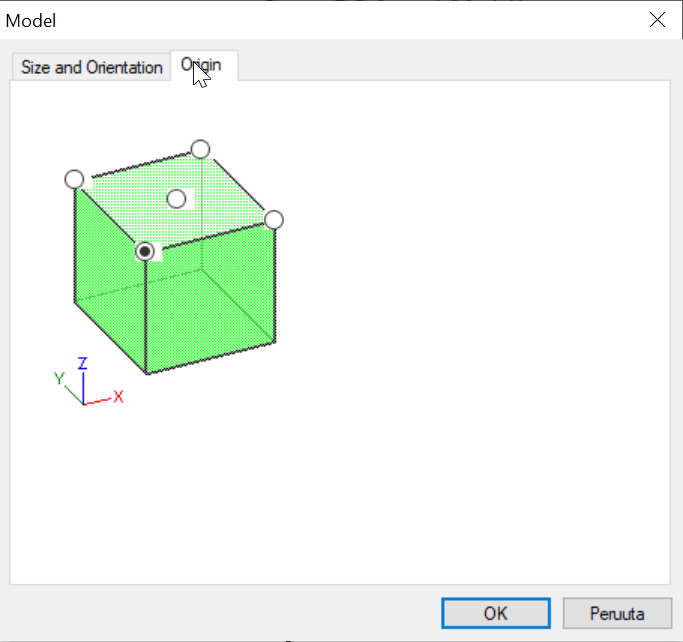
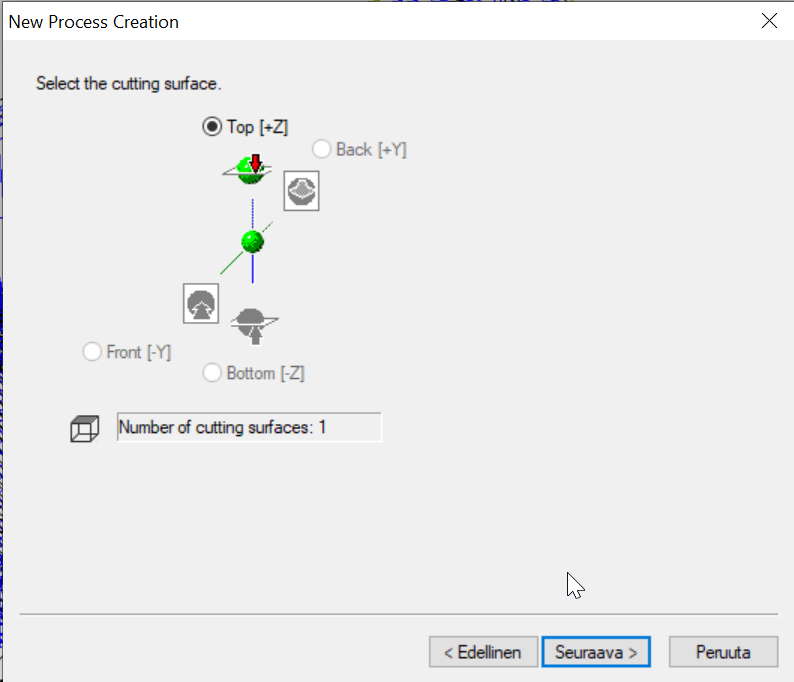
Model settings shows the Size and Orientation of the model. Origin can also set under same settings.
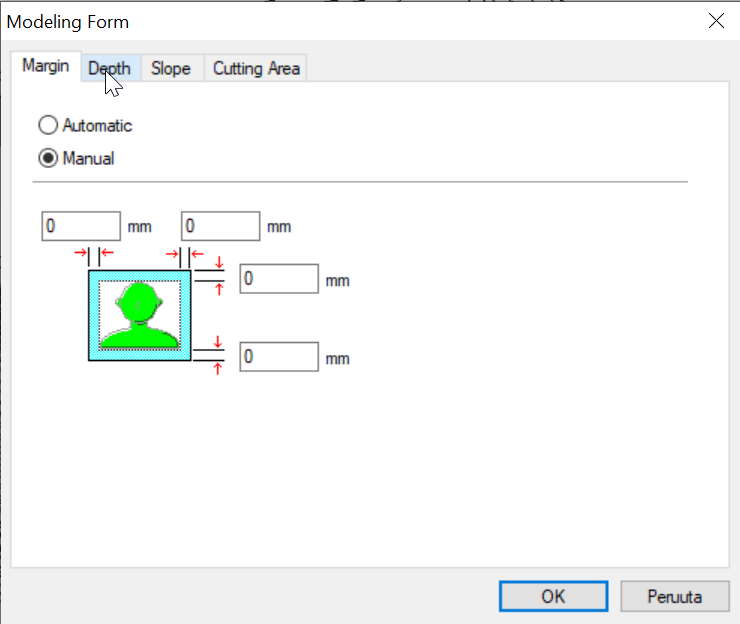
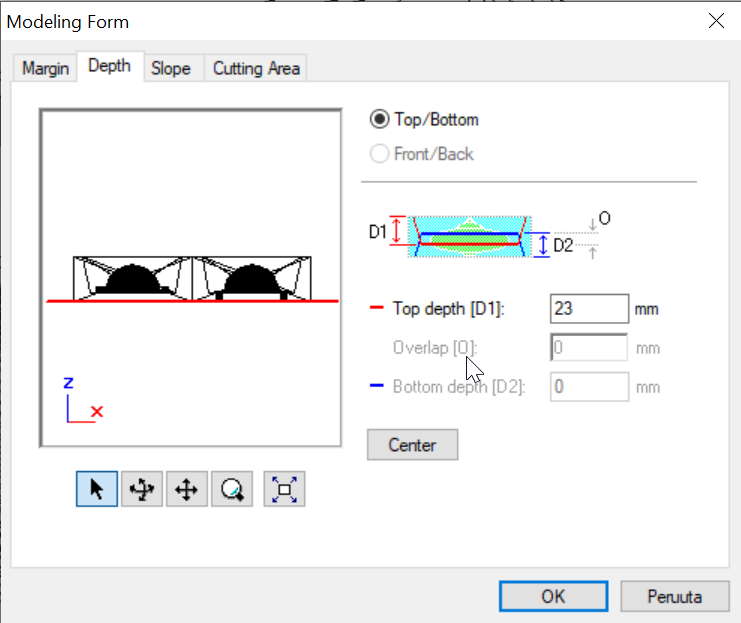
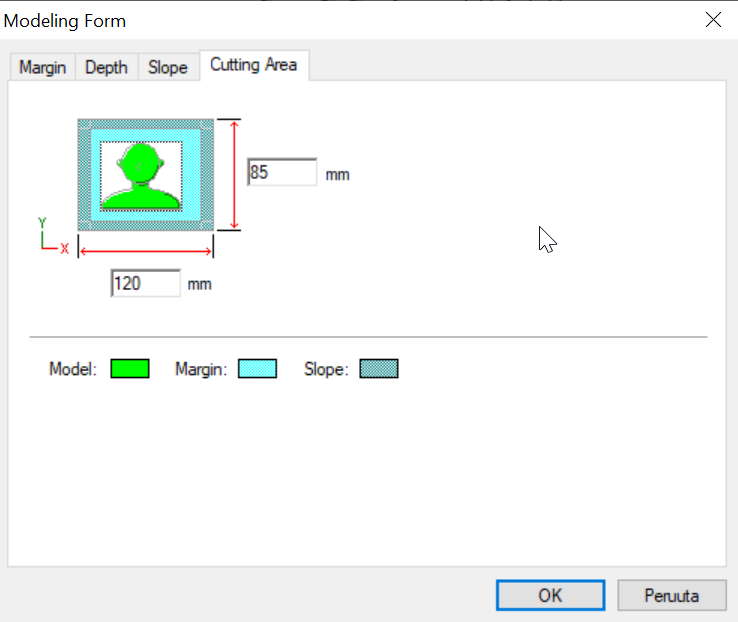
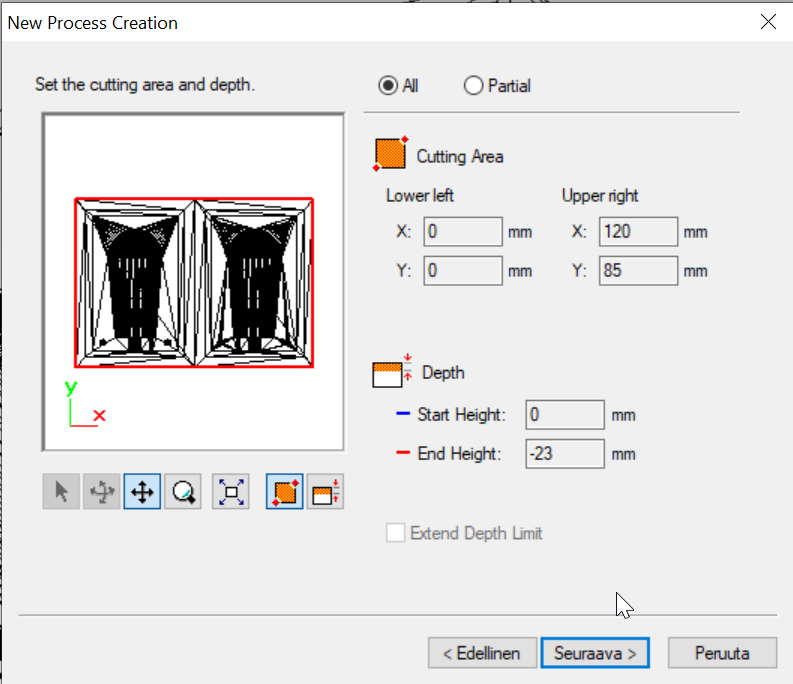
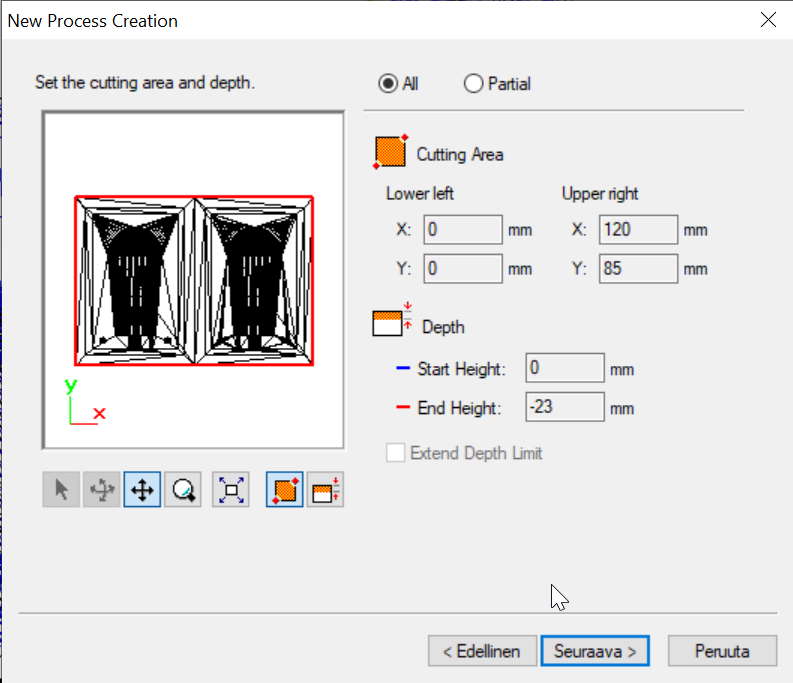
Next went through Modeling Form settings. Changed Margins to 0 and left everything else on default settings.
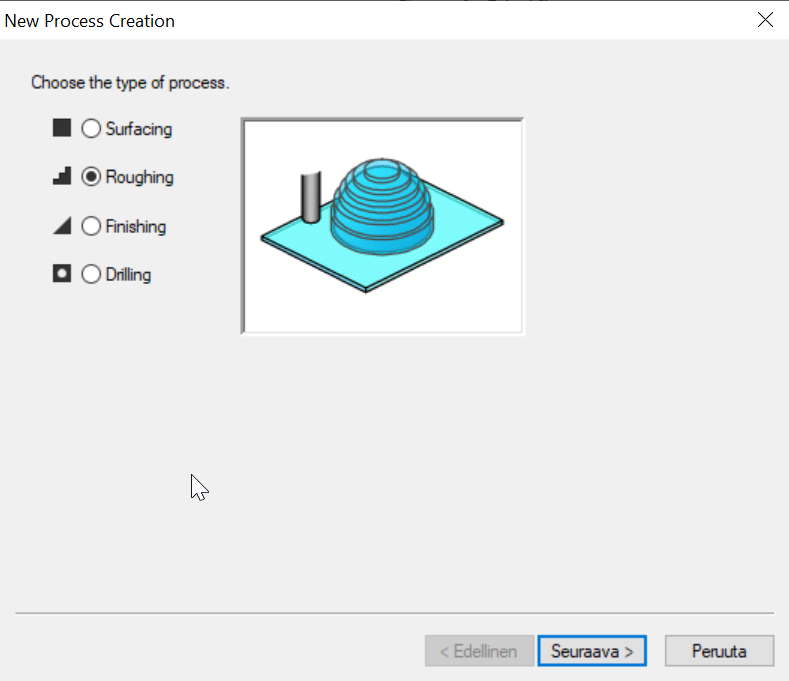
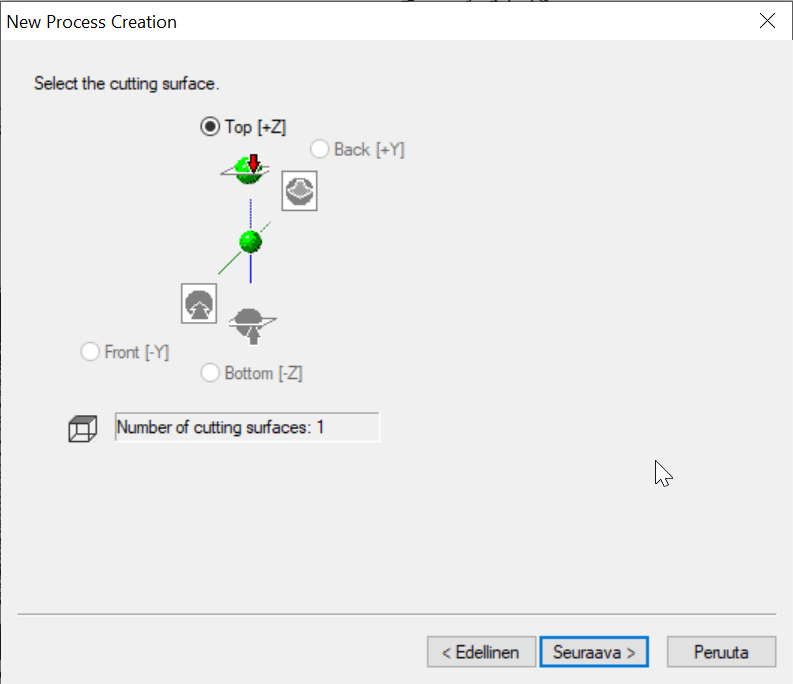
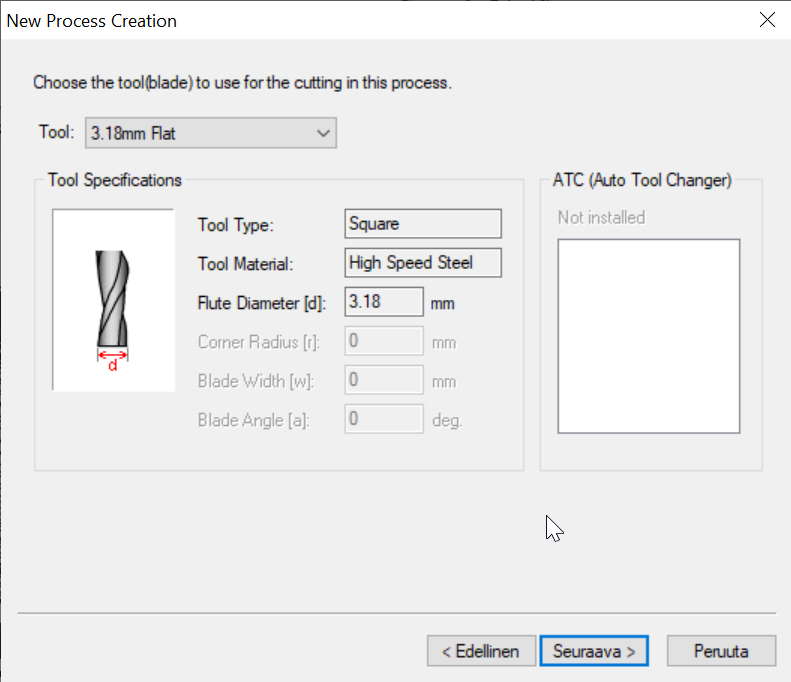
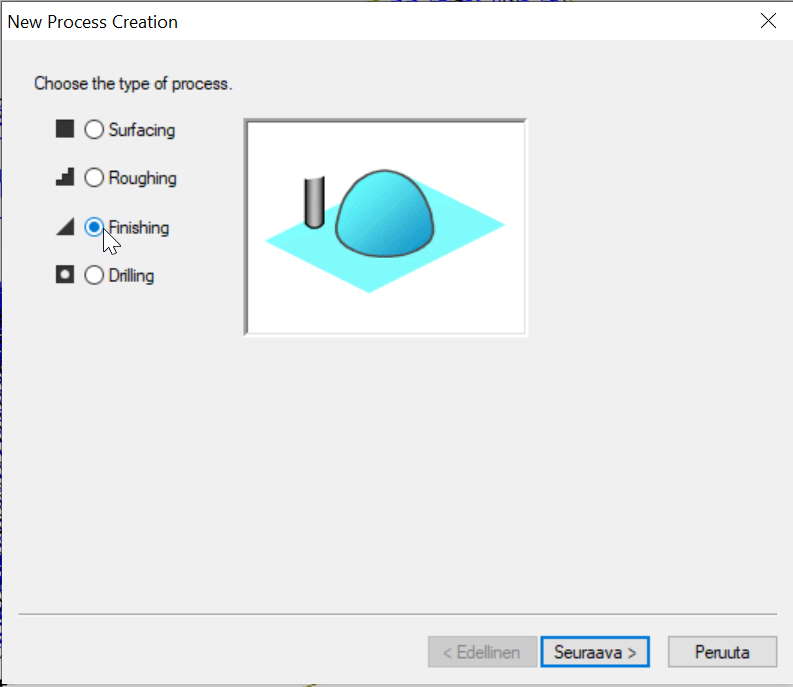
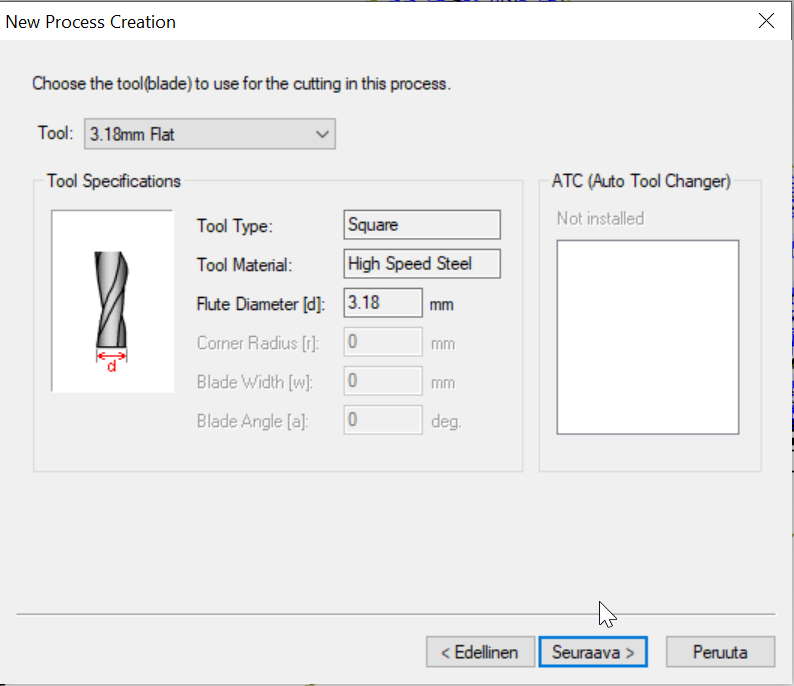
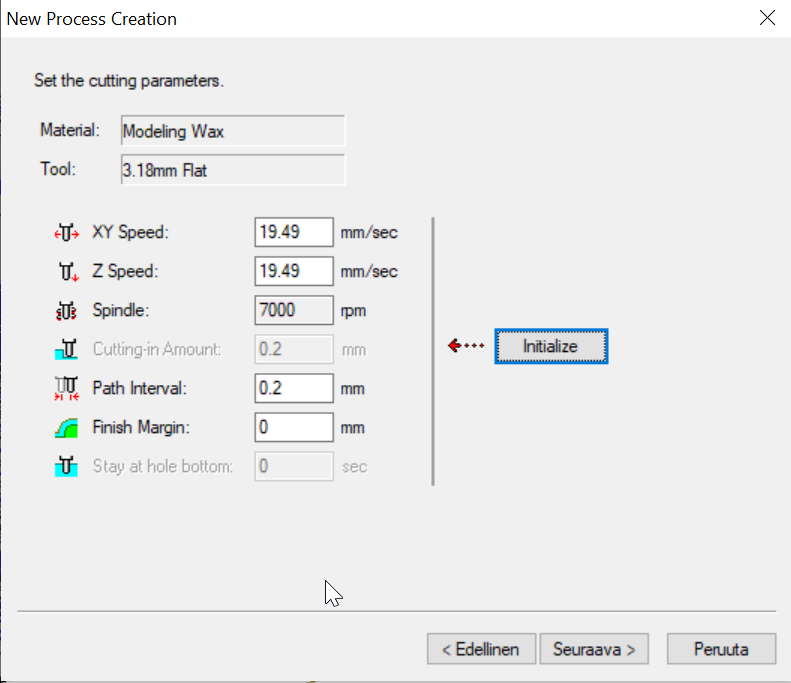
Lastly had to make Roughing and Finishing processes. Started with Roughing. Mostly used default settings except changing the end mill to a 3.18mil flat.
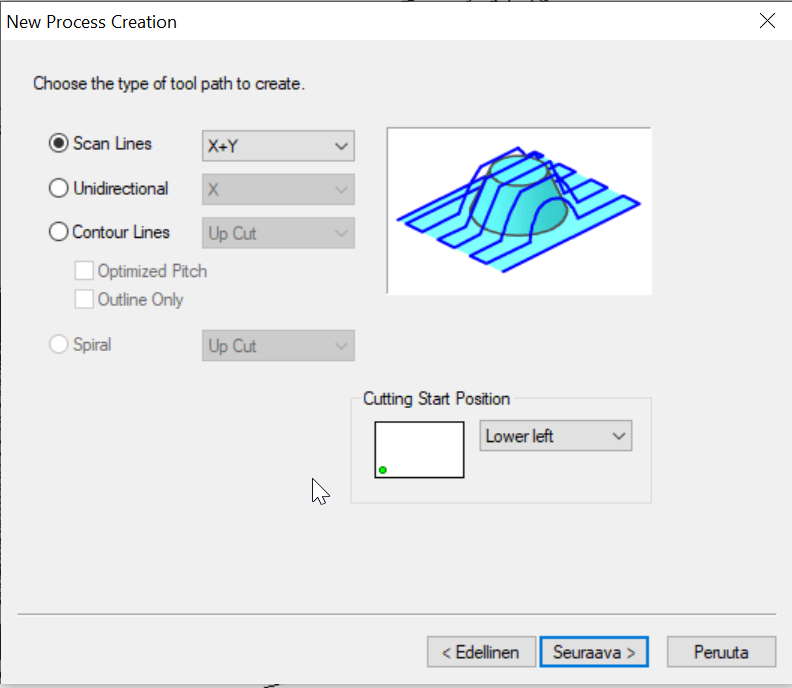
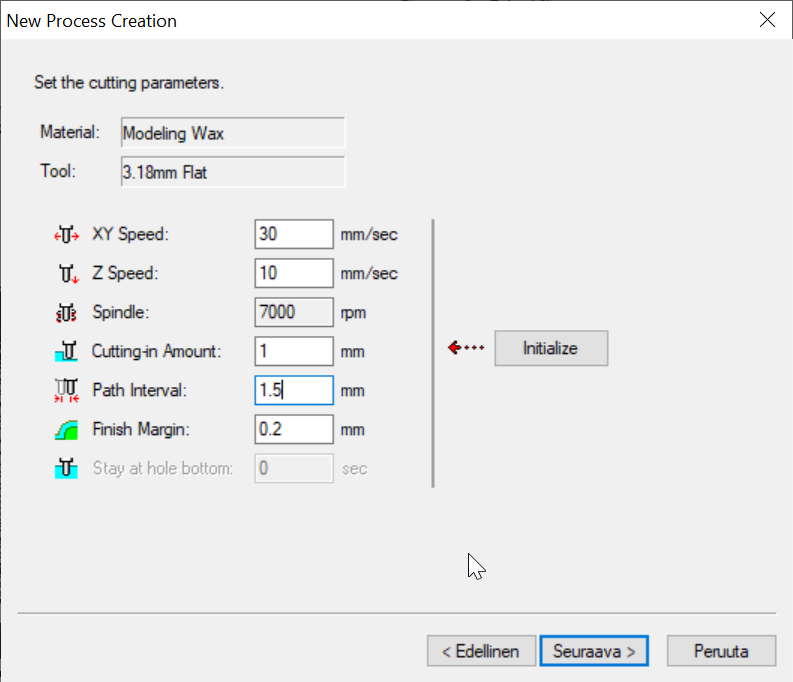
Set Scan Lines on X+Y and changed cutting parameters. Tip from the future, this should be set on Contour lines with up cut selected instead of Scan lines to have better result.
Next Finishing, mostly used same settings as on Roughing.

This time used X on Scan lines.

Processes that were just created can be seen on the right-hand side.
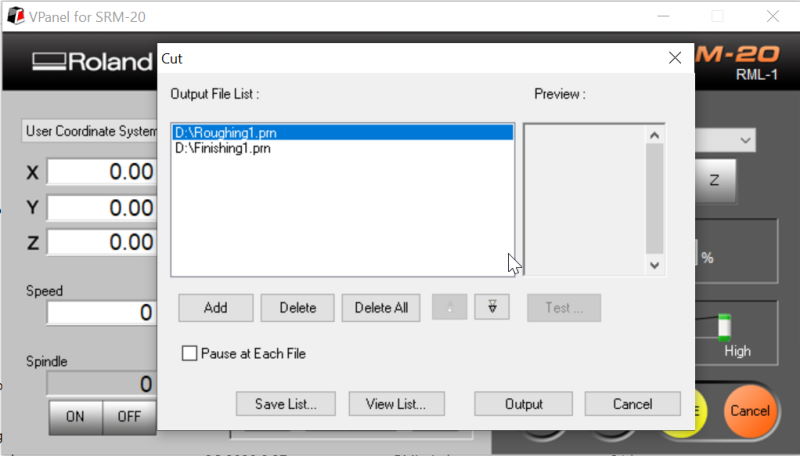
I used double-sided tape to fix the block of wax to the bed of SRM-20 and changed the end mill. After this I set the origin same way as on week 4 with the FR-1 board. when everything was set, I pressed the Cut, choose files and selected Output to begin milling.
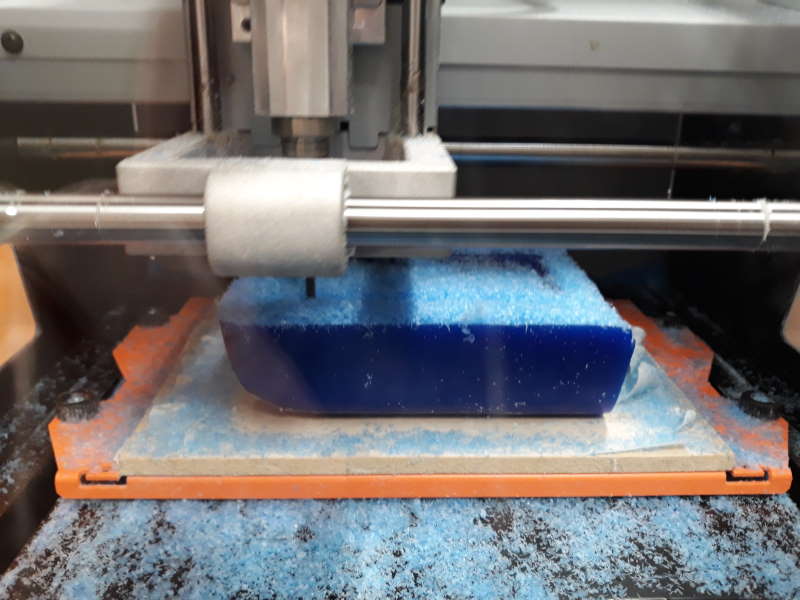
Milling seemed to take a long time so we left SRM-20 to mill over night.

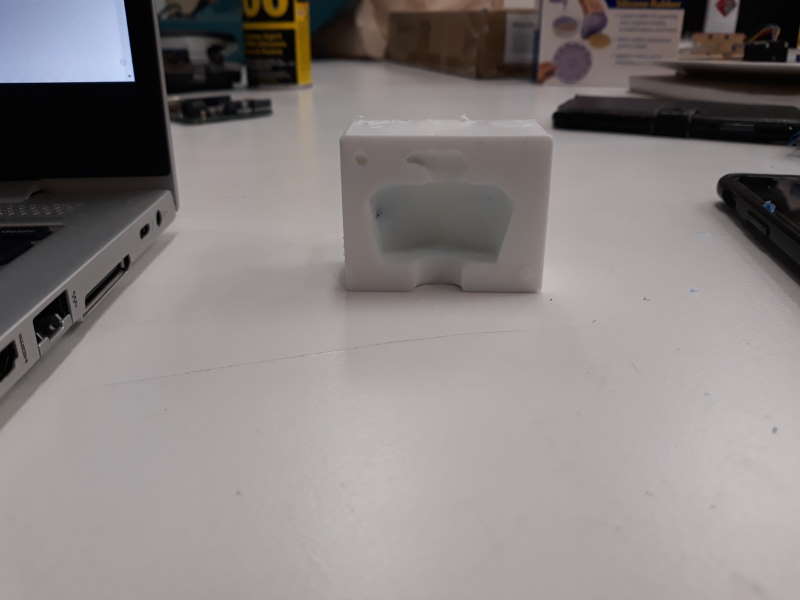
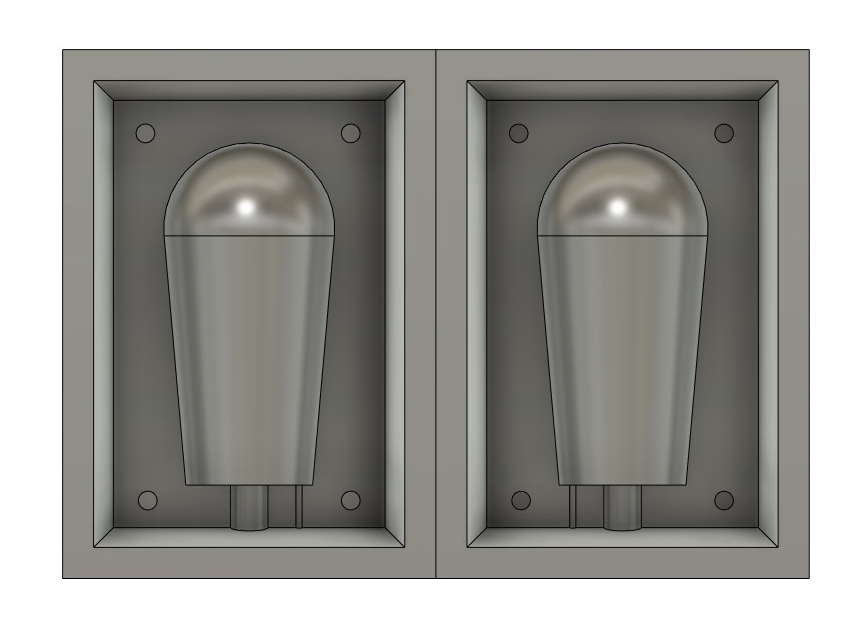
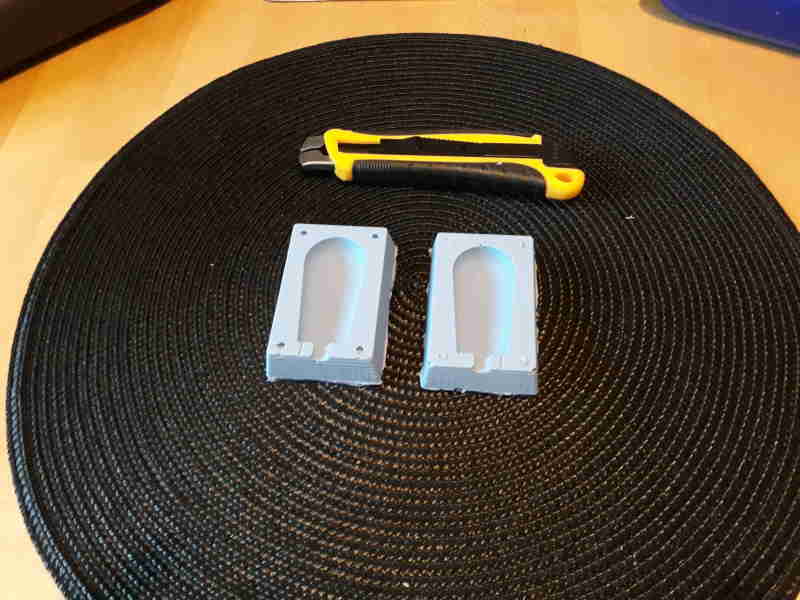
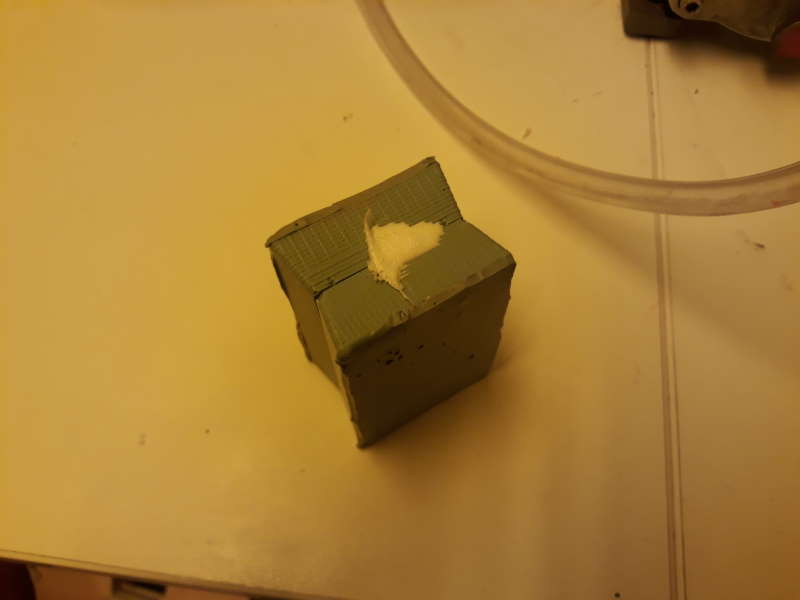
Here is the final result. For some reason there were no holes on the other side of the mold so I had to create them with a screwdriver. Holes were probably too small for the end mill to cut. Also the end result was kinda rough. Didn't have idea what caused it at that moment, but after writing the documentation and looking at pictures it seems like I was using scan-lines X on finishing cut. Not sure if this was the cause.
Another factor for this was the fact I used flat 3.18mm end mill for finishing. This will make a finished product to have a little roughness on curved surfaces according to local instructor Ari.
Negative mold
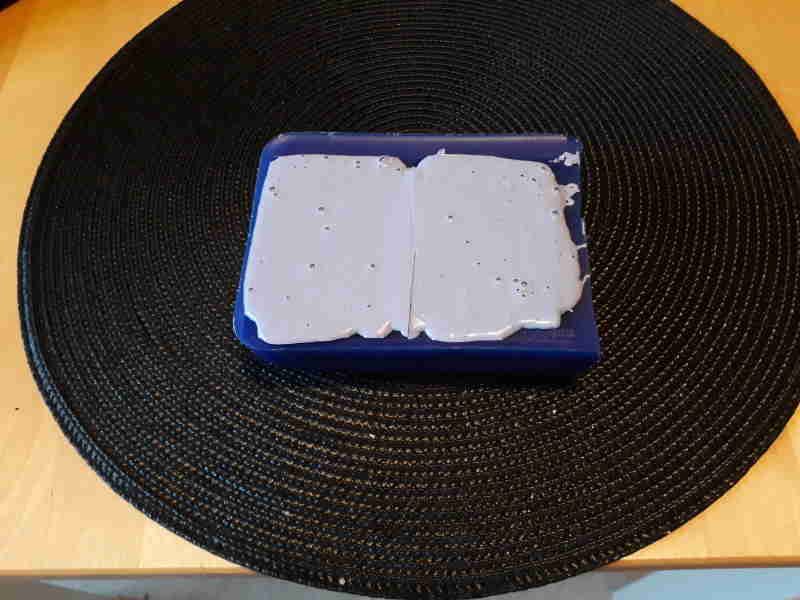
I used Smooth-on OOMOO™ 30 to make the negative mold.

OOMOO™ 30 mix ratio by weight is 100A:130B. First we mixed 53A and 65B, but it was not enough after pouring it to the mold. We added 30A and 39B which was enough to fill it.
Sucking air out of the mixture. After all the air bubbles were gone it was time to pour it in to the mold. Cure time for this is 6 hours so I left it there and cleaned the mess.
Test casting with water
DISCLAIMER: OOMOO™ 30 IS NOT FOOD SAFE! I was testing the mold at home when the lab was full because of covid-19 restrictions and final projects.
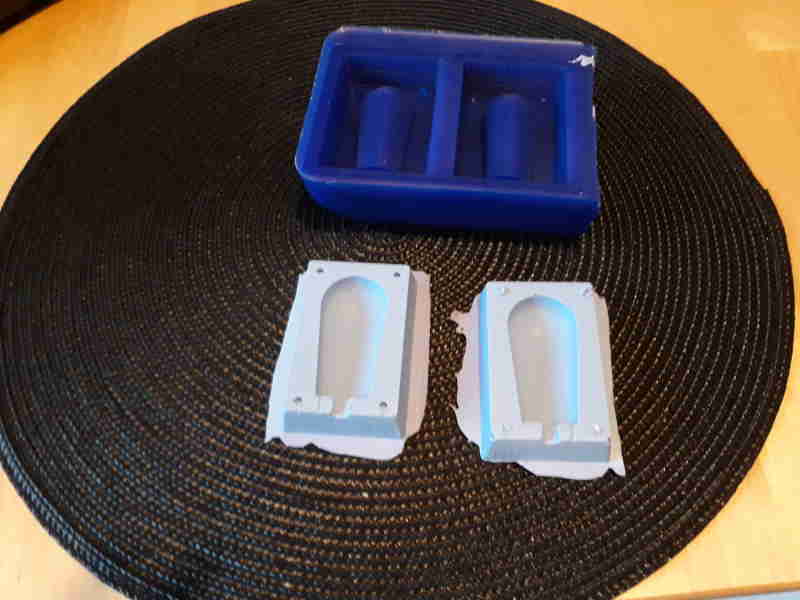
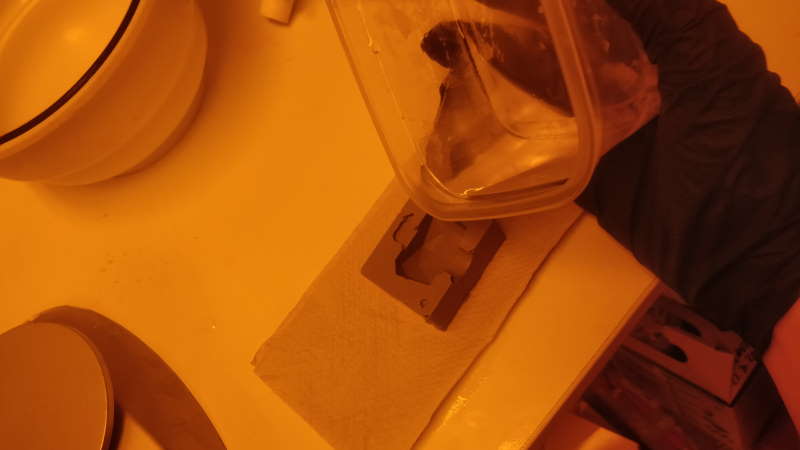
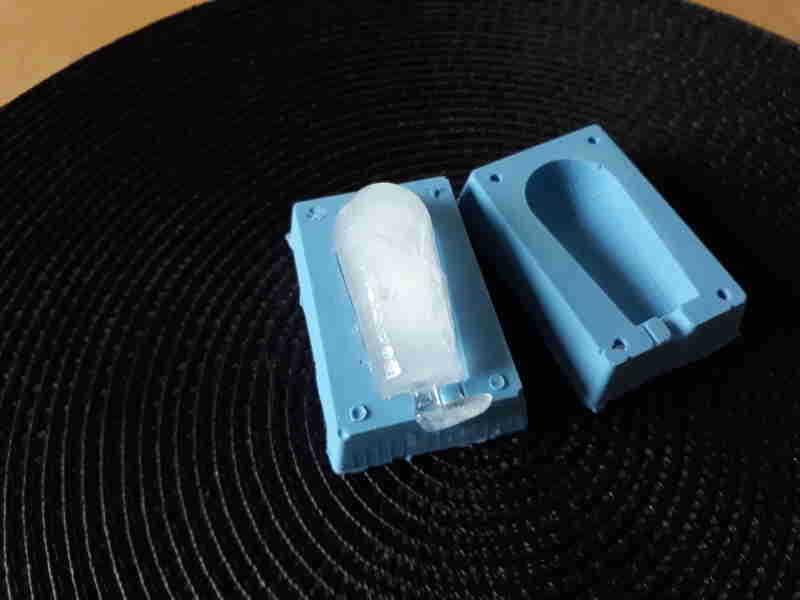
Here is the negative mold in the mold.
Had to cut edges which had a lot of extra material.

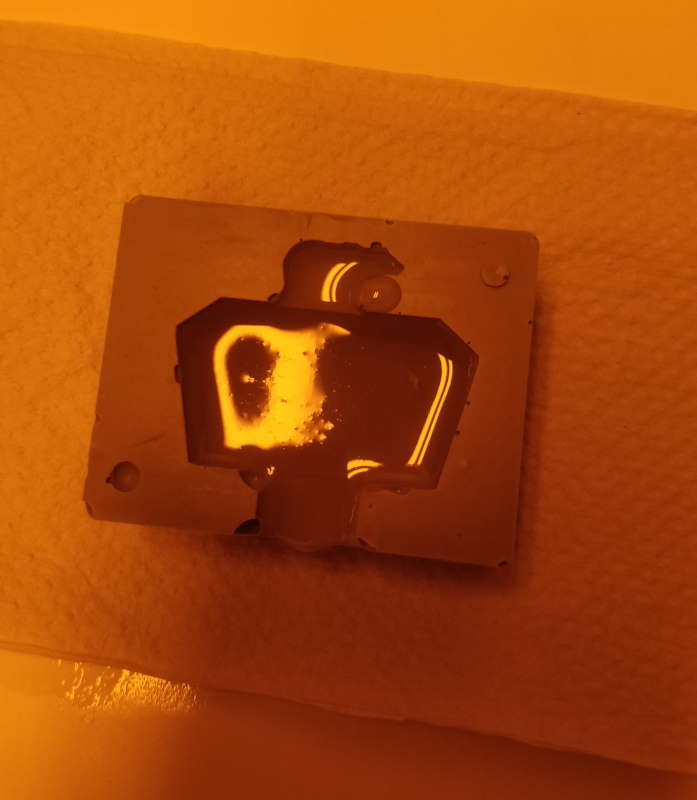
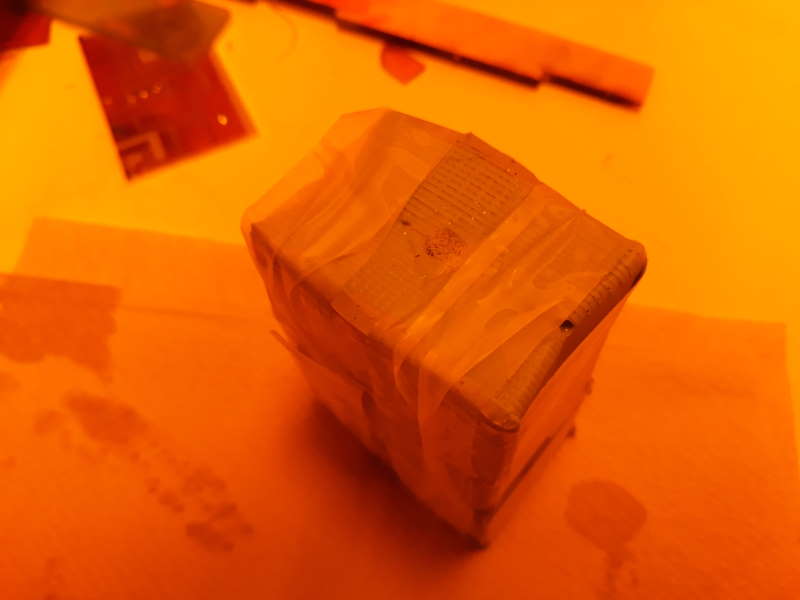
Used some duct tape to fix the mold. Poured some water in it and put the mold in a freezer over night.
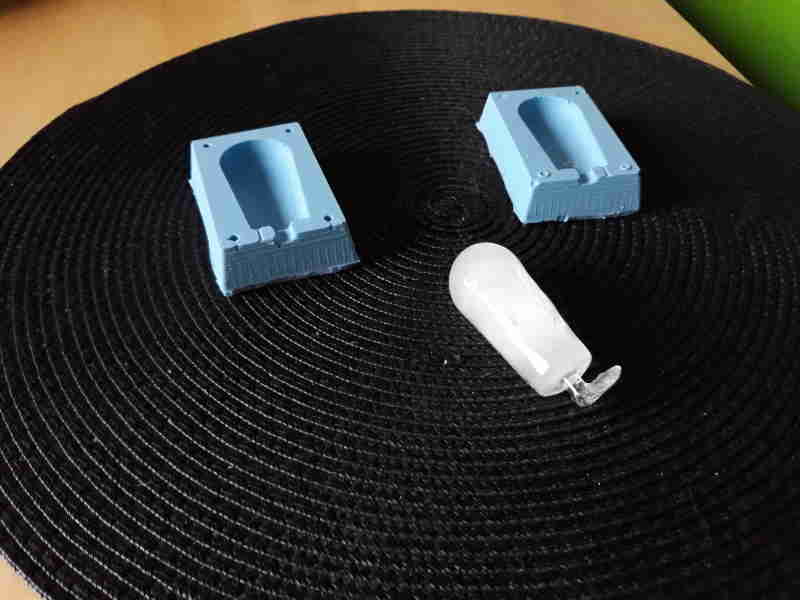
Final result with water.
Casting with Smooth-Cast® 305
After doing our group assignment for this week and lab being more accessible, I wanted to make a cast on my mold from Smooth-Cast® 305.
With skills learnt from group assignment this was fast and easy to do. Same way as doing with water I started by attaching both sides of the mold together. I mixed about 30 grams of B and 33 of A. Stirred them well and poured inside the mold. Because of the cure time of 30 minutes I was able to wait it to finish up on my visit to lab.
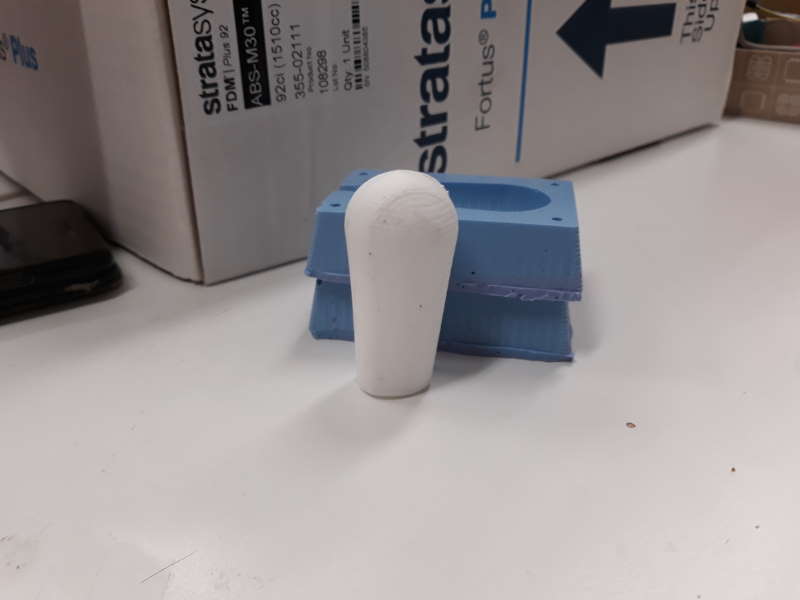
Here is the final result.
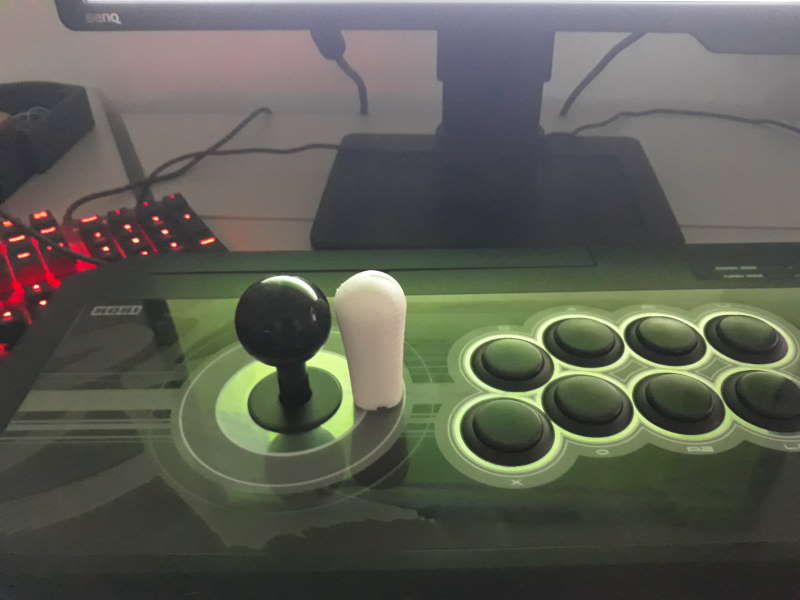
Ball top of my arcade stick and bat top I made side by side. Maybe a little bit bigger would have been even better. Also for a finished product I would have to add a nut inside of the bat top when casting it. Nut is used to attach it to a joystick lever. For this reason it would be a good idea to increase the size of the hole used for pouring material in and use a stick or something similar to keep the nut on correct position.
Files
mold.stlmold.f3d
Roughing1.prn
Finishing1.prn