⚑ Final Project
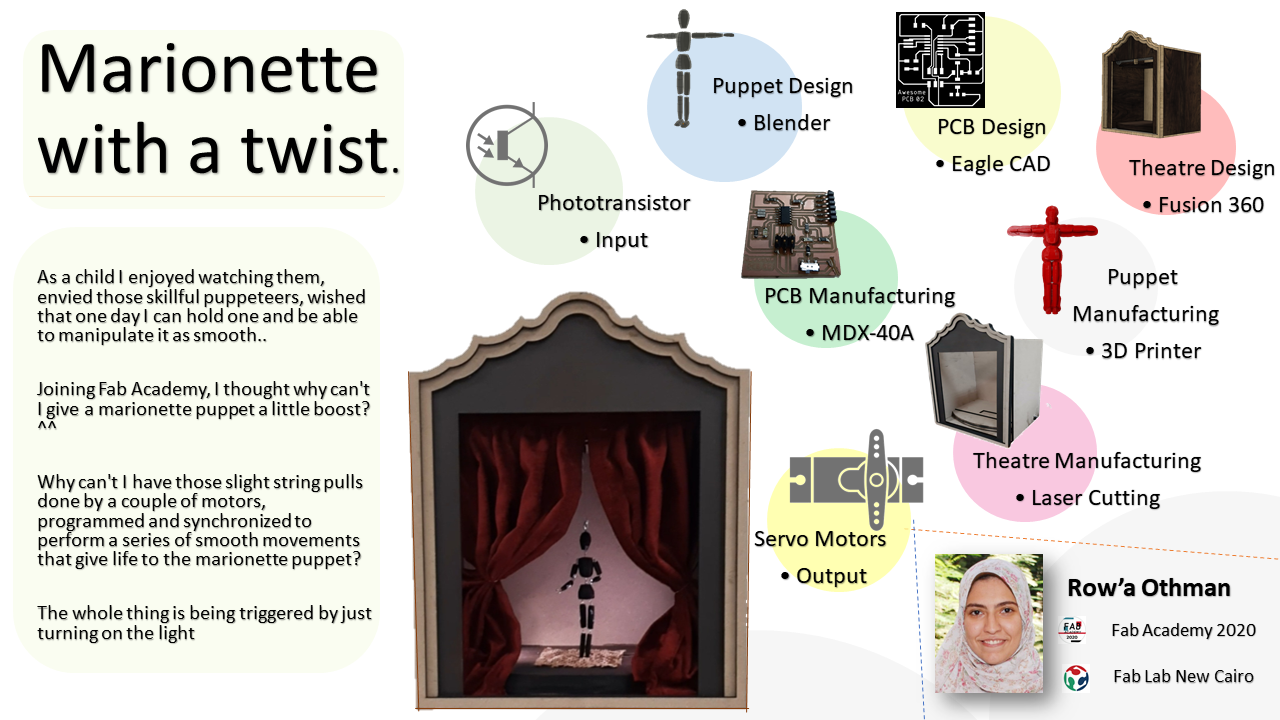
Automated Marionette Puppet Show
🕘 Date / Time:
")
Hey there fellows, Here and now I'm going to introduce you to my Final Project. ^^
Marionette puppets had always been a mystery to me as a kid, I enjoyed watching them _except for the creepy ones :D_ and envied those skillful puppeteers and wished that one day I can hold a marionette puppet, be able to manipulate it such as smooth..
Joining Fab Academy, I thought why can't I give that wish a little boost? ^^
Why can't I have those slight string pulls done by a couple of motors, programmed and synchronized to perform a series of smooth movments that give life to the marionette puppet?
Actually I suppose I can. ^^
And that's what I'm intending to do.
Plan Overview:
1- 3D printing the puppet.
2- Designing the stage.
3- Laser cutting the stage and assembling it.
4- Designing input and output circuits.
5- Manufacturing the circuits.
6- Programming & networking my circuits.
7- Assembly.
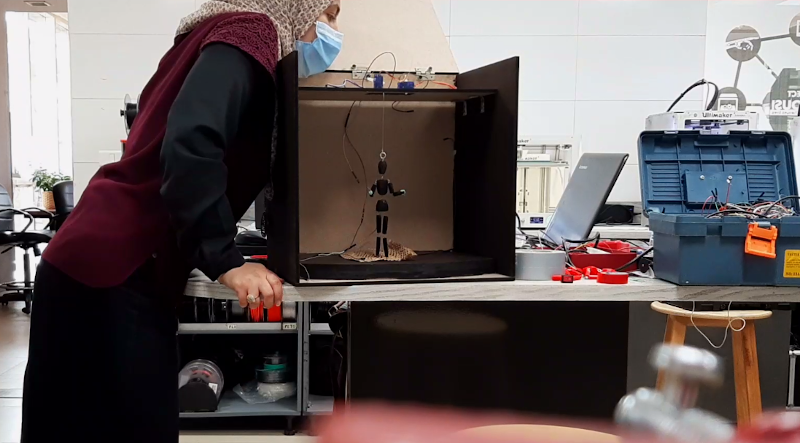
Part I: Mechanical Body
There are multiple bodies to be designed and machined: Puppet, Theatre, Spotlight as well as circuits holders.
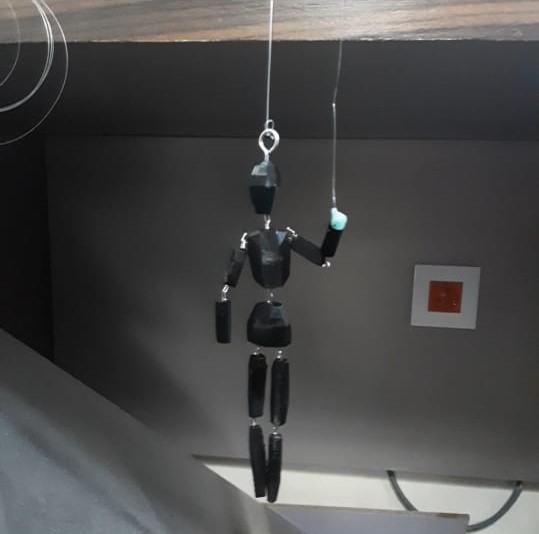
A.The Puppet:
Prototype no.01:
The puppet was initially designed on the second week of the Academy so fortunately that was work done ahead. Check them out here.
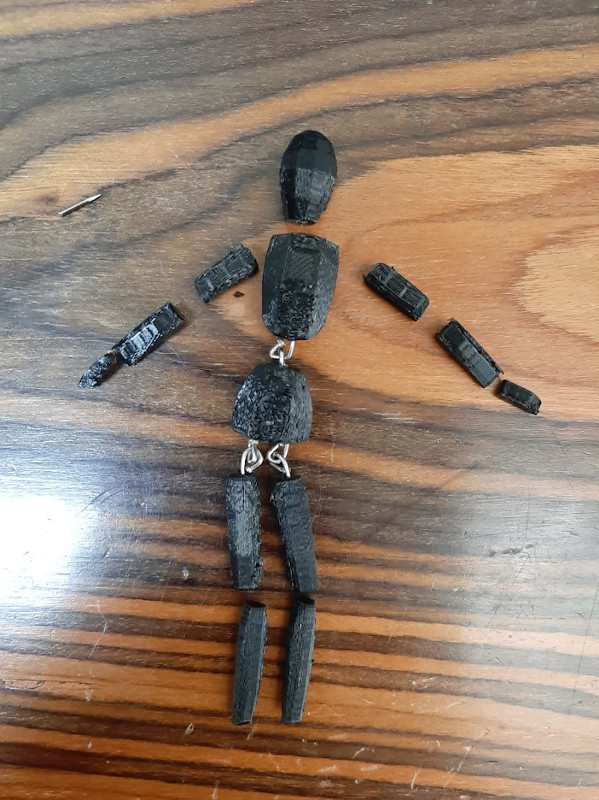
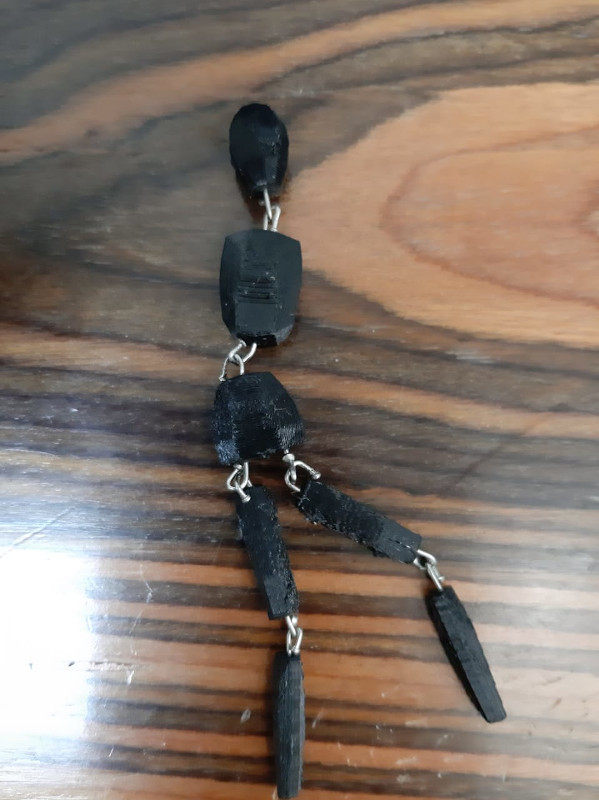
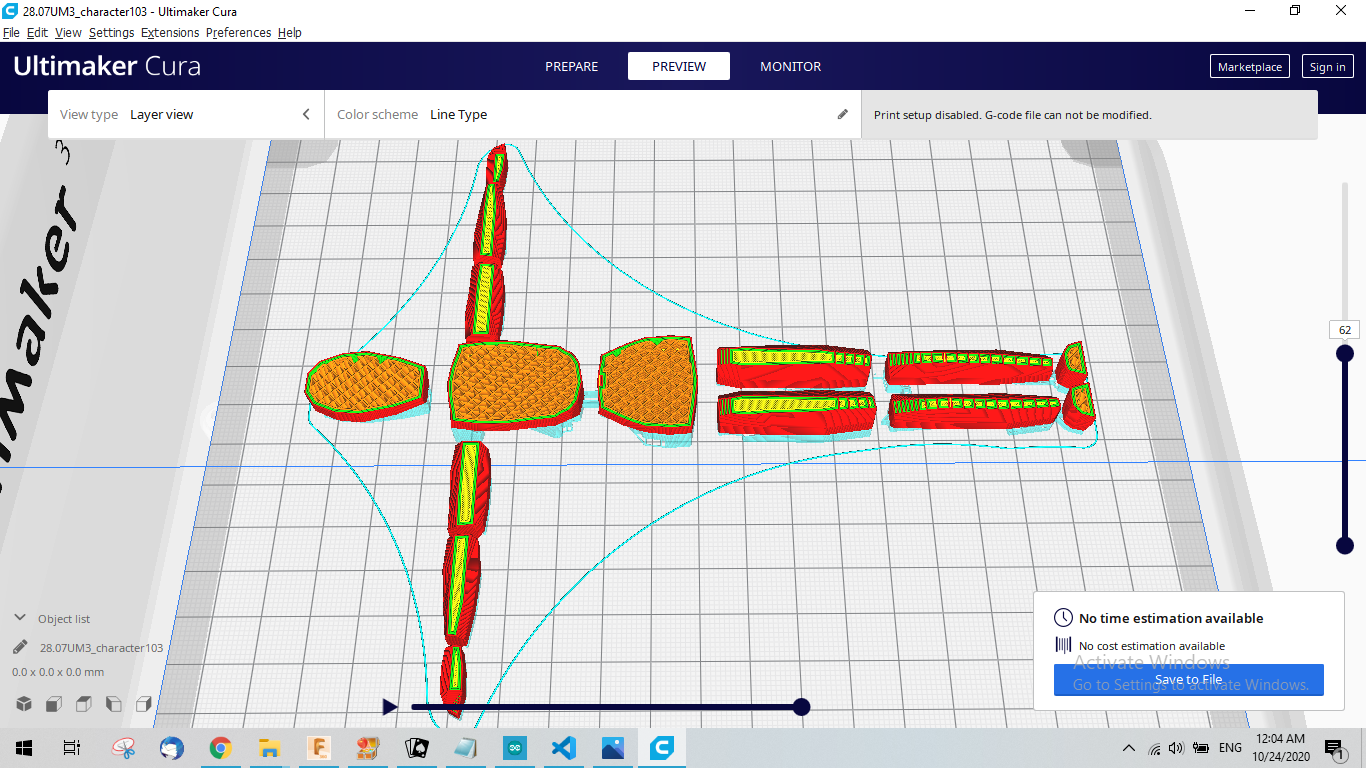
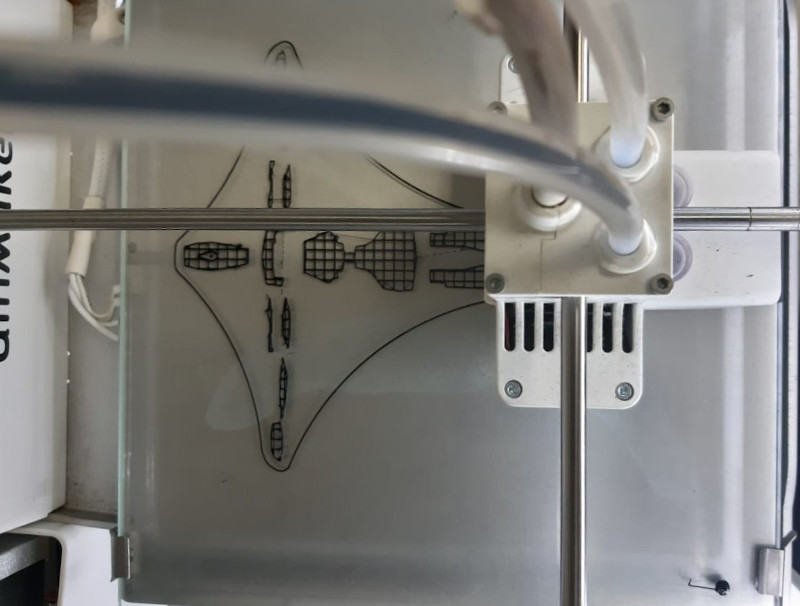
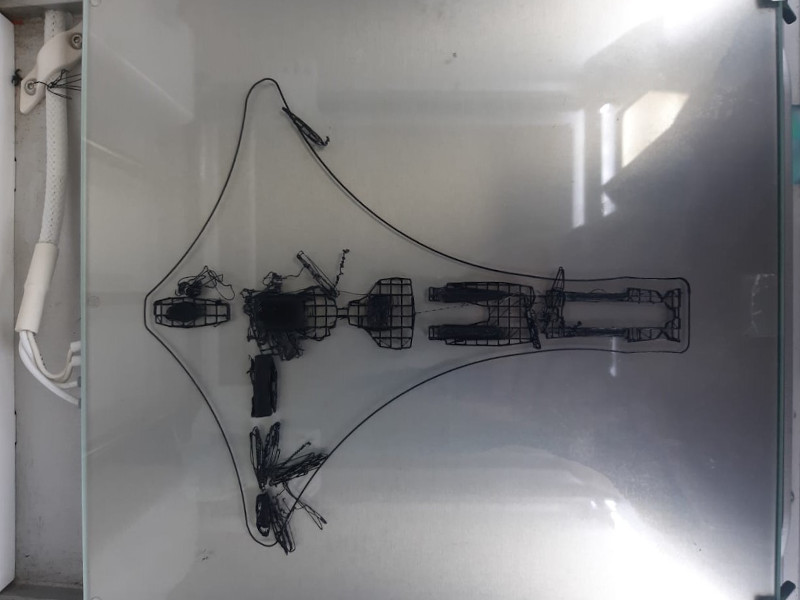
All I had to do was to 3D print its parts and figure out a way to do the flexible joints in between them.
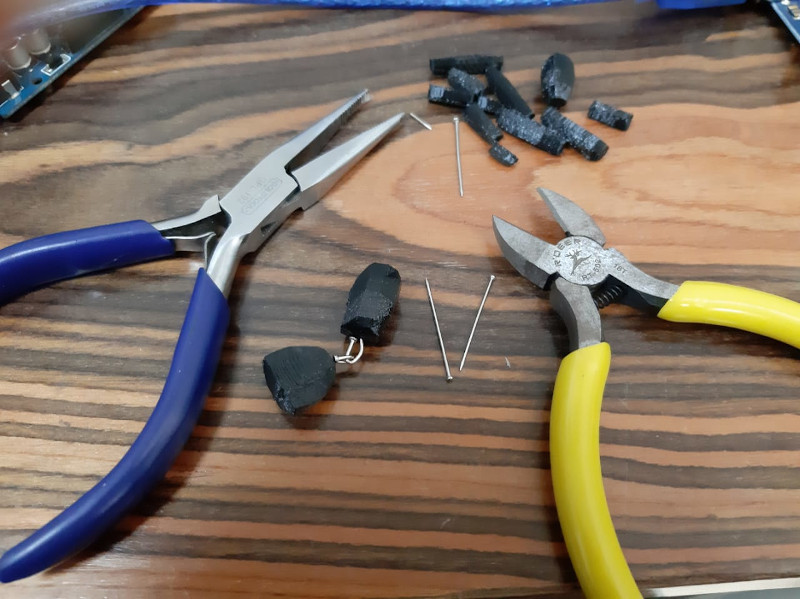
Failure:
After assembling my 1st prototype, I connected some pieces of fishing thread to its head and lower arm. I fixed the head thread to the desk then connected the arm thread to a servo motor in an attempt to simulate its movment. Unfortunately the arm was too lightweight that it couldn't even pull the thread straight.
Solution:
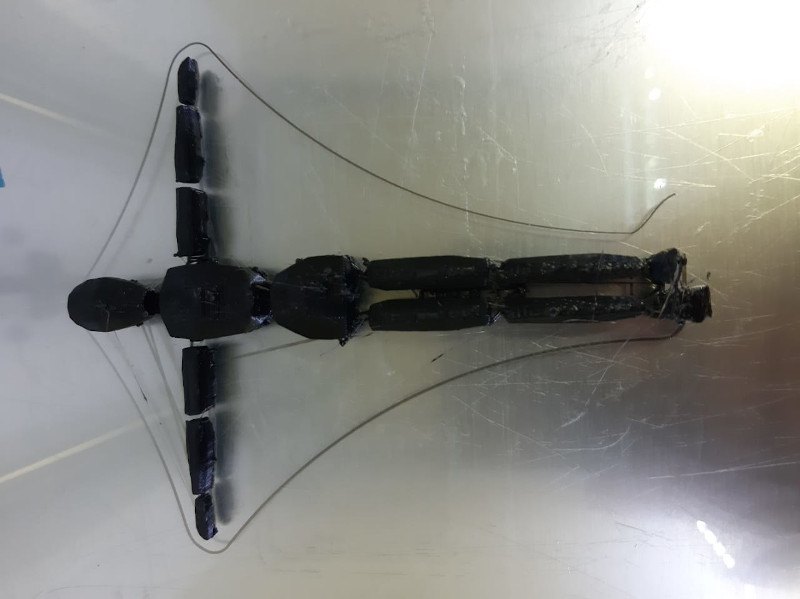
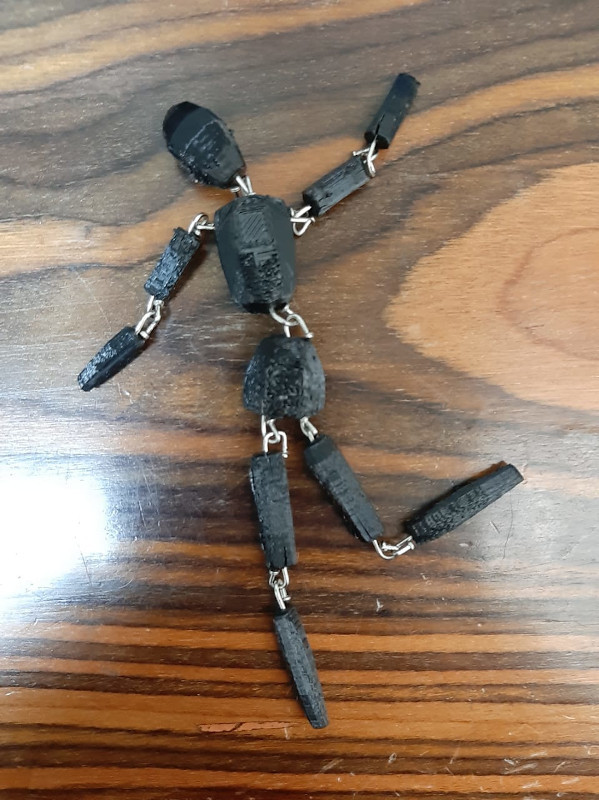
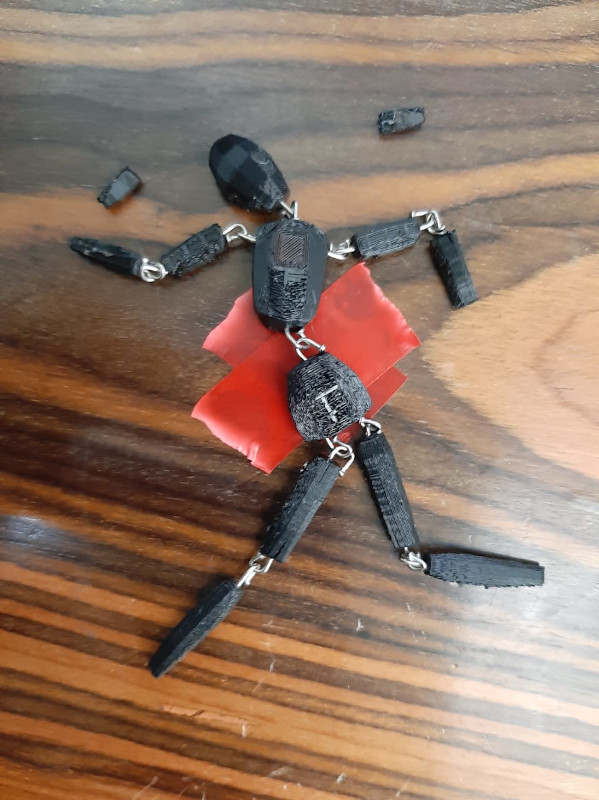
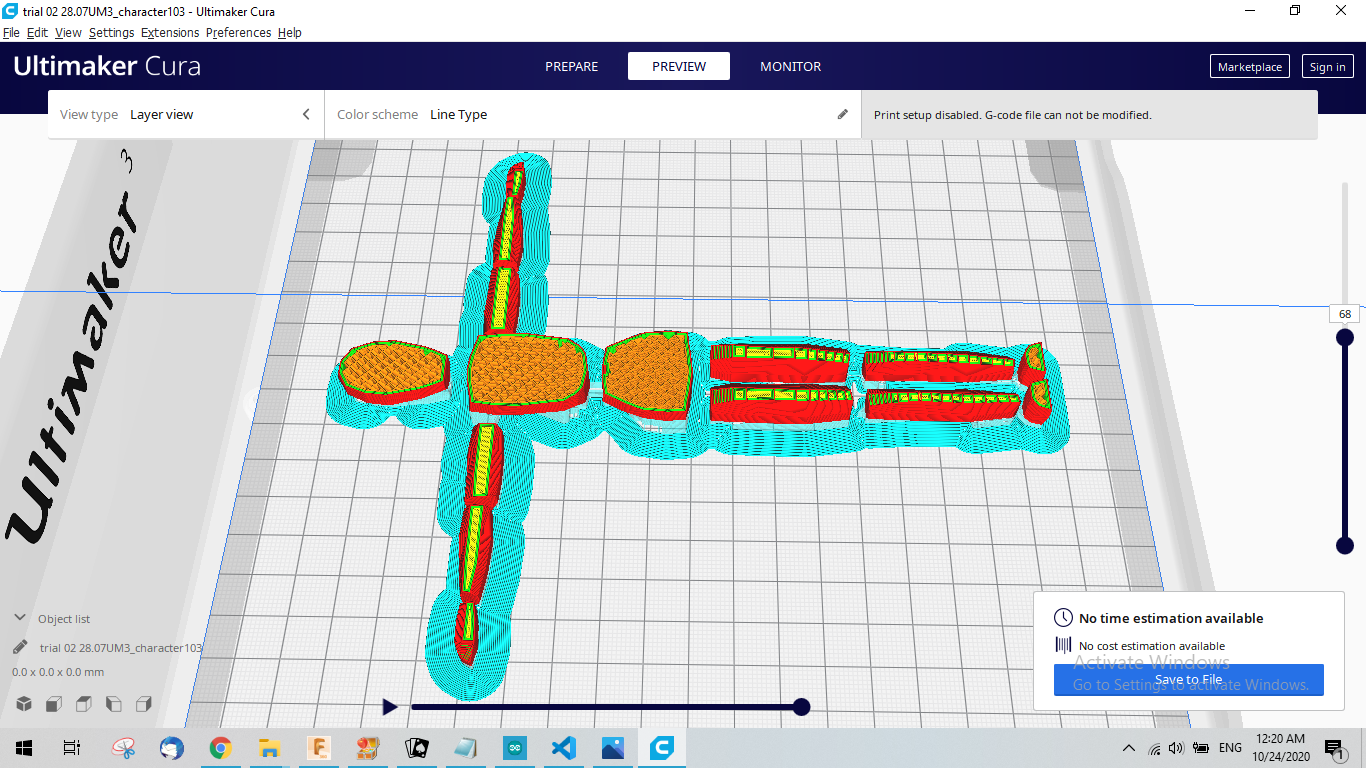
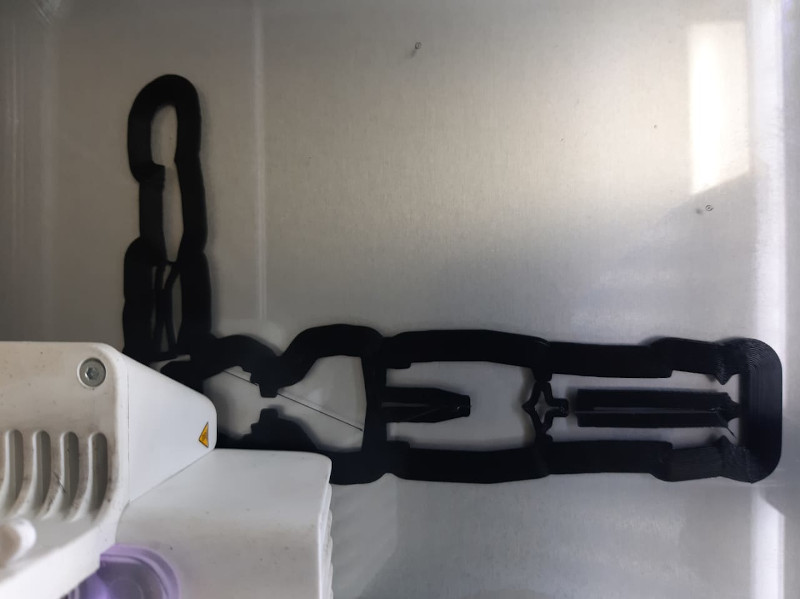
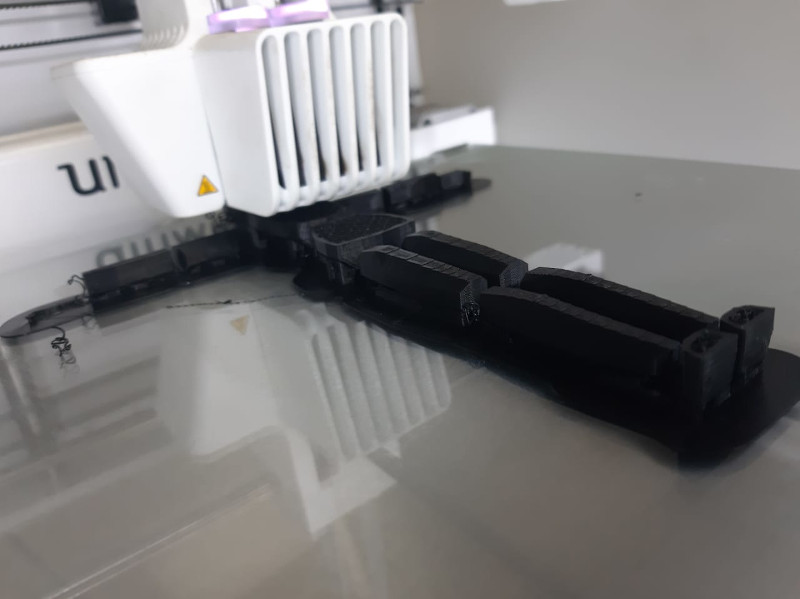
I had to 3D print a bigger / heavier puppet prototype.
Prototype no.02:
B.The Theatre:
I. Design:
Theatre body:
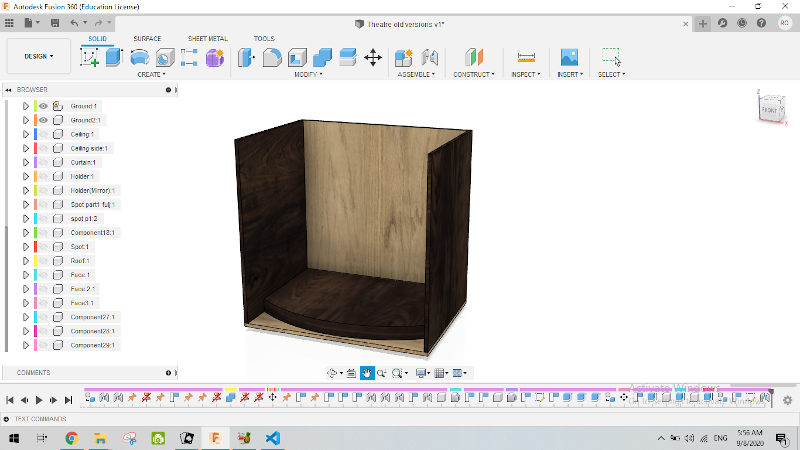
Version no.01:
The first version of the theatre wasn't that good lookig that's why there weren't much images of it.
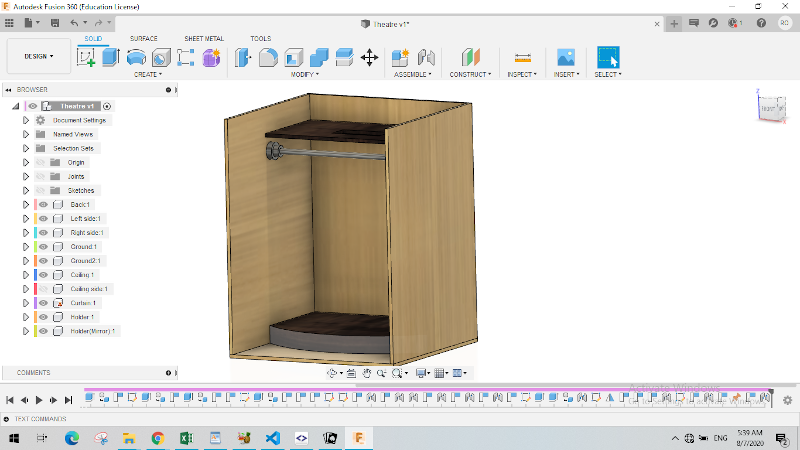
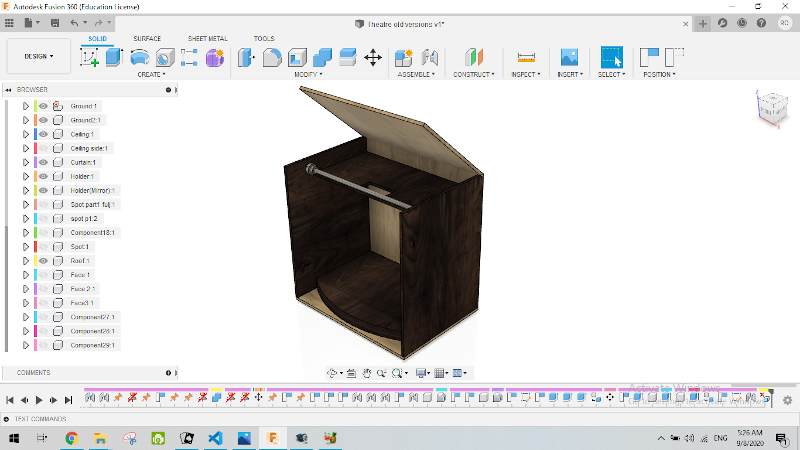
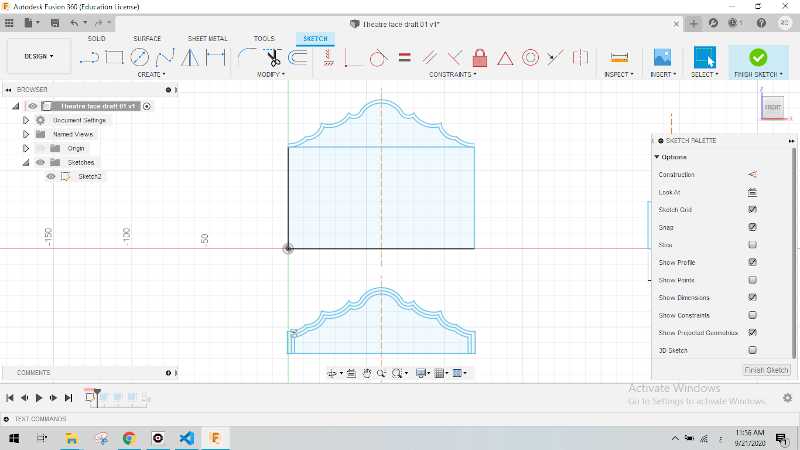
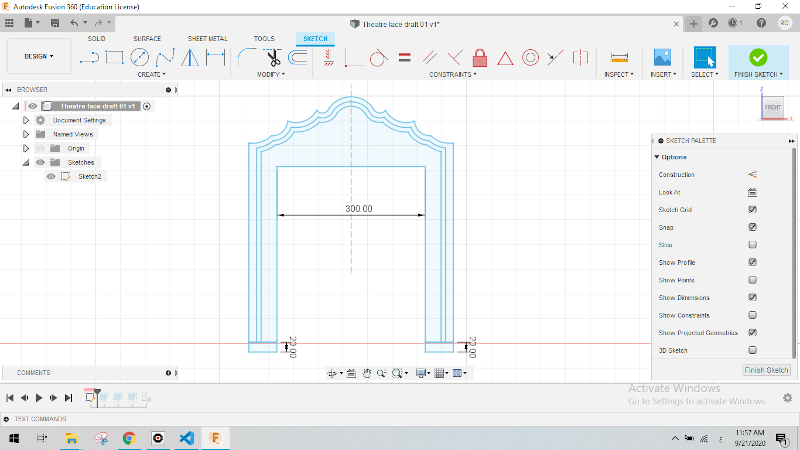
Version no.02:
I wasn't at all pleased with the firts version and thatks Allah I used parameters in my design so that all I had to do was to apply some edits to my parameters.

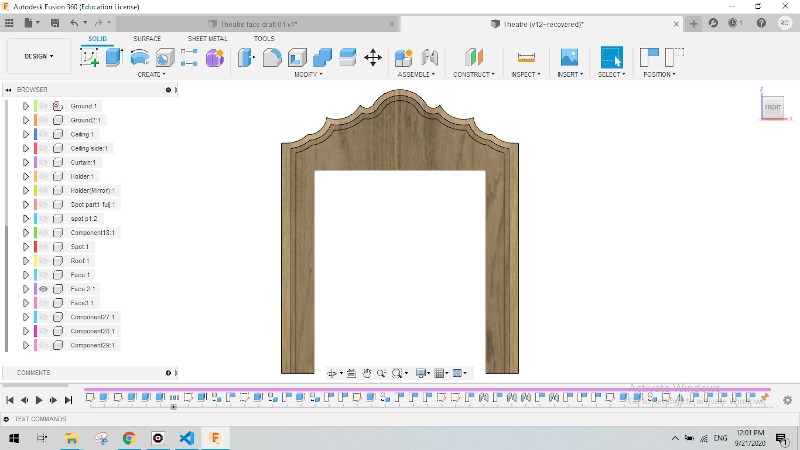
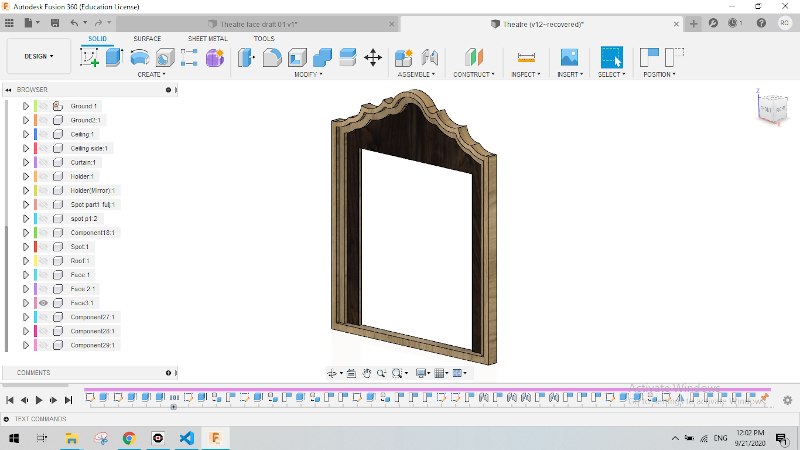
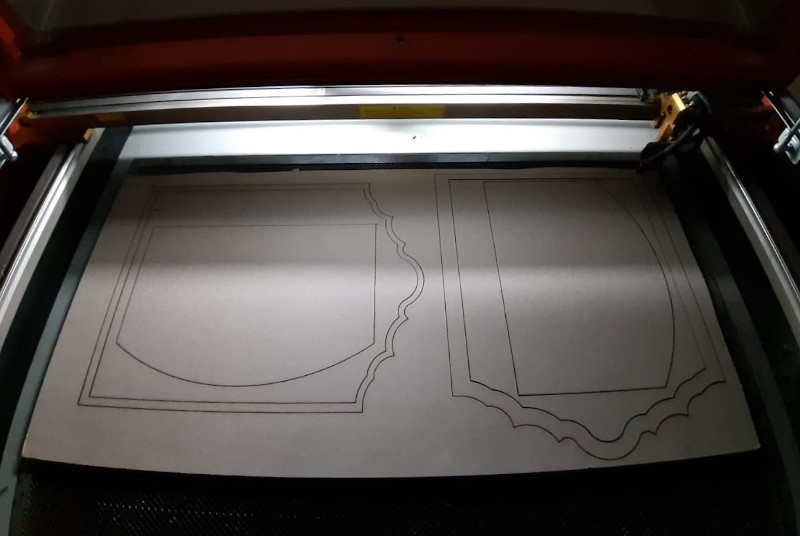
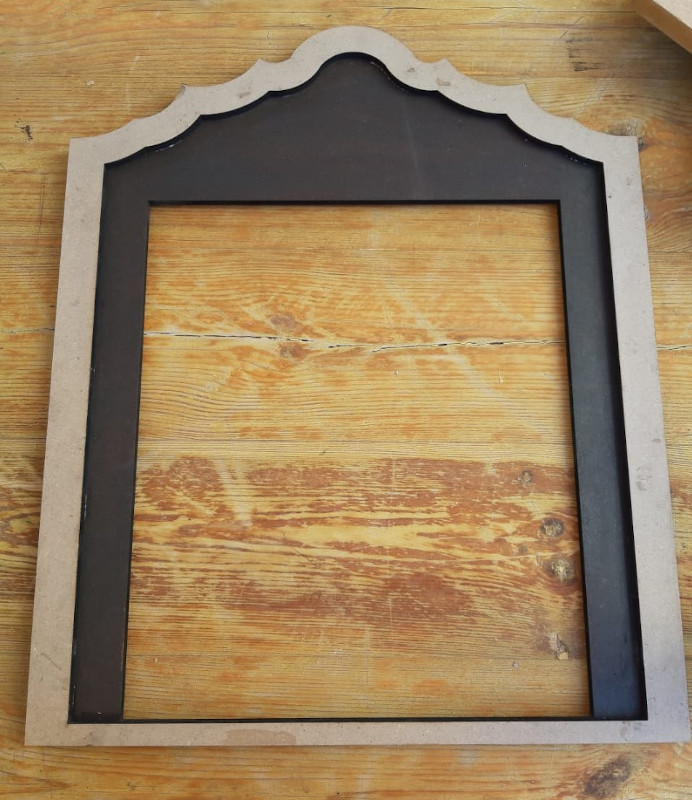
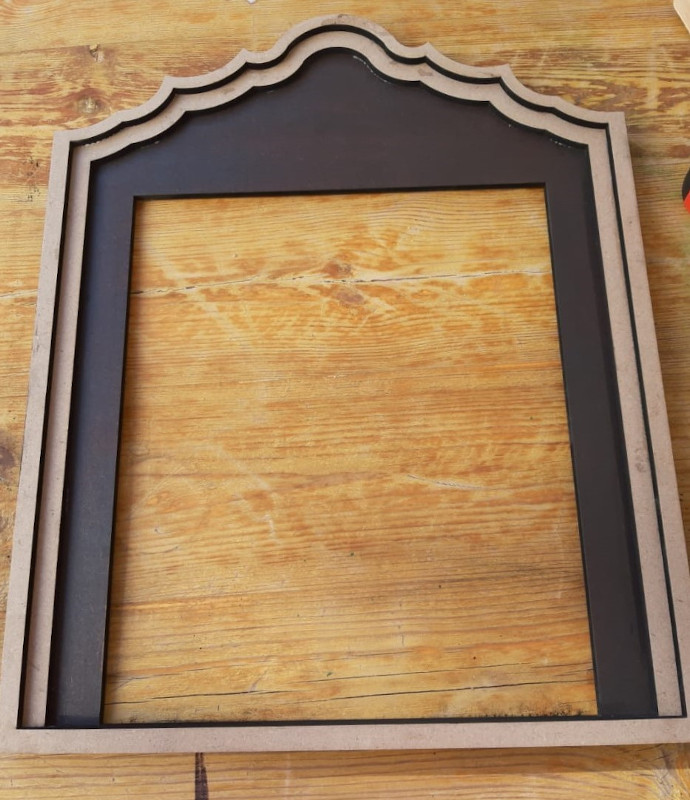
Theatre front view:
I wanted to make a decorative front view to my theatre so here you see my humble trial. :D
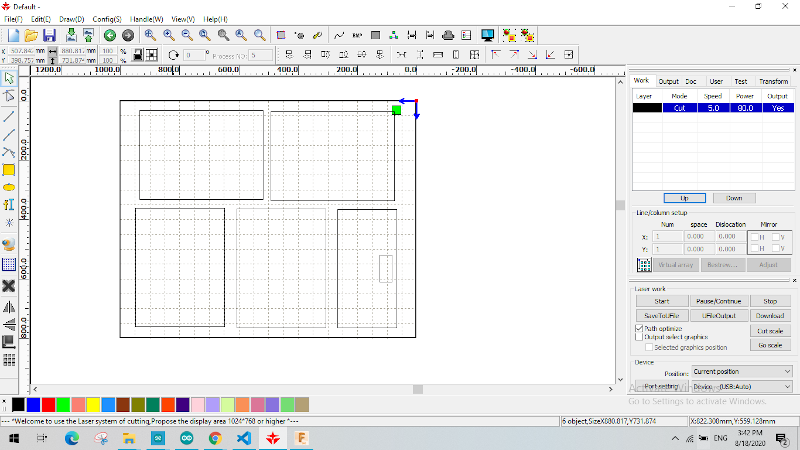
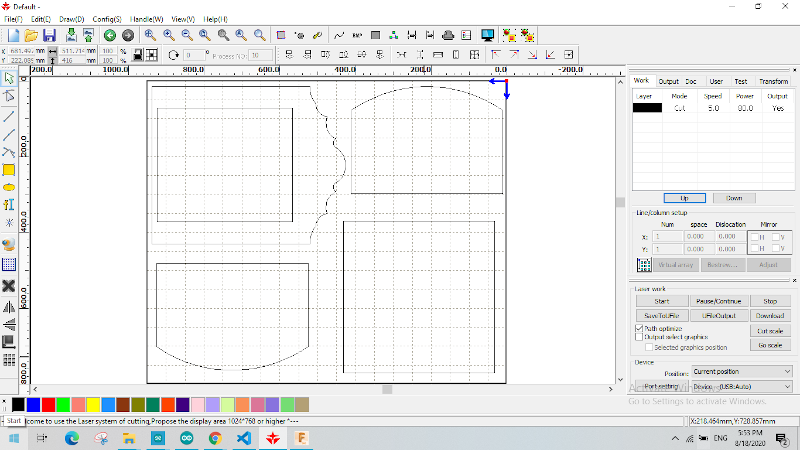
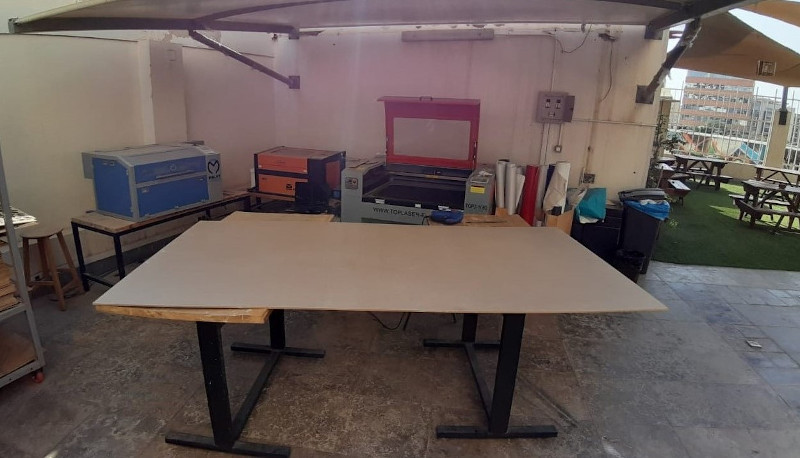
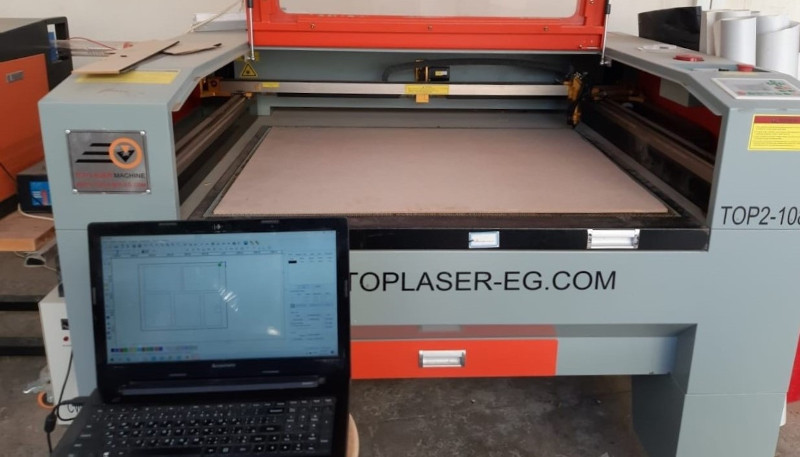
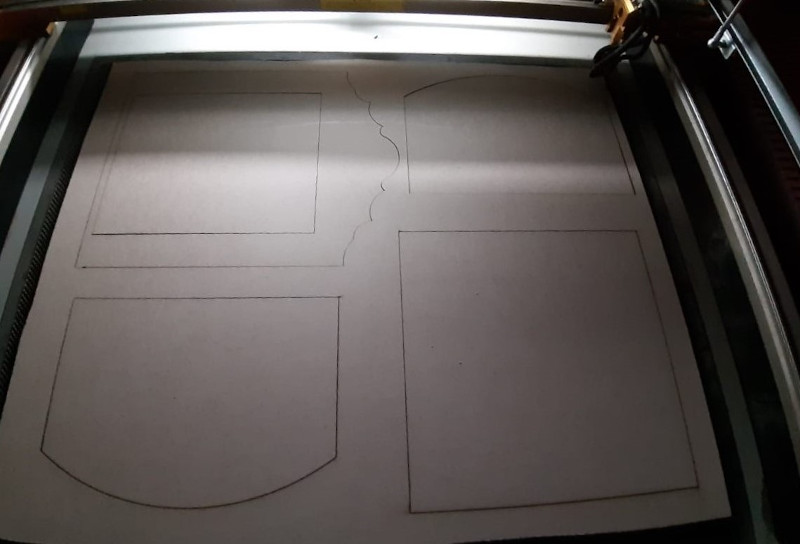
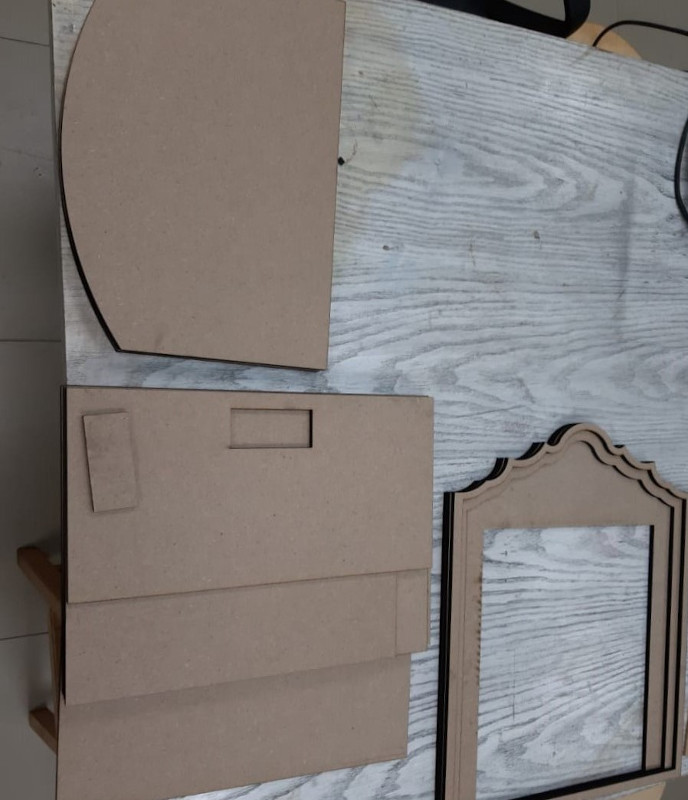
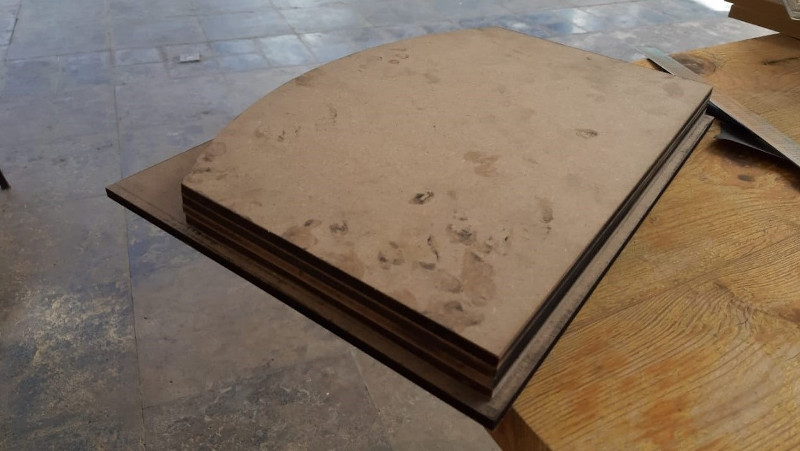
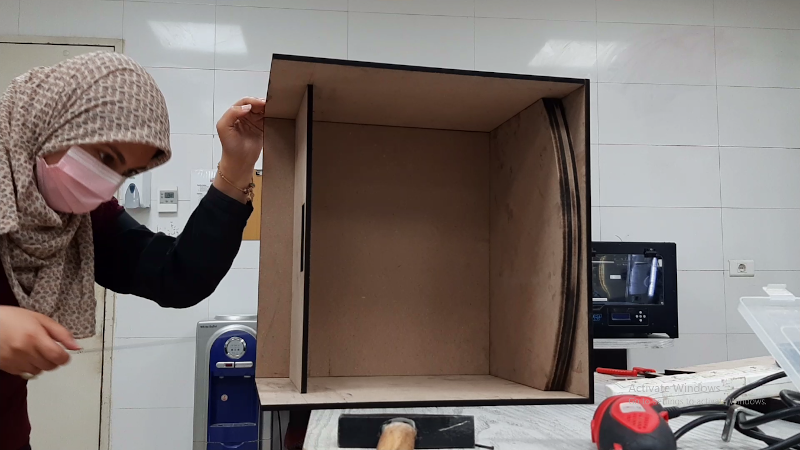
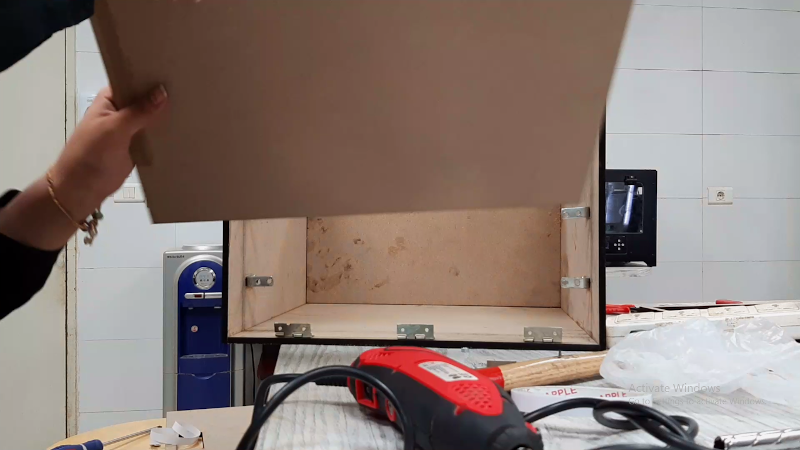
II. Manufacturing:
Being done with my design I started exporting all my sketches as dxf in order to open them with RD works.


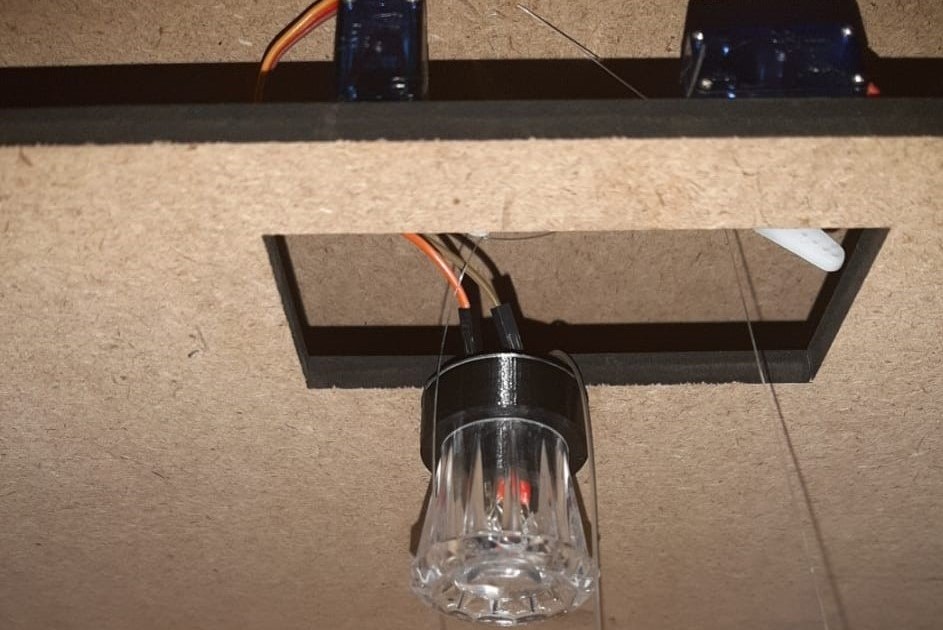
Part II: Electronics & Programming
The Idea:
When I open the curtains and switch the spotlight on , the light is gonna fall on the phototransistor in the input circuit that's gonna send some kind of data to the motors in the output circuit so as to turn the motors on and move the puppet.
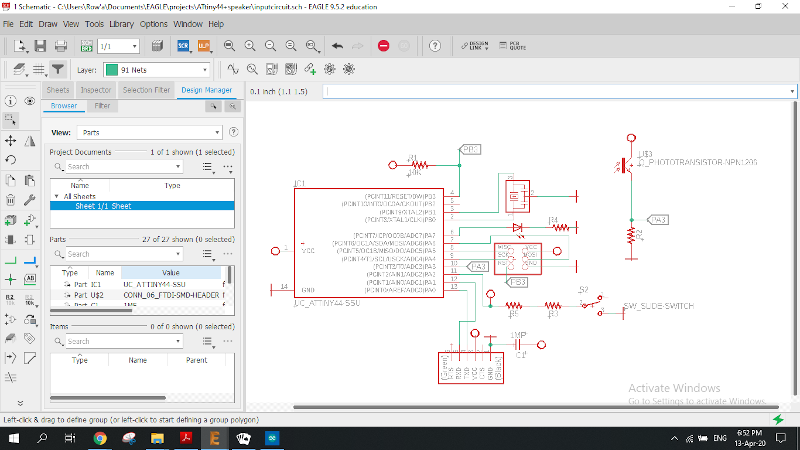
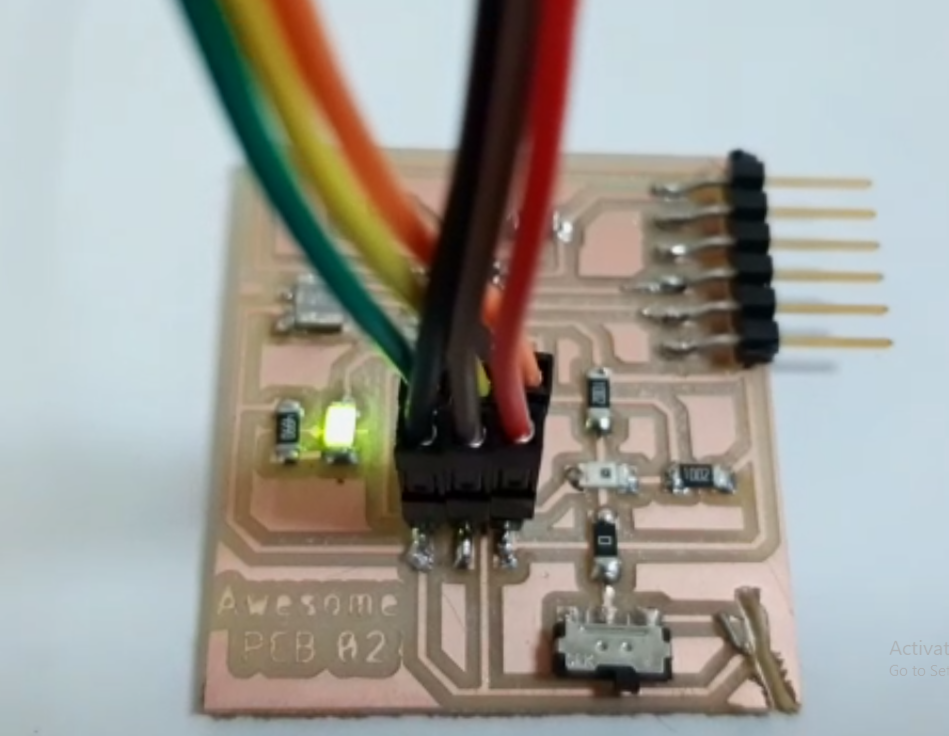
A. Input Circuit:
The circuit from input week with the phototransistor just with a different code.
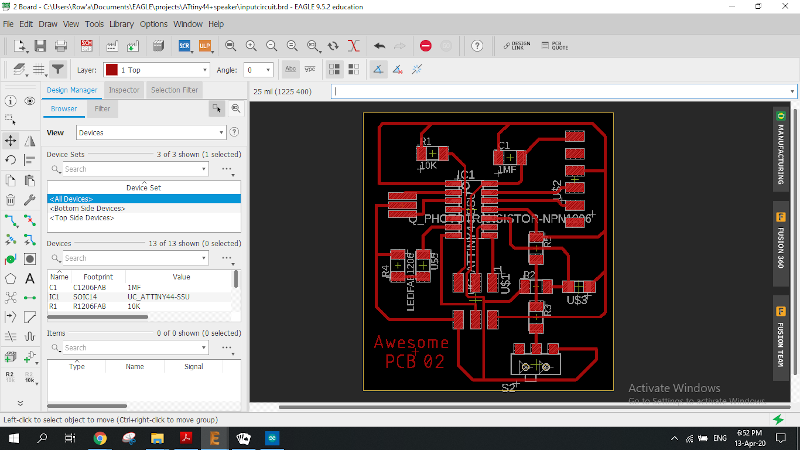
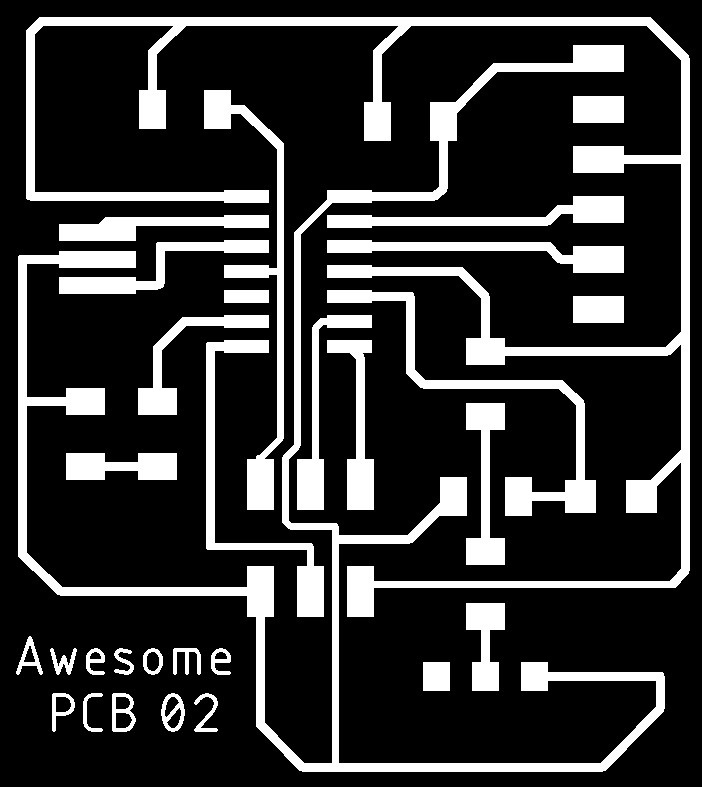
Final Result:
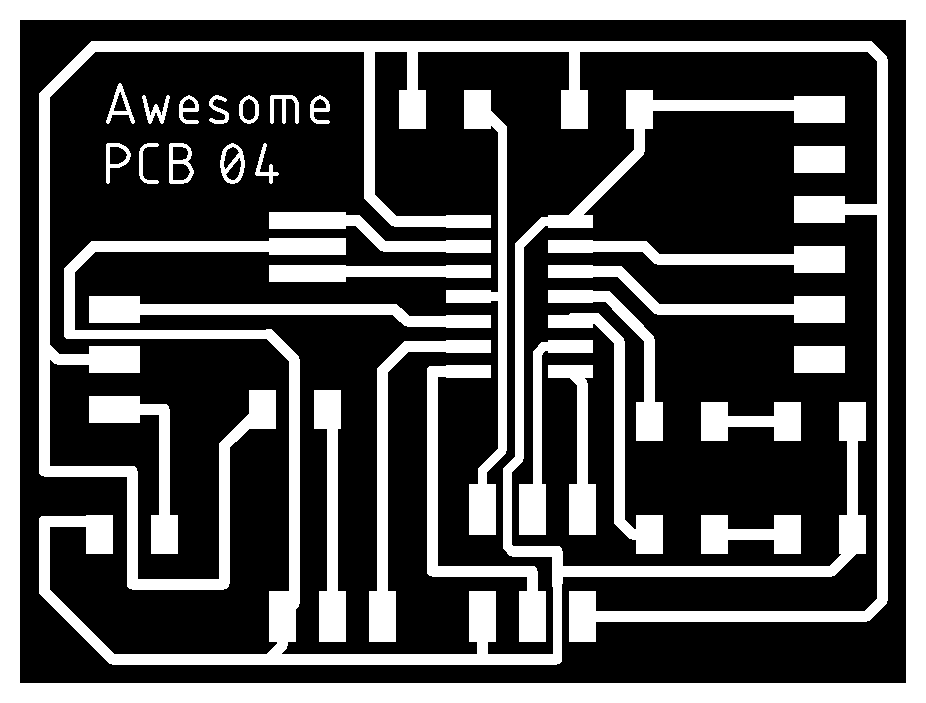
Outline generated using gimp.

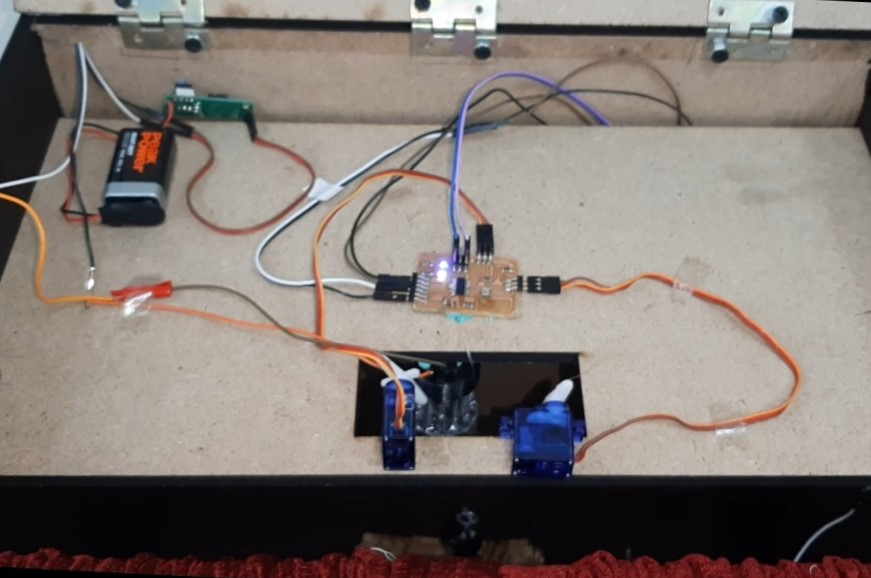
B. Output Circuit:
For the final project I couldn't use the output week circuit as I needed 2 Servo motors instead of one.
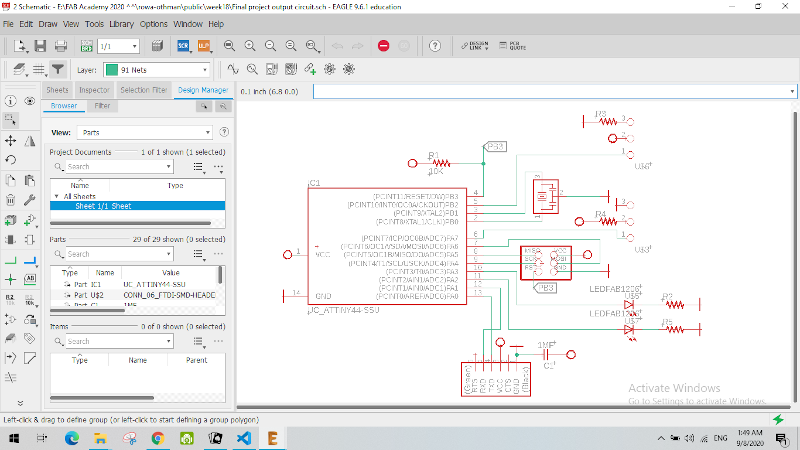
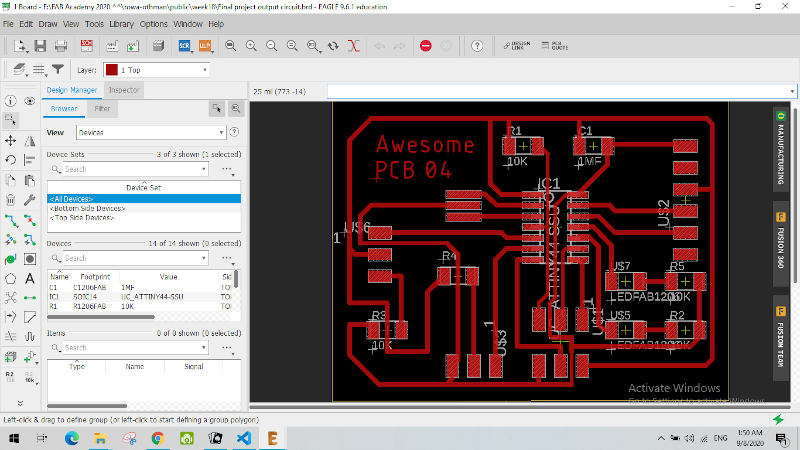
Final Result:

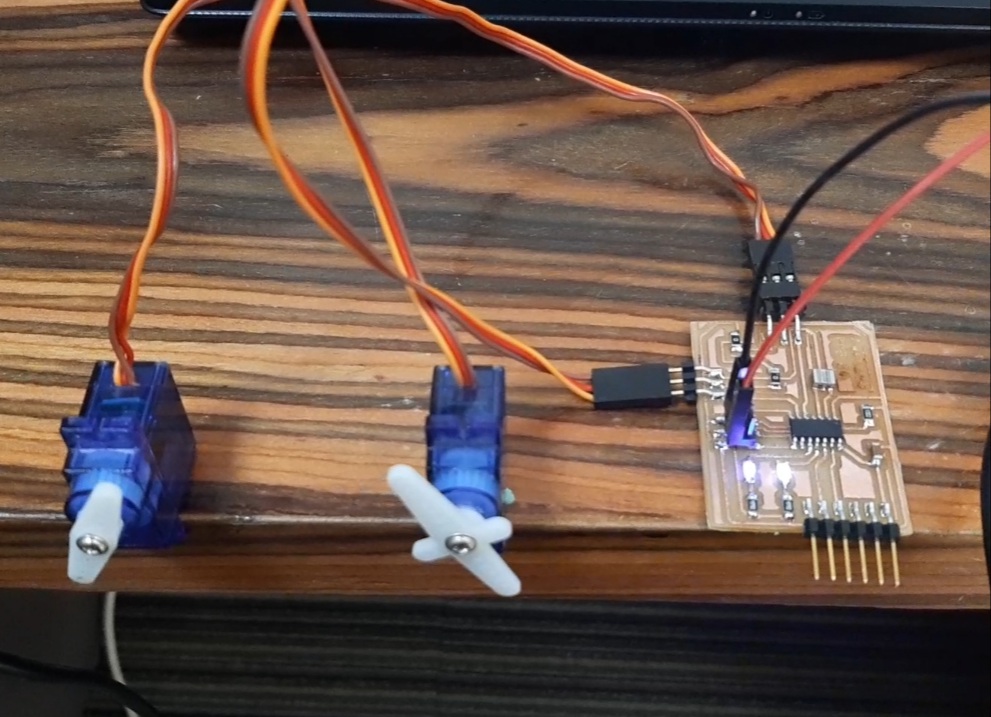
C. Networking:
The one I struggled with the most :D
It was almost just two weeks before the presentation when I finally had the chance to get my electronics done and have them ready to try networking for the 1st time.
    #include < SoftwareSerial.h>

    const int PhR = 3;
    int lightLevel;
    int trigger = 0;

    #define TX 0
    #define RX 1
    SoftwareSerial data(RX,TX);


    void setup()
    {
      data.begin(9600);
      pinMode(PhR, INPUT);
    }


    void loop()
    {
      lightLevel = analogRead(PhR);

      if (lightLevel >= 100)
        {  trigger = 0;   }

      else if (lightLevel <= 100)
        { digitalWrite(LED, HIGH);
          trigger =1;
          data.println(trigger);
          for (;;);       }
    }
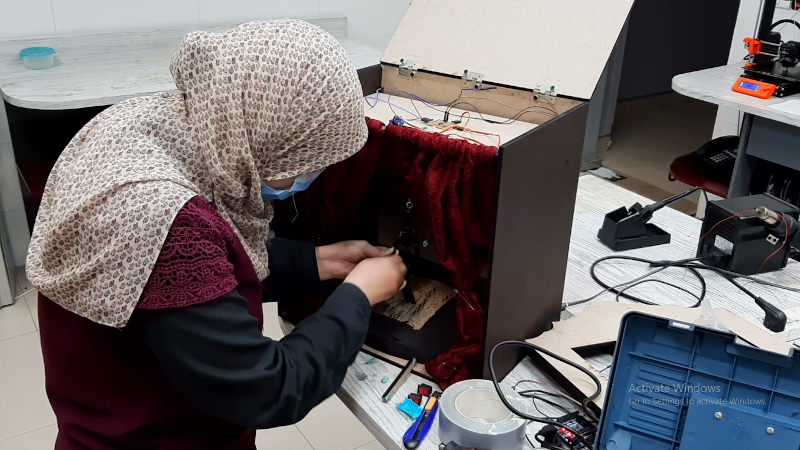
Part III: Assembly
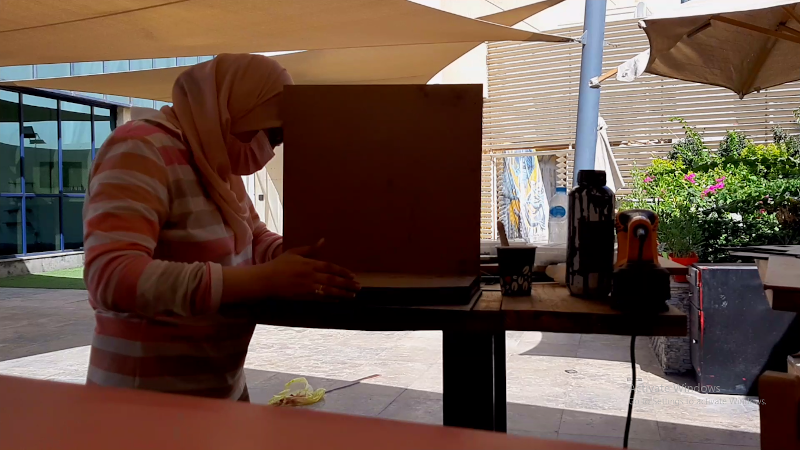

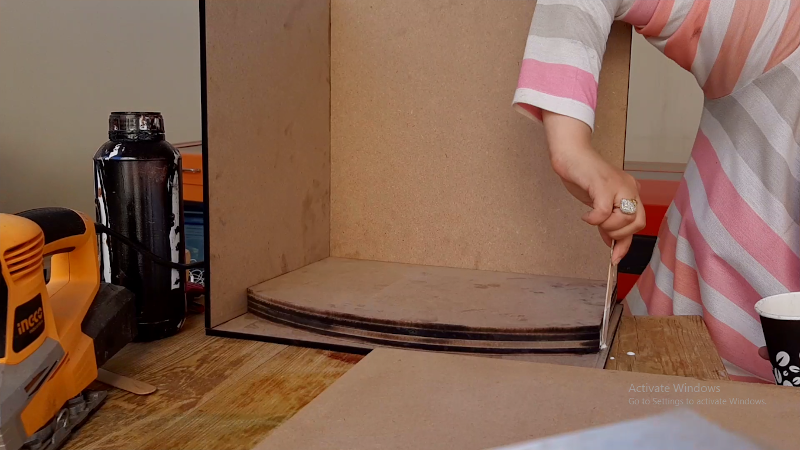
After getting done with Theatre assembly, It was time for the final touches,
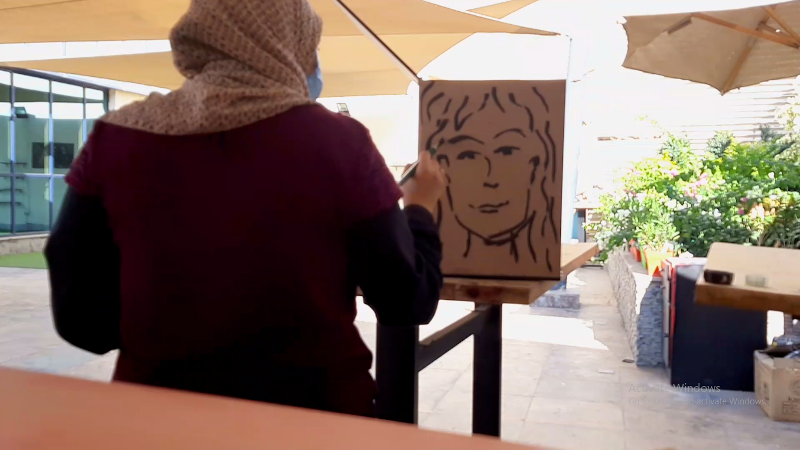
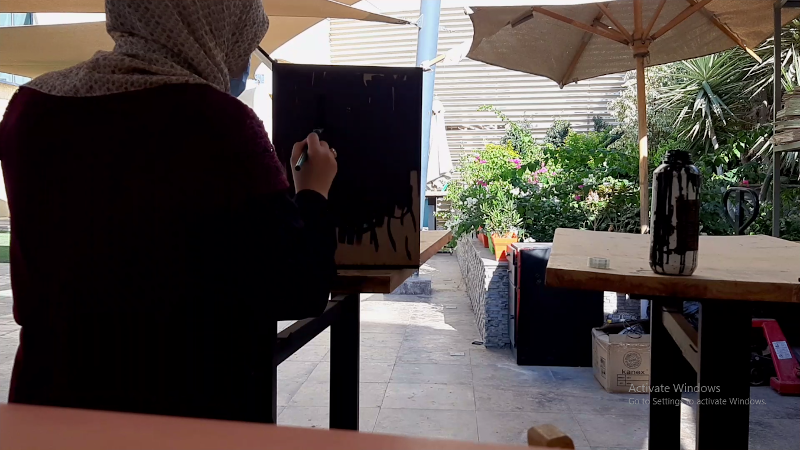
I had to do a lot of research on how to paint MDF, about it soaking in paint and having a rough ugly surface finish.
I read about glossy paints, sealing surafces, oil based as well as water based paints. I already bought 2 cans of brown spray paint. But when I tried the spray I did not like it as its colour was sort of reddish brown. Then my fab academy colleague Ahmad Mansour suggested a bottle of brown wood stain that we already had in the lab. I tried it and I LOVED its colour and how it felt painting MDF using it. painting was such a fun and sort of stress relieving experience.
Part IV: Presentation
Downloadables: 💾
Theatre, Puppet and output circuit files.rarHere
©️ Row'a M. M. Othman - Fab Academy 2020