Computer Aided Design 📋
🕘 Date / Time:
Hello pleasant person reading my second task documentation blog.
Hope everything is going just fine. ^^
Since I haven’t settled on an idea for my final project yet :(, a temporary one had to be generated for this week's task.
That project idea was inspired by the fact that I’ve been hanging out with children pretty much recently.
I chose to make an automatic mechanism for the control of a fully functioning classic marionette puppet.
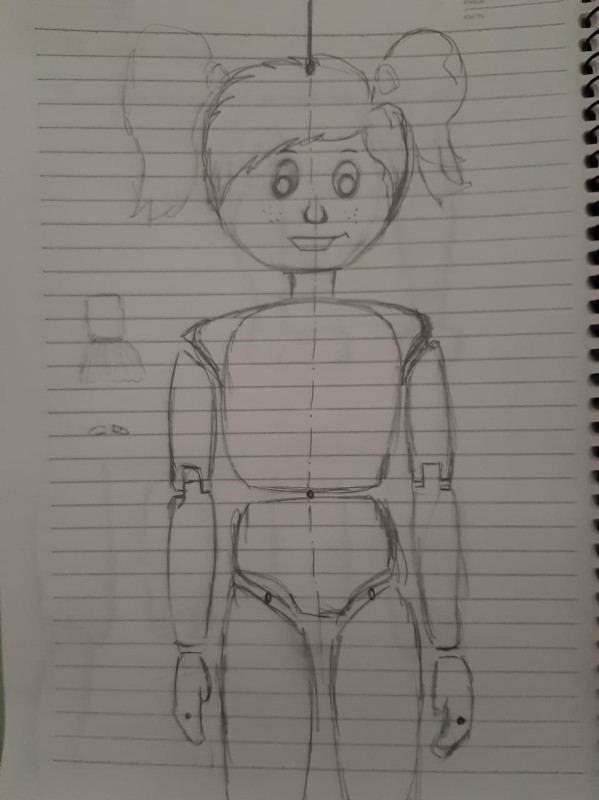
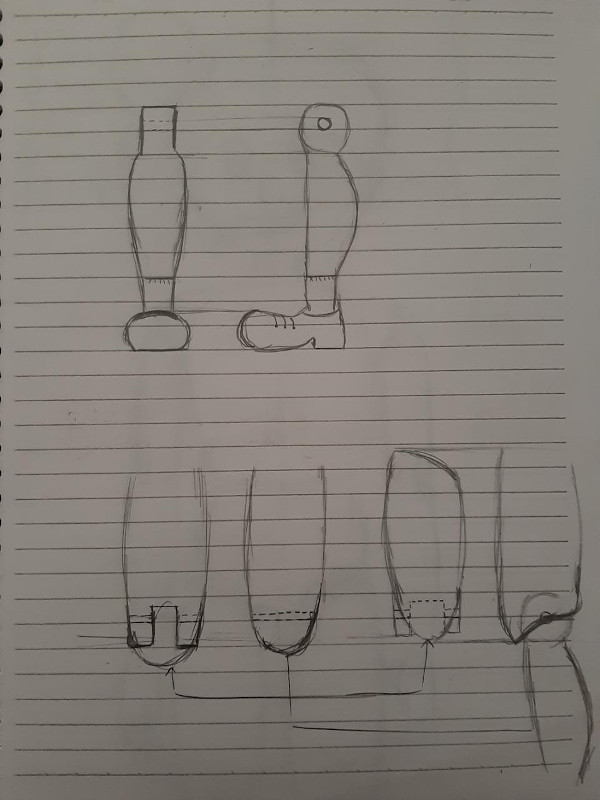
Free Hand sketch:
Having to design an initial character, I started a free hand sketch.
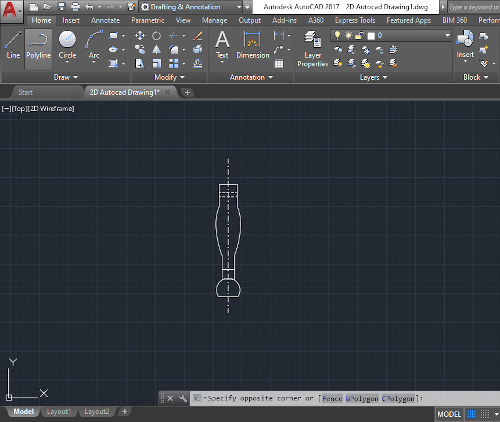
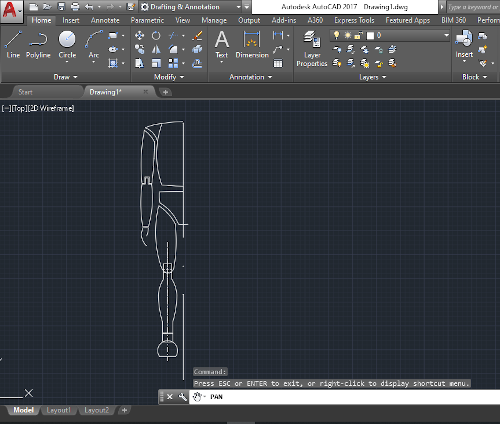
Digital versions:
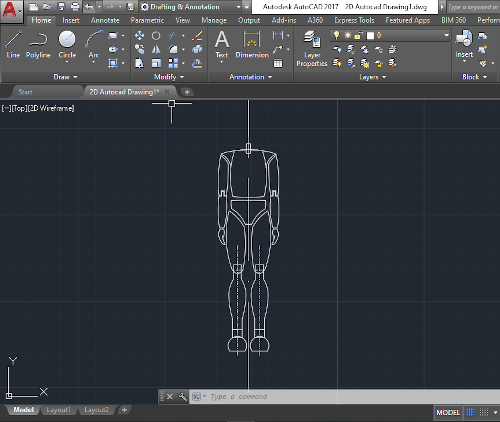
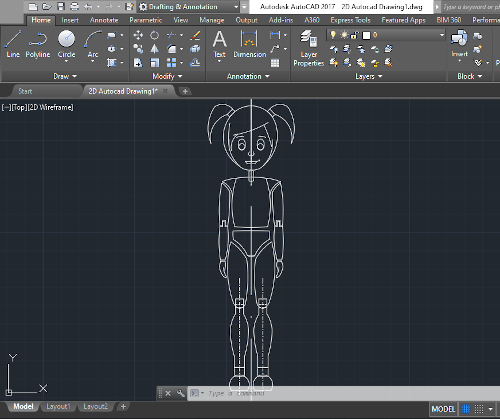
The 2D model was sketched using Auto CAD.
Here are some steps:
*The heros of this drawing are (3 point Arc and mirror command).
1- Started to draw half a leg, then mirrored it around an axis.
2- Then half of the pelvis.
3- Half of the chest and an arm.
4- Then mirrored the whole body around an axis.
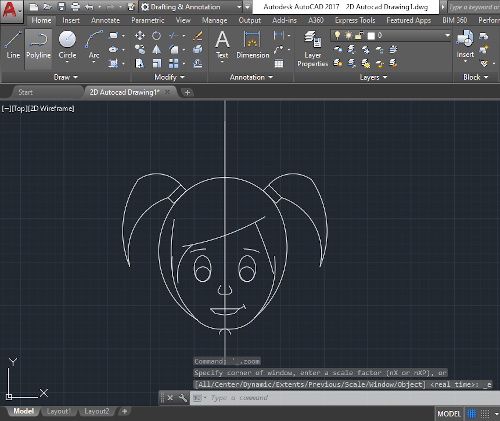
5- Started drawing half the face.
6- Completed the face using my favourite command > Mirror. :D

The 3D model was sketched using Blender 2.8.
I’d had never used Blender before, the first time I knew about it was last Wednesday.
Which only means one thing: “lots and lots of tutorials”. :D
Started with this tutorial to become familiar with the user interface.
Youtube channel: BornCG.
Playlist: Blender 2.8 tutorial series.
Progress: Episode 03.
Episodes of this tutorial are pretty long but they helped me a lot in grasping a wide perspective of this amazing software.
My first output. Suzanne, it's a default character in blender, what I did was that I followed the tutorial through materials, lighting, shadows and reflections and came up with a golden monkey ornament.


Getting familiar with the program somewhat and given that I have very limited time, I switched to another awesome tutorial I found on character creation which was fortunately close enough to what I intended to create.
Youtube channel:Sebastian Lague.
Playlist: - / Videos main title: Blender Character Creation.
Progress: (E03: Rigging).
The two downsides were:
1. that this tutorial is 4 years old and the guy was using an old version of blender that is different from 2.8 I am using.
2. Episodes of the tutorial are not listed in a playlist; they are scattered around his youtube channel.
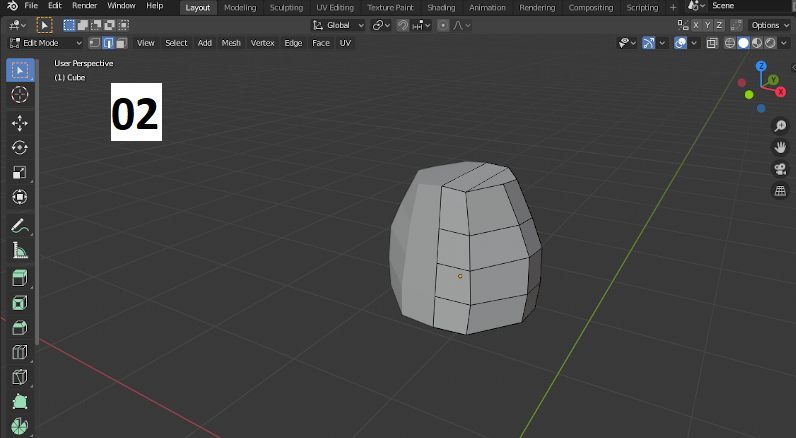
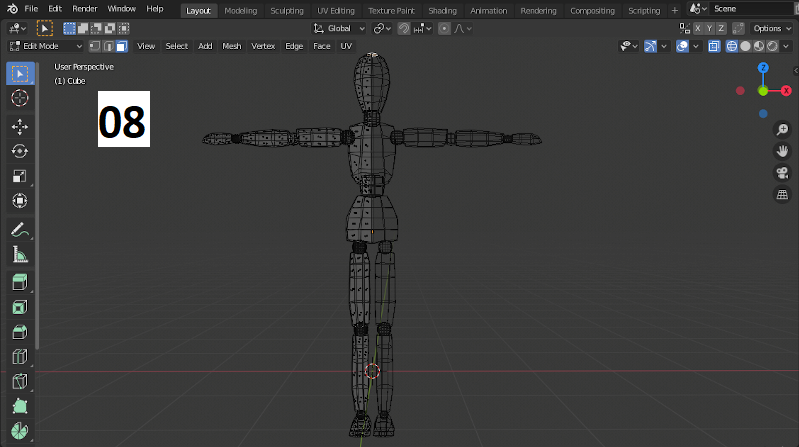
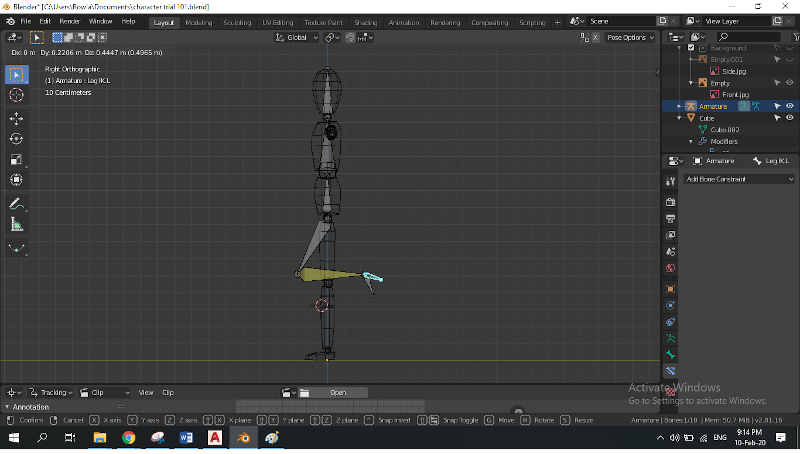
Here is my creation following the tutorials.
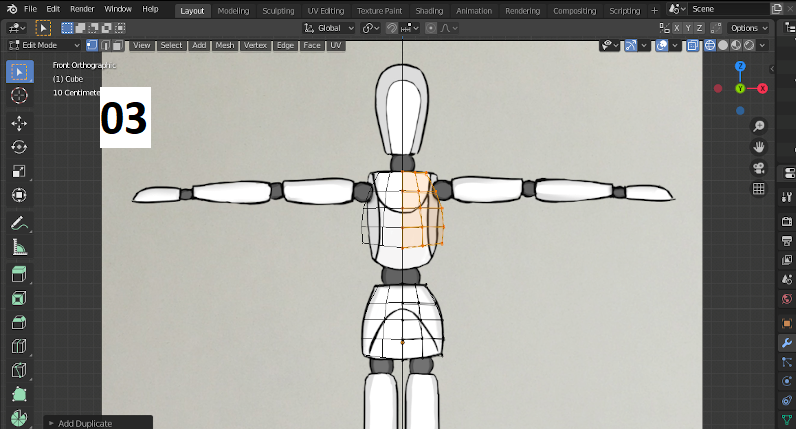
Started by inserting elevation and side view images each in a perpendicular to the other. the elevation was in the x-z plan and the side vew was in the y-z.
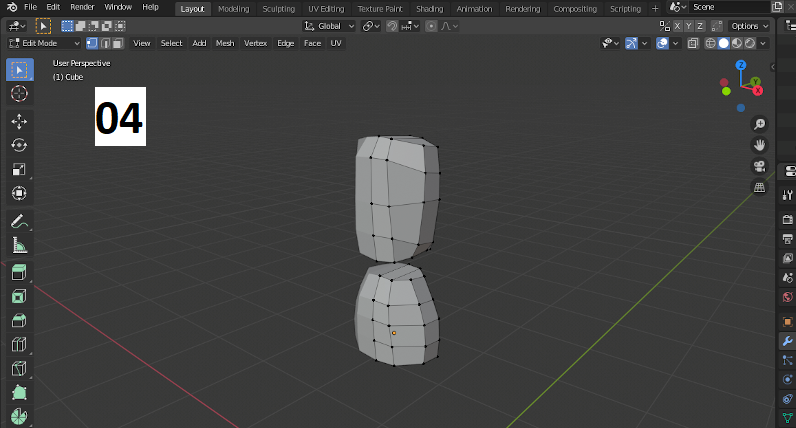
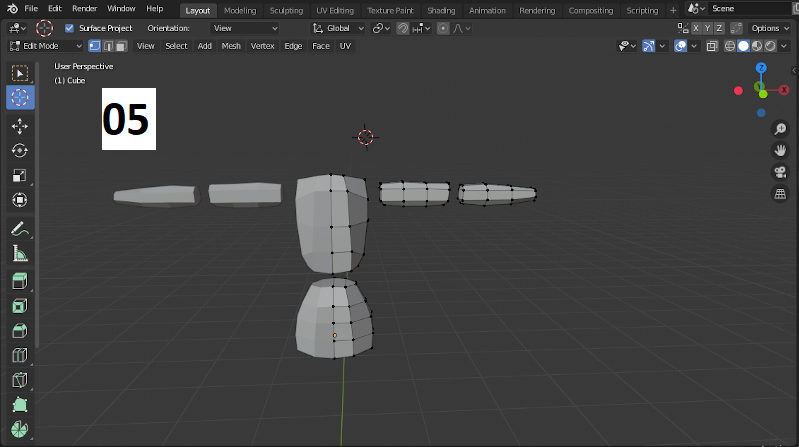
For each and every part of that puppet added a new cube, then manipulated it into the shape in the image.
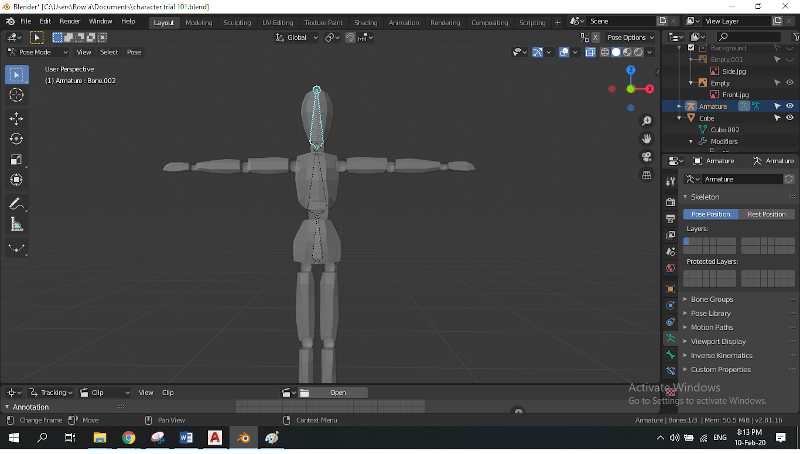
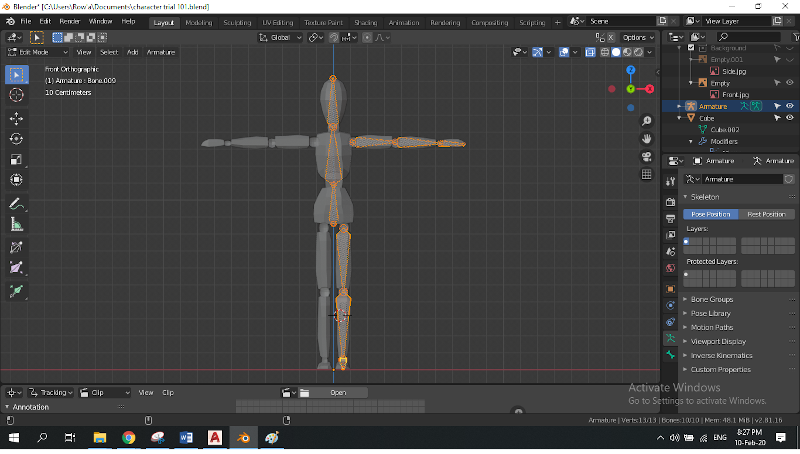
Mirror modifier was the hero of the era, as the body I'm making is symmetric around the z-axis in the elevation not to mention its checked clipping checkbox.

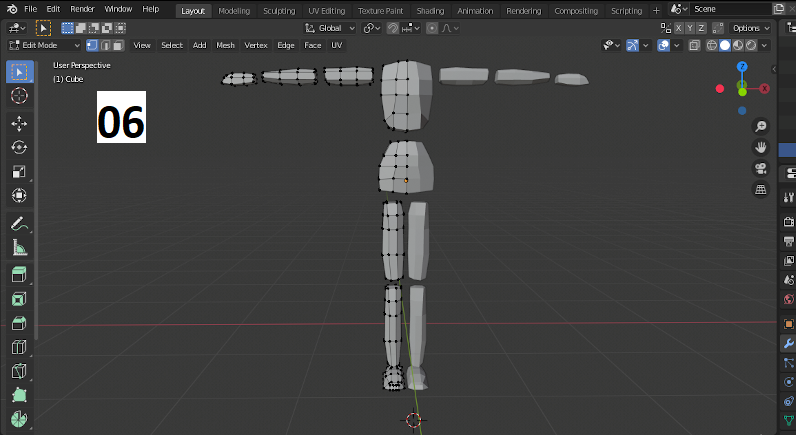

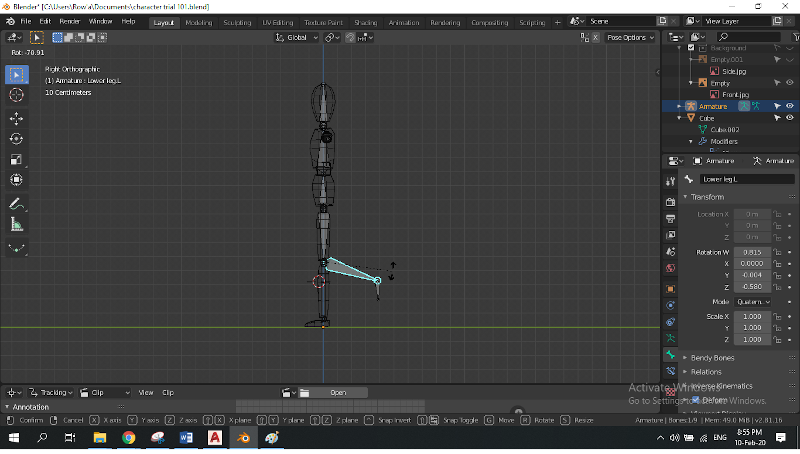
Had the model almost done, I started adding bones for movement & animation.


Learning outcomes:
This week was kind of a stressful one. I spent so much time trying to settle on an idea for my final project, attempted to learn Blender from scratch and I thought I had to do animation and simulation in such a short time.
I learnt that:
1- Practice makes perfect.
2- Time management is crucial, and that I should not favor a new tutorial playlist to keep learning over starting my documentation earlier. (Except that I assume I will always do.)
3- CAD softwares vary in a good way but the main principles are pretty much the same.
4- I should learn about parametric design soon enough as it's a necessity and unfortunately I didn't get to practise it through this task.
Downloadables: 💾
©️ Row'a M. M. Othman - Fab Academy 2020