Final Project Journey
The final project was not a one-day outcome, it was a full journey full of learning, challenging and lots of fun. The project went through a long process of ideas, testing, making, iterations, and implementations.

Problem identification

The problem is simplified in that around 4% of the Egyptians are visually impaired, around 30% are children. Those children have a very critical problem especially in their early life stage, this problem is the ease of education. This project aims to find a suitable simple and easy to use educational solution for visually impaired children.
Idea (Version I)

My initial idea is that I will make a digital product for visually impaired students to learn numbers, counting, basic math and some science knowledge. My rough idea is to digitize the traditional puzzle and make it interactive through speaking.
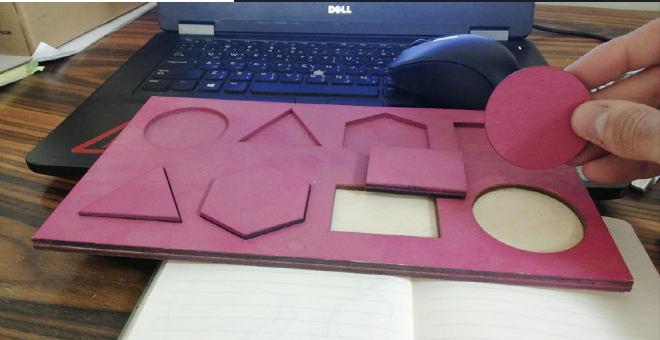
This is the prototype of the device; it should speak to say the name of each shape when it fit in. It helps in learning how shapes look and their names for visually impaired students. This one helps to learn Braille way to read and write, by writing each letter by the magnets and speak.
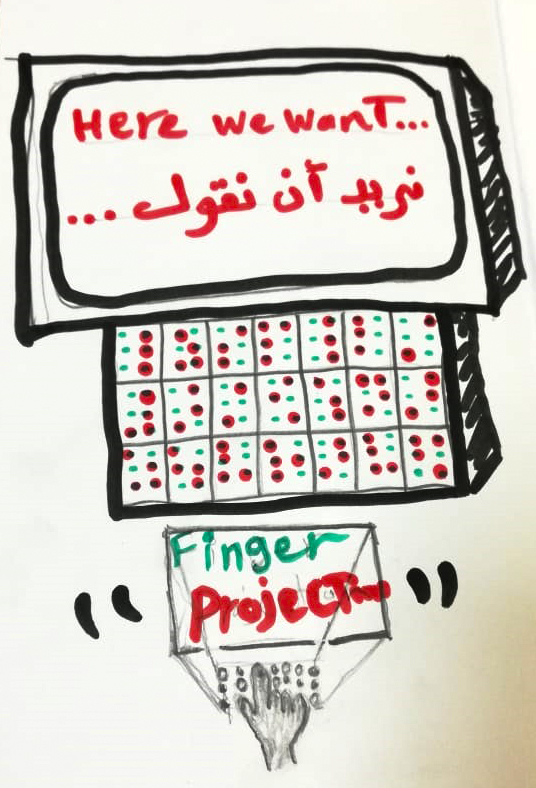
to project the words or show it on a screen
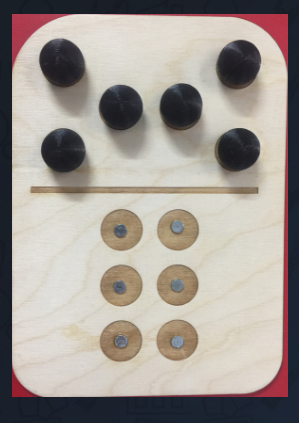
by writing each letter by the magnets and press to listen to it
Idea (Version II)

After taking several feedbacks from visually impaired people and people who are in serving them, I made some modifications regarding the design, interface, and functionality. The new idea will be a puzzle to teach children world map, history, geography, math, and other branches with variety of levels. As a start I will make a prototype for a speaking puzzle of two continents. The idea behind it technically will be that the user will touch the continent housing the circuit will proceed to stimulate the speaker to get the voice out for the learner. To implement this prototype, I will use a punch of modules:
Electronics:
- Components
- Soldering
Programming:
- Code
- Edits
Additive:
- Molding and casting
Subtractive:
- Lasercut
- CNC milling
Final project

VoiceLearn: This project is a puzzle which is made for visually impaired children to facilitate their learning process and make it more fun and entertaining. It works as follows: the user grasps the continent and recognize it, then places it in the corresponding place in the puzzle plate, and finally the device automatically speaks the continent name in both Arabic and English.
Board Making
After deciding the project idea and putting the product preliminary design, I started proceeding by the project board. The board will act as the brain of the puzzle that will be responsible for storing the voice, restore it when it is stimulated by connection, and sense every take and put of the puzzle item.
Board Making Processes
Board design and testing on the software
Making on the Modella machine
Use double tape to secure the copper board on-top of the sacrificial plate, But don't ovelap the tape or leave bubbles under it to keep the board straight.
Picture must be in a PNG extension picture with black&white(monochromatic) and check the distances between traces to be bigger than the diameter of tool you will use.
Import(after importing the picture will appear in the page) --->.rml(the extension of Gcode for roland srm) ---> Traces (chose the process you want to make) --->SRM-20(choose the machine from the list) ---> Calculate(will calculating the code and traces) ---> Save(save the file in your computer to use it)
Import in cutting Vpanel for SRM20(This website will be helpful
Soldering of the components
Components list
| Component | Amount | Unit price | Supplier |
|---|---|---|---|
| Atmega328 | 1 | $2.87 | Digikey |
| Red/Blue LED | 2 | $0.15 | Digikey |
| 16MHz crystal | 1 | 5EGP | Alamir(local supplier) |
| 10Kohm Resistor | 1 | $0.01306 | Digikey |
| 499ohm resistor | 2 | $0.0291 | Digikey |
| 22pf ceramic capacitor | 2 | 3EGP | Alamir(local supplier) |
| Mini USB connector | 1 | $0.5 | Digikey |
| Sound jack connector | 1 | 5EGP | Alamir(local supplier) |
| Pin headders | 4 | $0.1 | Digikey |
| SD card module | 1 | 40EGP | Alamir(local supplier) |
Soldering the SMD components not easy at all, So this video was helpfull
Tools needed
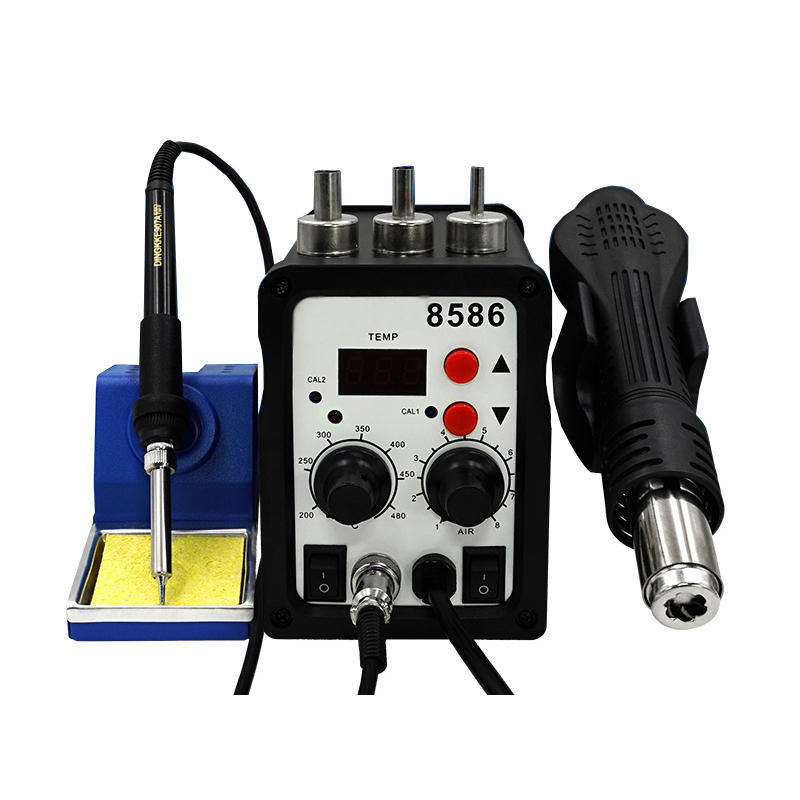
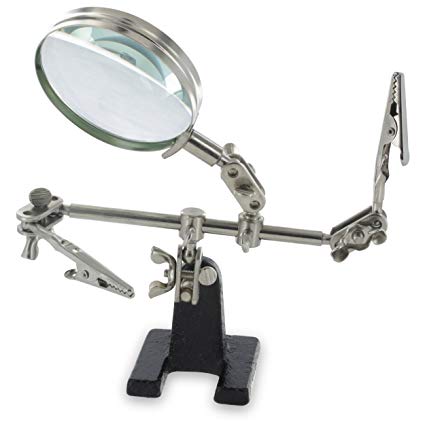
Test it and now it is ready for the use
Puzzle Making
The puzzle making here means the process of making the epoxy resin continents that will be used by the visually impaired children and will put on the puzzle surface to stimulate the process to speak the continent name.
Puzzle Making Processes
Puzzle making, All process with detail in my (Moulding and Casting Assignment)
Make it conductive using copper tape

Puzzle Case Making
The puzzle case is responsible to store all the electronics components, hold the puzzle on its surface, and act like the full puzzle body.
Board Making Processes
Design of the case with its cover
Mill it on the CNC milling machine (Base and Cover)
Surface finish with sand paper
Make the continents design to be engraved on the case cover surface
Prepare the design on RDworks for lasercut
Painting and being ready for use
Programming
It was the time to start program the brain of the final product.
Prepare my own board by burn on it the bootloader to be ready for programming
Uploaded Arduino ISP code on the Arduino board to make it a programmer.
Then I've uploaded my code on board
#include#include #include #include "SD.h" #define SD_ChipSelectPin 4 #include "TMRpcm.h" #include "SPI.h" #define trigpin 7 #define trigopin 8 TMRpcm tmrpcm; void setup(){ pinMode (trigpin,INPUT_PULLUP); pinMode (trigopin,INPUT_PULLUP); tmrpcm.speakerPin = 9; Serial.begin(9600); if (!SD.begin(SD_ChipSelectPin)) { Serial.println("SD fail"); return; } } int flag=0; int flag1=0; void loop(){ int sp; int sp1; sp=digitalRead(trigpin); sp1=digitalRead(trigopin); if (sp==LOW&&flag==0) { tmrpcm.setVolume(5); tmrpcm.play("diags.wav"); delay (5000); flag=1; } else if (sp1==LOW&&flag1==0) { tmrpcm.setVolume(5); tmrpcm.play("Africa.wav"); delay (5000); flag1=1; } else if (sp==HIGH&&sp1==HIGH){ flag=0; flag1=0; delay (500); } }
Now lets test it
Arduino code source
Final Product
After finalizing all subsystems of the puzzle, I connected them all together, assembled the, and finalized all connections and fixations
Testing and Feedback
After finalizing the product I tested it on 5+ visually impaired users and took fruitful feedbacks that will be taken into considerations in the commercial implementations.
Poster
