IIn this week we worked on 3D printing and Scanning. In our lab, we have Ultimaker 2+ and Ultimaker extended printers. In order to know the capabilities of printer, we needed to test the design rules for 3D printer. We downloaded test file from here.
Open test file in cura and select the profile
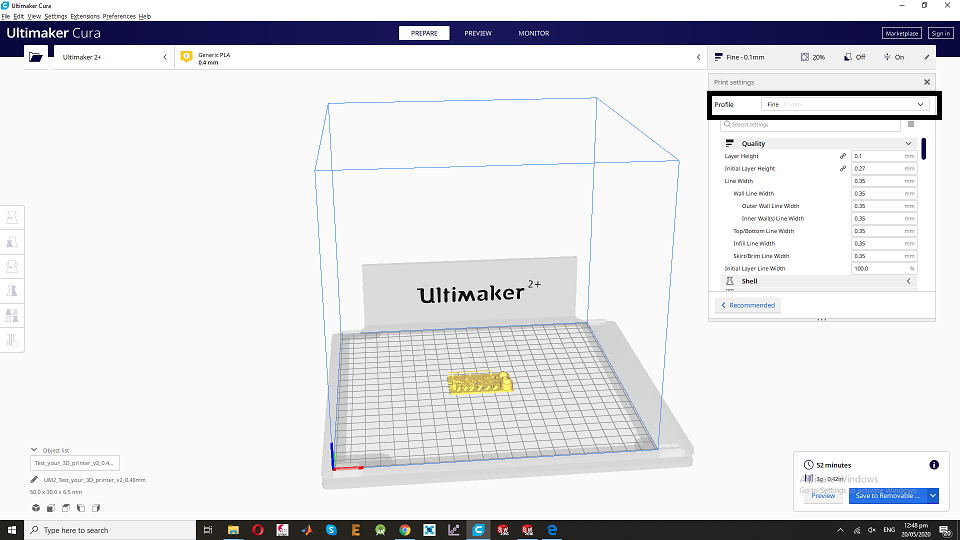
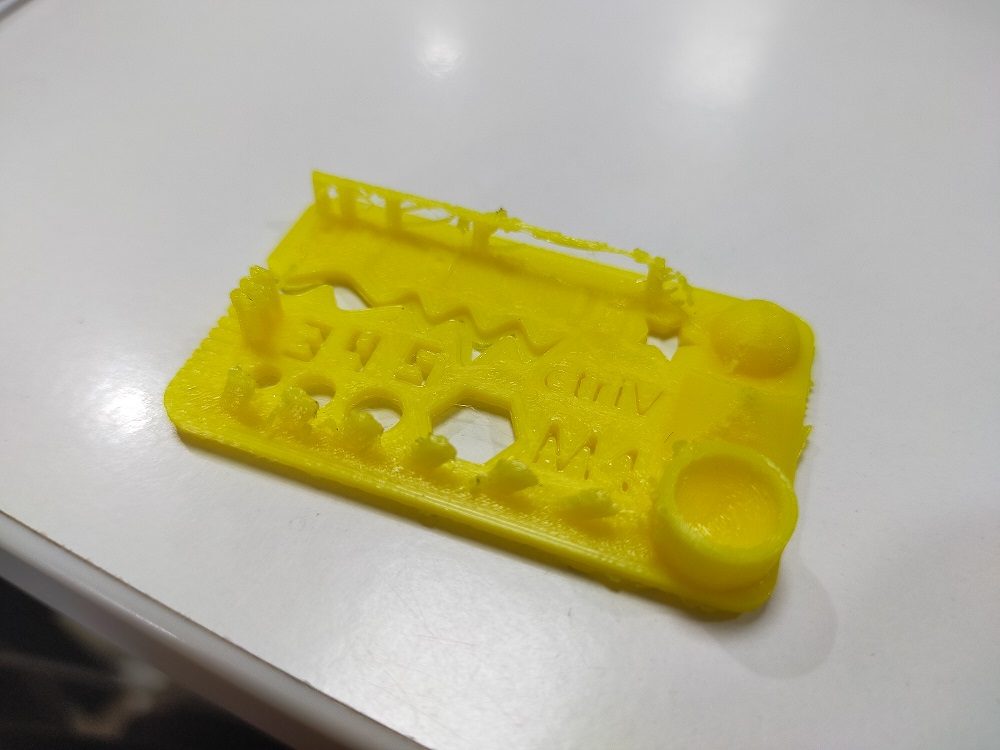
First of all open file in Cura and select the profile (Fine for this job), then generated the gerber file. Gerber file was sent to 3D printer. Here we got final result.
Final result
Learning from this week
If anything has slope of degree (less than 70 degree) then it does not need support to print.
Following settings are available in Cura.
layer height: The layer height is one of the most frequently changed settings. It is the thickness of one printed layer in millimeters. With a thinner layer height you can increase the quality of the print, leading to a smoother surface and more detail visible in the Z-direction (height) of the model
Wall thickness and wall line count: This setting adjusts the thickness of walls of the model. Ultimaker Cura rounds the wall thickness to a multiplication of the line width. In general, a wall thickness of two or three times the line width is sufficient.
Top/bottom thickness With the top/bottom thickness you can set the thickness of the solidly printed top and bottom layers of the print. A higher value ensures all gaps on the top and bottom layers are closed completely. However, this can also increase the print time and amount of filament used.
Infill density The infill density defines the amount of plastic used on the inside of the print. A higher infill density means that there is more plastic on the inside of your print, leading to a stronger object. An infill density around 20% is used for models with a visual purpose, higher densities can be used for end-use parts.
The print speed: It defines the speed (in mm/s) at which the print head moves while printing. Based on this setting, Ultimaker Cura calculates the extrusion flow.
Build plate Adhesion type: Different options that help to improve both priming your extrusion and adhesion to the build plate. Brim adds a single layer flat area around the base of your model to prevent wraping. Raft adds a thick grid with a roof below the model. Skirt is a line printed around the model, but not connected to the model.
Source: Cura print setting Individual Assignment:
Design and 3D print an object that could not be made
subractively.
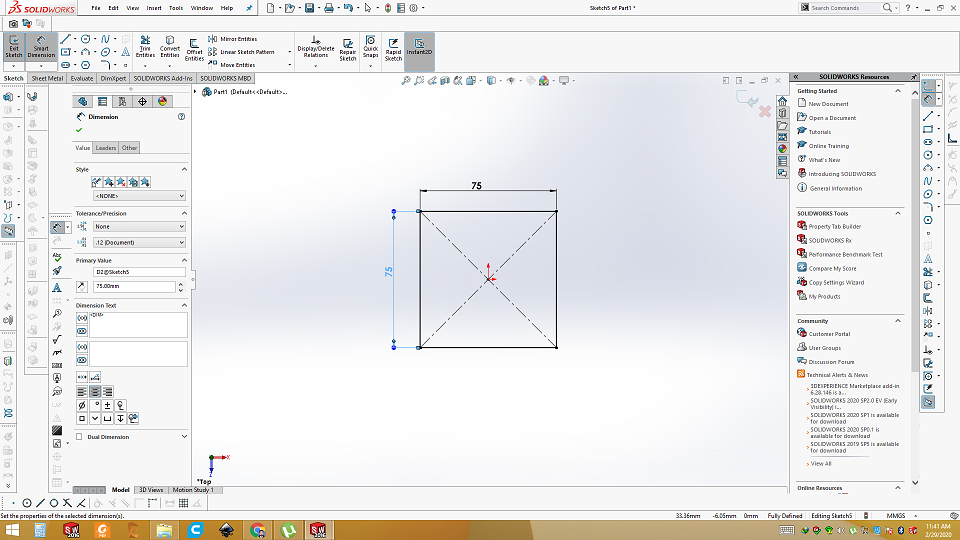
My idea for this week was to create a box with a ball inside, that cannot come outside. It could only move inside the cube. I used to work in solidworks. I find it easy and convenient, so I started to make a cubical box.
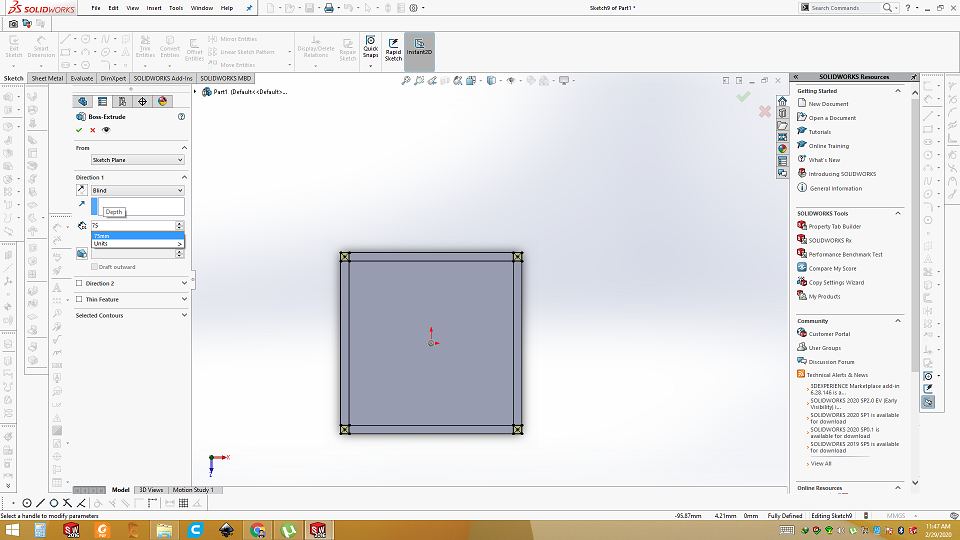
Open Solidworks and sketch the box
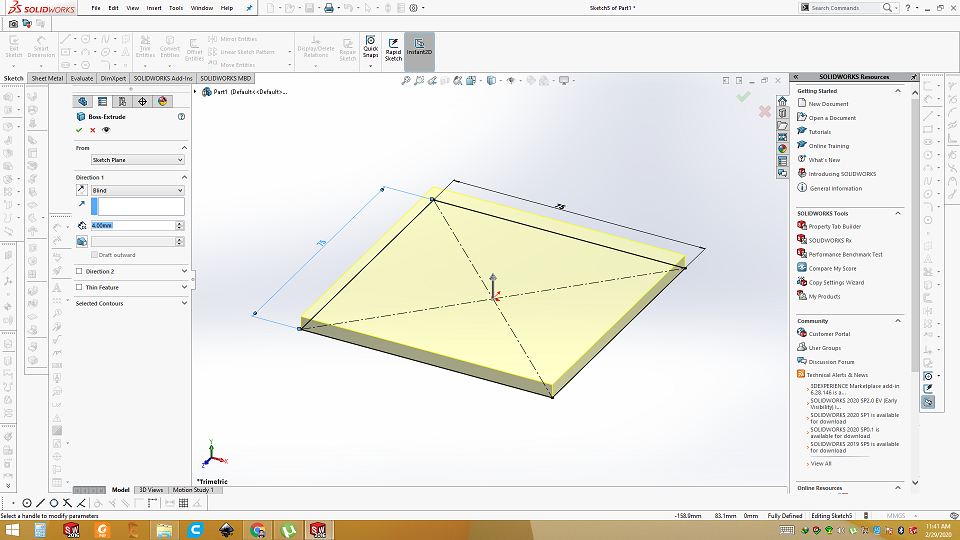
Extrude it
Make side walls

Make side pilars on surface
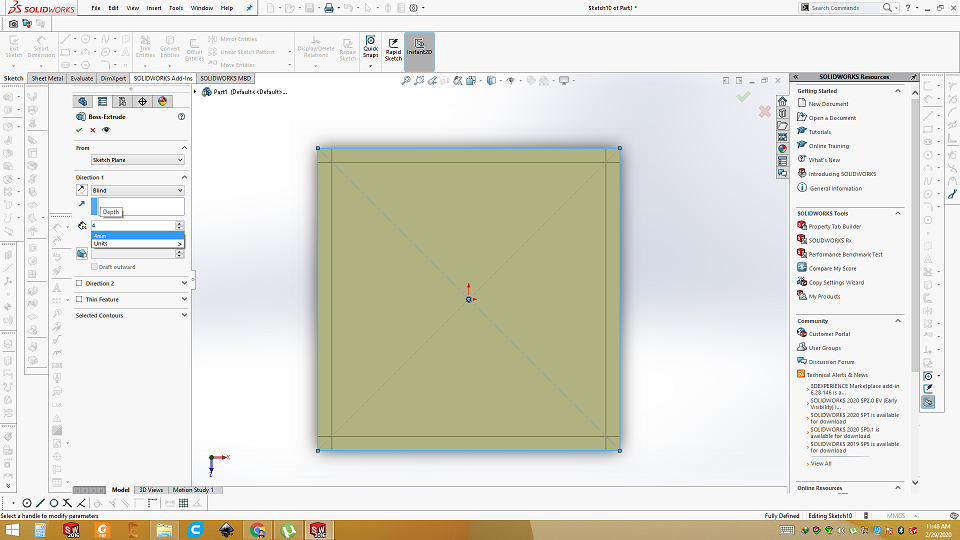
Extrude and make surface on top
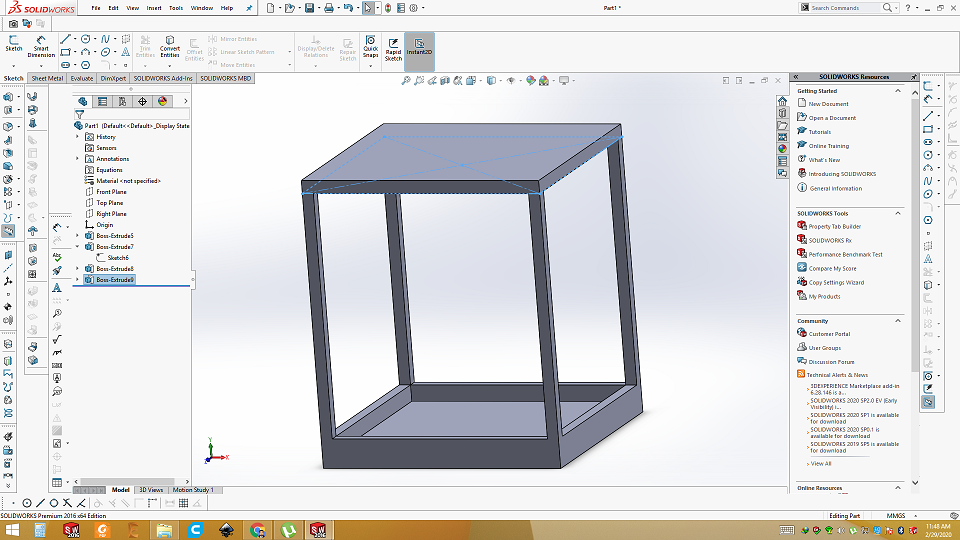
3D view of cubical box
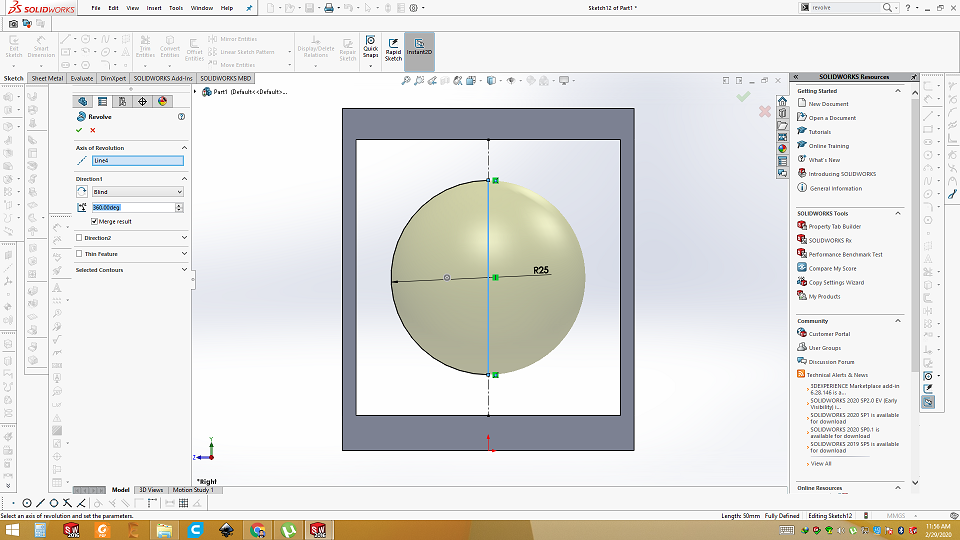
Draw half circle using arc inside the box
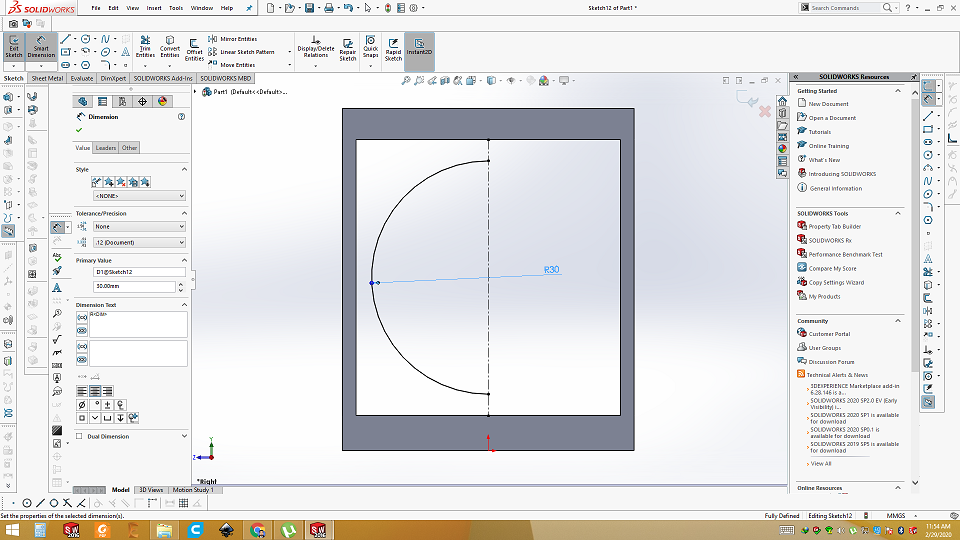
use the revolve base around the arc to make ball
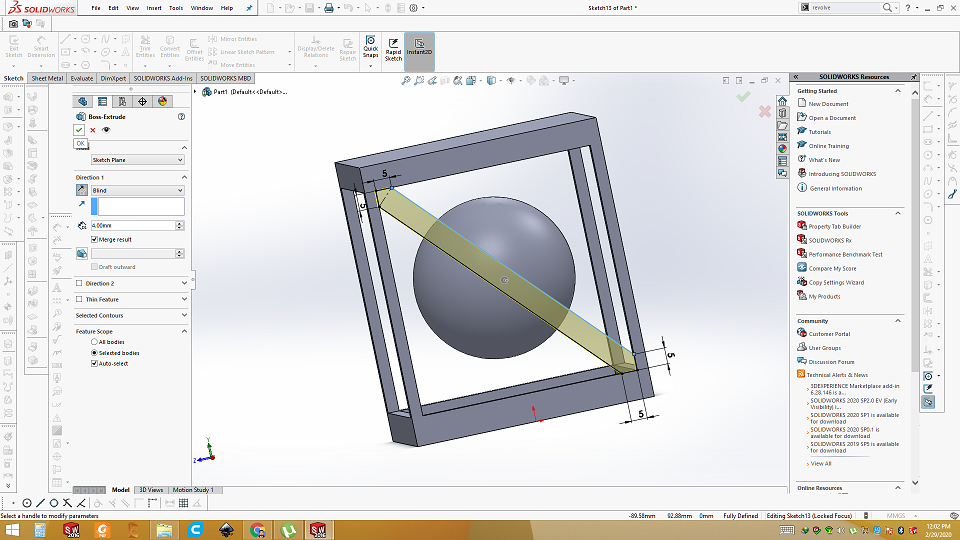
Make side support so ball can not go out side
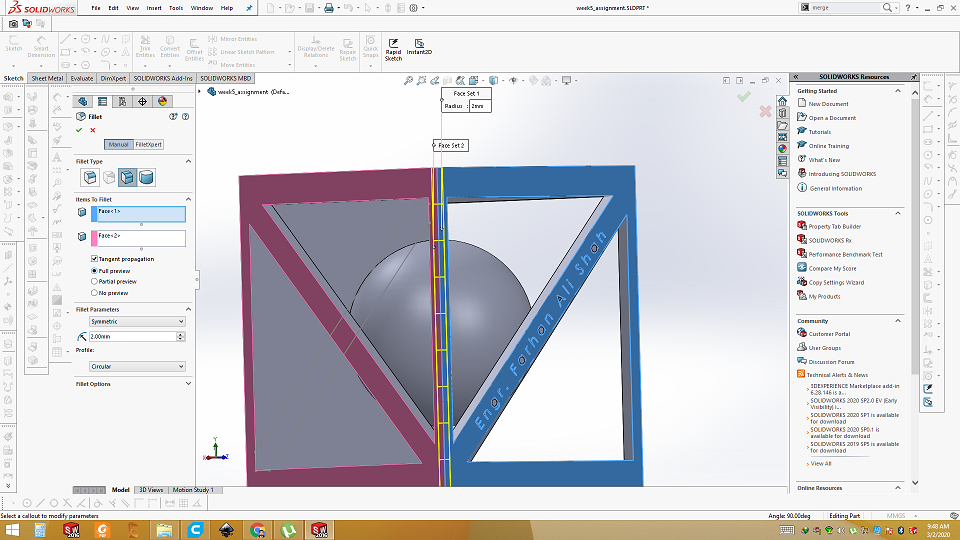
use the fillet command on every corner to make it round
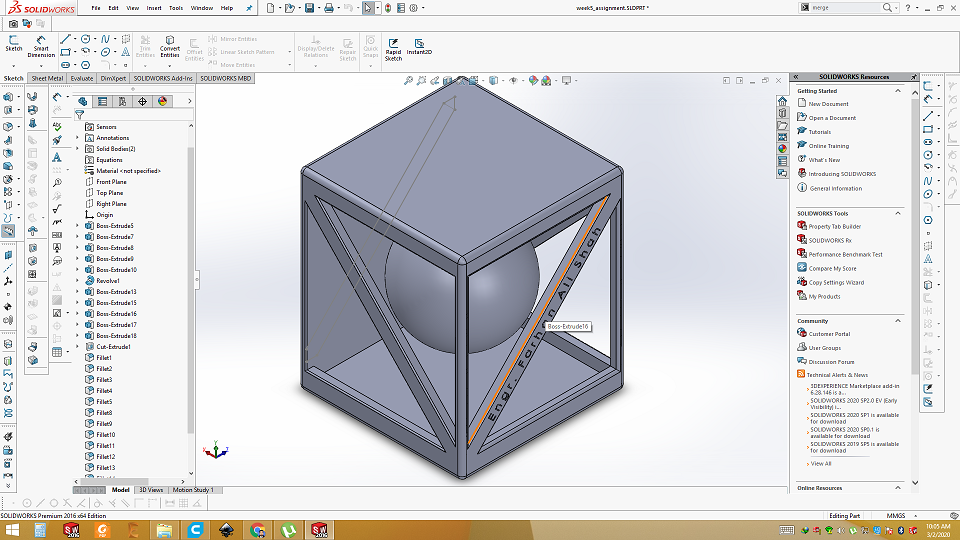
Final design
Now save .stl in using solidworks. Then open .stl file in cura. We can set different parameters of printing, like wall thickness, infill density and layer height etc. I am using built in profile (normal) for this task.
3D printing configuration in Cura
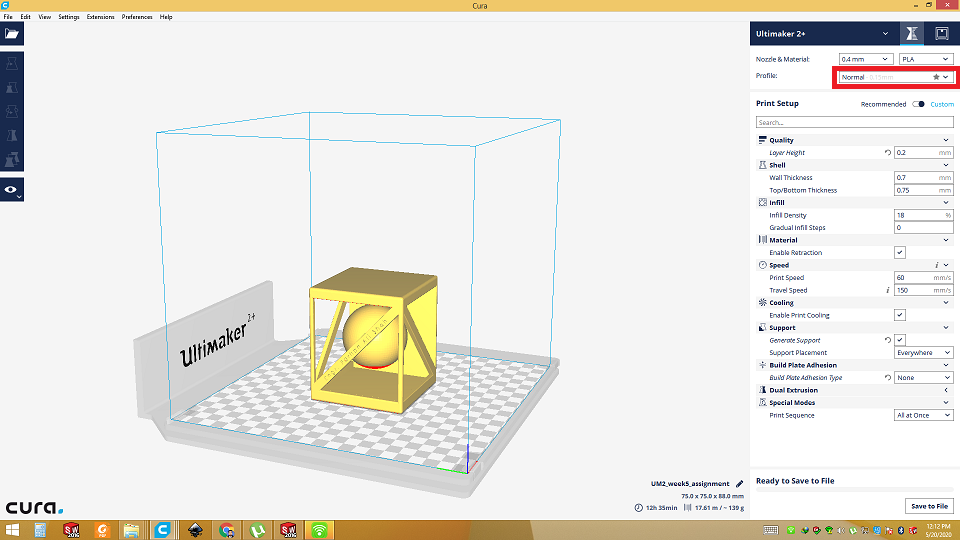
then genegrate gerber file through cura which will go into the 3D printer.
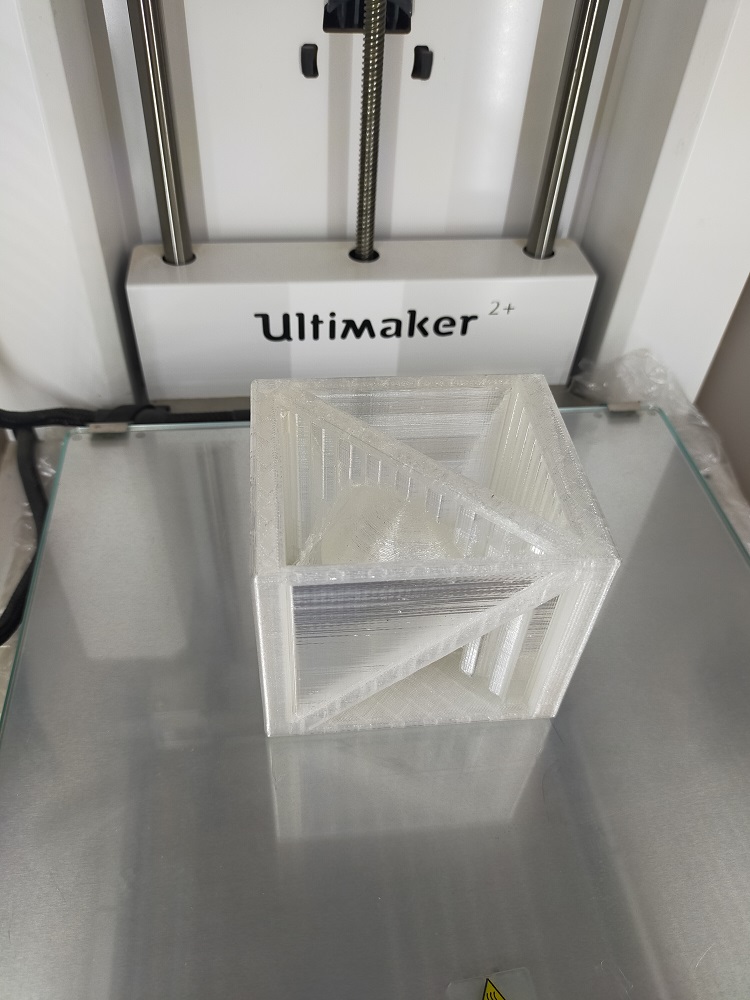
3D printed with support
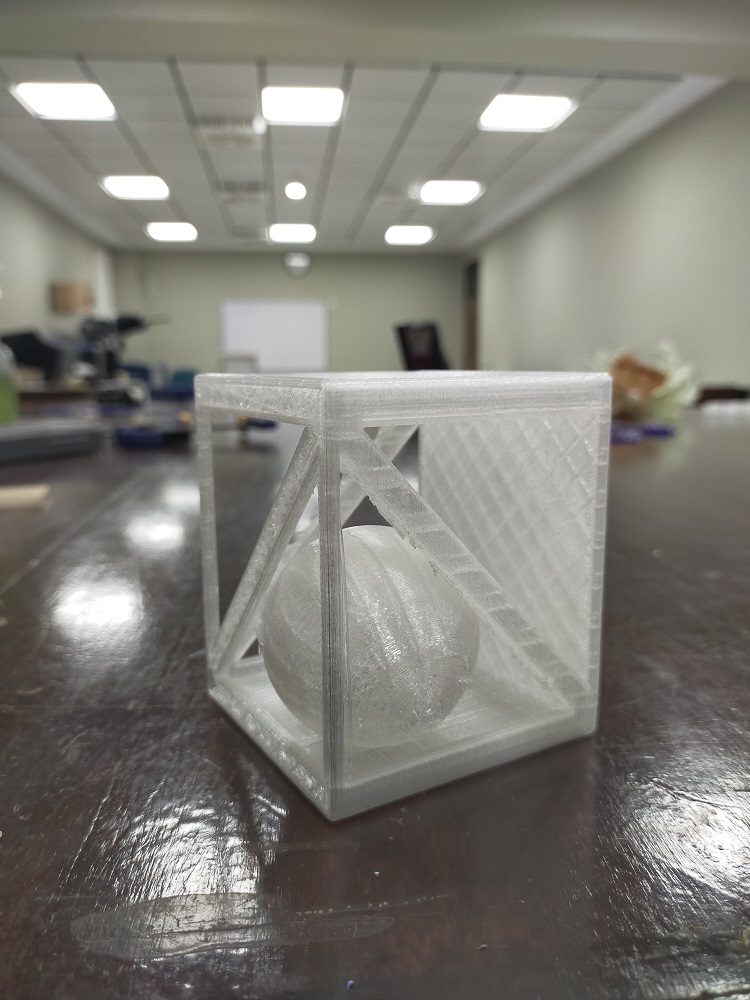
Final result
Individual Assignment:
3D Scanning
Second assignment of this week was to 3D scan anything. I found it very interesting so I tried to scan myself. For scanning, first we need to set up software. Download and install KinectDeveloperToolkit-v1.8.0-Setup", "KinectSDK-v1.8-Setup" and "Skanect-win64(latest version)" and then to open the SCANECT.
Open the Skanect
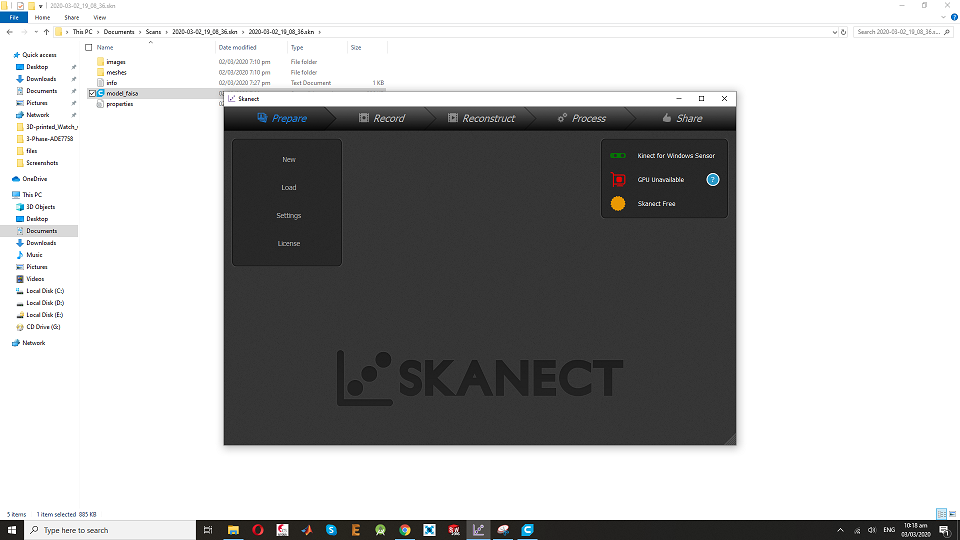
Click new
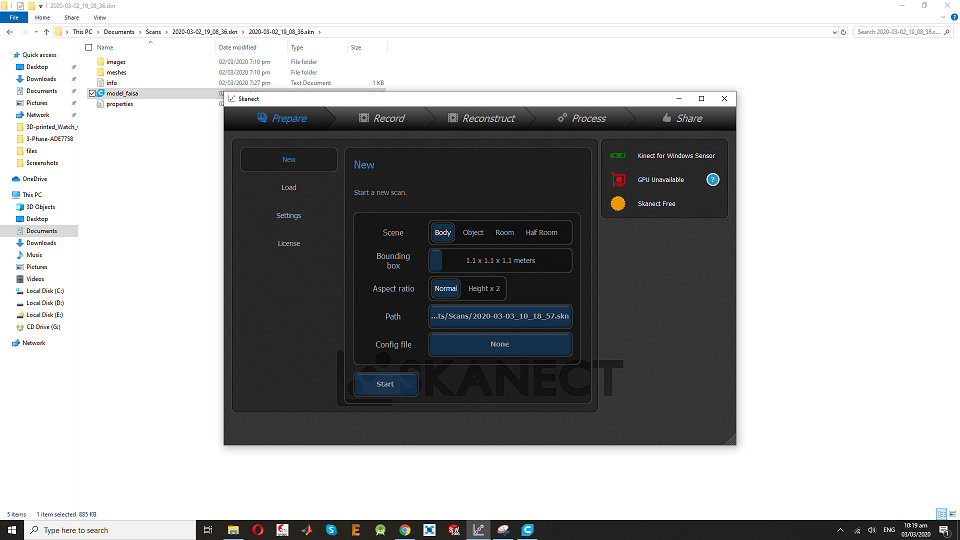
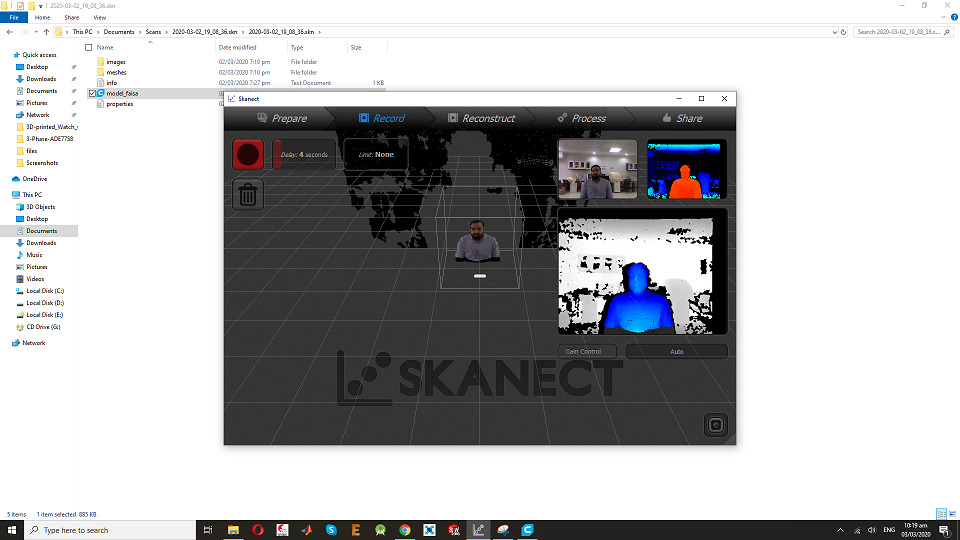
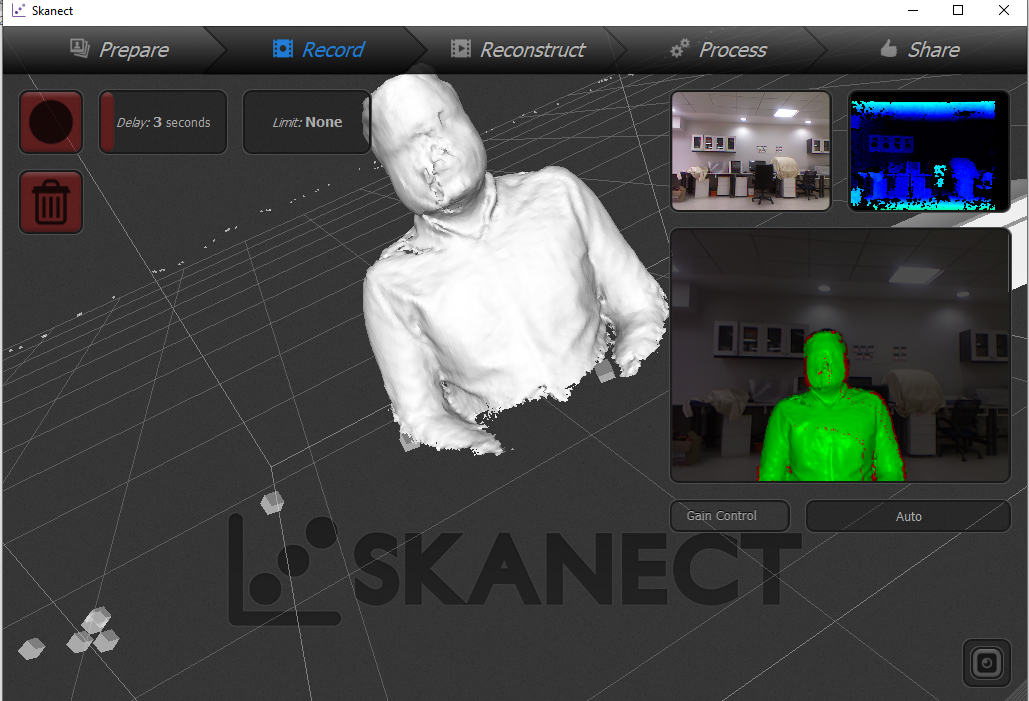
click the start and you see following 3 videos
There are two ways of doing the 3D scanning. 1st is to keep Kinect camera stationary and rotate object aroud it. 2nd is to keep object stationary and circle around the camera to object. I used the 1st method in which Kinect camera was stationary and I sat on rolling chair and rotated myself 360 degree.
Rotating myself while kinect was stationary
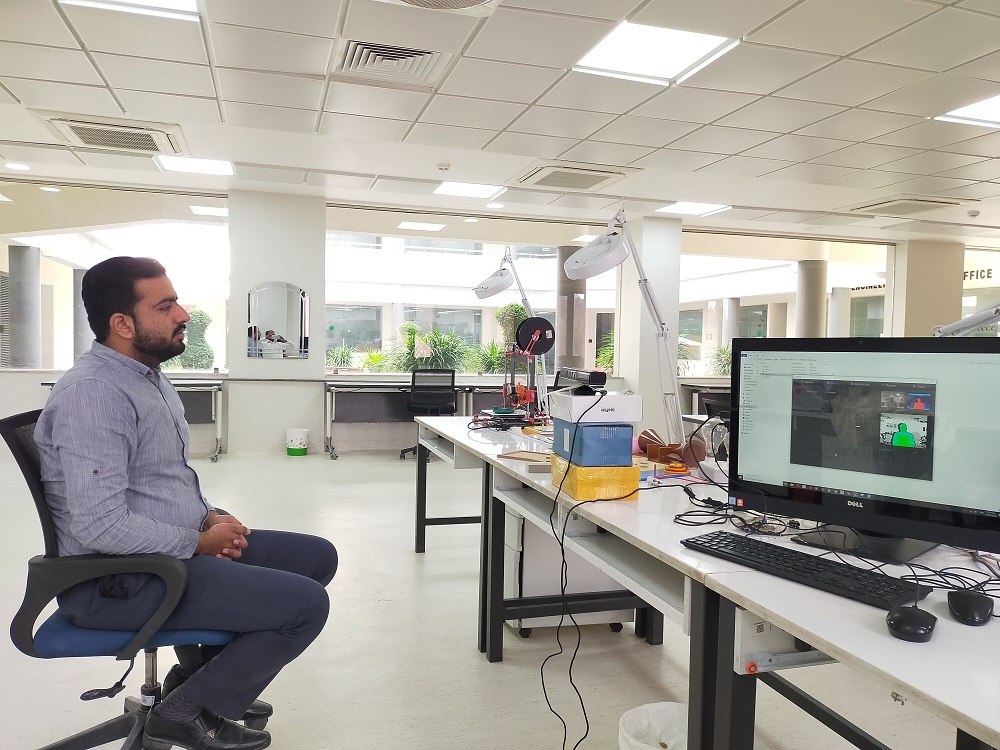
Rotating myself while kinect was stationary
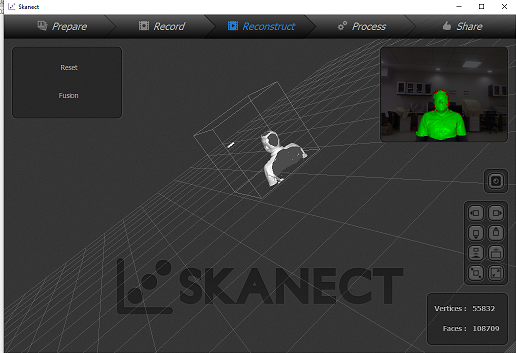
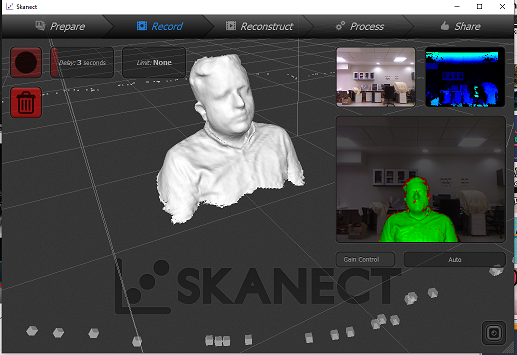
Result of first attempt(not good)
2nd attempt
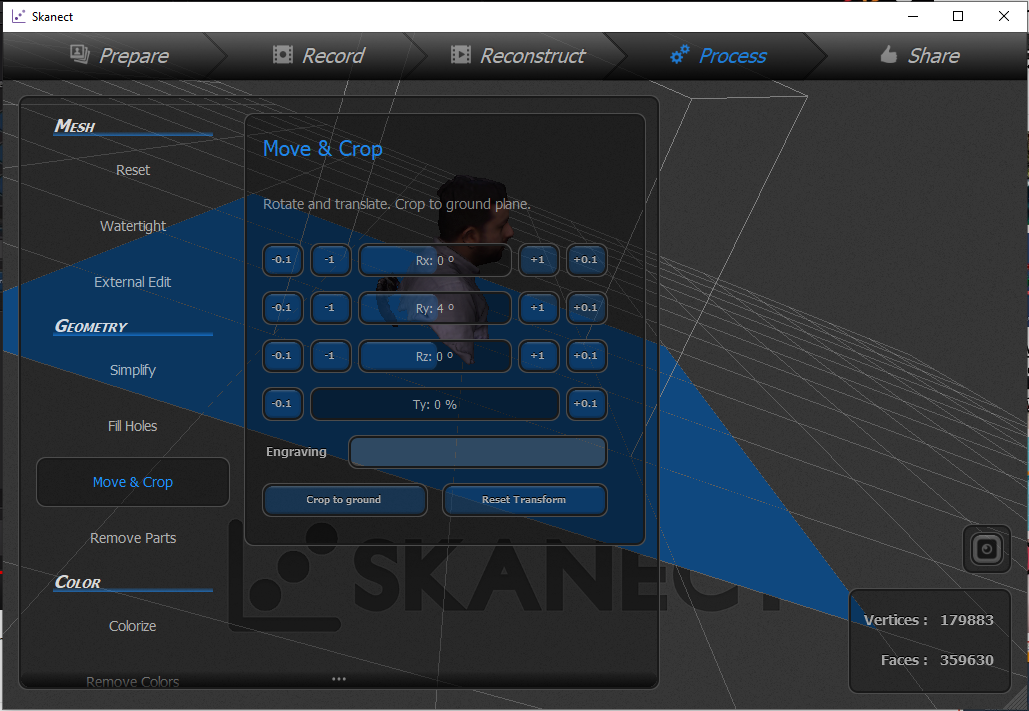
then process it(water tight, move and crop)
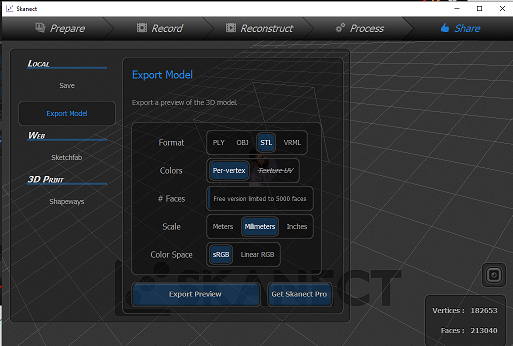
Then export to .stl
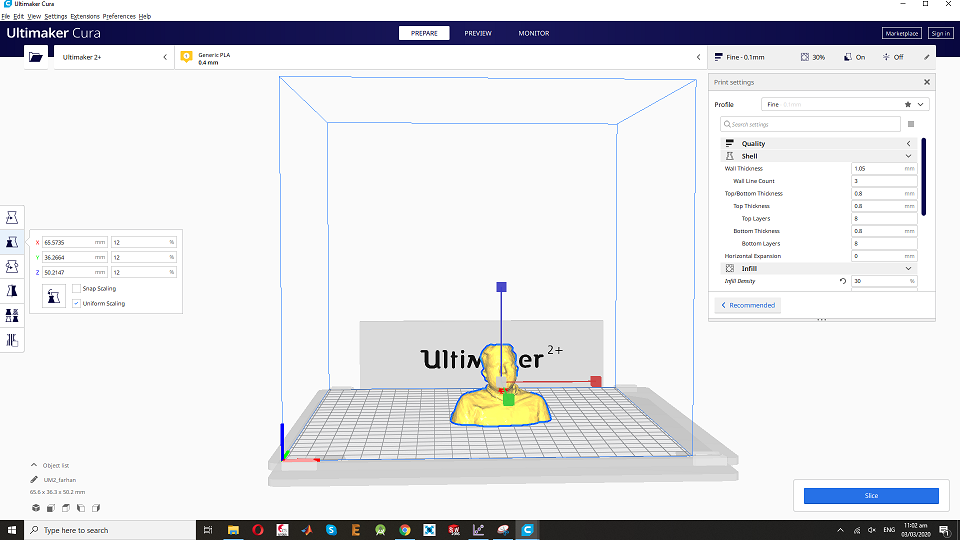
then open it into cura
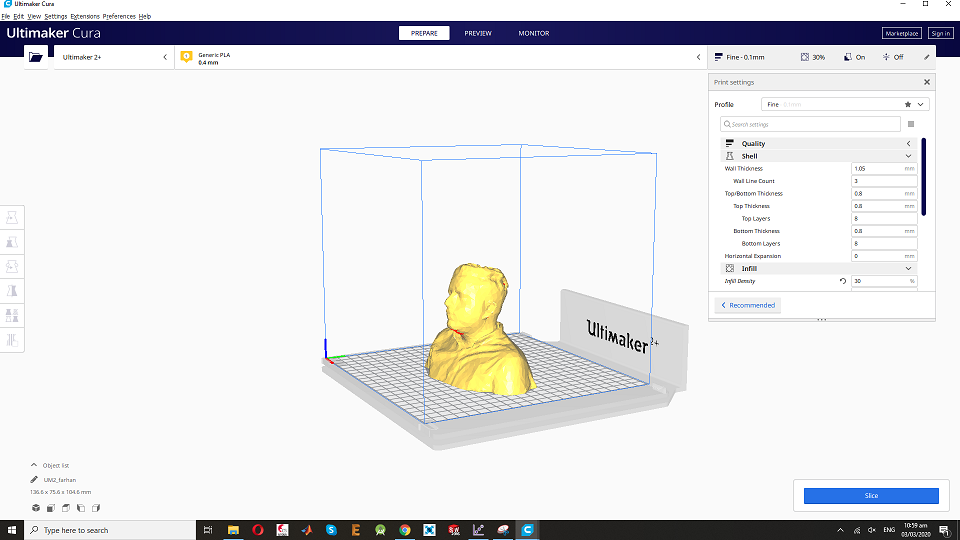
scale down it and place it properly. Select the profile(fine) for this job
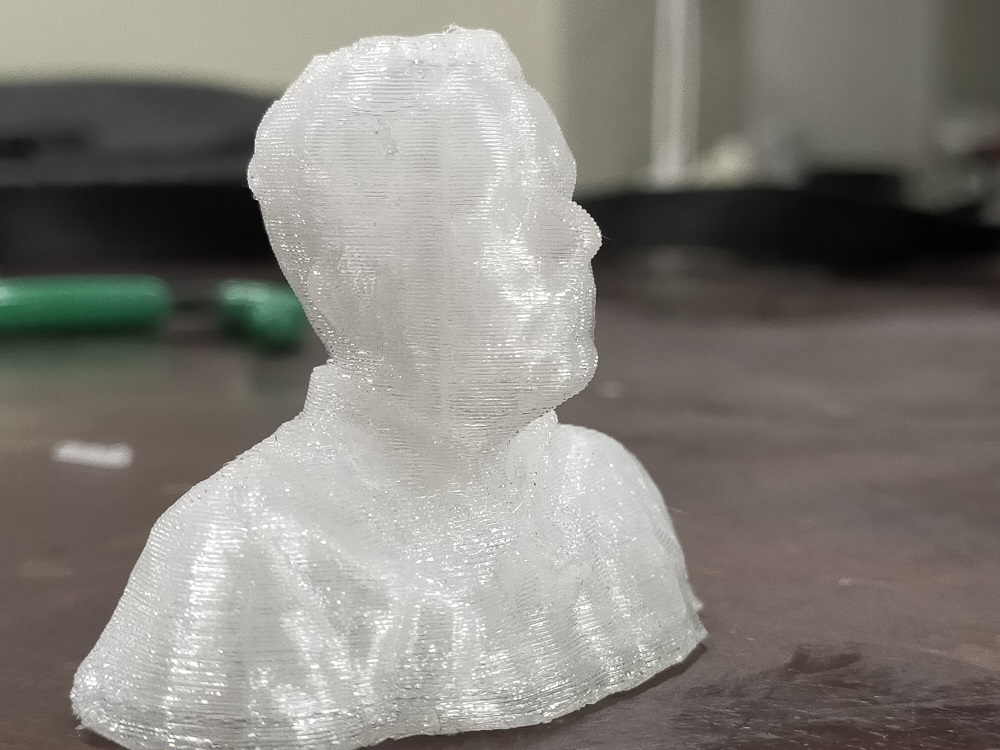
Here is final result.
Download all files from here

This work is licensed under a Creative Commons Attribution-NonCommercial-ShareAlike 4.0 International License.