Manufacturing
3D printing
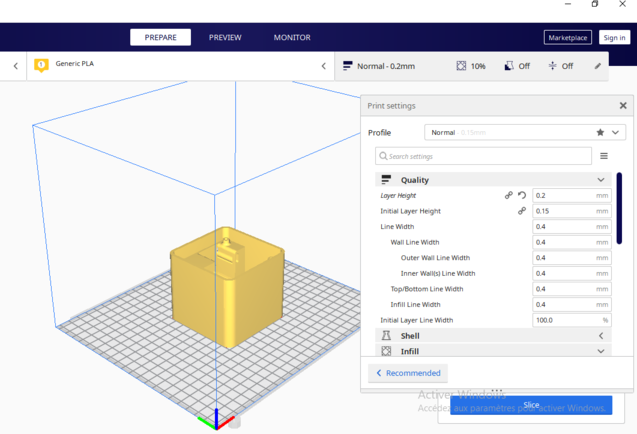
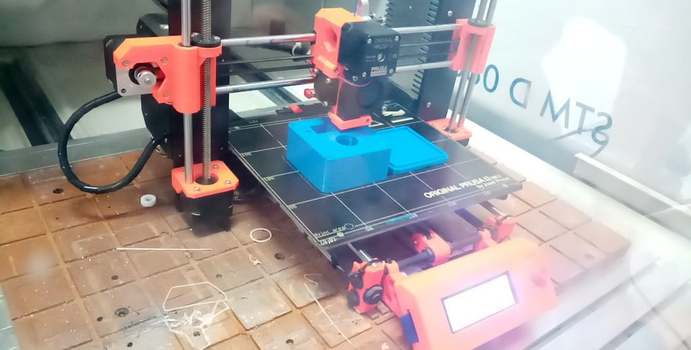
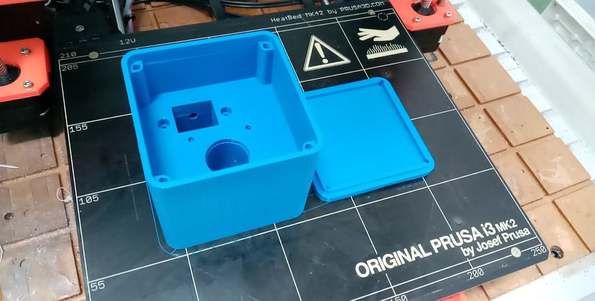
Most of the parts are 3D printed, I saved it as a stl and opened it with Cura to set the parameters. I used the Prusa i3 MK2 printer for printing.
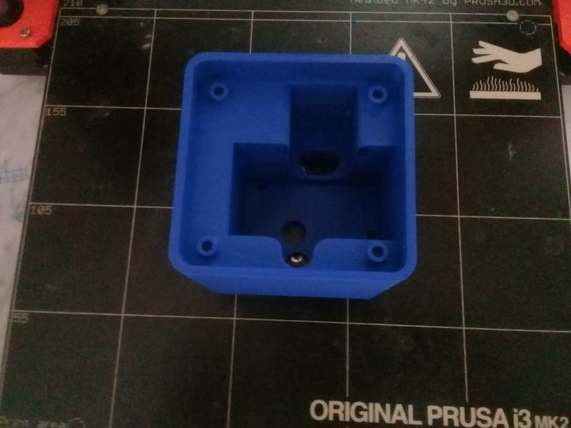
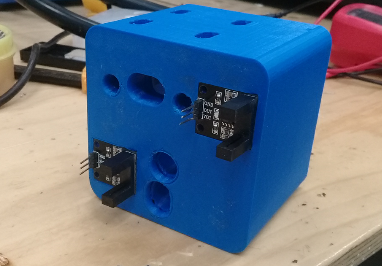
It was the same process for the other printed pieces.
Metallic components
For the rods, I I mentioned that I used old rods from an old printer, I needed to dimension them again so that I could use them for my machine, that's why I used a lathe and here are the desired dimensions and the final rods.

CNC milling
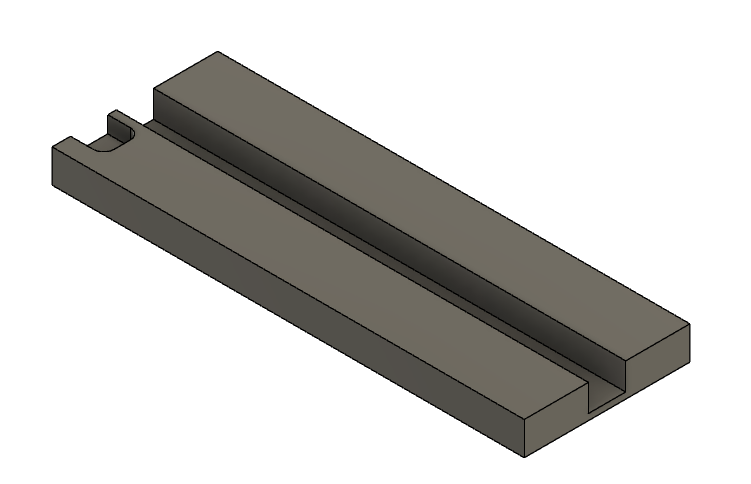
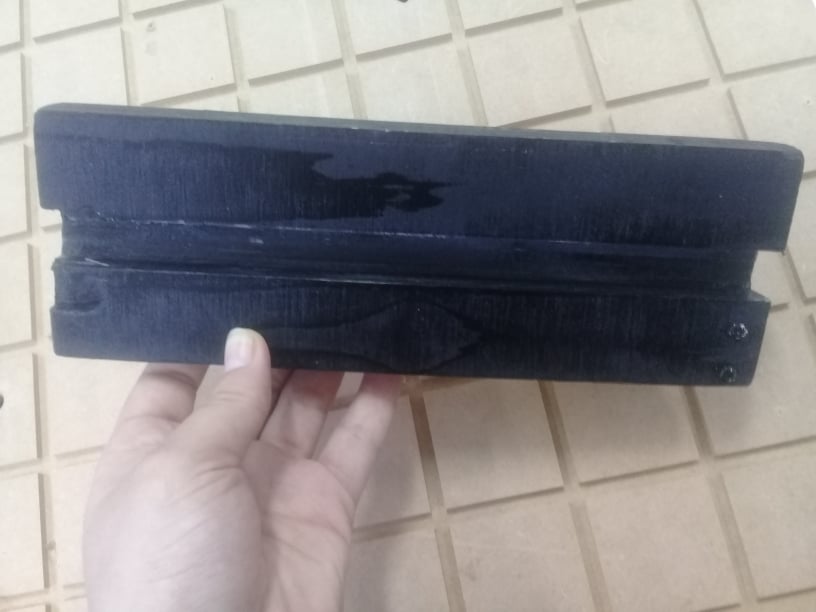
In order to make the paper as flat as possible when the solenoid hits it, I added a wooden piece. I used fusion360 to go directly to the Fusion CAM, here you can see the design and the similarity.

I then colored it in black.
Solenoid
Since the solenoid push pull was the end effector and the most critical part, I ordered a solenoid Push Pull( Linear Actuator) over the internet. I had to wait for its arrival to design the printer head which would accommodate the solenoid.
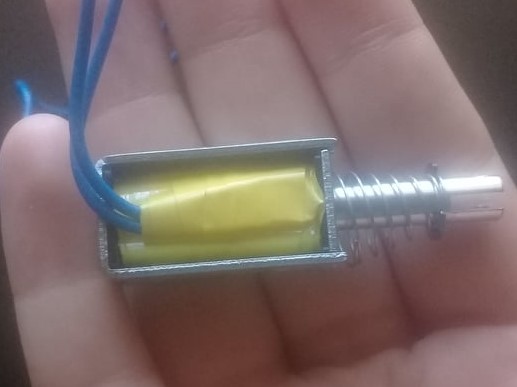
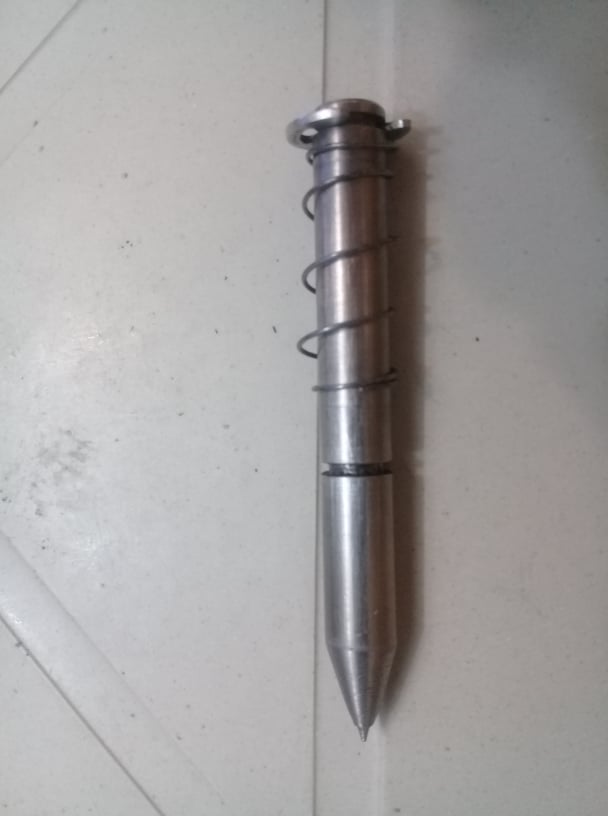
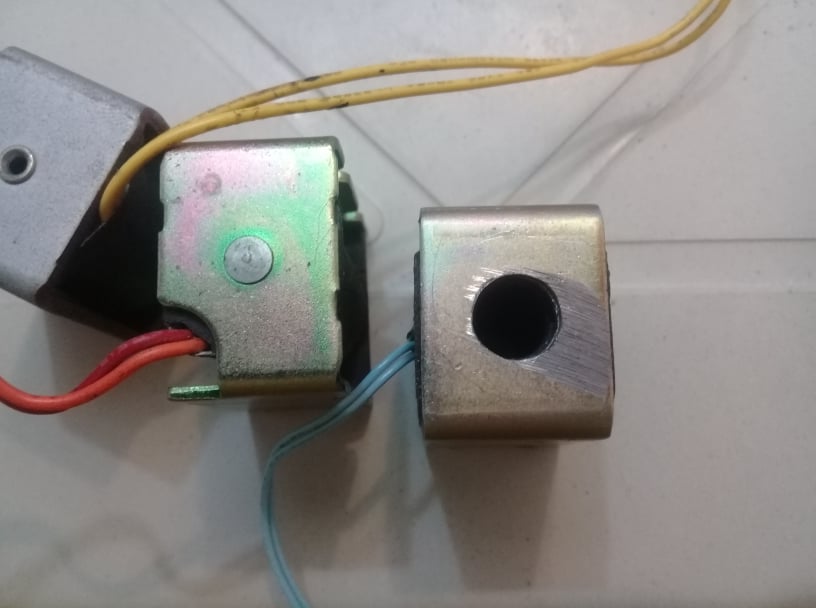
I had a lot of difficulty with this one. I needed an end effector to punch holes in regular paper. The holes have to be of a size close to 1.44mm diameter , which is the standard Braille dimension.I had initially purchased a solenoid with a stroke length of 4mm, which had insufficient force to punch holes in paper. So I decided to make it by my self, I found in the same broken printer, several pull solenoids so I decided to transform one of them into a pull push solenoid while making a hole in the upper part.
and modifying a rod so that it will allow me to draw the dots. and it was perfectly done using the lathe