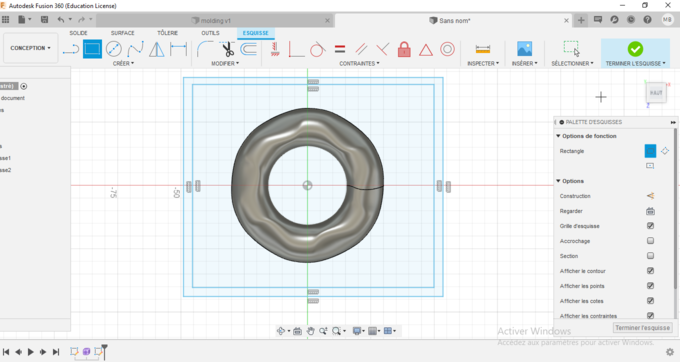
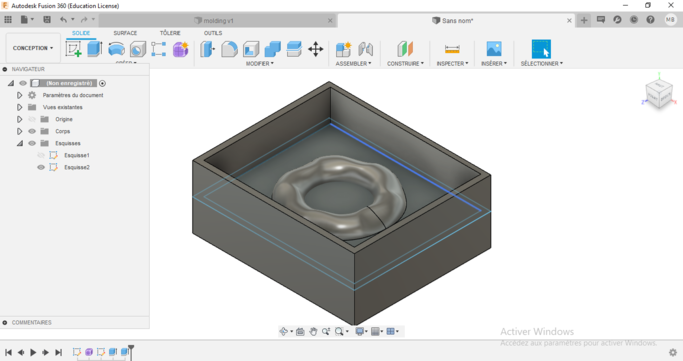
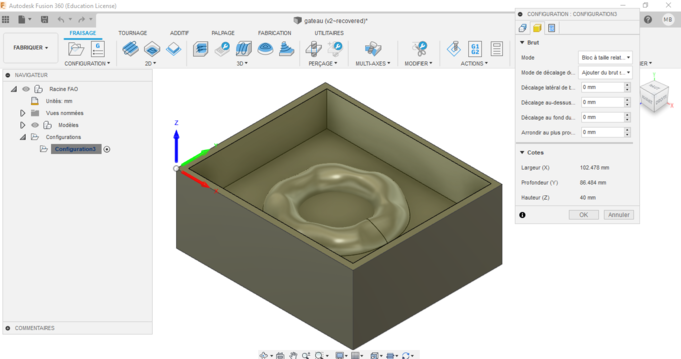
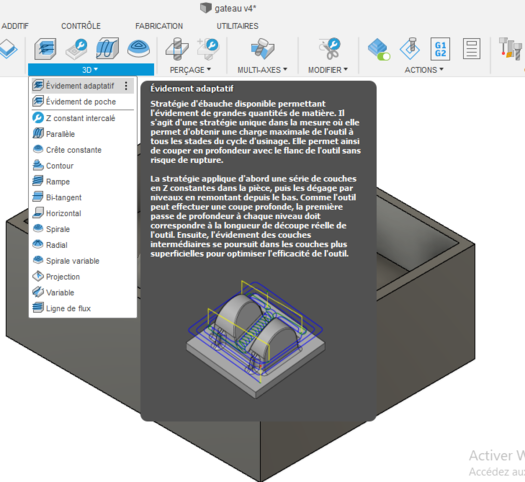
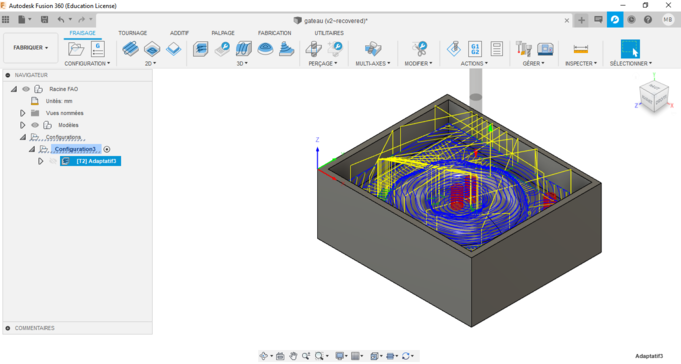
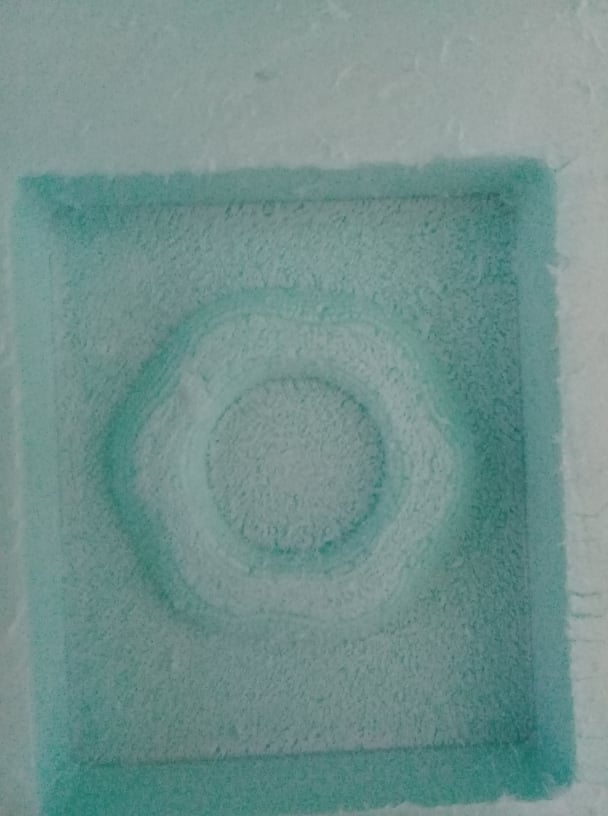
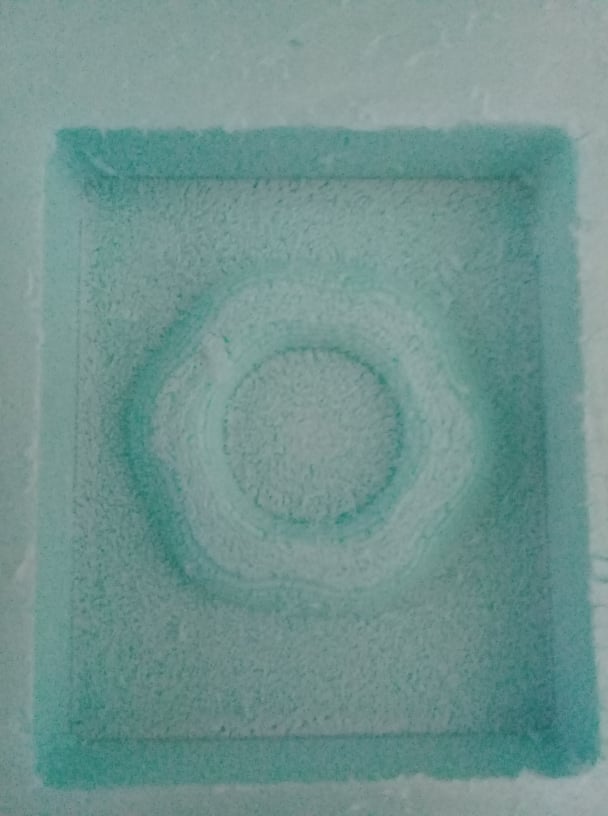
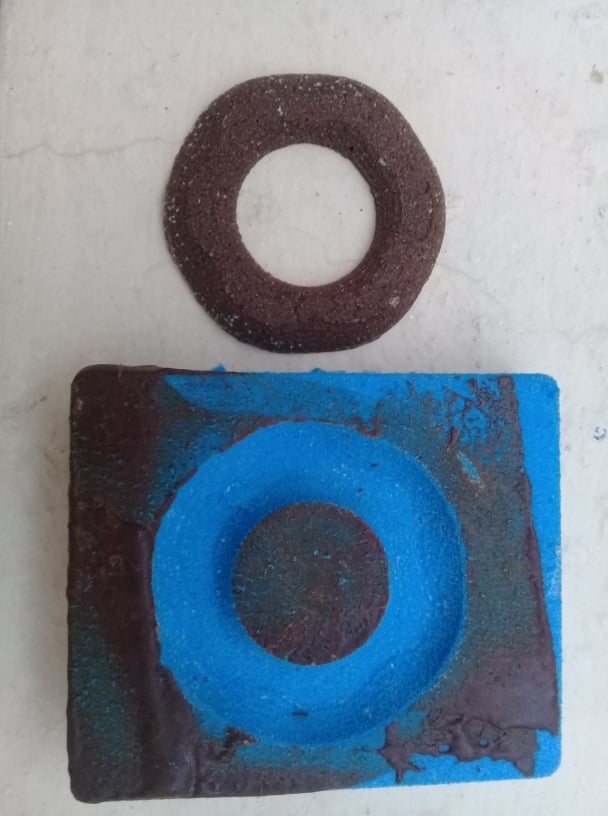
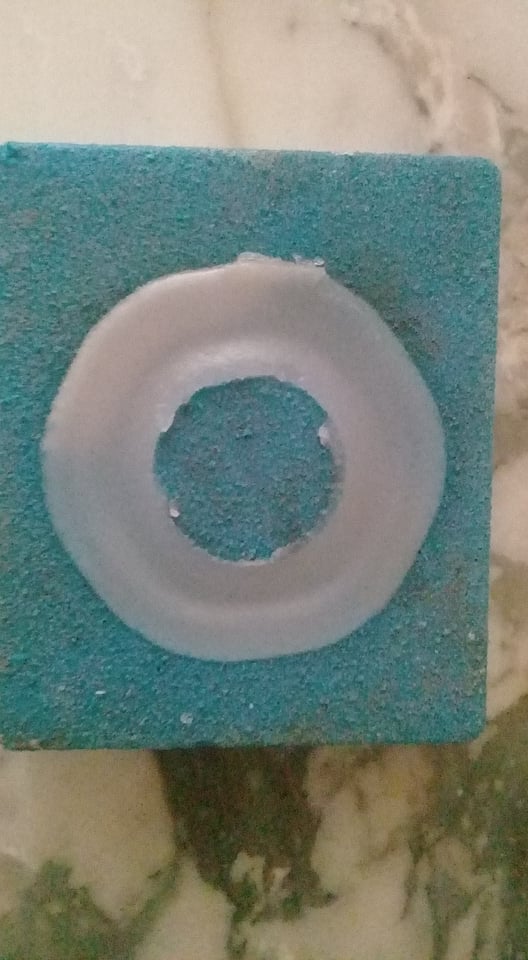
As a result of the CNC job, we endup with something like this.
Preparing the plastic mold
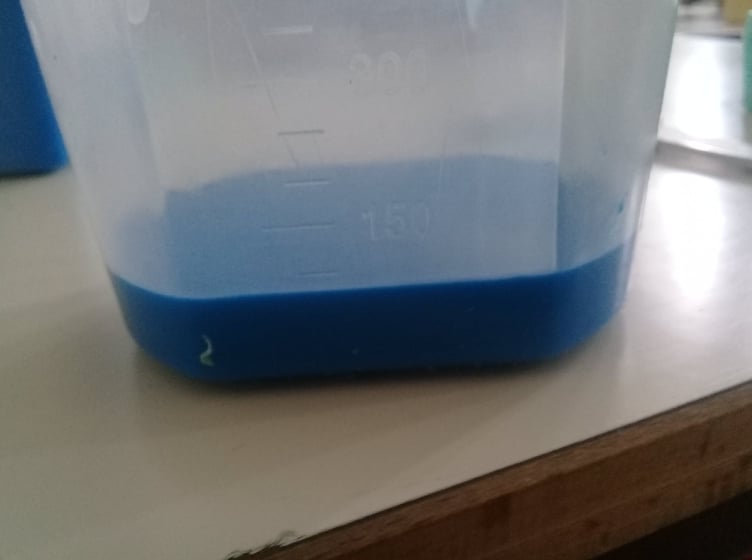
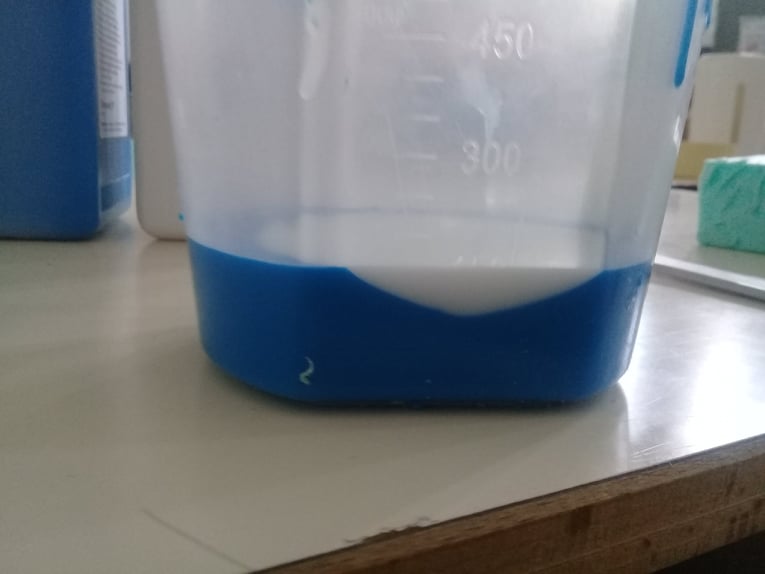
Take the two bi-component products supplied by Zhermack (base and catalyst) and shake before use. Weigh an equal amount of catalyst and base (im my case ,after calculating the volume I mixed 75ml of silicone with 75l of catalyser). Once the product is weighed and it is assured that the base and catalyst are equal, the two components areinserted in a recipient and mixed thoroughly. It is important to check while mixing that no residue remains on the base and sides of the recipient. Mix energetically until the colour of the product is homogeneous.
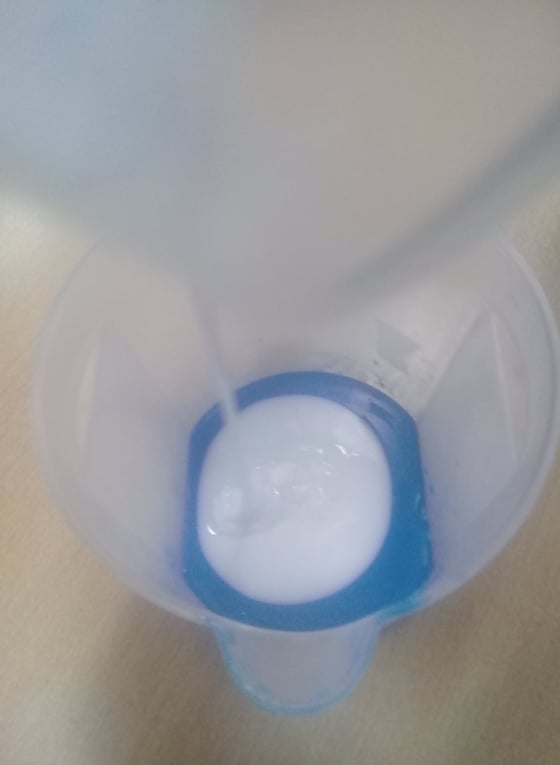
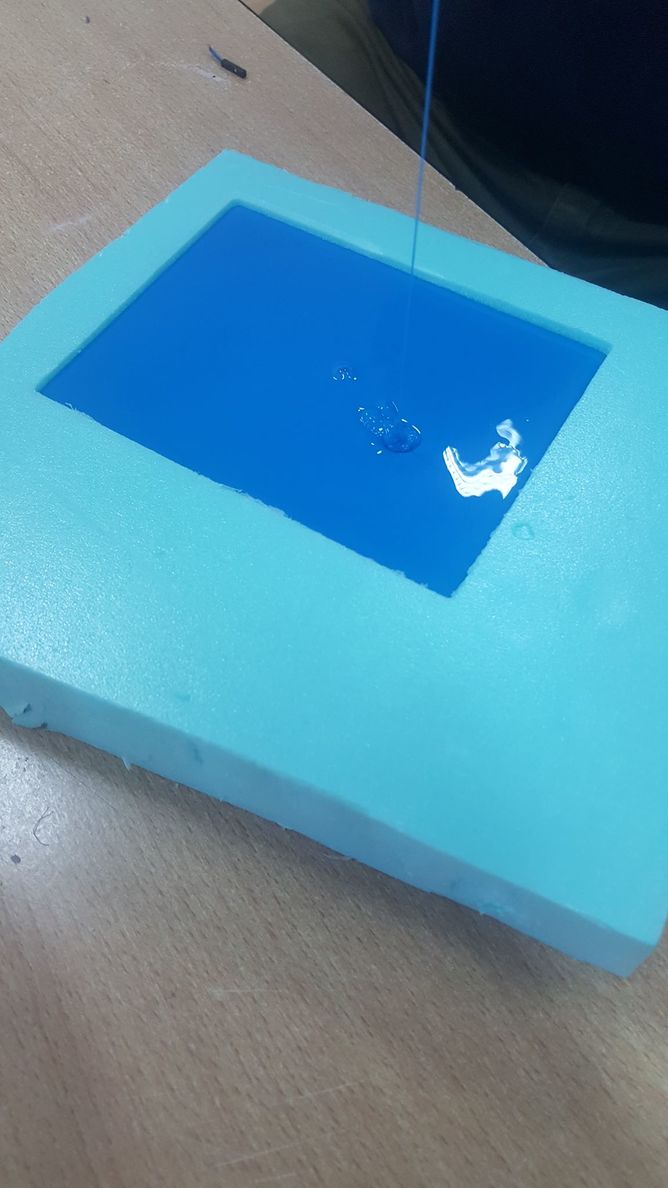
Mix energetically until the colour of the product is homogeneous. Once the product is
mixed it is poured, preferably 30cm above the recipient into the mould.
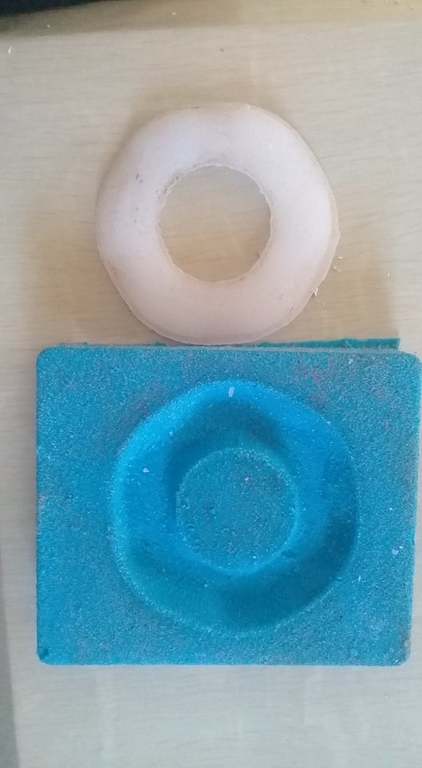
The setting time or cure time (time the silicone needs to vulcanize) is about ST at 23°C 60 min start counting from the mixing process.And after 60 minutes, we can start de-molding.
Casting
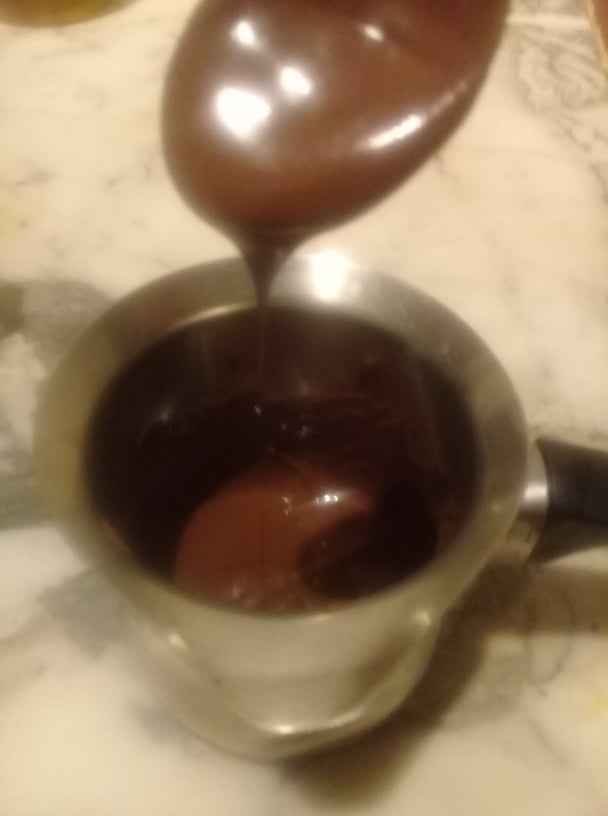
For the casting ,As I said I will use choclate and also
paraffin wax. Lets start by the chocolate , it is important to mention that this type of silicone is not food safe, it is necessary to use a alimentary silicone but since it is not available in our country, we chose to use this silicone, so the cholocate used is not for eating. . Moving to the kitchen, I used chocolate bars that I bought when I bought my goods. To prepare them, I'm going to put them in a water bath. When the chocolate starts to become liquid I poured it into the mould.
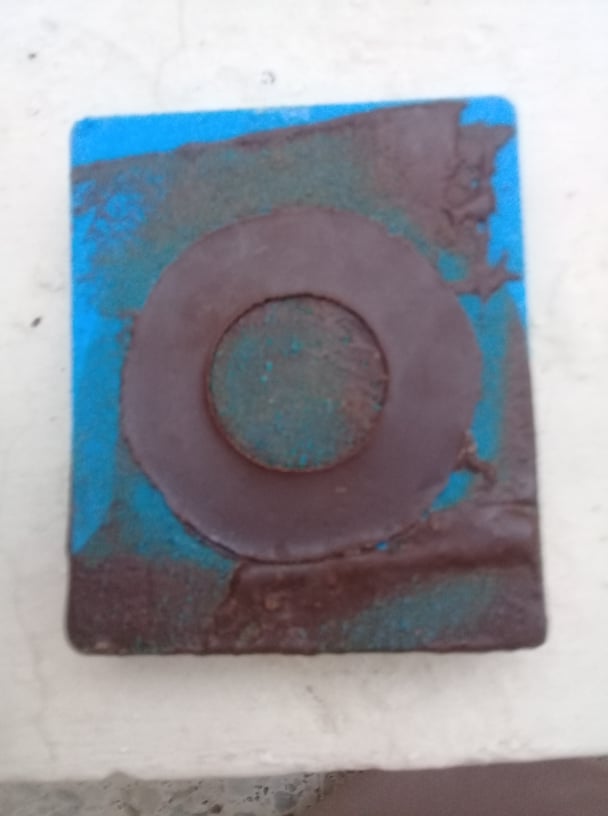
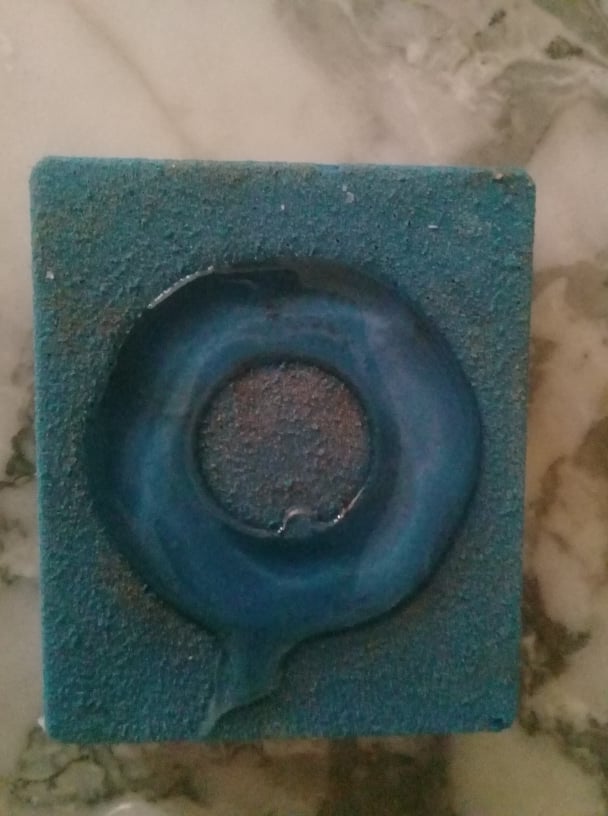
Then I put him in the fridge for an hour. and this is the final result
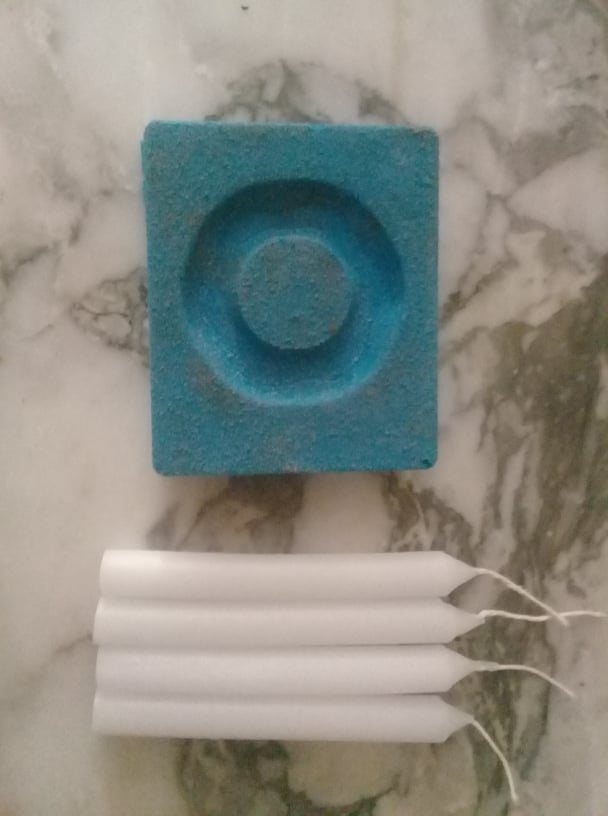
Moving now to the paraffin wax , to know more about this material I watch this video explaning the process of the production of candles
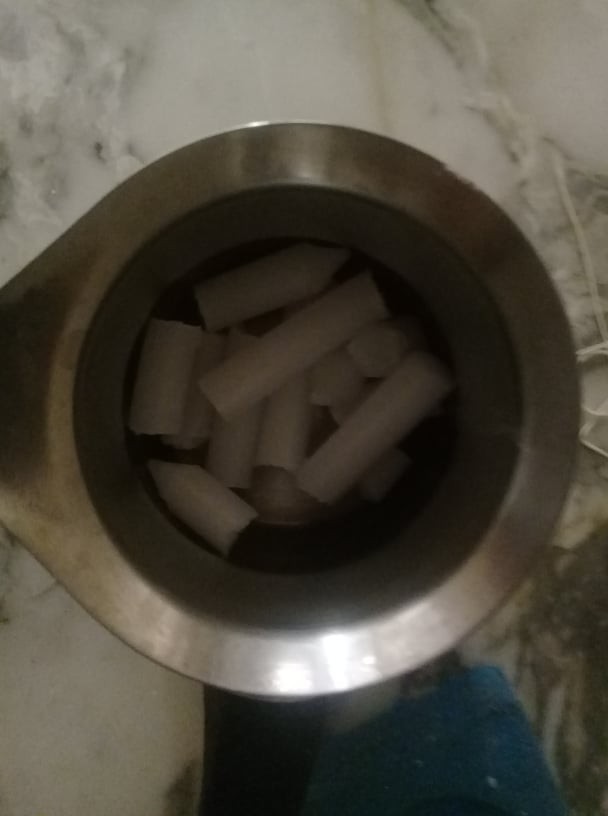
I repeated the same process but on a small enough quantity for my piece.