Computer-Controlled Machining
Group Assignment:
- Do your lab's safety training.
- Test runout, alignment, speeds, feeds, materials, and toolpaths for your machine
Individual Assignment:
- Make (design+mill+assemble) something big (~meter-scale)
Group assignment.
Make something big
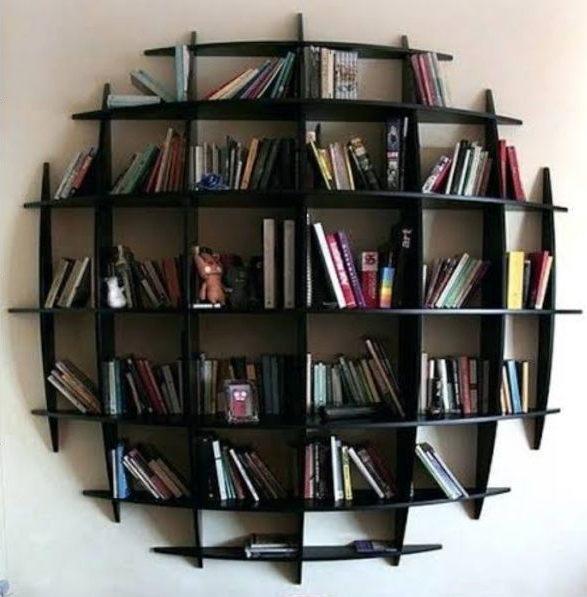
So I decided to make a bookshelf because I need one in my room X”D, First I googled to get inspiration most what I found was too simple or just shelves arranged in different ways, and I saw this bookshelf soI said to my self this is the one.
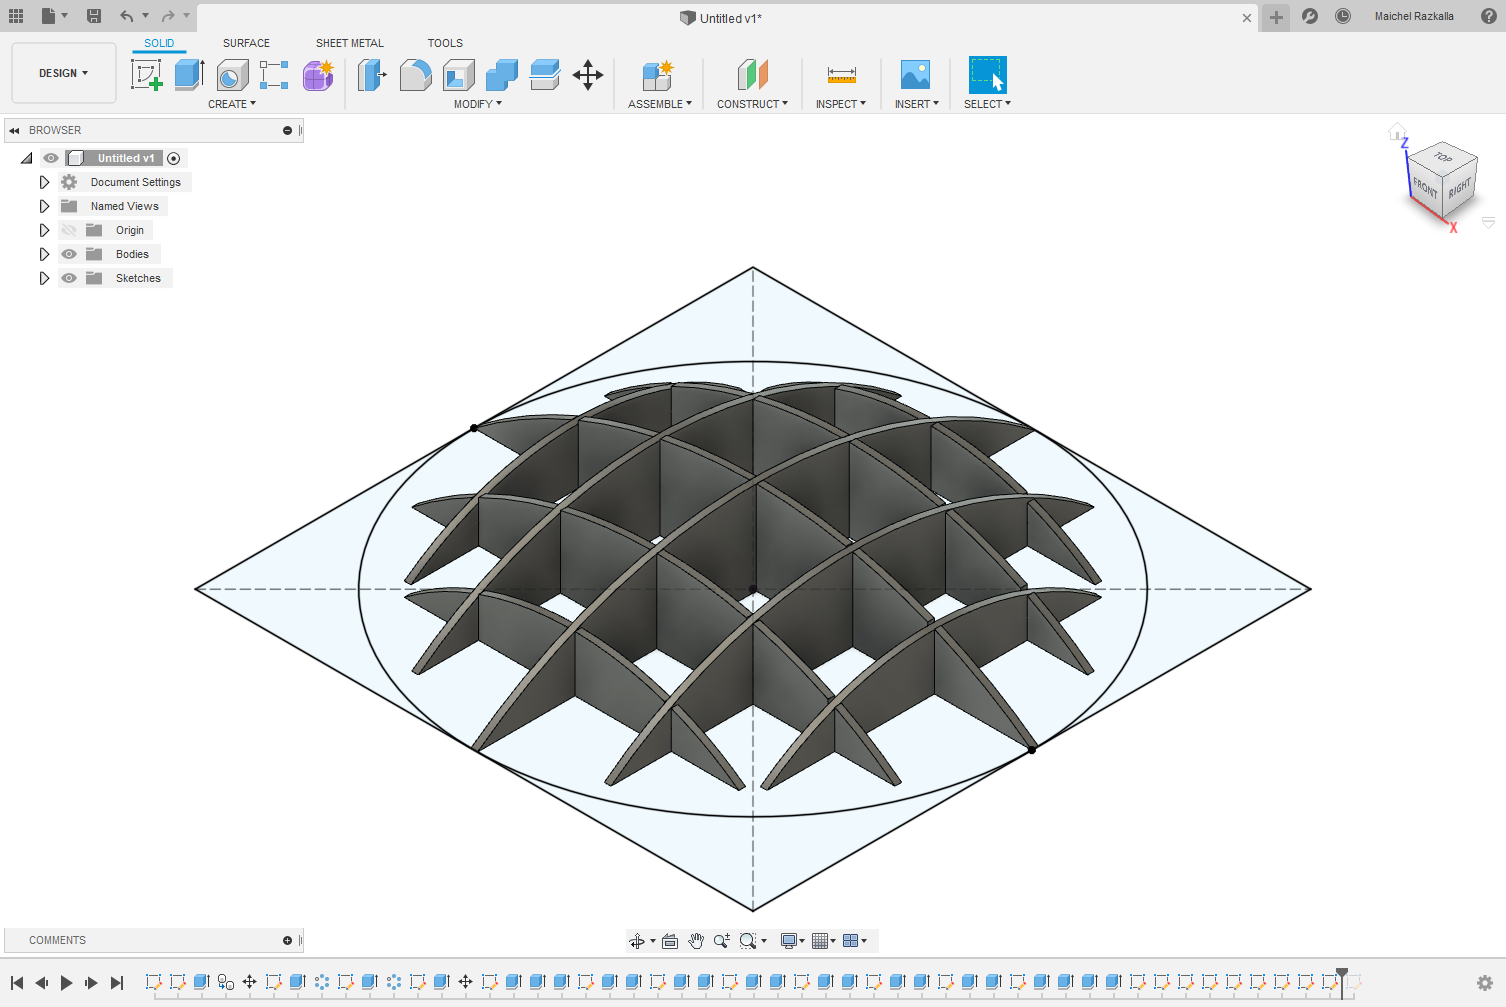
so I will not try to go in specific details we in designed the bookshelf but I will discuss "parameters" I have made so I can easily modify the total scaling of the bookshelf and my Mistakes.
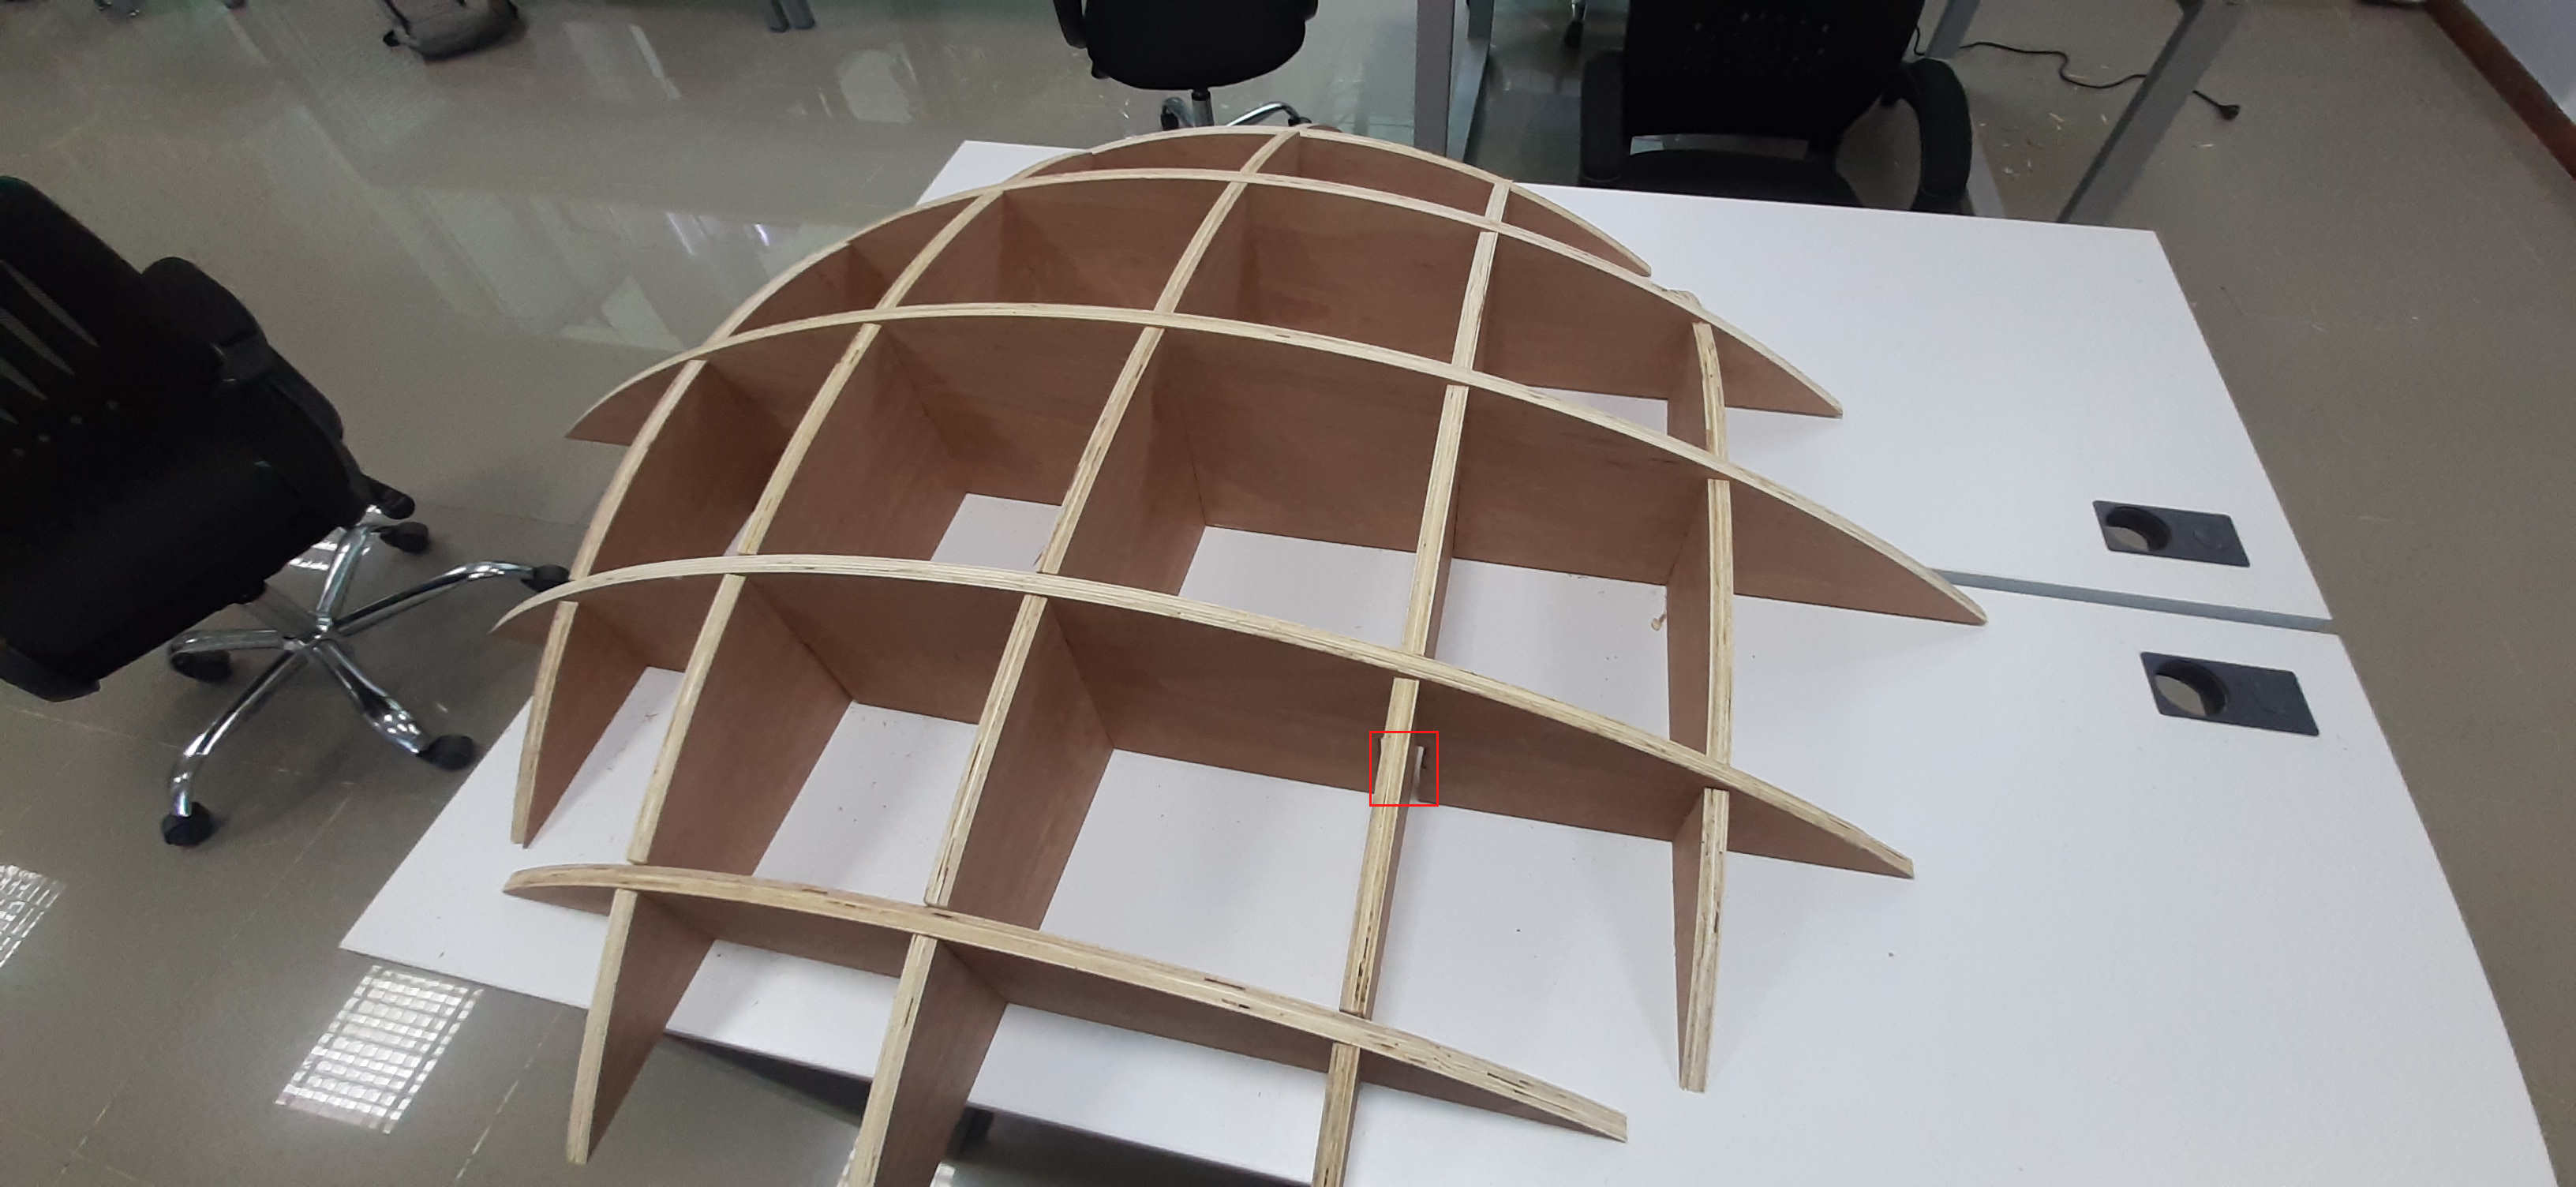
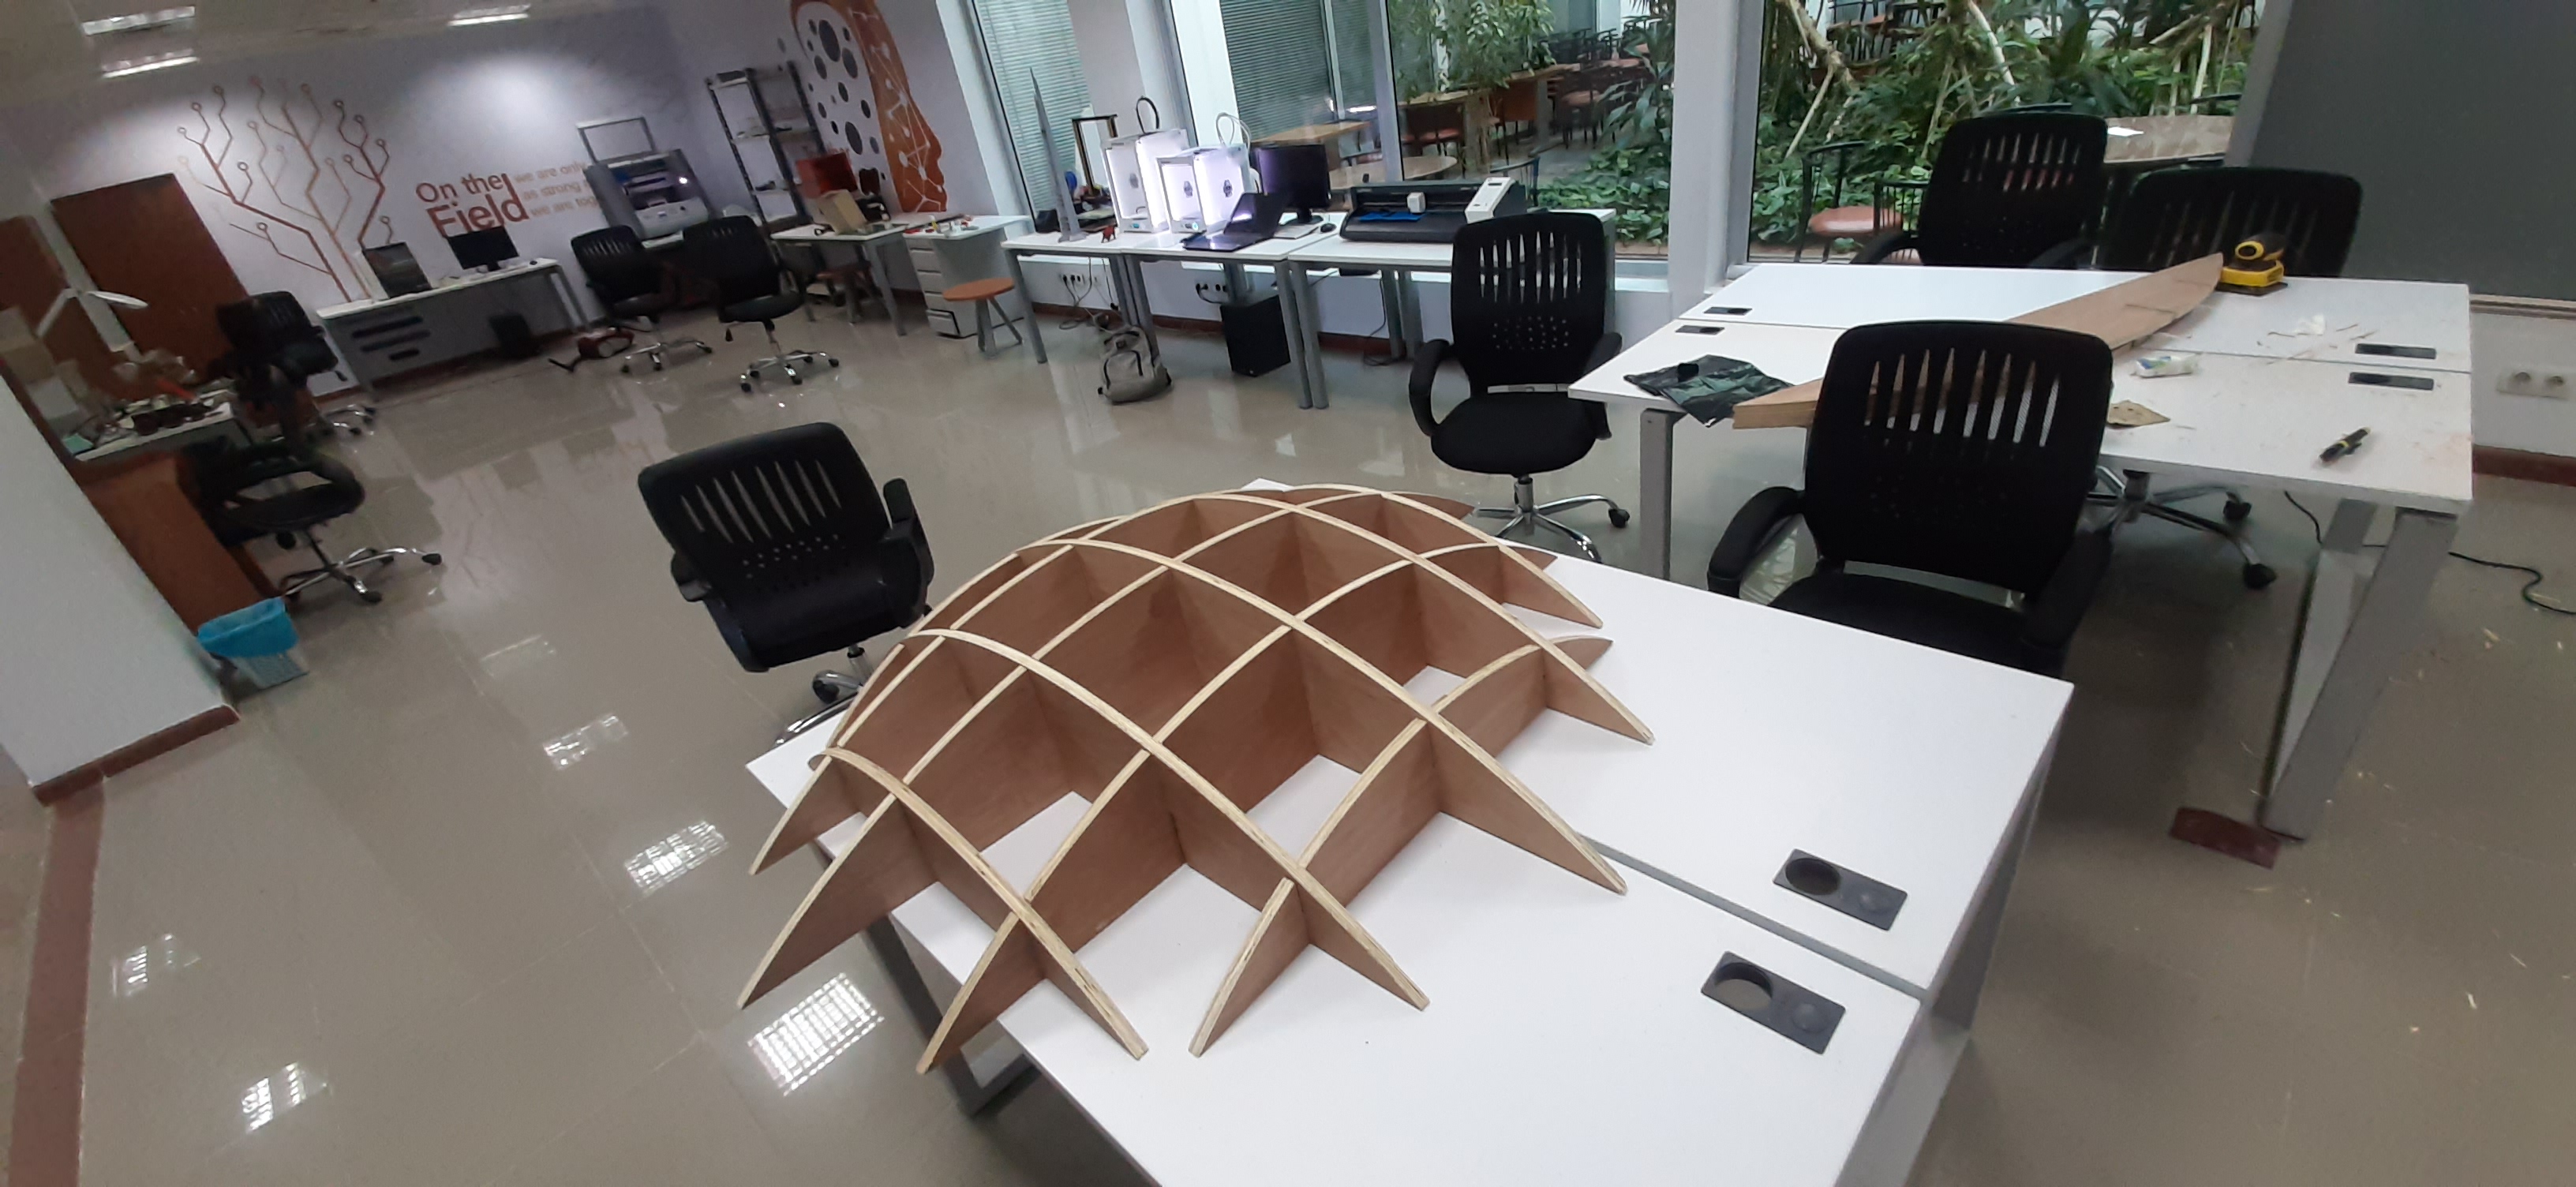
So I make three parameters first the "Woodthikness" next to the "shelfDiameter" Last is the space between the shelf's, so I make two mistakes first I didn't make a parameter for the wood clearance because I didn't need clearance in the test part, my Second mistakes that I didn't make a dogbone parameter and that make me tr drow every dogbone in the file because we change the 3mm endmill with the 6 mm endmill to make the cutting prosses faster, and this was the final result.
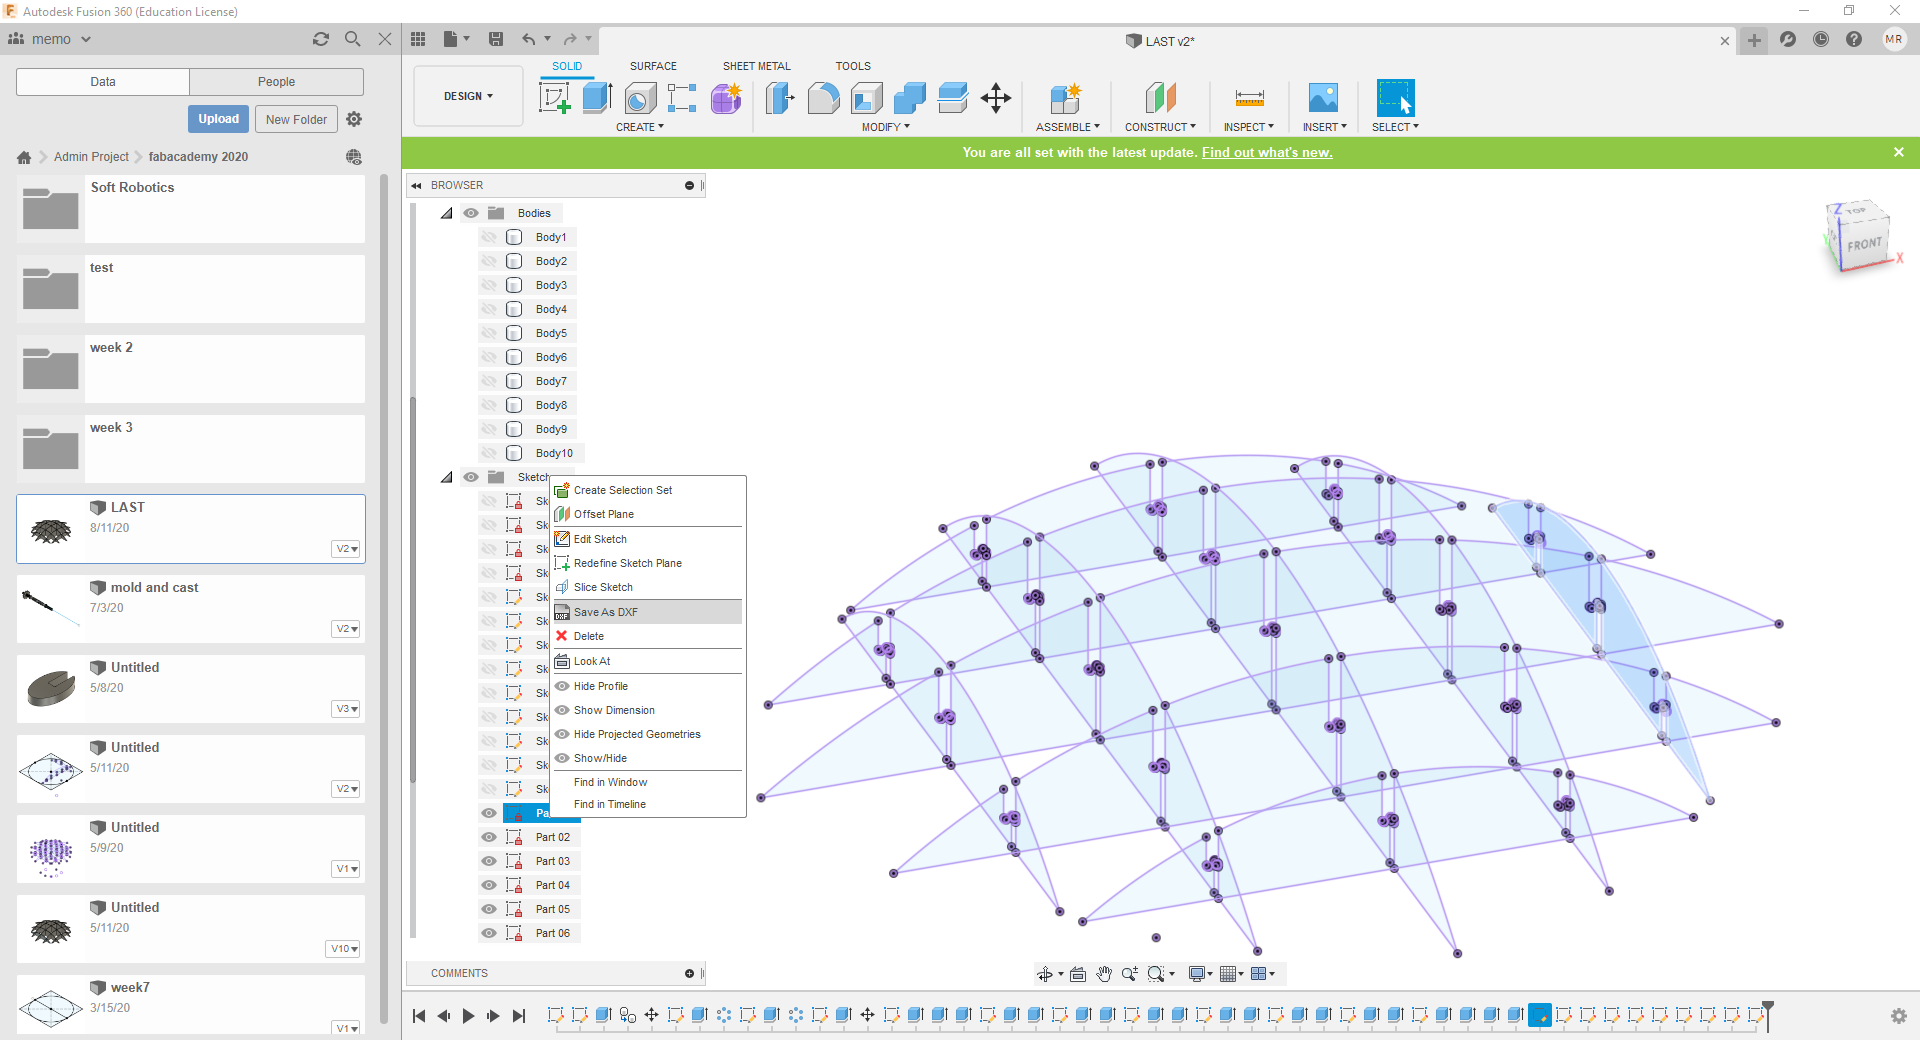
The last step is to project everybody and export DXF. to start the CAM possess.
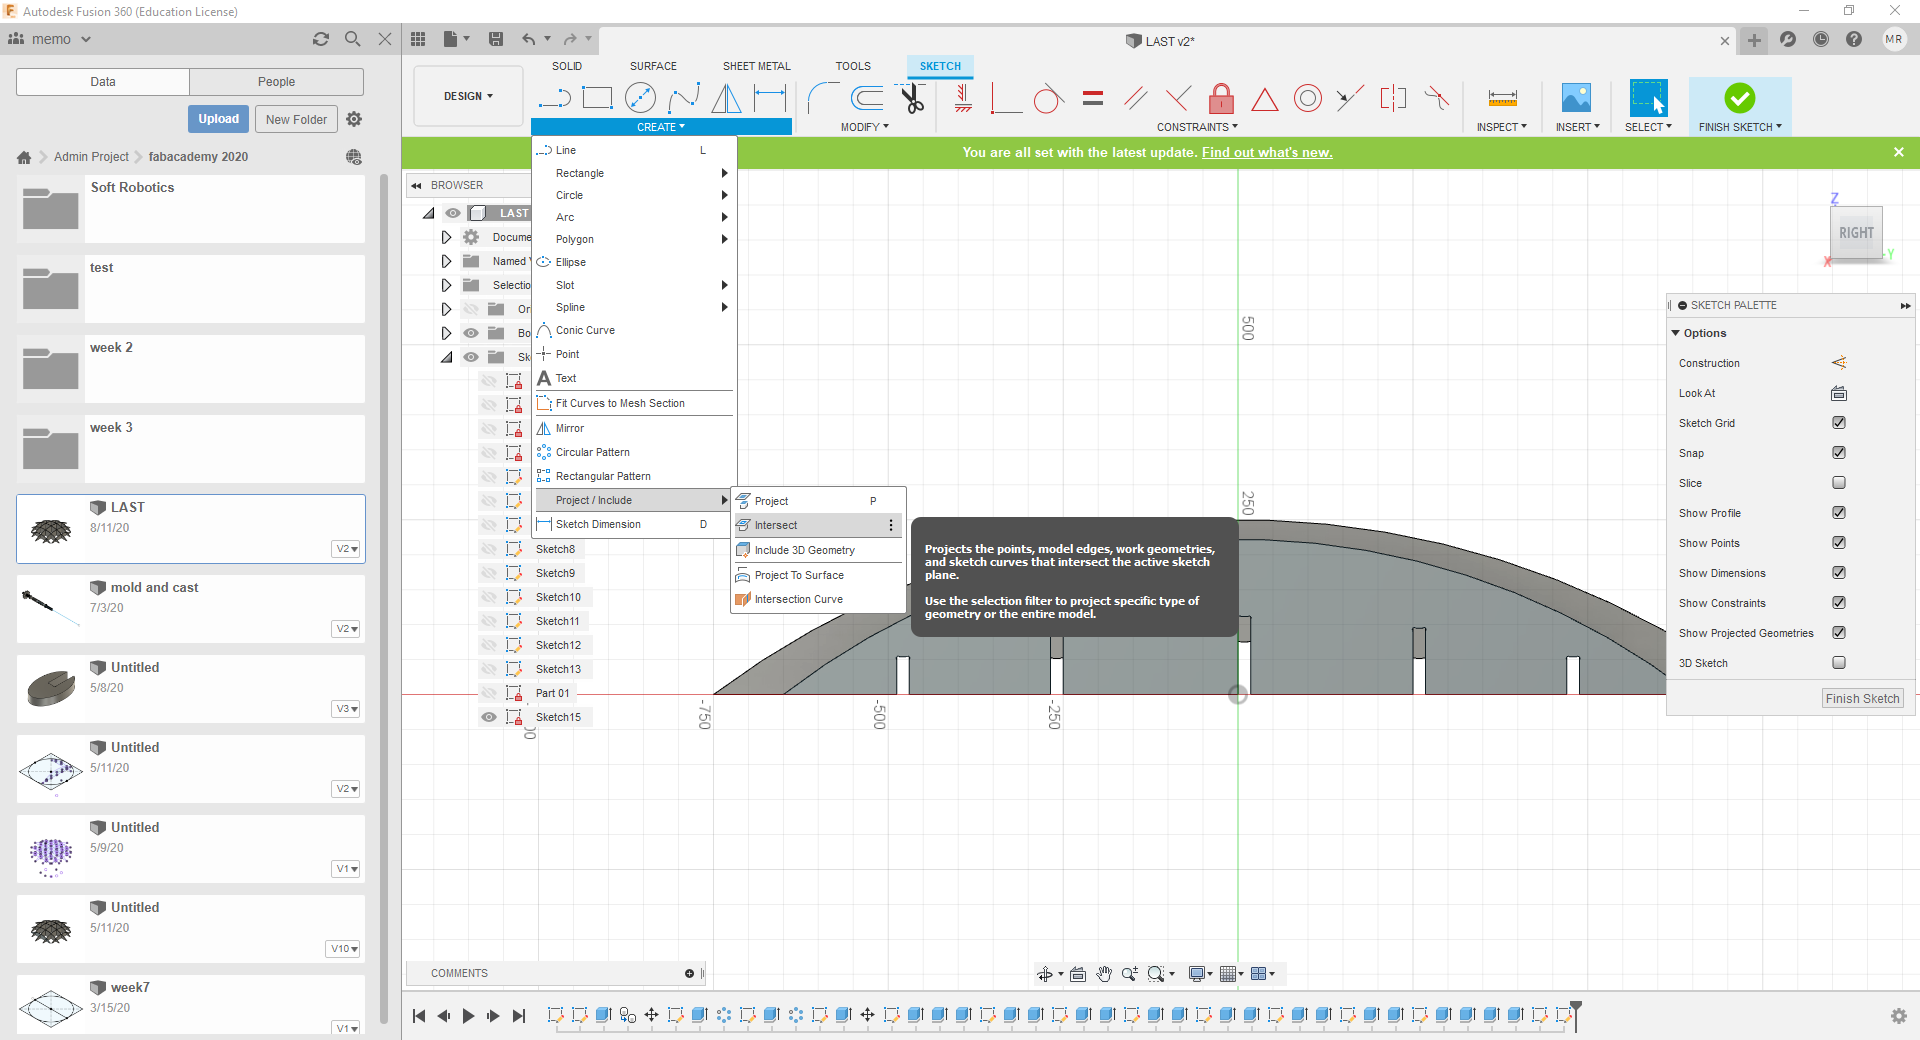
Next after project al the bodes next to save all the DXF files.
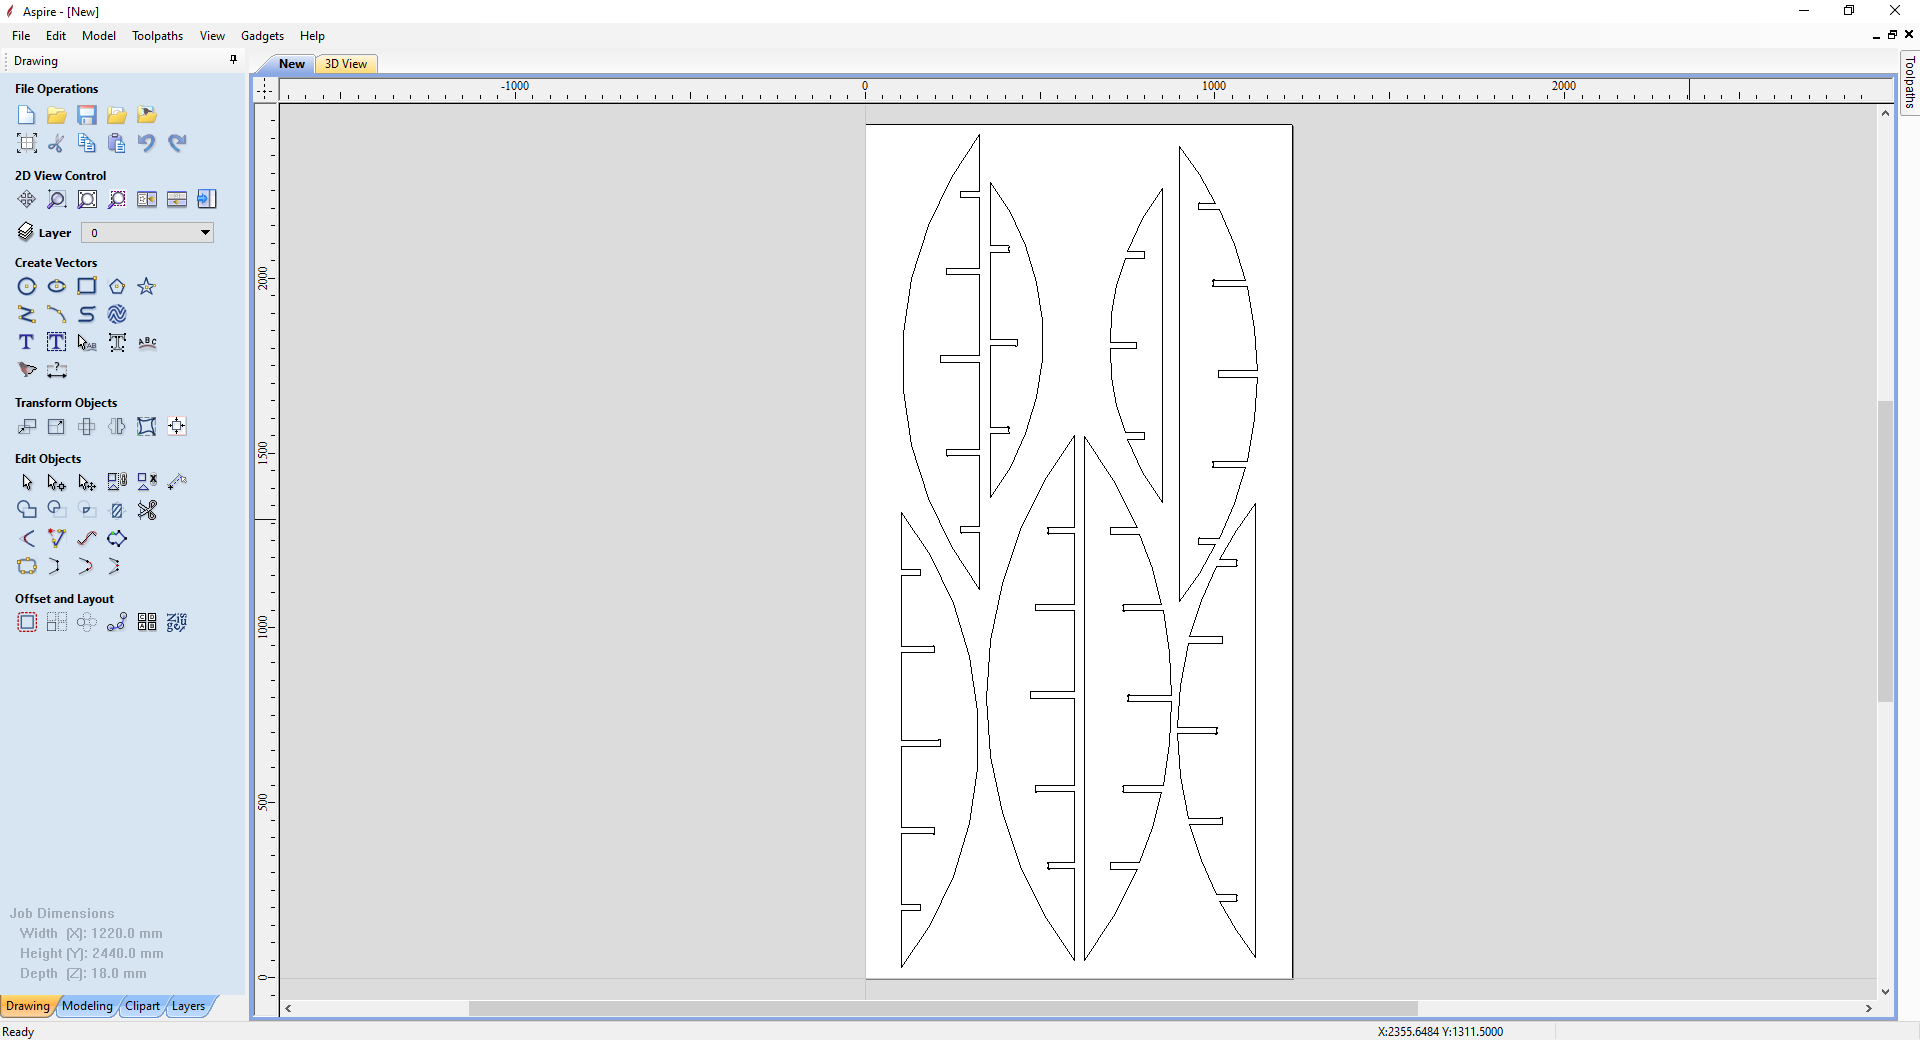
Next to import all the DXF files, and arrange them to fit one-sheet.
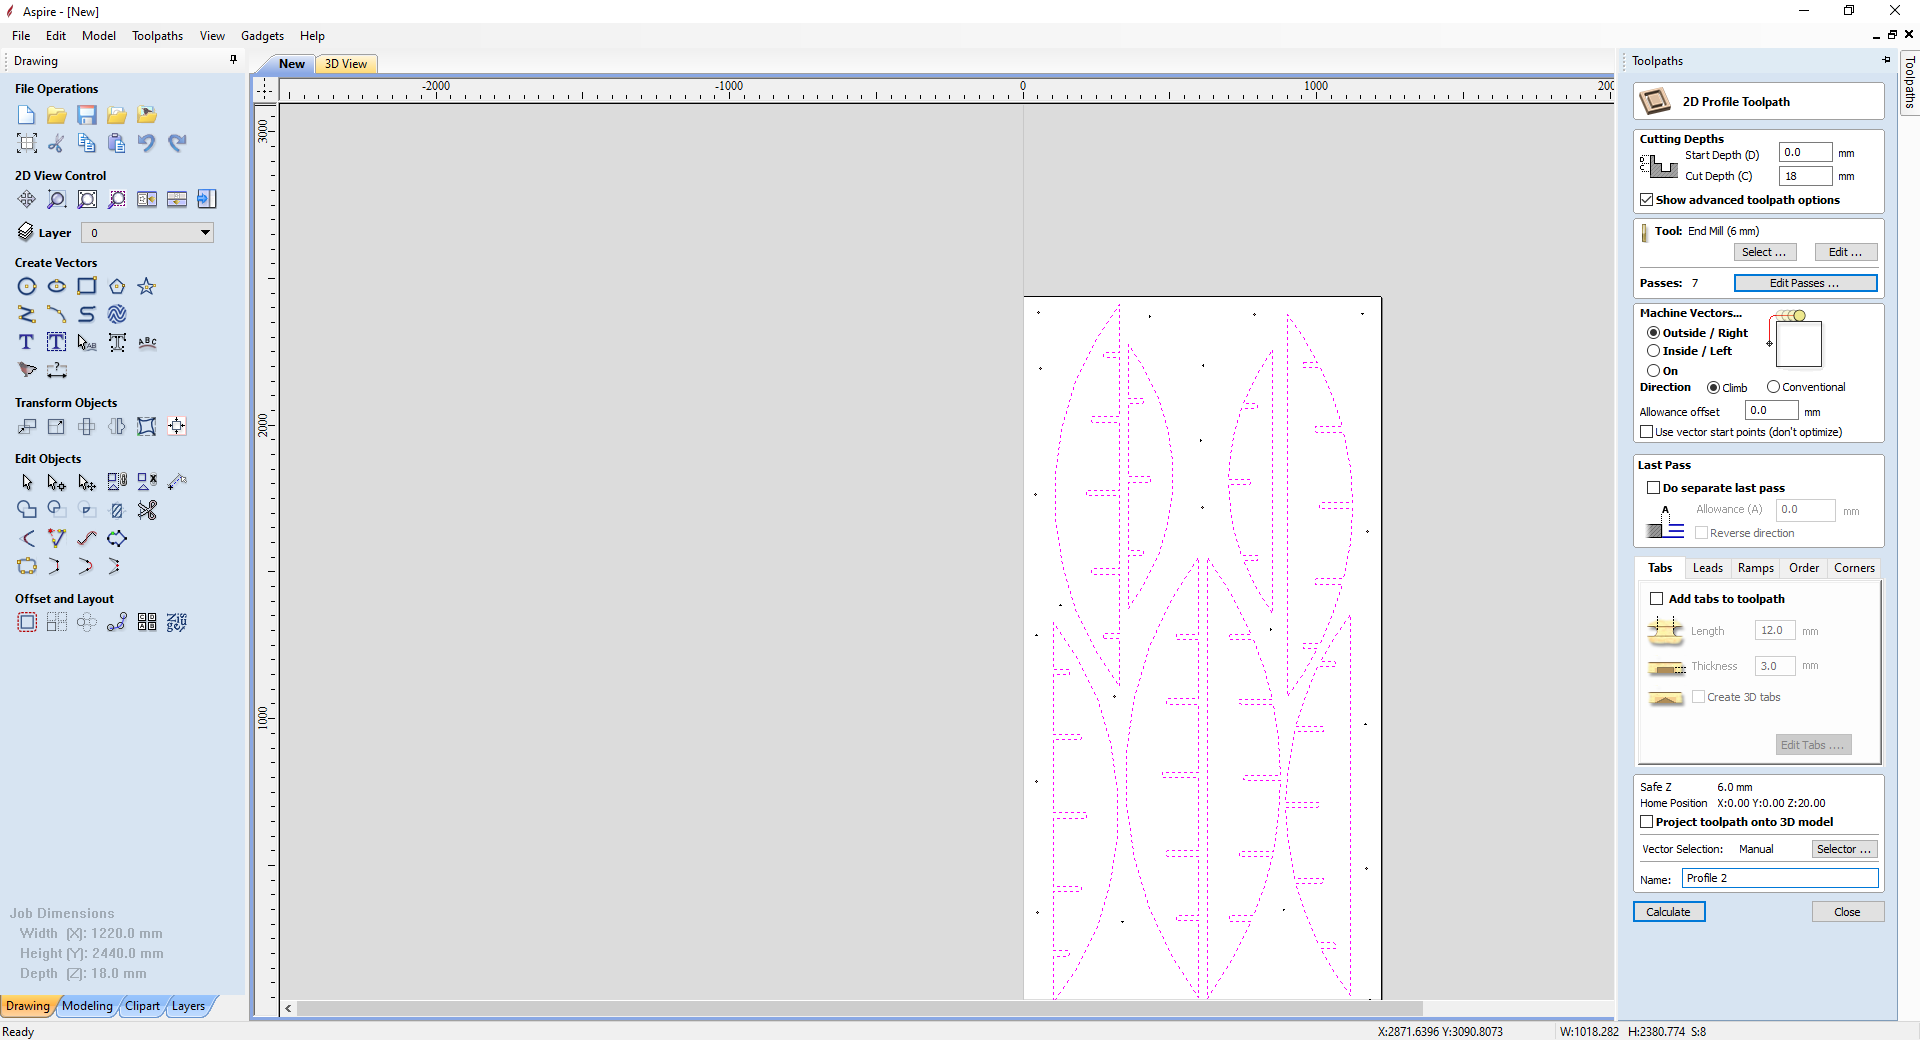
Next to make a lot of holes so I can fix the wood sheet, and select all the holes and next is to use "Drilling toolpath" and set the tool settings as before
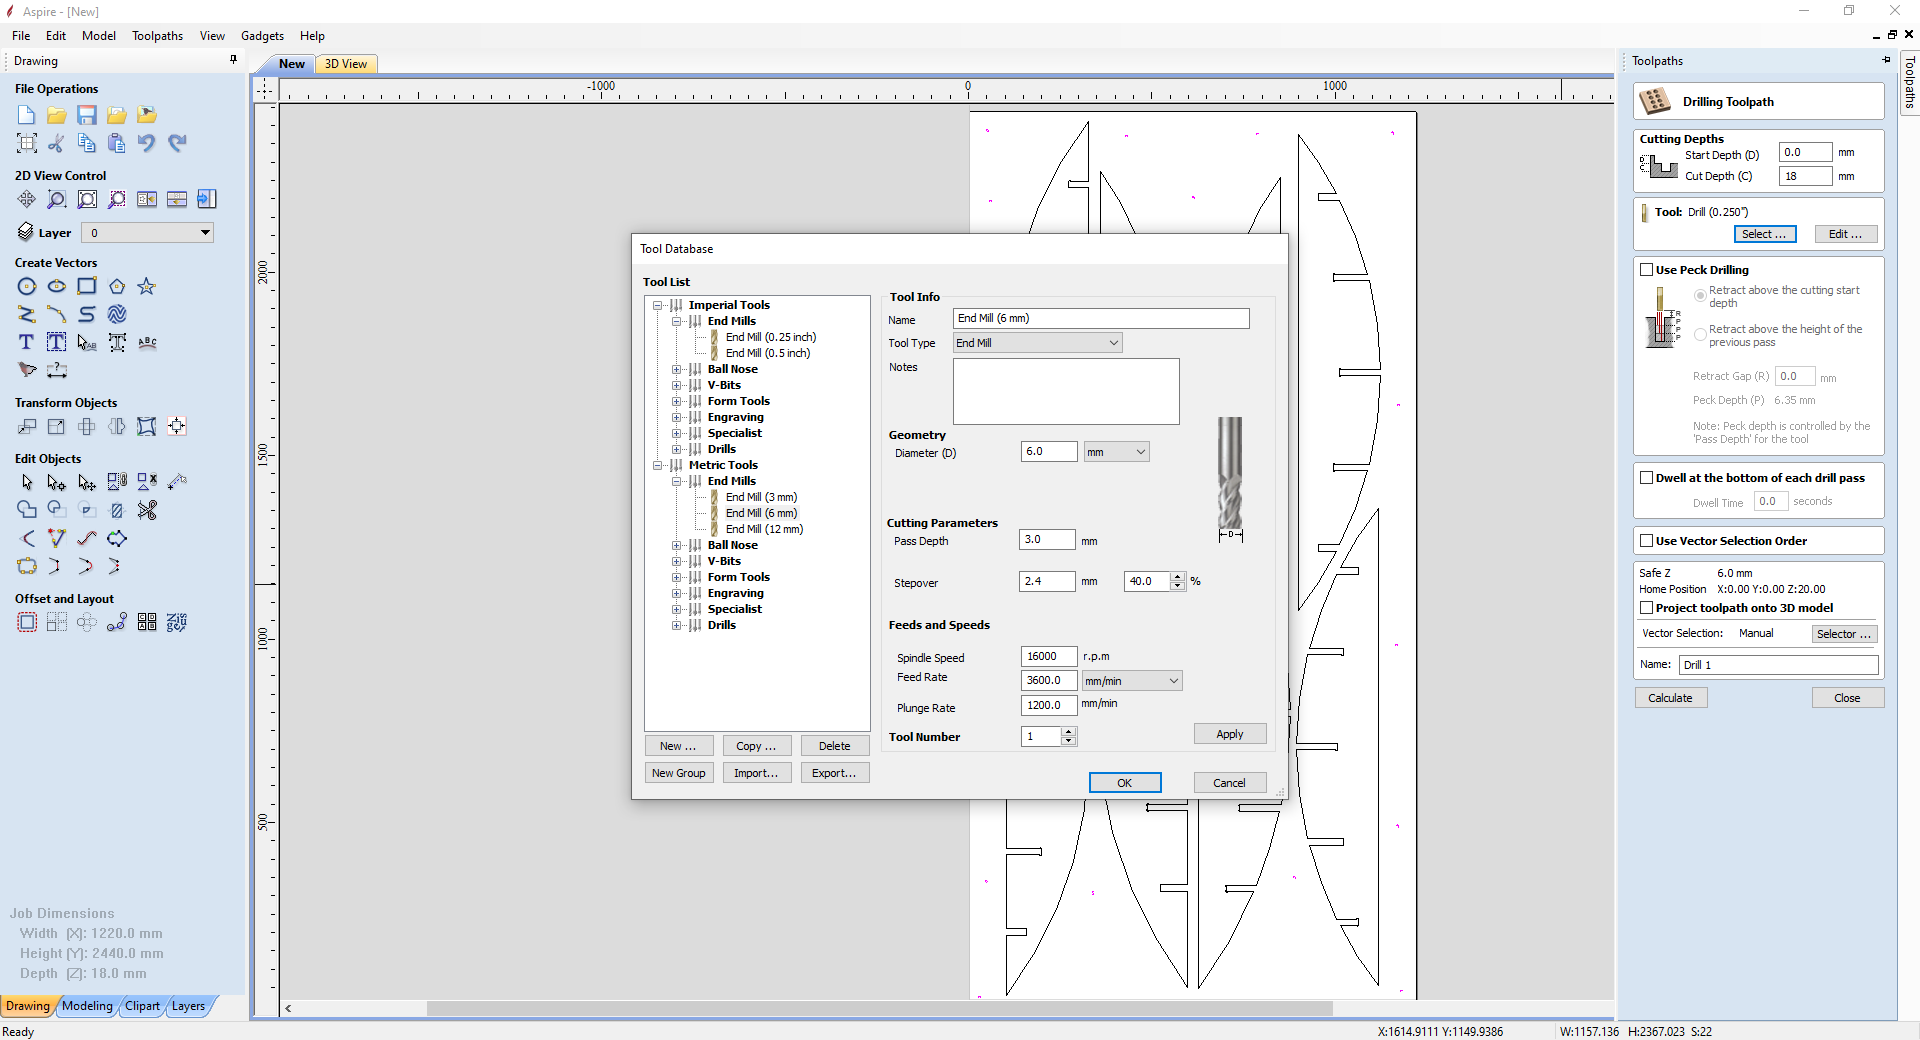
for cutting the main body I will use "Tool Path" tool and next is to select all parts I will set the tool parameters as before.
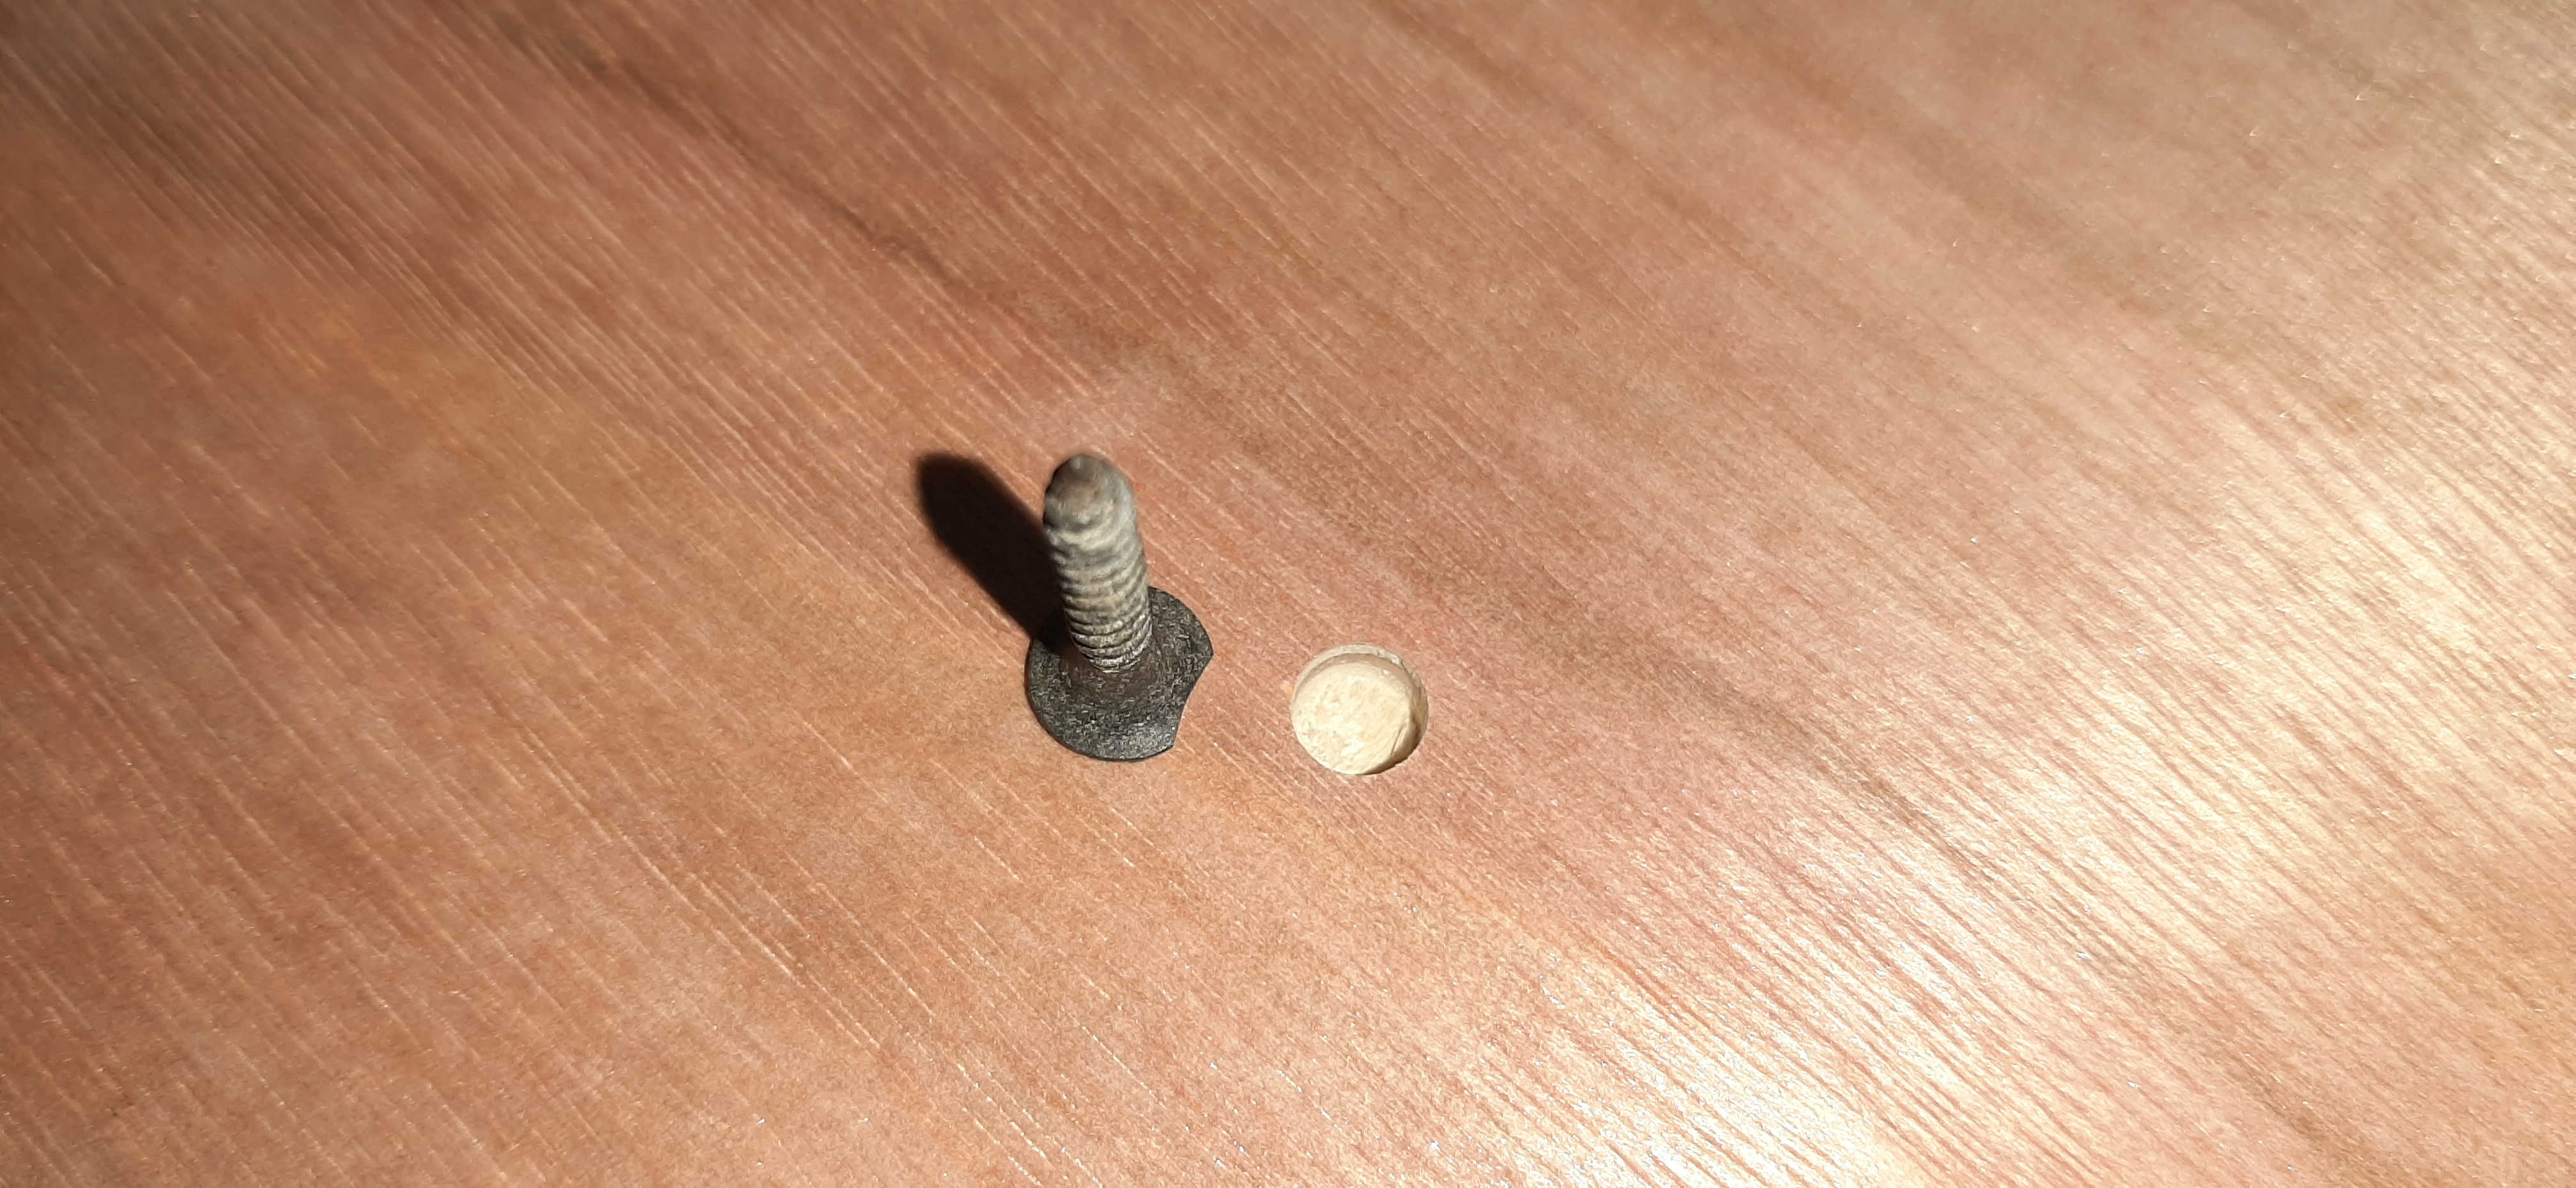
last is to export the G-code , so I make a small change in the drilling g code I was going to make it drill throw the sheet but instead I make a small groove to make everything easier.
The full cut process.
and the last problem the wood sheet at the end was Curved from the end and I was needed a more Screws to fix the sheet and that makes a small problem at the last part it didn't align perfectly and I used the jigsaw to oven these part a little bit so it can fit, but everything else fits perfectly