My documentation below is very limited. For reading and locating relevant information from datasheets, please see my documentation for this week here as I build up to my final project. To see the first working board I created, please reference Electronics Design. While I realize the work below is not up to par, I didn't want to delete as I see this site as somewhat of a log... and since that work, I've come a long way!
So this week we were still in shelter in place...
I did not get much done this week but I think what could be useful is to just read through and process the FabAcademy tutorial for this week. The first thing it goes over is a make file and what that is. Makefiles are special format files that together with the make utility will help you to automagically build and manage your projects... this still means close to nothing to me but I'll get there!
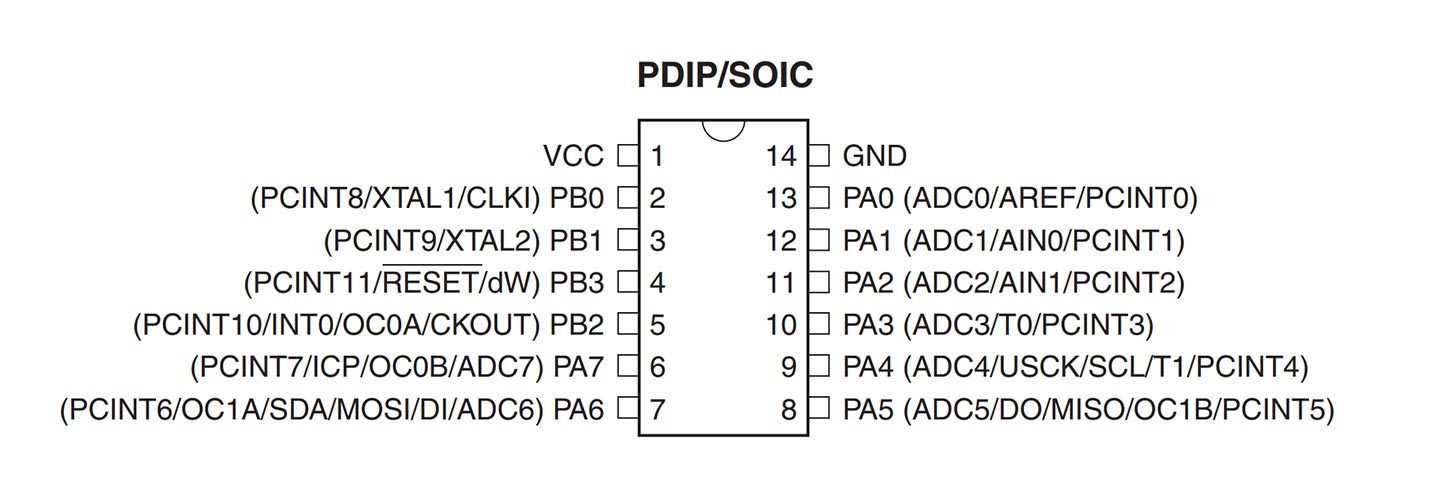
How to read board schematics...
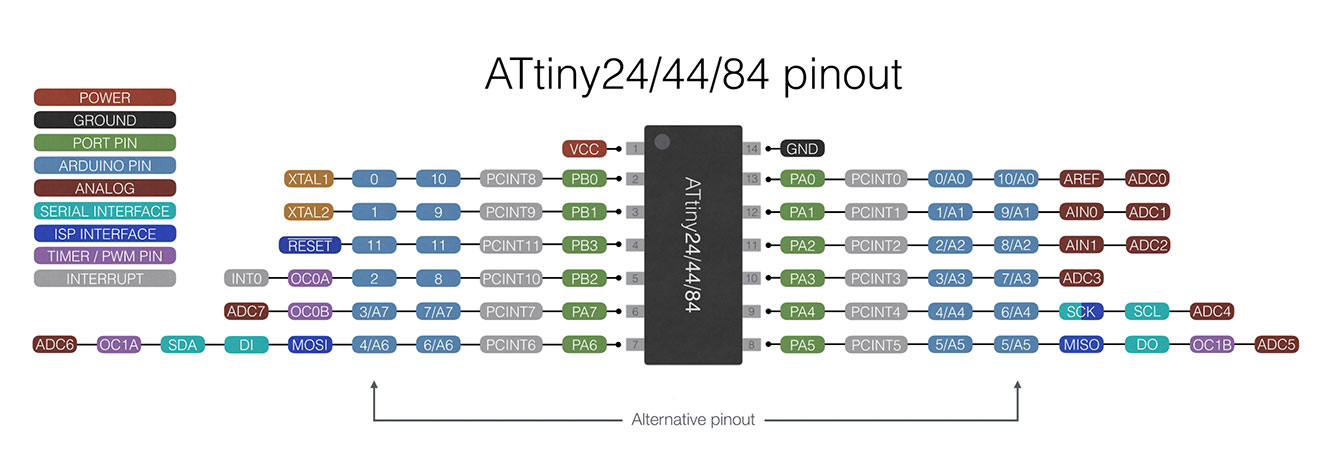
Pinouts for ATtiny and for different boards.
This is one of the first diagrams you see when reading through the datasheet for the ATtiny. For some reason, this datasheet is easier to digest... maybe better graphic design?
So after "reading" through pieces of the datasheet, I think what I gleaned is that if I keep doing and learning, bits of information I read will begin to make sense. I then began to think about how to program my board. This tutorial was by far the most helpful. It goes through the process of how to program your ATtiny44 in detail using Arduino IDE software.
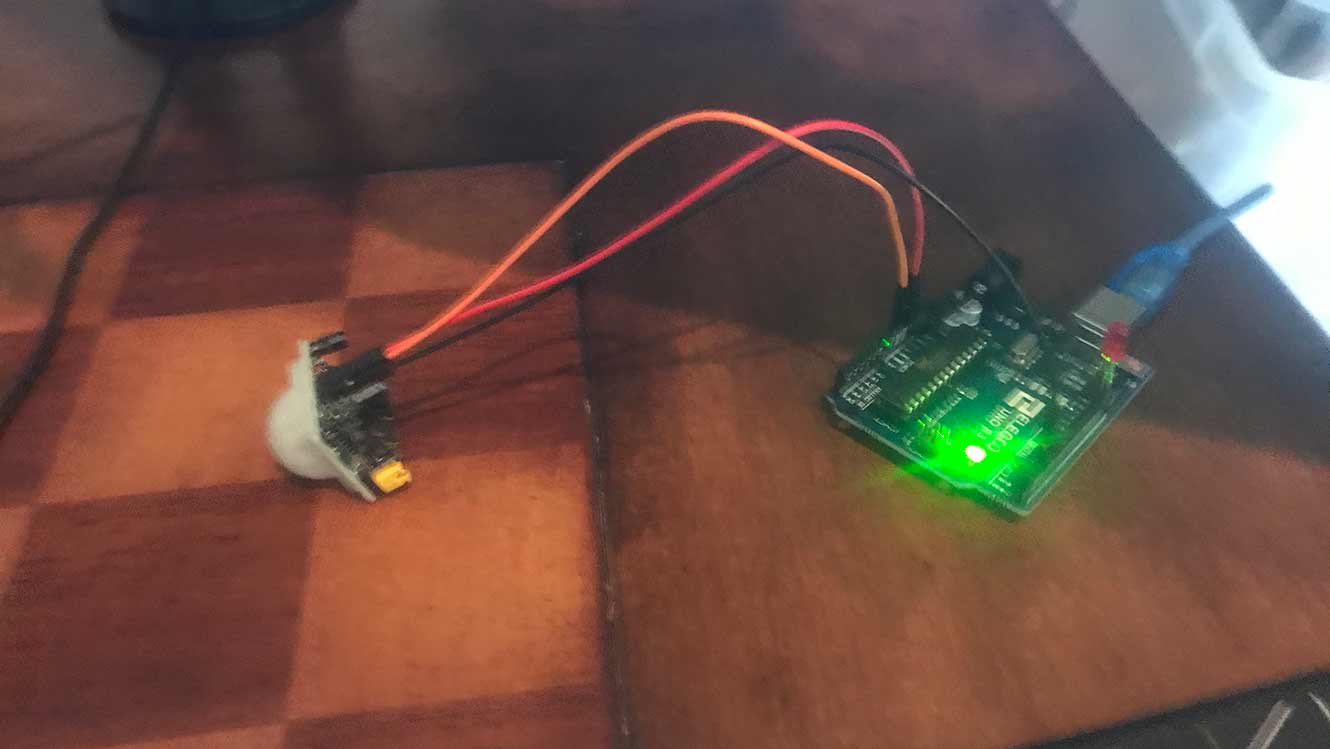
I did end up hooking up a motion sensor to the arduino.
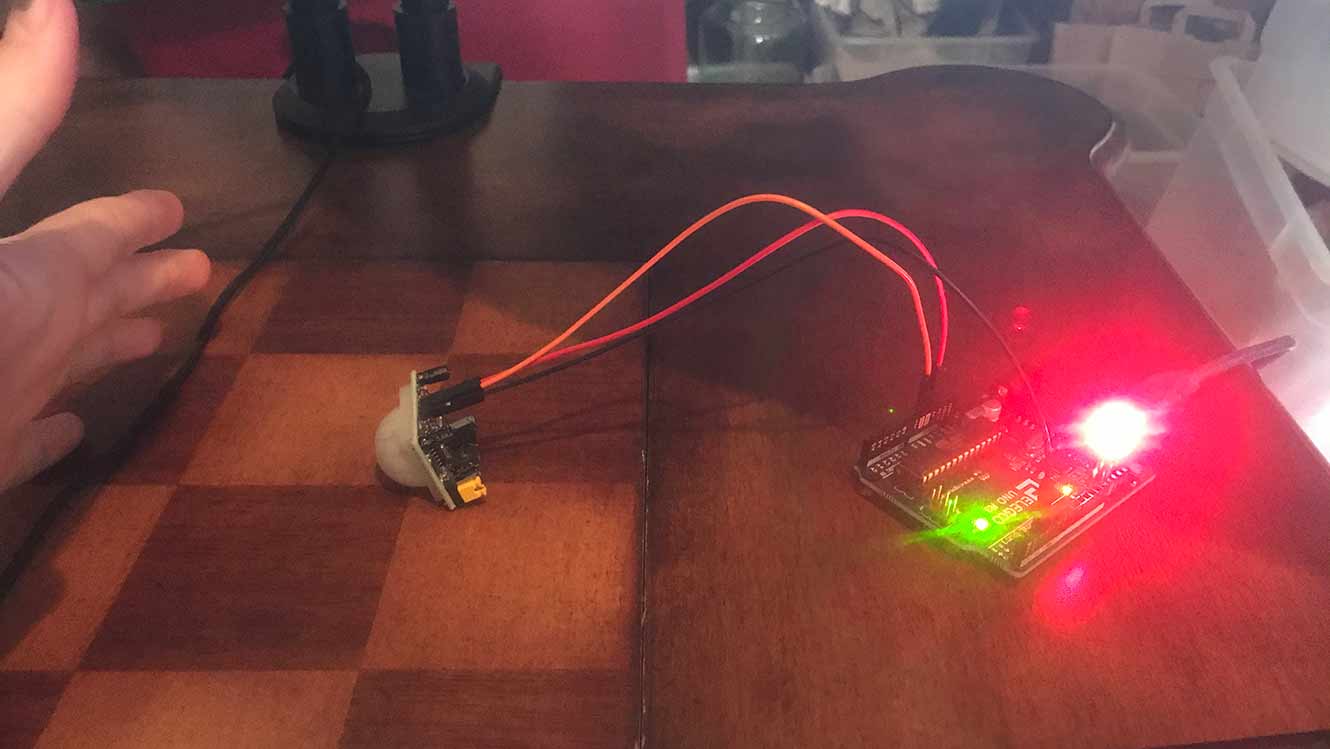
When the motion sensor detects infared, the led turns on.
Once I got back to the lab...
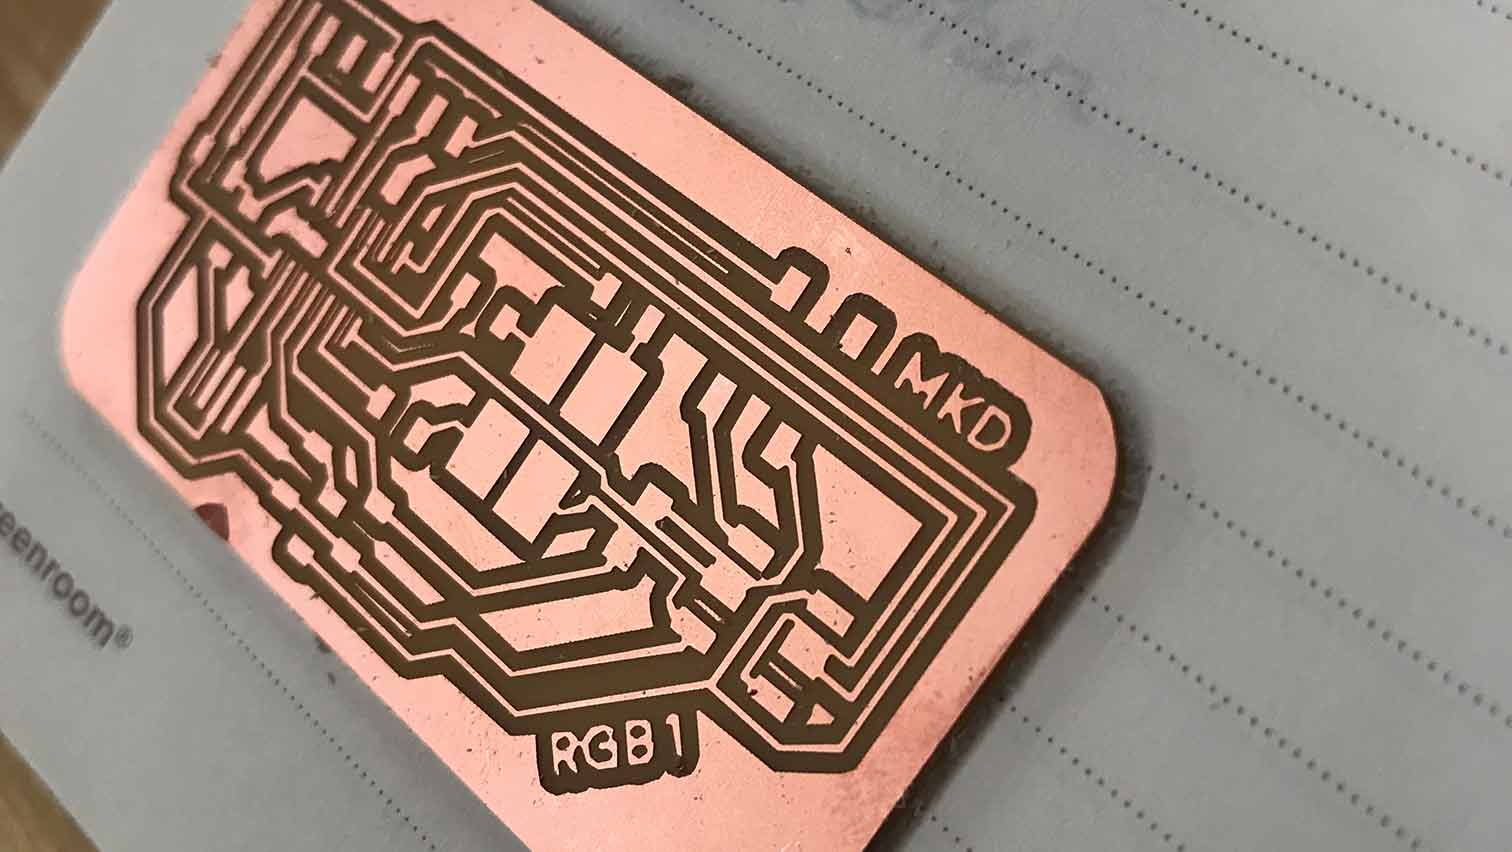
I got started on trying to fabricate, solder, and program my own board.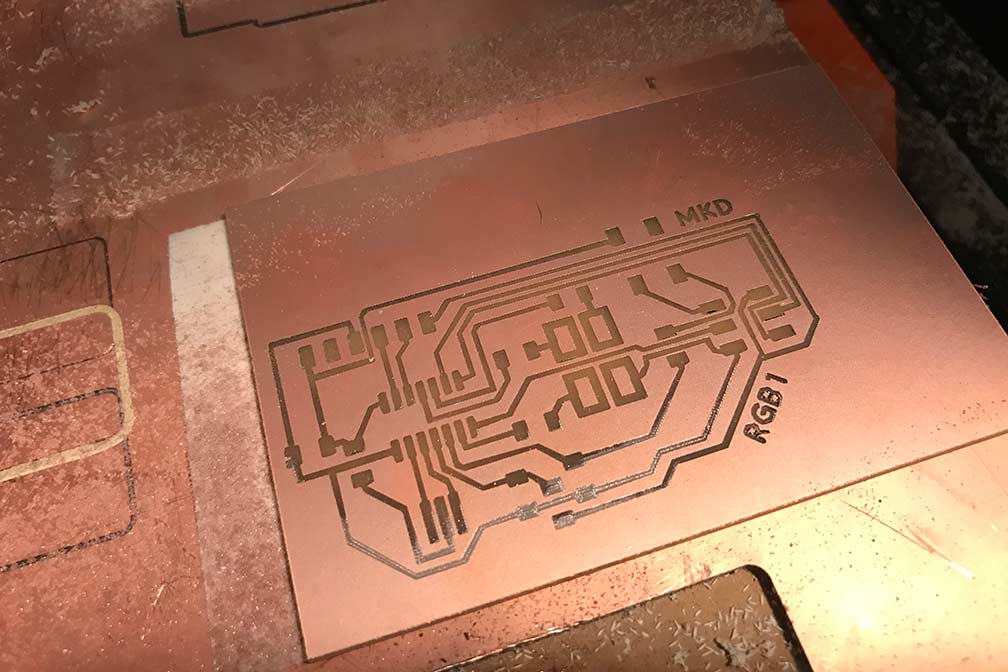
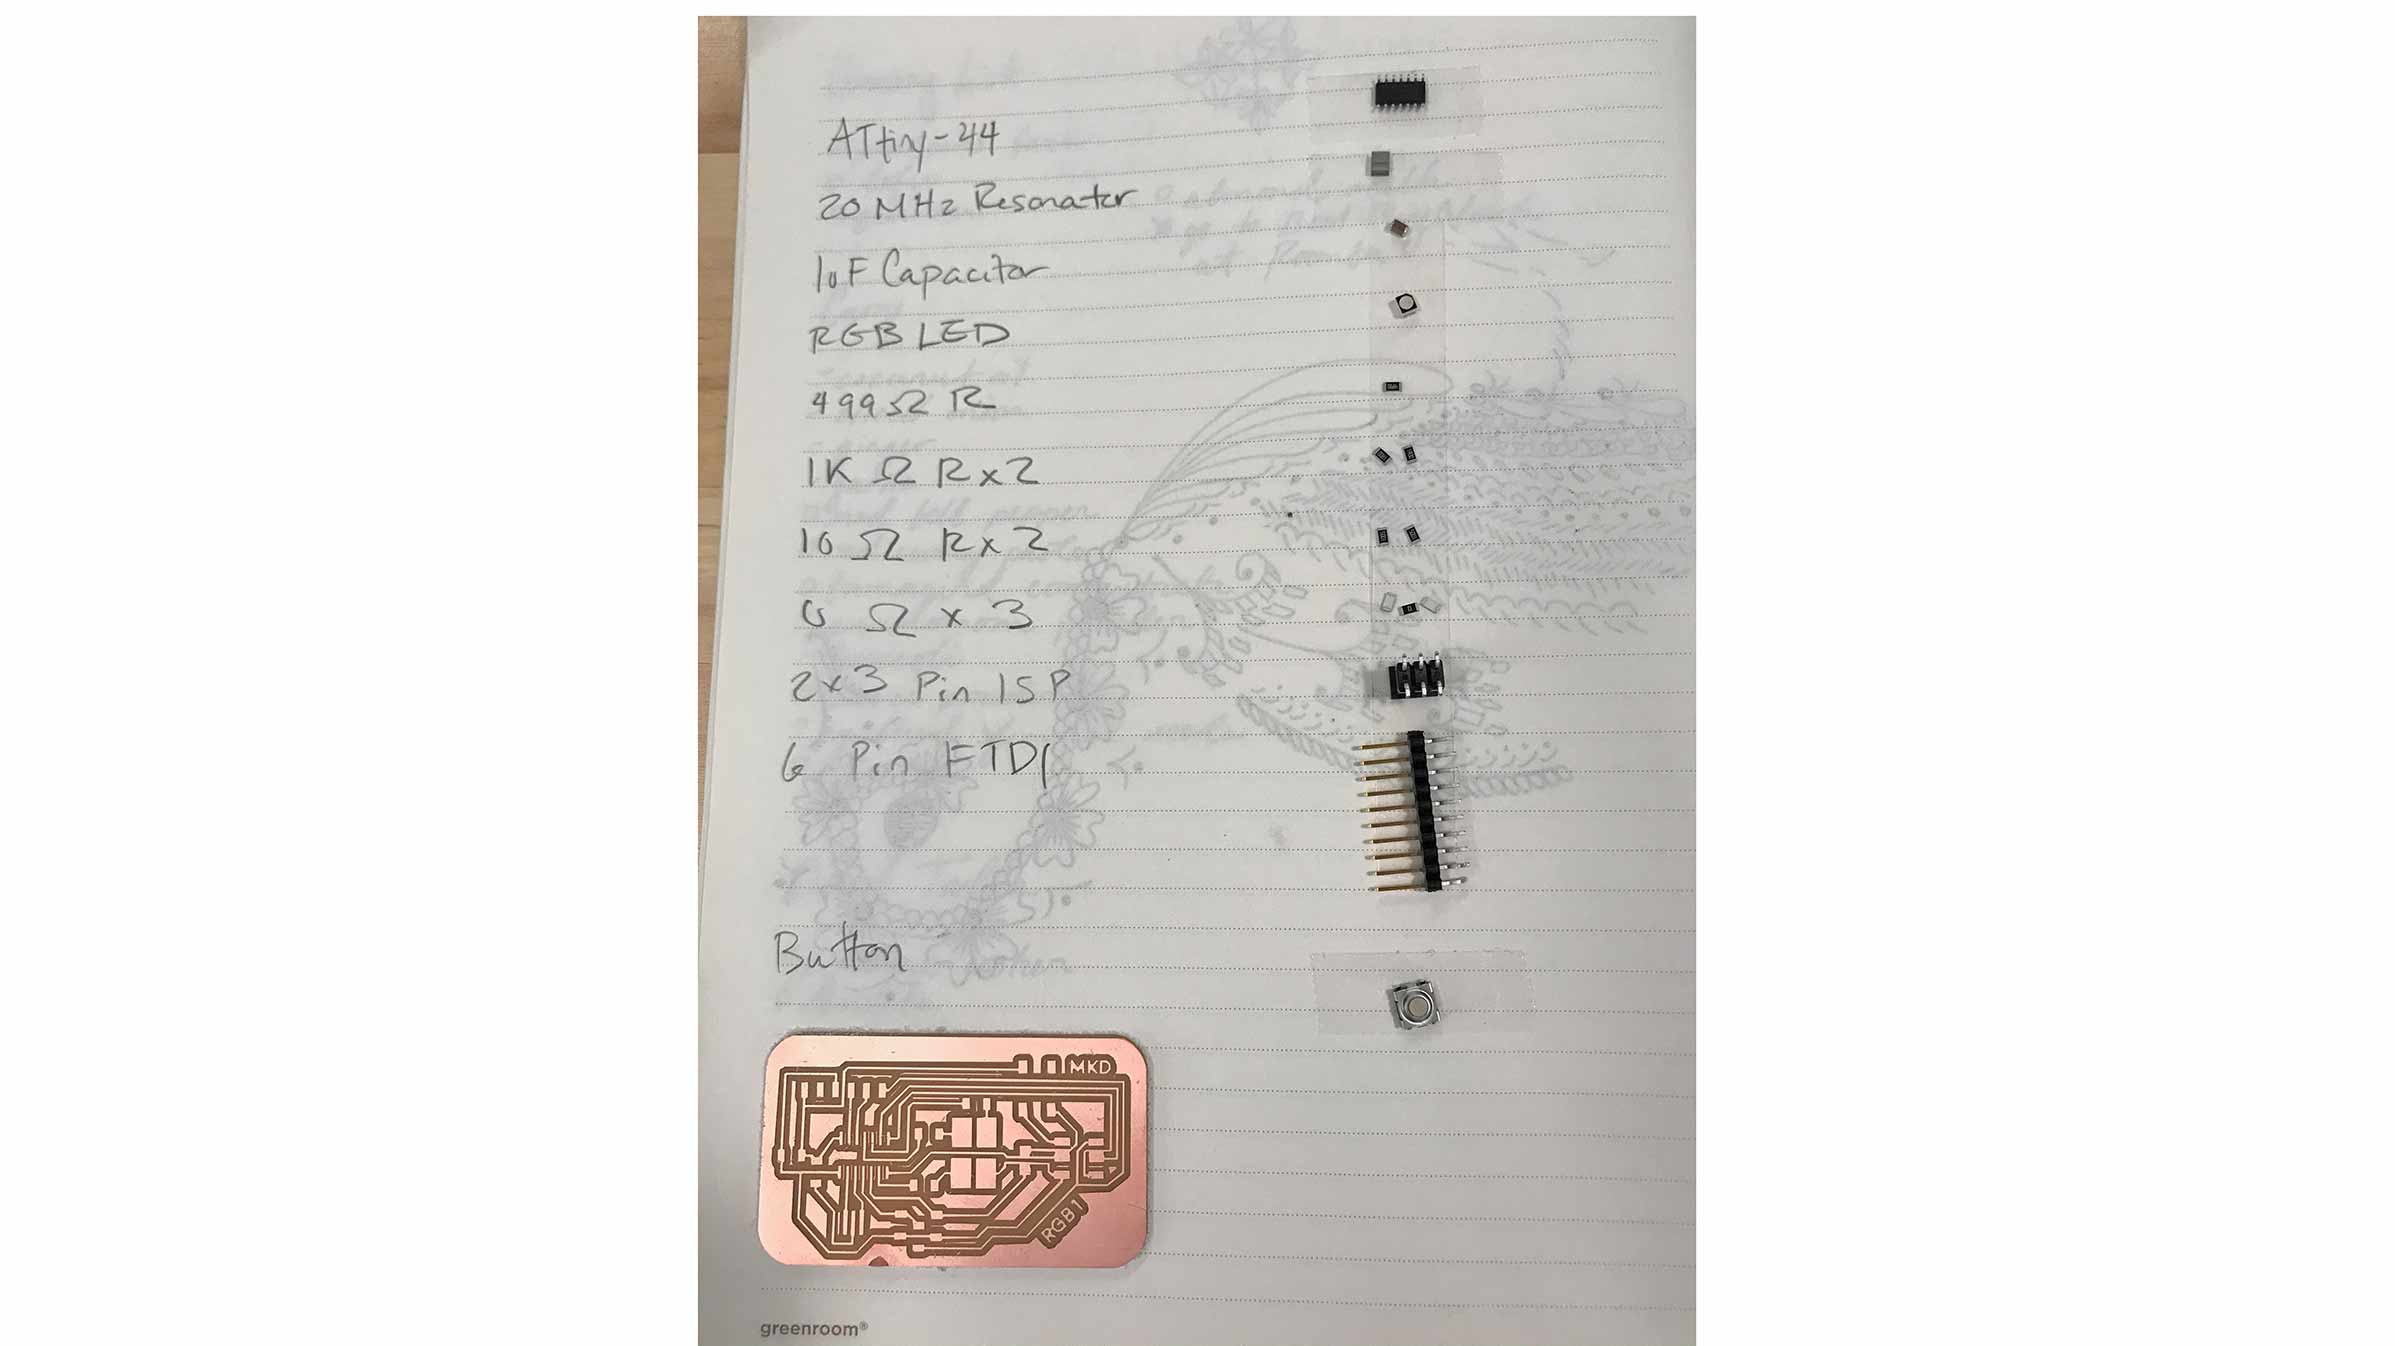
These are the parts needed.
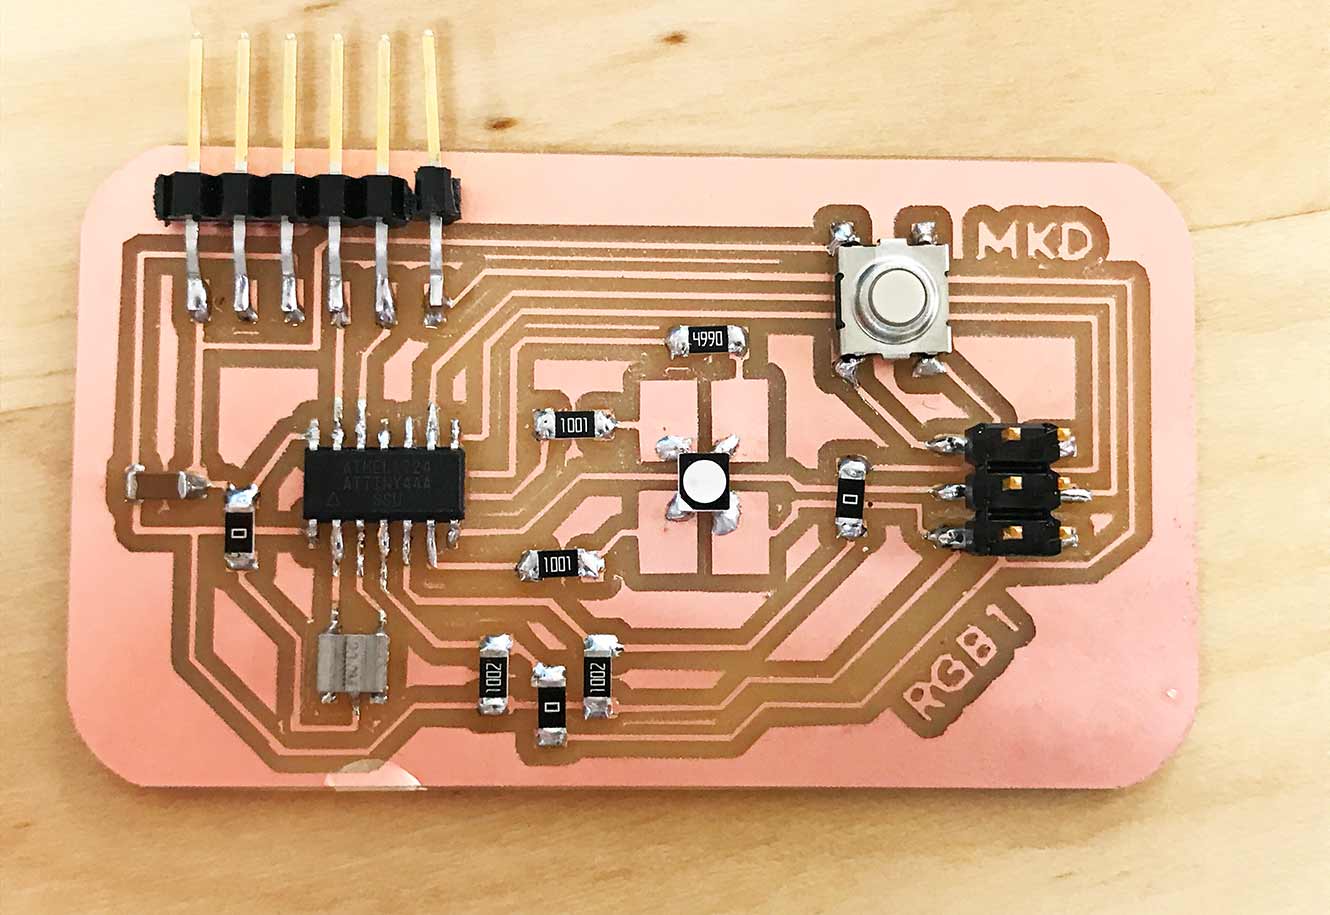
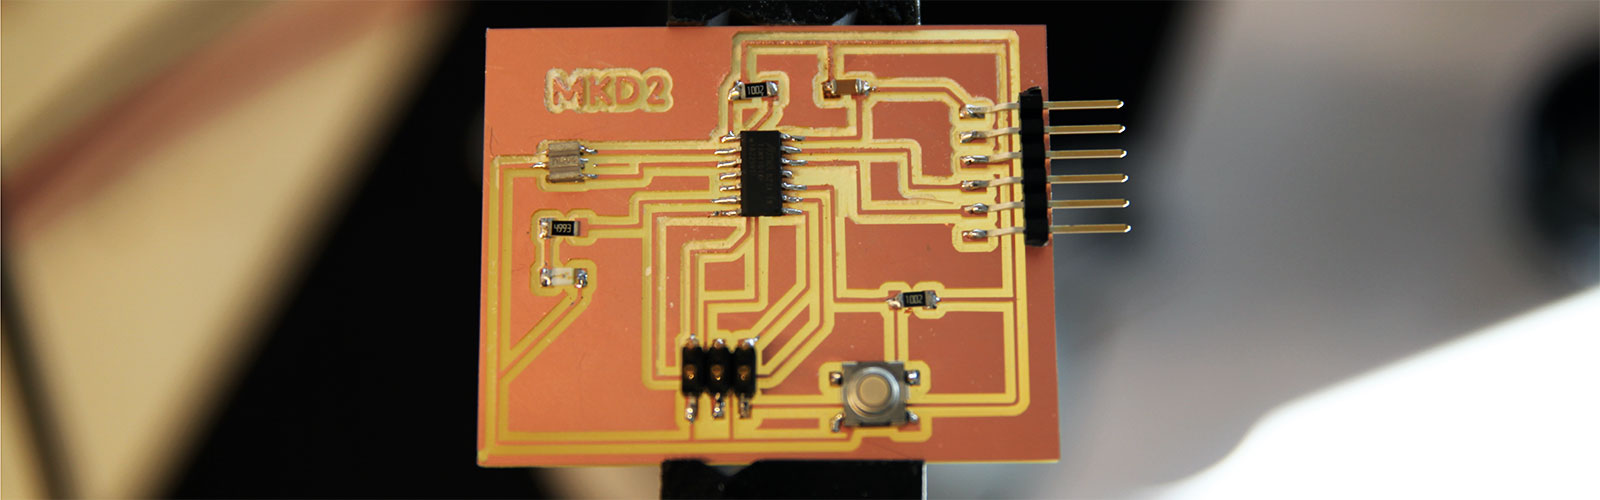
This is the board finally soldered!
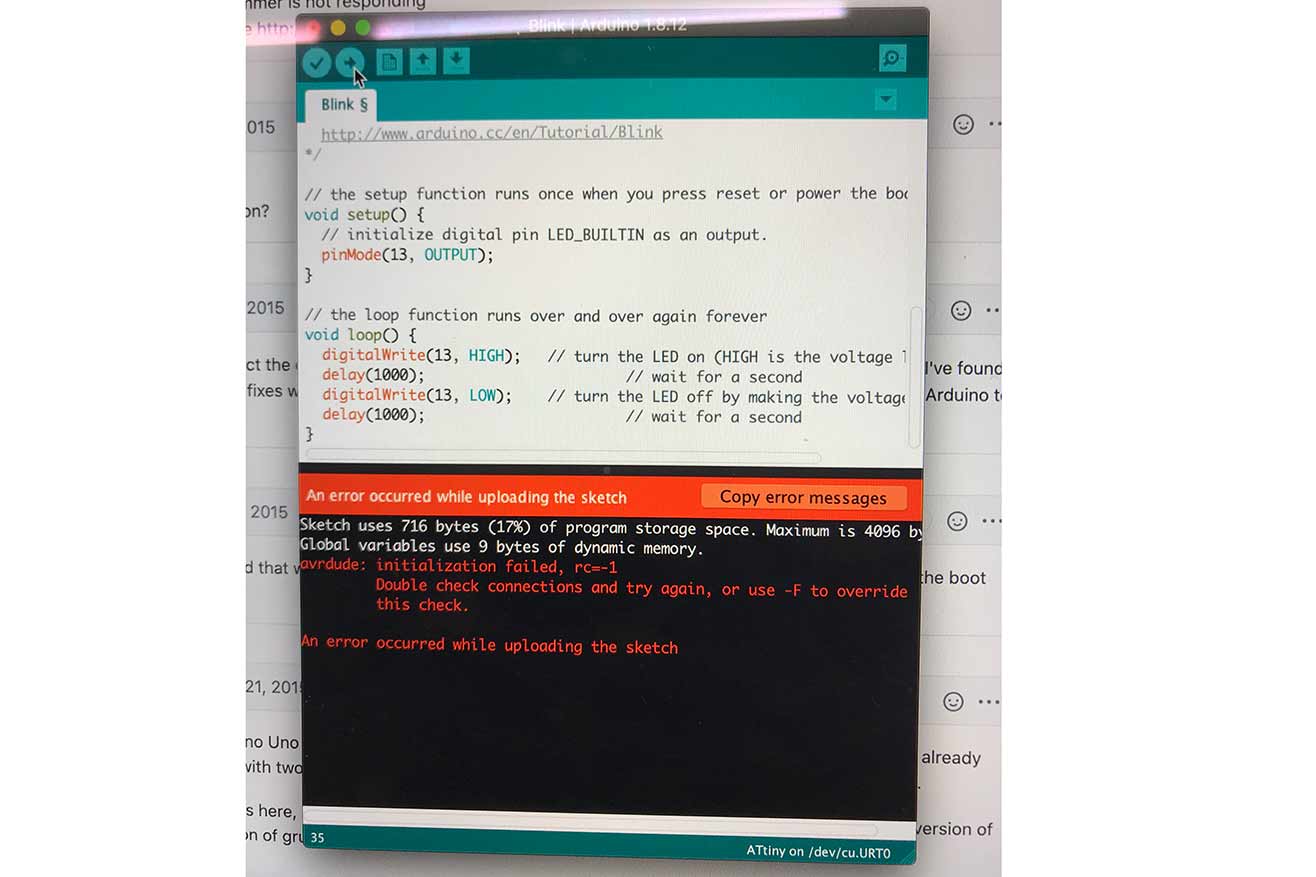
Then I began trying to program it with Arudino IDE.