12. Interface
Aims
I am not good at programming and I am seeing this week as an opportunity to learn one of the aspect of the programming which I have not touch so much. For this week I want to start to take some baby step to remind myself how to use Processing.
Useful links
Processing
Processing as it described is a flexible software and language for learning how to code. it is a Open source for interactive programing. Also there are many libraries that has been developed for this software/language.
At the first I start with a simple circle in the middle of the screen and then adding some feature to it such as gravity to the environment and bouncing from the edges of the window.
float speed =5;
float locationY;
float gravity=0.1;
float r = 200;
void setup() {
  size(1600, 900);
  locationY = height/2;
}

void draw() {
  background(0);
  noStroke();
  fill(255);
  ellipse(width/2, locationY, r, r);
  locationY = locationY + speed;
  speed = speed + gravity;
  if ((locationY+r/2)>= height || (locationY-r/2) <= 0) {
    speed = -speed*0.75;
    r = r - 10;
  }
}
Then I made a simple sketching interface which uses the mouse event and location as inputs for the drawing.
boolean mouseclick = false;
void setup() {
  size(1600, 900);
  //background(0);
}
void draw() {
  if (!mousePressed) {
    fill(0, 10);
    rect(0, 0,  width, height);
  }
  else if(mousePressed && mouseButton==RIGHT && mouseclick == false){
    background(0);
    mouseclick = true;
  }
  fill(255);
  noStroke();
  ellipse(mouseX, mouseY, 100, 100);
}
After that I tried some 3d object representation which was appealing.
float x = 1;
float c = 0.1;
void setup() {
  size(1600, 900, P3D);
}
void draw() {
  background(0);
  noStroke();
  //directionalLight(0, 255, 120, 0, 1, -1);
  spotLight(255, 255, 255, width/2, height/2, 200, x, 0, -1, PI/4, 5);
  translate(width/2, height/2);
  fill(225,110,0);
  ellipse(0,0,300,300);
  x = x - c;
  if (x <-1 || x>1){
    c=-c;
  }
}
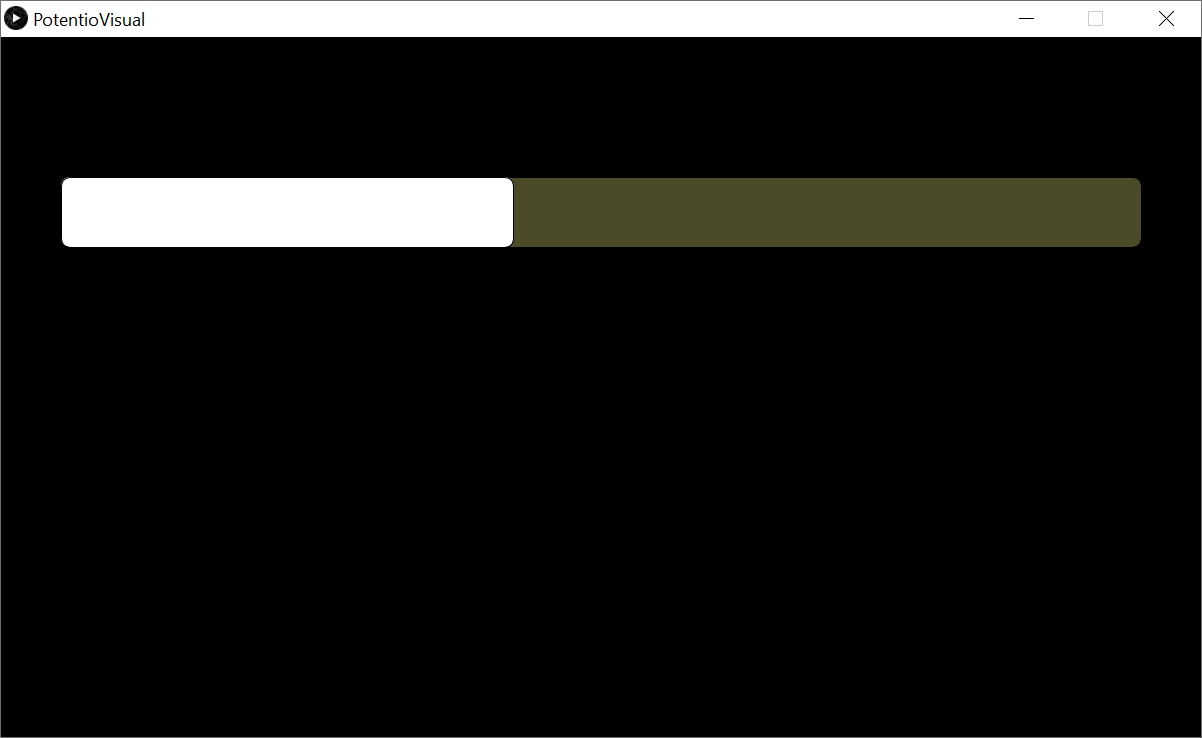
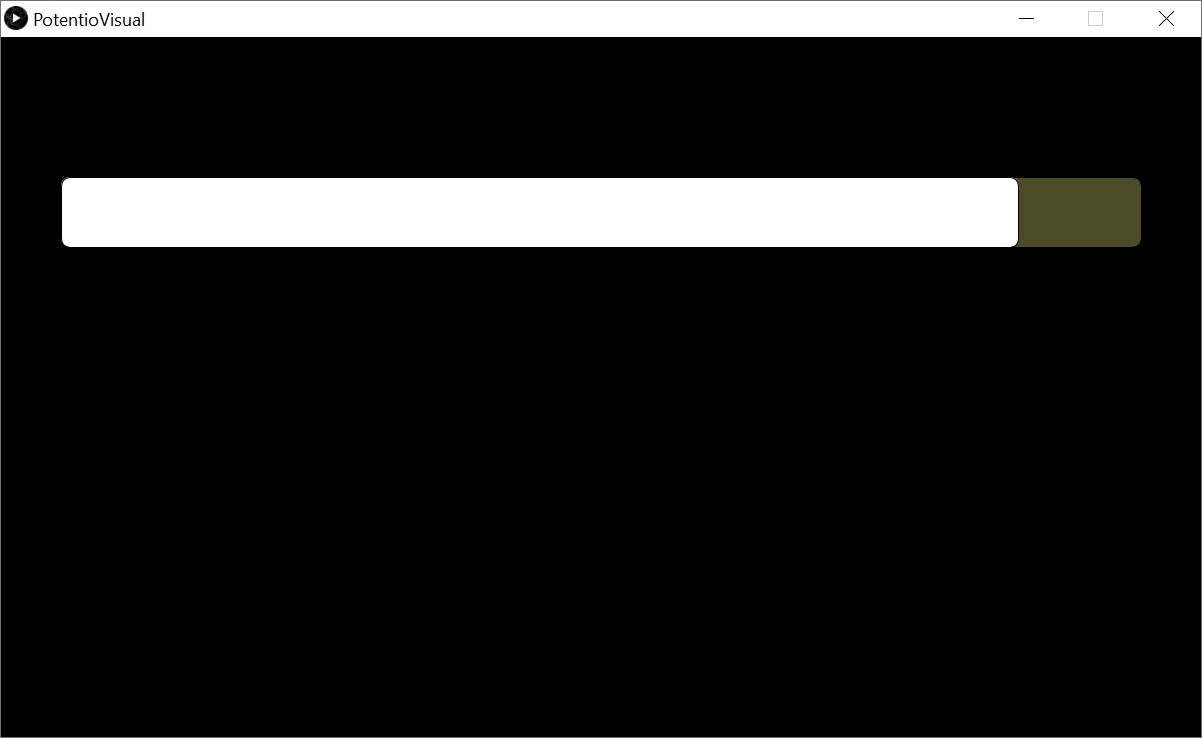
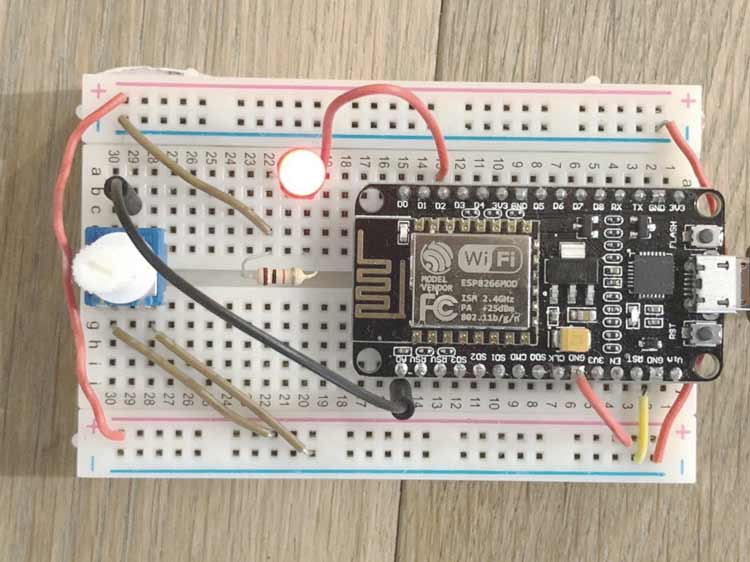
Then I choose a potentiometer as input and a LED as output to use for interface. I am using esp8266 to reading the value of the potentiometer (esp8266 has just one analog IO pin). In the first step I wrote a code in using Arduino IDE that reads the value of the input and sending it through the serial. then I wrote a listener in processing where I used that value to change the size of a bar.
Arduino code
int pin = A0;
void setup() {
  // put your setup code here, to run once:
  Serial.begin(115200);

}

void loop() {
  int value = analogRead(pin);
  Serial.println(value);
  delay(1);
  if Serial.available(){
    if
    }

}
Processing code
import processing.serial.*;

Serial myPort;
float value = 1024;

void setup() {
  //println(Serial.list()[0]);
  size(1200,700);
  myPort = new Serial(this, Serial.list()[0], 115200);
}
void draw() {

  while(myPort.available()>0) {
    String inBuffer = myPort.readStringUntil('/n');
    if (inBuffer != null) {
      inBuffer = inBuffer.replace('/n', ' ').trim();
      value = float(inBuffer);

    }
  }
  background(0);
  fill(240,240,120,80);
  rect(width*0.05,height*0.2 ,width*0.9,height*0.1,10);
  fill(255);
  rect(width*0.05,height*0.2 ,map(value,0.0,1024.0,0.0,width*0.9),height*0.1,10);

}
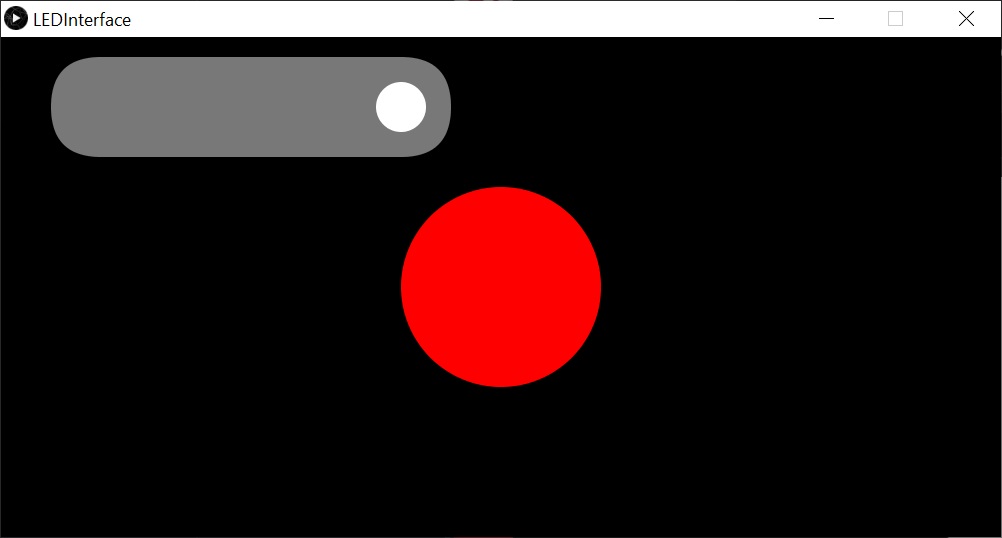
After I tried to made an interface for the LED. I started with the Arduino code where I am sending signal to the pin base on the serial. Then in the processing I right a toggle class for an object which can represent Boolean.
Arduino code
int pin = 4;
int value = 0;
void setup() {
  // put your setup code here, to run once:
  Serial.begin(115200);
  pinMode(pin, OUTPUT);

}

void loop() {

  while(Serial.available()>0) {
   value =  Serial.read();
   Serial.println(value);
  }
  if (value =='A'){
    digitalWrite(pin,HIGH);
    }
  else {
    }
    digitalWrite(pin,LOW);


}
Toggle class processing code
class Toggle {
  boolean state;
  boolean ready;
  int a, b, c, d; // x,y,w,h
  Toggle(int locX, int locY, int sizeX, int sizeY) {
    state = false;
    ready = true;
    a = locX;
    b = locY;
    c = sizeX;
    d = sizeY;
  }
  void draw() {
    if ( mousePressed ) {
      if (ready && mouseX >= a && mouseX <= (a+c) && mouseY >= b && mouseY <= (b+d) ) {
        ready = false;
        state = !state;
      }
    } else {
      ready = true;
    }
    fill(120, 120, 120);
    rect(a, b, c, d, d);

    if (state) {
      pushMatrix();
      translate(a+c-d/2, b+d/2);
      fill(255);
      ellipse(0, 0, d/2, d/2);
      popMatrix();
    } else {
      pushMatrix();
      translate(a+d/2, b+d/2);
      fill(255);
      ellipse(0, 0, d/2, d/2);
      popMatrix();
    }
  }
}
LED Interface
import processing.serial.*;

Serial myPort;
float value = 1024;
Toggle tled;
void setup() {
  //println(Serial.list()[0]);
  size(1000, 500);
  myPort = new Serial(this, Serial.list()[0], 115200);
  tled = new Toggle(int(width*0.05), 20, 400, 100);
}
void draw() {

  background(0);
  fill(255);
  noStroke();
  tled.draw();
  if (tled.state) {
    myPort.write('A');
    fill(255, 0, 0);
    noStroke();
    ellipse(width/2, height/2, 200, 200);
  } else {
    myPort.write('D');
    noFill();
    stroke(255);
    ellipse(width/2, height/2, 200, 200);
  }
}

void mouseEvent() {
}


ESP8266 Web Interface
Here I tried to make a web interface to communicate with esp board. so I had 2 leds connected to ESP8266 dev-board that will be controlled through a web interface. The approach here is to make a soft access point in local network to the ESP8266. then serve the web interface on it. here I am using GET request to relate the button of the interface to the pin of the boards. embedded the HTTP response in Arduino code I Have not wrote all the code.
system-on-chip (SoC) NodeMCU
Useful link
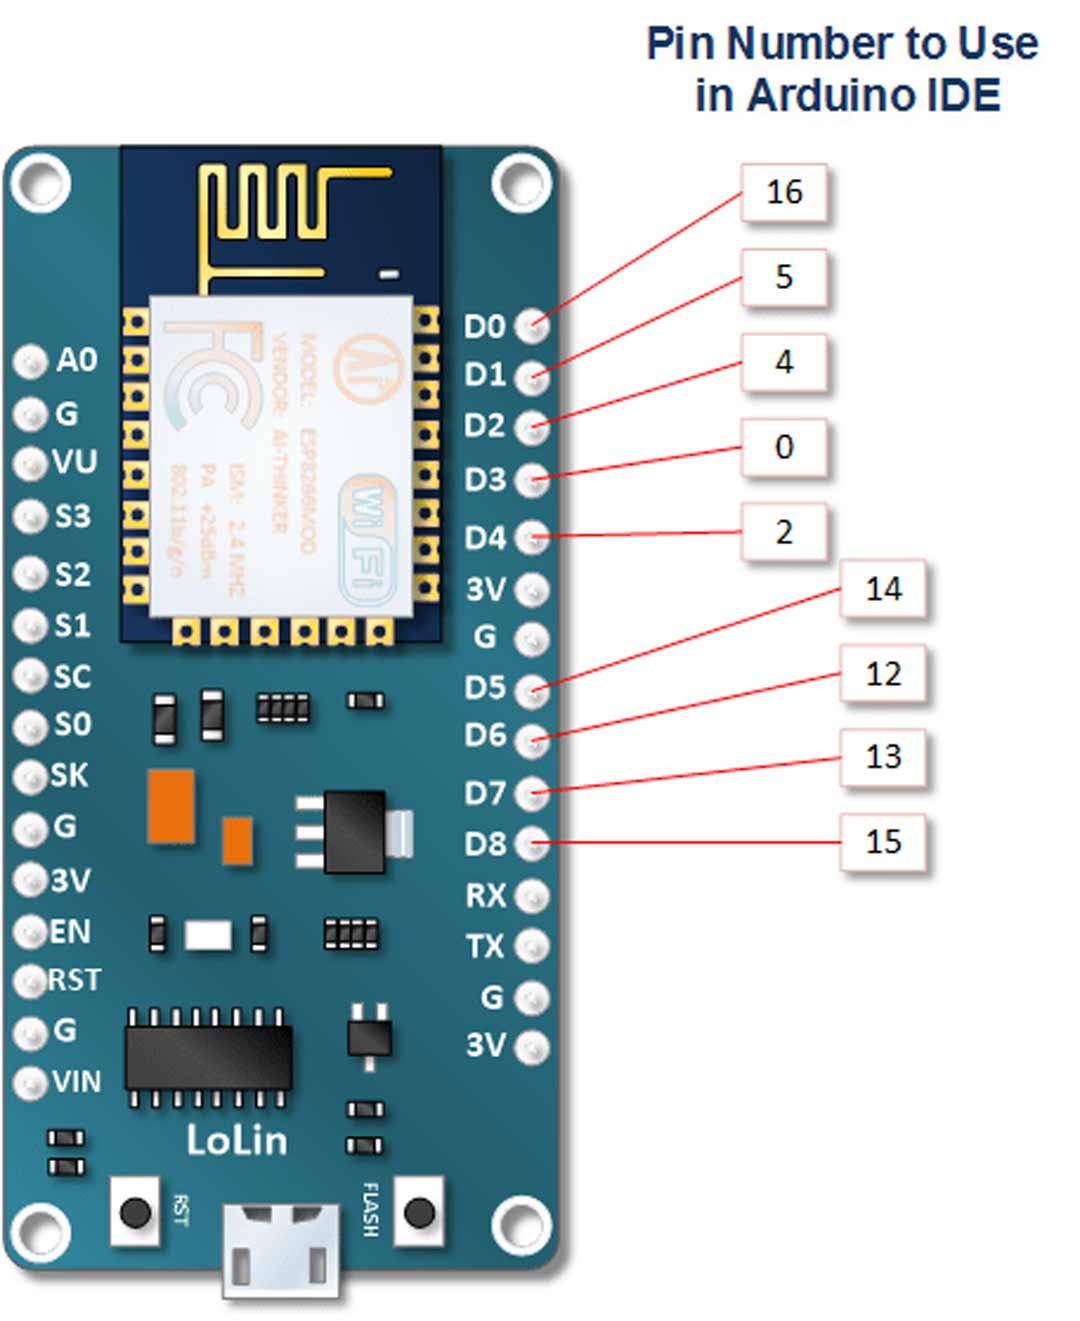
Fig01: IO pins of the ESP8266 and the mapped number in the library
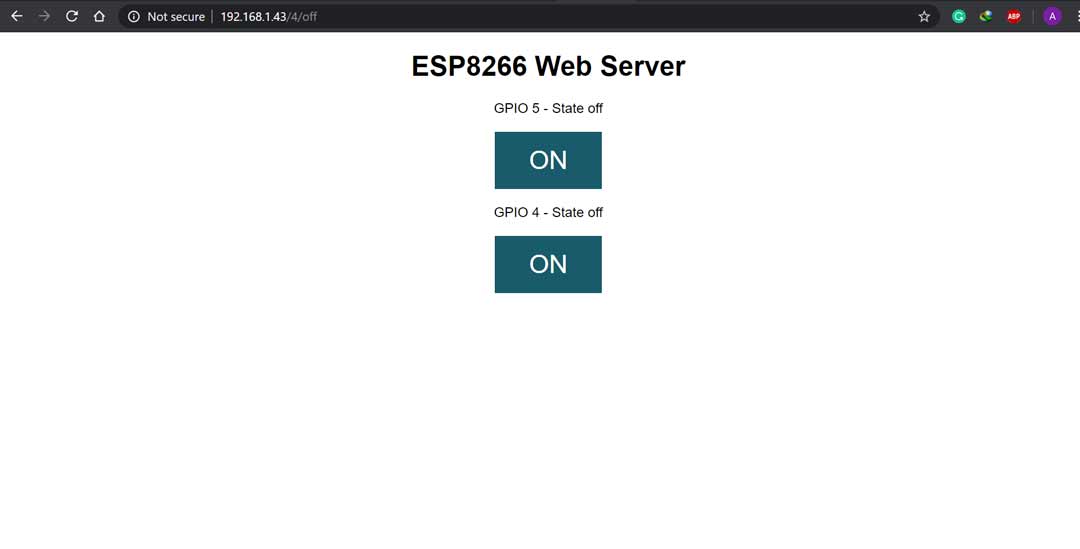
Fig02: the web interface on running on local network
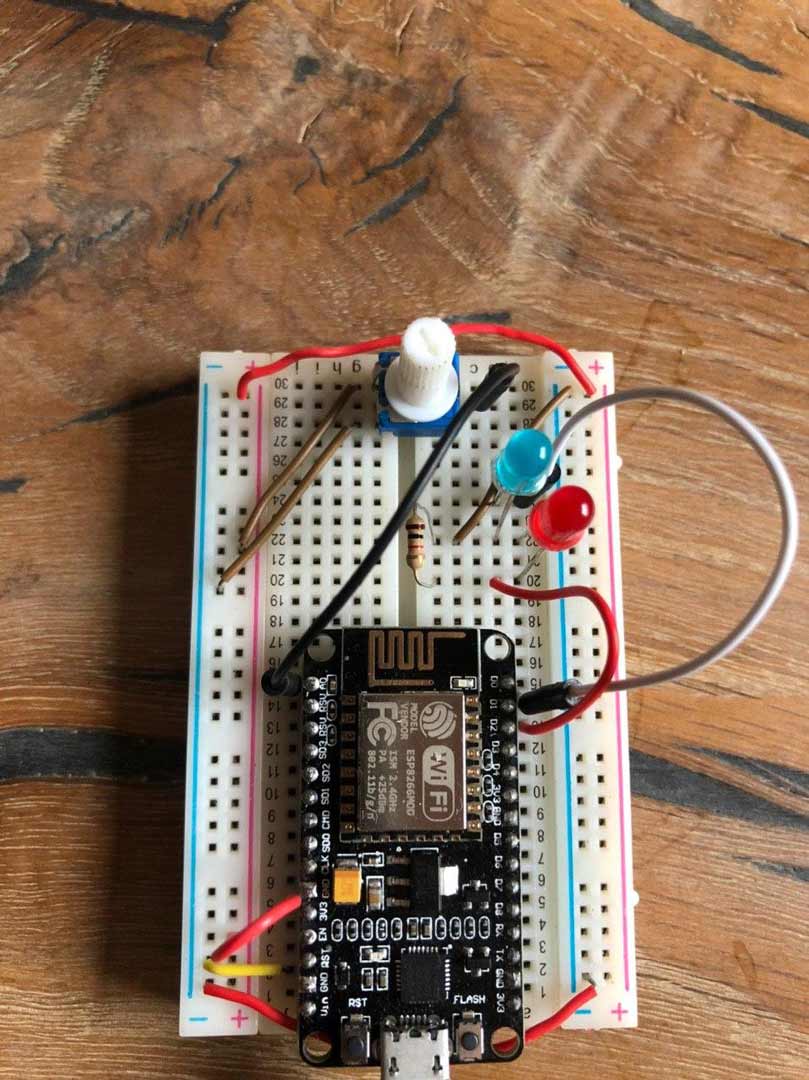
Fig03: All off
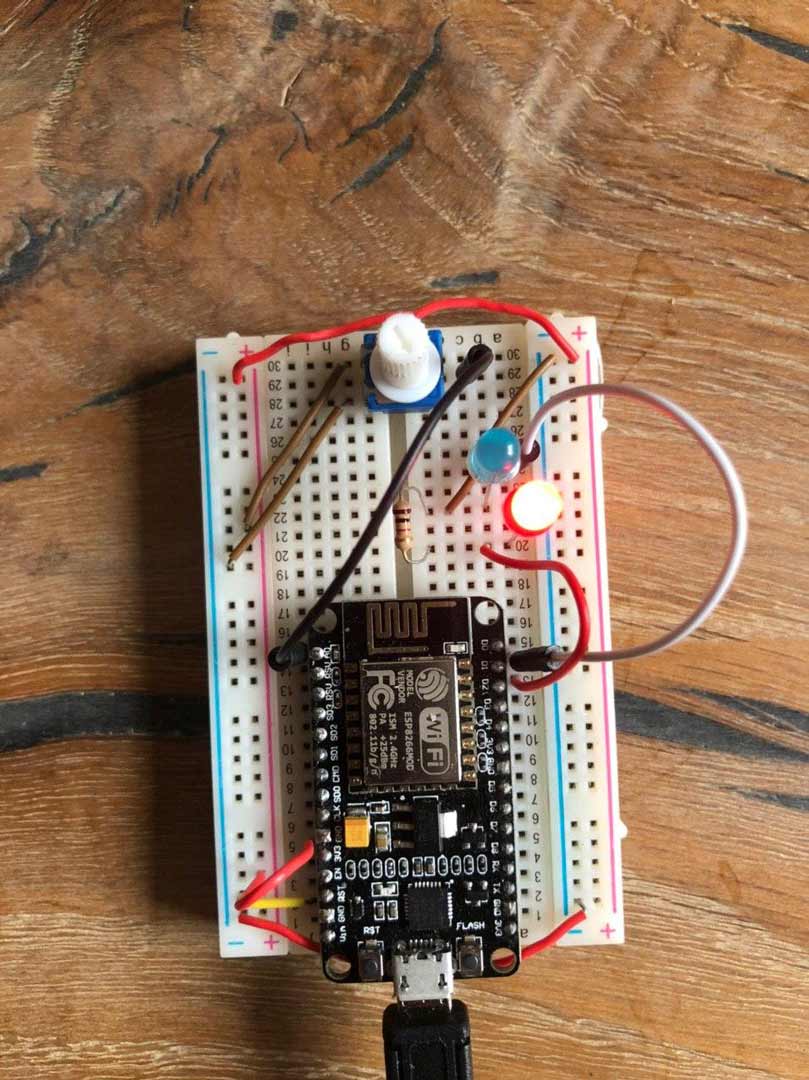
Fig04: Pin4 on
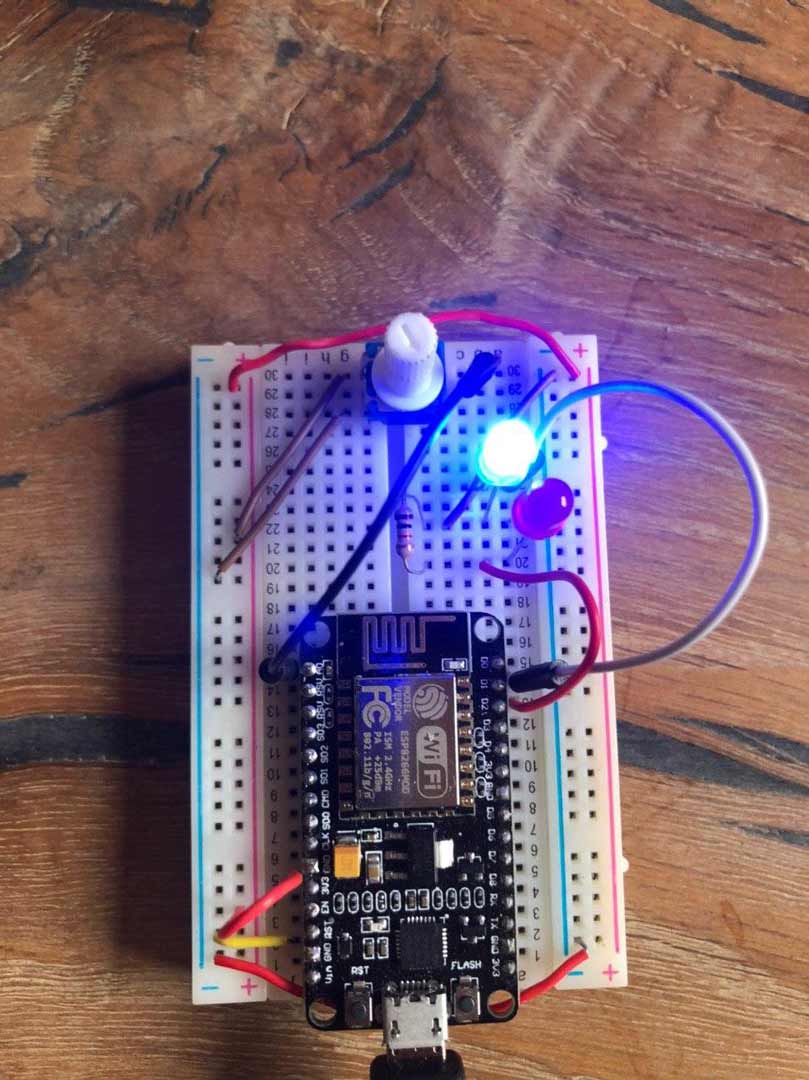
Fig05: Pin5 on
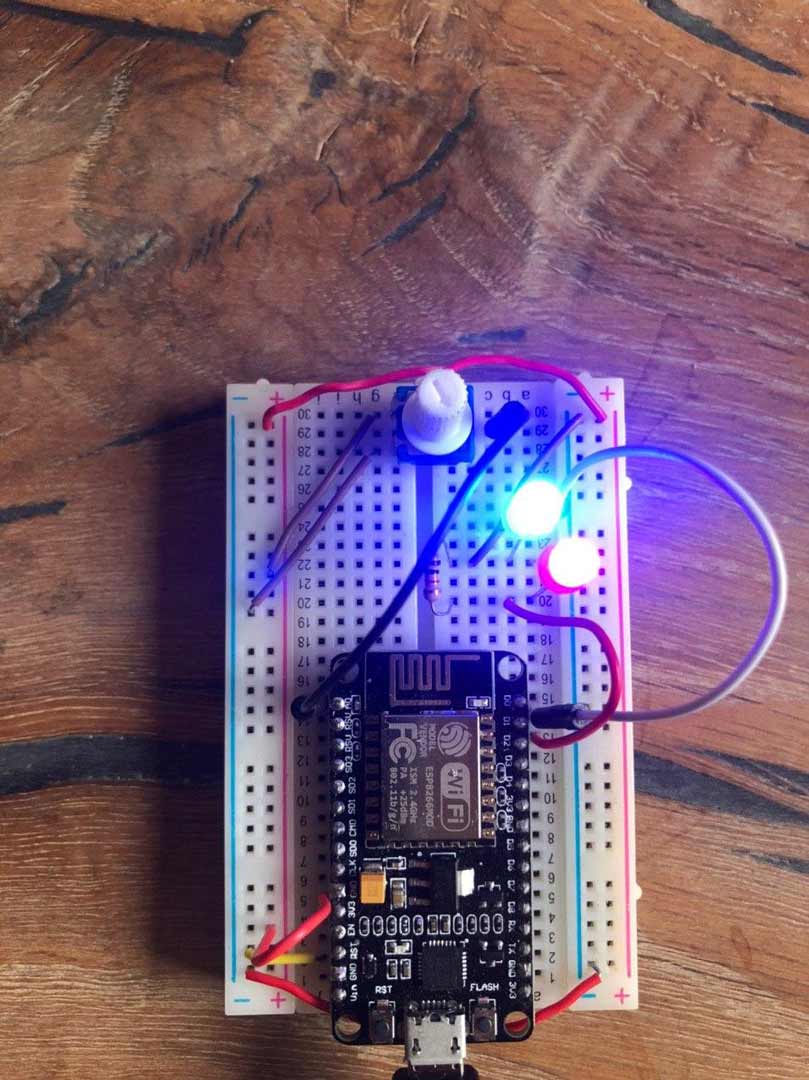
Fig06: Both pin on
Arduino code
// Load Wi-Fi library
#include <ESP8266WiFi.h>

// Replace with your network credentials
const char* ssid     = "########";
const char* password = "########";

// Set web server port number to 80
WiFiServer server(80);

// Variable to store the HTTP request
String header;

// Auxiliar variables to store the current output state
String output5State = "off";
String output4State = "off";

// Assign output variables to GPIO pins
const int output5 = 5;
const int output4 = 4;

// Current time
unsigned long currentTime = millis();
// Previous time
unsigned long previousTime = 0;
// Define timeout time in milliseconds (example: 2000ms = 2s)
const long timeoutTime = 2000;

void setup() {
  Serial.begin(115200);
  // Initialize the output variables as outputs
  pinMode(output5, OUTPUT);
  pinMode(output4, OUTPUT);
  // Set outputs to LOW
  digitalWrite(output5, LOW);
  digitalWrite(output4, LOW);

  // Connect to Wi-Fi network with SSID and password
  Serial.print("Connecting to ");
  Serial.println(ssid);
  WiFi.begin(ssid, password);
  while (WiFi.status() != WL_CONNECTED) {
    delay(500);
    Serial.print(".");
  }
  // Print local IP address and start web server
  Serial.println("");
  Serial.println("WiFi connected.");
  Serial.println("IP address: ");
  Serial.println(WiFi.localIP());
  server.begin();
}

void loop(){
  WiFiClient client = server.available();   // Listen for incoming clients

  if (client) {                             // If a new client connects,
    Serial.println("New Client.");          // print a message out in the serial port
    String currentLine = "";                // make a String to hold incoming data from the client
    currentTime = millis();
    previousTime = currentTime;
    while (client.connected() && currentTime - previousTime <= timeoutTime) { // loop while the client's connected
      currentTime = millis();
      if (client.available()) {             // if there's bytes to read from the client,
        char c = client.read();             // read a byte, then
        Serial.write(c);                    // print it out the serial monitor
        header += c;
        if (c == '\n') {                    // if the byte is a newline character
          // if the current line is blank, you got two newline characters in a row.
          // that's the end of the client HTTP request, so send a response:
          if (currentLine.length() == 0) {
            // HTTP headers always start with a response code (e.g. HTTP/1.1 200 OK)
            // and a content-type so the client knows what's coming, then a blank line:
            client.println("HTTP/1.1 200 OK");
            client.println("Content-type:text/html");
            client.println("Connection: close");
            client.println();

            // turns the GPIOs on and off
            if (header.indexOf("GET /5/on") >= 0) {
              Serial.println("GPIO 5 on");
              output5State = "on";
              digitalWrite(output5, HIGH);
            } else if (header.indexOf("GET /5/off") >= 0) {
              Serial.println("GPIO 5 off");
              output5State = "off";
              digitalWrite(output5, LOW);
            } else if (header.indexOf("GET /4/on") >= 0) {
              Serial.println("GPIO 4 on");
              output4State = "on";
              digitalWrite(output4, HIGH);
            } else if (header.indexOf("GET /4/off") >= 0) {
              Serial.println("GPIO 4 off");
              output4State = "off";
              digitalWrite(output4, LOW);
            }

            // Display the HTML web page
            client.println("<!DOCTYPE html><html>");
            client.println("<head><meta name=\"viewport\" content=\"width=device-width, initial-scale=1\">");
            client.println("<link rel=\"icon\" href=\"data:,\">");
            // CSS to style the on/off buttons
            // Feel free to change the background-color and font-size attributes to fit your preferences
            client.println("<style>html { font-family: Helvetica; display: inline-block; margin: 0px auto; text-align: center;}");
            client.println(".button { background-color: #195B6A; border: none; color: white; padding: 16px 40px;");
            client.println("text-decoration: none; font-size: 30px; margin: 2px; cursor: pointer;}");
            client.println(".button2 {background-color: #77878A;}</style></head>");

            // Web Page Heading
            client.println("<body><h1>Web Server</h1>");

            // Display current state, and ON/OFF buttons for GPIO 5
            client.println("<p>GPIO 5 - State " + output5State + "</p>");
            // If the output5State is off, it displays the ON button
            if (output5State=="off") {
              client.println("<p><a href=\"/5/on\"><button class=\"button\">ON</button></a></p>");
            } else {
              client.println("<p><a href=\"/5/off\"><button class=\"button button2\">OFF</button></a></p>");
            }

            // Display current state, and ON/OFF buttons for GPIO 4
            client.println("<p>GPIO 4 - State " + output4State + "</p>");
            // If the output4State is off, it displays the ON button
            if (output4State=="off") {
              client.println("<p><a href=\"/4/on\"><button class=\"button\">ON</button></a></p>");
            } else {
              client.println("<p><a href=\"/4/off\"><button class=\"button button2\">OFF</button></a></p>");
            }
            client.println("</body></html>");

            // The HTTP response ends with another blank line
            client.println();
            // Break out of the while loop
            break;
          } else { // if you got a newline, then clear currentLine
            currentLine = "";
          }
        } else if (c != '\r') {  // if you got anything else but a carriage return character,
          currentLine += c;      // add it to the end of the currentLine
        }
      }
    }
    // Clear the header variable
    header = "";
    // Close the connection
    client.stop();
    Serial.println("Client disconnected.");
    Serial.println("");
  }
}