Assignment 3
Computer Aided Design
Week 3
Hi everyone, welcome to you My thrid week assignment this week I Learn various software for 2D Design and 3D Design .
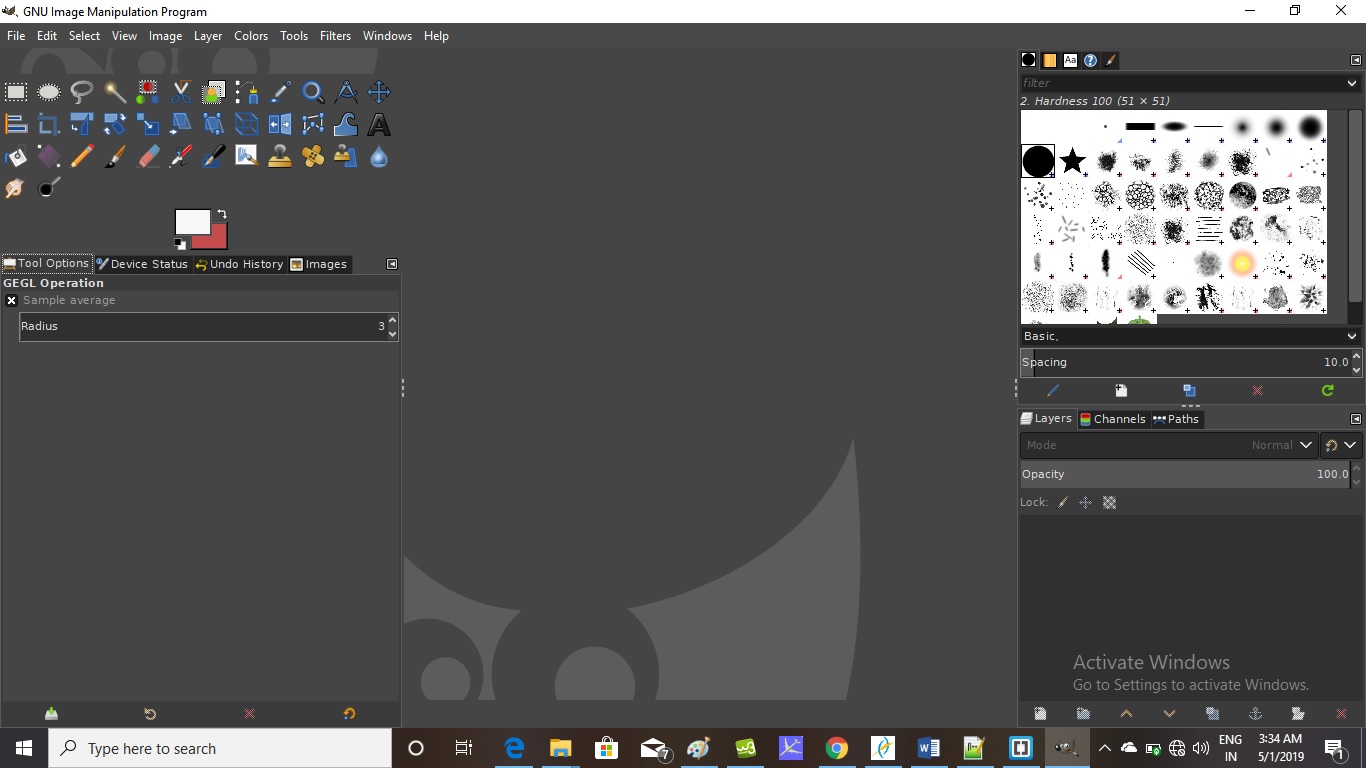
GIMP is an acronym for GNU Image Manipulation Program. It is a freely distributed program for such tasks as photo retouching, image composition and image authoring. It has many capabilities. It can be used as a simple paint program, an expert quality photo retouching program, an online batch processing system, an image format converter, etc. Originally designed for use on Linux/Unix systems, the Gimp is user supported software, meaning that many of the people using the Gimp software also contribute to writing the software.
GIMP comes with impressive selection and montage features, various ways to retouch your images, cropping, noise reduction and colour adjustment tools, customisable brushes, gradients and so much more. There's plenty for the more advanced user, too, including layer masks, bezier curves, filters and even an animation package.it is possible to use GIMP to make simple animations. This can be achieved by placing each individual animation frame into a separate layer; the program allows the user to then play the frames as an animation, with an adjustable delay between each image.

GIMP Stand for
• GNU Image Manipulation Program
• Bitmap Graphics Editor
• Open Source
• Cross Platform
• Not for Vector editing

Opening Images
• To open an image for editing: Drag file onto a new GIMP window or File > Open or (Ctrl + O)
• After opening, save a working copy of the file
• GIMP saves files as XCF files by default, but you can export files in other formats (e.g. PNG)

Website Picture Edited with GIMP .
Scaling Images
• GIMP can be used to scale the size of your image – Image > Scale Image.

Note : Avoid making your images bigger than original size, bitmaps do not scale up well!
Exporting Images
• Once editing is done, and the working XCF file is saved, you need to export the image
• File > Export As…
• Specify file format e.g. PNG/jpg

Note : Always save your image as a PNG file, maintains transparency (alpha channel) and is lossless.
Note : GIMP can do nearly all that Adobe Photoshop can do. You won’t notice the differences between these two programs unless you are a graphics professional, and in that case you likely have access to Photoshop anyway. GIMP can do almost anything you can imagine to a photograph: It’s most exciting capabilities for the non-professional user can be expressed as how it can select complex areas of an image and then edit them. You can take a photo of the car you’re trying to sell, and remove the distracting background. You can rescue over- and under-exposed snapshots. You can sharpen small photos before you post them online, and you can choose one single part of a photo and put it against a transparent background. For example the following pictures editing using GIMP.
Krita It is a free painting software that can be used by both professional and amateur artists. The open source painting and sketching platform provides an alternative to the more expensive software of this type, boasting of fast performance and extensive features. With its line up of tools and powerful capabilities, it has become a favorite program for illustrators, texture renderers, concept designers, visual effects creators and 2D/3D artists. It has found usage in the video game industry as well as filmmaking.

ImageMagick It is a collection of tools and libraries designed to read, write, and manipulate an image in many popular image formats, including GIF, JPEG, PNG, PDF, and Photo CD. With ImageMagick, you can create GIFs dynamically, making this program suitable for Web applications. You can also resize, rotate, sharpen, reduce the color of, or add special effects to, an image and save your completed work in the same or a different image format.
Corel Photo-Paint is the image-editing program included in the CorelDRAW Graphics Suite, and it’s a reasonably full-featured photo-retouching and image-editing program. Photo-Paint (see this figure) stands solidly among a second tier of products for working on digital photos.

Inkscape
Inkscape is a free open source program for creating vector art. In the world of vector drawing programs, Adobe Illustrator is the king, and for a good reason Illustrator is one of the most advanced, robust, and powerful vector drawing programs in existence. One of the most robust and useful Illustrator alternatives the open-source movement has created is Inkscape. Compared to other open-source vector drawing program.
Inkscape can be used in all major computer operating systems (Linux, Mac, and Windows), and can import and export to many major le formats. (SVG, AI, EPS, PDF, JPEG, GIF, PNG, etc.)

Inkscape’s Interface
Menu Bar: If you’re a Windows this’ll be quite familiar. This will be your Menu Bar. This will be where the majority of your options are.
Main Tools: This is the bar where your basic tools are located. (Selector, Node Tool, Zoom Tool, etc.)
Tool Setting: Where you’ll adjust the settings for your main tools.
Rulers: Most artists are familiar with rulers. A click-drag from either ruler will let you create a guide.
Canvas: The area that contains your page. This is also the area where you’ll create your paths, objects, and raster art.
Page: The area that will hold your artwork whenever you export or print your documents. Any objects outside the page will not print or be exported
Dock: This will store your palettes to adjust different settings.
Command Bar: Contains shortcuts/buttons to many of the items/settings within the menus.
Snap Bar: To adjust or set what snaps to what.
Color Pallet: One of the places to select your colors. You can use your scroll wheel to scroll through your color palette back and forth. (You can also use the Fill and Stroke palette to select your colors, located inside the Command Bar.)
Status Bar: This has gobs of information in one glance. The Status Bar tells you the color an object’s using. You can adjust the opacity of an object or path. You can lock, hide/show, and change layers. The Status Bar also provides useful tips. It tells you your cursor’s coordinates. You can also adjust the zoom.
Getting Around Inkscape
some useful keystrokes and mousing to help us move around Inkscape:
Zooming
• To pan or maneuver around the canvas — Click-hold-middle mouse button/scroll wheel and drag or Alt/Option-left mouse button and drag .
• Zoom in: + (plus) key, Control-Right-Click
• Zoom out: – (minus) key, Shift-Right-Click You can also zoom in and out using Control-Mouse Wheel.
Zoom Presets
• Zoom 1:1 — 1 key
• Zoom 1:2 — 2 key
• Zoom to selection — 3 key
• Zoom to drawing — 4 key
• Zoom to page — 5 key
• Zoom to page width — 6 key
Vector Design 2D
Note : I used Inkscape to Draw Vector Line, so I started with Text Tool and Explore design with various fill stroke and color ,Later I Make Sticker .


Download File
Note : I Designed sticker in inkscape and corel Draw .The canvas, paper, ink and pencil function of media are now replaced by Corel Draw, a computer program for people to express their ideas in pictorial/ graphically. Several advantages can be had where one uses Corel Draw.


3D Design softwer : Fusion 360 makes a comprehensive set of tools available to the user. Aside from the standard modeling tools, Fusion 360 also includes environments for creating surfaces and sheet metal parts. When it comes time for testing, there’s a simulation environment with features such as static stress and thermal analysis. The manufacturing side of things is rounded out by a robust set of aids for computer aided manufacturing (CAM).
Autodesk 123D Design ,I decide to use intially few week because it is opening normally currently I am having problem with fusion 360 graphic card not supporting . I try with 2d design in Free cad software for prametric Design . but In fututre I will use Fusion 360 for my final project.


Note :
After hvaing basic idea of 2d sketch in fusion360 ,I started sketch in z plane .


Download File

Download File
Free Cad Design softwer Features :
1. FreeCAD is a parametric 3D modeler, free and open-source workbenches and features similar to CATIA, Creo, Autodesk Inventor, SolidWorks or Solid Edge In addition FreeCAD can be controlled from Python which allows for scripting or use of FreeCAD itself as a python module
2. FreeCAD is hosted on GitHub https://github.com/FreeCAD . For a quick tour see the FreeCAD homepage http://www.freecadweb.org/
3.FreeCAD is a free, open-source parametric 3D modeling application. It is made primarily to model real-world objects, ranging from the small electronic components up to buildings and civil engineering projects, with a strong focus on 3D-printable objects.
4. FreeCAD is designed for parametric modeling. This means that the geometry that you create, instead of being freely sculptable, is produced by rules and parameters. For example, a cylinder might be produced from a radius and a height. With these two parameters, the program has enough information to build the cylinder
Note :Setting basic preferences Once FreeCAD is installed, you might want to open it and set a couple of preferences. Preferences settings in FreeCAD are located under menu Edit > Preferences . You can browse through the different pages to see if there is anything else you would want to change, but here are a couple of basic ones:
Exploring FreeCAD
FreeCAD interface :FreeCAD uses the Qt framework to draw and manage its interface. This framework is used in a wide range of applications, so the FreeCAD interface is very classical and presents no particular difficulty to understand. Most buttons are standard and will be found where you expect them (File -> Open, Edit -> Paste, etc). Here is the look of FreeCAD when you open it for the first time, just after installing, showing you the start center:
The start center is a convenient "welcome screen", that shows useful information for newcomers, like the latest files you have been working on, what's new in the FreeCAD world, or quick info about the most common Workbenches. It will also notify you if a new stable version of FreeCAD is available. Close the Start Page tab (click on the tab x near the bottom) and create a new document (Ctrl-N):


Workbenches are group of tools (toolbar buttons, menus, and other interface controls) that are grouped together by specialty. Think of a workshop where you have different people working together: A person who works with metal, another with wood. Each of them has, in their workshop, a separate table with specific tools for his/her job. However, they can all work on the same objects. The same happens in FreeCAD. The most important control of the FreeCAD interface is the Workbench selector, which you use to switch from one Workbench to another:
Note:Some of the icons have changed between the two screencaptures above. This is where concept used in the FreeCAD interface comes into play: Workbenches.Intially started with cube and cone ,try to expolre tool of Part workbench where I can do intial boolean operation like ; merge,substrat etc.


Download File
Learning Outcome :
1. Understanding of vector and raster Design .
3. Understanding of Prametric Design .
2. Learn Vector and Raster software from scratch .
4. Learn how make a Prametric design in Free Cad .
5. Software Learn : Inkscape,GIMP,Corel Draw suits ,123D Cad,Fusion 360,Free CAD
6. Learn Render the Design in Fusion 360.
References :
2. GIMP
3. corel Draw
4. Fusion 369
5. FreeCAD