For this week I work in the serial bus asynchronous.
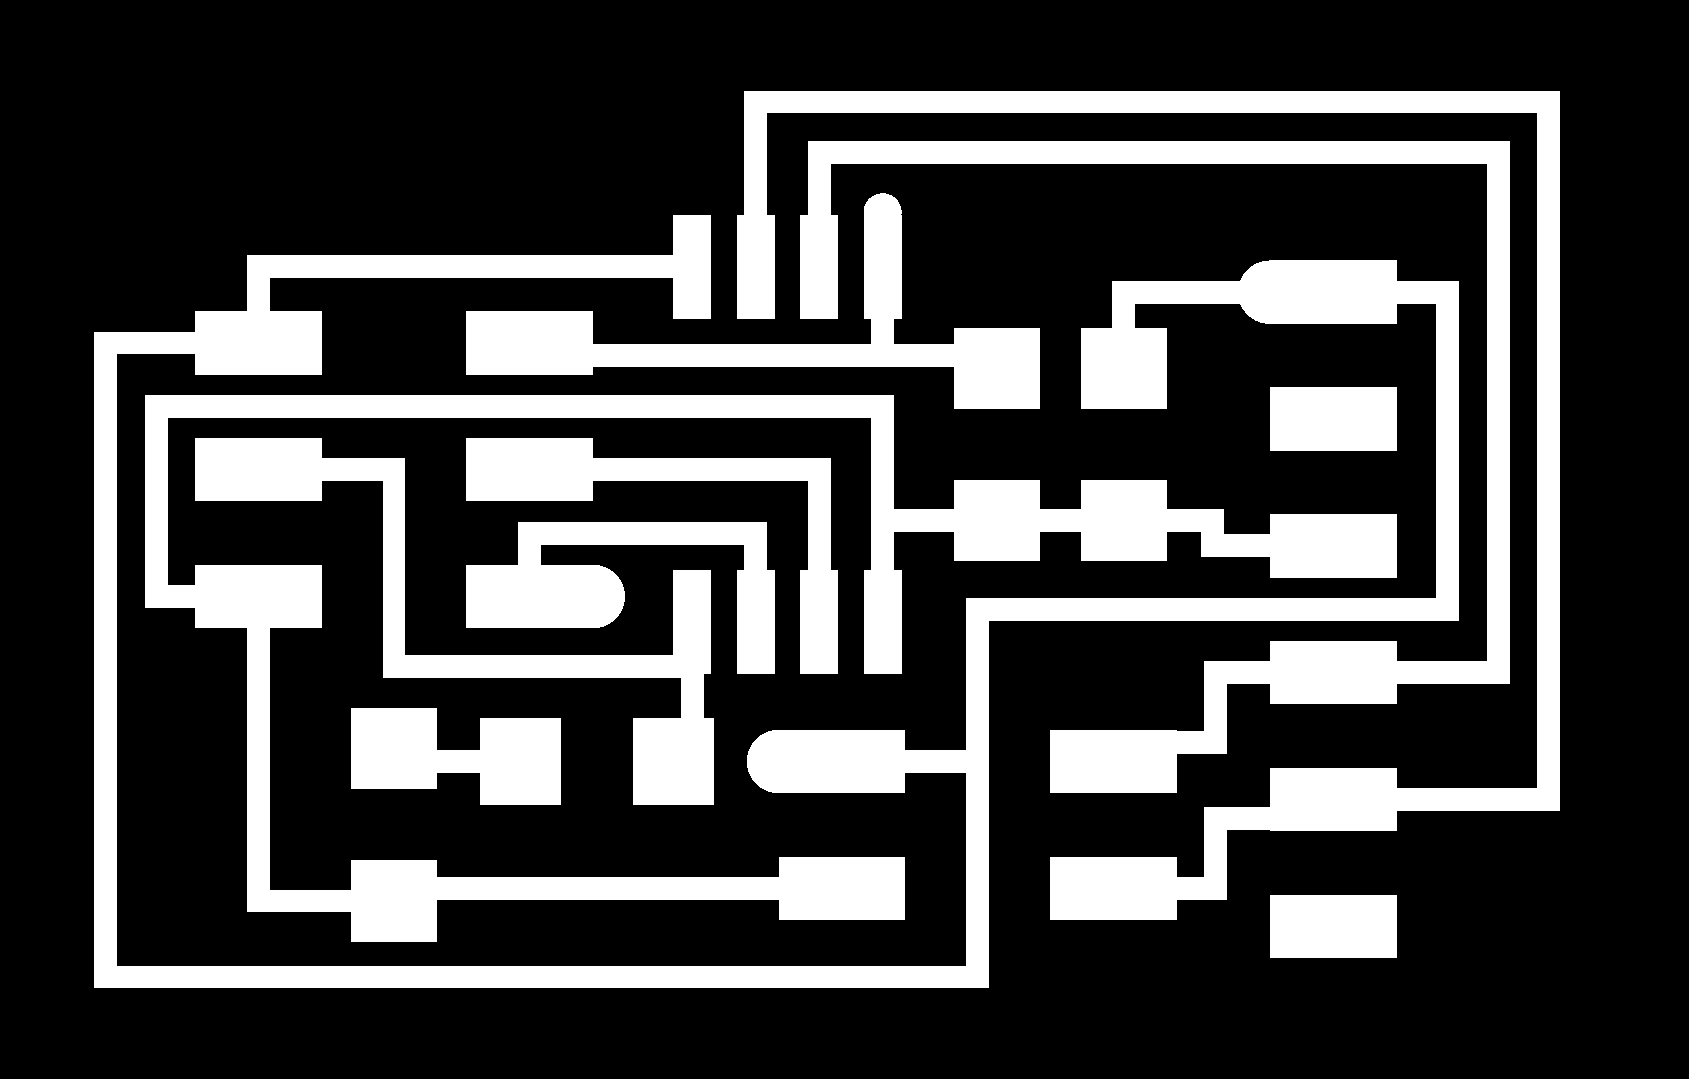
For do the PCB boards I use the png files (bridge and node x 2) availabele in the week Networking and Communications.
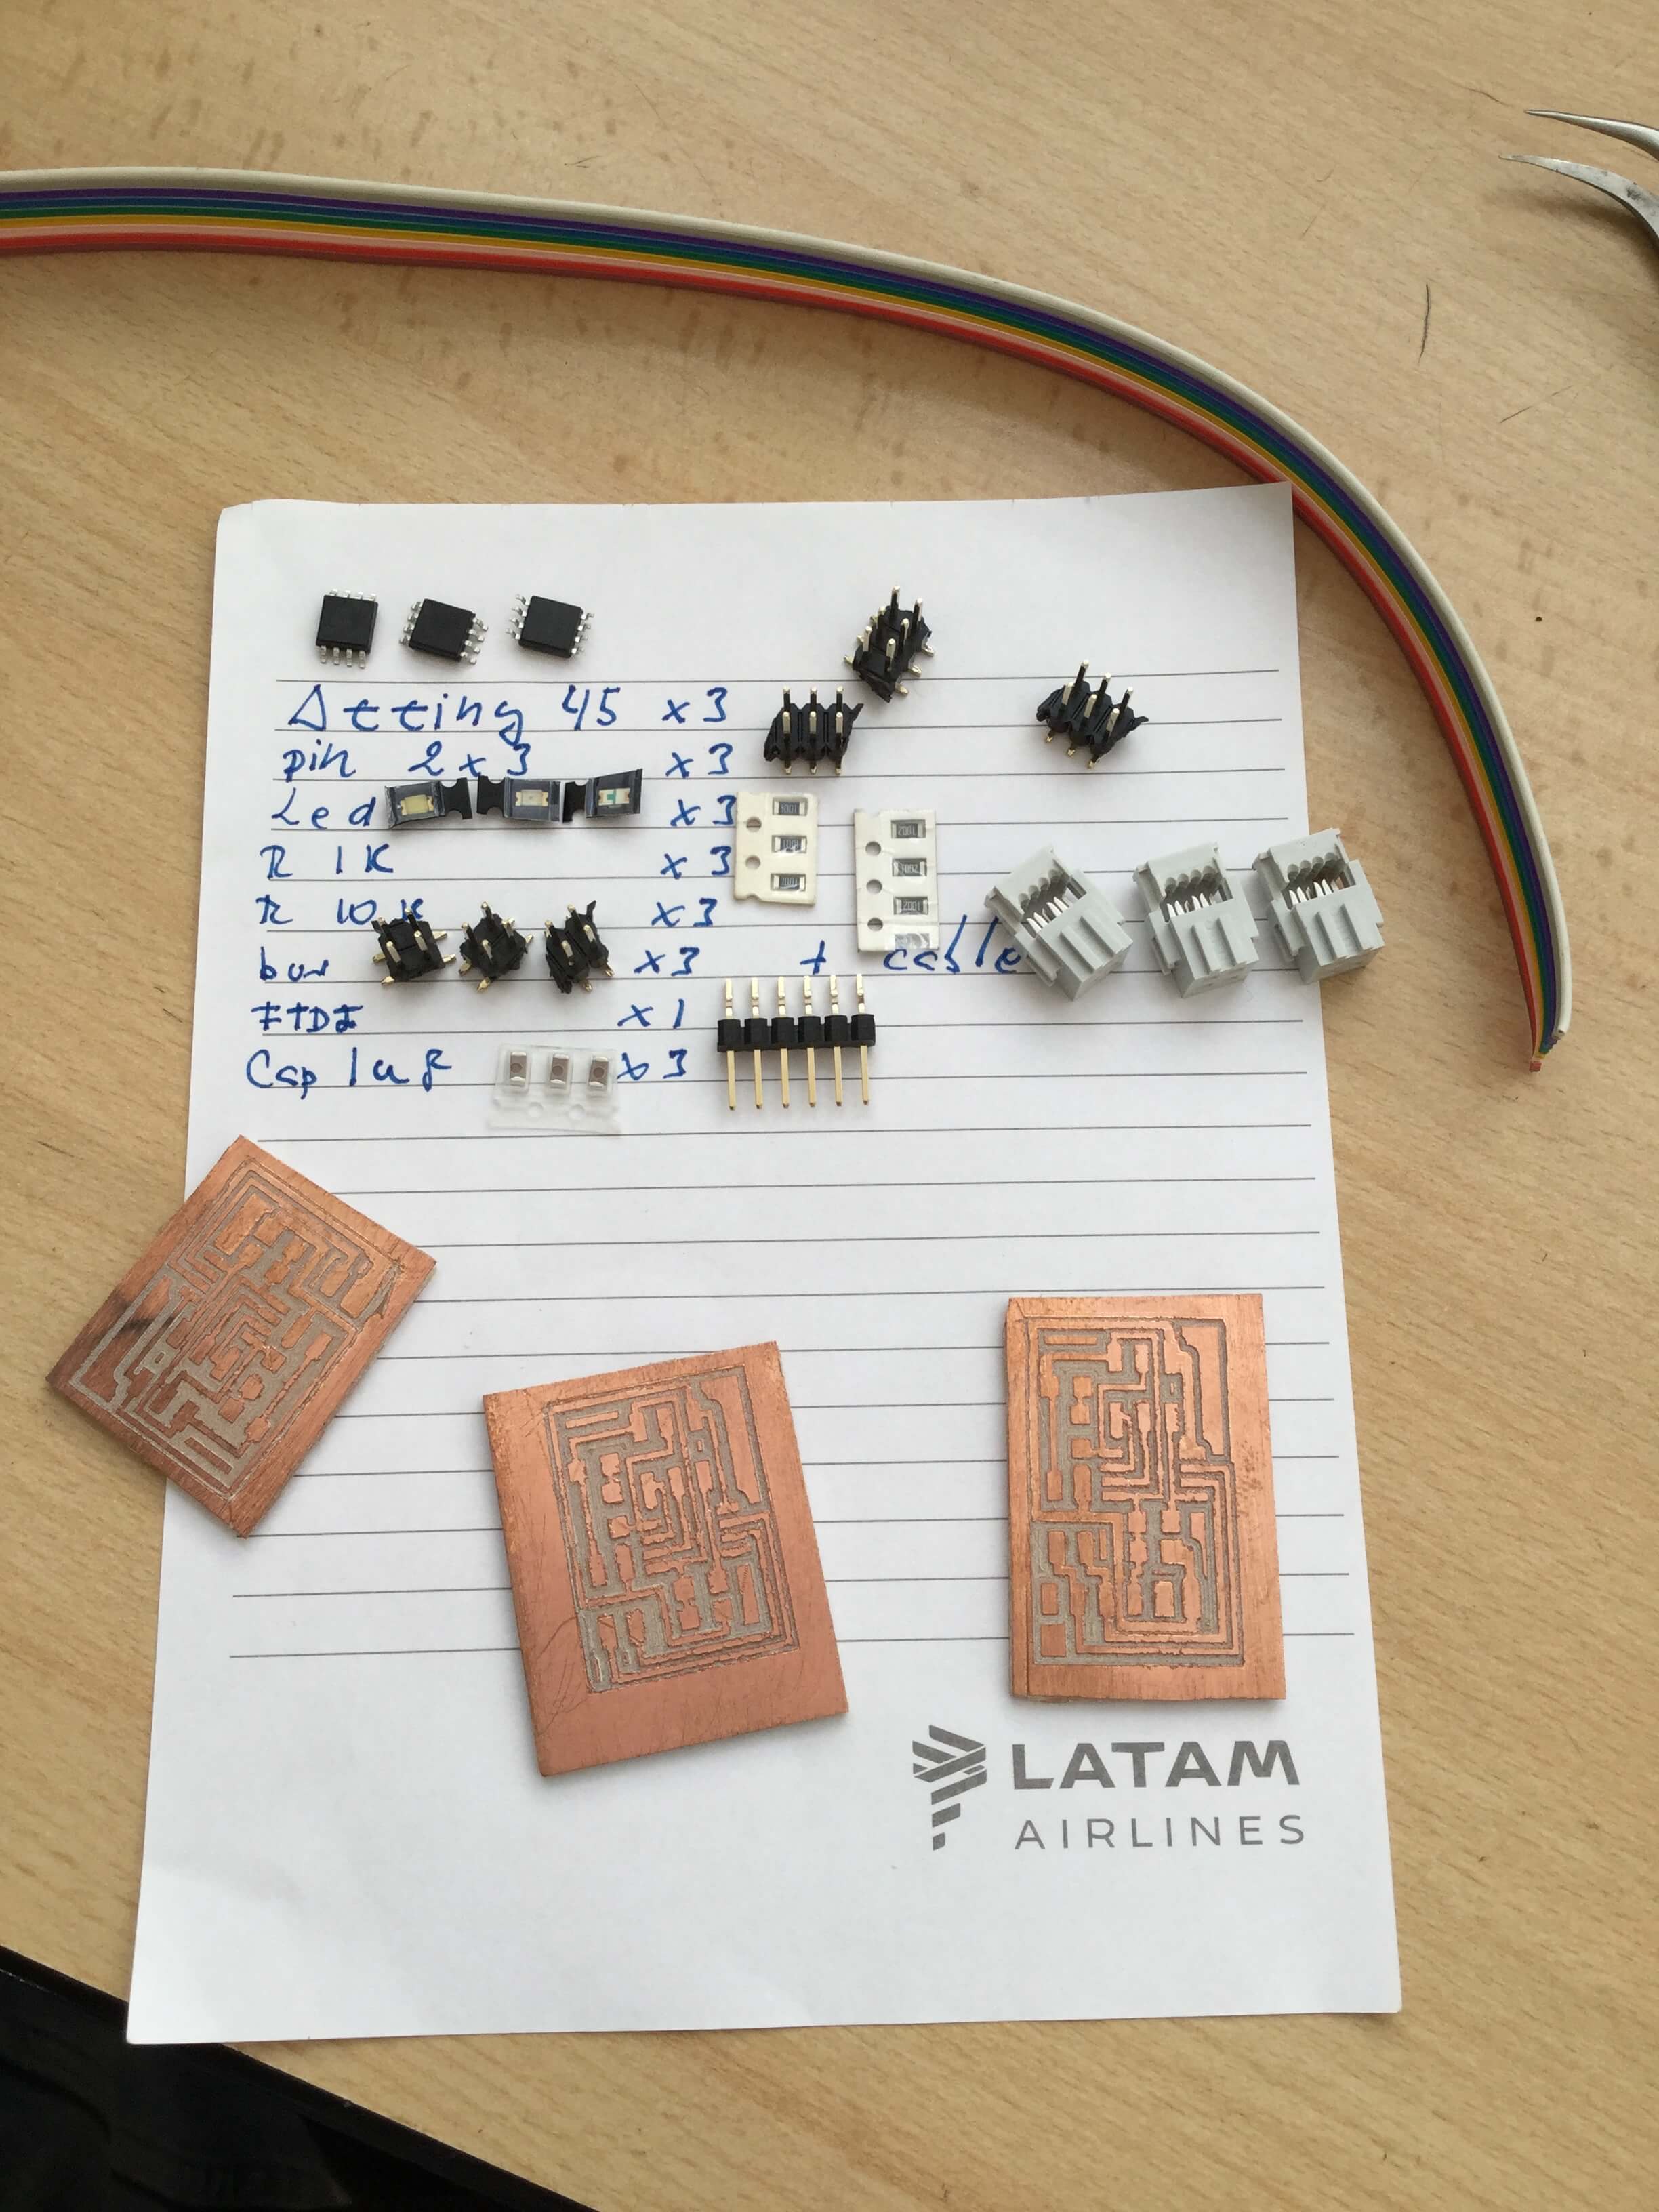
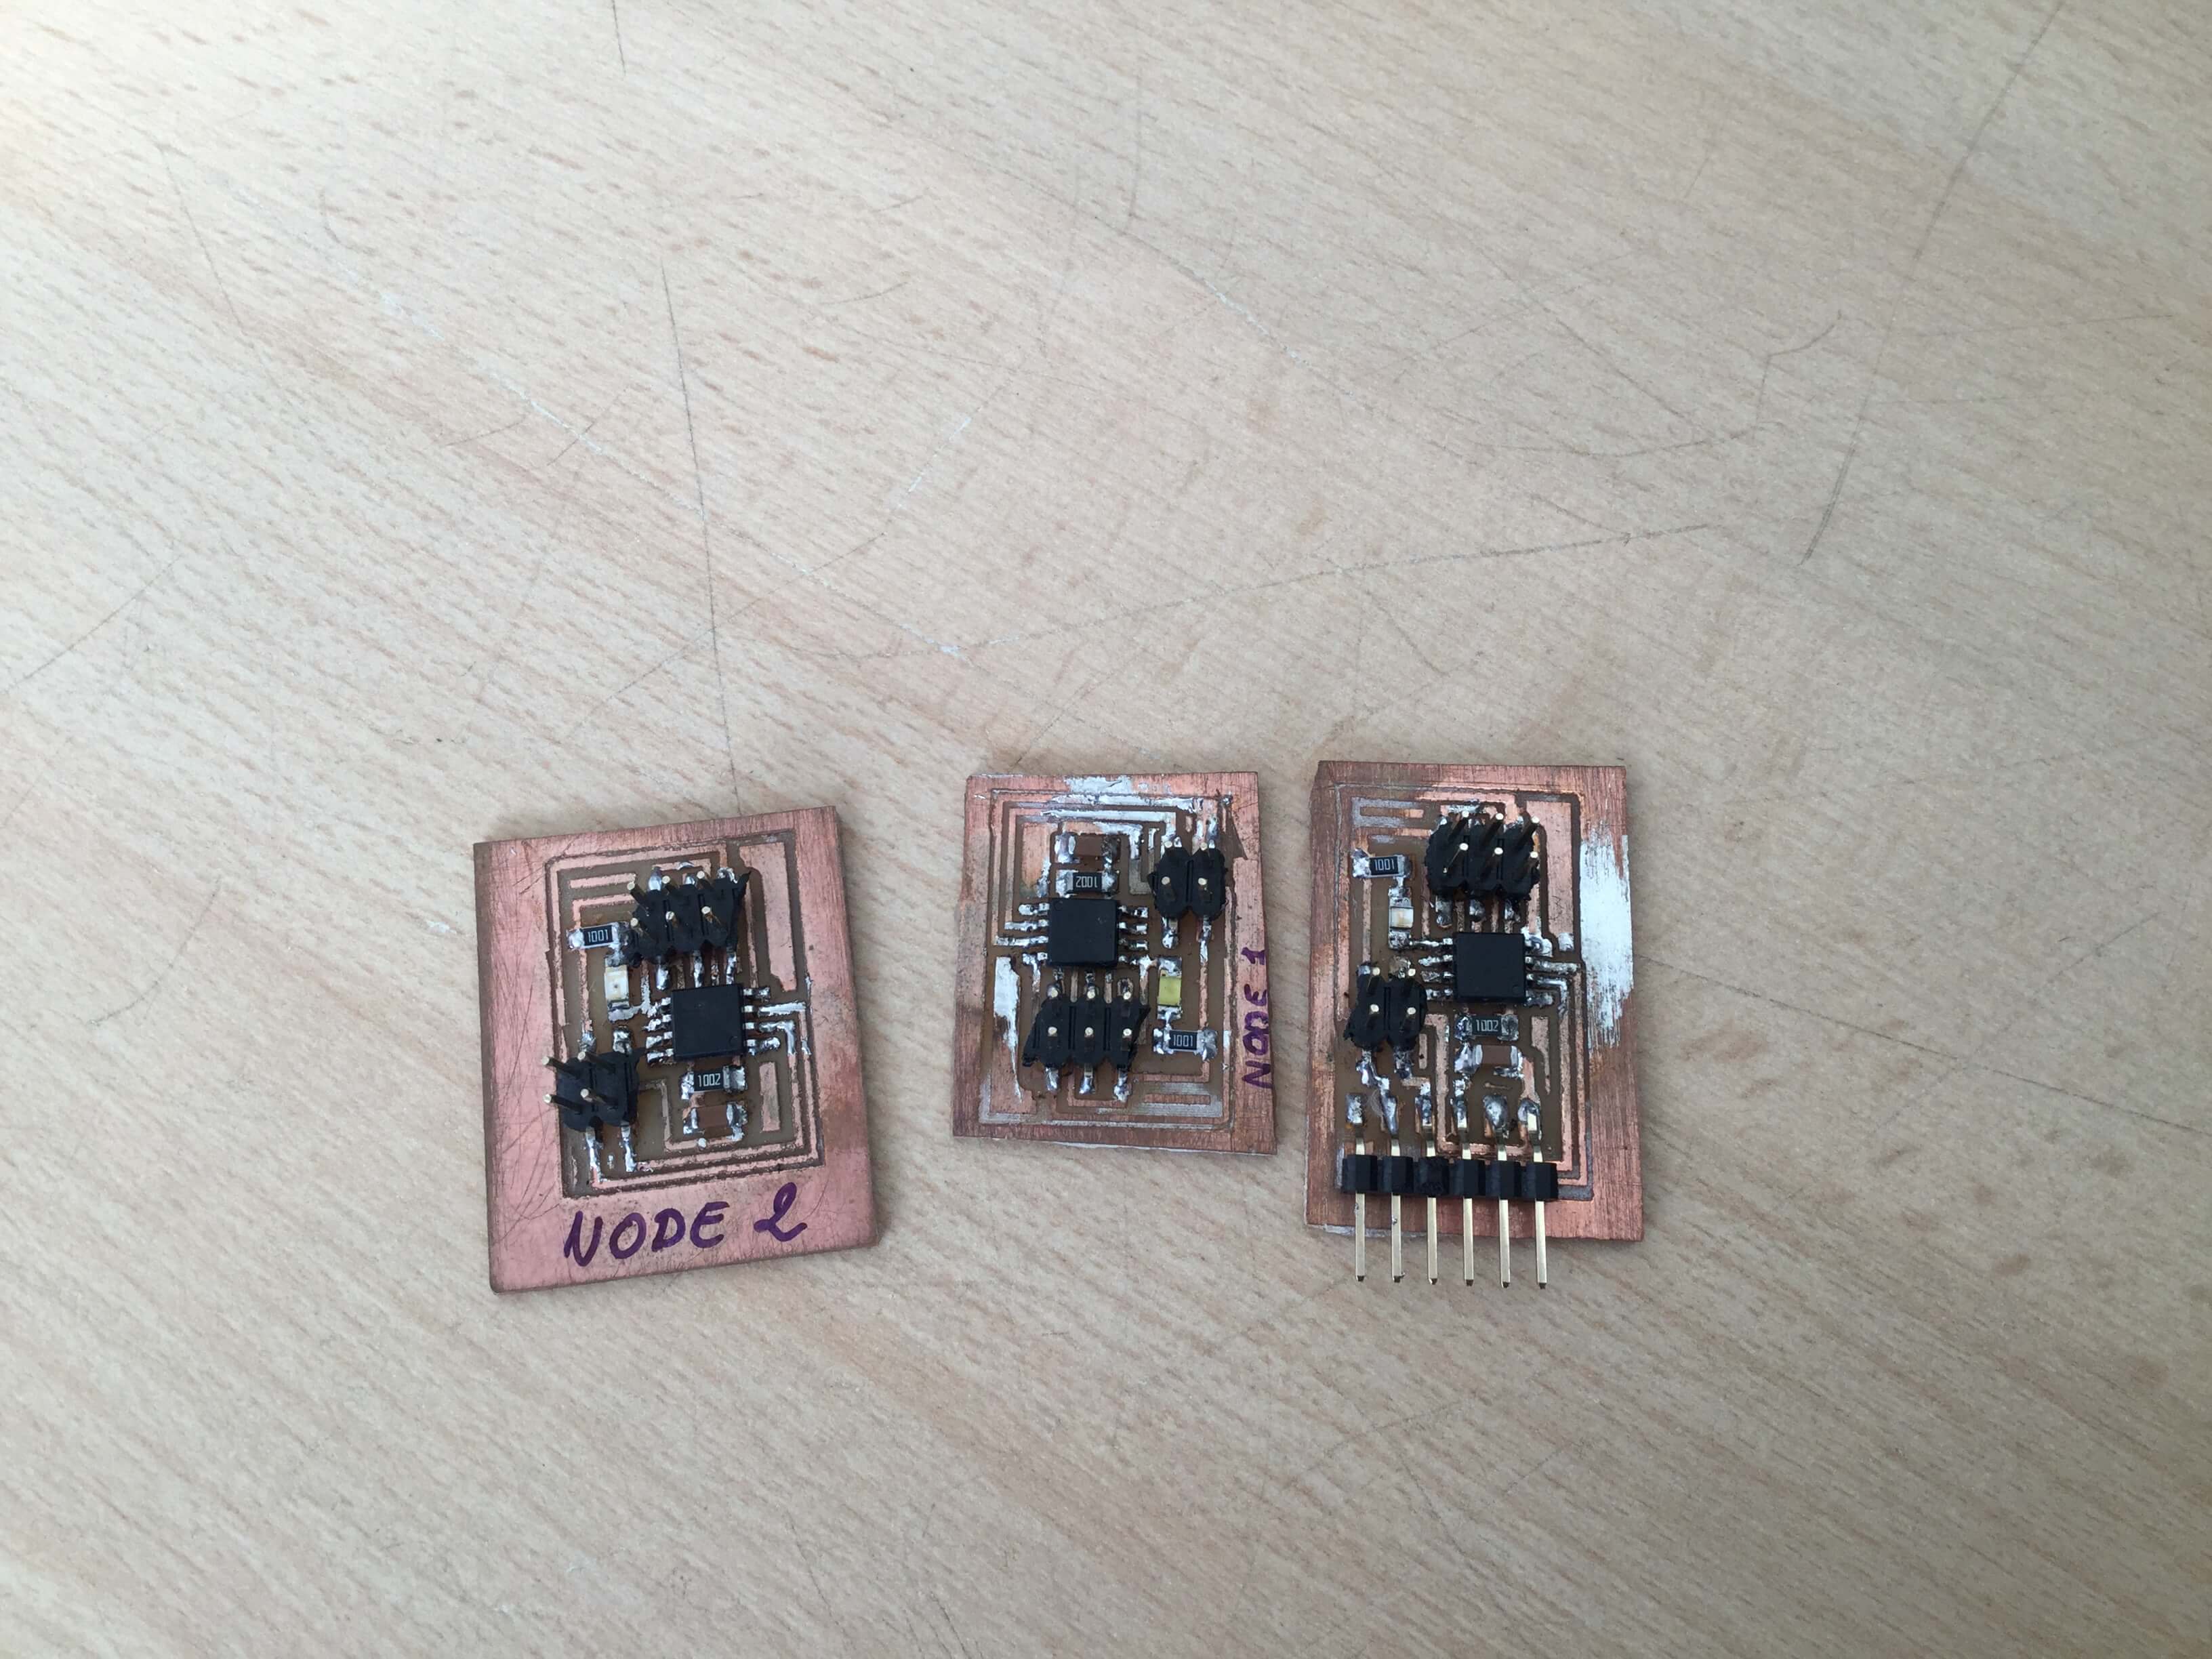
The Neil´s serial bus asynchronous example use three boards:
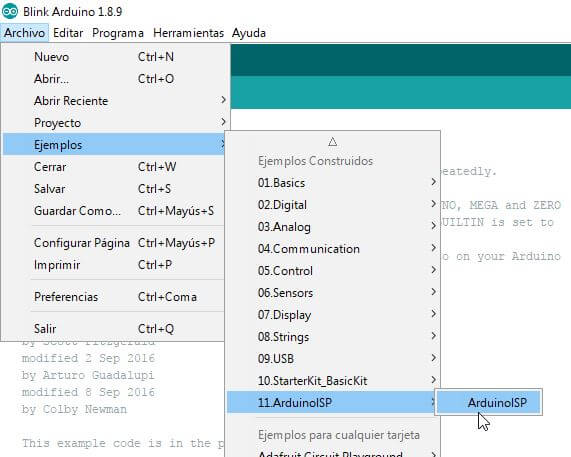
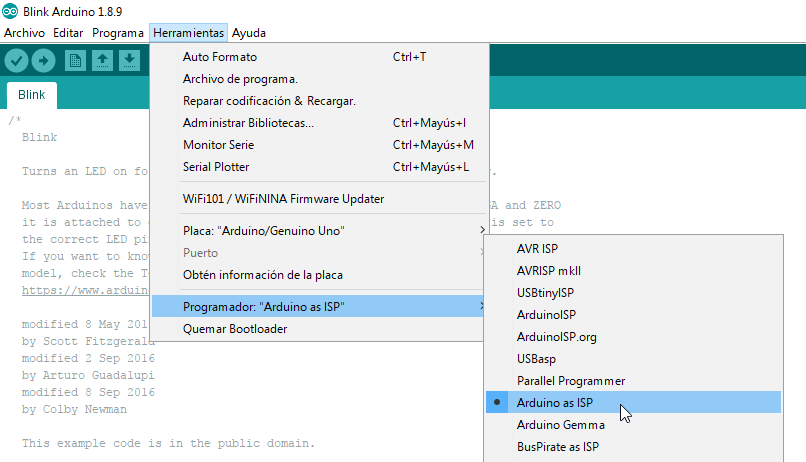
For program the boards I use the Arduino as a ISP. This is simple to program with Arduino IDE. the following images show the basic configuration:
With the Arduino running as a ISP and the boards ready, I load separately , in each board (node 1, node 2 and bridge), the blink´s Arduino examplae using Arduino IDE, with the purpose of test the Arduino as a ISP and the boards, and it looking good...
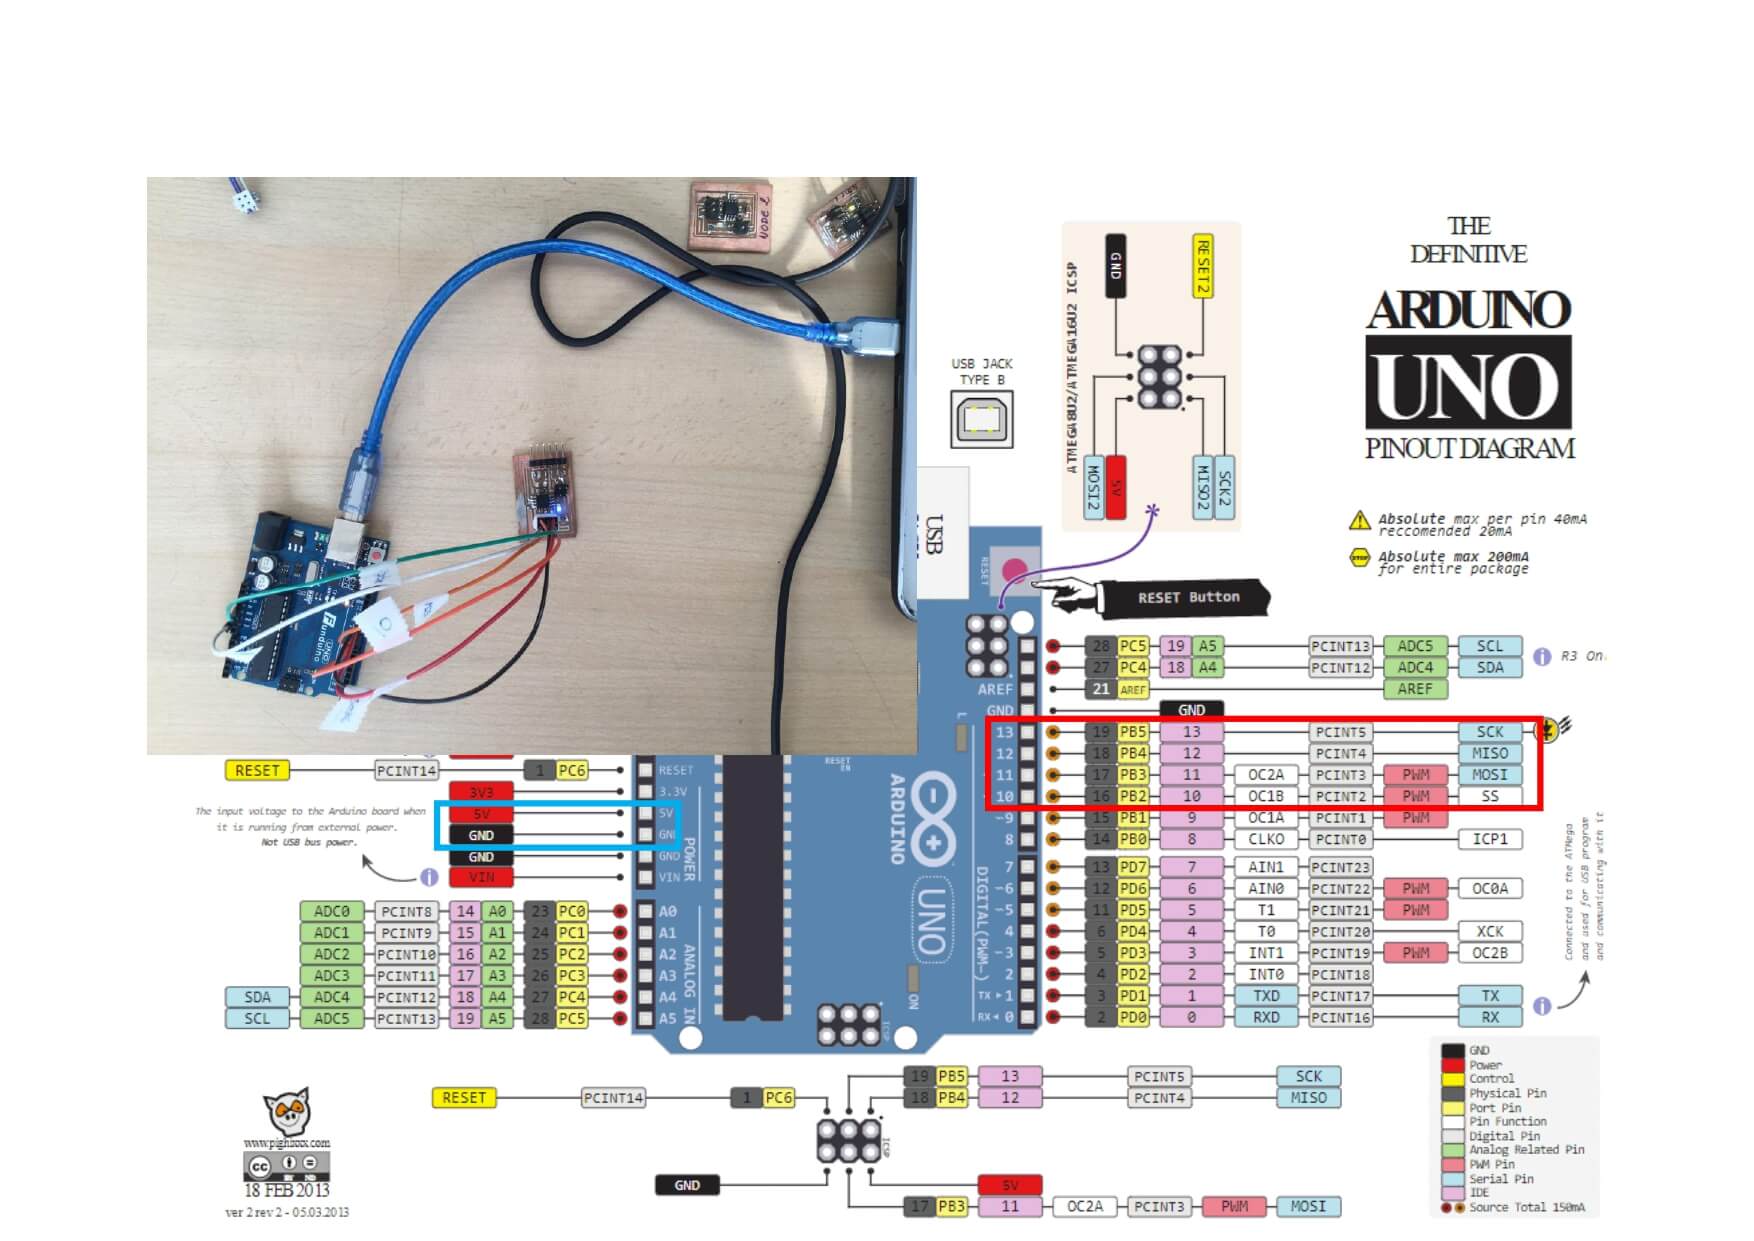
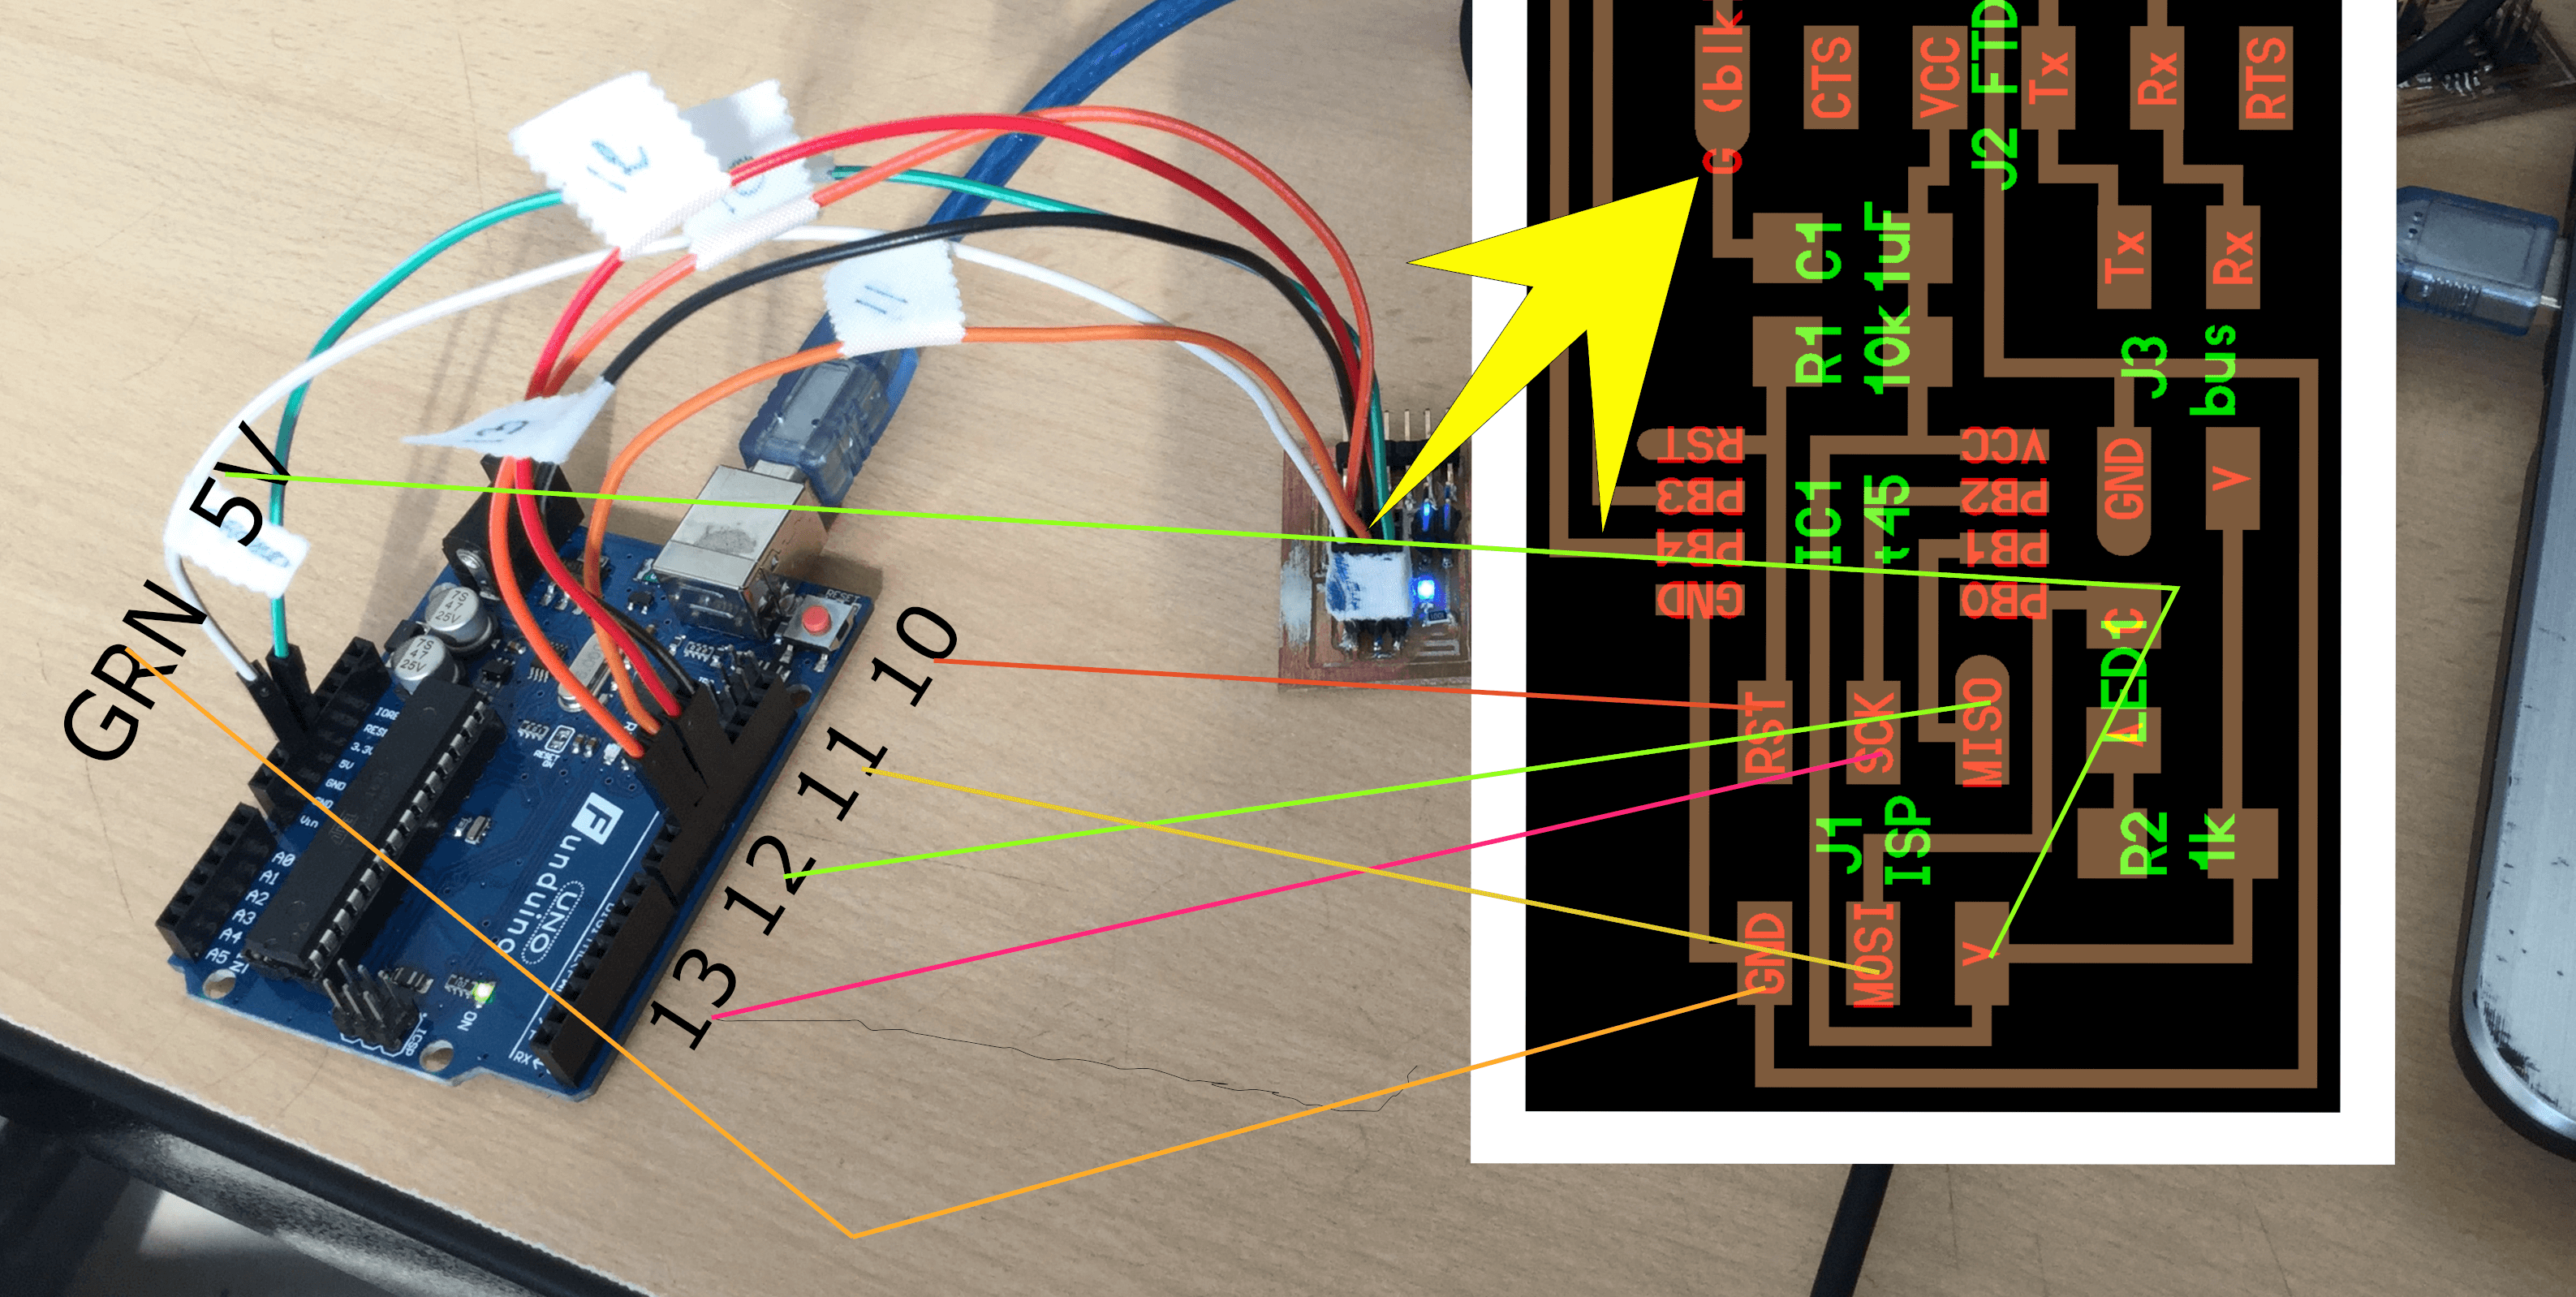
The diagram of connections between the Arduino as a ISP and the boards looks like that:
Once the Arduino is ready to work as a ISP, I began with the process for load the serial bus asynchronous program ( hello.bus.45.c and makefile) in the microchips of the boards: bridge x 1 and nodes x 2...
The software support for flash chip using c file and makefile (I install these files):
If the WinAVR was installed well, then type in the Windows command prompt: avrdude, and it show the functionalities of the program.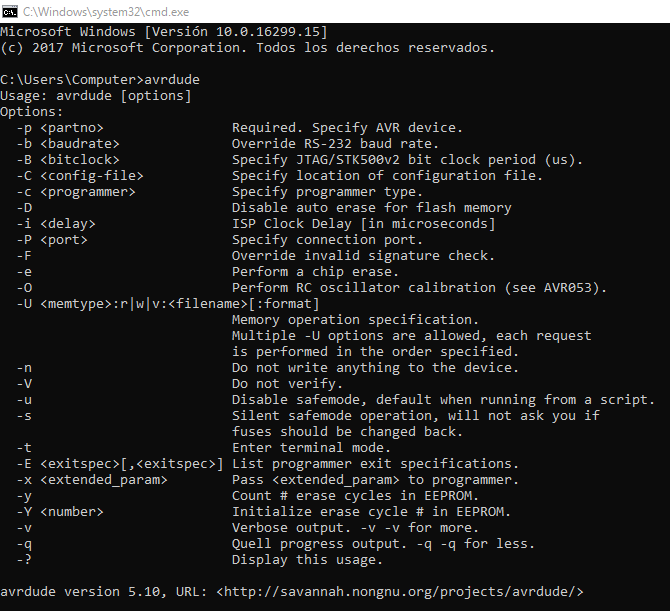
Then, I open a new directory and add the Makefile and hello.bus.45.c and:
-
hello.bus.45.c
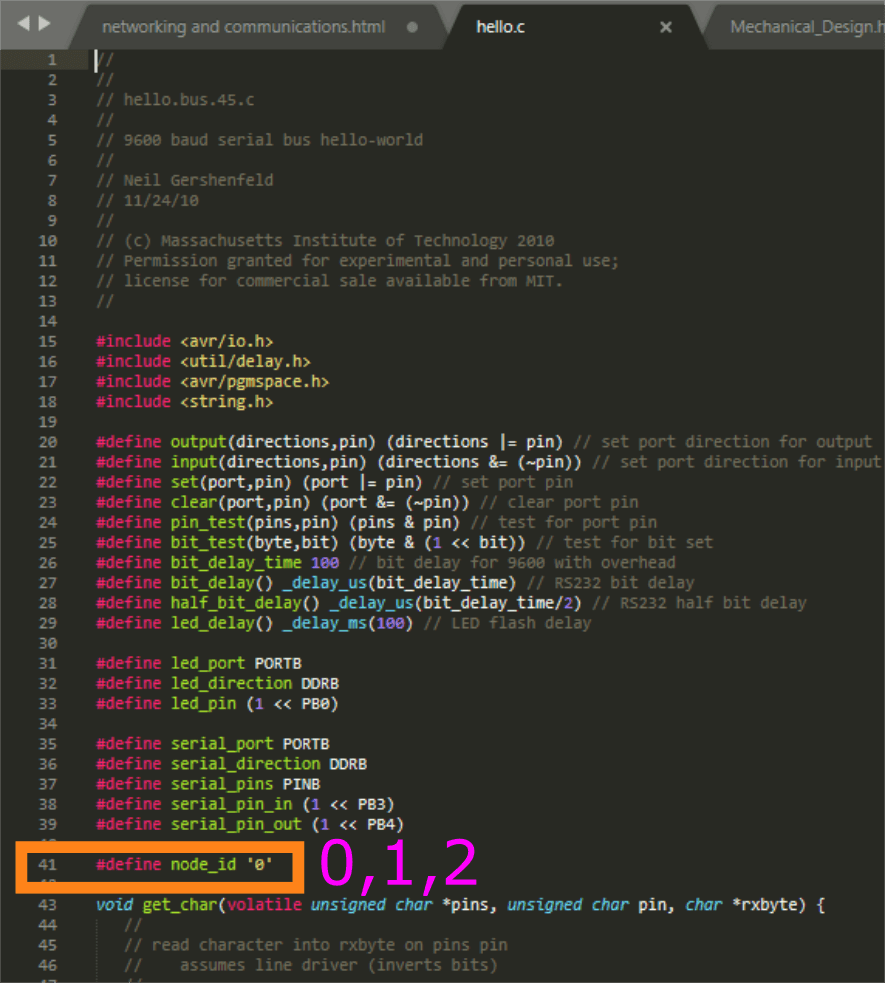
- In the C code change (in the line 41) 0 for the bride, 1 for the node 1 and 2 for the node 2. Each C code works separately with his respective makefile, for that I create three directories, one for each table.
-
Makefile:
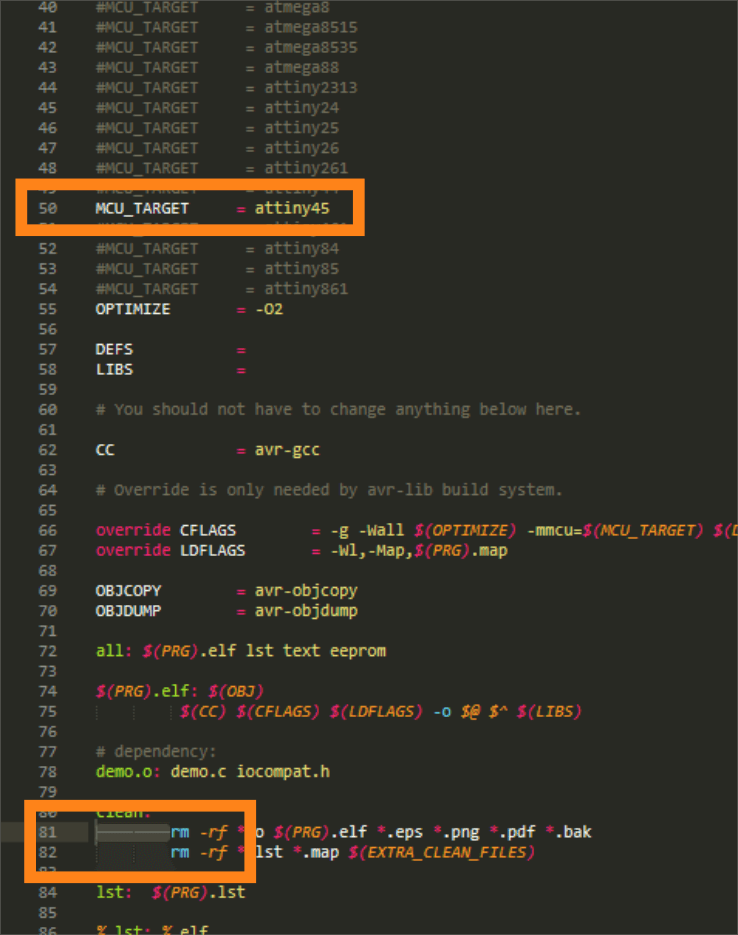
- I try to use the Makefile corresponding to the example, but I could not generate the necessary files, so I used another Makefile, the same one that needs to be prepared:
- Rename the Makefile so that it is without any extension (here is a tutorial)
-
Activate in the code the microchip to be used (remove the comment "#") and chek that the indentation is with tabs not spaces.
-
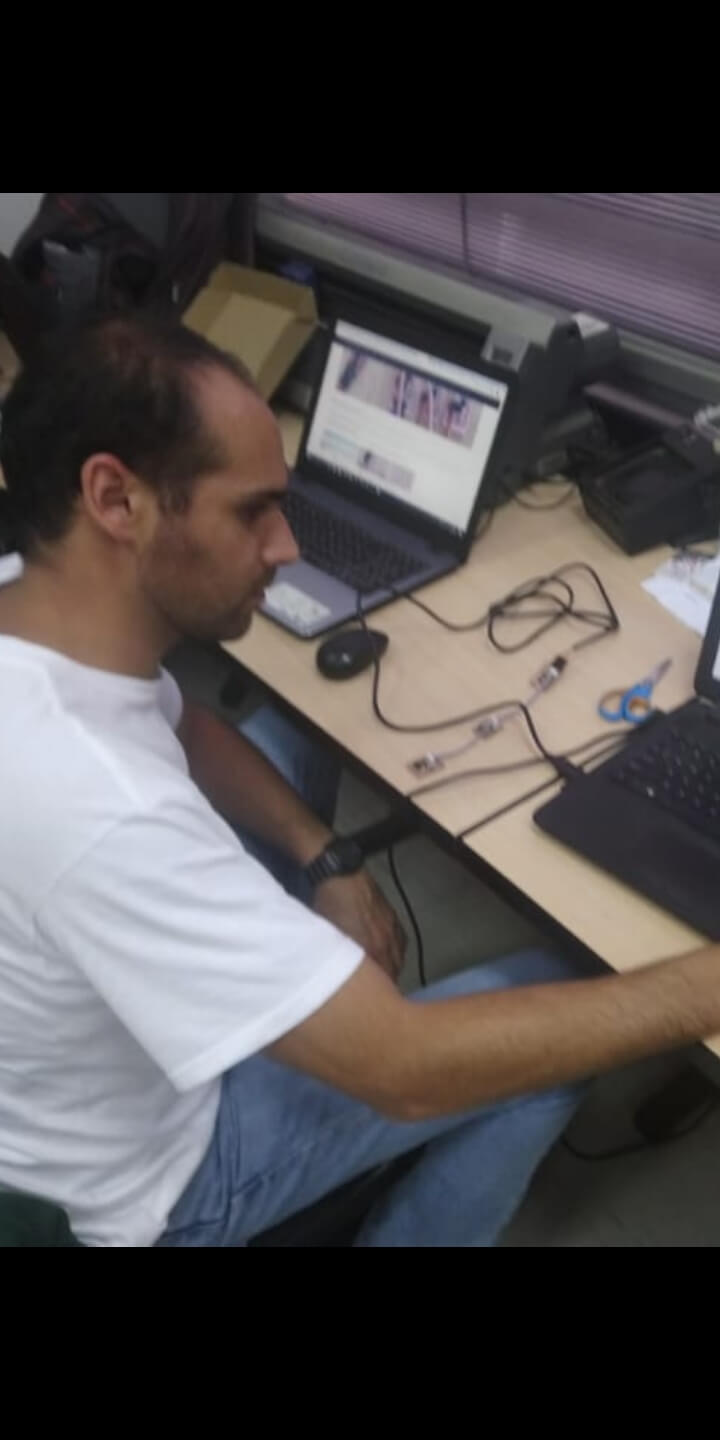
Then, with de ISP and the board connected:
In the command prompt: In the file´s directory, for generate the .hex files:make hex
Then, the features configuration of the avrdude for load the .hex files in the chip (in the command prompt to, in the file´s directory):avrdude -P com4 -c stk500v1 -b 19200 -p t45 -U flash:w:hello.bus.45.c.hex
-
Program files
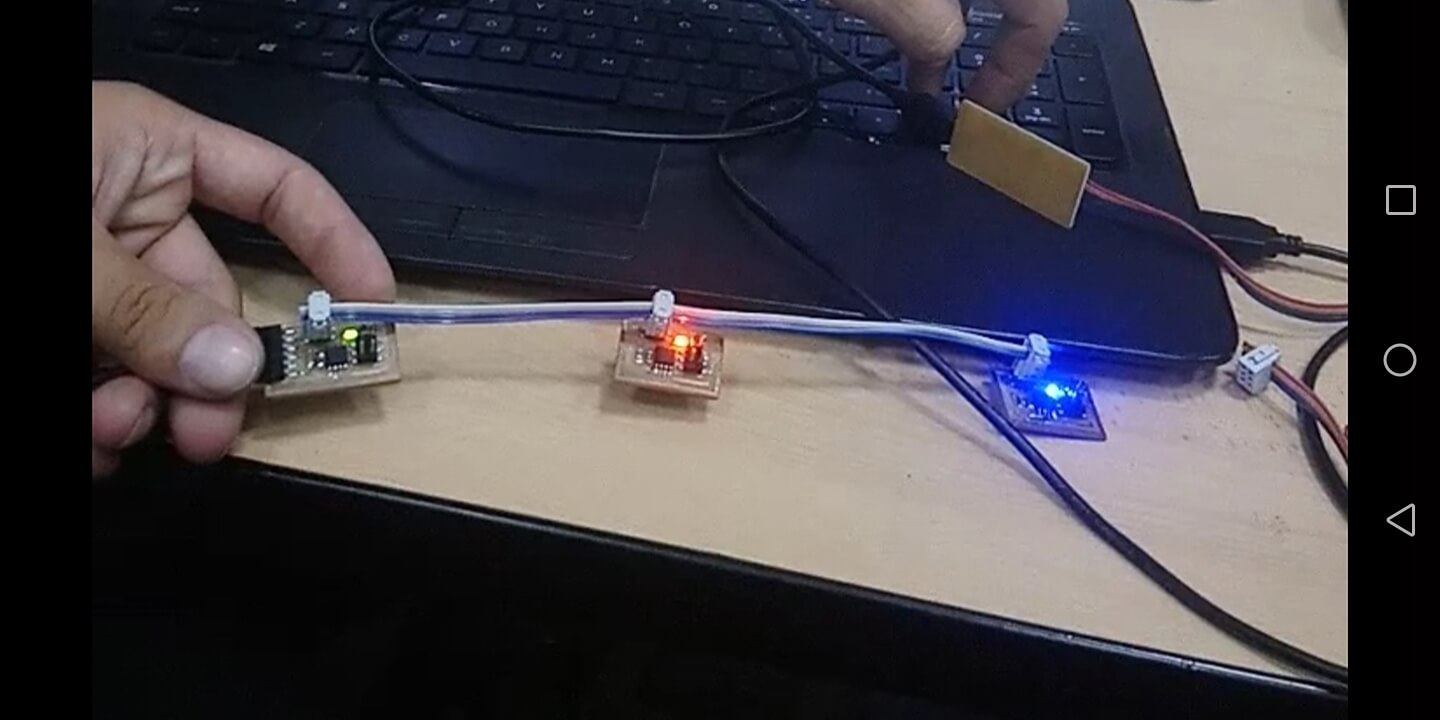
Test the board:
- First I install the FTDI firmware (here is a tutorial)
- Then install PySerial: I cant install it in Windows 10, I dont know why, so I install it in Linux:
- In the Python directory open the terminal:
pip
pyserial
tkinter
sudo python term.py/dev/ttyusb0 9600

Asignment goals
- Send a message between two projects -assignments made by different students- (group assignment).
- Design, build, and connect wired or wireless node(s) with network or bus addresses.
Learning outcomes
- Demonstrate workflows used in network design.
- Implement and interpret networking protocols.
Have you?
- Described your project using words/images/diagrams/schematic screenshots.
- Explained the programming process/es you used.
- Outlined problems and how you fixed them.
- Included design files (or linked to where they are located) and original code.