Final project
Mobile Neonatal infant incubator
What is neonatal mortality rate?
Neonatal mortality rate is the number of neonates dying before reaching 28 days of age, per 1,000 live births in a given year.
The first 28 days of life – the neonatal period – is the most vulnerable time for a child’s survival. Children face the highest risk of dying in their first month of life at an average global rate of 18 deaths per 1,000 live births in 2017. Comparatively, the probability of dying after the first month but before reaching age 1 was 12 and after age 1 but before age 5 was 10. Globally, 2.5 million children died in the first month of life in 2017 alone – approximately 7,000 neonatal deaths every day – most of which occurred in the first week, with about 1 million dying on the first day and close to 1 million dying within the next six days. (Unicef, 2018)
In 2017, neonatal mortality rate for Rwanda was 16.4 deaths per thousand live births. Neonatal mortality rate of Rwanda fell gradually from 59.1 deaths per thousand live births in 1968 to 16.4 deaths per thousand live births in 2017. first week, with about 1 million dying on the first day and close to 1 million dying within the next six days. (Knoema, 2018).
Hypothesis
In Rwanda all healthcare centers and many district hospitals don’t have access to the expensive neonatal equipment and it is a challenge to the hospitals to take care of preterm babies and transport infant babies from healthcare centers, district hospitals to the main hospitals due to the lack of the portable neonatal incubators. Additionally, keeping premature babies warm at home is another challenge to the family.
Objective
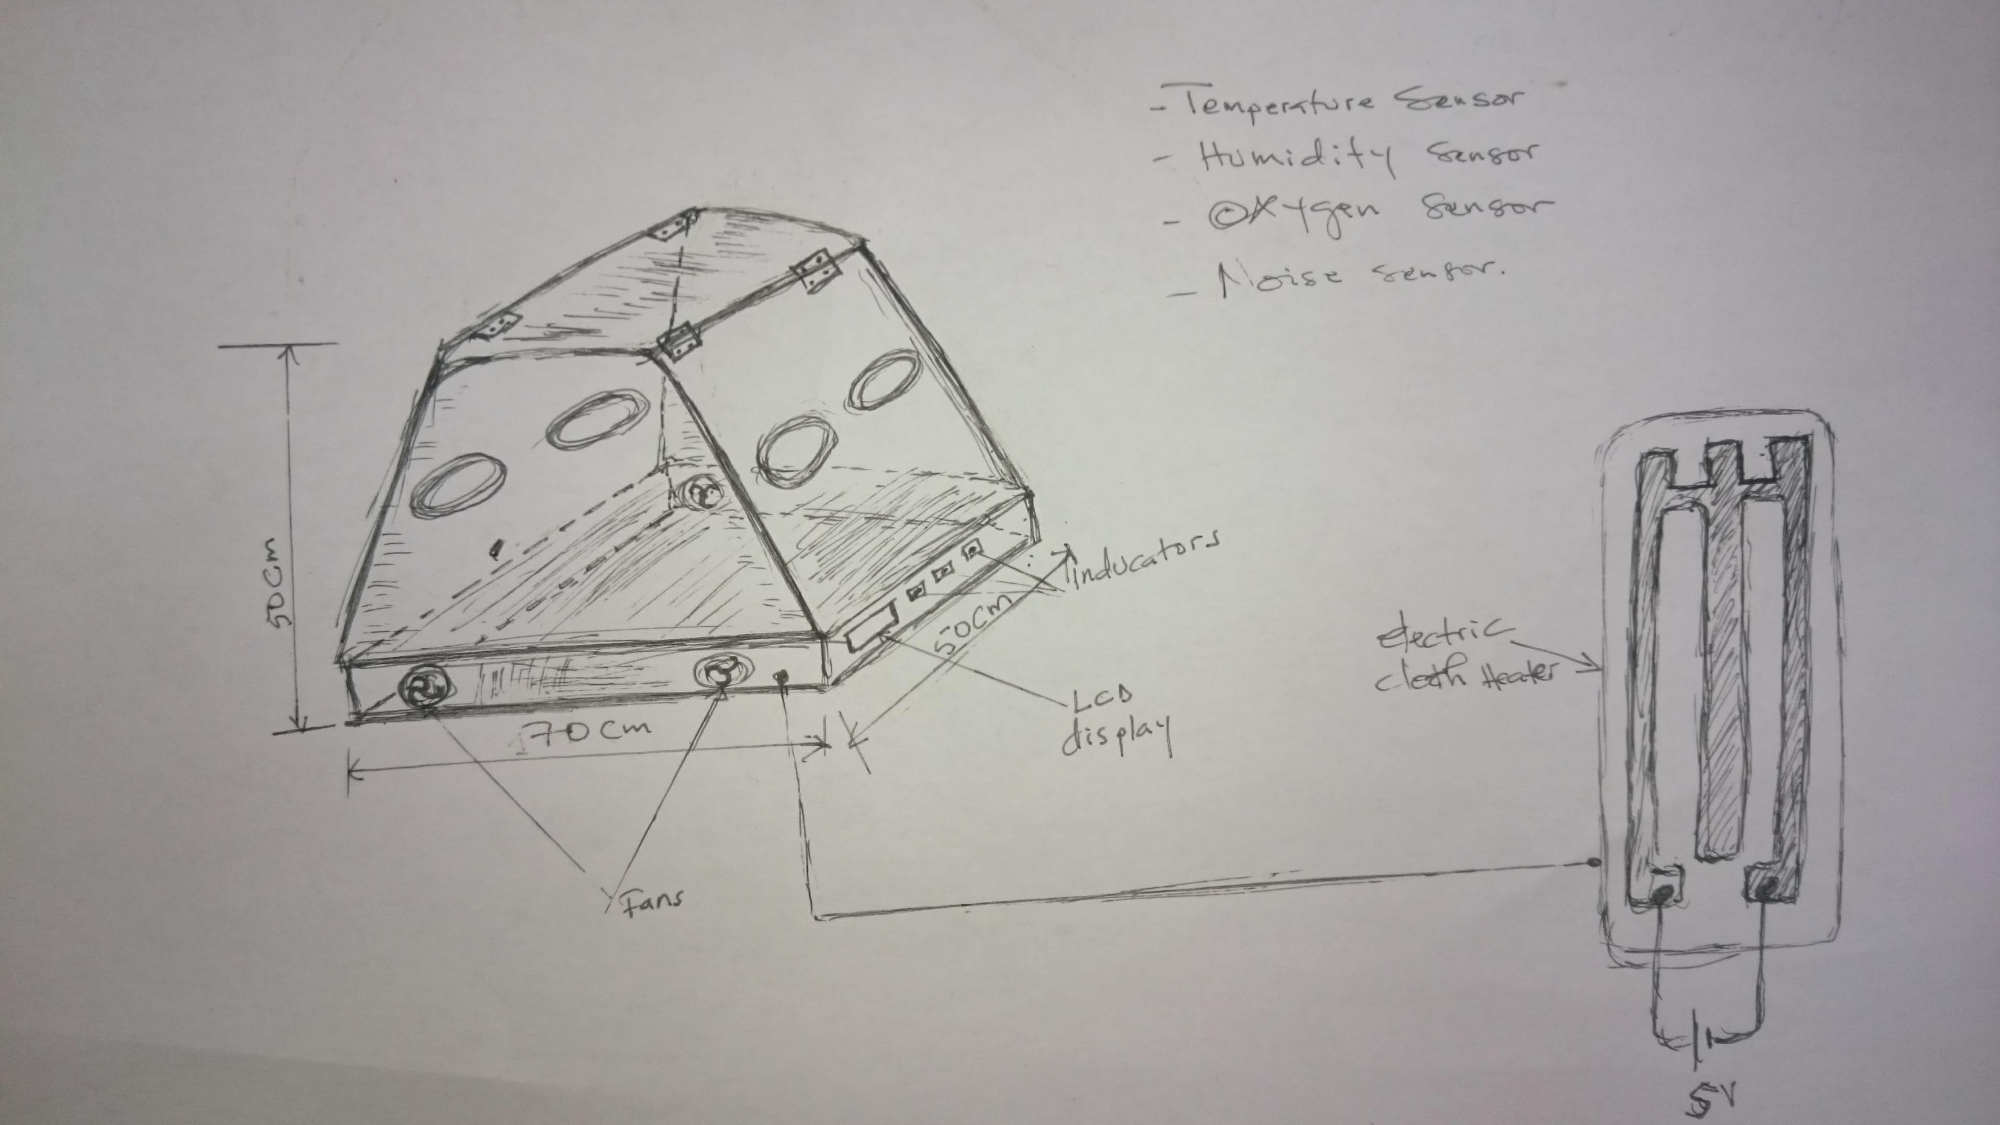
The main objective of this project is to design a low cost and mobile neonatal infant incubator to be used in the healthcare centers. This machine is equipped with different sensors that will be used to control the internal condition of the incubator such as temperature, Humidity, oxygen and noise.Additionally, microcontroller, fans and electric cloth heater will be used to regulate the temperature and Humidity.structure design
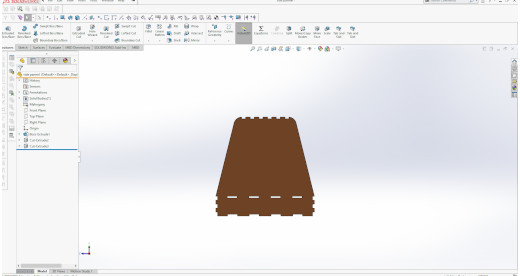
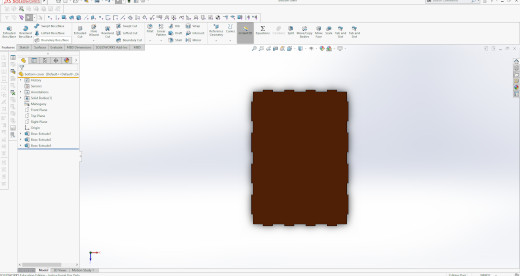
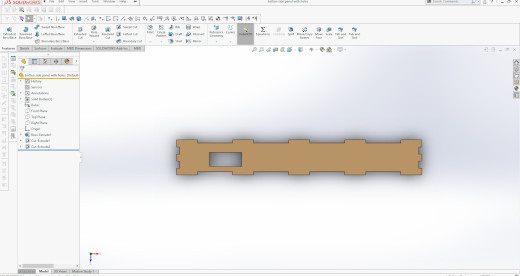
I started the project by designing the different parts of the incubator (Bottom, Top cover and side panels). The details are here in the COMPUTER-CONTROLLED MACHINING assignmenent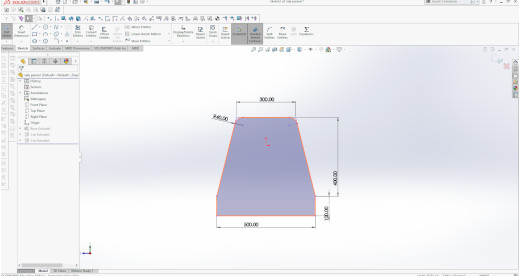

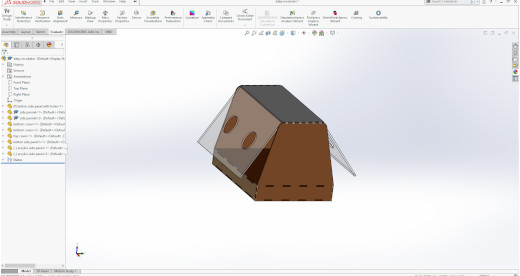
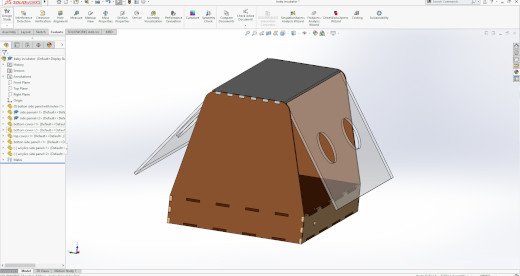
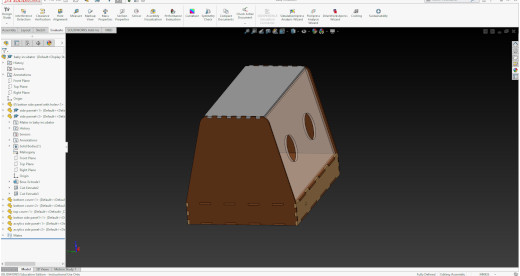
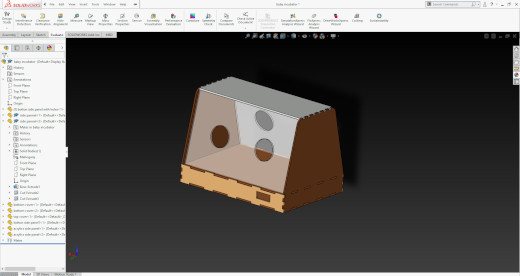
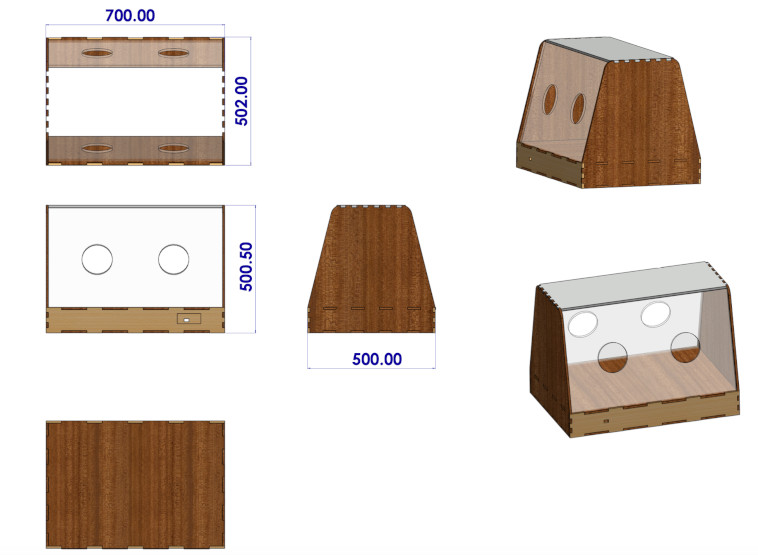
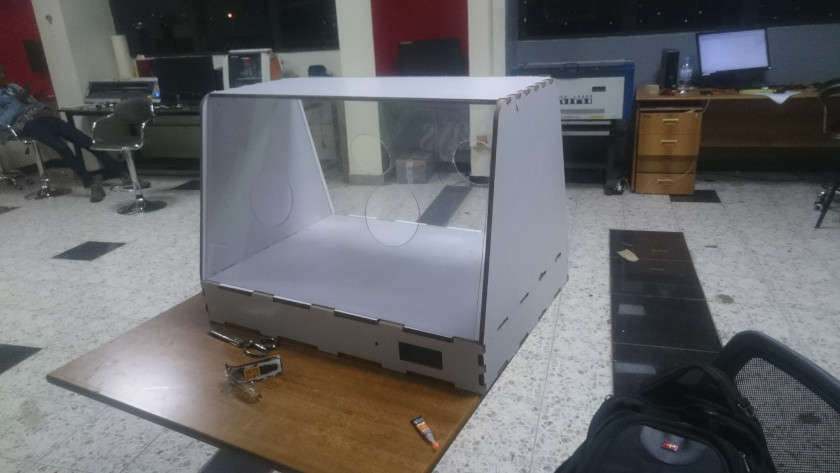
Assembled Structure of the infant incubator
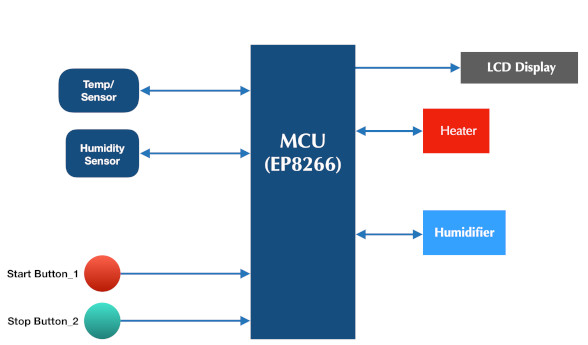
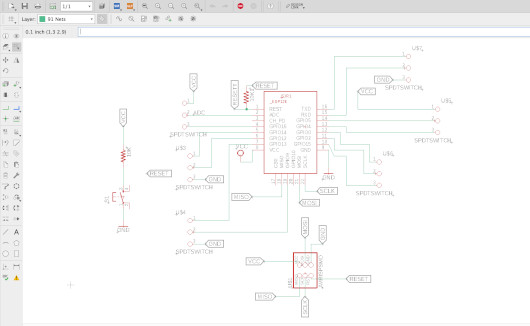
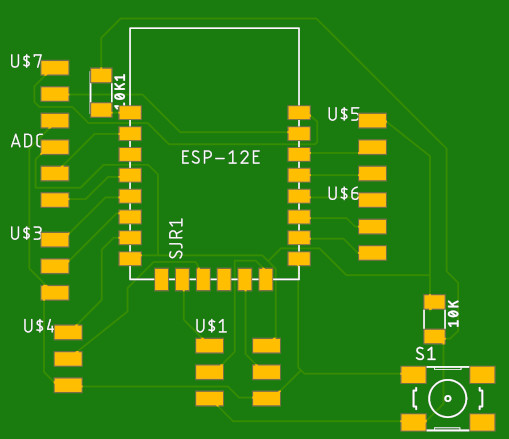
Design of Electronic Control Unit
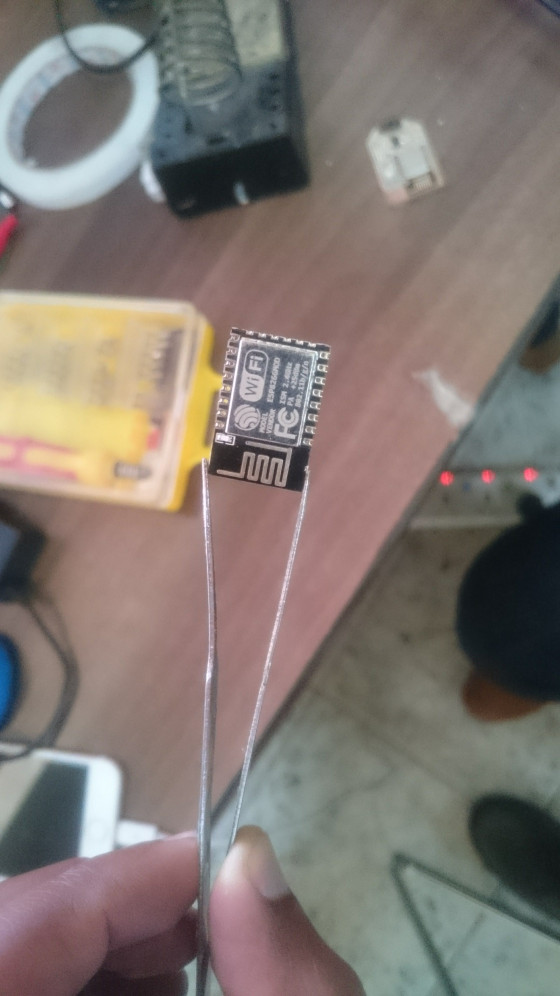
Electronic system is composed by a microcontroller which is considered as a brain of the entire system since all control and decision will be made by this board. Additionally, tempereture/humidity sensor is the input of the sytem and at the output I will connect the LCD for displaying the real time data/ status of the infant incubator, heater for maintaining the temperature inside the incubator at 38 ℃ and Humidifier for increasing the air humidity inside the incubator Humidification of incubators
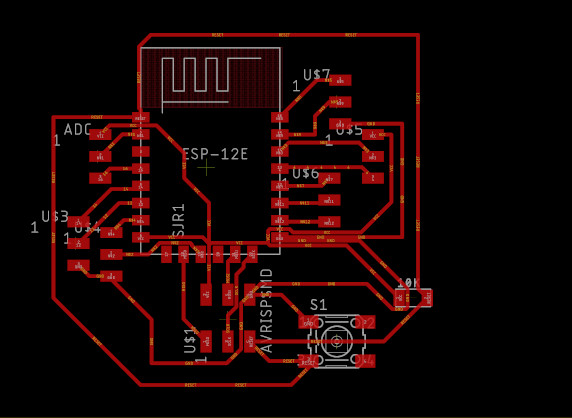
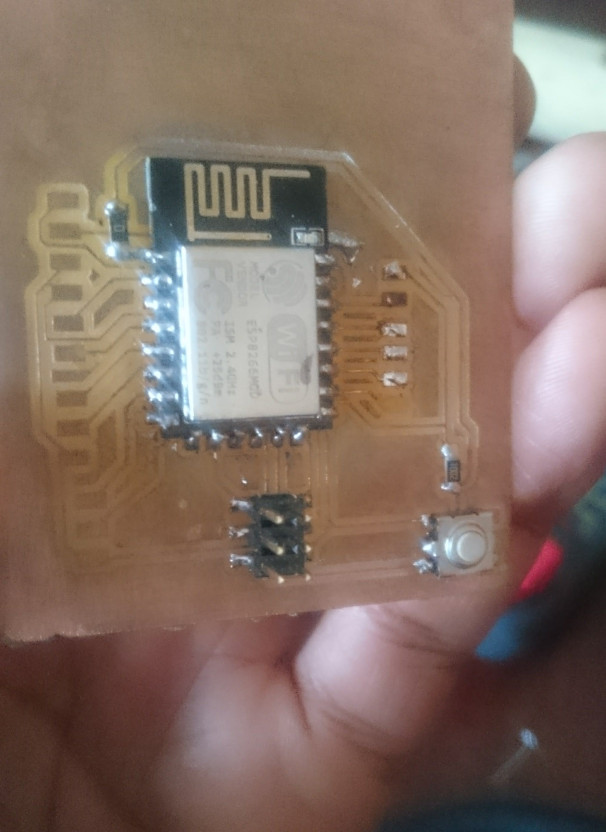
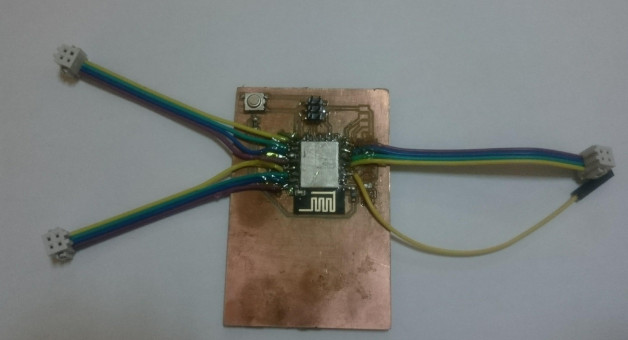
Electronic Circuit
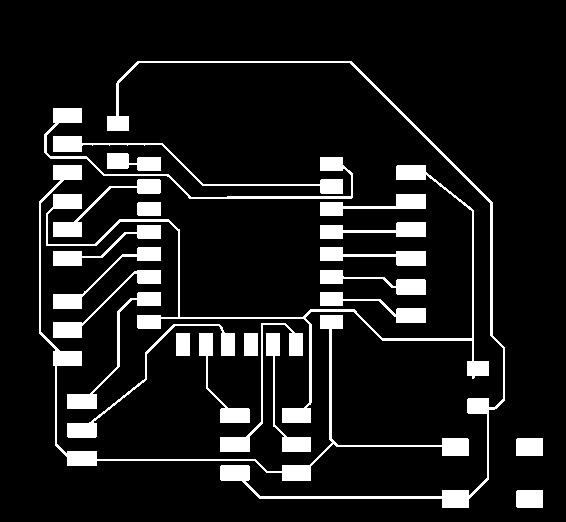
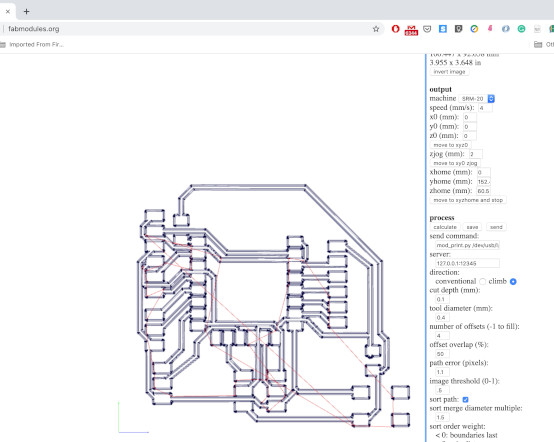
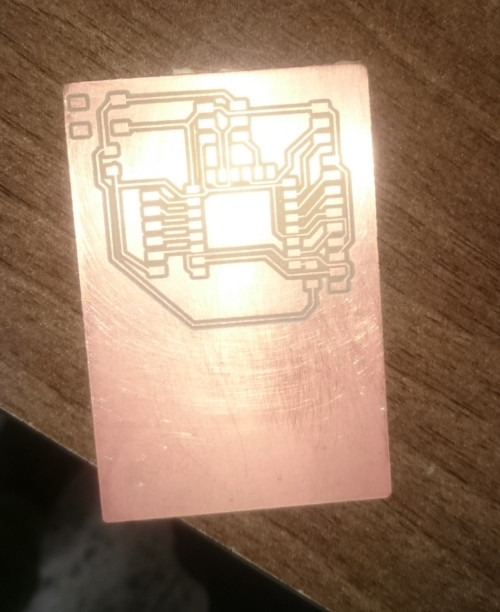
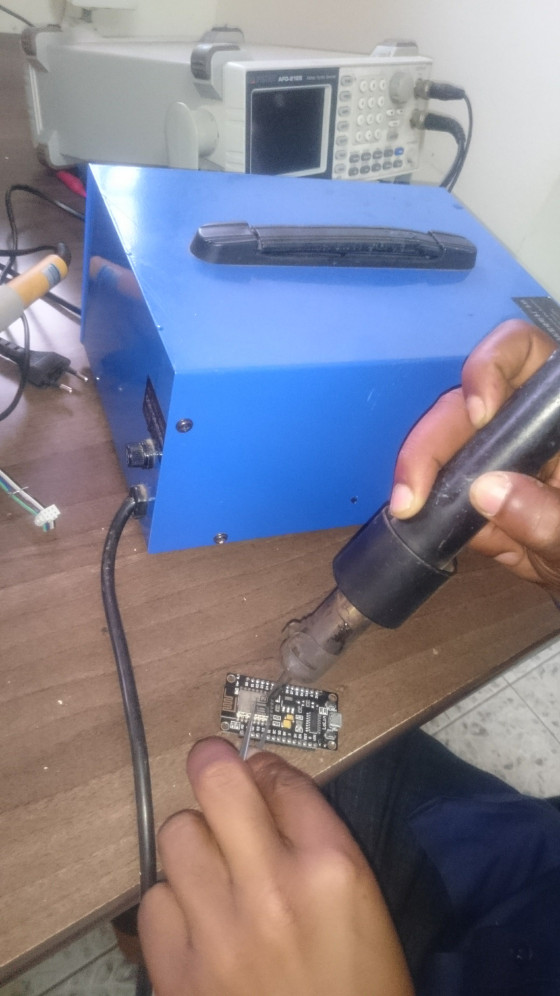
Printed and asssembled board
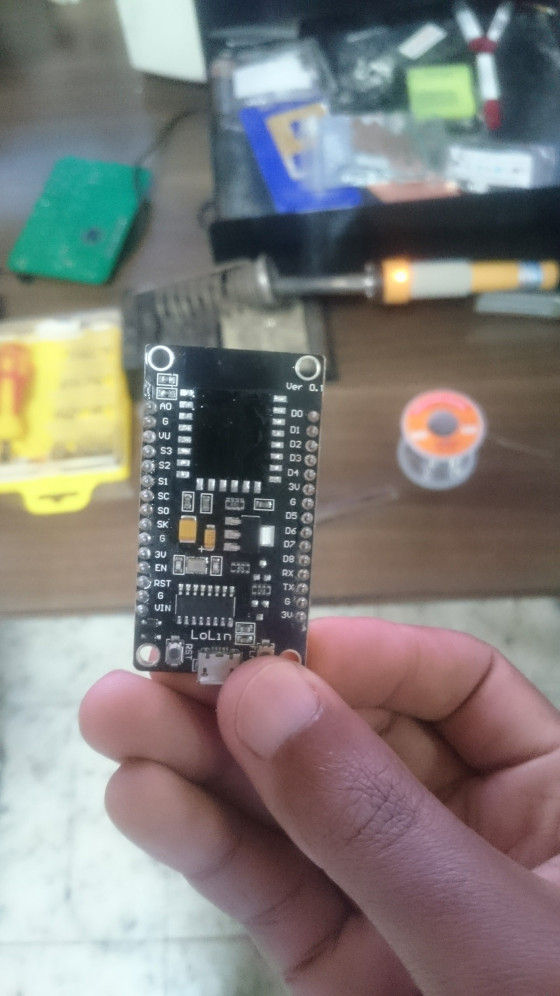
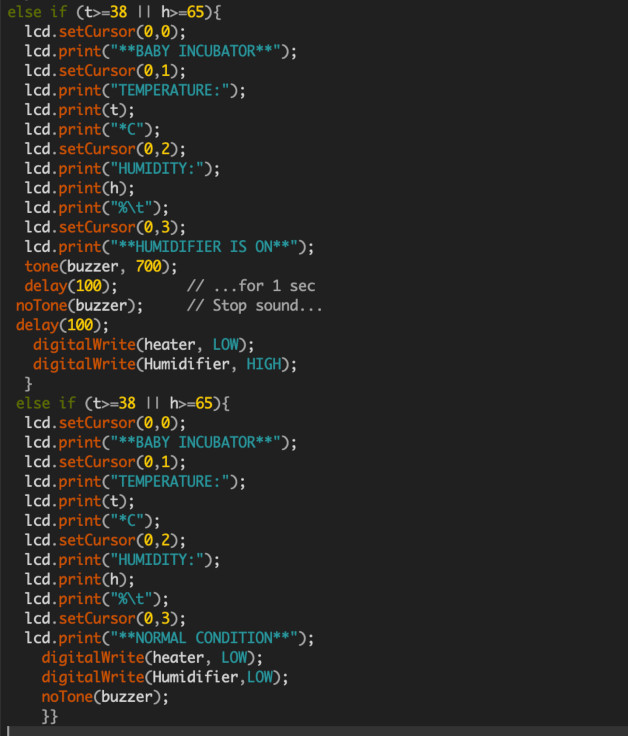
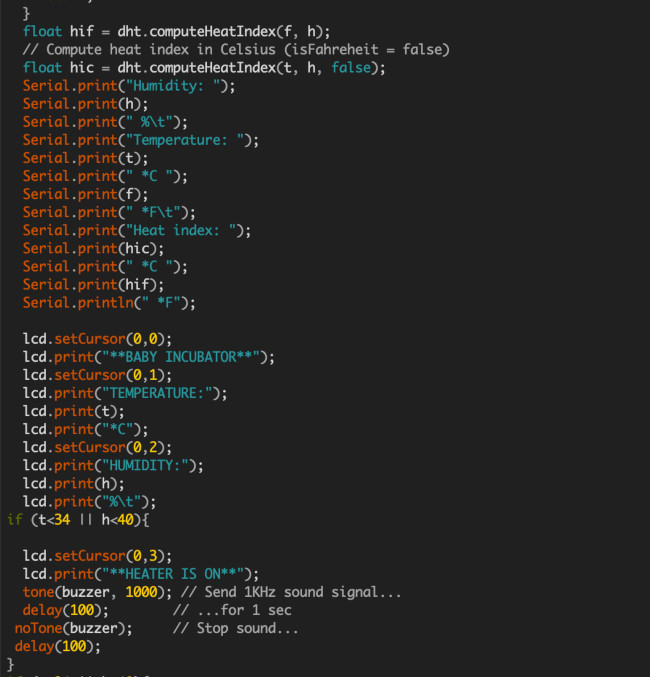
Programming the board

Programming the board
After putting together all electronics devices the next step is to make a sketch that will help the the the system to perform the specific task by following the instructions
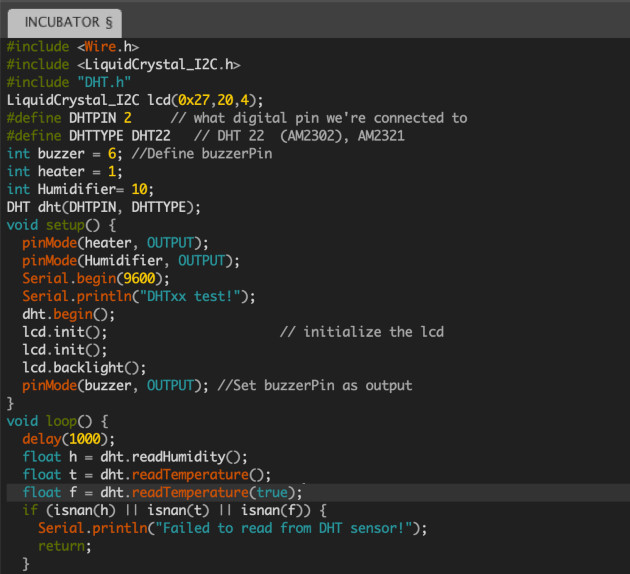
Aploading the program to the board
Open the Arduino IDE.In the Arduino IDE, under Tools –> Board, select “Generic ESP8266 Module”.
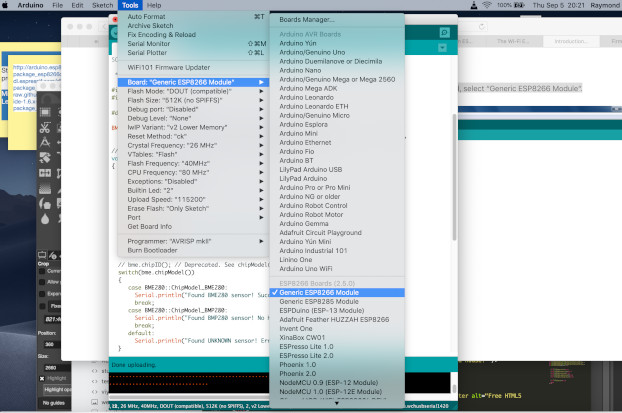
The next step is to upload the program to the board and check if the progress of uploading is displayed in the console of the Arduino IDE.If so, you can now write any sketch you want and program your ESP8266 easily.
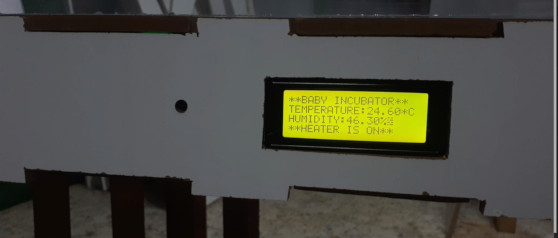
After aploading the program to the system, I made my first test to check if the infant incubator is operating and below is the pictures of the reading from the system.

Testing Video