Group assignment
Test runout, alignment, speeds, feeds, and toolpaths for your machine
Individual assignment
Make (design+mill+assemble) something big.
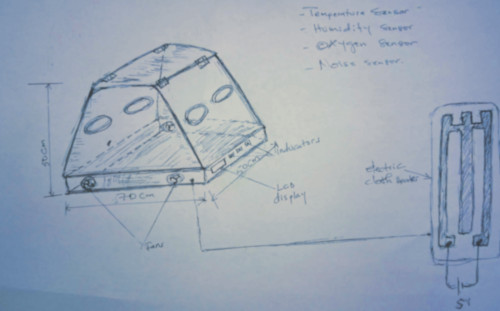
This week individual project is to make something big using CNC router machine. To gain the time, I decided to work on the housing of my final project (baby infant incubator). The design was made with the help of the soldwork 2018. Then I cutout all the parts using the CNC machine.
Computer Controlled Machining
CNC machining is a manufacturing process in which pre-programmed computer software dictates the movement of factory tools and machinery. The process can be used to control a range of complex machinery, from grinders and lathes to mills and routers. With CNC machining, three-dimensional cutting tasks can be accomplished in a single set of prompts. Short for “computer numerical control,” the limitations of manual control, where live operators are needed to prompt and guide the commands of machining tools via levers, buttons and wheels. To the onlooker, a CNC system might resemble a regular set of computer components, but the software programs and consoles employed in CNC machining distinguish it from all other forms of computation.
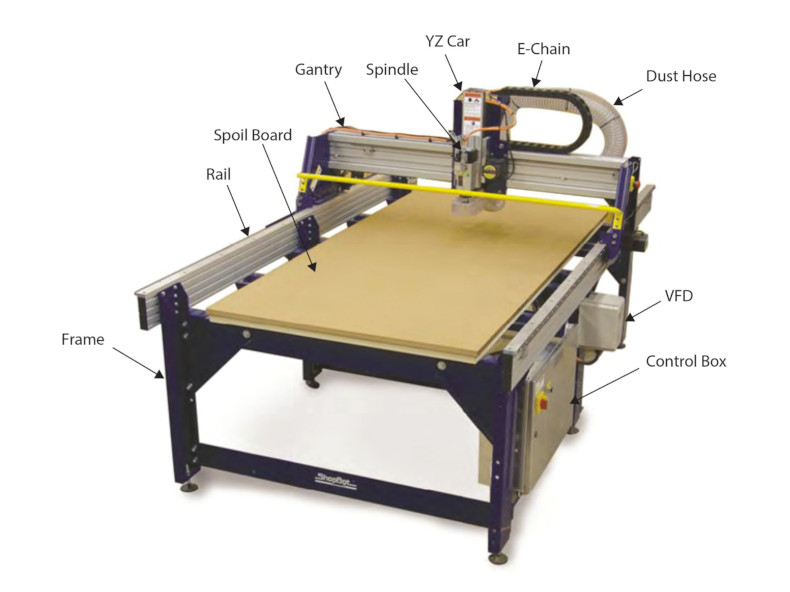
Shopbot PRS Alpha CNC Milling machine
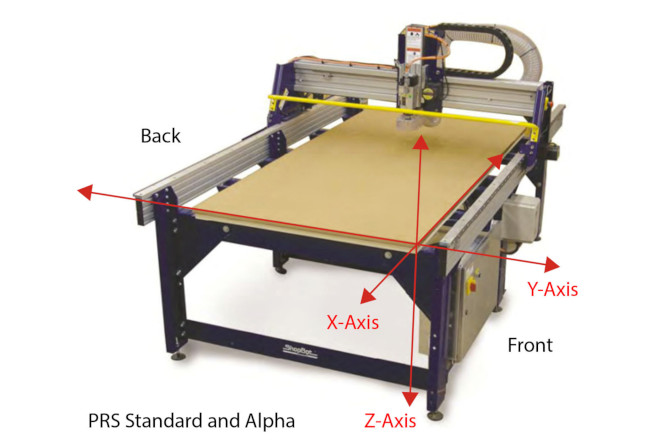
The CNC machine available at our lab is ShopBot PRSalpha CNC. ShopBot is a three axis machine CNC Machine. The picture below shows the axis orientation for the PRSalpha tool. Normally, the 0, 0, 0 point is located at the intersection of the three axes as shown, and “front” is con- sidered the side noted below.
Tool Orientation and Direction of Axes
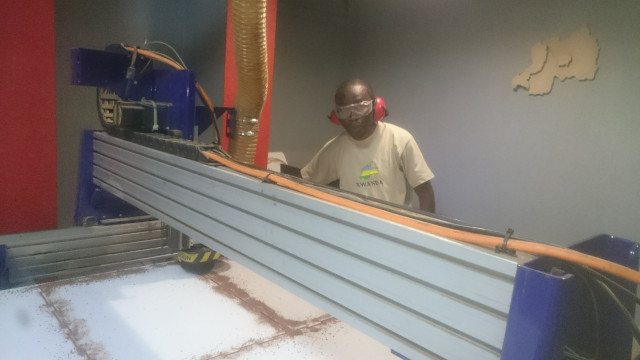
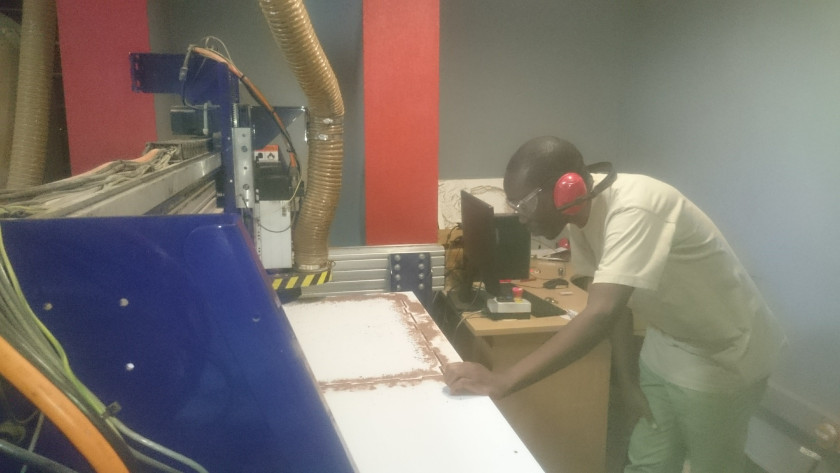
Safety Precautions
Safety is always comes first when you are using CNC machines or other big machines in anywhere. I used goggles for protecting my eyes and safety ear plug for minimizing the noise generated by the CNC machine.
Tools used:
- Wooden mallet
- 11/8 inch Drill
- Sandpaper
- Wood Files
- Drilling machine
- Woodworking quick clamp
Feeds and Speeds and Chip Load Calculator
One of the challenges in getting good CNC cuts is in selecting the best cutting speed (feed rate) and router/spindle RPM (speed of rotation). Feeds and speeds are a critical part of machining and should be fully understood before deviating from recommended settings. Selection can be facilitated using the guidance provided by manufacturers regarding the best chip load for a particular cutter.
Tool Movement
After fixing the MDF (9mm of thickness), I used the tool to first calibrate X, and Y. Then also calibrate the Z axis using a metal blade. These options are in the Cut tab, XY Calibrate, Calibrate and Z. Starting Up the ShopBot.
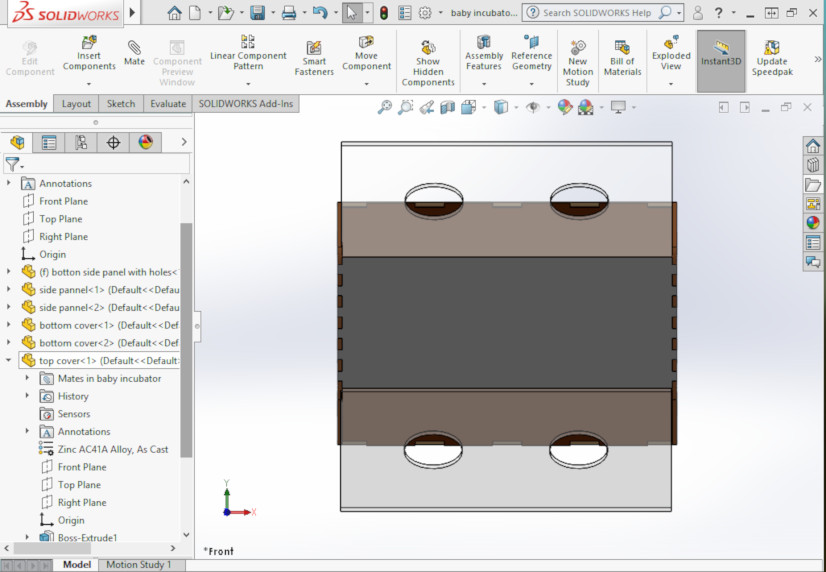
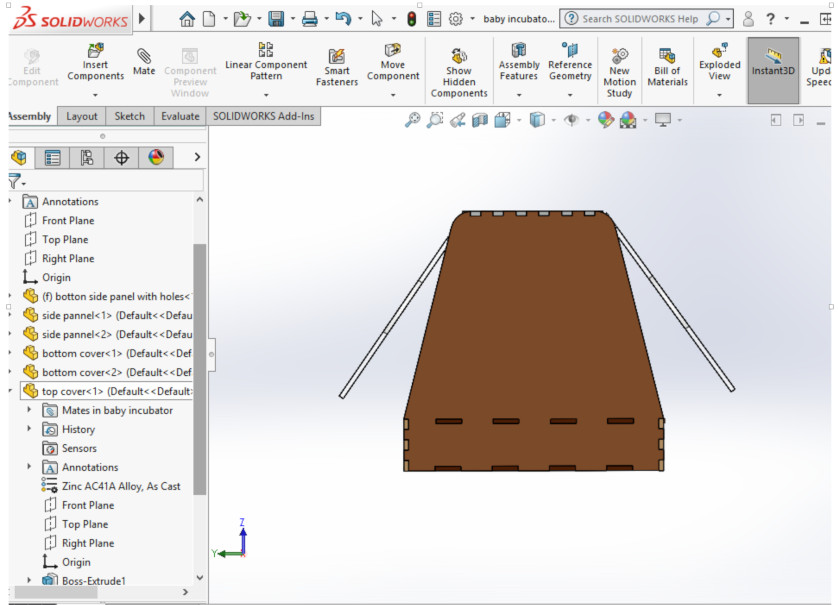
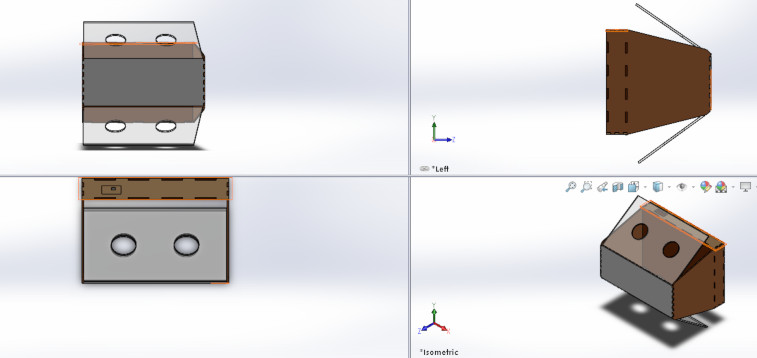
Design
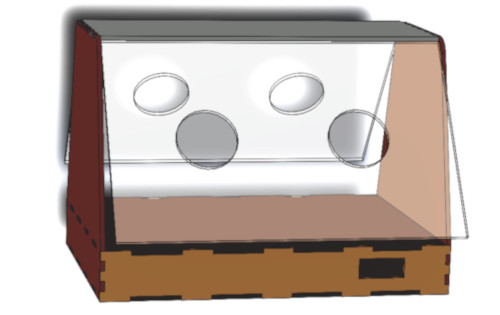
As I explained above to design the housing of my project I used CAD(SOLIDWORKS2018). The designing process started by designing each part that build my incubator(Bottom, Top cover, side panels). Afterward, I put all part together and give them appearance.
To make the file for the shopbot, I use VCarve Pro software. I used VCarve to transform the design into a dxf file that is readable by the machine. This software uses mathematically defined vectors to create tool-paths which will then be sent to the Handibot in a format that it can read.
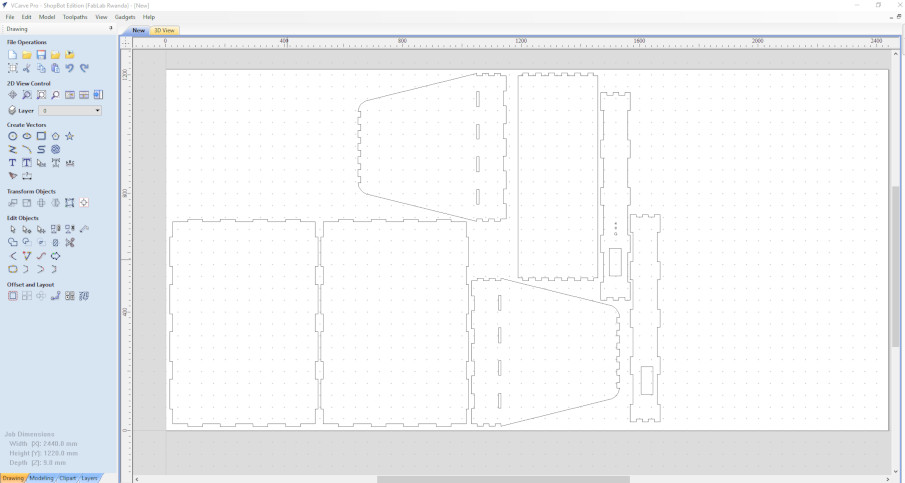
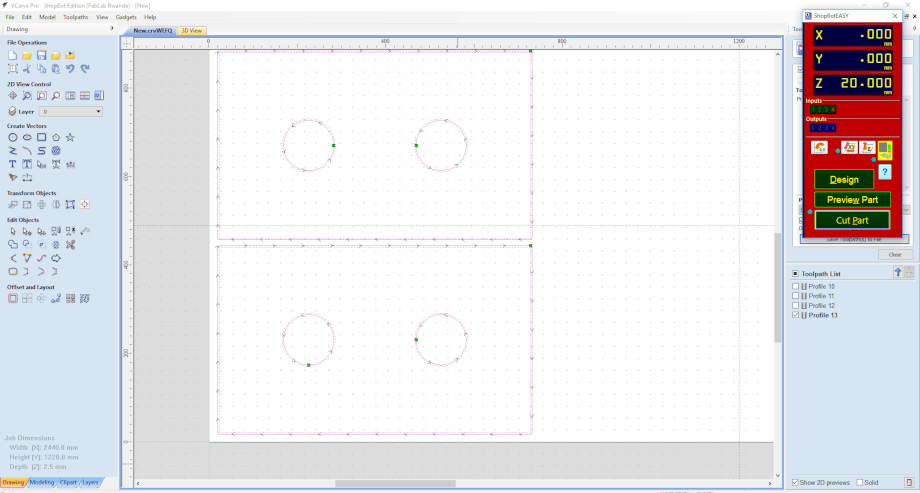
GENERATING TOOLPATH
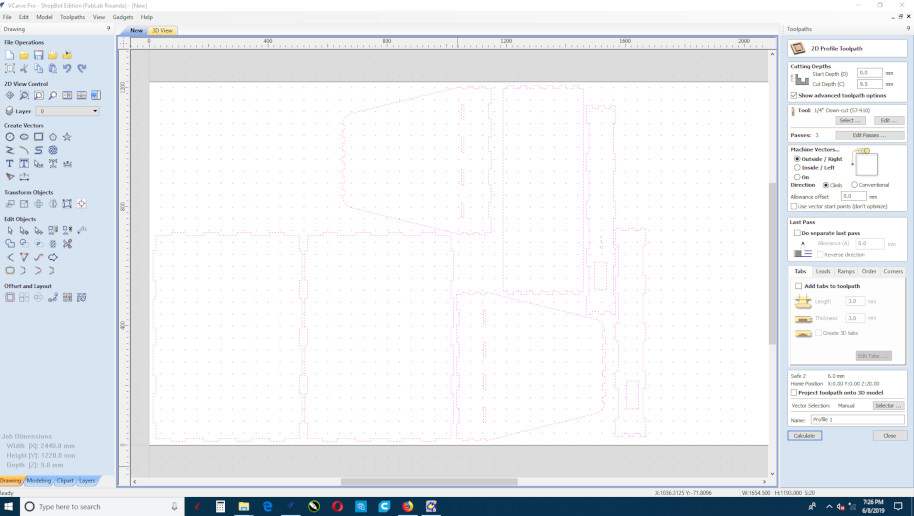
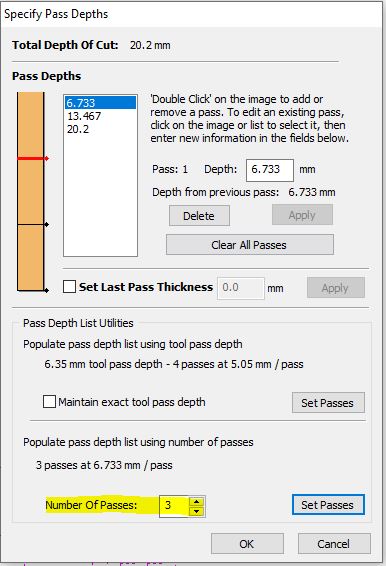
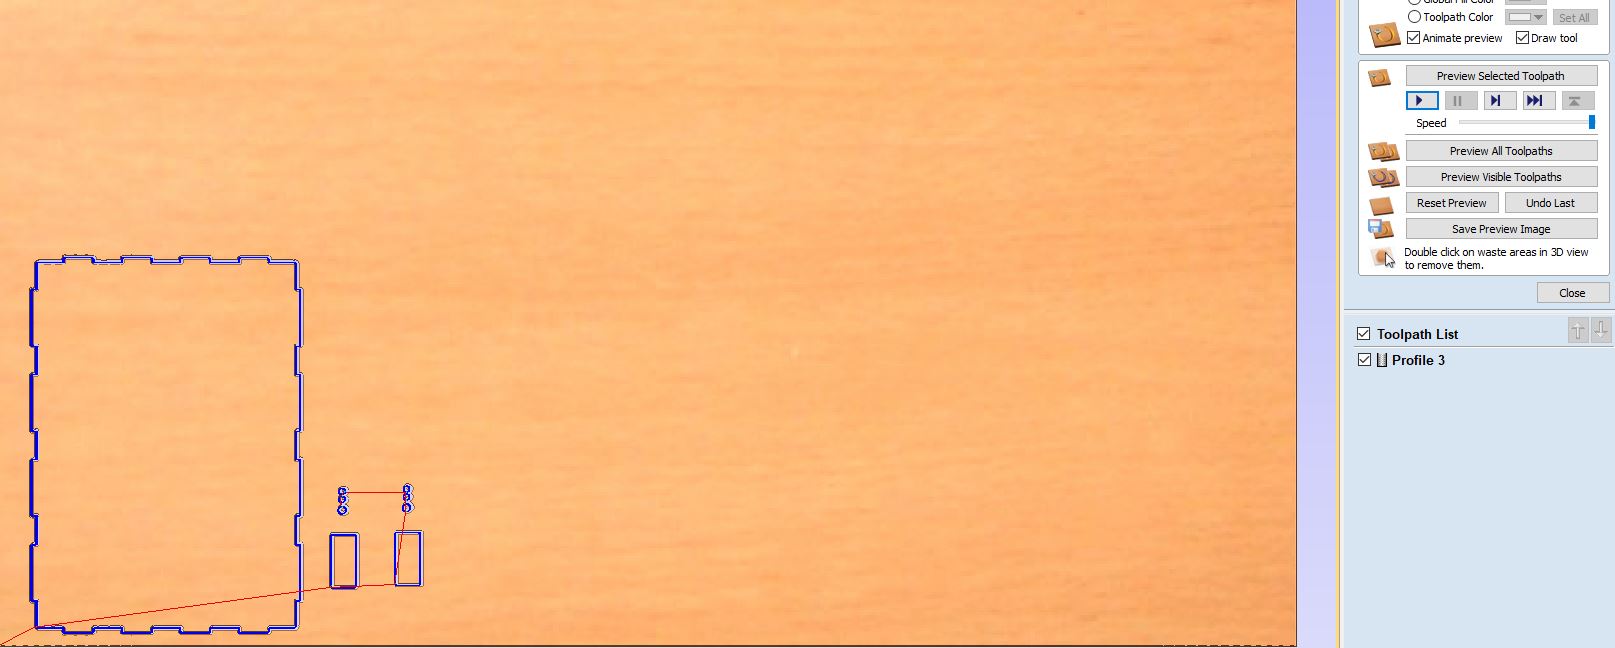
At this time I use Vcarve pro software in order to create tools path of my machine first of all i setup my material properties (length,width,thicknes) that corresponds with X,Y,Z plane for mashine after that i imported vectors and place them using move object tool until i fullfill the material surface, after importing and placing vector file in appropriate location i joined all vector to make sure that all vector are closed vector(if the vector are not closed you will find same part of vector which haven't cutter by mashine so that why is better to make closed vectors), now its time to make profiles i used the right panel for completing this profile making process one profile by one because they have different properties that why and another important thing to care is the tool and tool steps you selected on my self i used lat ended 1/8" tool for all my profile and for pochet profile
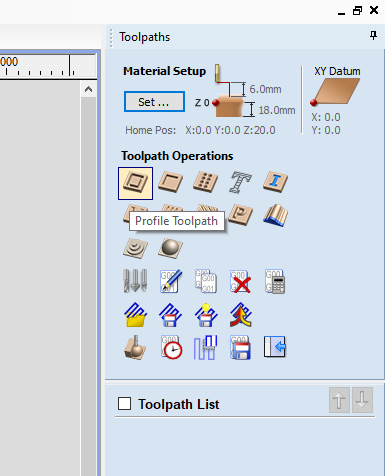
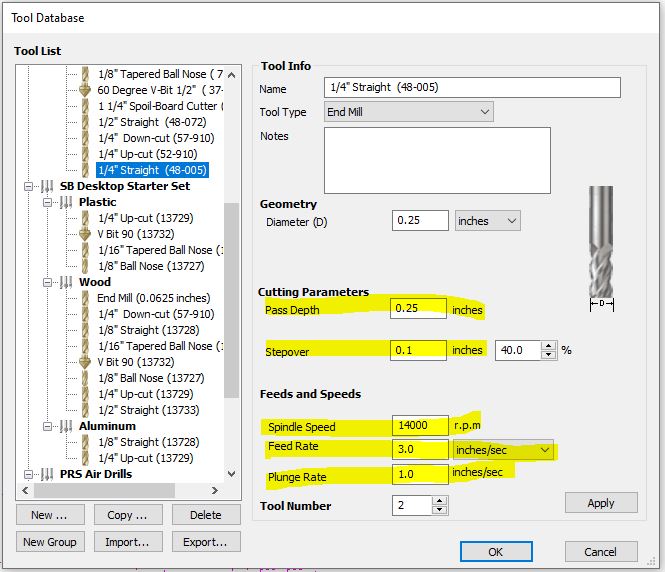
Selecting tool type
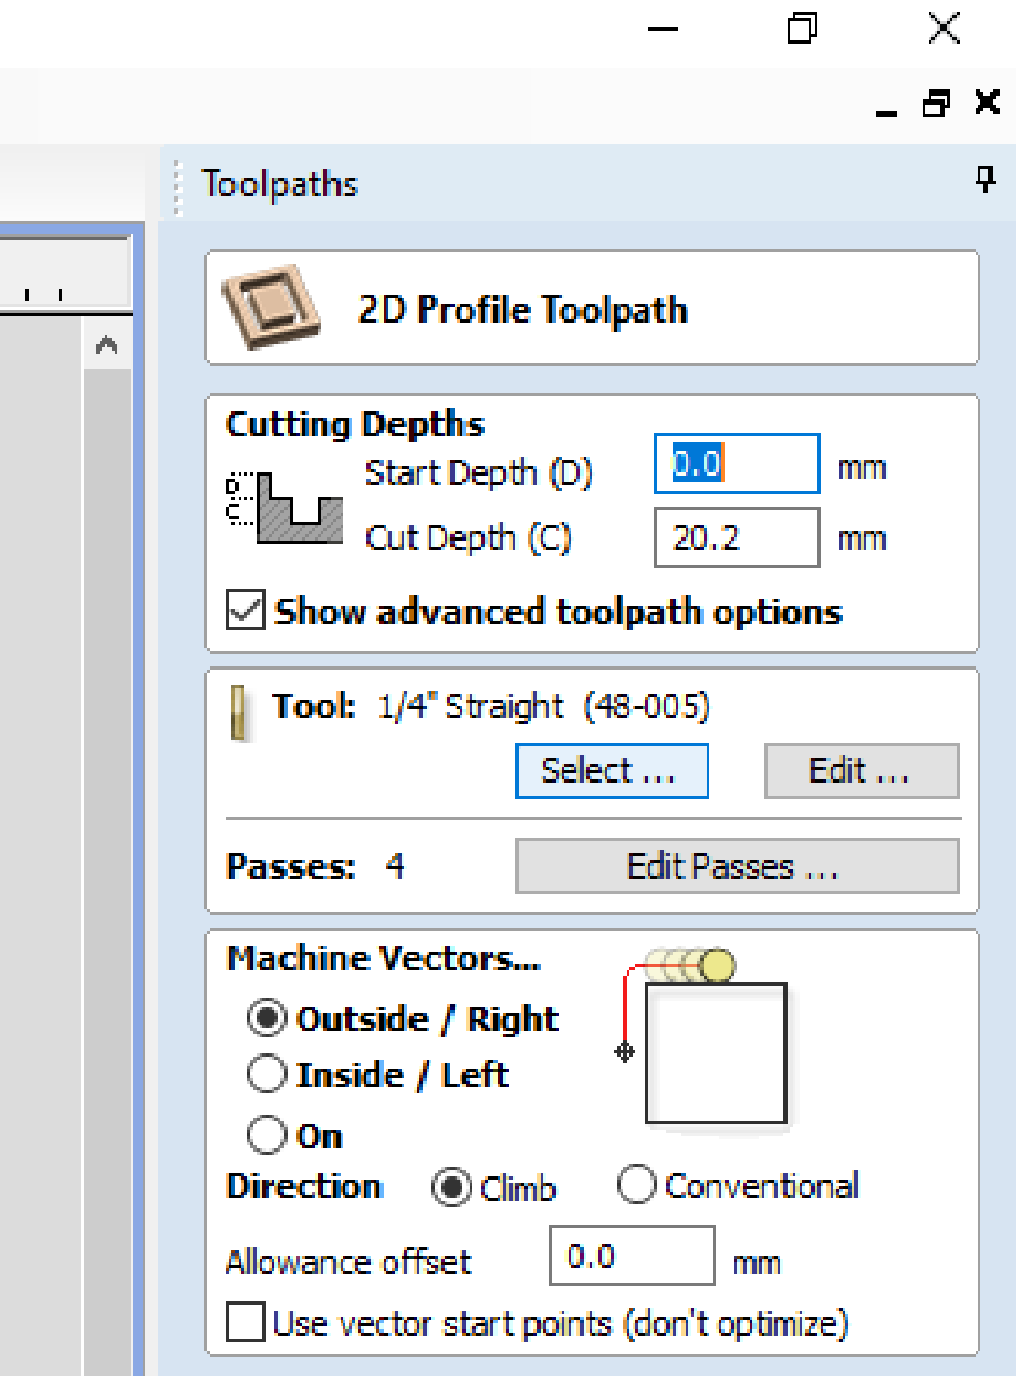
Cutting parameters, feeds and speeds and tools number
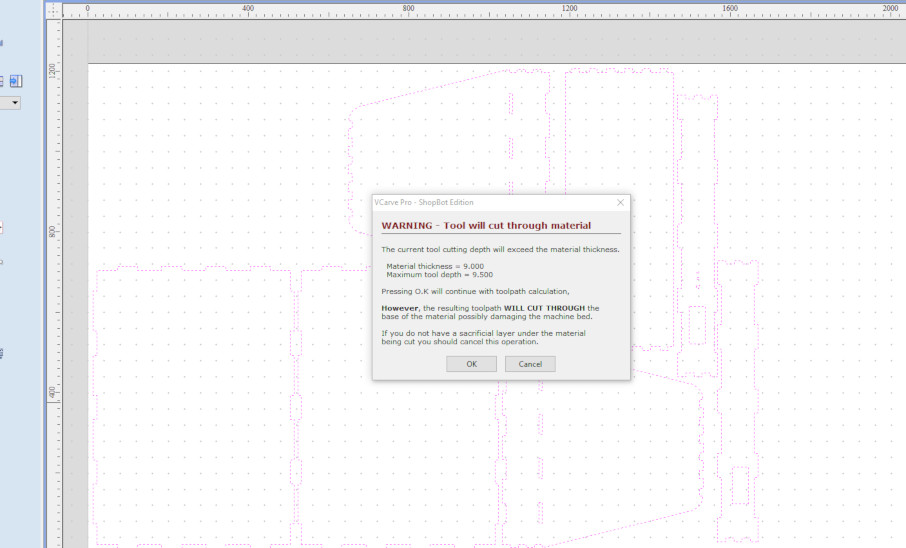
When all of the settings or correct click calculate, a warning will appear informing you that the bit will cut through the material. Click OK
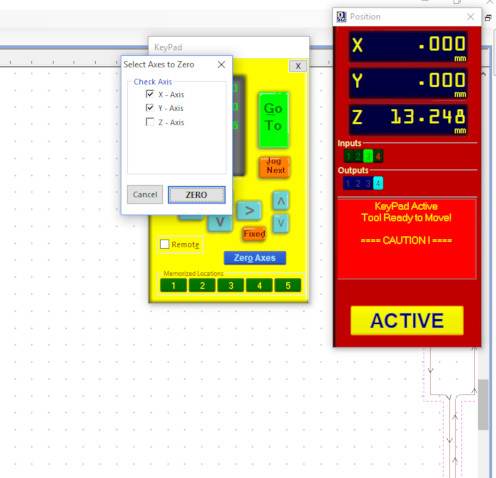
One of the first things I like to do is set-up the z-axis, once that’s controlled, it’s very easy to control the x and y axis without breaking a bit over the blocks.

I have to set the origin of the X,Y,Z axes.
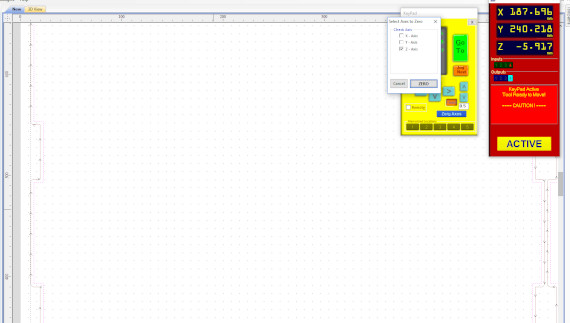
This panel provides essential machine information and controls. The following steps will walk through some of the most frequently used controls, including installing a bit, zeroing the machine’s three axes, and cutting a couple of sample projects.
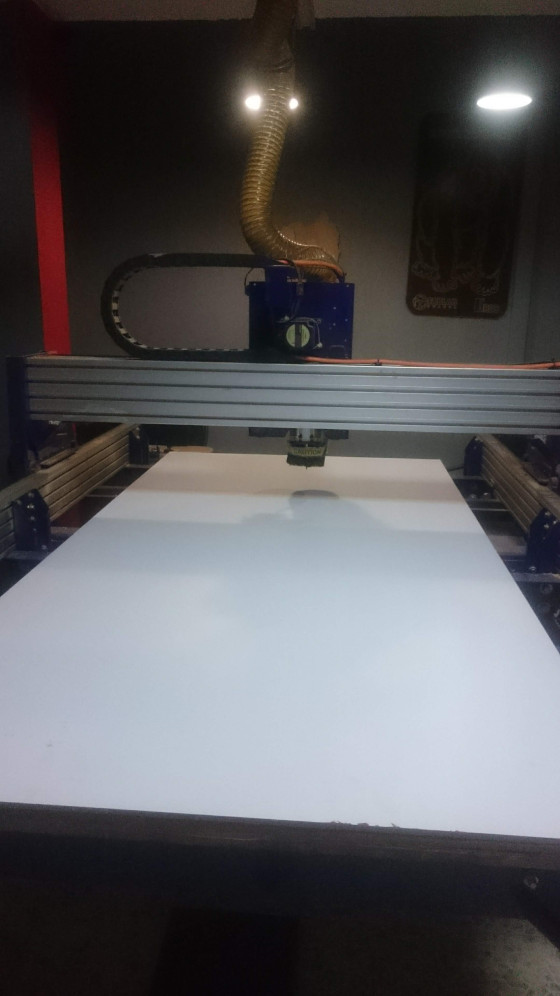
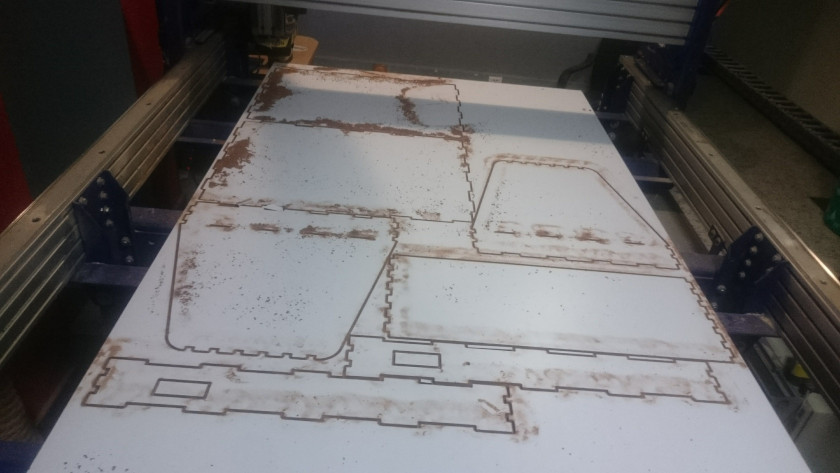
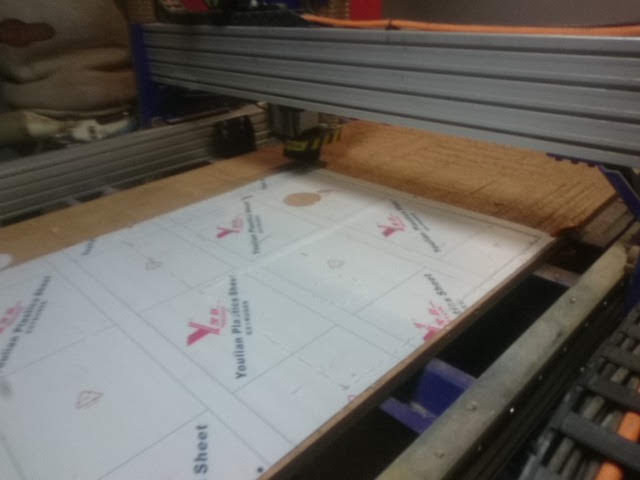
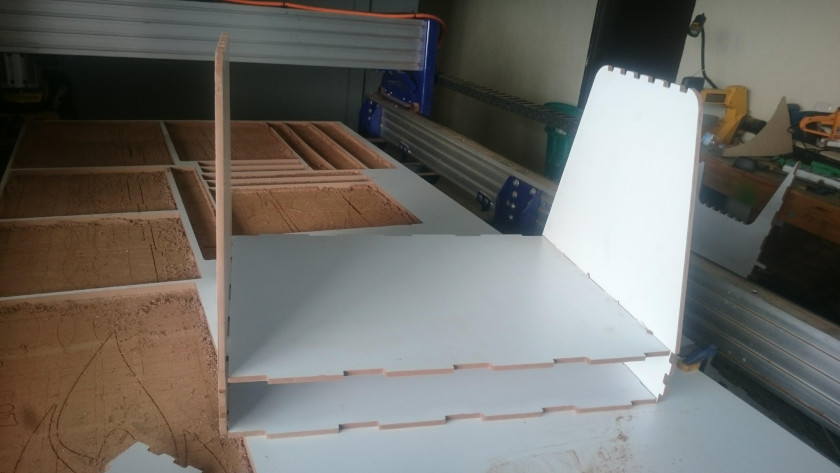
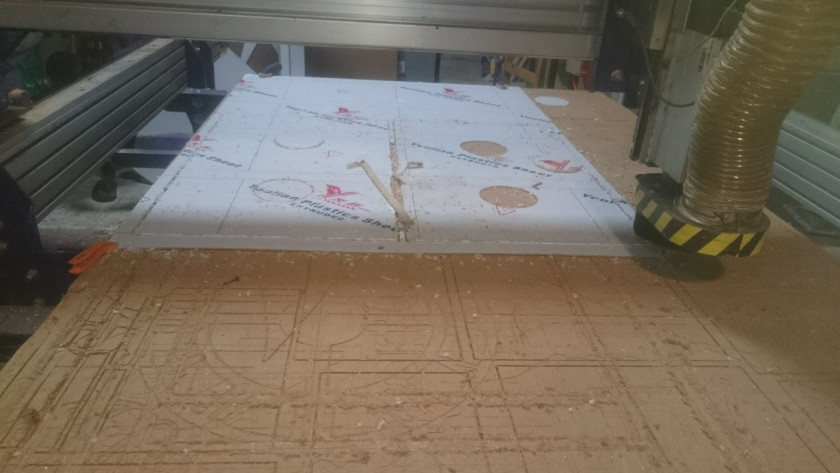
Cutting

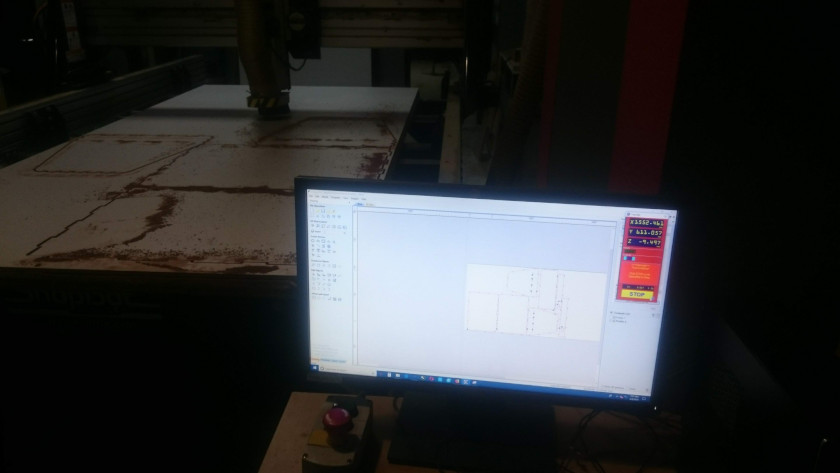
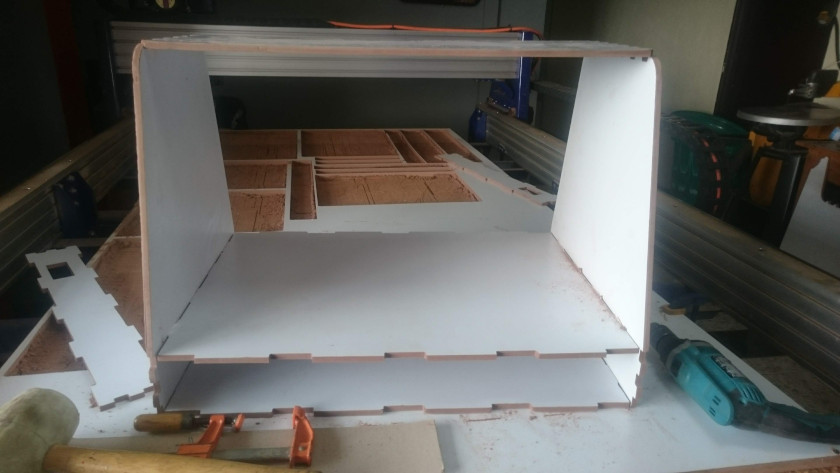
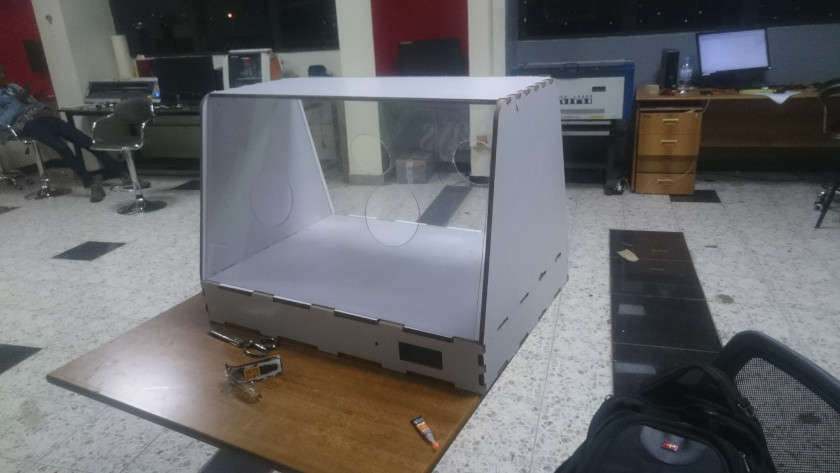
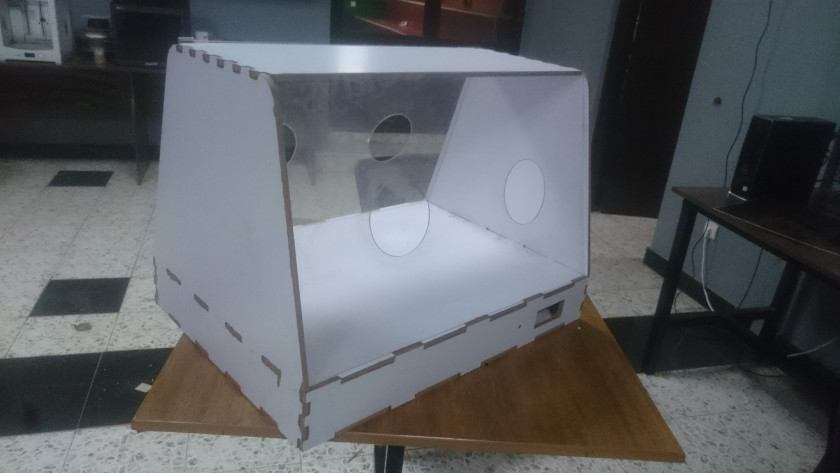
This is when everything was finished being cut out. Afterward, the next step after removing part form machine is to put all parts together.
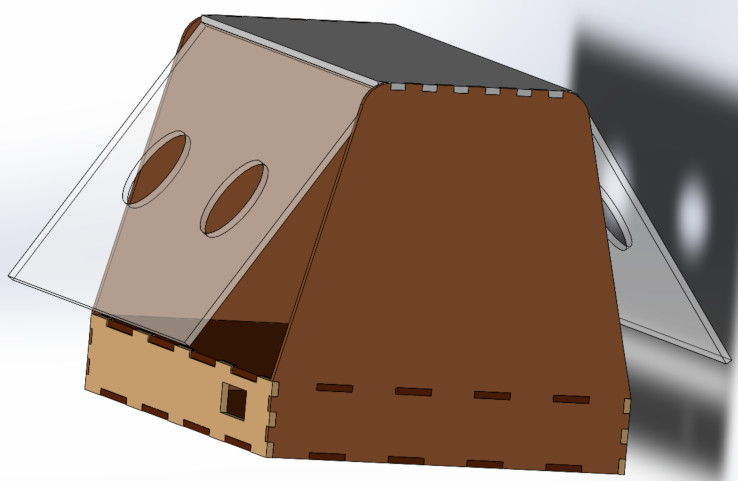
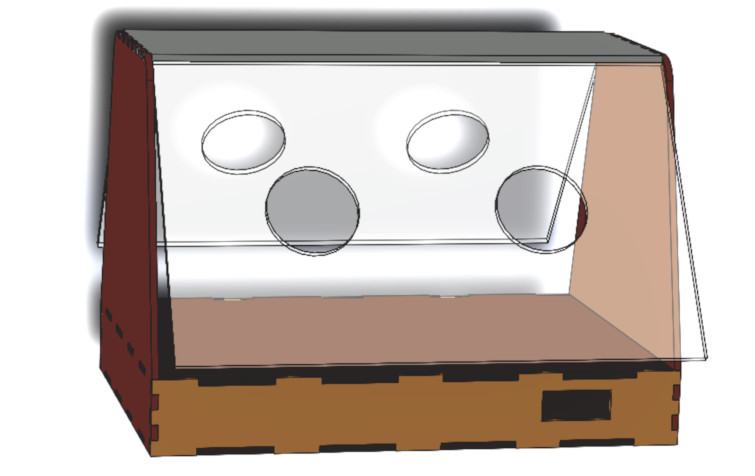
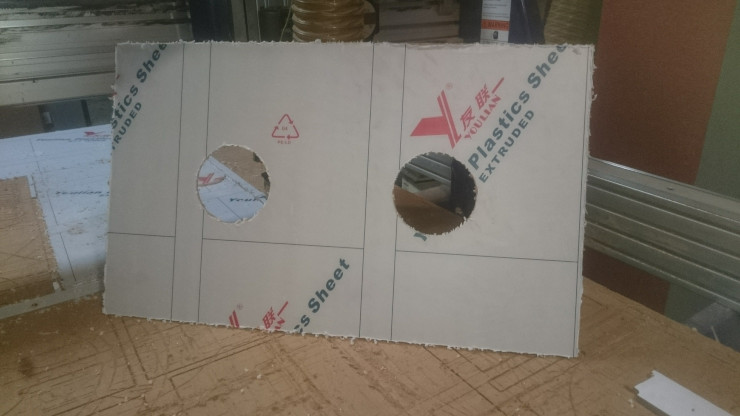
Side panels
The side panels of the baby incubator are made from the acrylic, the thickness of the used acrylic is 5 mm. Acrylic is a durable, clear form of plastic, and as such has different properties than metal, wood or other materials.
You can certainly use your CNC router to cut acrylic sheets, but the following tips will help you avoid irregularities or difficulties and help you maintain a smooth cut. When cutting Acrylic, you won't get the best result using wood cutting bits, as cutting and chip removal are much more important. We recommend using a bit designed for Acrylic cutting. Recommended spindle speed for cutting Acrylic is at least 18,000 RPM. You can possibly use higher RPM's, but you may need to adjust your feed rate (faster) as well to prevent the material melting.
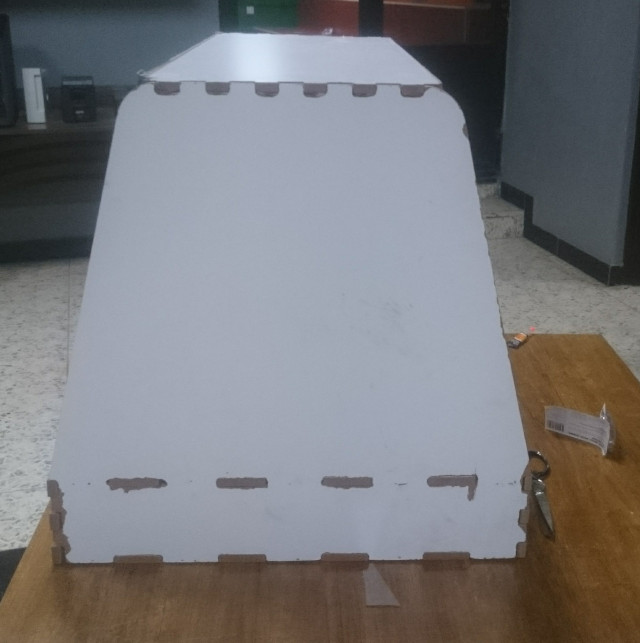
Proceed to assemble
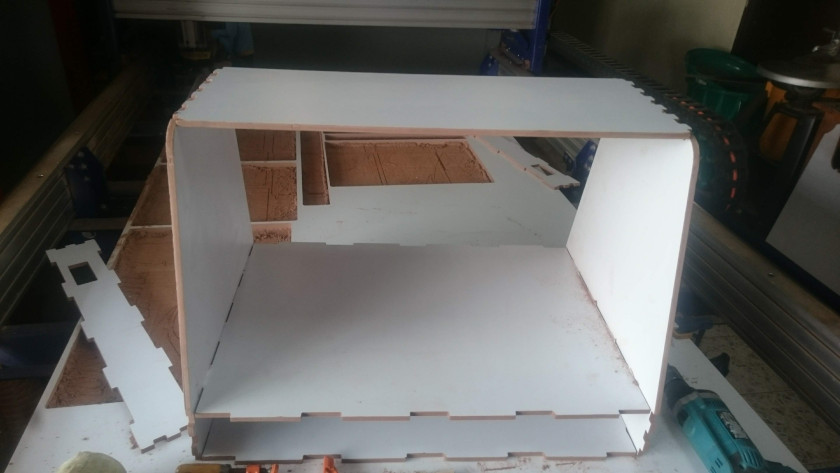
It was a big challenge to put together all parts of the structure because I forget to apply Dog-Bone Fillet. I used normal fillet.
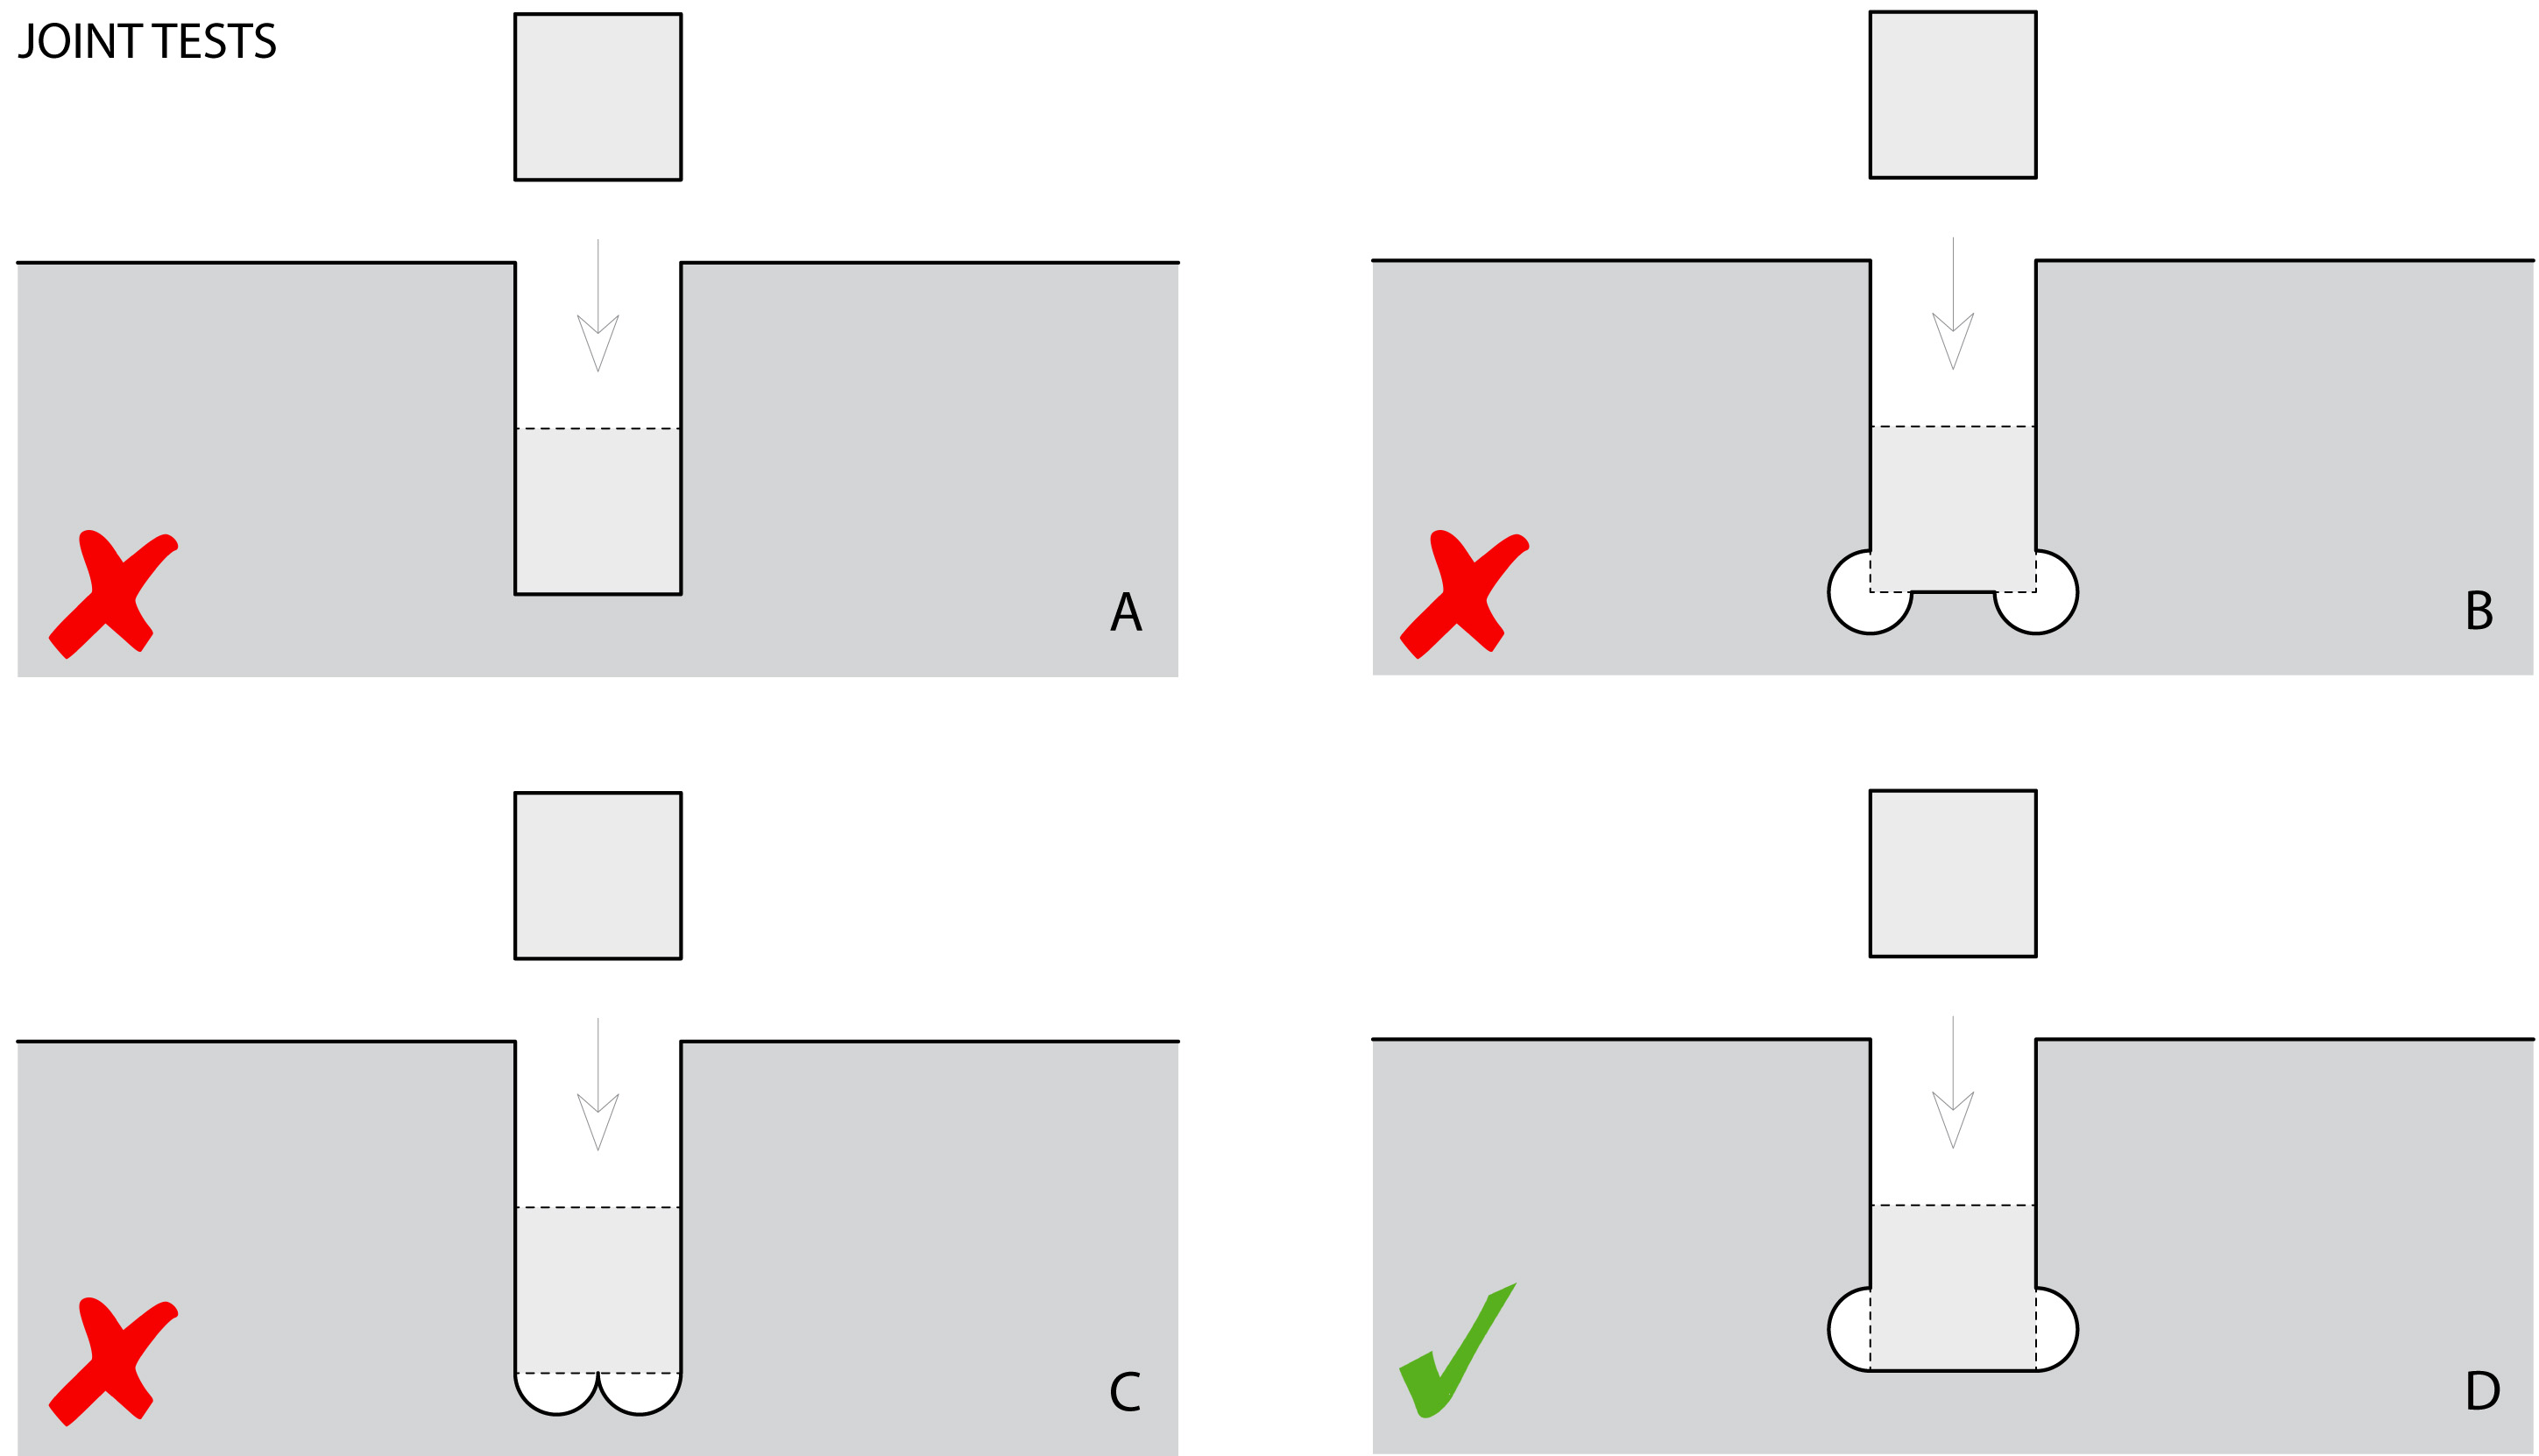
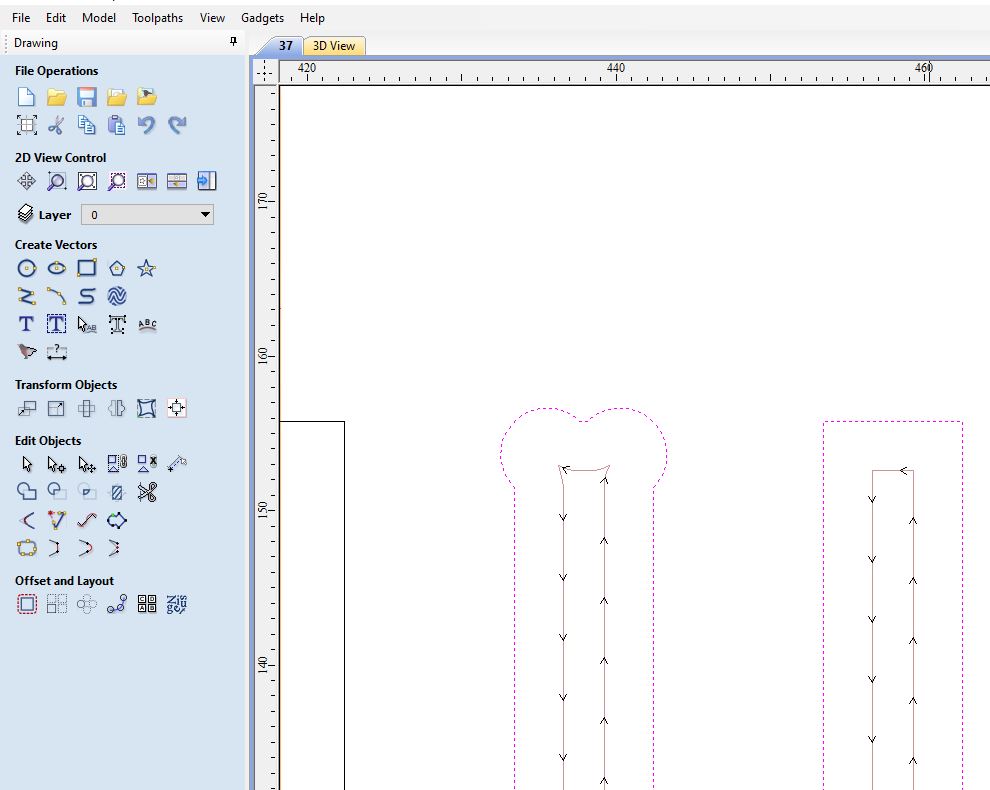
dog bone fillet
Dogbone fillets are used to overcut into a corner when the application of the part you are making needs to fit tightly with another. When cutting out internal corners on a cnc you are left with a round corner due to the round tool you have used, you would need to manually finish off each of these corners with a sanding file to remove the rounded corner. With dogbone fillets you can use the cnc to overcut into these corners by the radius of the tool so that any mating material will be able to slot into place . This method is great for concealed joints where it will not affect the finish of the product.
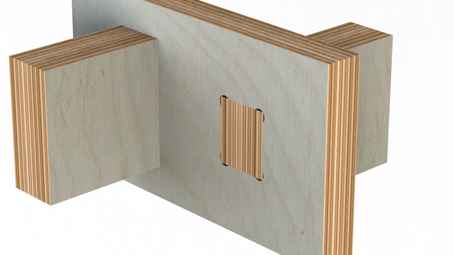
Dogbone fillets to allow inside corners to meet accurately. Black line is part and tan line is path of bit.

Used files