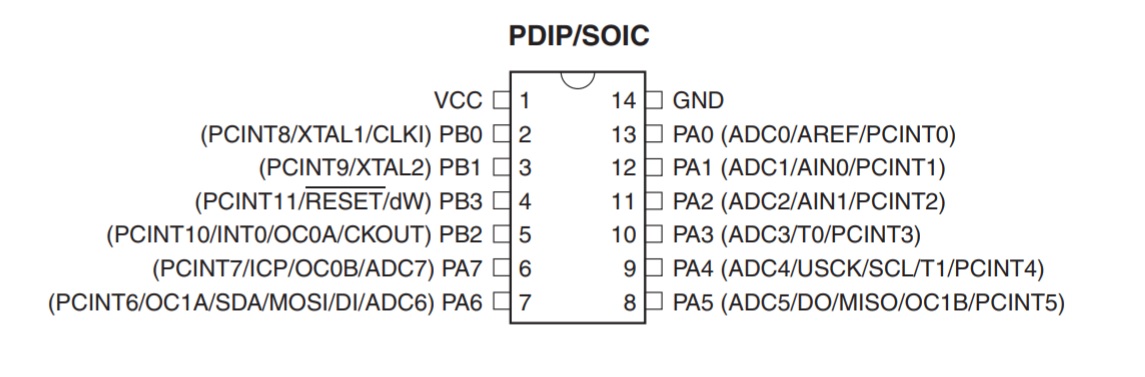
I skimmed all over the data sheet. i found the pins arangments and thier use rather intresting how they added so many features in small space. also the ability to rewrite the rest pin to be used as another pin was impresive. i thin kthat what we did in electronic production week but without noticing.
i came across the clock distrebution it has four different internal clocks and to keep track of all this information it requires 8 different things. it really is so much complicated inside the small tiny piece.
Programming the Board
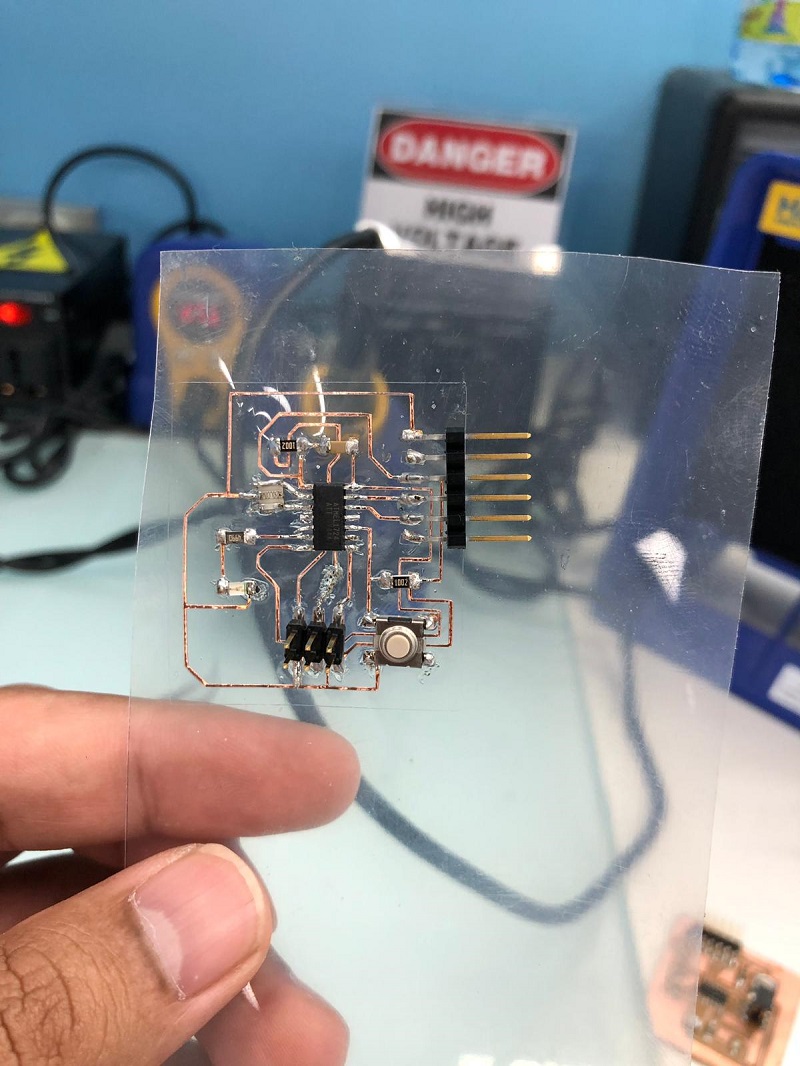
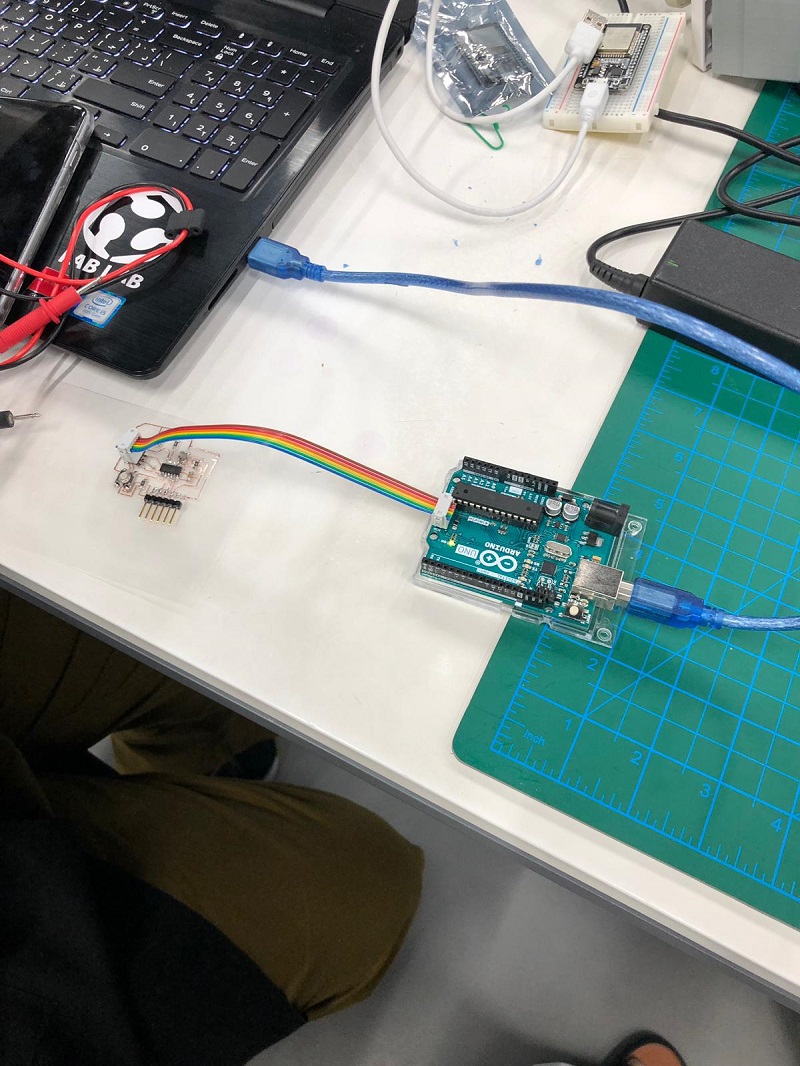
here i used the hello baord that i made in the previous weeks.
i first used arduino to program the board.
then i ripped the board while trying to check the connection. so i have to make one before proceeding.
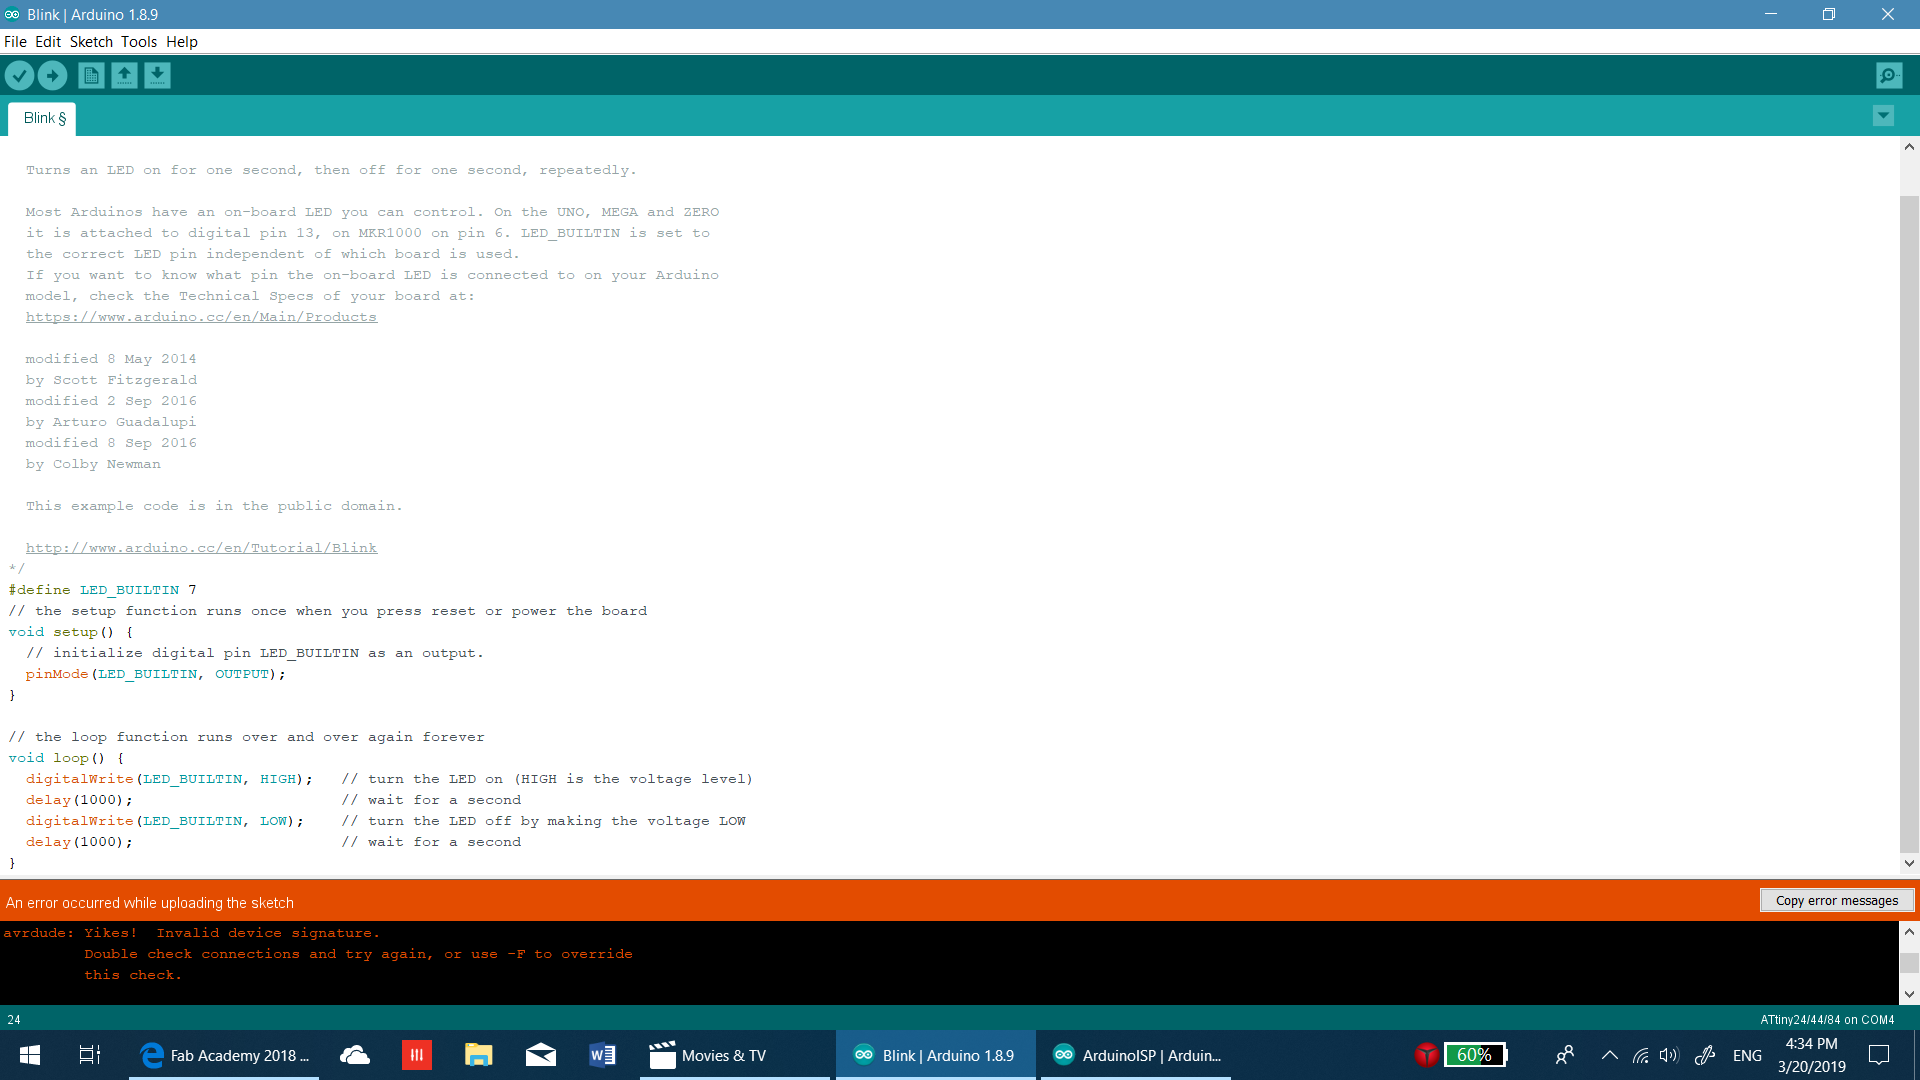
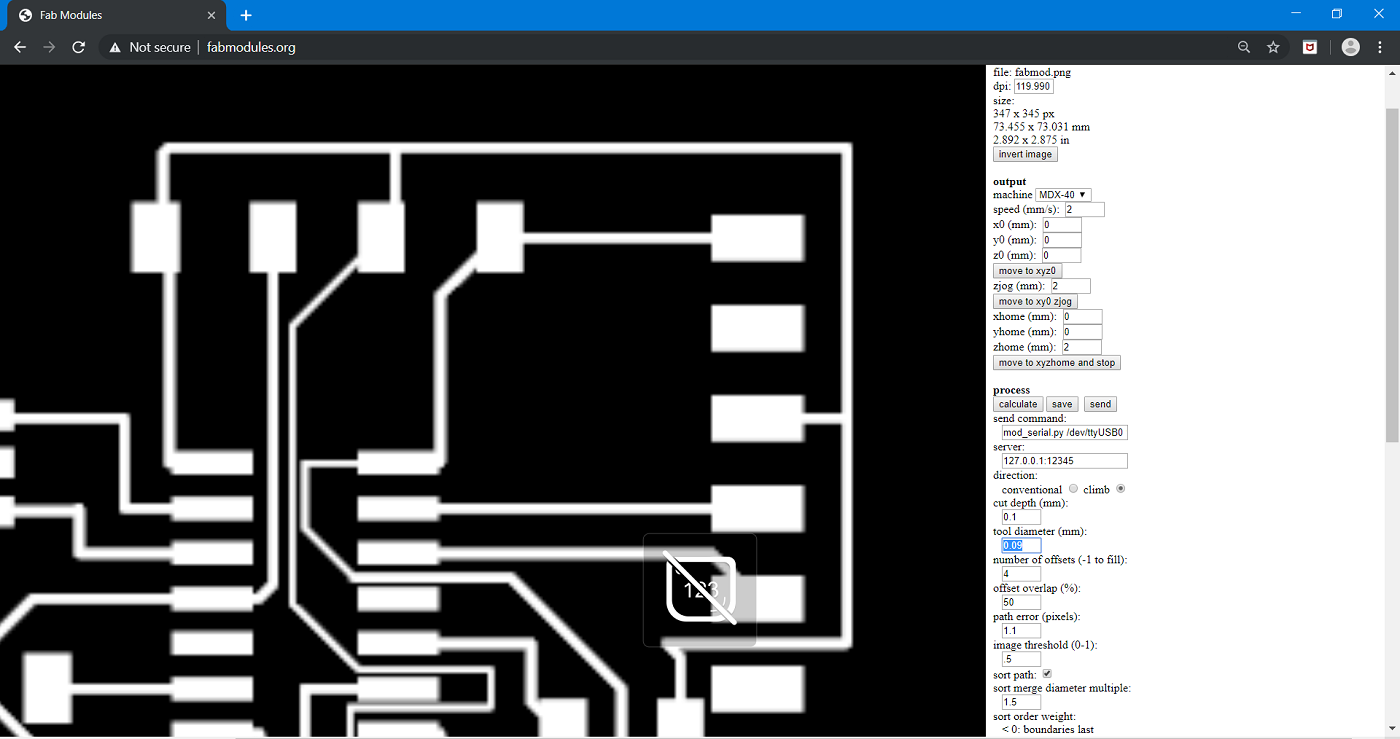
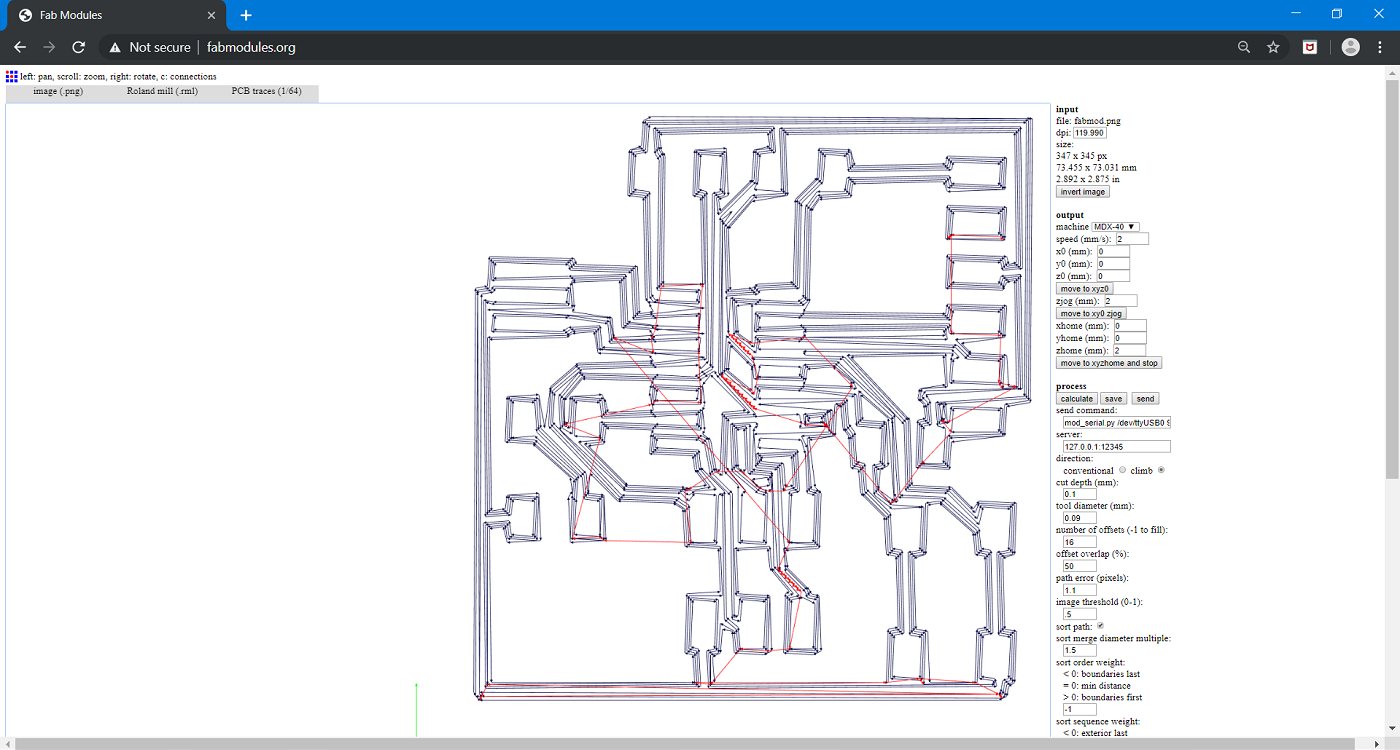
i made another one but i coudent risk using vinyl cutter so i went back to roland mdx-40. i did the same process as in week 7 except for one thing. in fabmodules we figured that we need to change the tool diameter as it wasnt correct. we reduced it from 0.4 to 0.09 and this actually worked beautifully.
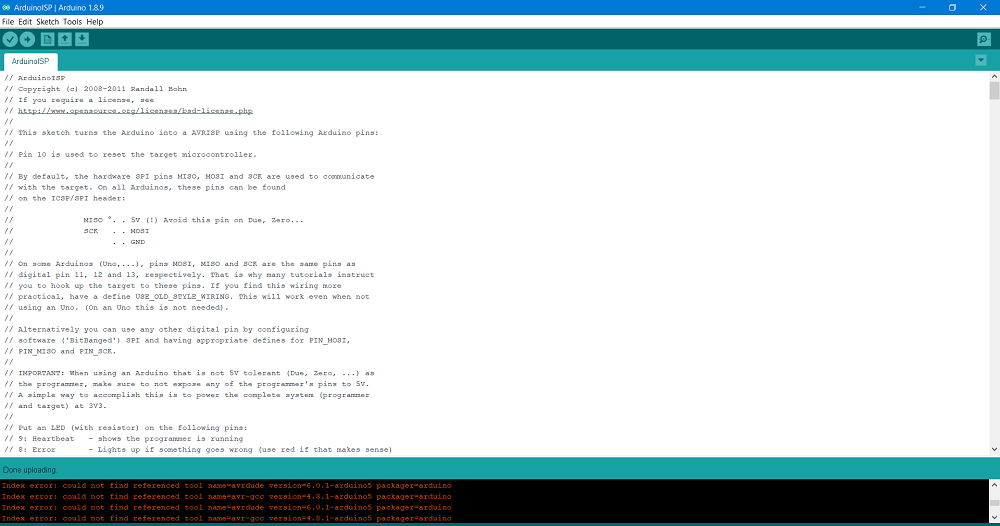
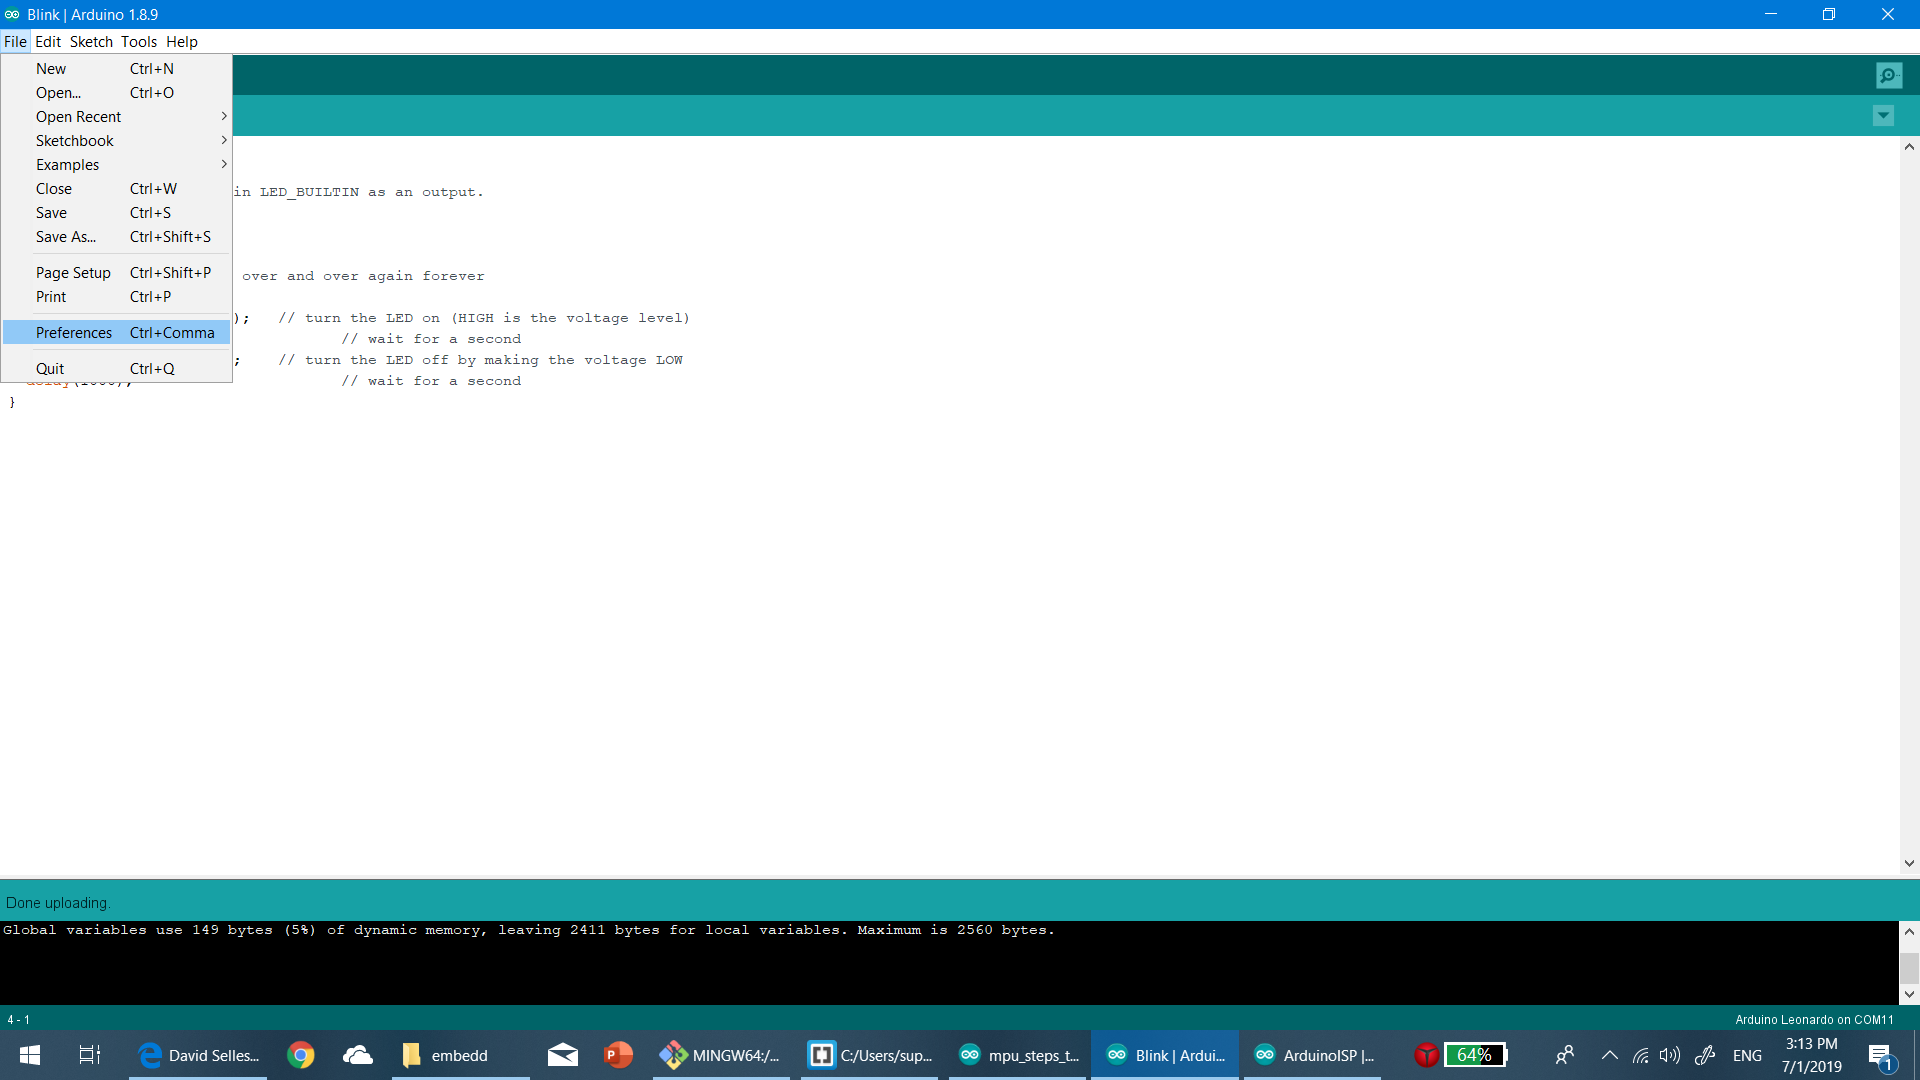
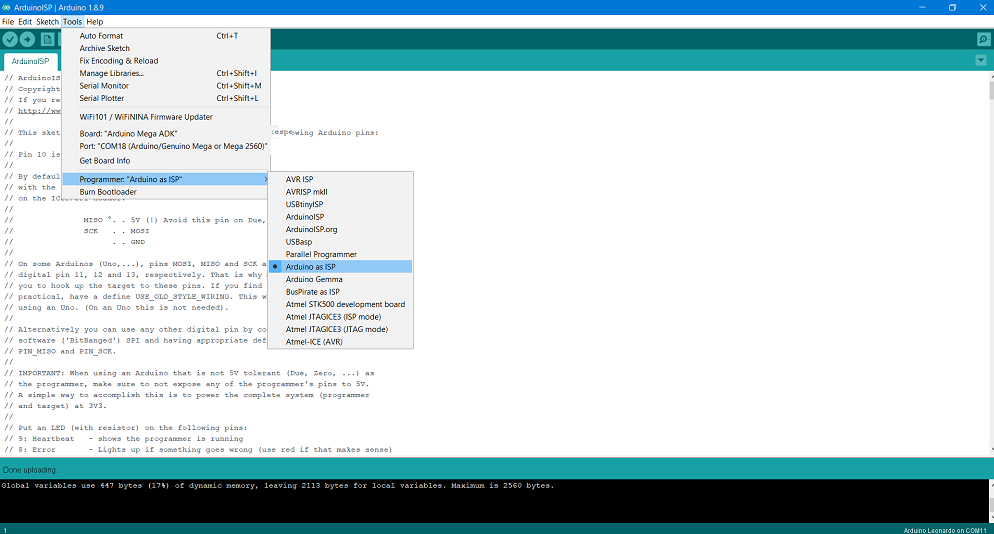
once the board was ready i started programming. to make it simple there are three steps first i needed to make arduino a programer so i opened the arduino isp code on the arduino then i selected the proper board and port from tools the last step is to plode the code to arduino and done.
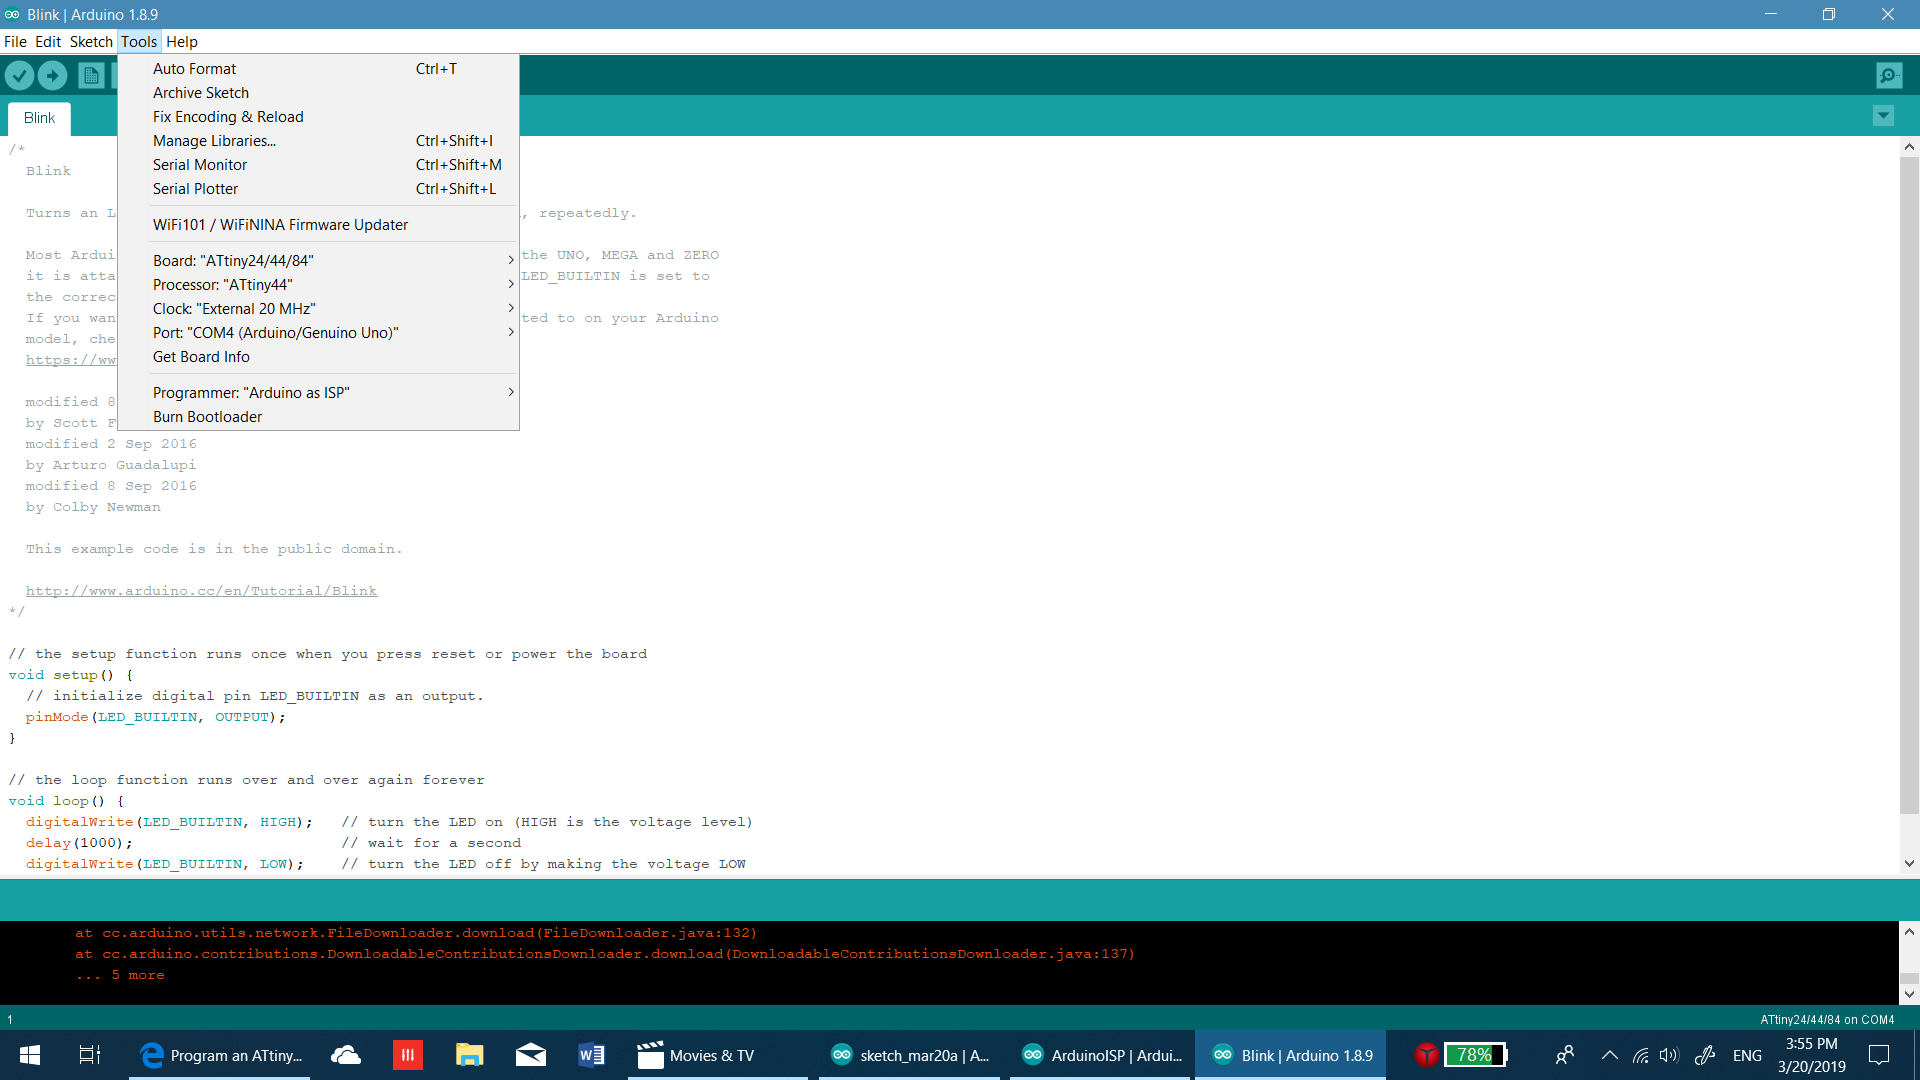
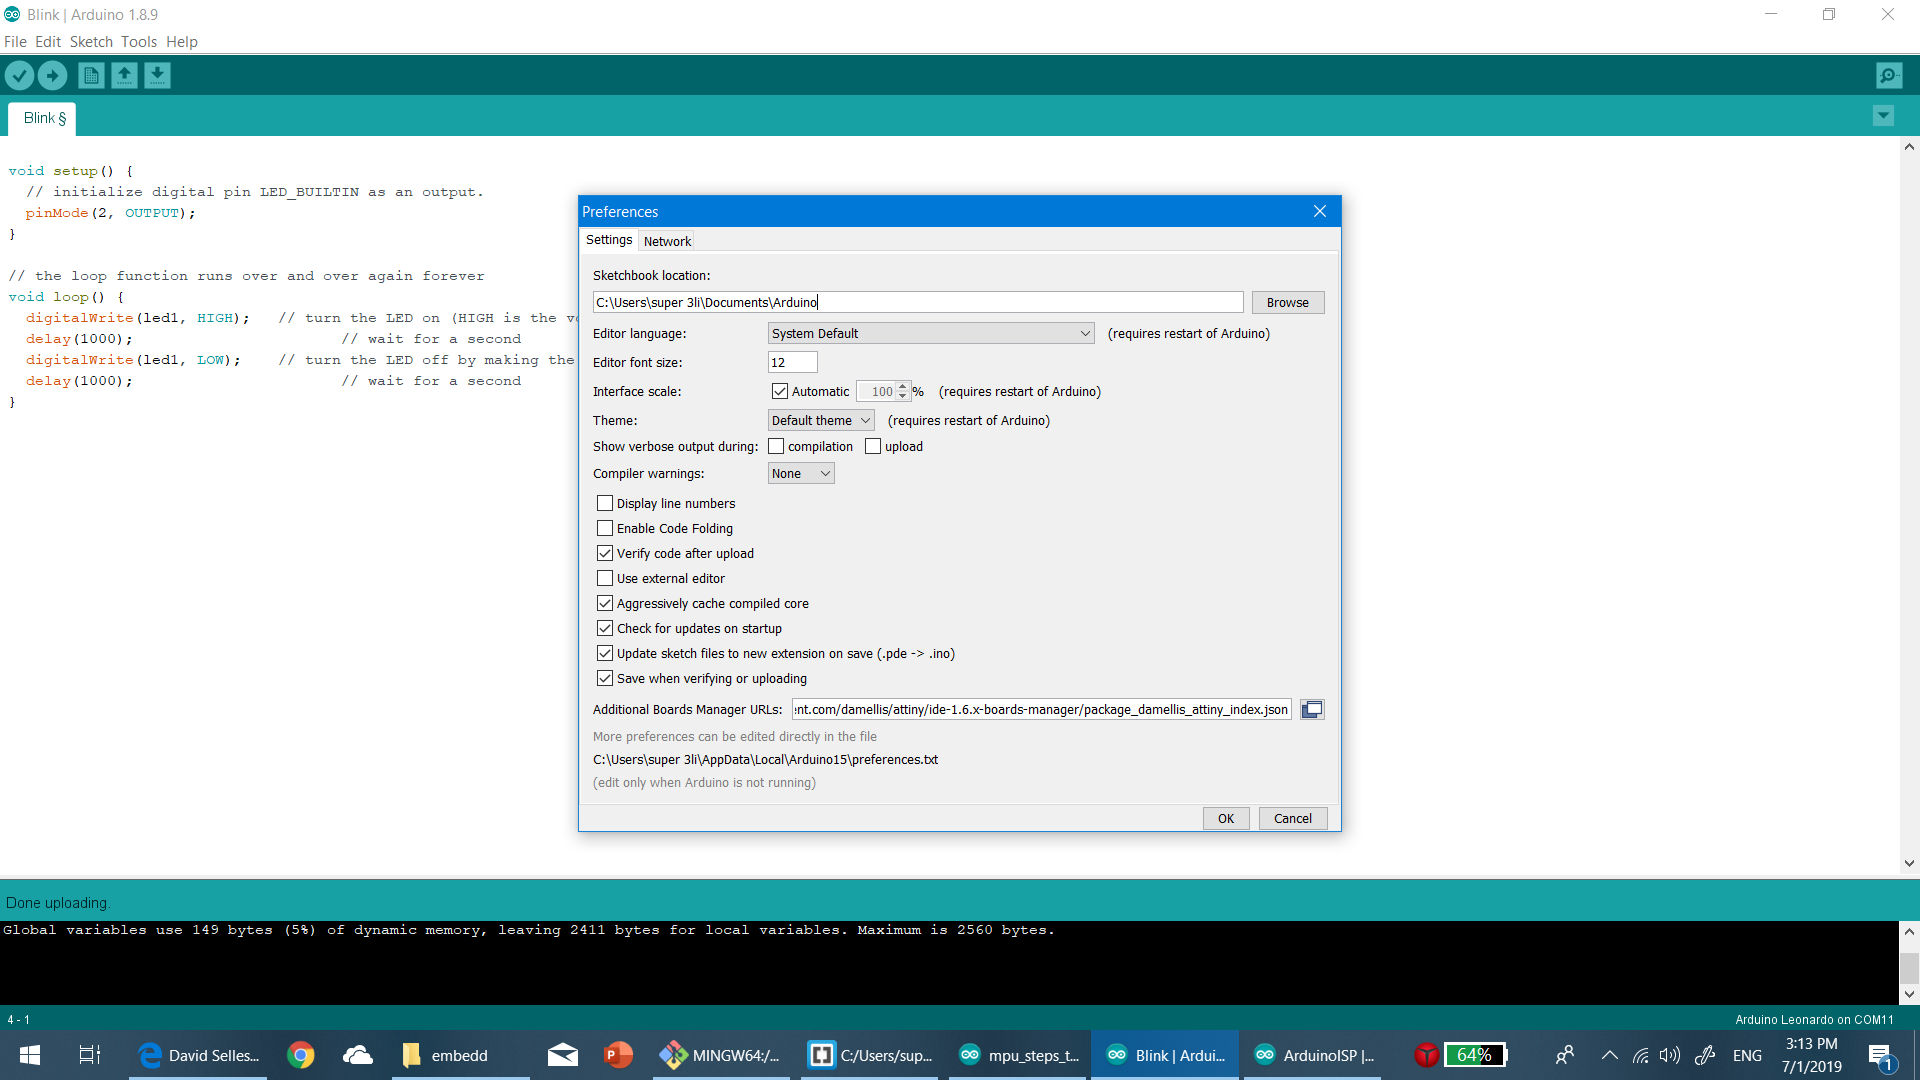
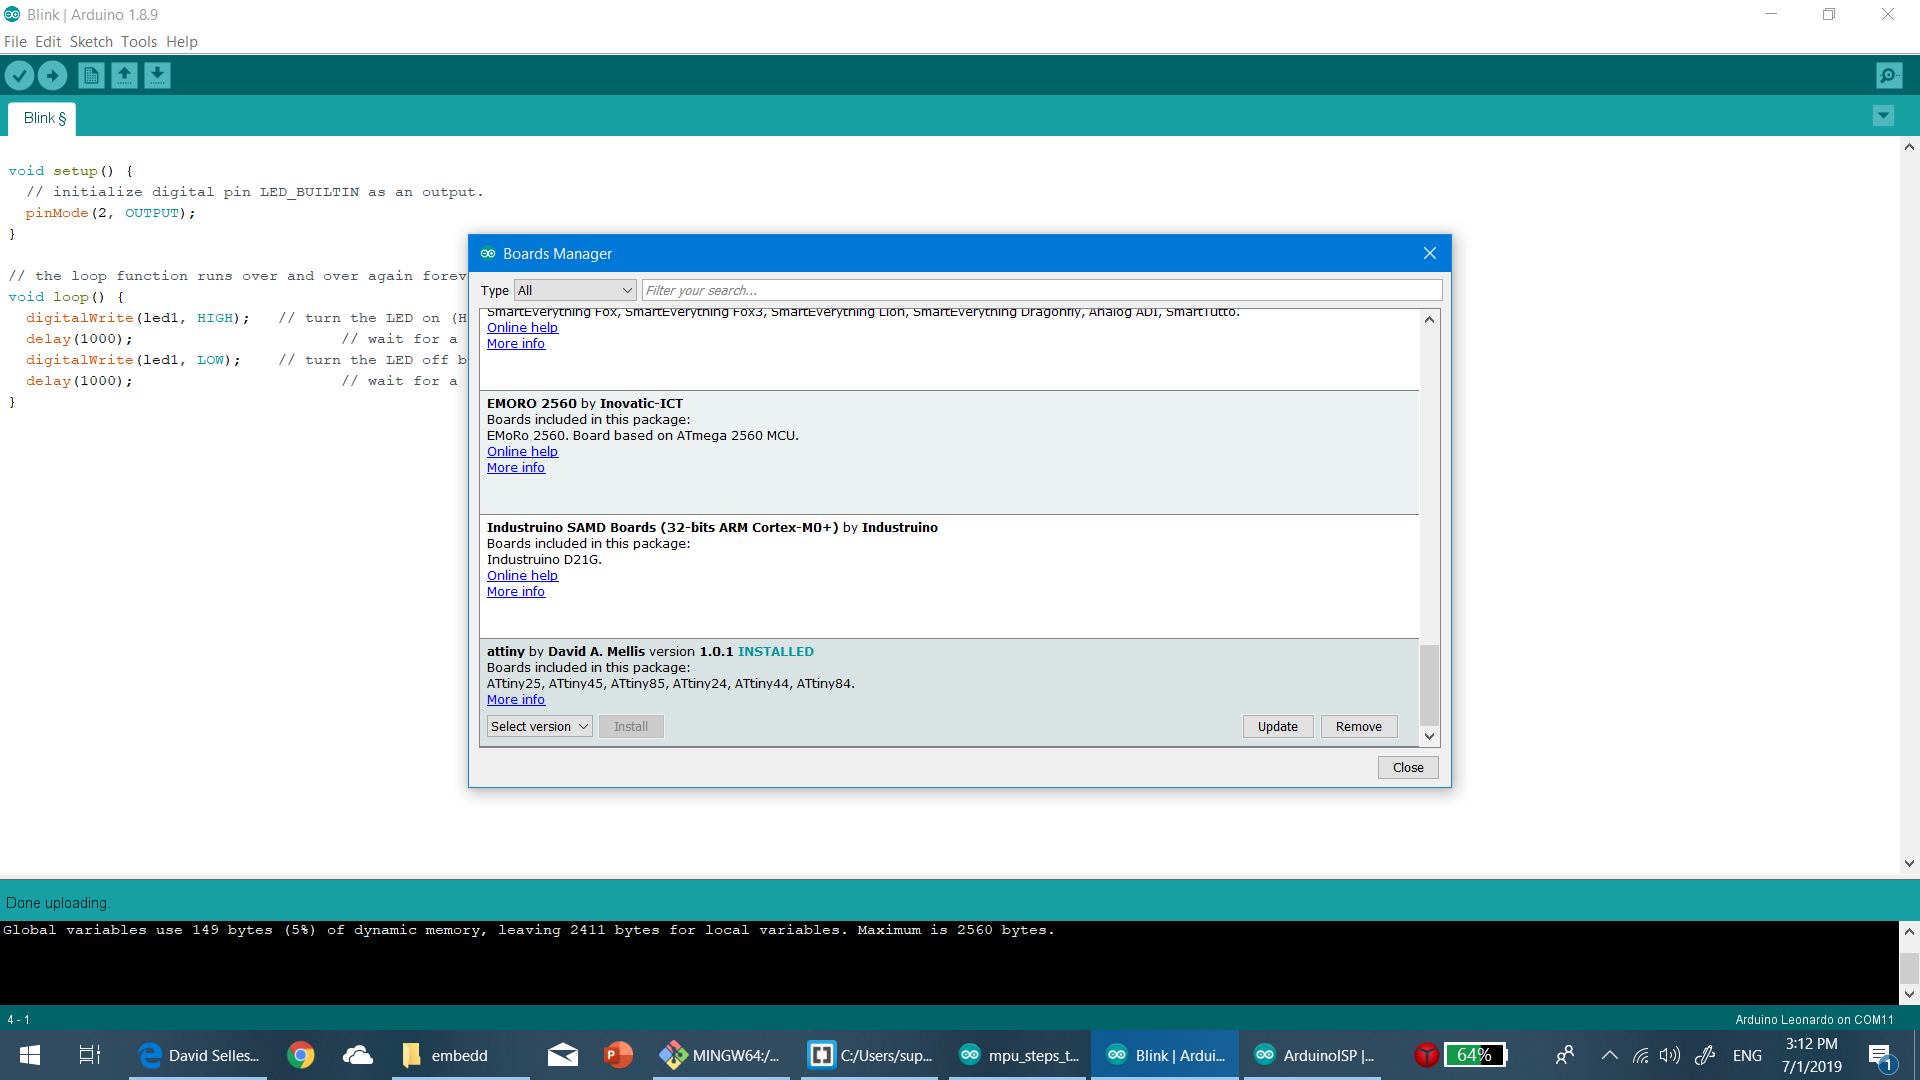
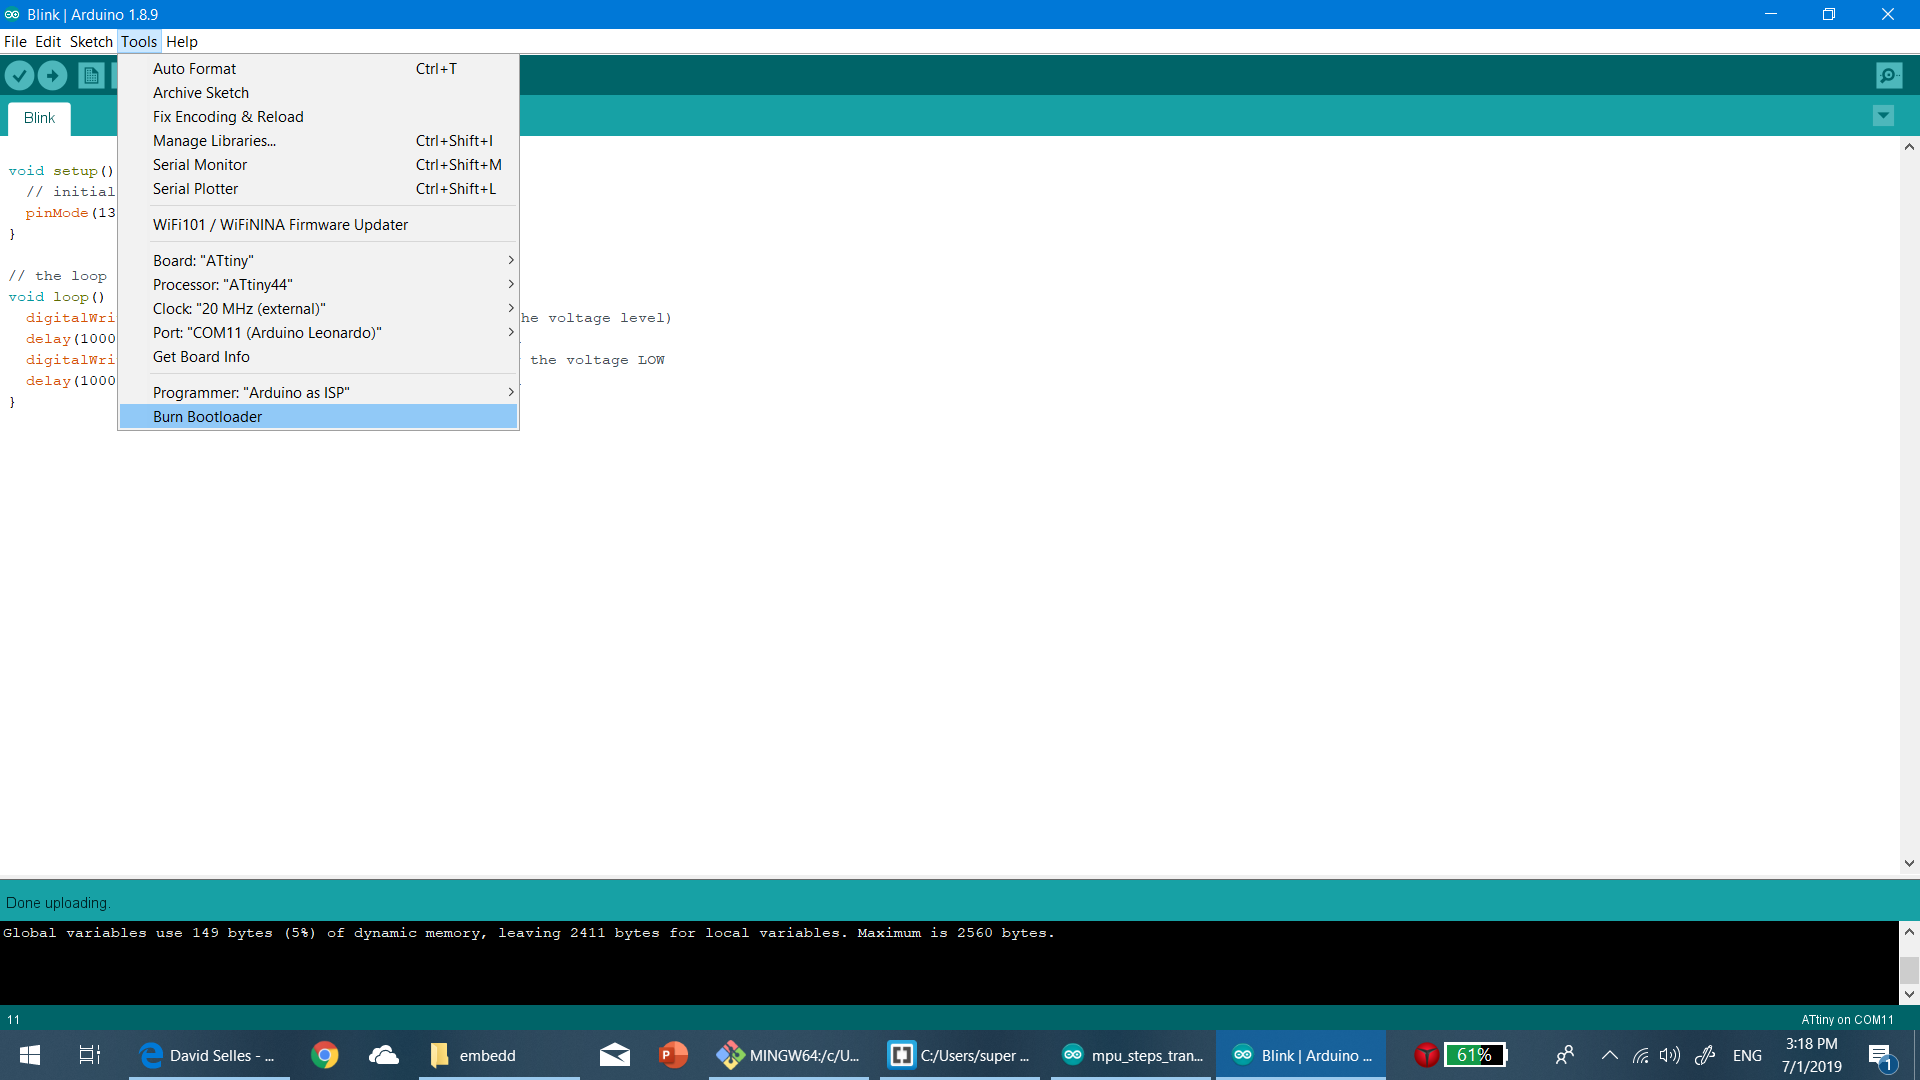
next step is to connect to the ATtiny 44. first step i had to download the attiny boards. you can do it by going to File > Preferences > Additional Boards Manager URLs and paste https://raw.githubusercontent.com/damellis/attiny/ide-1.6.x-boards-manager/package_damellis_attiny_index.json then open Tools > Board > Boards Manager and then look for attiny (it should be the last) choose the latest version and download it.
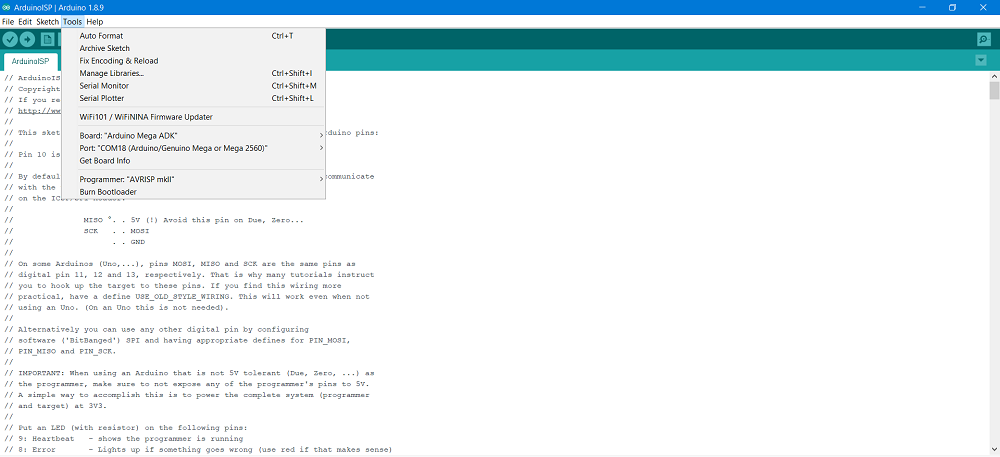
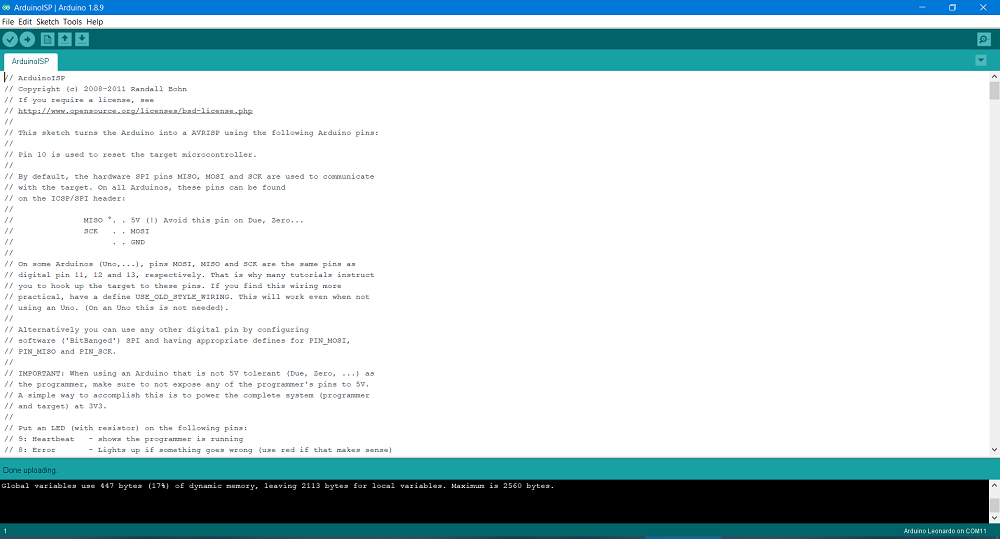
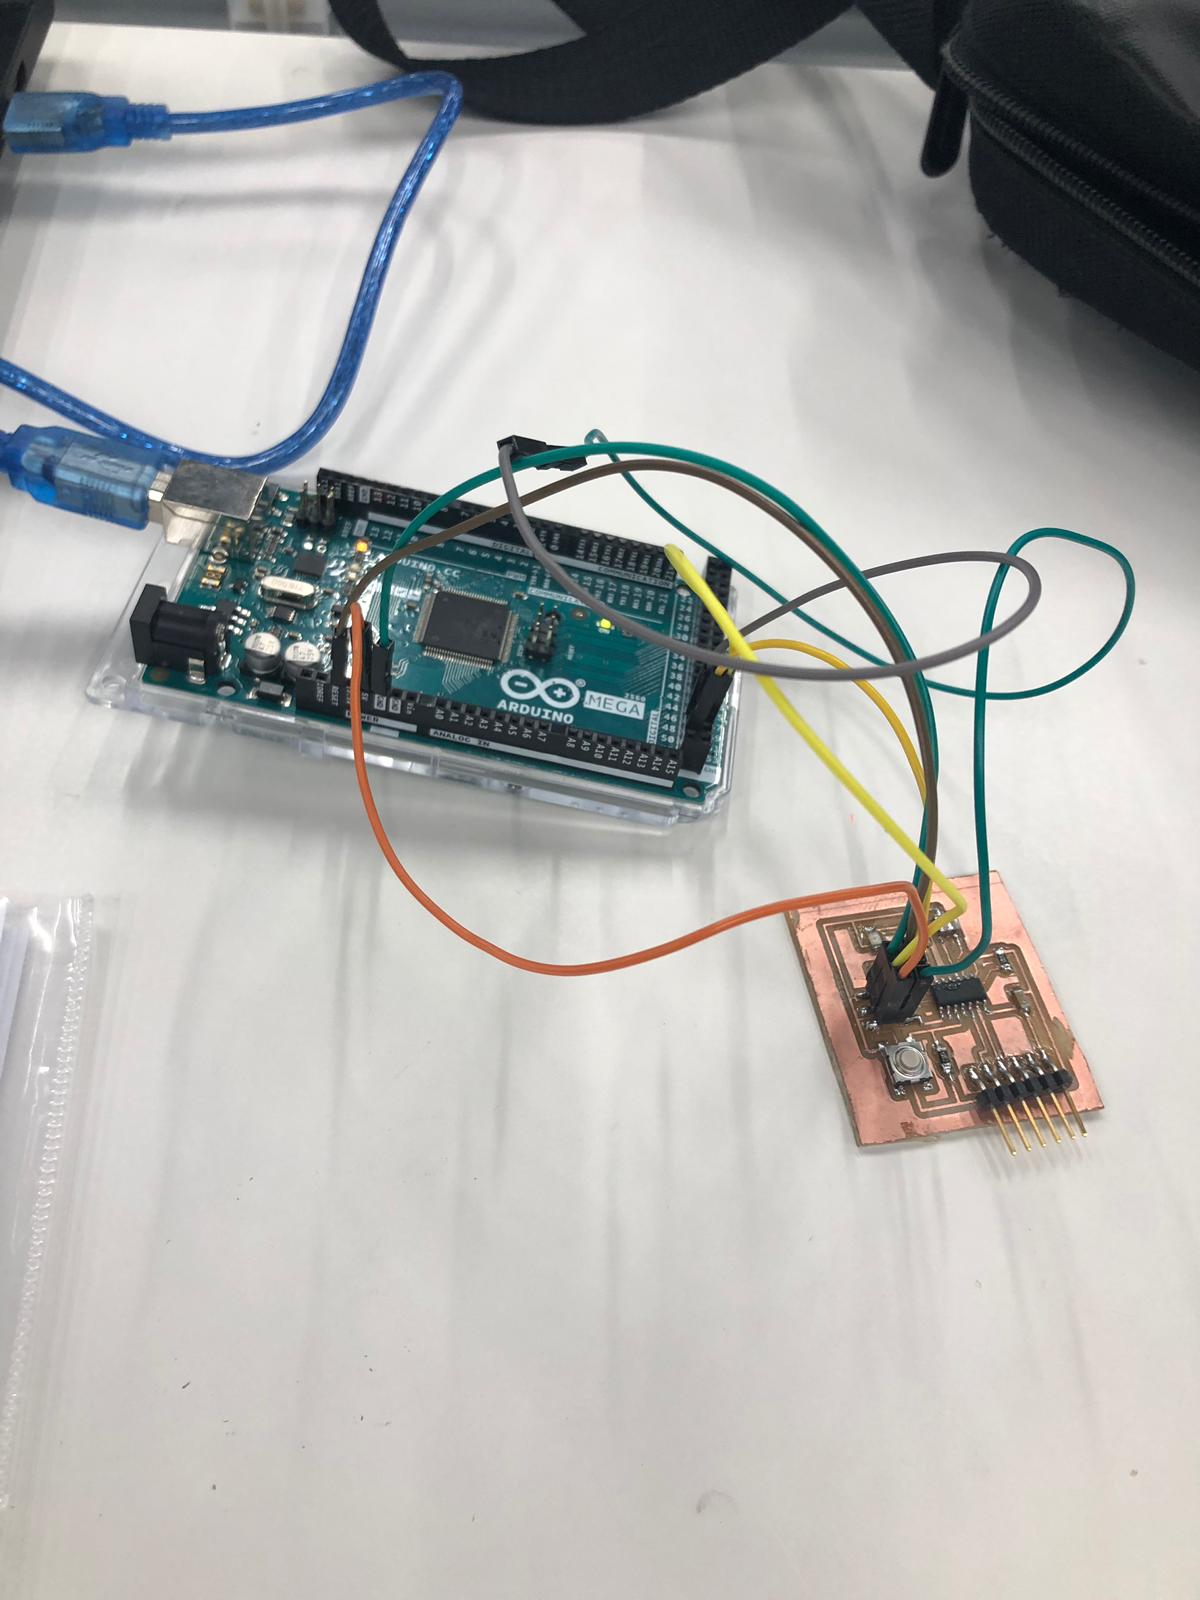
then i went i connected the board to the arduino and first thing you will need to set the board, processer, port etc. from tools. then choose arduino as isp next just do Burn Bootloader and after that uplode the sketch.
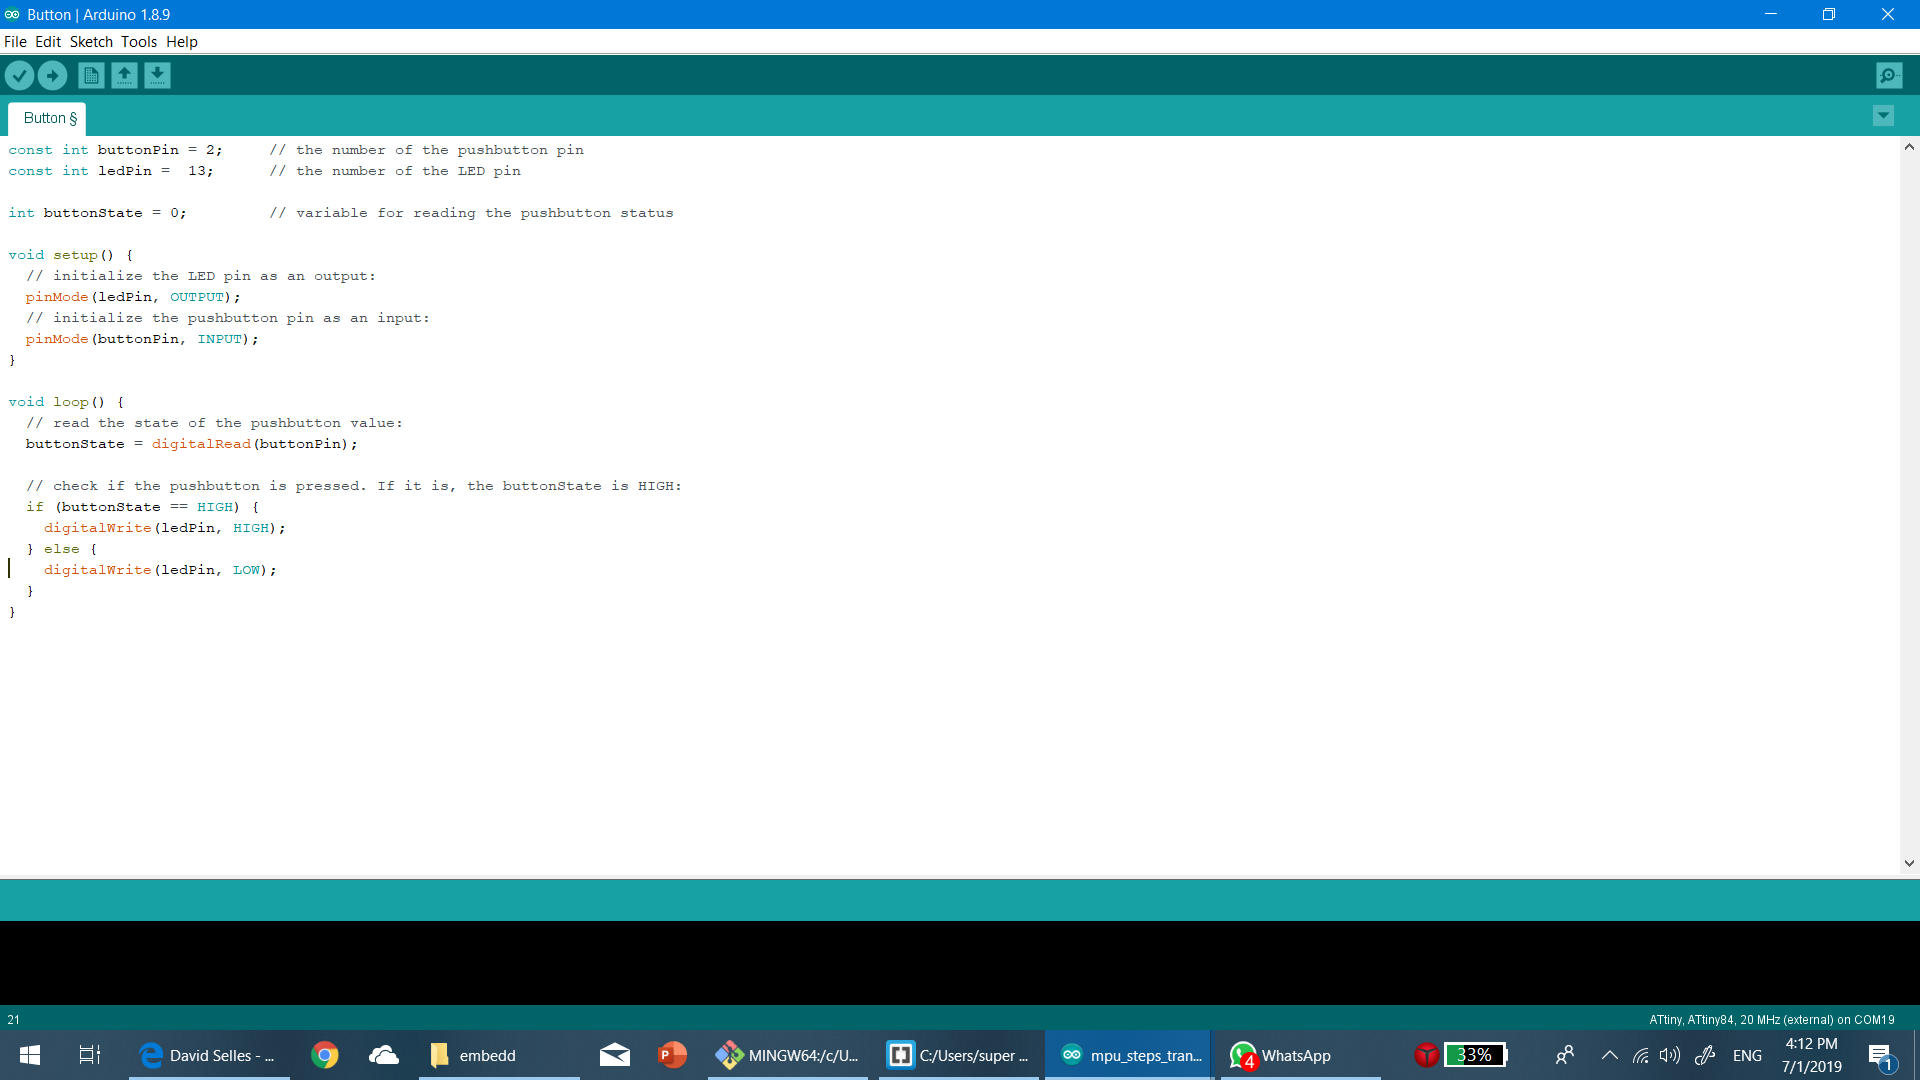
and its working. when i press the button the light goes off :)
