Week 18. Wildcard Week
Go to:
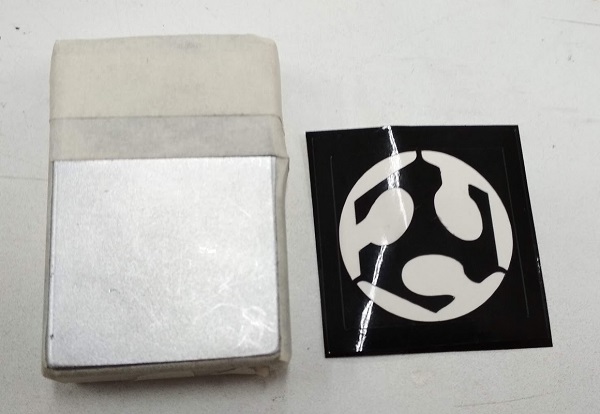
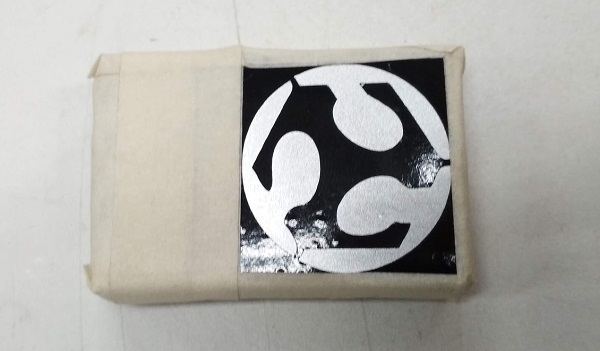
1. Vinyl cutter. Sandblast mask
It is not my main assignment for this week. I did it only because it was fun.
Main idea here is that you can cut a mask on a vinyl cutter, put it on a surface and sandblast not covered parts. Works perfect with smooth materials as metal or acrylic. Our instructor Eikka demonstrated it to us on a metal plate. The process of vinyl cutting is very simple and it is described on my Computer-controlled cutting assignments page.
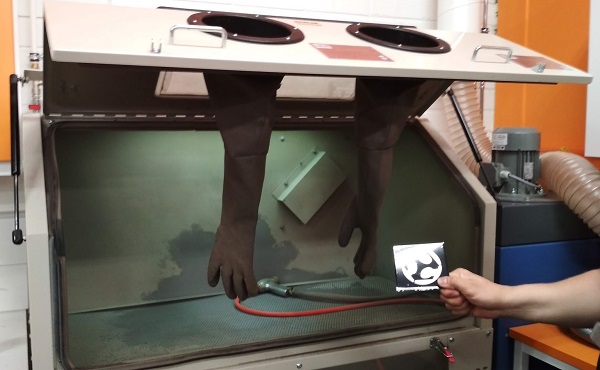

There is a pedal under the machine. By pressing it you can add more pressure for deeper engraving. But the key to nice and even result is to hold the gun as far from the surface as you can. The vinyl mask can come off if you put the gun too close or the flow will be too strong.
2. Laser cutter. Metal.
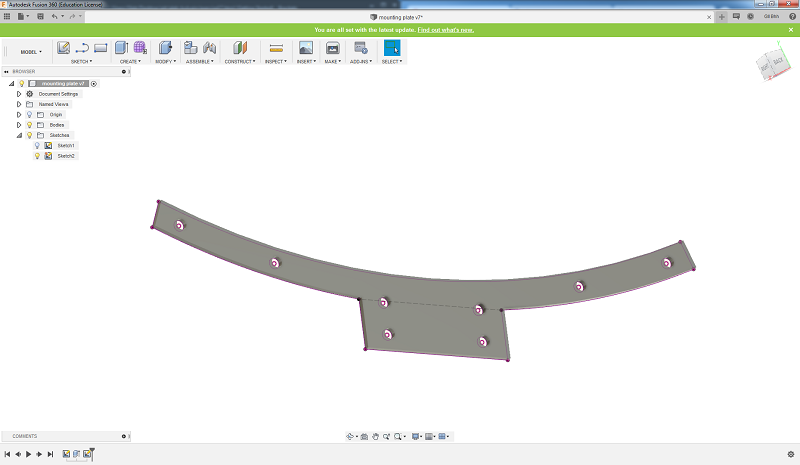
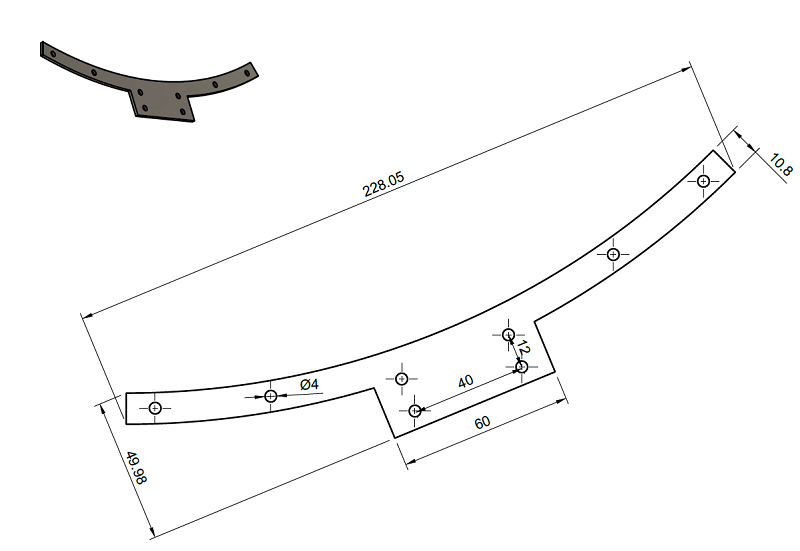
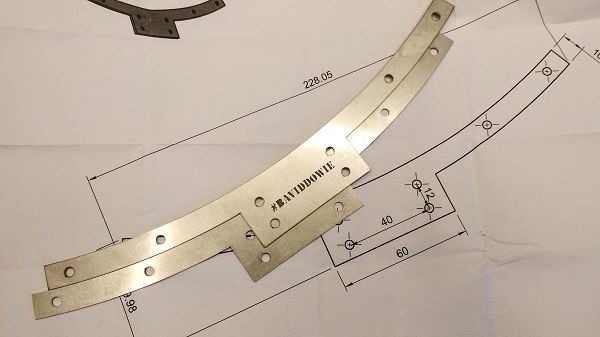
For my final project I designed a part wich must be strong enough to hold the whole construction on a tripod. As all other mechanical parts for my final project I designed this one if Fusion360. It will go in a special slot in the base part on my ring.
To design the part I saved a copy of my ring segment, created a construction plane (middle plane between slot faces), projected segment to the plane and using Offset tool I made a simple shape that fits inside the segment. To attach the plate to the base part I will use M4 screws. So I added Some mounting holes (again used Offset tool to create a construction curve in the middle of the arc).
I was going to use the Water jet cutter for it but...
It was pretty much busy cutting this 250mm block of steel.
Anyway, I had my design and I was going to make it. There is a powerful laser cutter in the workshop and it was free at the moment. It can cut steel up to 1,2 mm thick. Nice guy Pasi operates laser cutter and water jet cutter in the workshop. He told me to bring the step file to prepare file for laser cutter. In Autodesk Inventor 2019 he created an dxf file from the face (right click on the face, export as .dxf) of my part (somehow, .dxf file created in Fusion 360 didn't work) and made .dwg file.
Coherent META 4C

The META 4C is a compact, powerful and flexible 400W laser cutter that is designed to be accurate and easy to use on metal and non-metal materials.
With a cutting area of 48 in x 48 in (1.23m x 1.23m) and 12 inches (300 mm) of Z travel, it is capable of cutting a wide range of plastics and organics as well as common materials in a production environment. Built on a sturdy, lightweight steel frame, the META 4C laser cutter has excellent accuracy and repeatability. Simple user interface and job loading software simplifies work set up and increases productivity.
META 4C Highlights:
- 400W CO2 Laser
- Cuts metal and organic materials
- Raster engraving vector cutting
*description from the Coherent web page
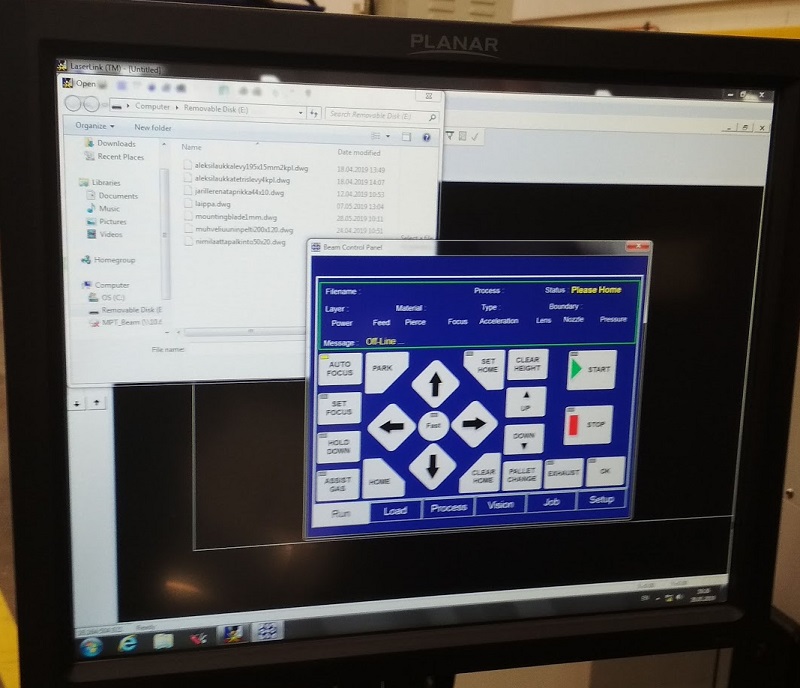
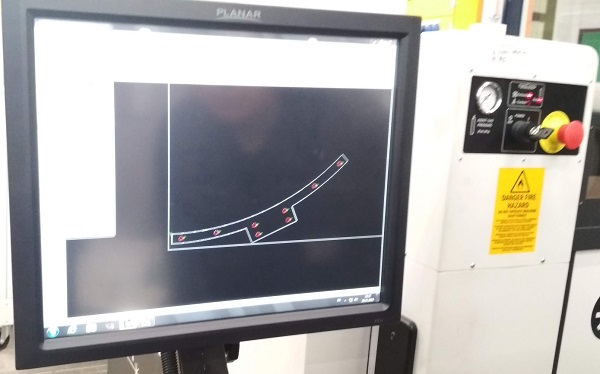
Using lasercutter inbuilt software Pasi created paths for holes and outline of my part. First, he selected all the holes and created a G-code for them. Then the outline. In this way the holes will be cut first, so the geometry will be right (if cut outline first, the air pressure inside the machine can move the blank and holes will change places a little).
P.S. Sorry for the image quality.
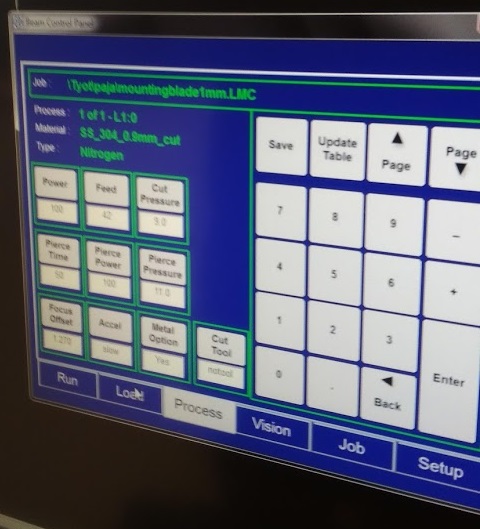
Settings for 1mm steel:
- Power: 100
- Feed: 42
- Cut pressure: 9.0
- Pierce time: 50
- Pierce power: 100
- Pierce pressure: 11.0
- Focus offset: 1.270
- Accel: slow
- Metal option: Yes
- Cut tool: notool
![]()
META 4C has autofocus, so all we needed to do was to set the origin position using arrow keys on the control panel. It has a red dot to help to aim. Origin here is the bottom-left corner of the drawing.
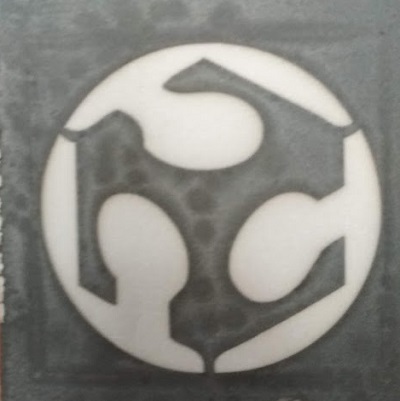
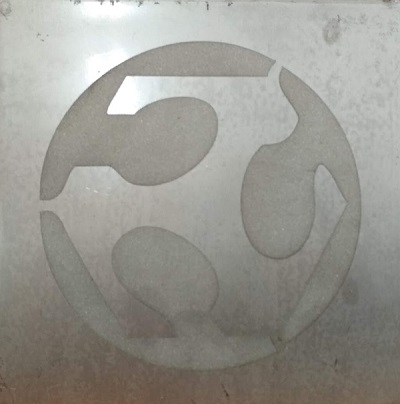
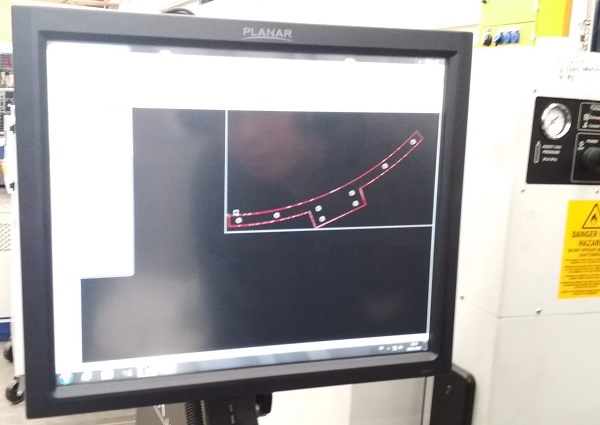
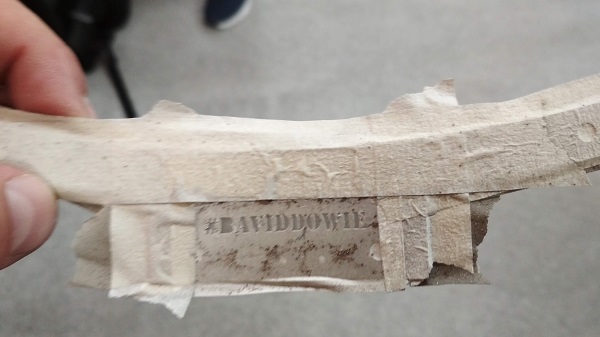
Everything was cut perfectly. Since I was going to make it 2mm thick we cut 2 pieces. I'll put them together and I think it will work. Since, I had some fun with the sandblasting machine, I decided to put my hashtag on one of the plates. In Inkscape I created a simple file [font: Stencil], cut it on vinyl cutter, put it on the plate and sandblasted it.

Since I had a profeccional to help me with the cutting everything worked just fine. Actuaaly. the despite the file preparation, the process is very similar to cutting with Epilog Fusion. All settings were more or less clear to me. One feature I liked is that this machine cuts not on the line on the drawing but rigth next to it. So teoretically it is possible to make a pressfit joint with a zero kerf in the drawing.
4. The Results of the week
- Design of my site was updated
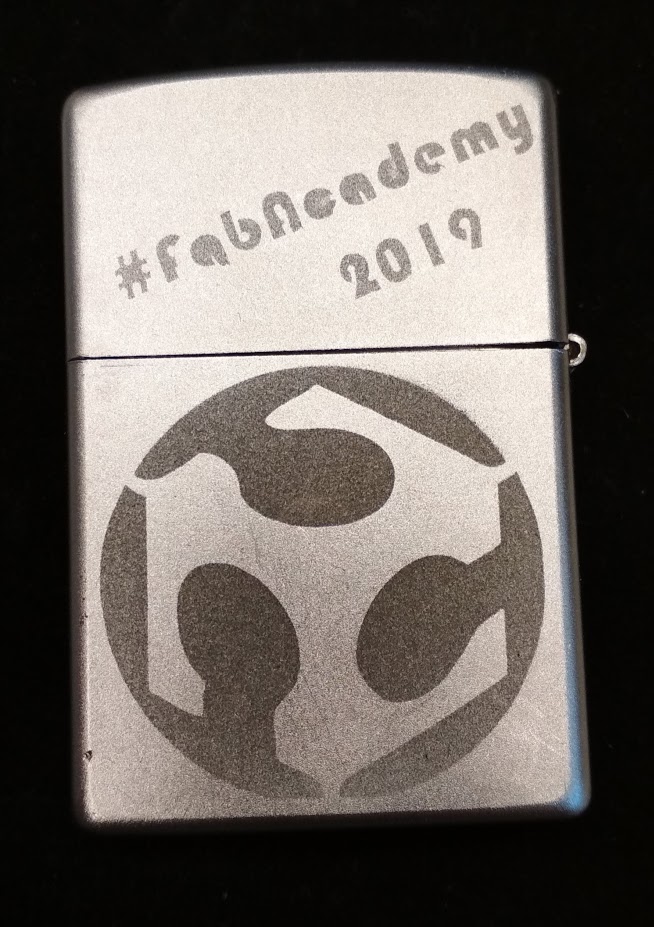
- Zippo with FabLab logo
- Important part for my final project
- I used 400w laser cutter. It is fast and powerful
- New pages for the final project: 2. Mechanical parts, 3. Programming
- Some test parts for my final project