02/ CAD: computer-aided design
This week's assignment is to explore as many CAD tools as possible, and make a 3D model of my final project.I explored softwares listed below:
(click on links to jump to sections)
1. Gimp
2. Tinkercad
3. Rhino + Grasshopper
and made a model for my final project.
← previous
→ next
⋯ assignment list
🏁/ final project
2D Raster/
Gimp
Gimp is a free and open-source raster graphics editor used for image retouching and editing, free-form drawing, converting between different image formats, and more specialized tasks.It works very similar to but a bit simpler than Adobe Photoshop.
During my short exploration, I find two things I like about Gimp more than Photoshop:
- 1. Gimp has more advanced panel for customizing brush styles.
2. Gimp is surprisingly specialized for image distortion or deforming graphics, for it has more than three different transformation choices in the tools panel. These could be fun features if you need to make experimental graphics :D
2. Gimp is surprisingly specialized for image distortion or deforming graphics, for it has more than three different transformation choices in the tools panel. These could be fun features if you need to make experimental graphics :D
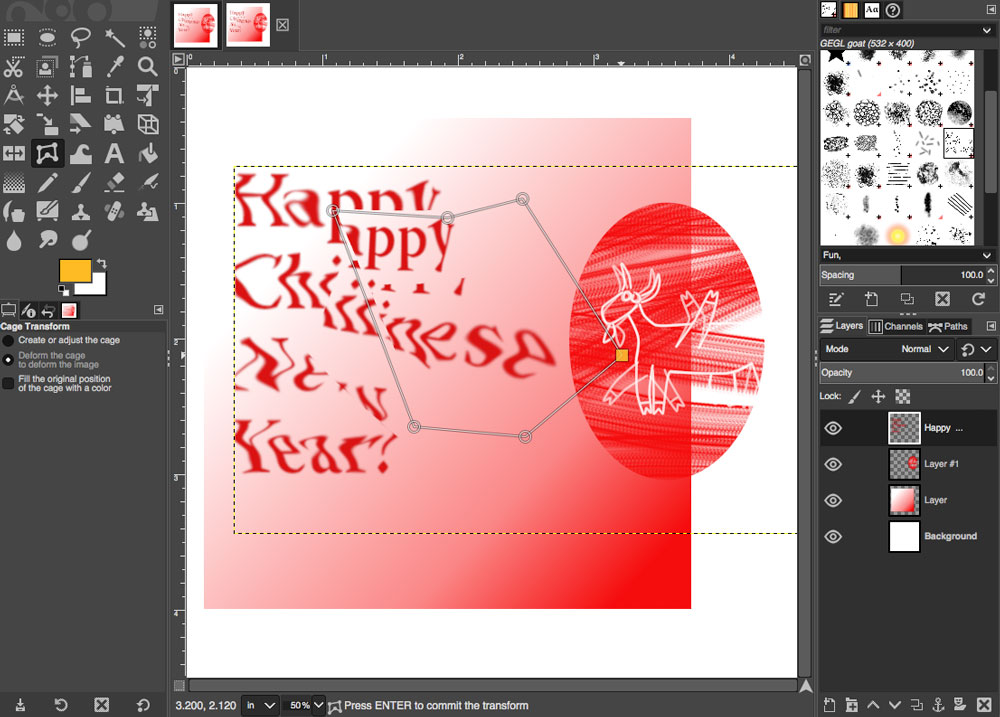
I do feel confused by the dashline selection which sometimes I cannot get rid of. For future efficienty, I'll still choose to use Photoshop or Illustator as my main 2D tools because I am already very experienced with them.
3D Modeling/
Tinkercad
Tinkercad is a free, easy-to-use online CAD tool for 3D design, electronics, and coding. It has a simple workspace and handy pre-build primitives and components that can help you quickly turn idea into basic models. It is also very supportive for 3D printing.
I appreciate the simplicity of Tinkercad and would like to use it for basic modeling or quick 3D printing jobs in the future. Here is something I made in Tinkercad:
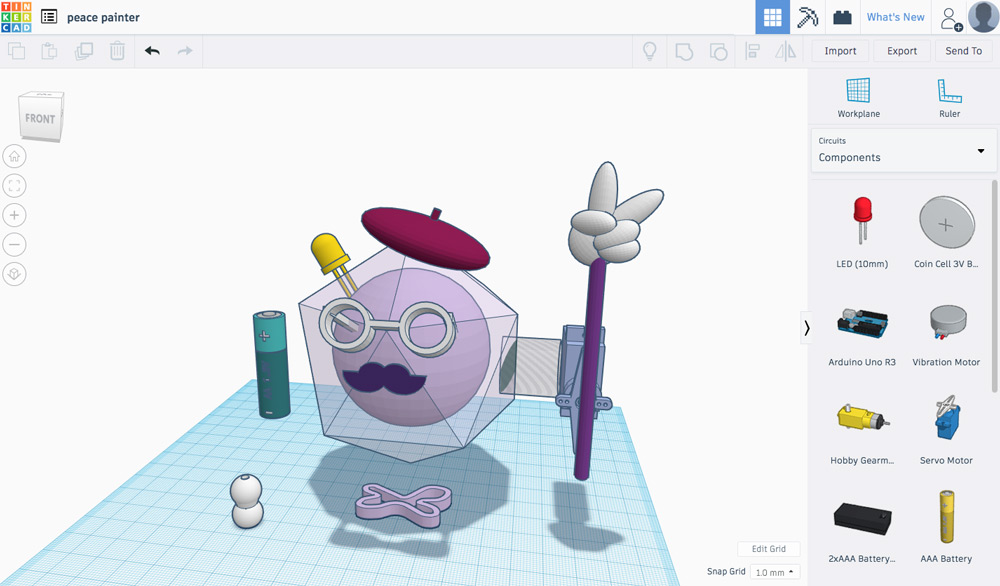
↓ download file: peace_painter.stl
Rhino + Grasshopper
Rhinoceros is a commercial 3D CAD application software. It is primarily a free form surface modeler that utilizes the NURBS (non-uniform rational basis spline) mathematical model. Grasshopper is a graphical algorithm editor that runs within Rhino.
I looked up a few basic rhino tutorials and quickly got attracted by the graphic outcomes and possibilitis of grasshopper. It is a node structure visual programming language, which means not too much coding and friendly to learn :D
Grasshopper is extremely powerful when you need to model something repeatitive, complicated, algorithm based or need to constantly change the values of parameters. Since I am still very slow while modeling in Rhino, I find it easier to type in commands and connect nodes to generate geometries.
I followed this Tri panel system with Grasshopper tutorial on youtube and tried out the sketch below.

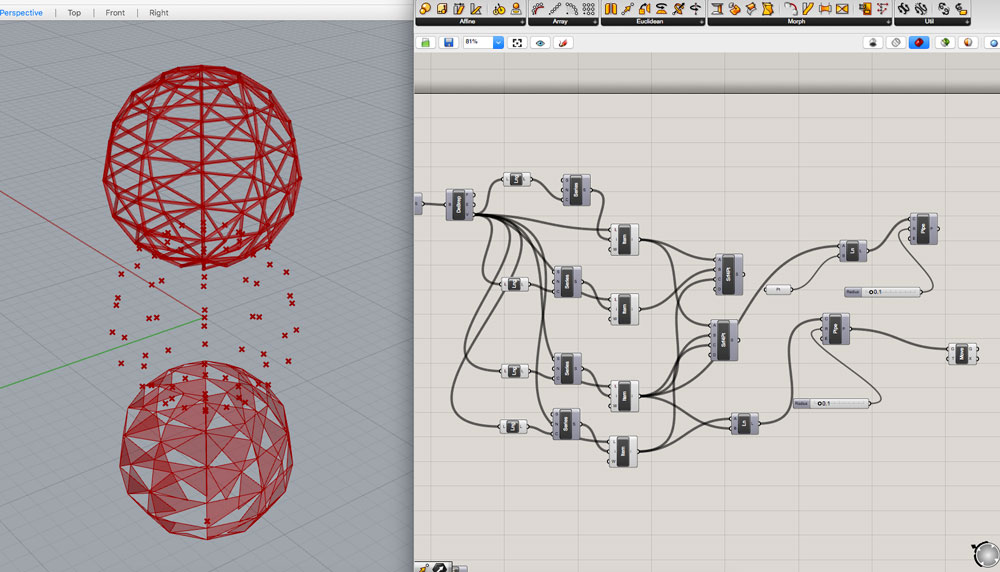
↓ download grasshopper draft file: 3_sphere.gh
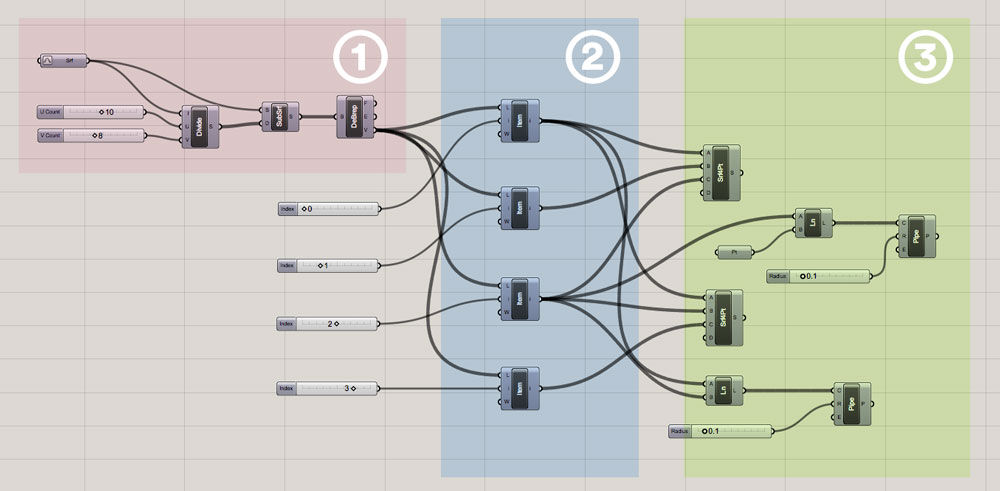
To turn a sphere (or any type of free-form surface) into a set of points, line structures, and develop from those, there are 3 basic steps:
- 1. Deform the chosen surface and divide it into subsurfaces.
- 2. Get lists of vertices from the corners of subsurfaces.
- 3. Using the vertices's position data, combine with geometries to create new forms.
So far I like Rhino and Grasshopper very much, and will keep exploring them :D
3D model for final project
For my final project's idea 2: An audiovisual controller, I made a mode based on the three sphere Rhino draft above.
With the vertices's info in grasshopper, I generated three domes: one as surface structure that is made with solid pipes, one as inner structure that connects vertices to sphere center, and one as semi-transparent triangular surfaces. Then I cut the spheres half into domes and combined the three parts together.
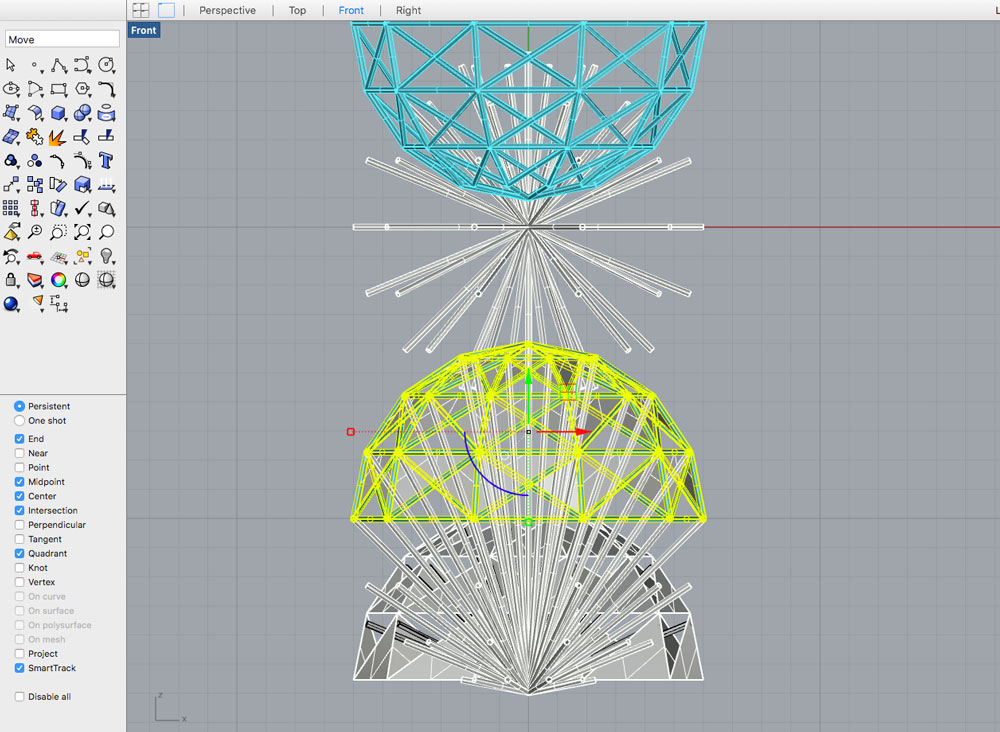
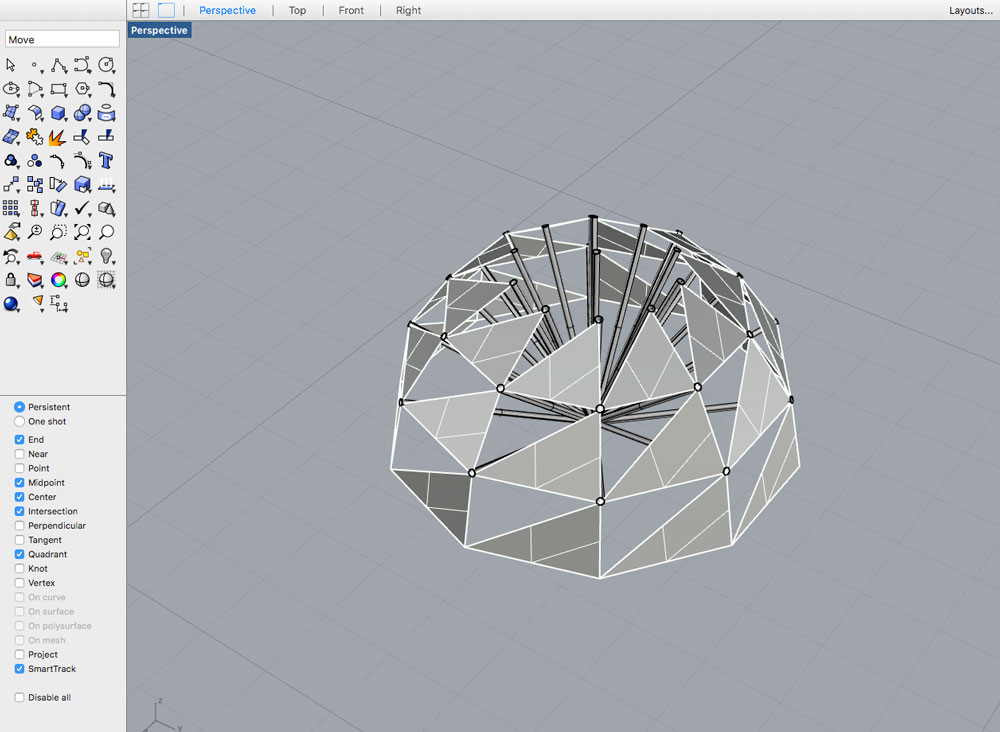
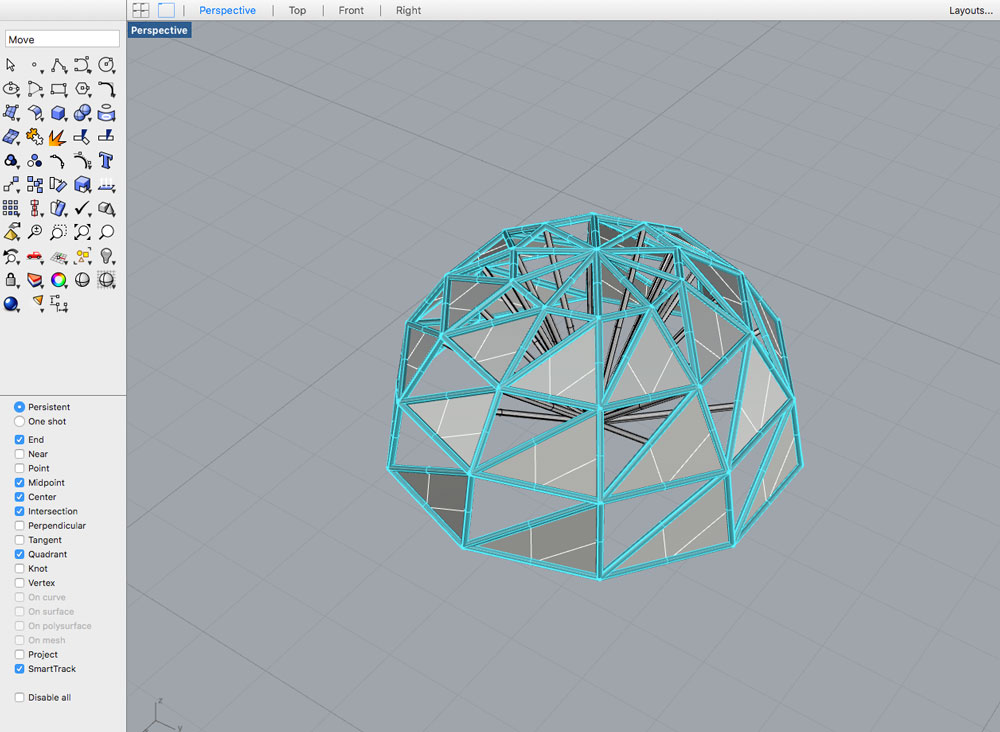
My original idea for the project is to have some interactive feature, resulting in the transformation of the structure. Imagine when the inner pipes changes angles or lengths, the surface structure pipes will move accordingly. (I need to test how flexible this structure can be and how it functions...) Then I add joints to connect surface pipes to make them flexible. The joints can also be where the sensors are placed.

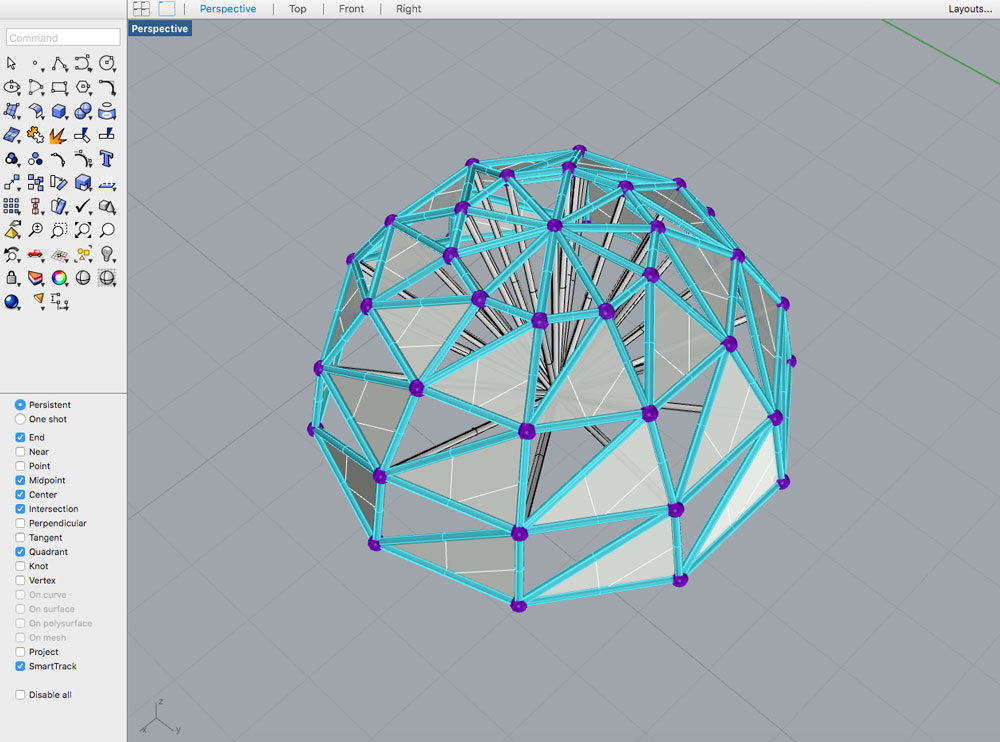
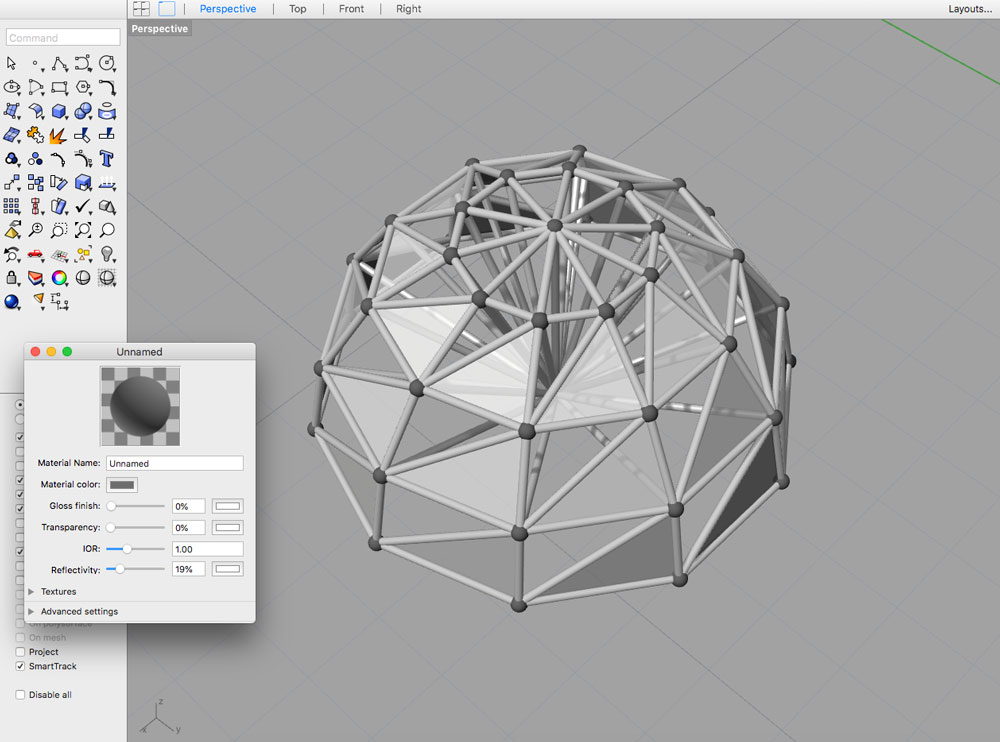
Here is the 2D render for the model so far. The radius of the dome is around 40cm:
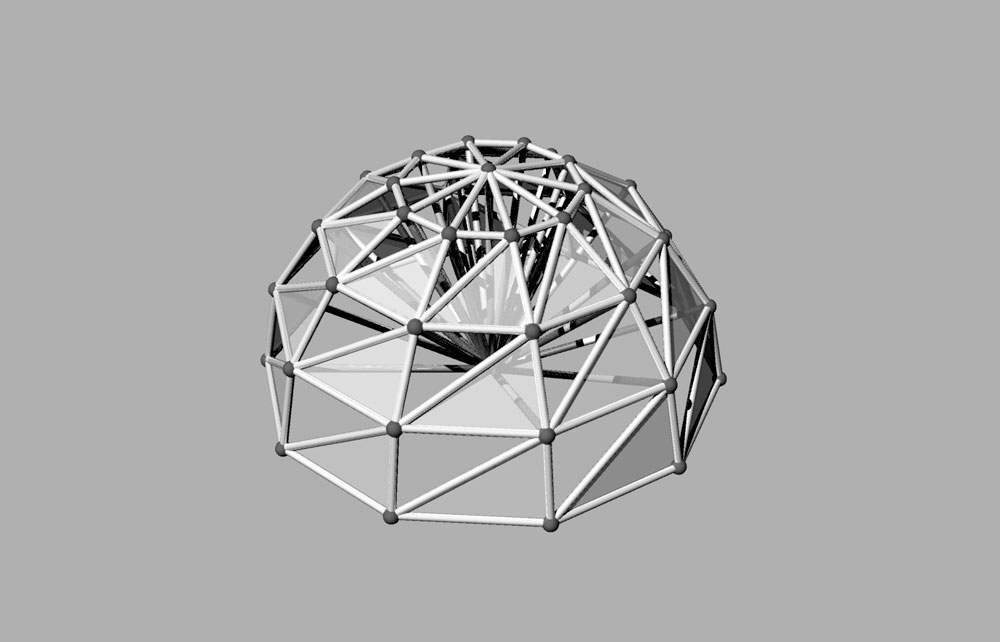
↓ Google drive download links for large size files: .3dm file and .stl file
↓ Reduced-size low-poly file: dome_sm.stl
(Updated 02.05.2019)