Project management
So this is the 2nd week. As like in the previous week we got assignments in this week too. the assignment in this week is to work through a git tutorial build a personal site in the class archive describing you and your final project. So we will start with learning some git...
Learning Git
So what is Git??
Git is a free and open source distributed version control system designed to handle everything from small to very large projects with speed and efficiency. Git is easy to learn and has a tiny footprint with lightning fast performance. It outclasses SCM tools like Subversion, CVS, Perforce, and ClearCase with features like cheap local branching, convenient staging areas, and multiple workflows.Git is perfect platform for version control of projects.To me git was a new field.
So we are using Gitlab for our project management. So in first we are going to create a gitlab account and study about git Access protocol and codes
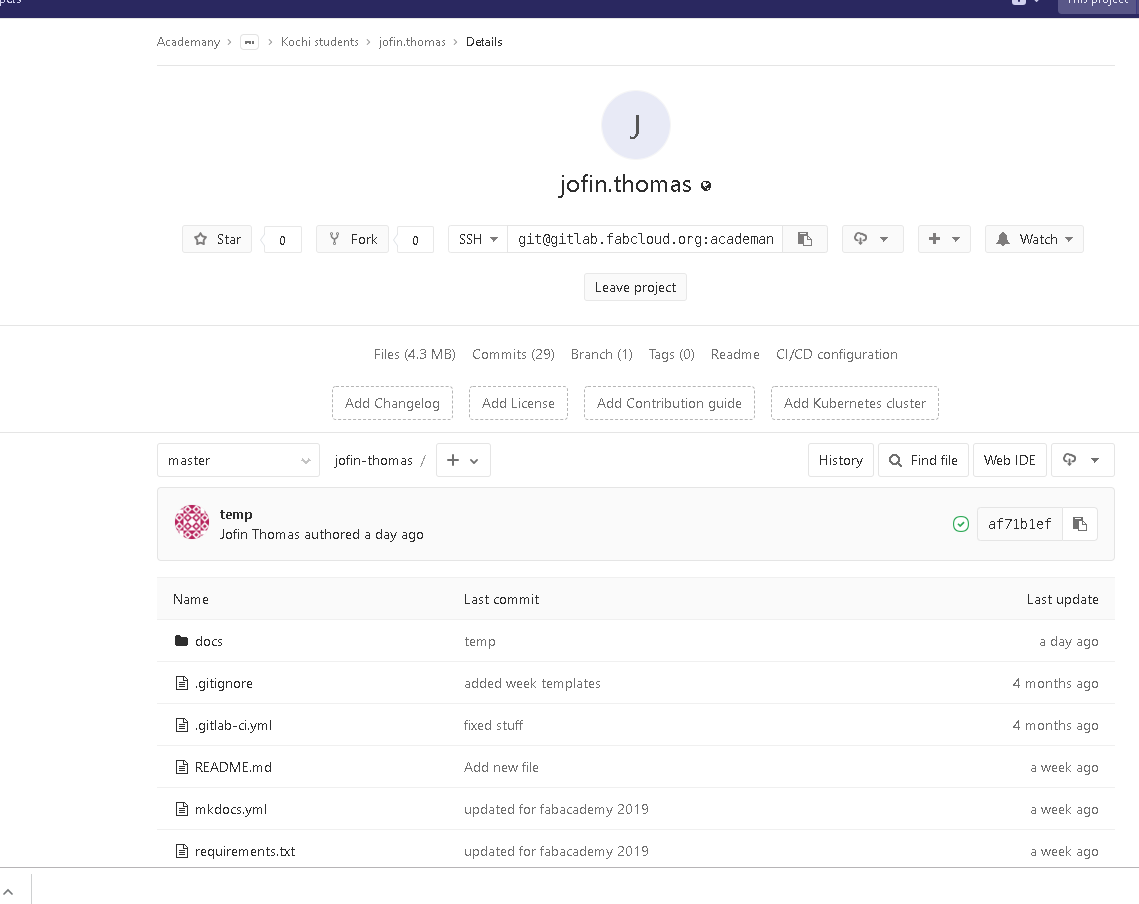
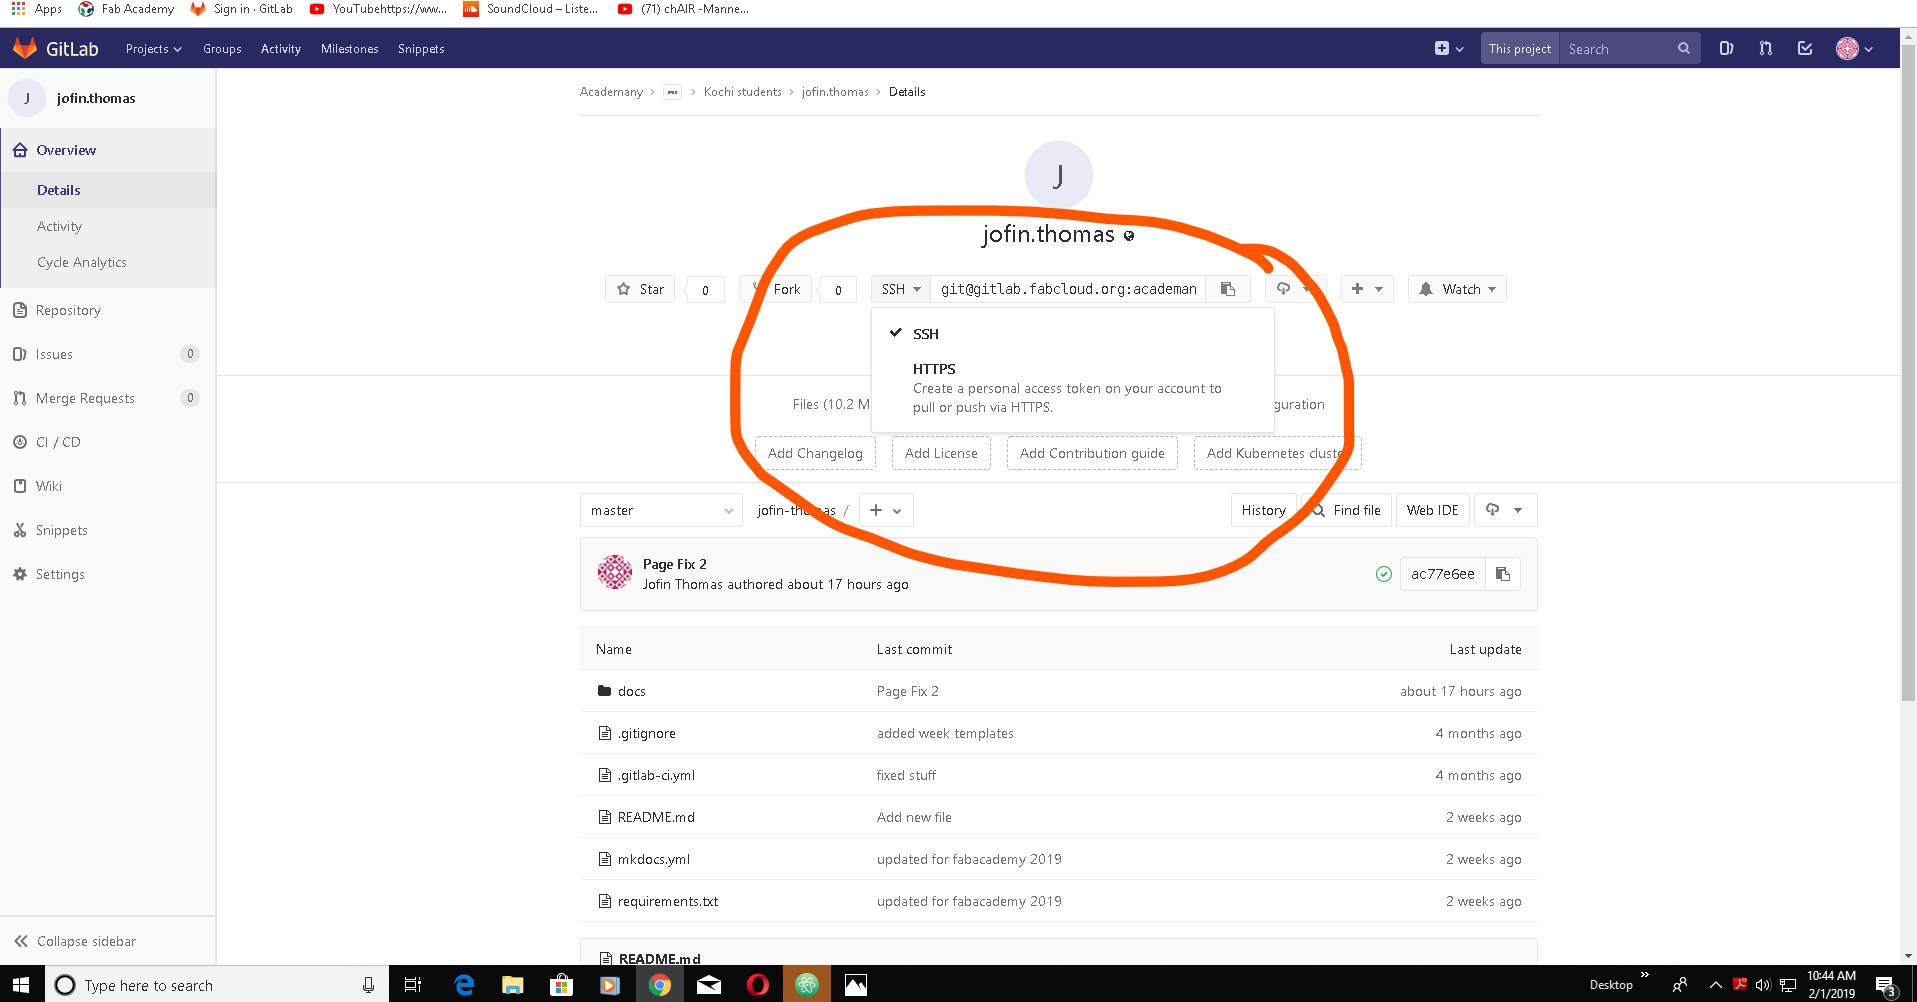
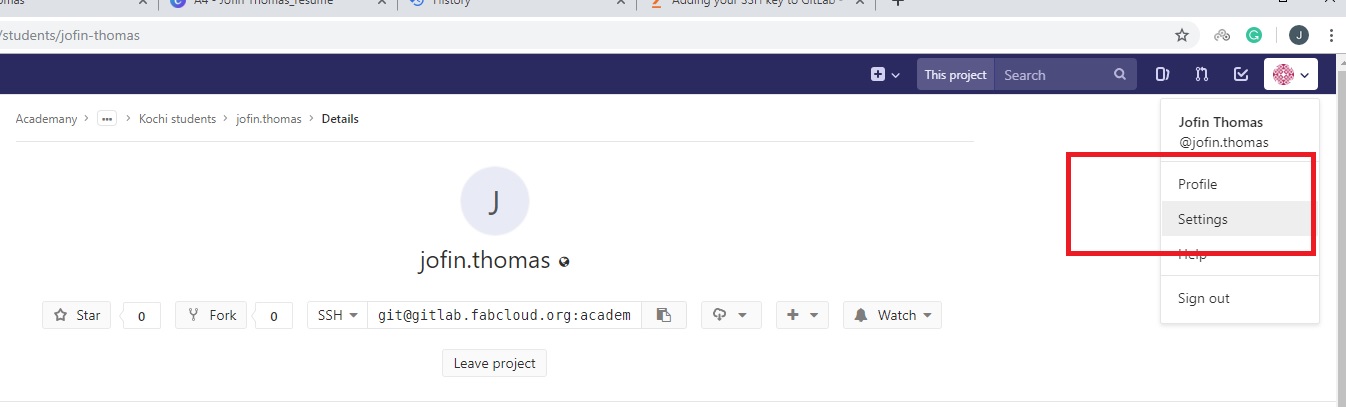
Here I am going to use gitlab for my project management. So I have created an account in gitlab. As you can see in the below image, there are two access protocols which you can establish a connection with gitlab.The SSH protocol and HTTP(s) protocol.
Using the SSH protocol, you can connect and authenticate to remote servers and services. With SSH keys, you can connect to GitHub without supplying your username or password at each visit.
Before you generate an SSH key, you can check to see if you have any existing SSH keys. This important because your work may be uploaded to someone other than you.
After you've checked for existing SSH keys, you can generate a new SSH key to use for authentication, then add it to the ssh-agent.
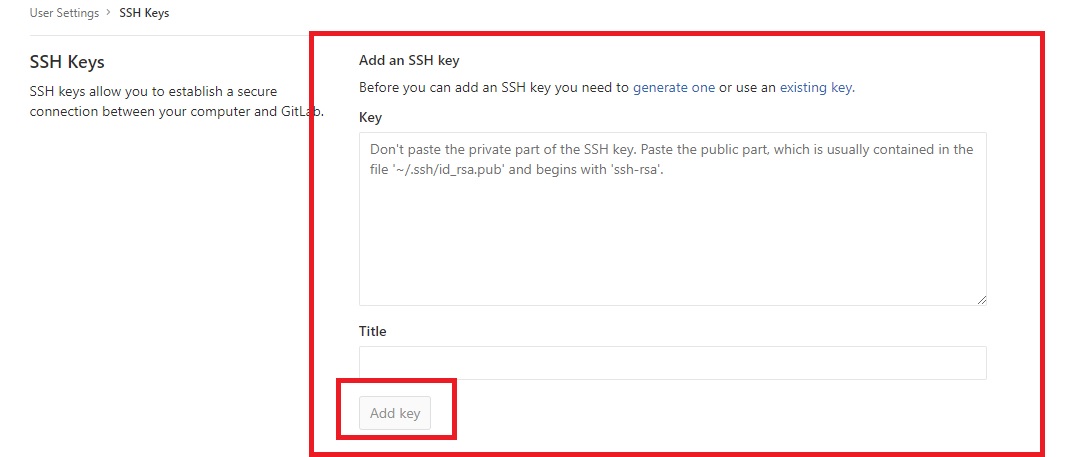
To configure your GitHub account to use your new (or existing) SSH key, you'll also need to add it to your GitHub account
After you've set up your SSH key and added it to your GitHub account, you can test your connection.
Smart HTTP operates very similarly to the SSH or Git protocols but runs over standard HTTPS ports and can use various HTTP authentication mechanisms, meaning it?s often easier on the user than something like SSH, since you can use things like username/password authentication rather than having to set up SSH keys.
It has probably become the most popular way to use Git now, since it can be set up to both serve anonymously like the git:// protocol, and can also be pushed over with authentication and encryption like the SSH protocol. Instead of having to set up different URLs for these things, you can now use a single URL for both. If you try to push and the repository requires authentication (which it normally should), the server can prompt for a username and password. The same goes for read access.
What are SSH keys?
SSH keys come in many sizes, but a popular choice is an RSA 2048-bit encryption, which is comparative to a 617 digit long password. On Windows systems, it is possible to generate your own SSH key pair by downloading and using an SSH client like PuTTY. On Mac and Linux systems, it is possible to generate an SSH key pair using a terminal window. Watch the video below to find out how to generate your own RSA key pair on Mac and Linux.

How User Keys Work

In a user key set, the private key remains on the system being used to access the remote system and is used to decrypt information that is exchanged in the SSH protocol. Private keys should never be shared with anyone. A public key is used to encrypt information, can be shared, and is used by the user and the remote server. On the server end, the public key is saved in a file that contains a list of authorized public keys. On the user’s side, the public SSH key is stored in an SSH key management software or in a file on their computer.
Using SSH Keys

Before you can start using SSH keys, first you need to generate your own SSH key pair on the system you would like to use to access a remote system. This article and the video mentioned above are great resources that can guide you through on how to generate an SSH key pair. Once the key pair is generated, the next step is to put the public SSH key on the remote server. Depending on your setup, this can be done by entering a couple commands in the terminal window, using JumpCloud, or by manually placing the public SSH key on the remote server (DigitalOcean).
After completing the steps mentioned above, use your terminal to enter in your ssh username and the IP address of the remote system in this format: ssh username@my_ip_address. This will initiate a connection to the remote system using the SSH protocol. The protocol and specified username will then tell the remote server which public key to use to authenticate you. Then the remote server will use that public key to encrypt a random challenge message that is sent back to the client. This challenge message is decrypted using the private key on your system. Once the message is decrypted, it is combined with a previously arranged session ID and then sent back to the server. If the message matches with what the server sent out, the client is authenticated, and you will gain access to the remote server. This process proves to the server that you have the corresponding private key to the public key it has on file.
What are HTTPS keys?
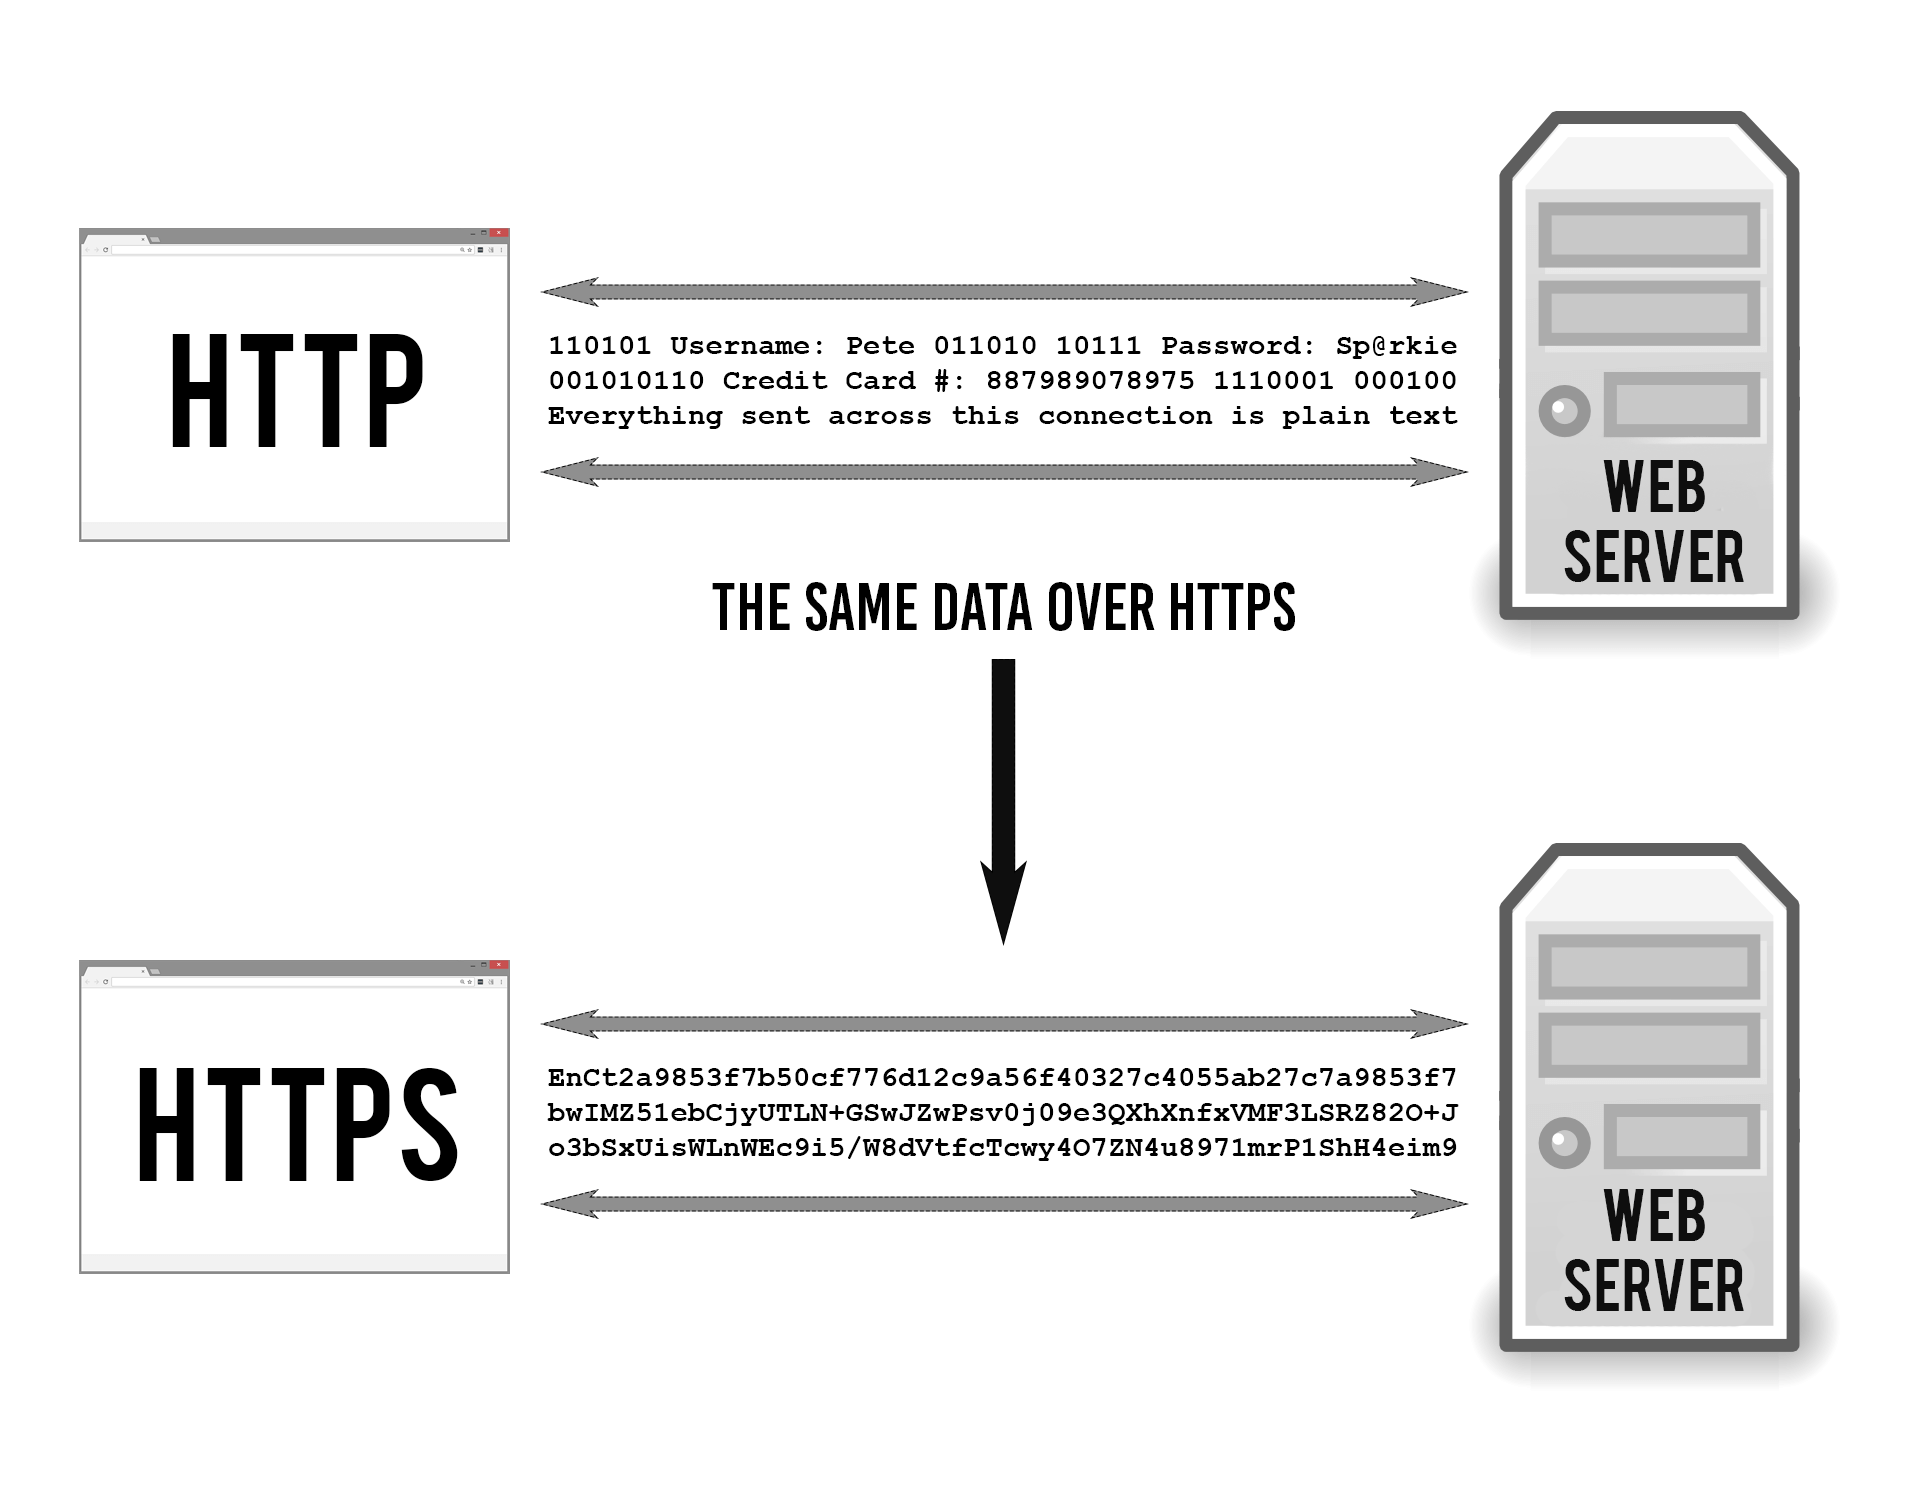
In 1990, the internet as we know it was born. Since the beginning, it has used the HyperText Transfer Protocol (HTTP) for moving information around the world. That’s why the beginning of web addresses start with HTTP.But people soon decided they wanted to use the internet for sensitive data (like credit card numbers), so we had to figure out a way to make HTTP secure so that no one could see your credit card number as it zoomed between your browser and the web server.

So in 1994, Netscape Communications enhanced HTTP with some encryption. Essentially, they married a new encryption protocol named Secure Socket Layer (SSL) to the original HTTP. This became known as “HTTP over SSL” or “HTTP Secure”. Otherwise known as HTTPS.
How HTTPS Works
HTTPS keeps your stuff secret by encrypting it as it moves between your browser and the website’s server. This ensures that anyone listening in on the conversation can’t read anything. This could include your ISP, a hacker, snooping governments, or anyone else who manages to position themselves between you and the web server.
For a long time, SSL was the standard protocol used by HTTPS. The newest version of SSL is now called Transport Layer Security (TLS) but they are essentially the same thing. I’ll refer to it from now on as SSL/TLS since both monikers are used interchangeably, but technically I’m talking about the newer TLS.
Essentially, you need three things to encrypt data:
To decrypt the cipher text on the other end, you just reverse the process with the same key and it reverses the encryption, restoring the original form of the data. It’s the secrecy of the encryption key that makes the whole process work. Only the intended recipients of the data should have it, or else the purpose is defeated.
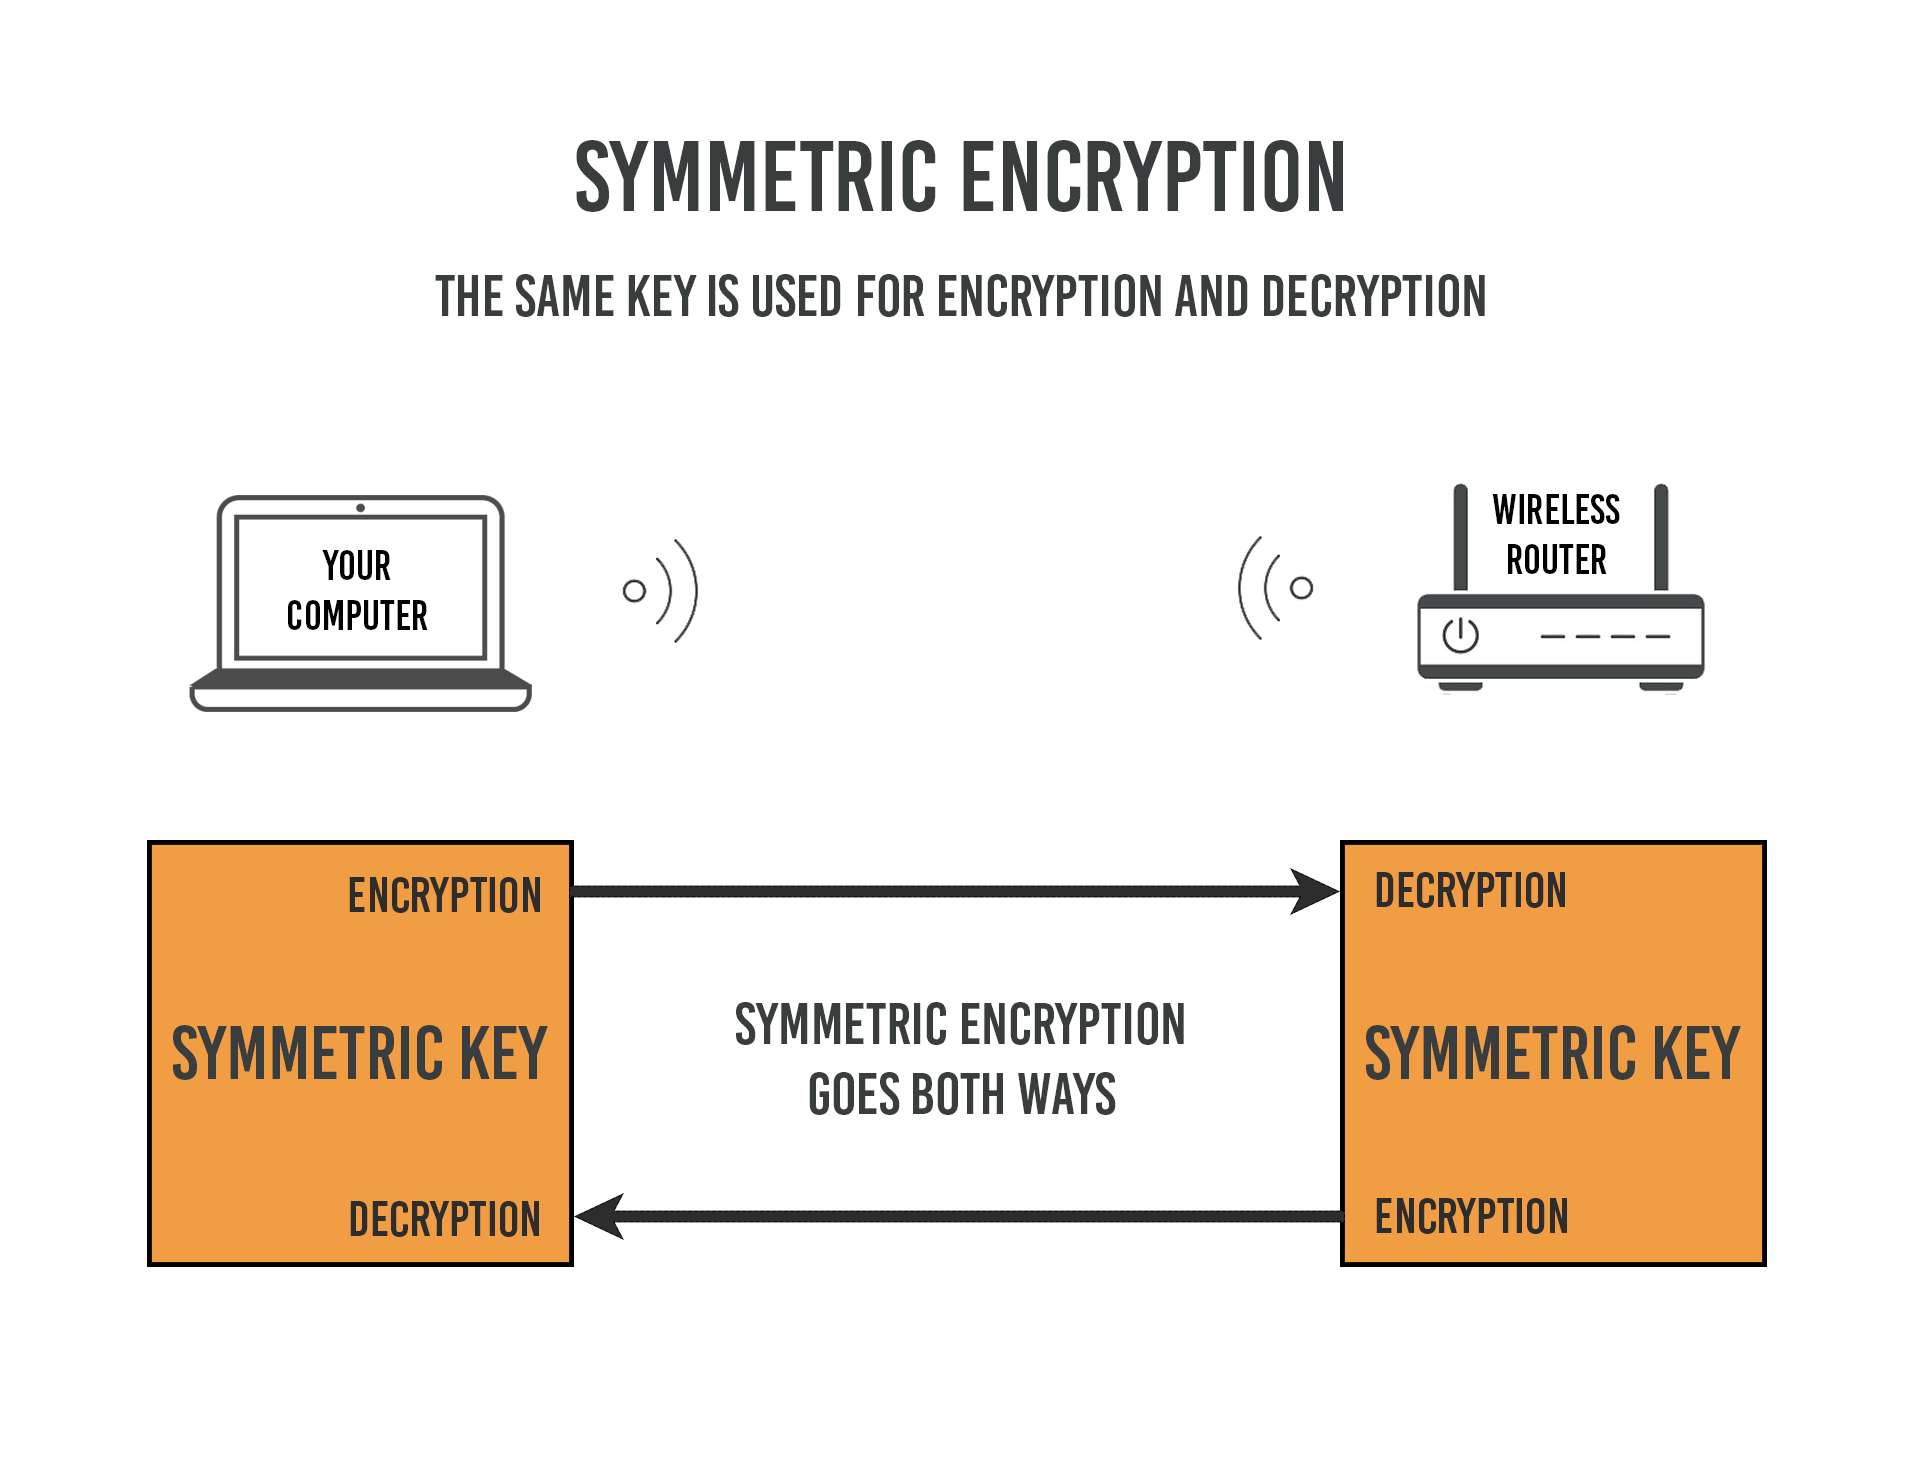
When you use the same encryption key on both ends it’s called symmetric encryption. This is what your home WiFi uses. You have just one key, or “password”, which you plug into both your wireless router and your laptop. Easy peasy.But it becomes more complicated when connecting to a website on the public internet. Symmetric encryption, by itself, won’t work because you don’t control the other end of the connection. How do you share a secret key with each other without the risk of someone on the internet intercepting it in the middle?
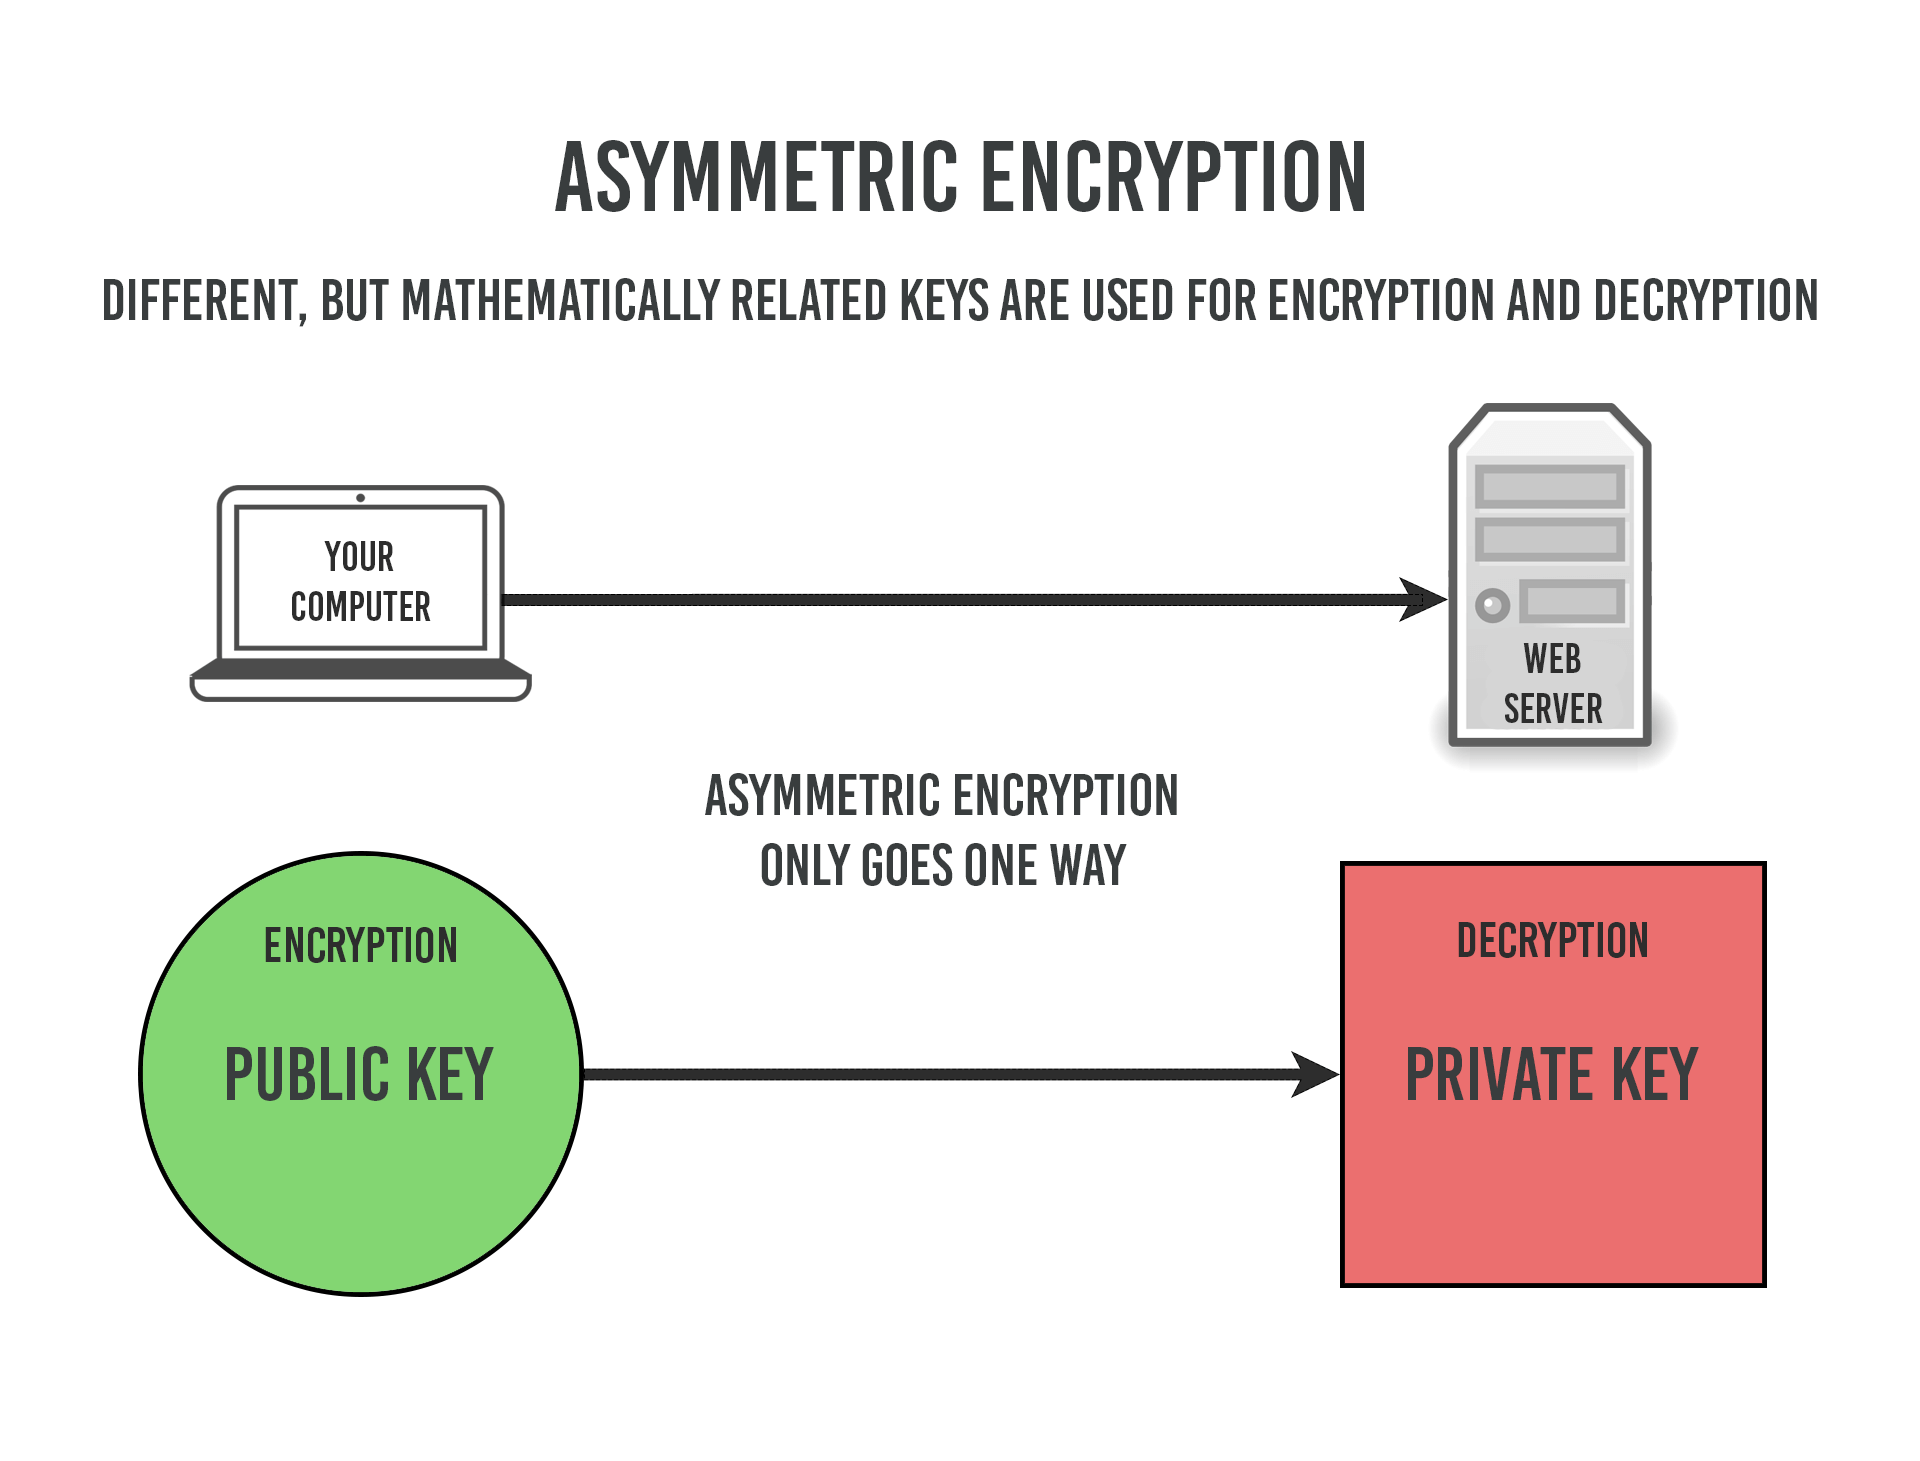
This problem is solved with asymmetric encryption. Asymmetric means you’re using two different keys, one to encrypt and one to decrypt. We also call this Public Key Cryptography because it’s how we establish secure connections on the public internet.
So we are ready to make the git repository. For that we have to install git on our system
Setting up Git
As first step we have to install git. The first thing you should do when you install Git is to set your user name and email address. This is important because every Git commit uses this information, and it?s immutably baked into the commits you start.
First To set up your SSH key, perform the following steps:

$ git config --global user.name "user.name"
$ git config --global user.email "user@example.com"
Again, you need to do this only once if you pass the --global option, because then Git will always use that information for anything you do on that system. If you want to override this with a different name or email address for specific projects, you can run the command without the --global option when you?re in that project.
If you want to check your configuration settings, you can use the git config --list command to list all the settings Git can find at that point:
$ git config --list
user.name=user.name
user.email=user@example.com
So we have successfully created a git repository in our system. Now we have to make a some files to push into that repository. So lets make a website using HTML or Markdown....
Learning HTML
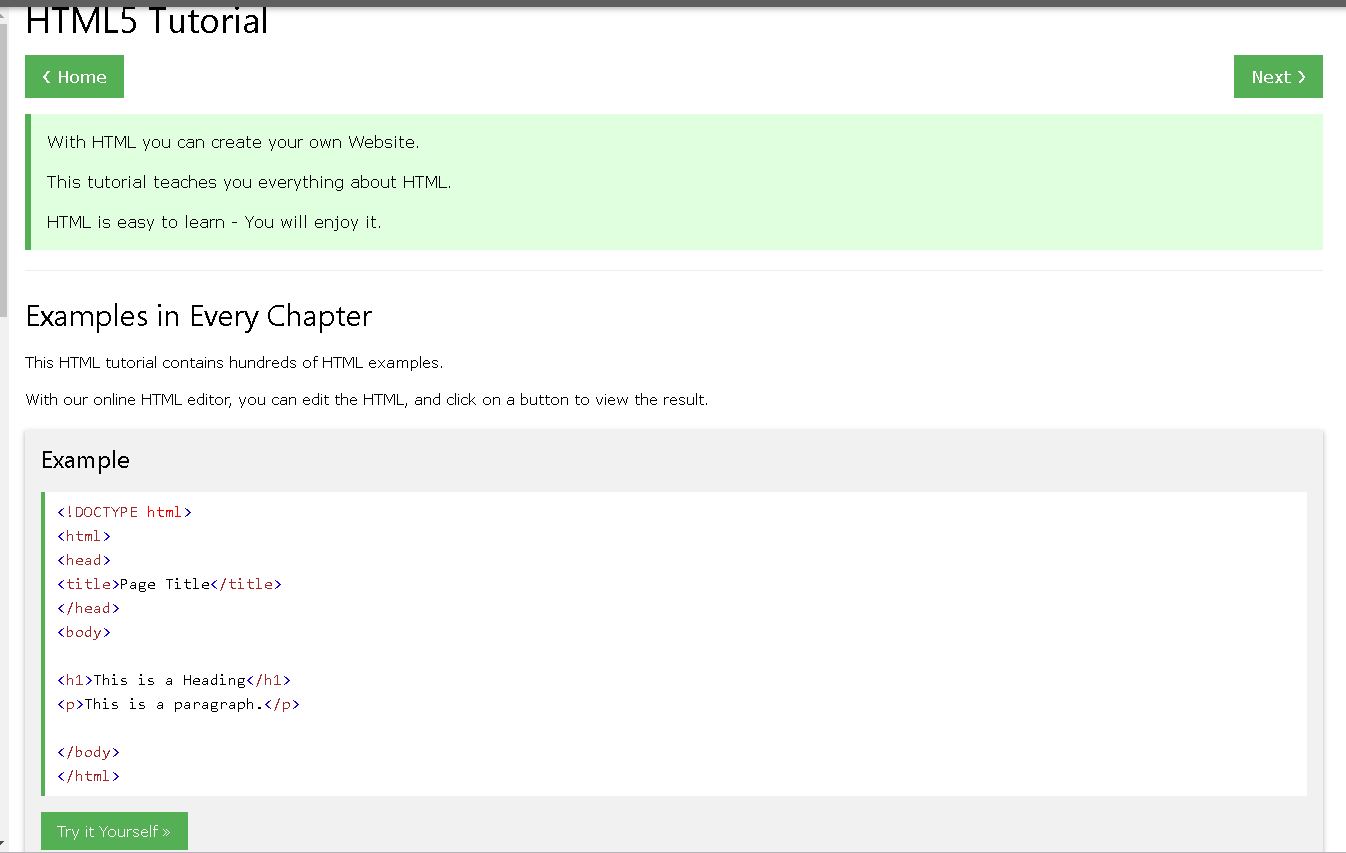
For making an actual website first we have to learn some HTML.HTML stands for Hyper Text Markup Language.HTML is the standard markup language for Web pages.HTML elements are the building blocks of HTML pages.HTML elements are represented by "<>" tags. So for learning HTML, we find on online web tutorial in www.w3schools.com. We have learn so much from this site and made some basic web pages.
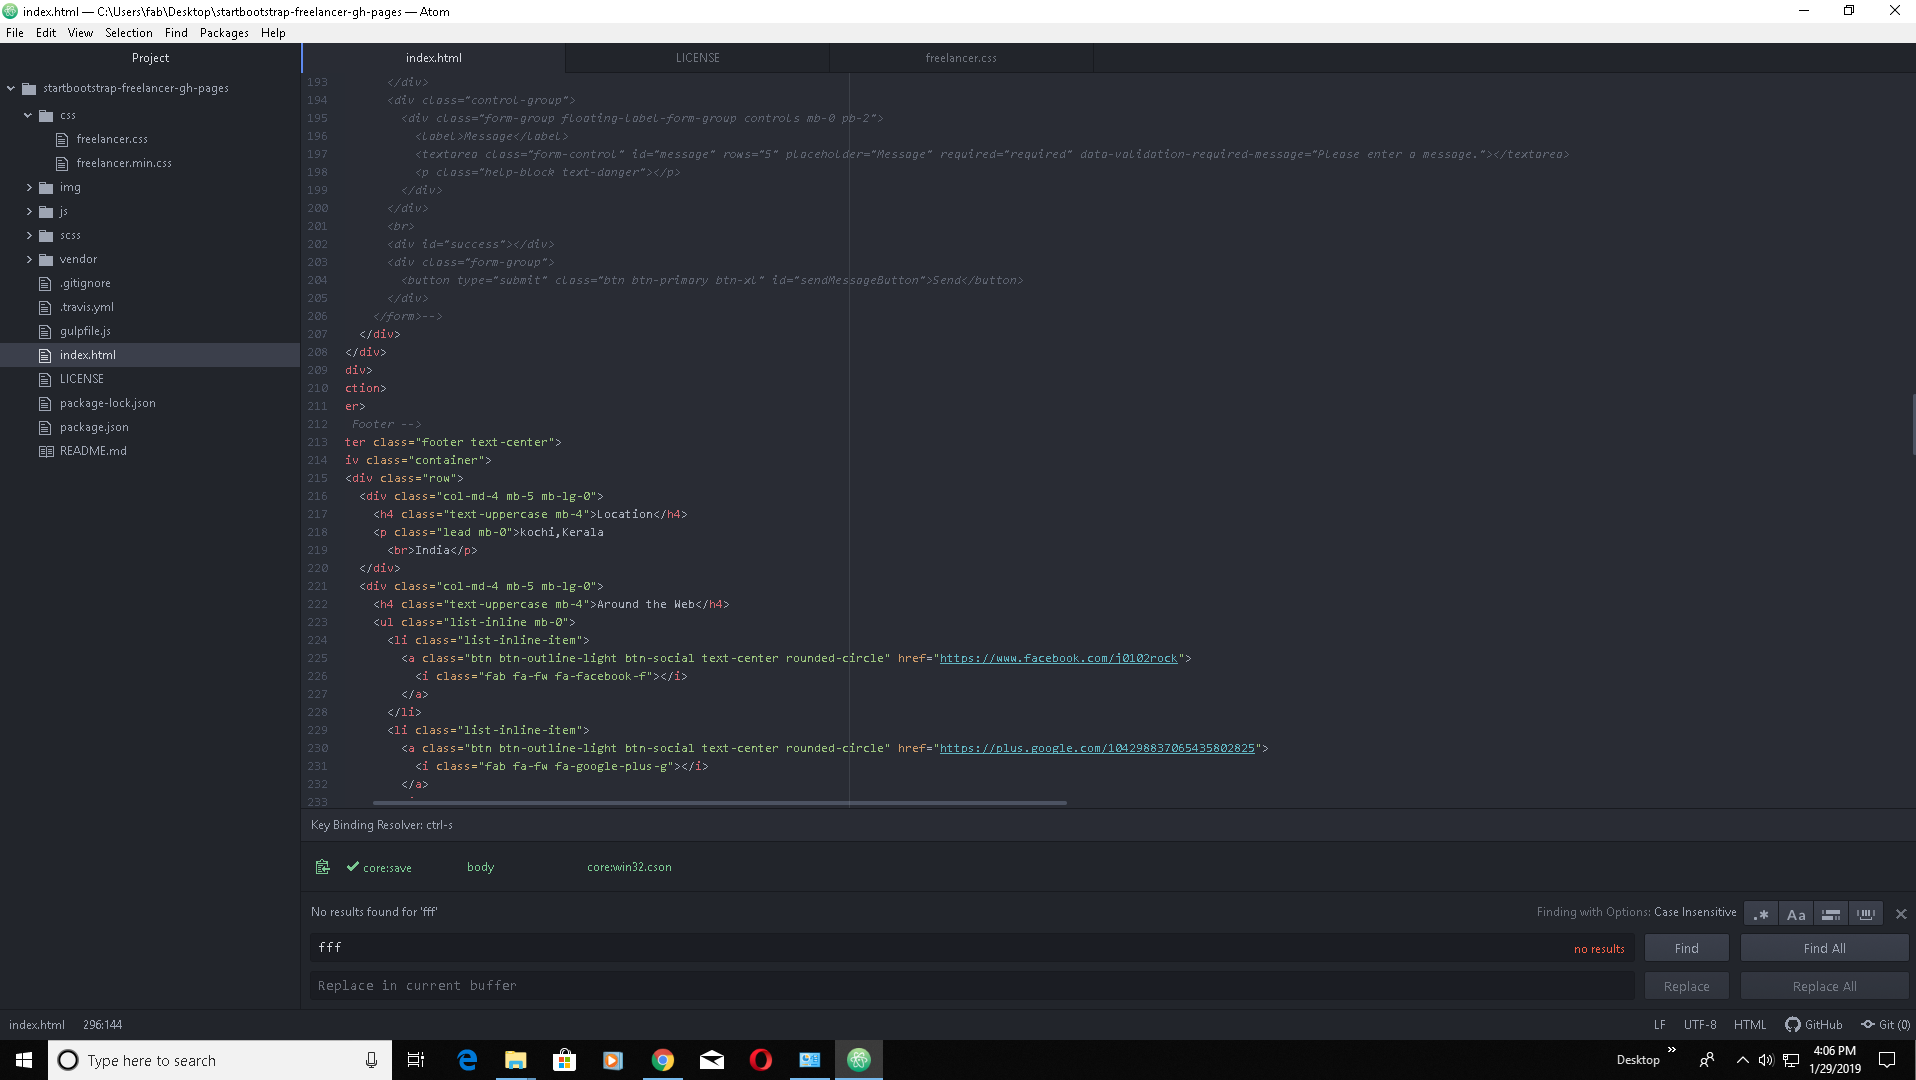
So making a real website was a task. So we found some free website templates from an online site called startbootstrap.com. From this site I selected my template.
 Next step was to edit all thses codes given to match our requirements. So I use an Atom editor which was opensource and easy to use.I edited the whole site and made it as my own
After these steps we gave to add files to local repository
Uploading to git
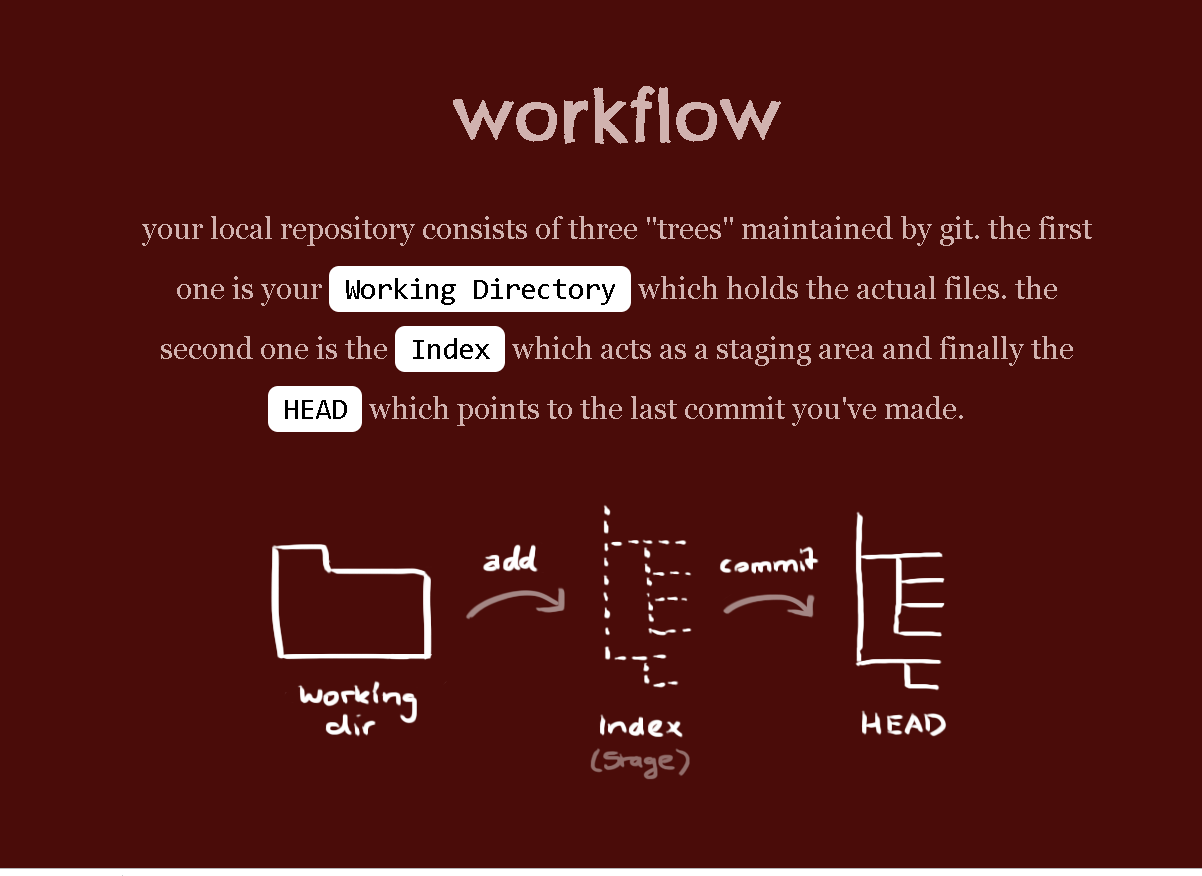
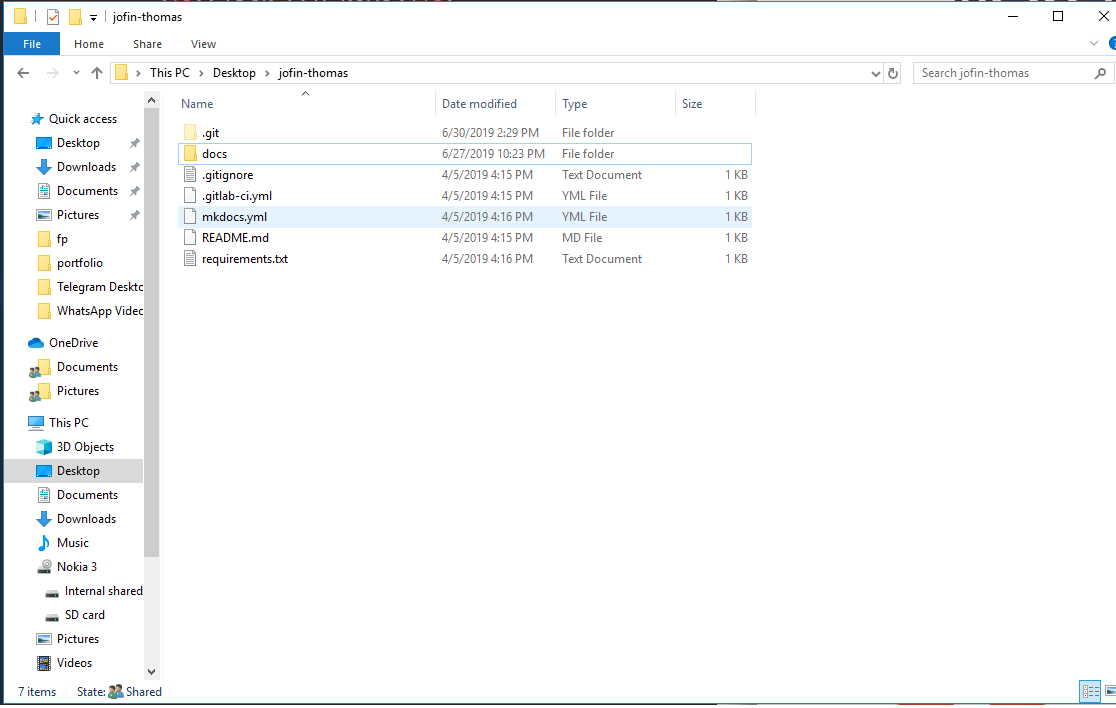
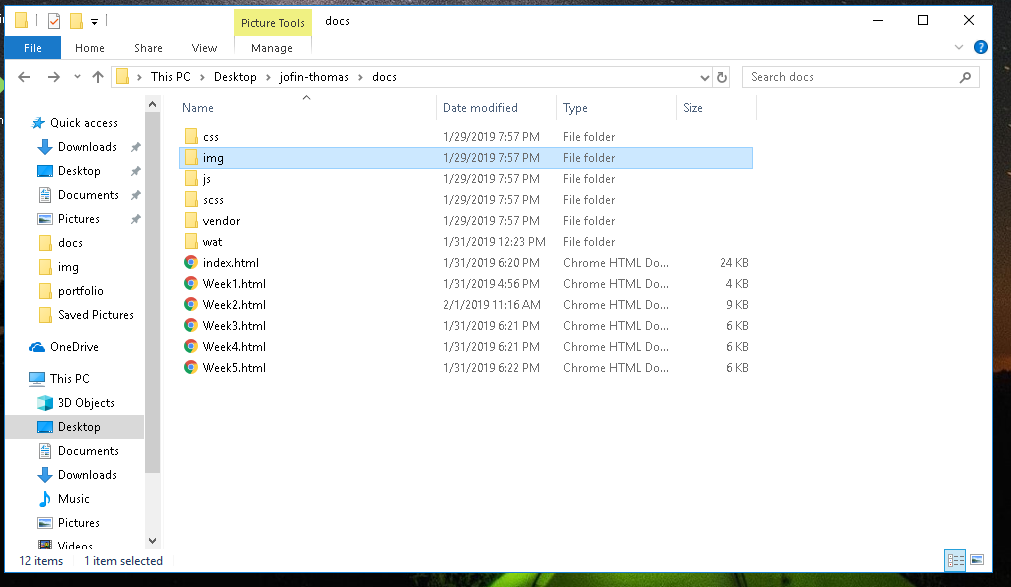
After editing the HTML files, we have to upload the whole file into gitlab. So first we have to copy all files to local repository that we created earlier.
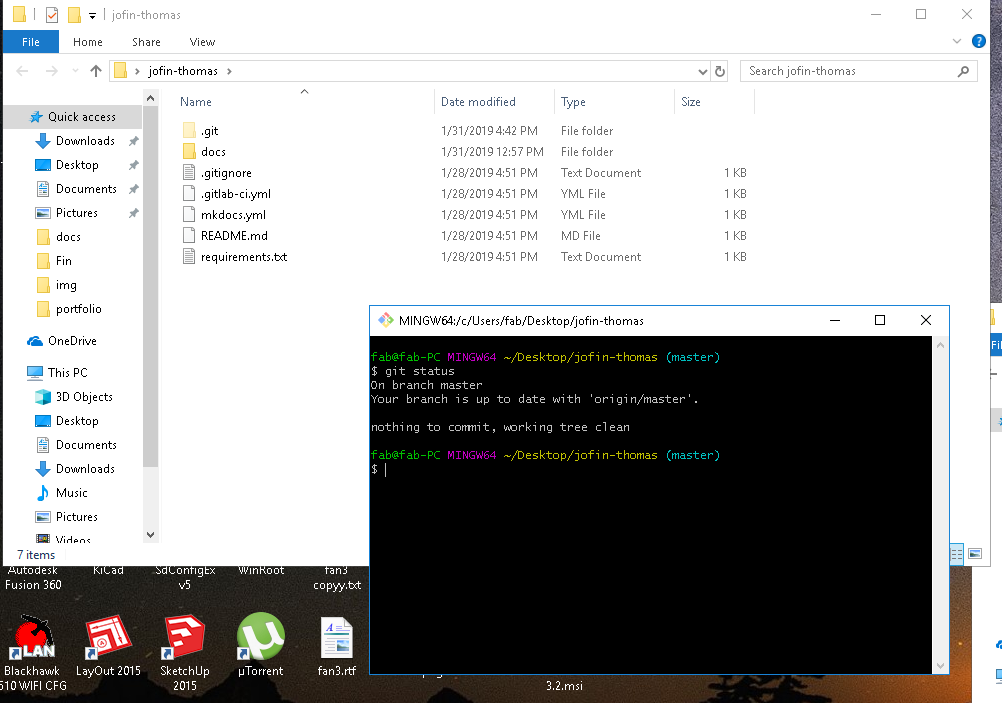
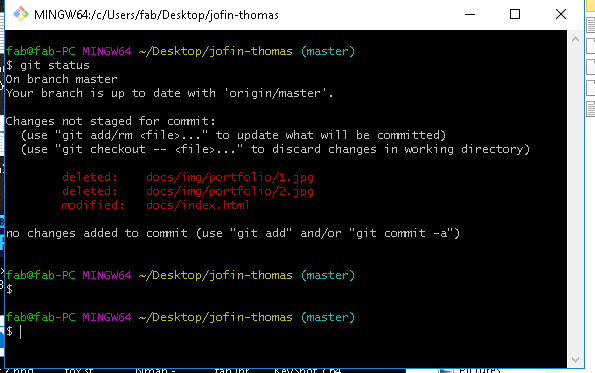
We have to open git bash and type $git status
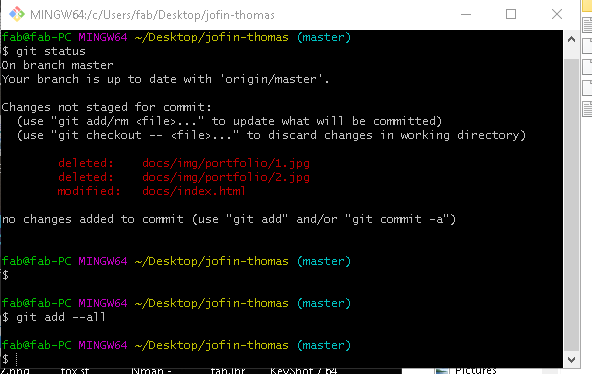
$git add *
$git commit -m "Commit message"
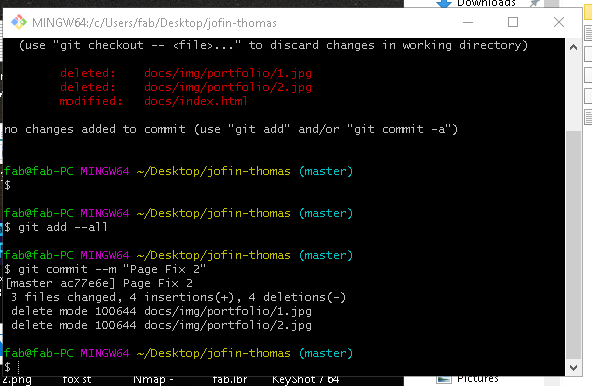
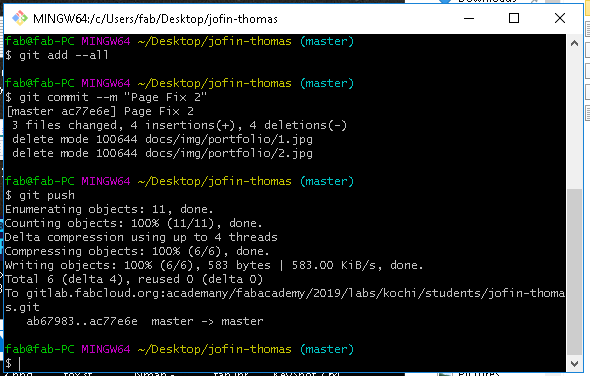
$git push
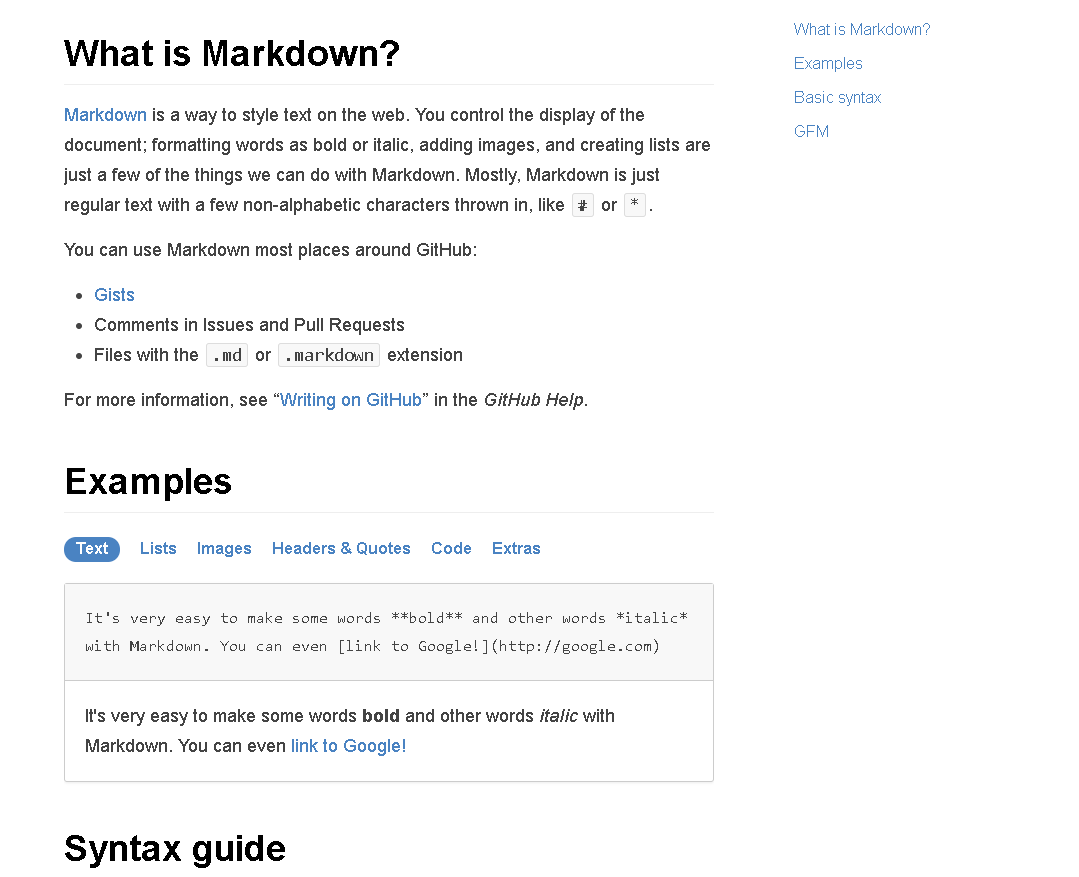
You can also be use markdown if ypu are not comfortable with raw HTML languge. Markdown help you connvert text into HTML.
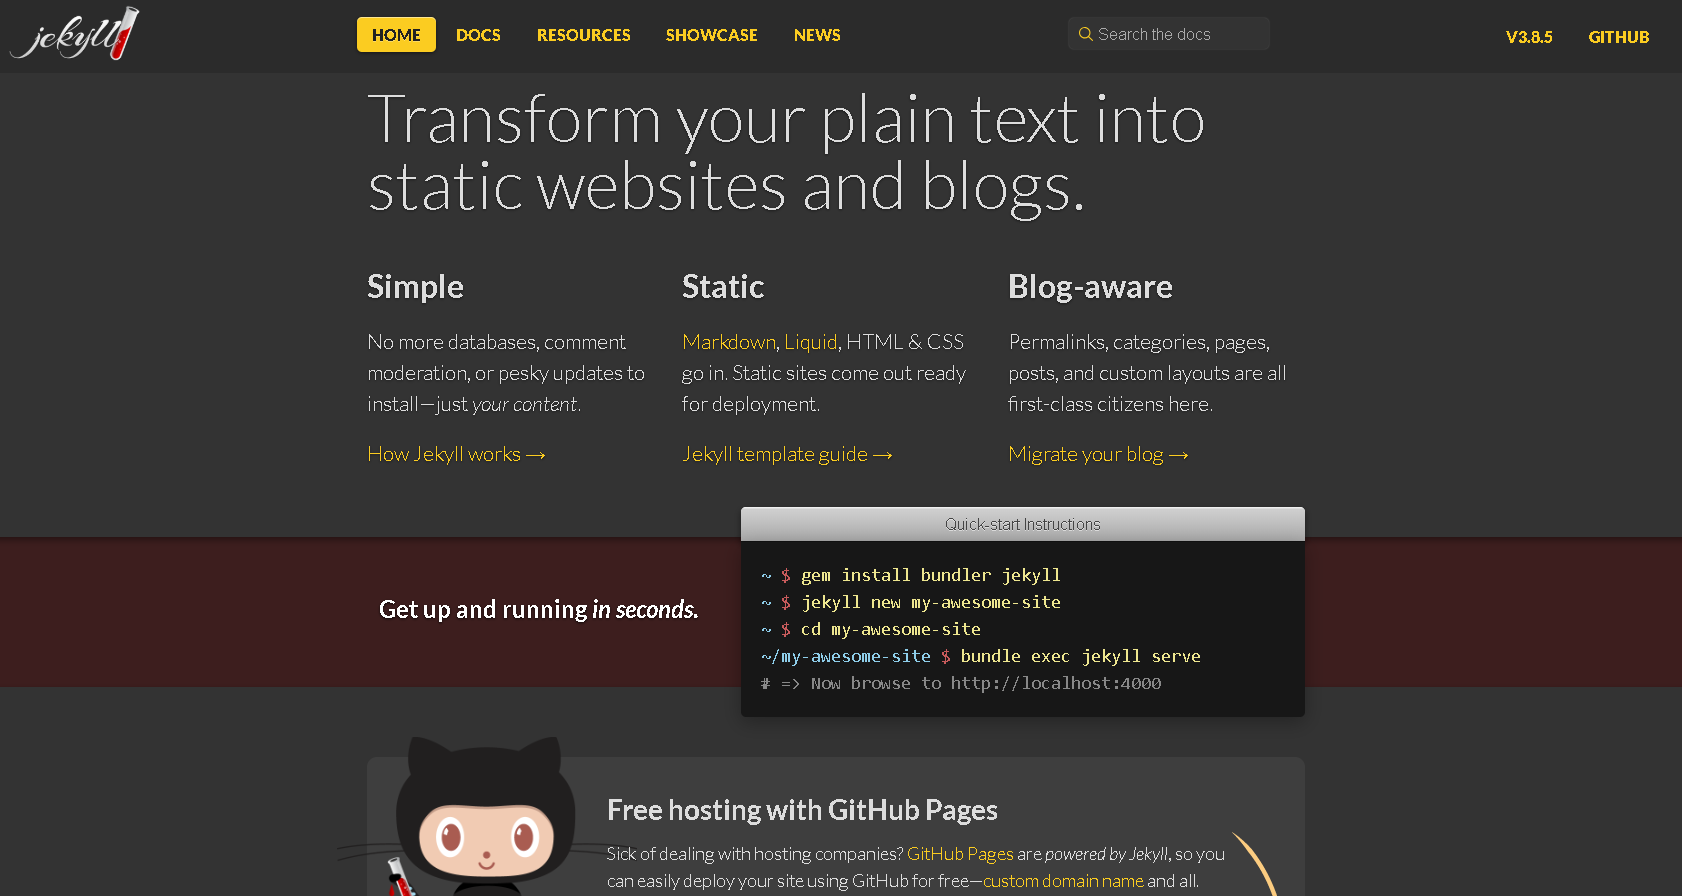
For free templates, you can also visit jerkyll for more information..
Afer all this you can view your website on the web...