Computer-Aided design
So, in this week, we have to model (raster, vector, 2D, 3D, render, animate, simulate, ...) a possible final project, and post it on your class page. Before that we have to learn how to do all these tasks. So let's start with the type of images...

Vector and rastor
raster graphics or bitmap image is a dot matrix data structure that represents a generally rectangular grid of pixels (points of color), viewable via a monitor, paper, or other display medium. Raster images are stored in image files with varying formats.The main rastor formats are bmp,jpg,png,gif etc
Vector graphics are computer graphics images that are defined in terms of 2D points, which are connected by lines and curves to form polygons and other shapes. Each of these points has a definite position on the x- and y-axis of the work plane and determines the direction of the path; further, each path may have various properties including values for stroke color, shape, curve, thickness, and fill.Vector graphics are commonly found today in the SVG, EPS and PDF graphic file formats and are intrinsically different from the more common raster graphics file formats of JPEG, PNG, APNG, GIF, and MPEG4.
I have given some examples for you to understand below
 Vector
2D raster & vector design
We are going to familiarize 2D raster & vector designing. So lets look at the softwares we are going to use on this section
Raster softwares
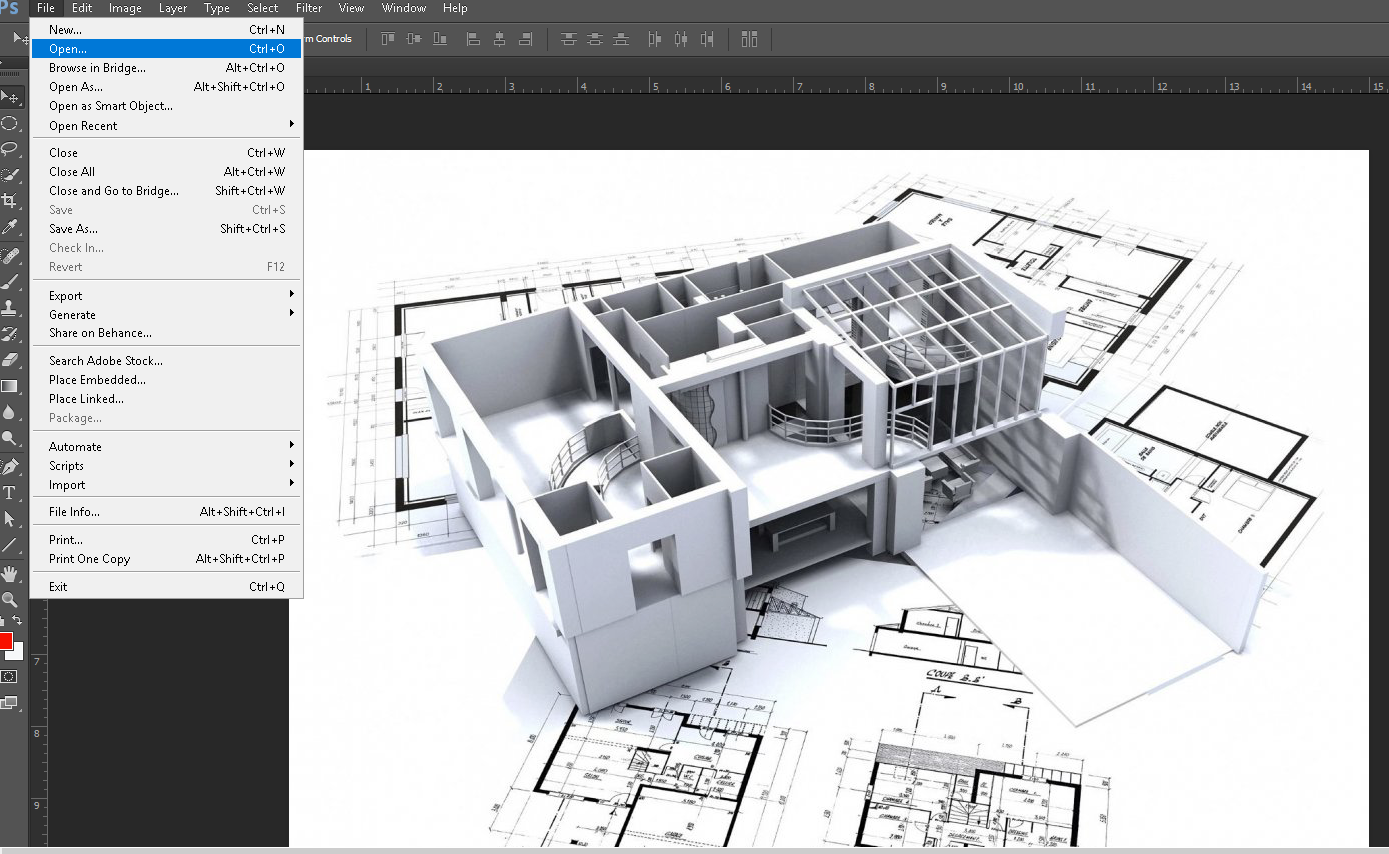
I use raster softwares to done the basic edits(cut,crop,resize,enlarge etc) that needed for my webpage. So I installed photoshop on my computer and started it. I want to resize my images to add to my web page. There were so many tutorials available on internet. You can see the tool box below.
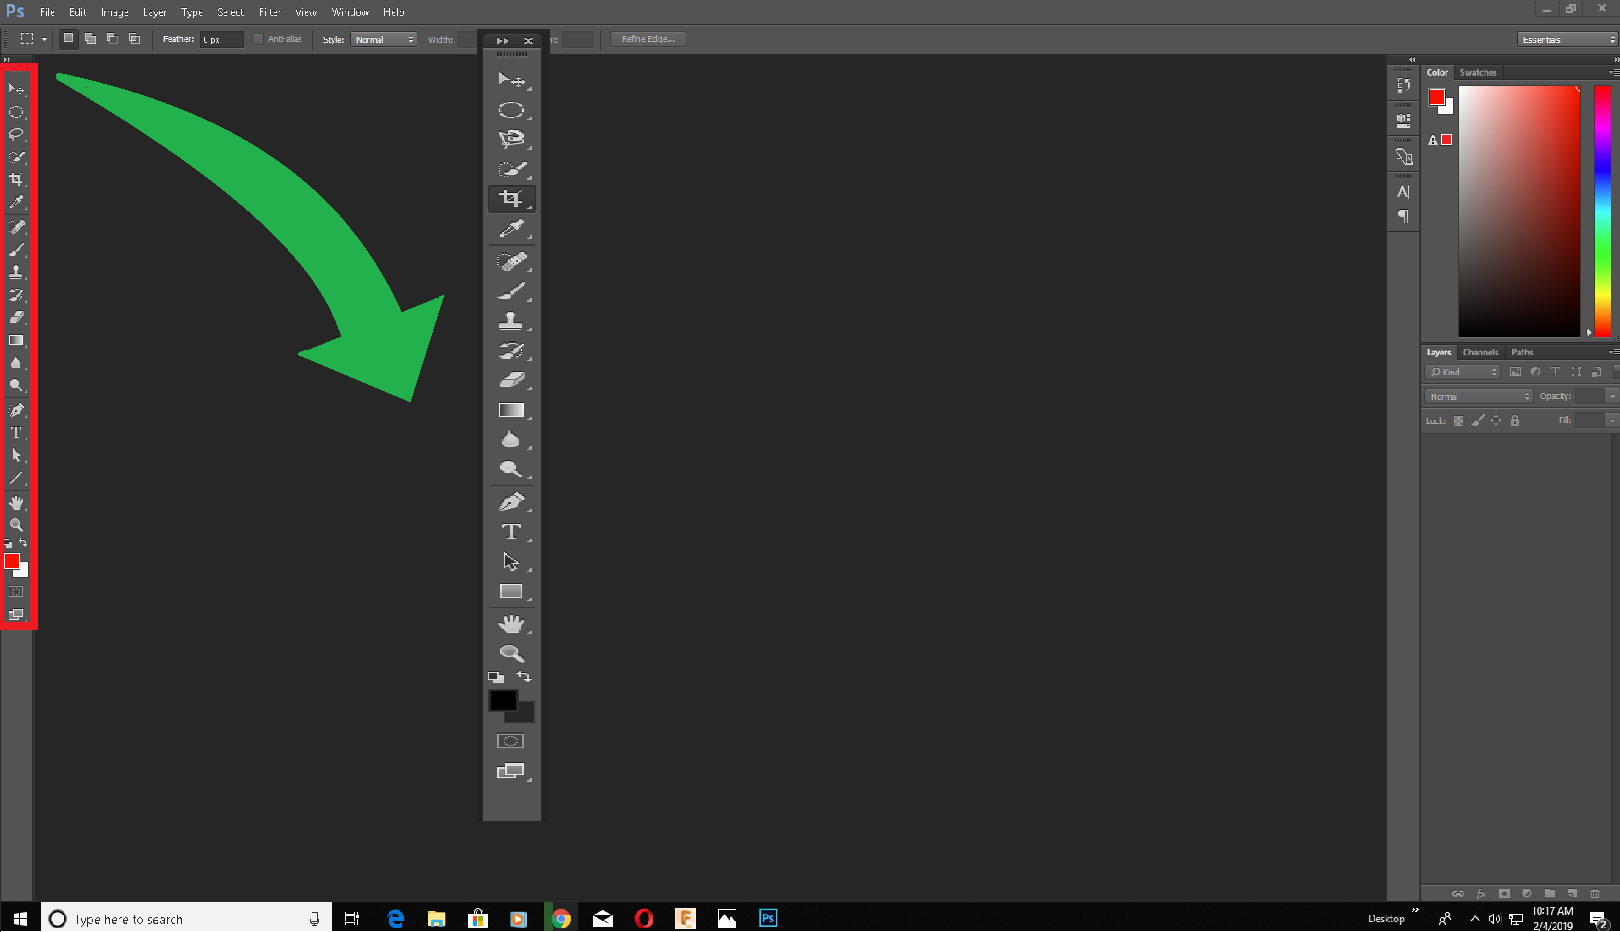
There is a variety of tools available in the toolbox. For example crop, select, fill, shapes, gradient etc. You can select the one which matches your needs. My goal was to make my image to the size 900 X 650 px. For that I did the following steps..
Now for resizing the image,
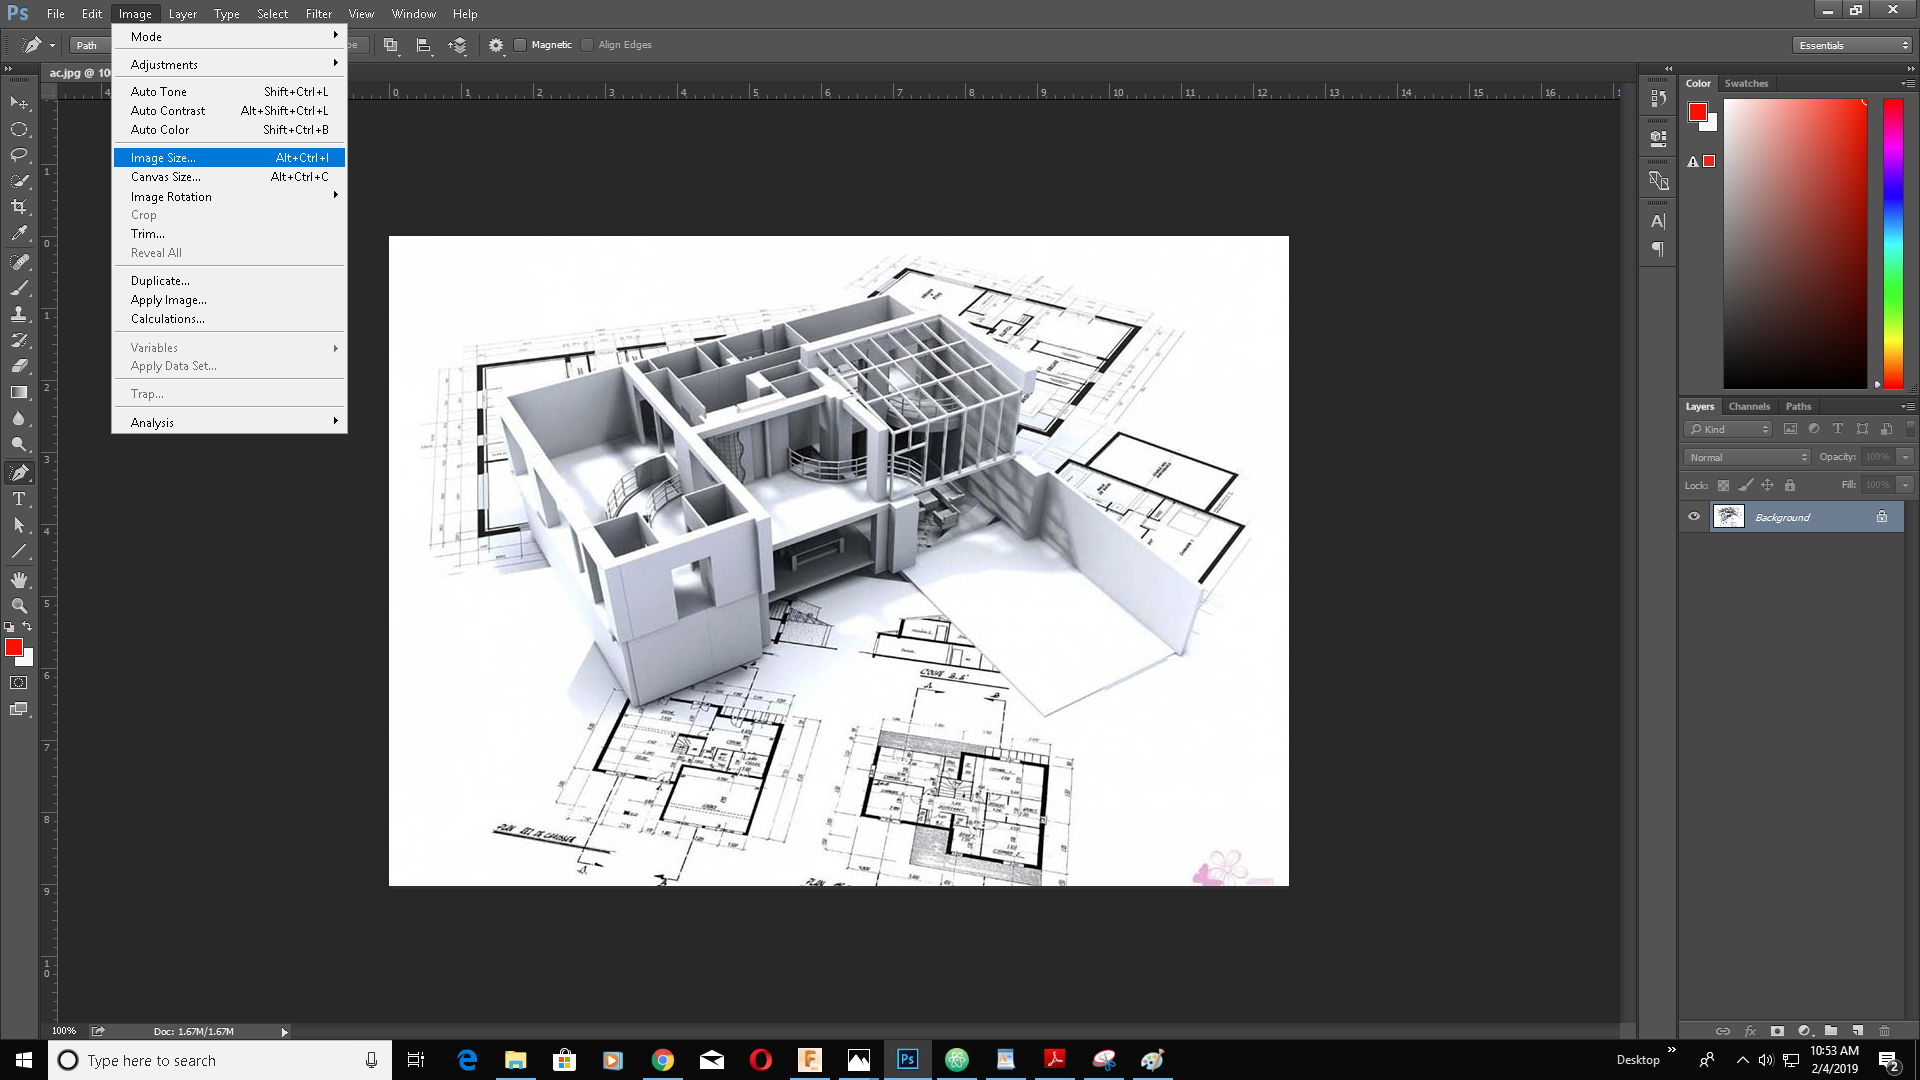
Select more than u need if you need a specific volume of image, or type in exactly what you need if you don’t want to preserve the aspect ratio. Now for fixing the canvas size..

Fix canvas size to 900 X 650 px. Also fix select how the alignment of the image should in the new canvas. If you are satisfied save the image as .jpg or .png…

Inkscape is a free and open-source vector graphics editor; it can be used to create or edit vector graphics such as illustrations, diagrams, line arts, charts, logos and complex paintings. Inkscape's primary vector graphics format is Scalable Vector Graphics (SVG); however, many other formats can be imported and exported. Inkscape can render primitive vector shapes (e.g. rectangles, ellipses, polygons, arcs, spirals, stars and 3D boxes) and text. These objects may be filled with solid colors, patterns, radial or linear color gradients and their borders may be stroked, both with adjustable transparency. Embedding and optional tracing of raster graphics is also supported, enabling the editor to create vector graphics from photos and other raster sources. Created shapes can be further manipulated with transformations, such as moving, rotating, scaling and skewing.
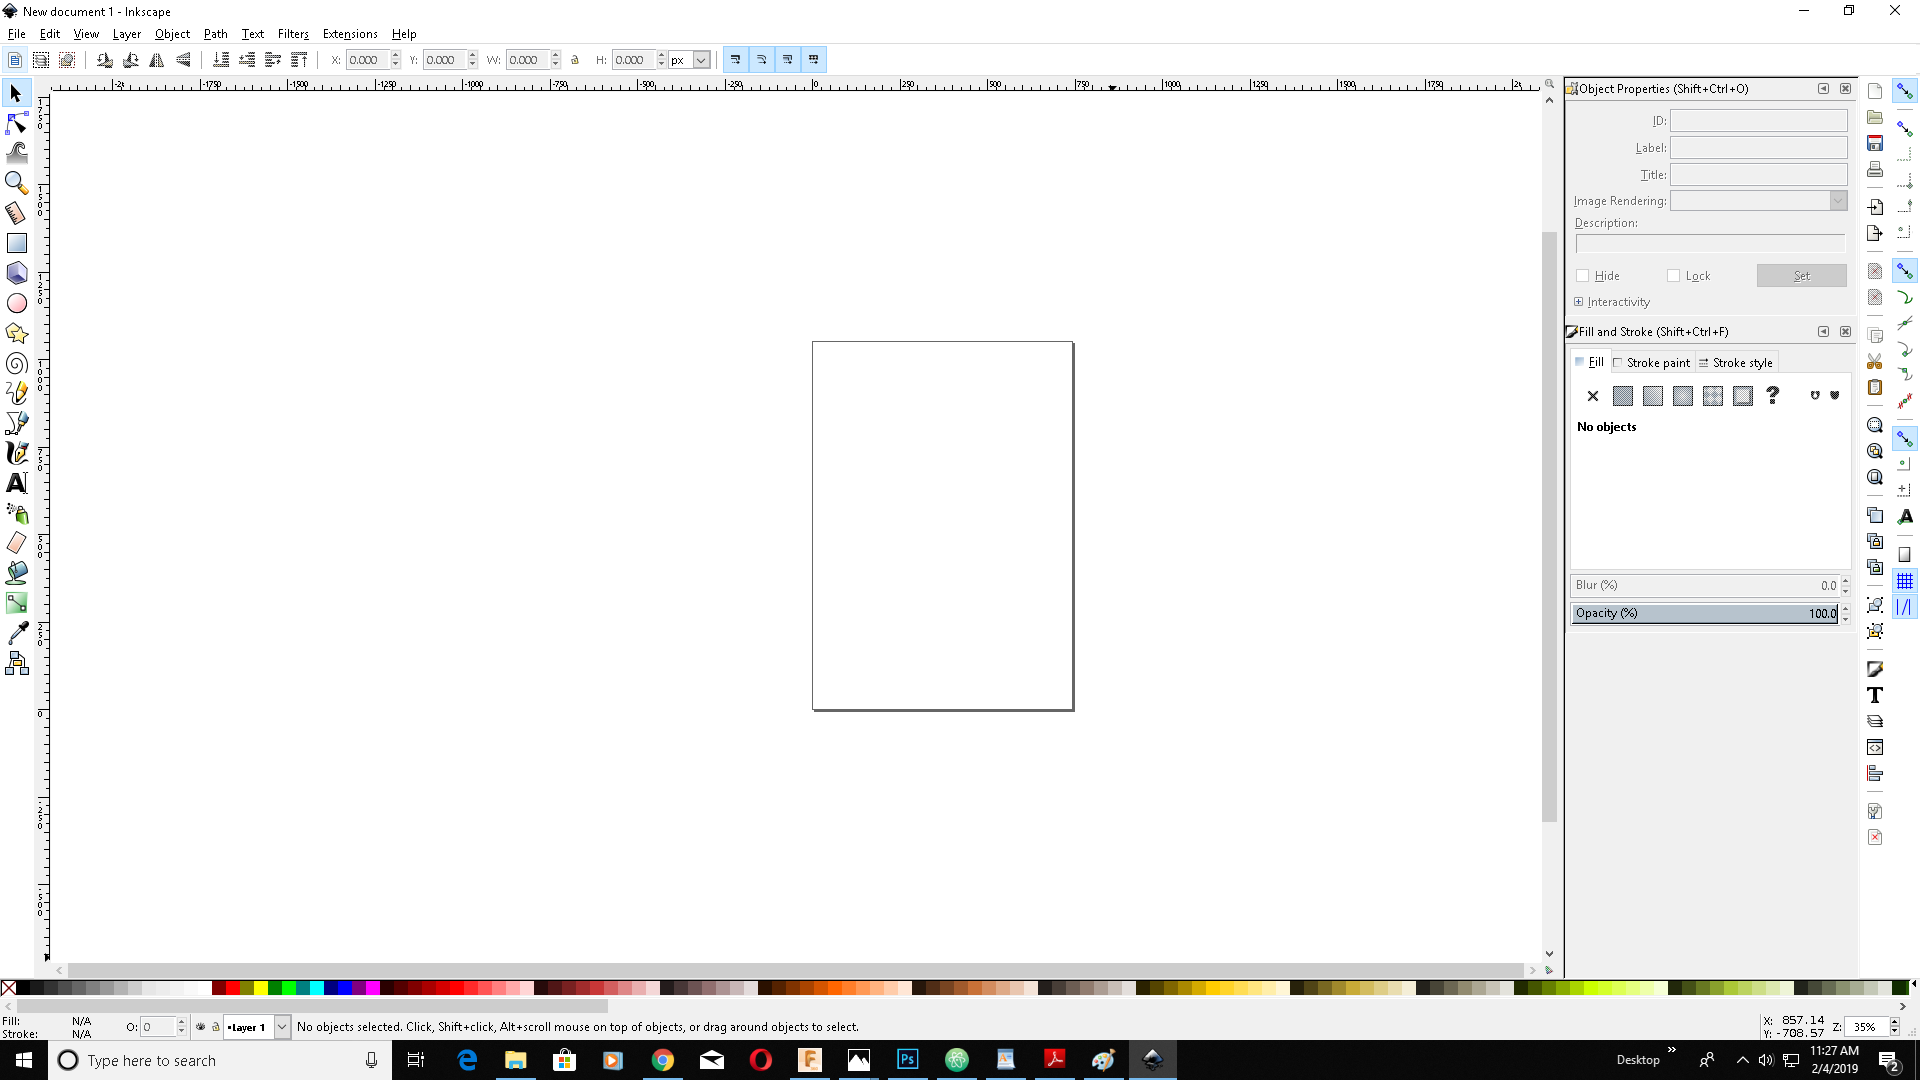
First I installed Inkscape in my computer and open it. As you can see in the following image, on the left you have the tool bar, on top the menu and below colours that you need...
My aim was to make a vector graphics logo . For that I selected a rectangle tool to draw a rectangle and elipse tool to draw a circle.
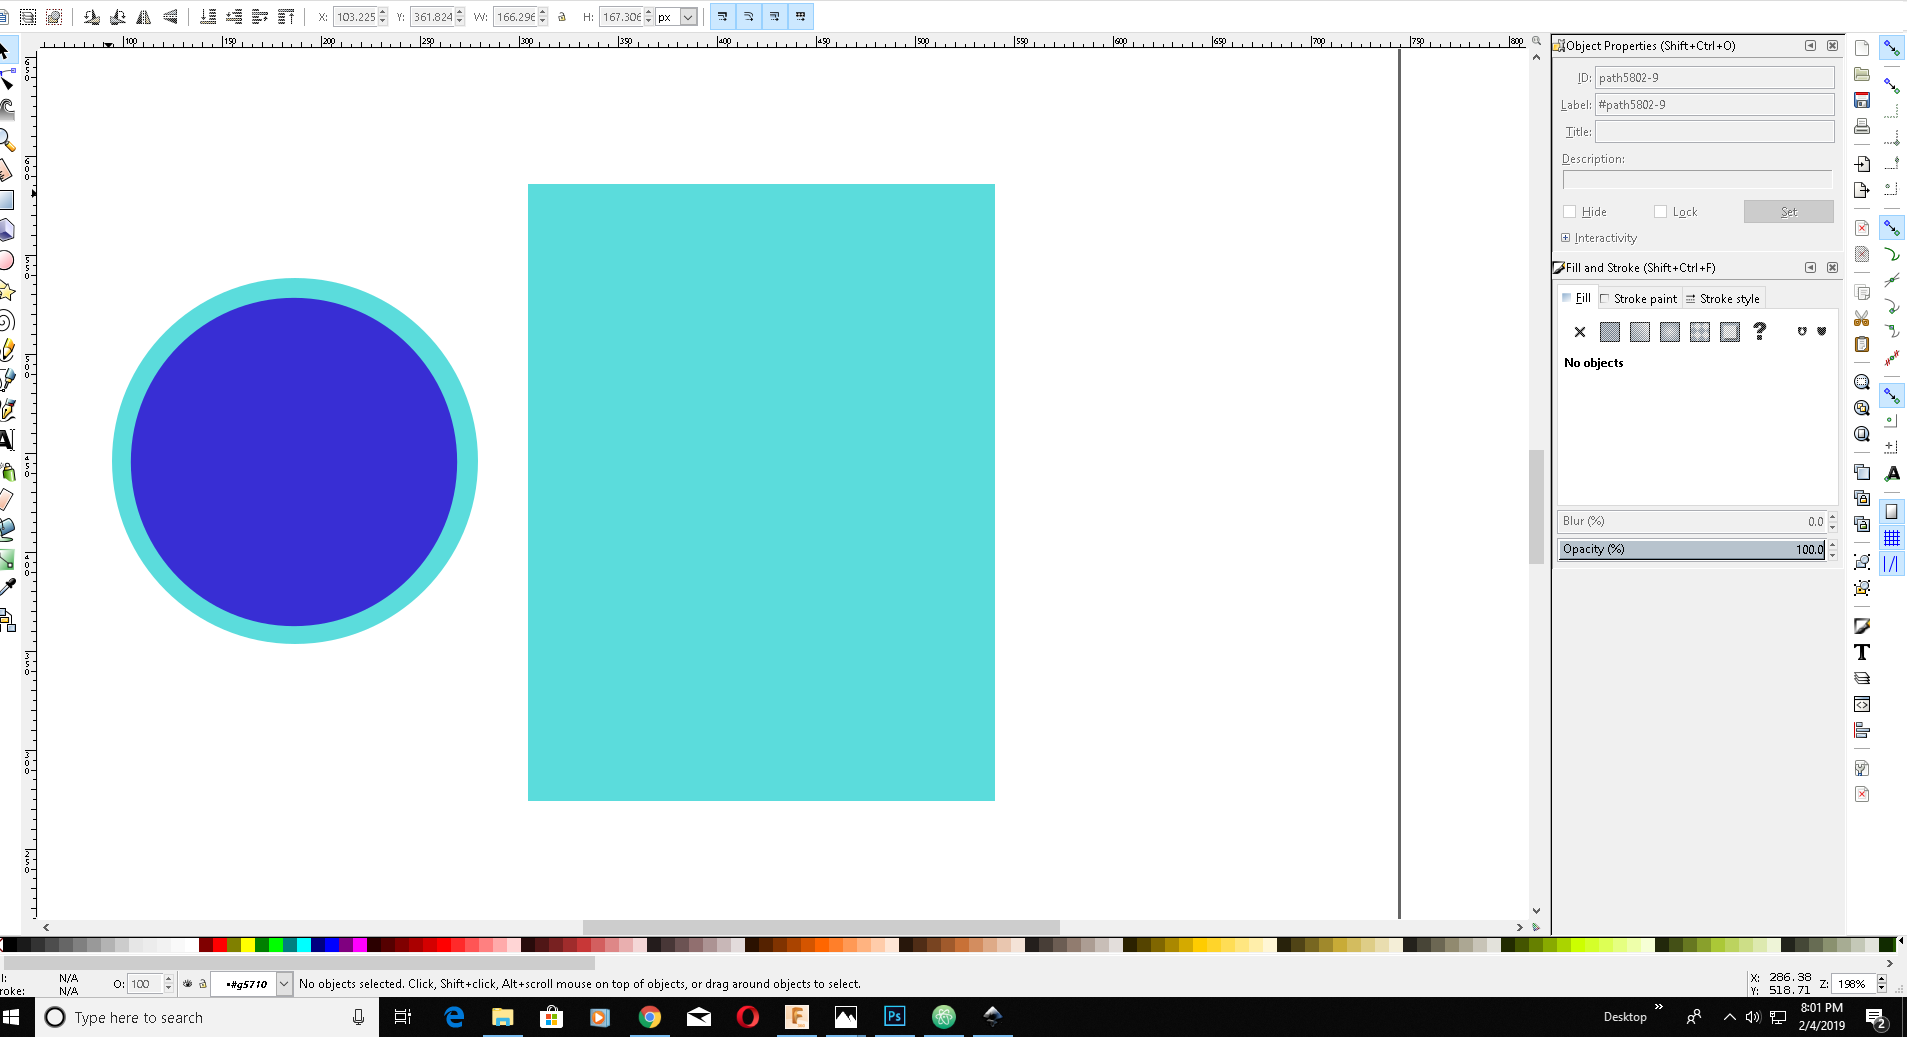
Draw a circle in side the blue circle.Select both circles and go to the menu. there you can see Path option , then click difference. You will able to see that the inside circle is substracted from the outer circle.
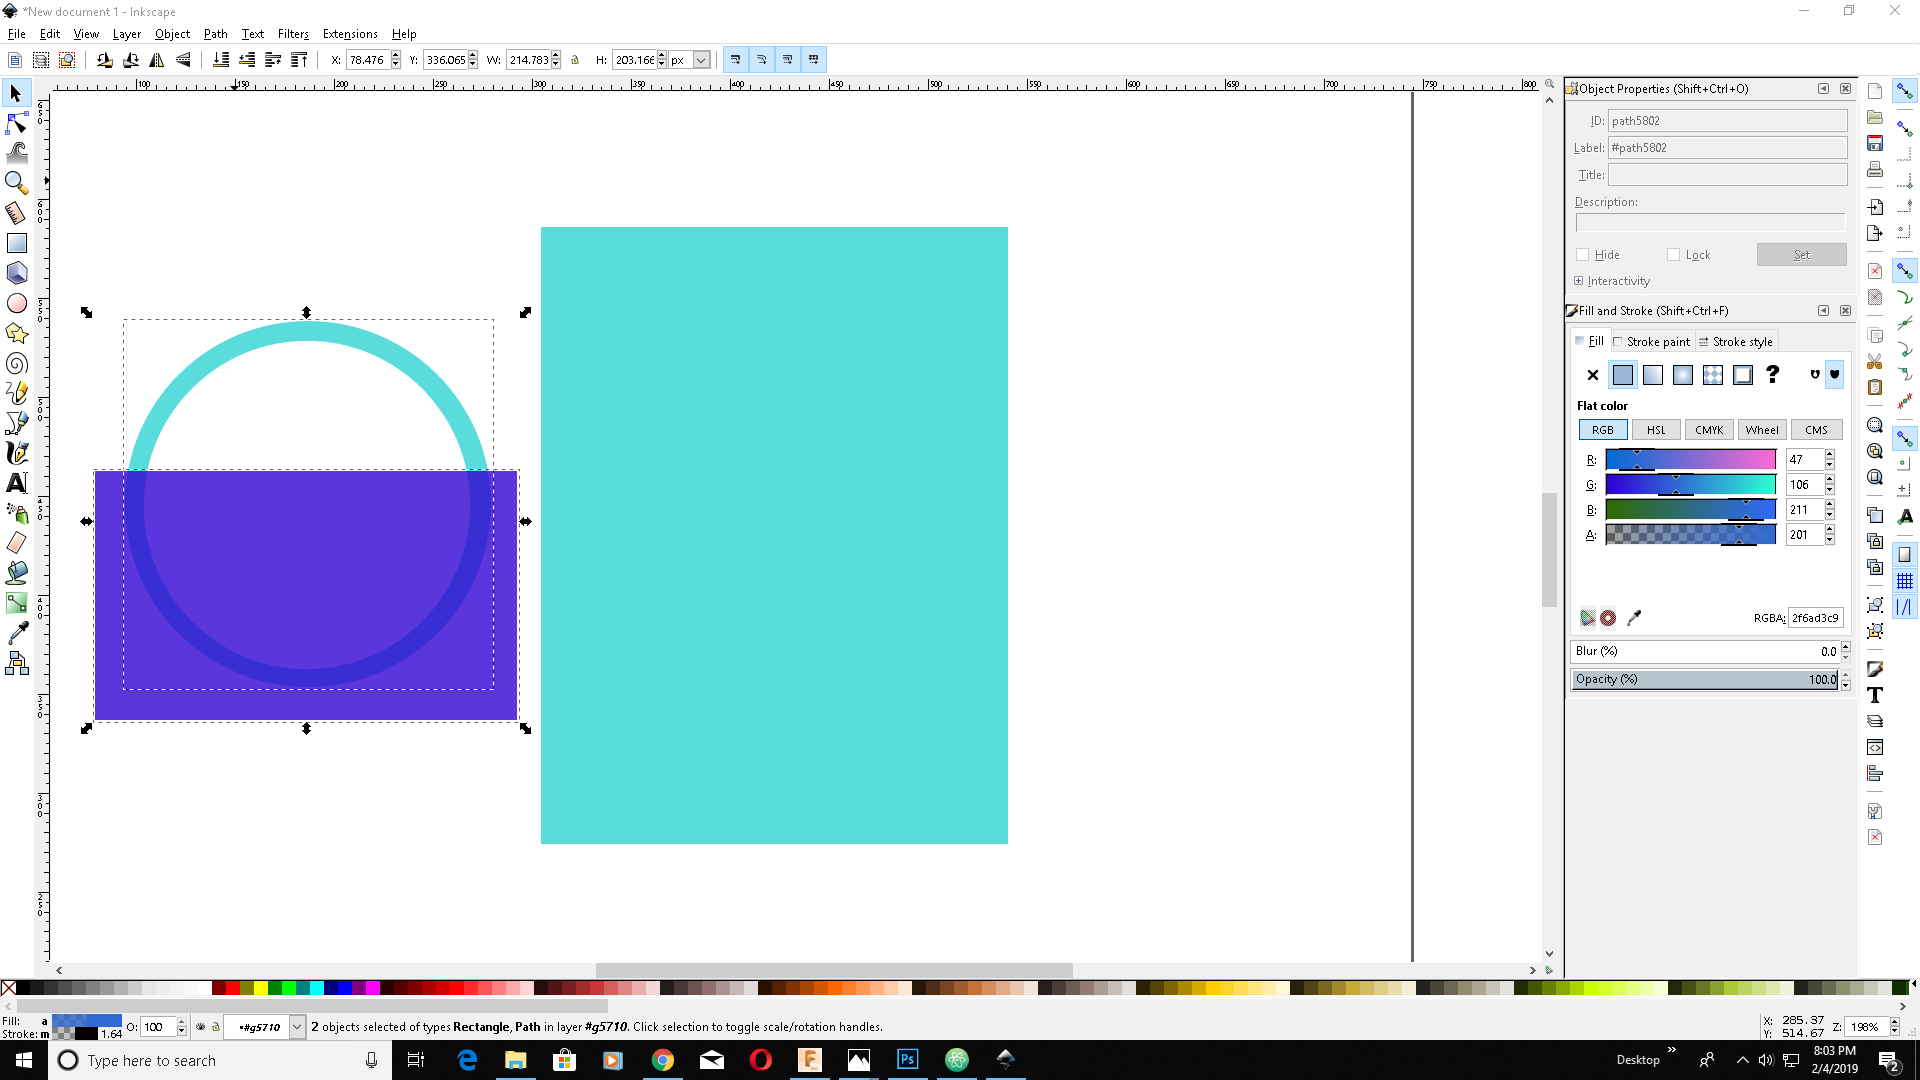
Now we need to make the shape as an arc. So we draw a rectangle and substract from the circle.
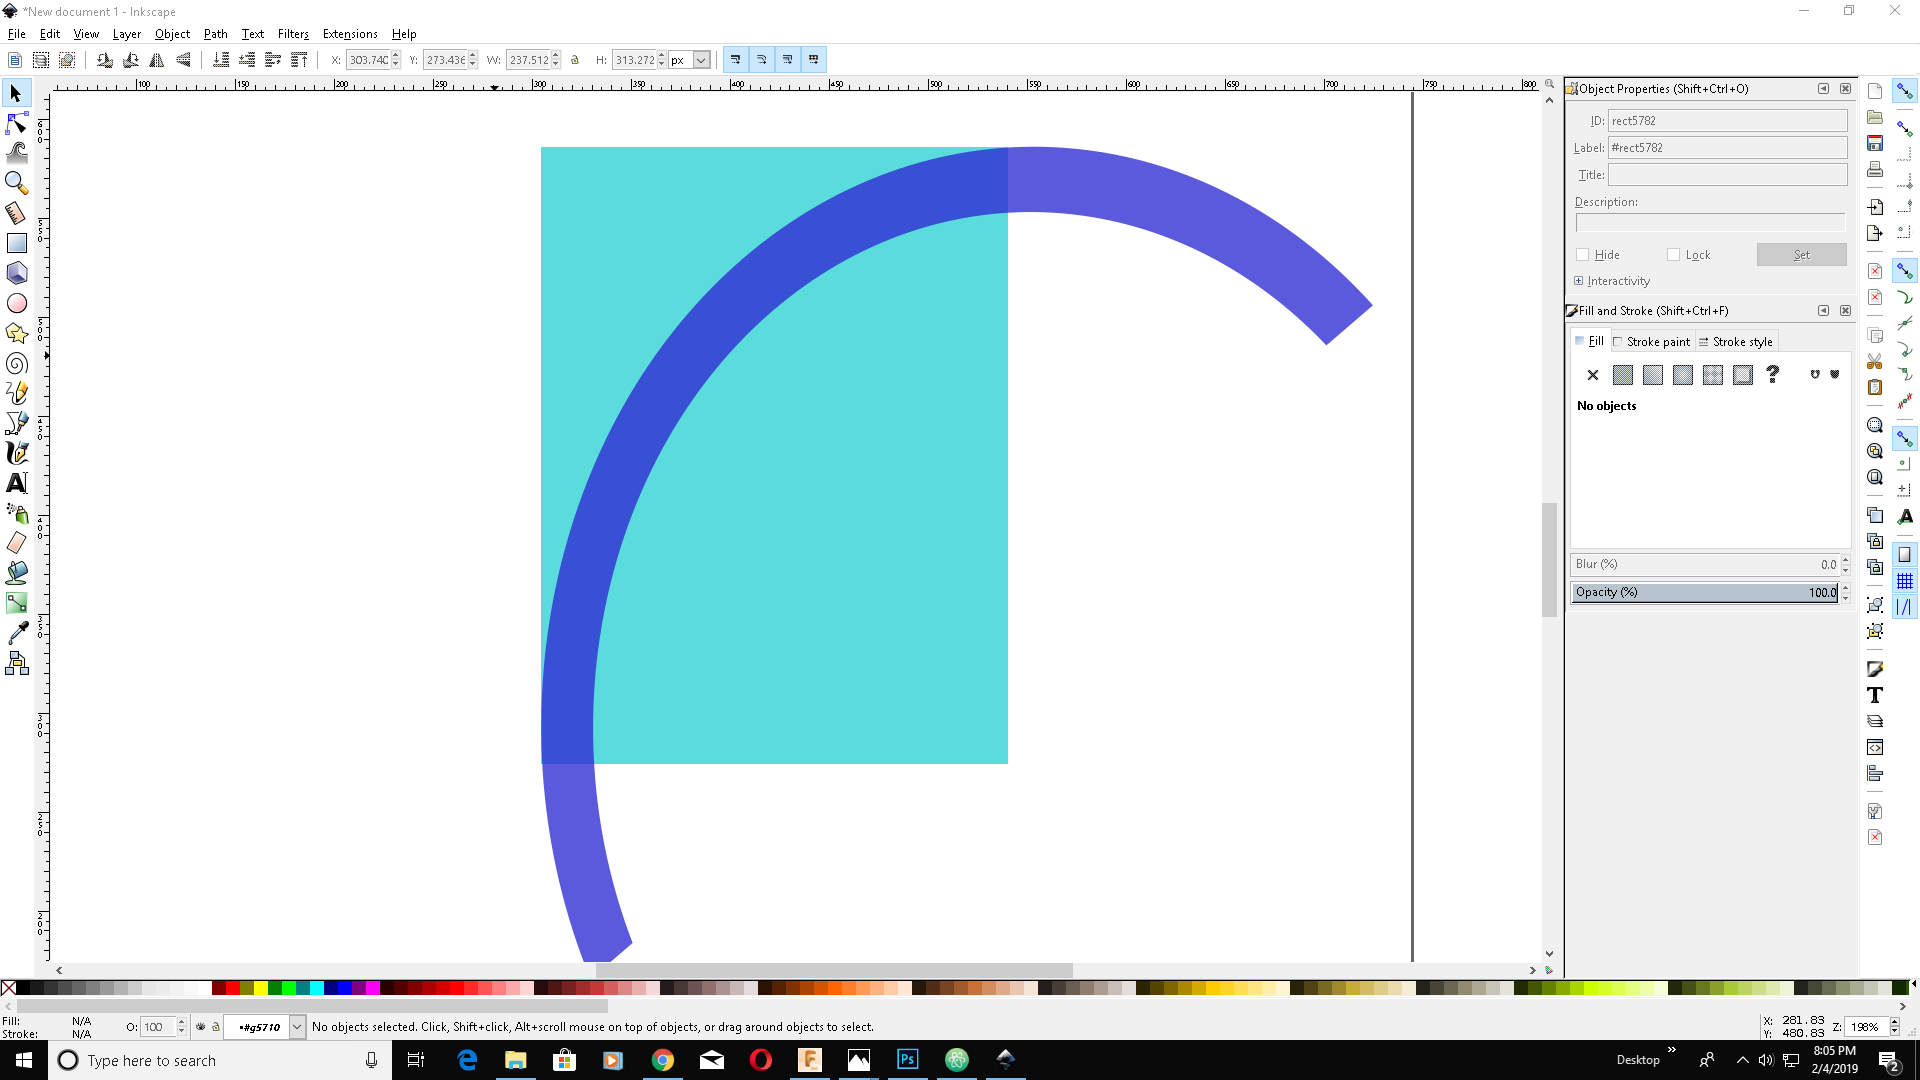
Now enlarge the arc so that it divides the rectangle that we made earlier. Also make a rectangle in the middle. Select all and substract using previous commands..
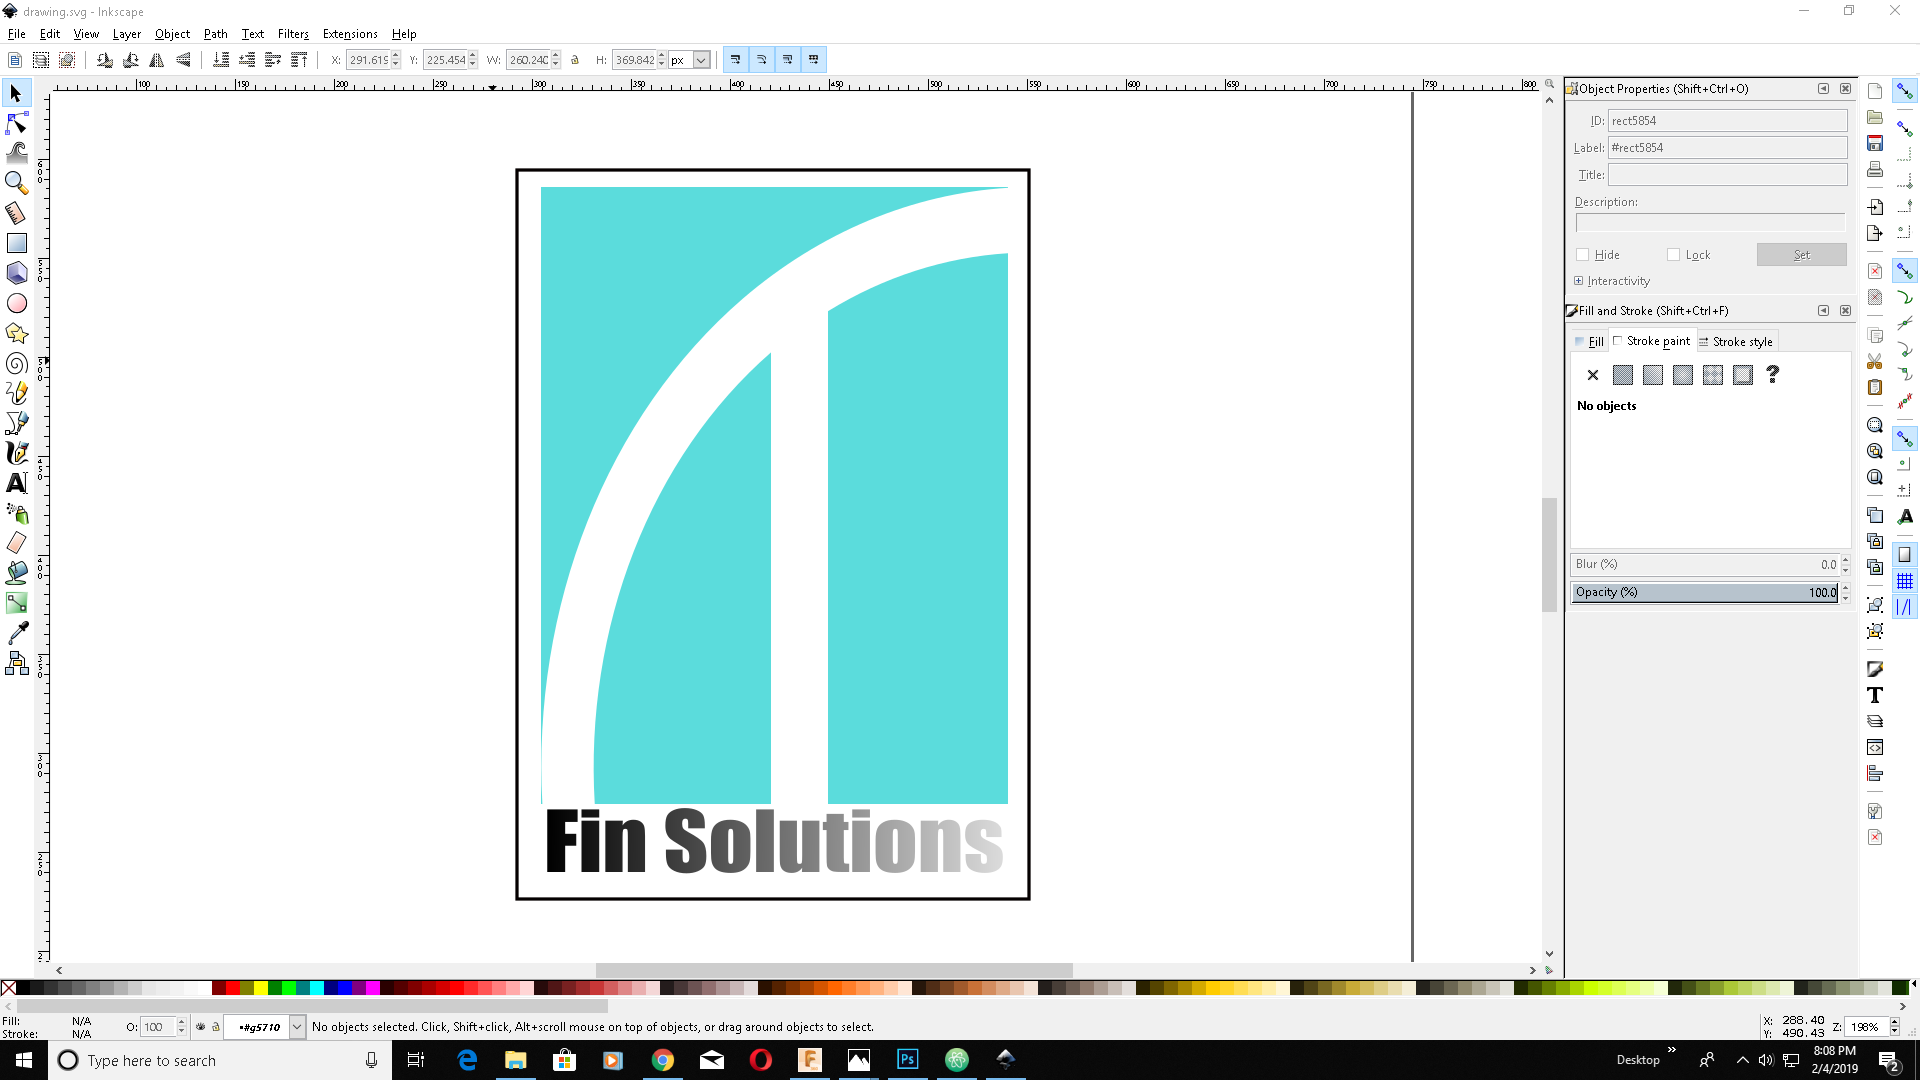
Now Add the name and enlosed all in a box and you are ready with your vector logo.
You can download the file here
Adobe Illustrator is a vector graphics editor developed and marketed by Adobe Inc.Originally designed for the Apple Macintosh, development of Adobe Illustrator began in 1985. Along with Creative Cloud, Illustrator CC was released. So let's start designing...
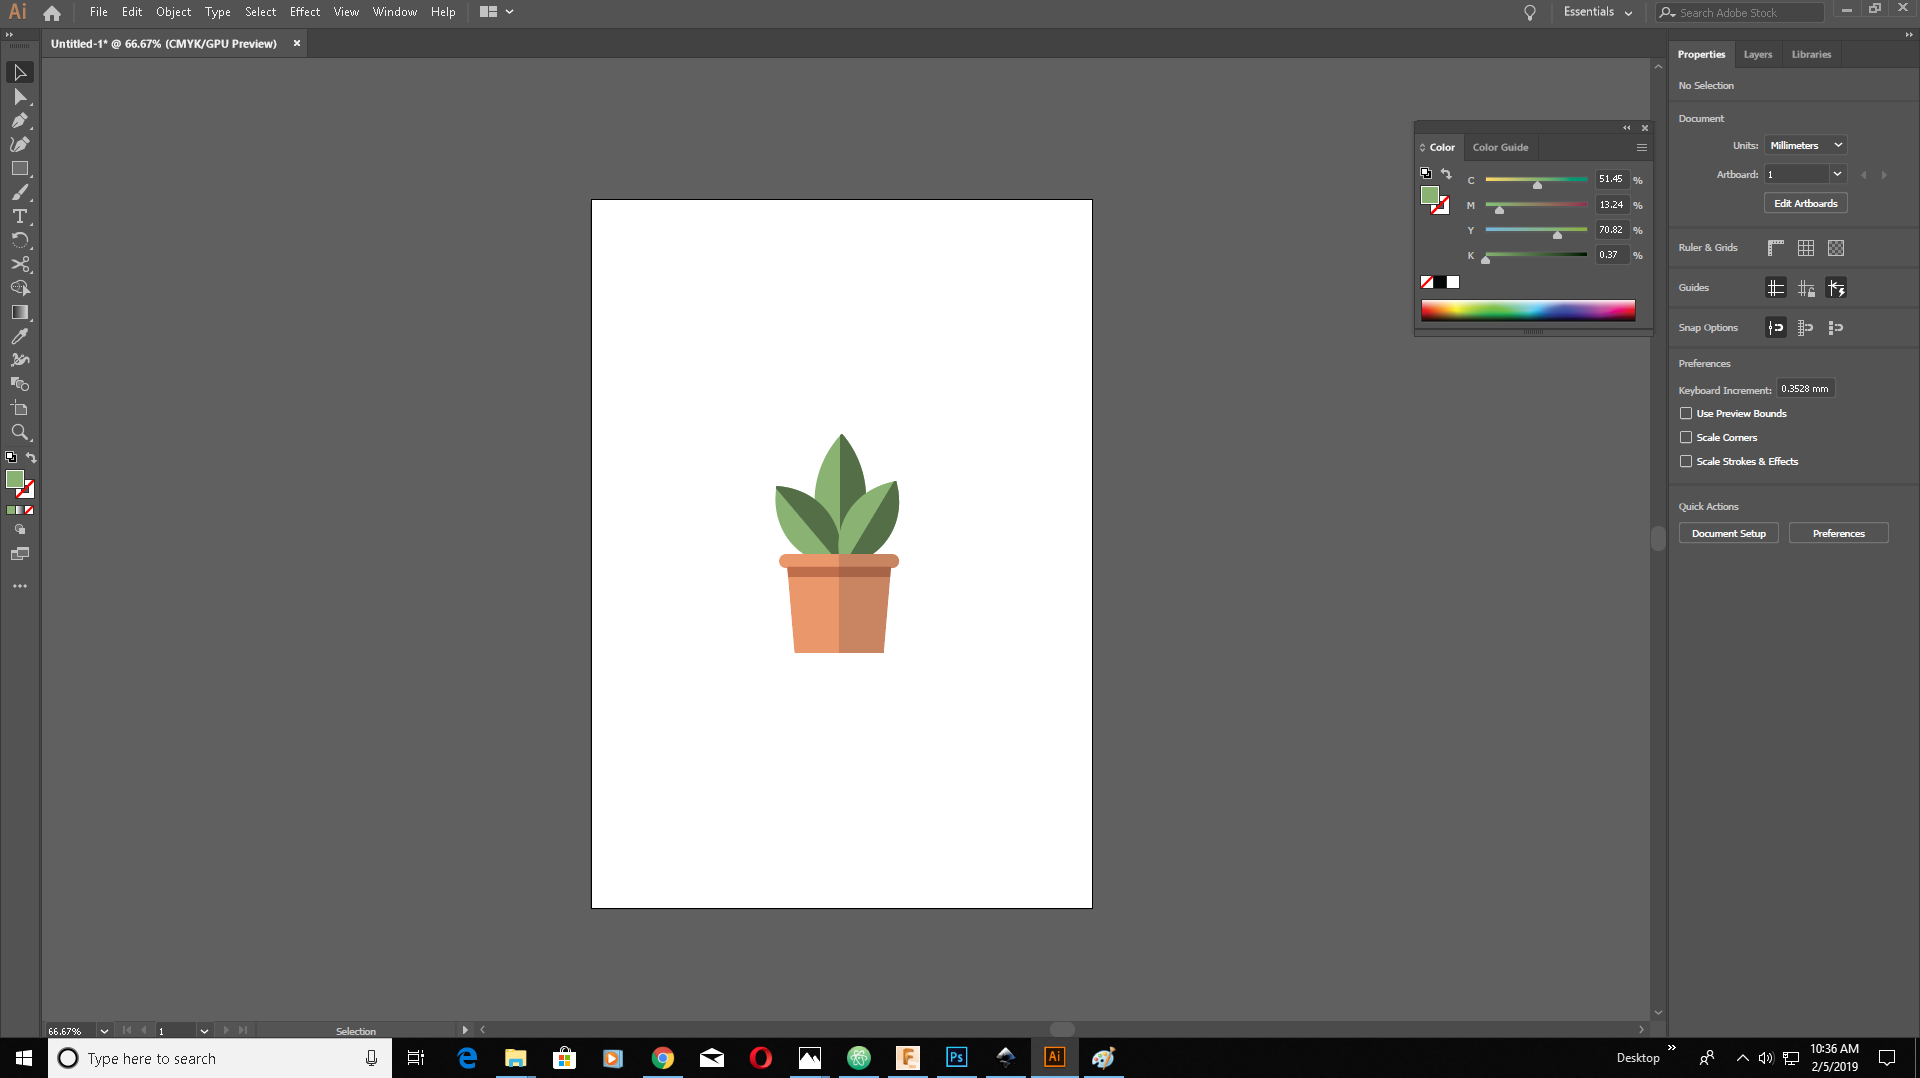
I installed Adobe Illustrator in my computer and I got this window below when I opened it.
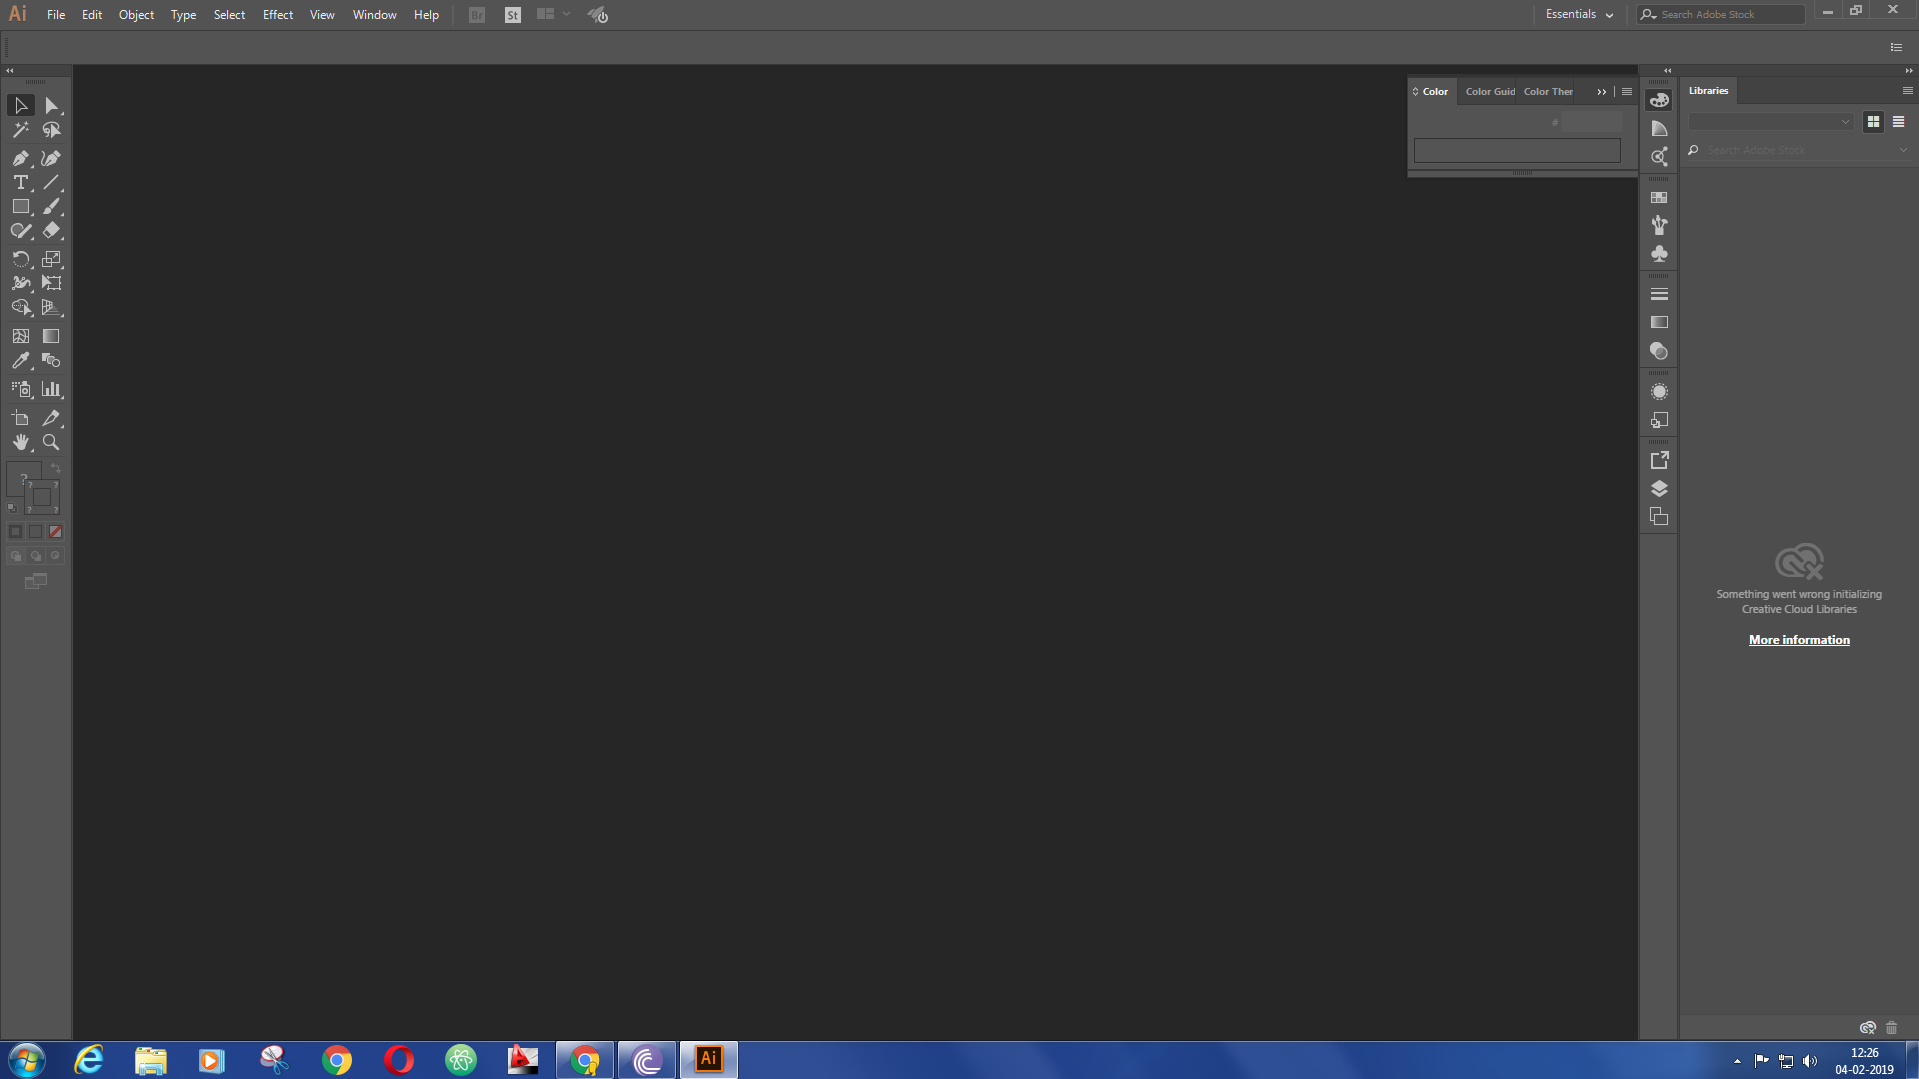
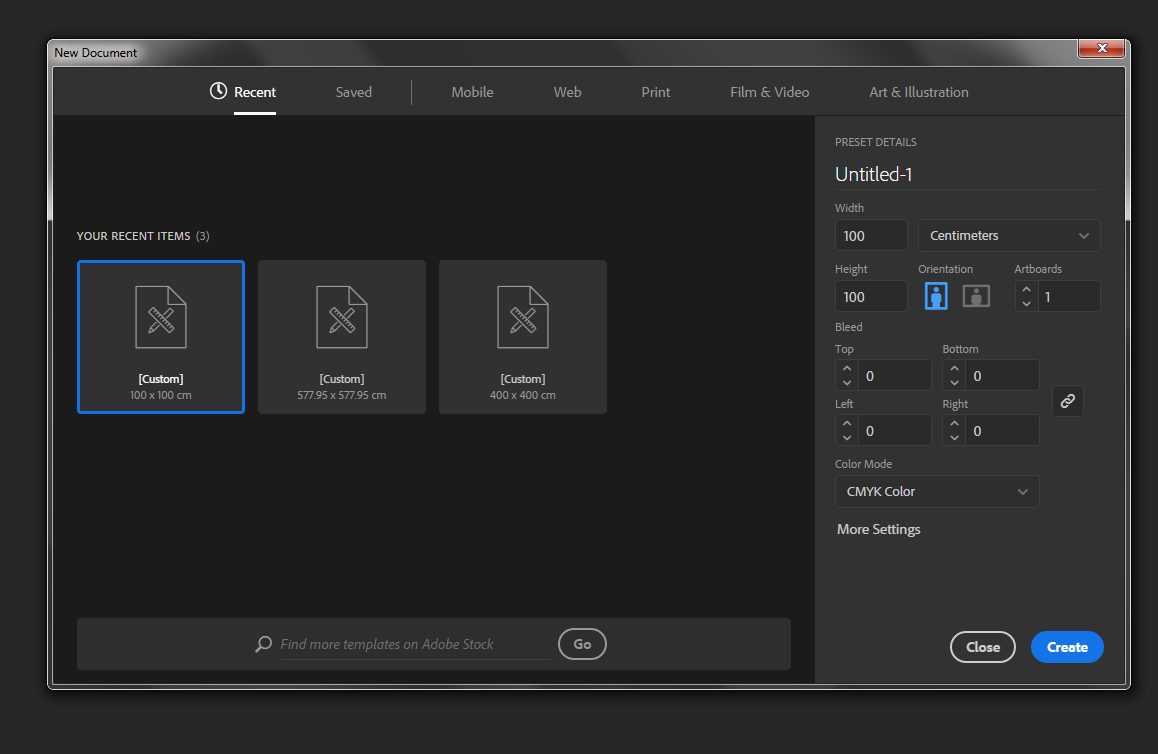
As you can see in the picture, left side of the window consists of tools, top side contains menu and right side contains all other details.For starting a new project got to file and prss new and ypu will get something like below. Select the size and click create..
So we have a new project now. I am going to make plant in a pot drawing in Adobe illustrator. For that First I draw the pot. For that i made a rectangle using "reactangle tool" and fill it it with colour. Also I duplicate the shape by clicking Alt and draging at the same time. I reduce the size of the second rectangle so that it may look like the top of the pot..
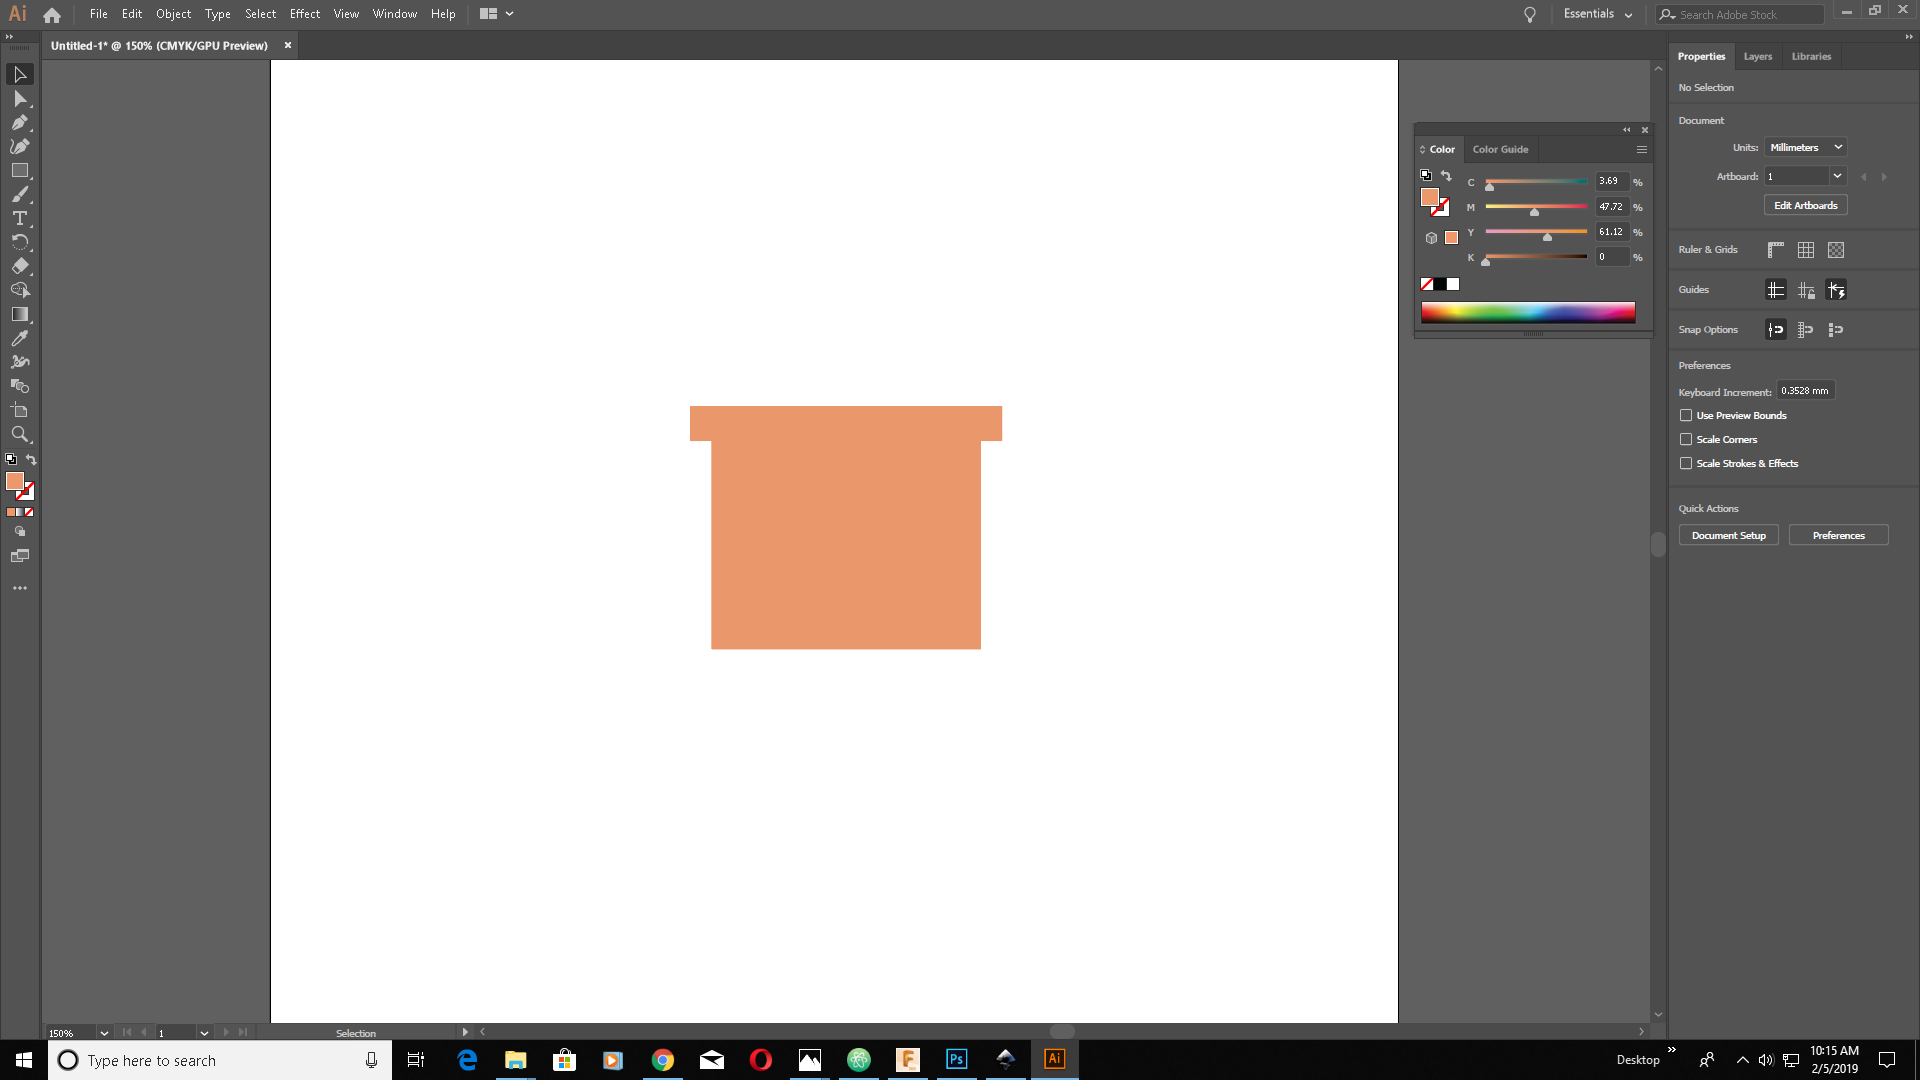
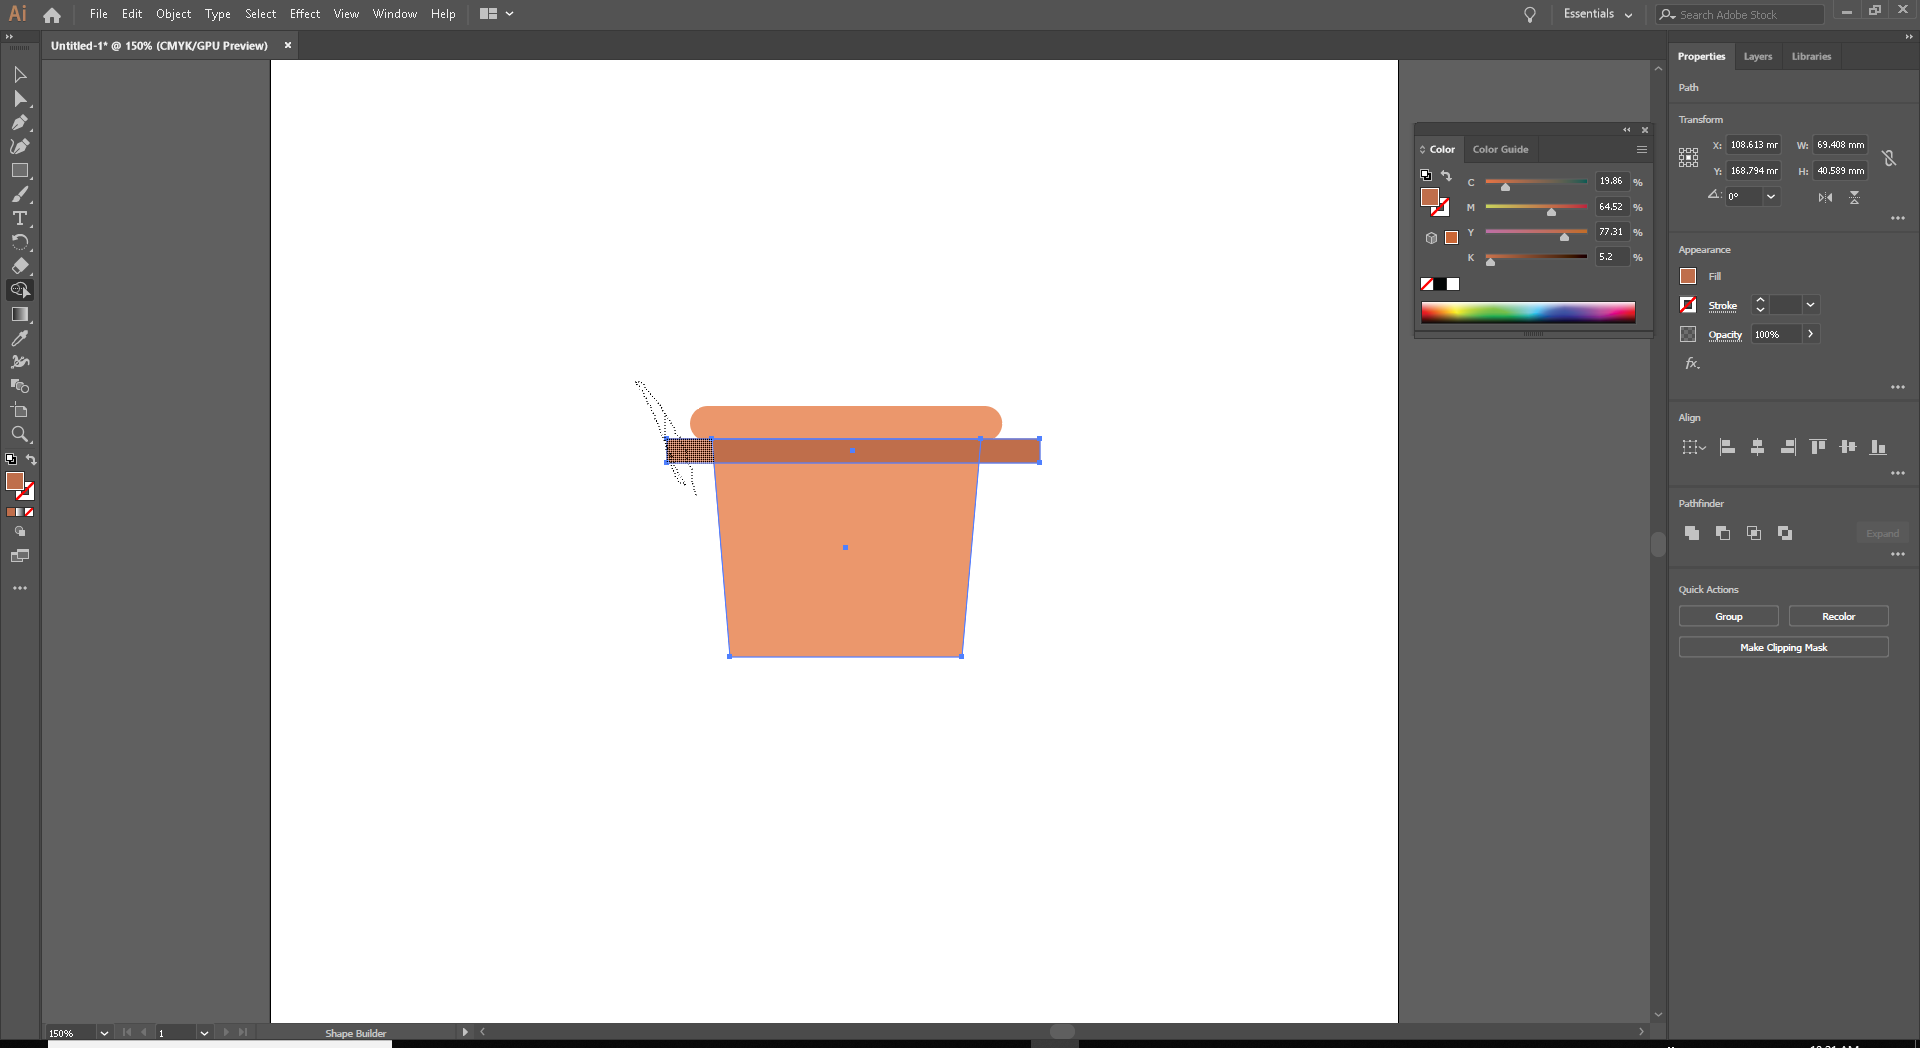
Now it's time for shaping the edges of the rectangles. For that I selected the corner of the rectangle usiing "direct section tool" and adjust the angle by pressing CTRL + right arrow key at the same time. I repeated the process through every required corners. Now I add another rectangle with different colour that it may seem like a shadow. Then I cut off excess shapes using "shape buillder tool".
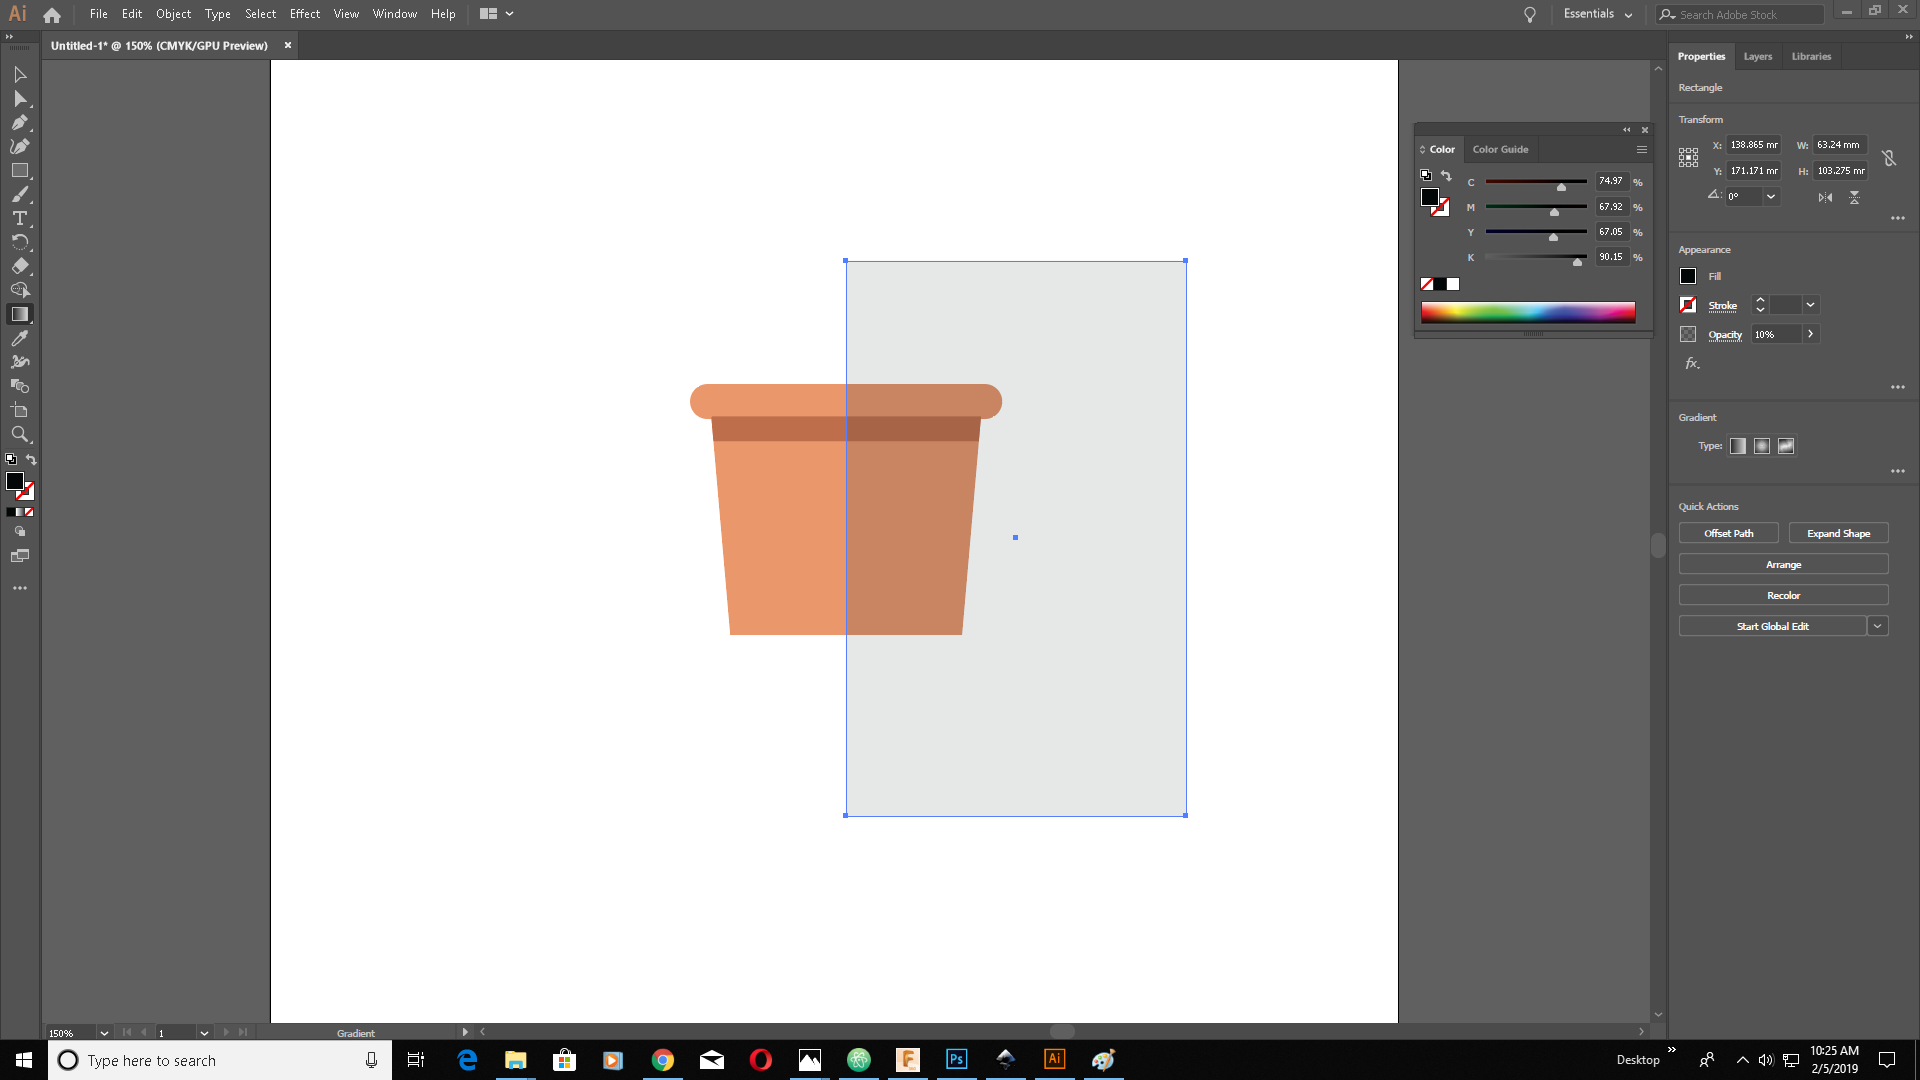
Now I had to add the shadow to the pot. For that I draw a rectangle covering exact half of the pot and fill with black colour. The I decrease it's opacity by 10%. Then I cut-off excess shapes using shape builder tool. Now our pot is ready..
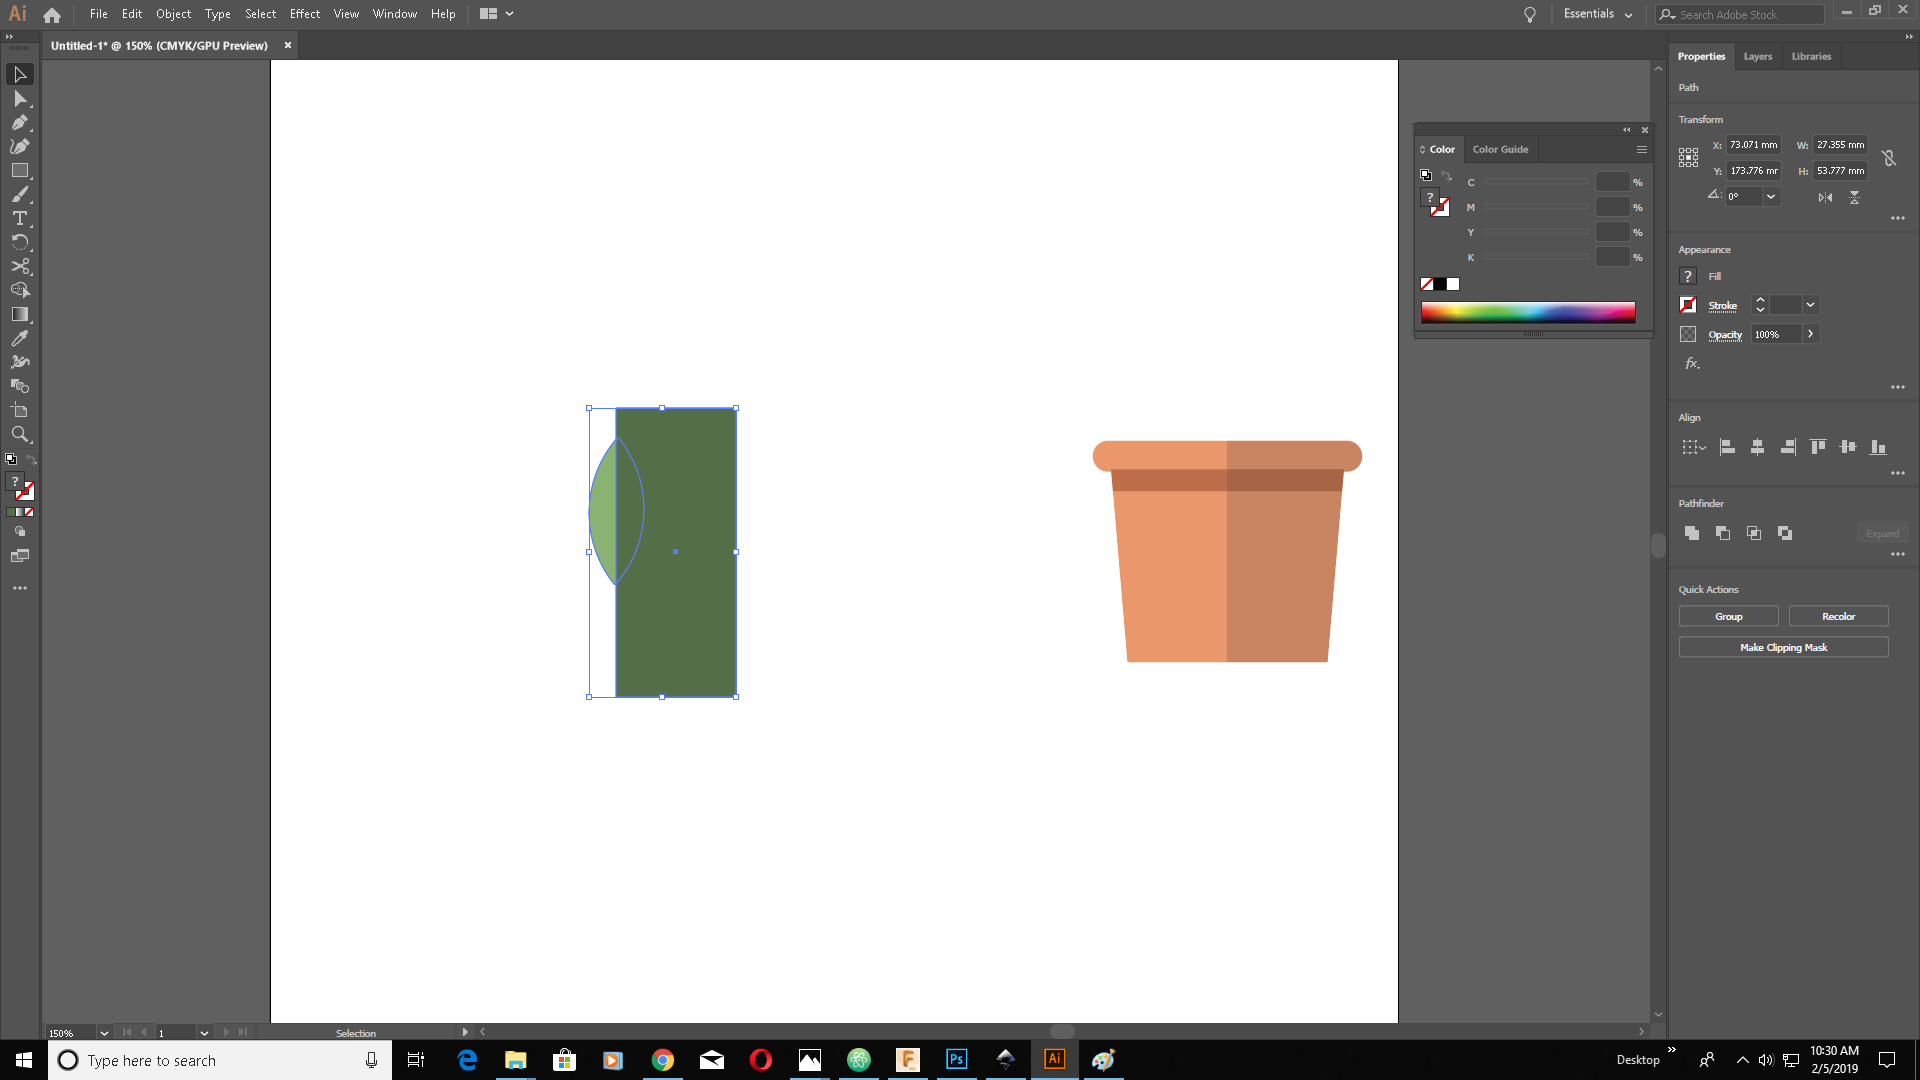
Next I draw the leafs. I draw a circle using an "elipse tool" and duplicated it. I arranged them in such a way that they make a leaf at the intersection of the circles

I cut-off the excess shapes and filled the shape with green colour. the leaf needed a shadow. For that I made a rectangle that cut the leaf in middle. I give the rectangle a dark green colour and cut-off excess shape using shape builder tool..
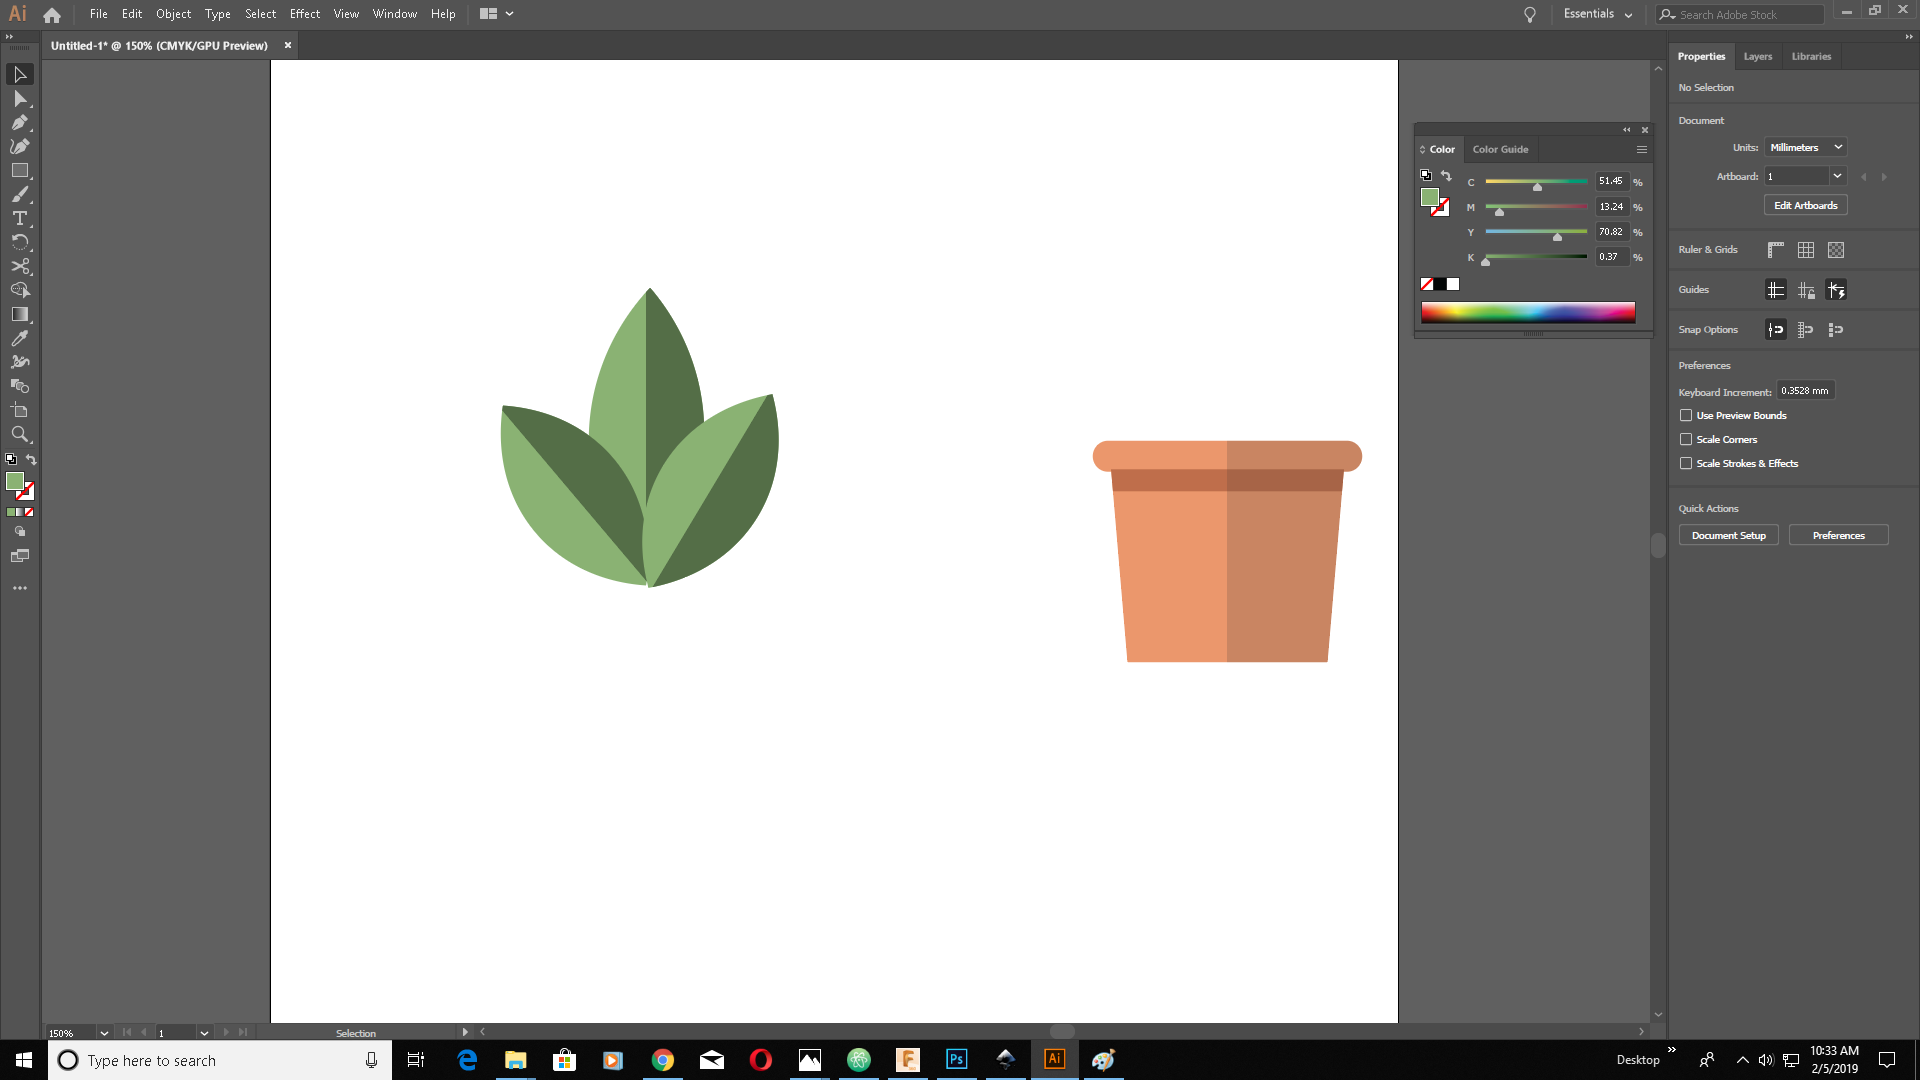
Now we got a leaf. I group them and duplicate the whole leaf twice. I arranged them like below that they may look like a plant..
Now we got a pot and a plant. Now I have to place the plant on top of the pot and arrange the pot so that it seen the plant is inside the pot. At the end it will look something like below
My first atempt to make an image in illustrator waws a sucess. Now I can make more complex shapes and designs..
You can download the file here
3D softwares
In 3D computer graphics, 3D modeling is the process of developing a mathematical representation of any surface of an object (either inanimate or living) in three dimensions via specialized software. The product is called a 3D model. In here we are using two softwares to design 3d images..
Fusion 360 is a cloud-based CAD/CAM tool for collaborative product development that combines industrial design, mechanical engineering, and machine tool programming into one software solution. It is a very useful software when comes to 3D modelling.
So let's start by starting the fusion 360 on your computer. It will look exactly like below image..
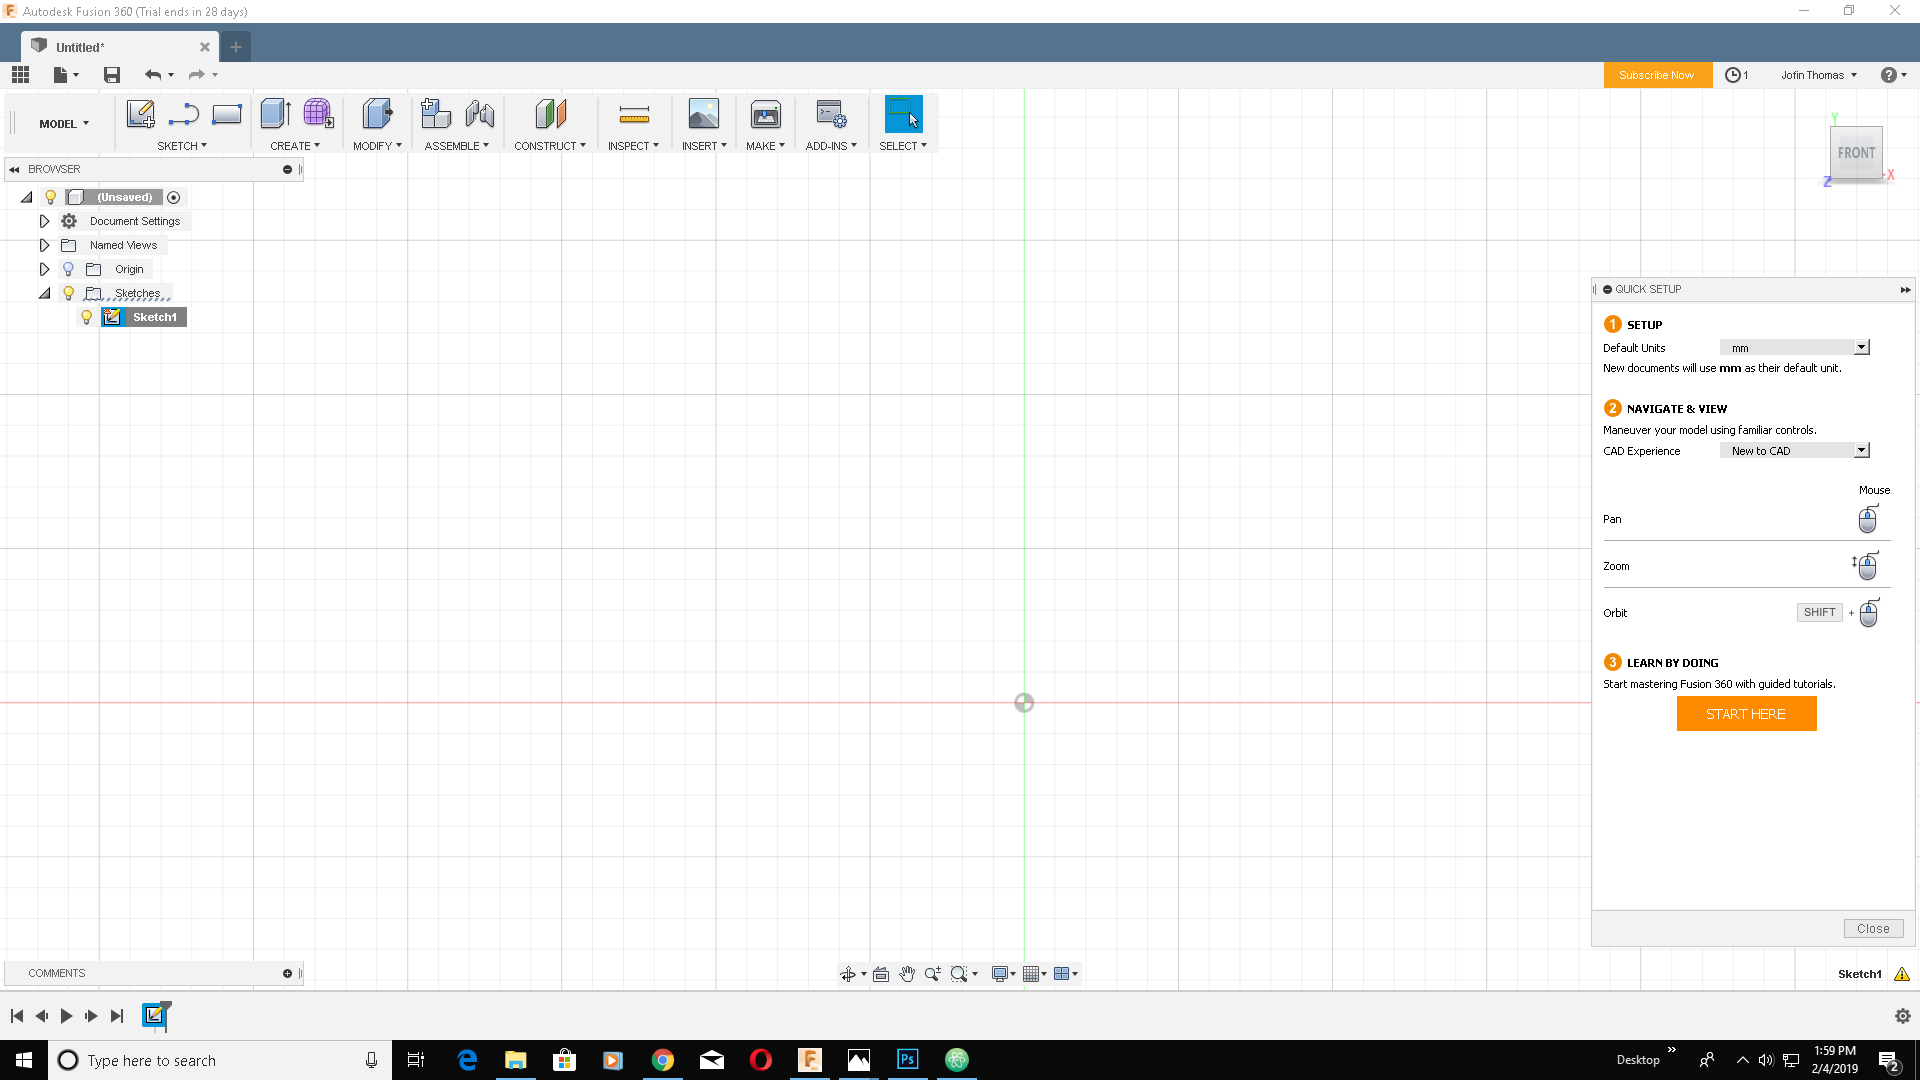
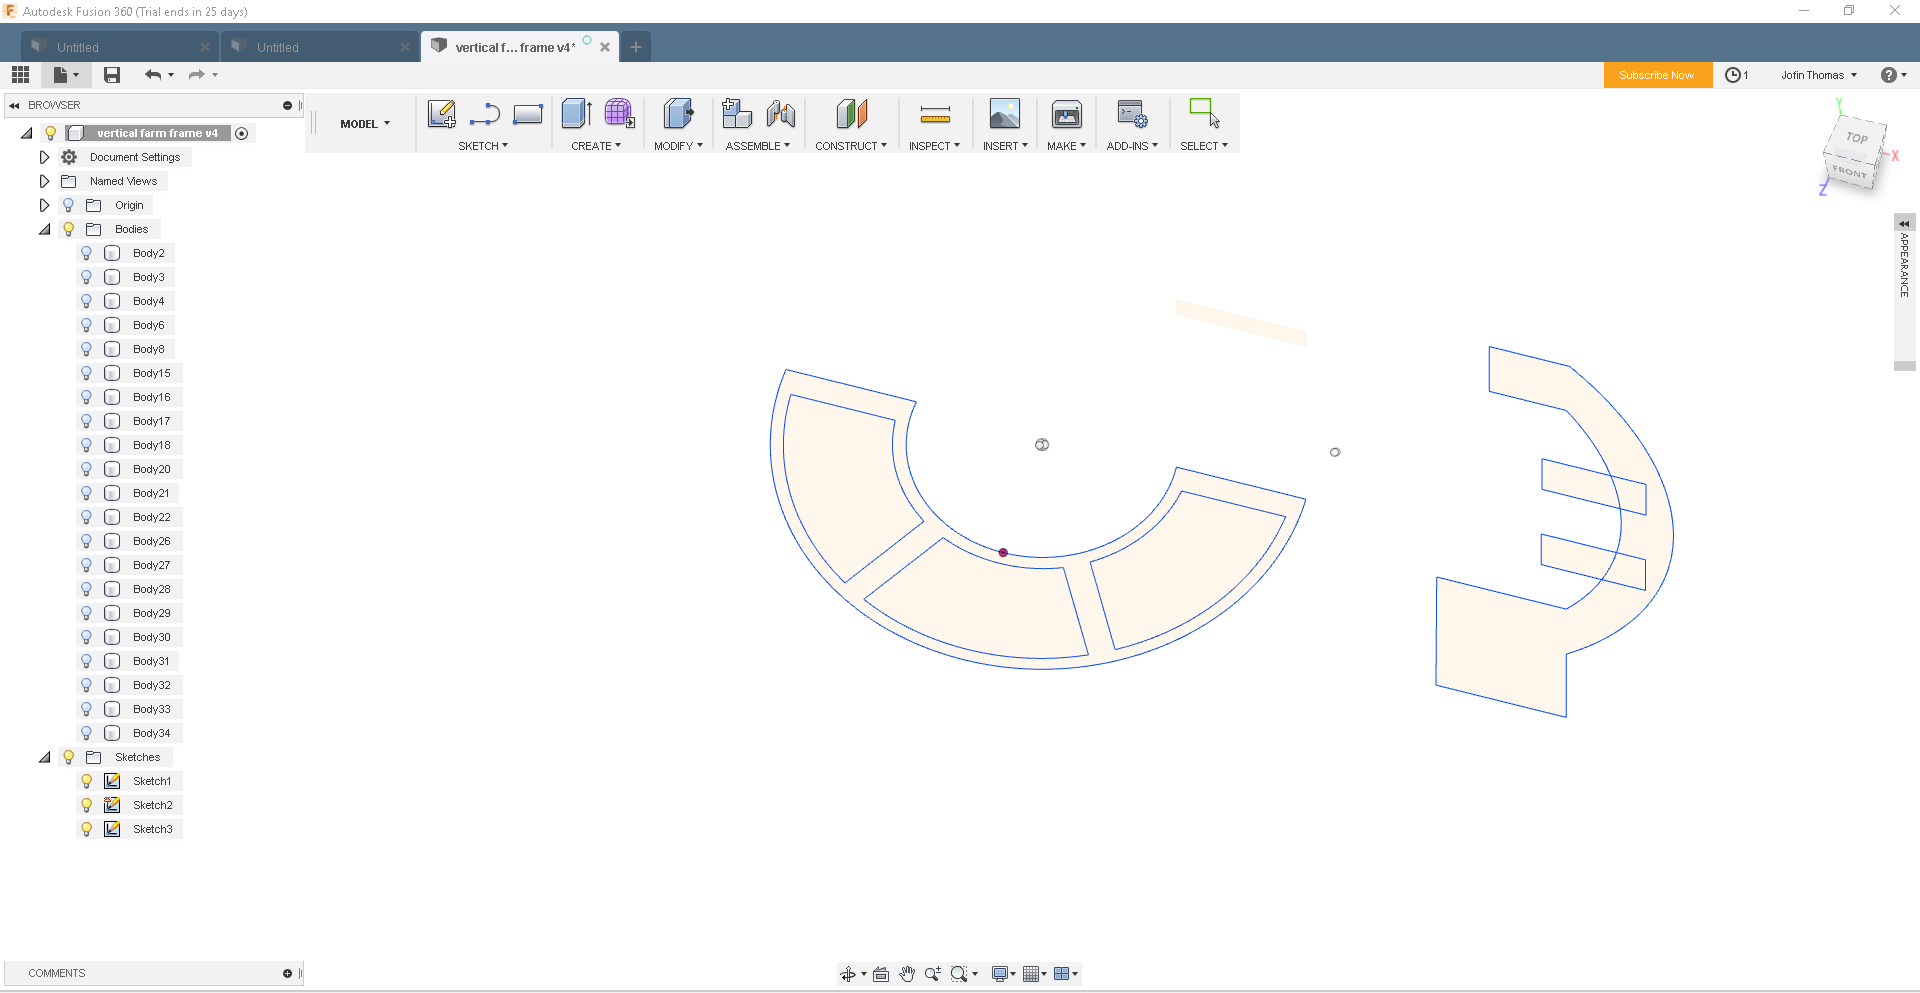
I am going to construct my final project in 3D. I am not an expert in this. But the help of my instructors, I started on 2D sketch..
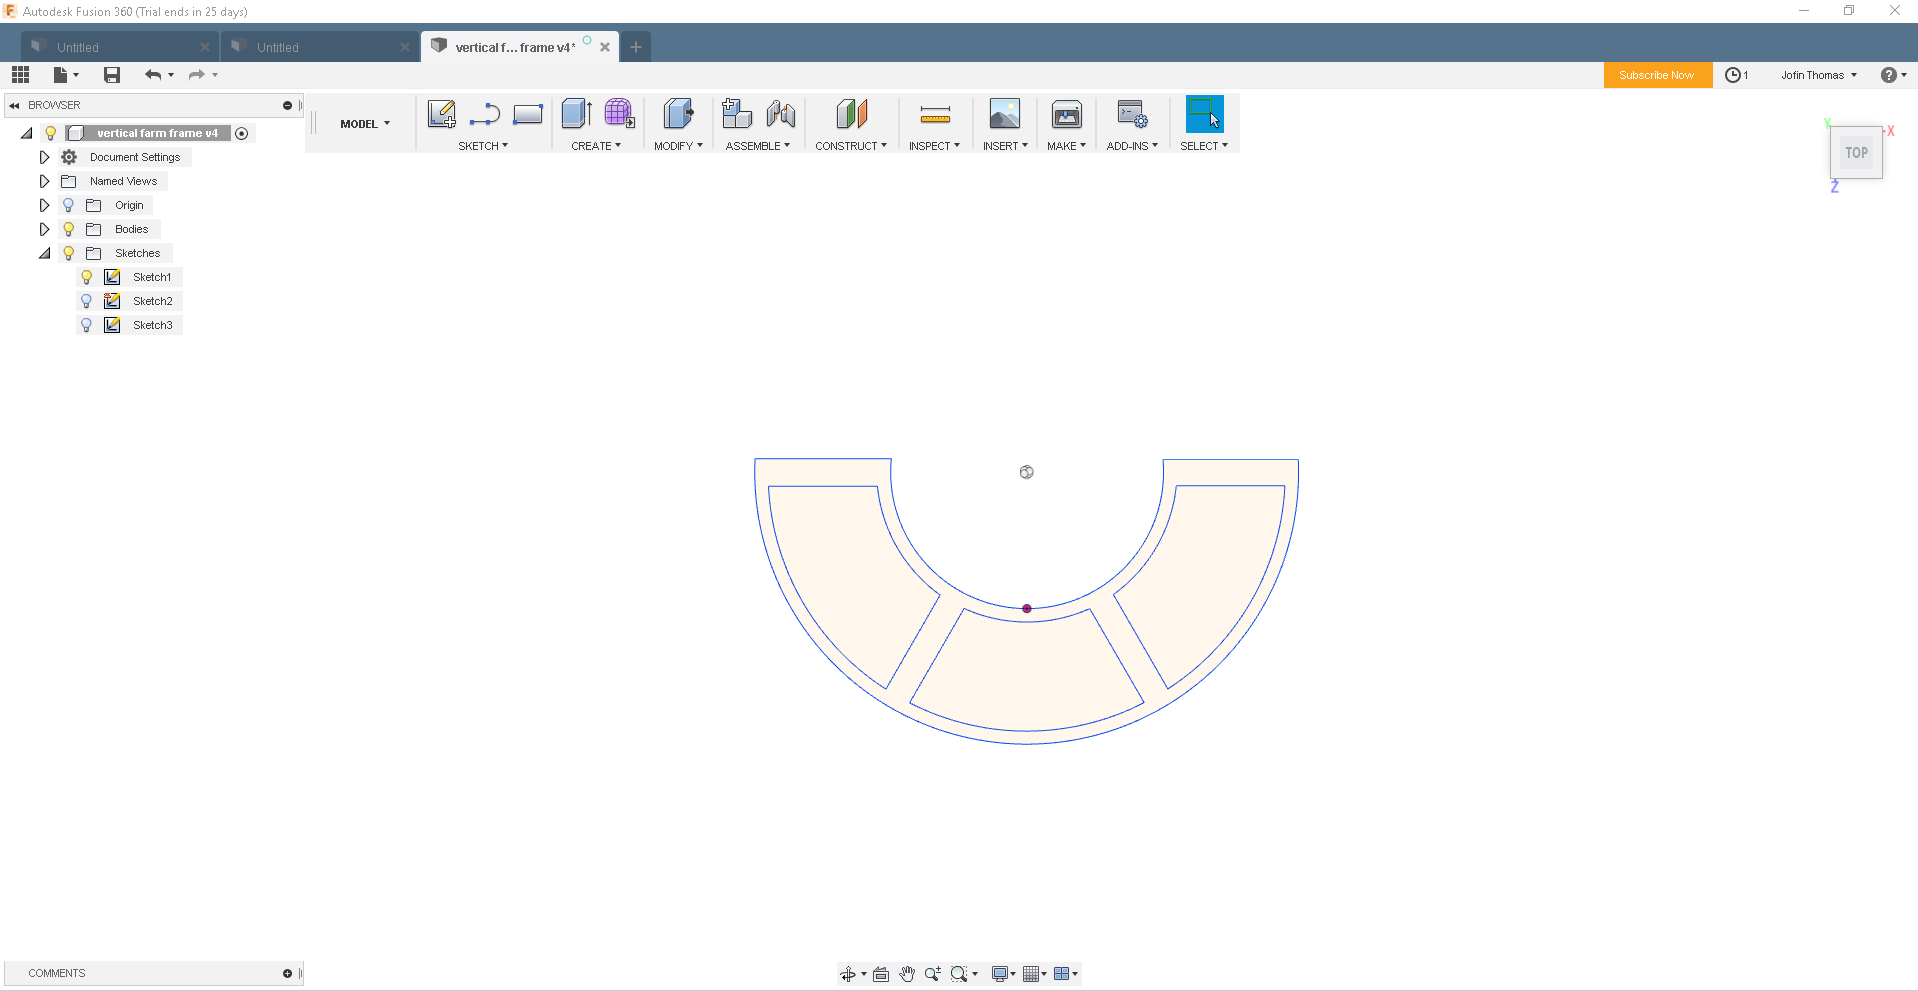
In here I have only used "3-point arc"tool and "line tool" for the construction of the 2D sketch. After completing the base sketch, I have use "Press pull" tool to elivate the design into 3D.
So the base tank of the project is done. Now I have make the upper decks of the vertical farm. So I repeat the sketching process like above. So I copied the decks using Move/copy tool.
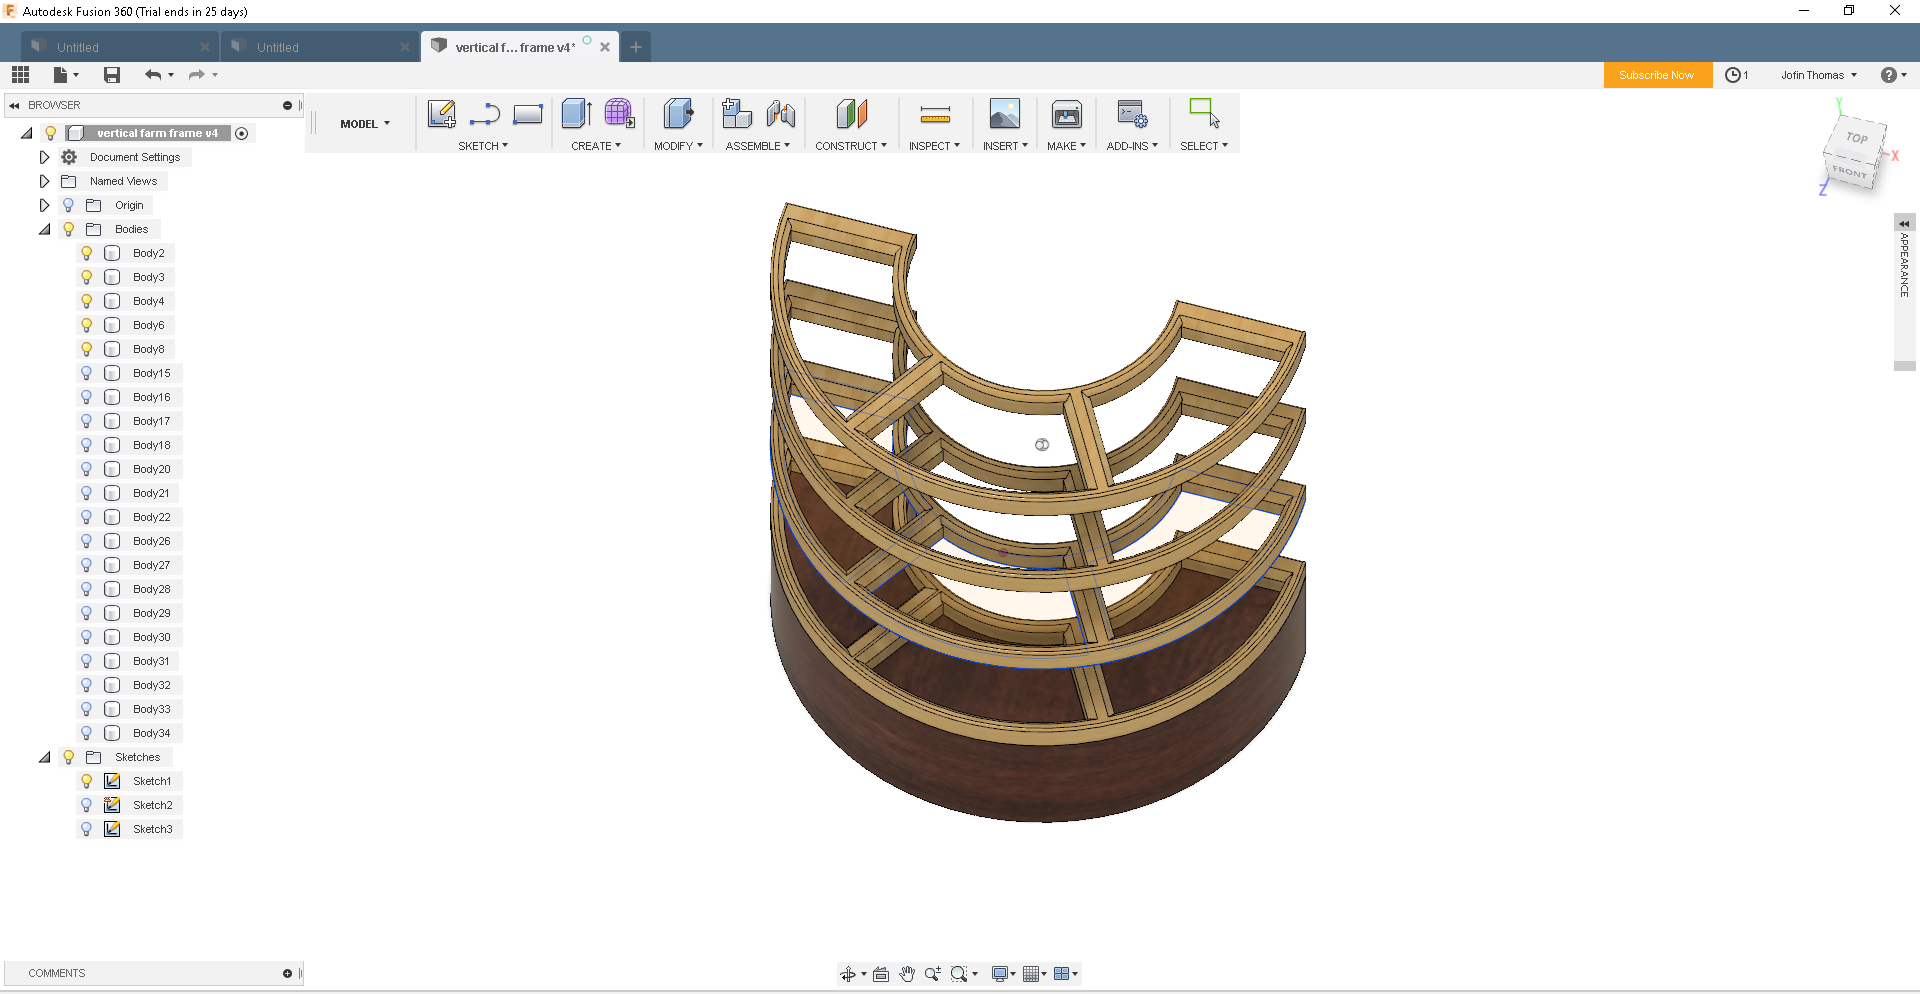
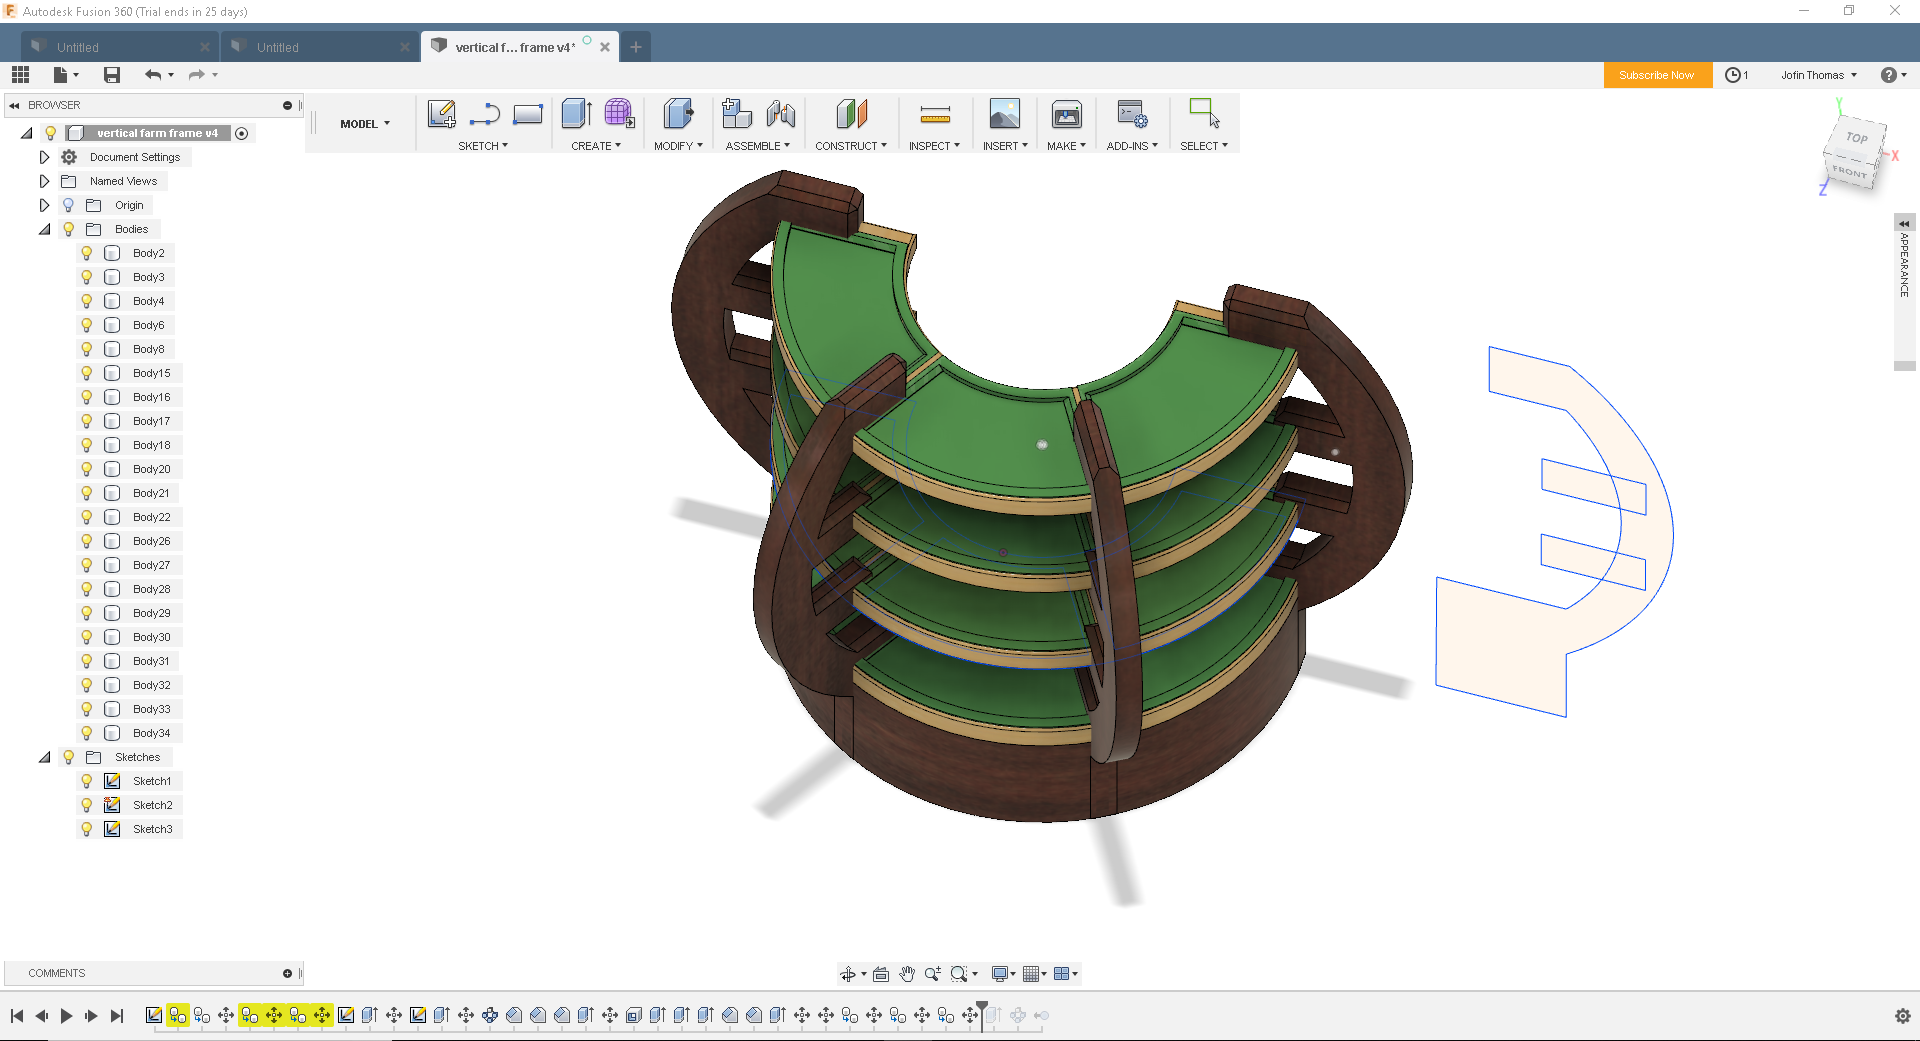
Now its time for the top lid and back cover. Top lid contains grow lights. They were as same as the deck, but with less depth. So I made the top one and copy to the rest of the body. Now for the back cover. I use "rectangle tool" for making the sketchand extrude to 3D using "Press pull".

Now I need to add the watering holes. So I use a "Circle tool" to make the hole and extrude all the way down to make it ally to all decks. Now I use "fillet tool" to curve the edges a little and my project is done
Now we have to render it so that it look like real. So got to model and push render. Now youcan render it the way you want..
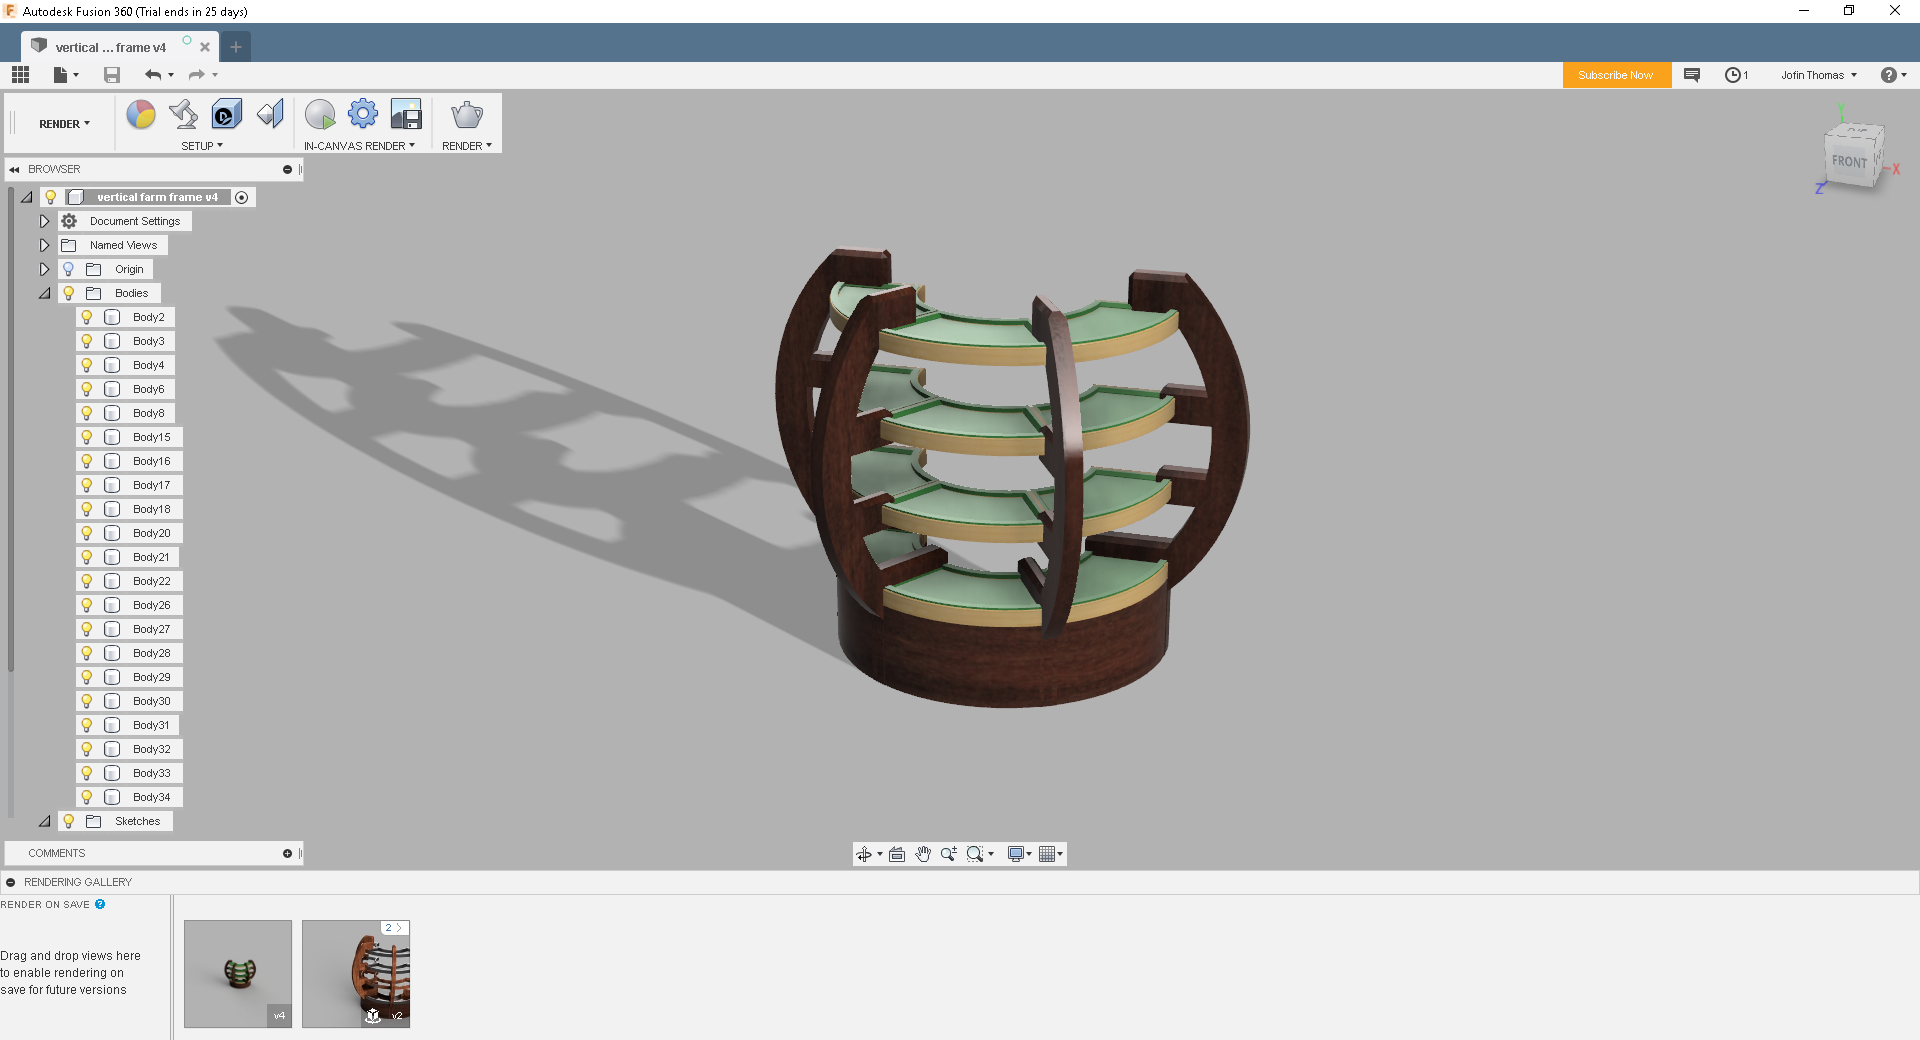
You can see the 3D view below
You can download the files from Here.